Challenge No. 22 – Homemade Burgers

This challenge was suggested by my colleague Dean after he bought himself a George Forman grill. I’ve been making burgers to a particular recipe for a couple of years now but I thought this would be a good opportunity to test my recipe against one made by my family in Canada.  When Dave and I visited my family in Goderich in 2014, my cousin’s wife made us some absolutely delicious homemade burgers and so a couple of weeks ago, I asked Kristen for her recipe.  With the recipes and ingredients ready, it was time to put our burgers to the test.

For my original burger recipe you will need the following:-
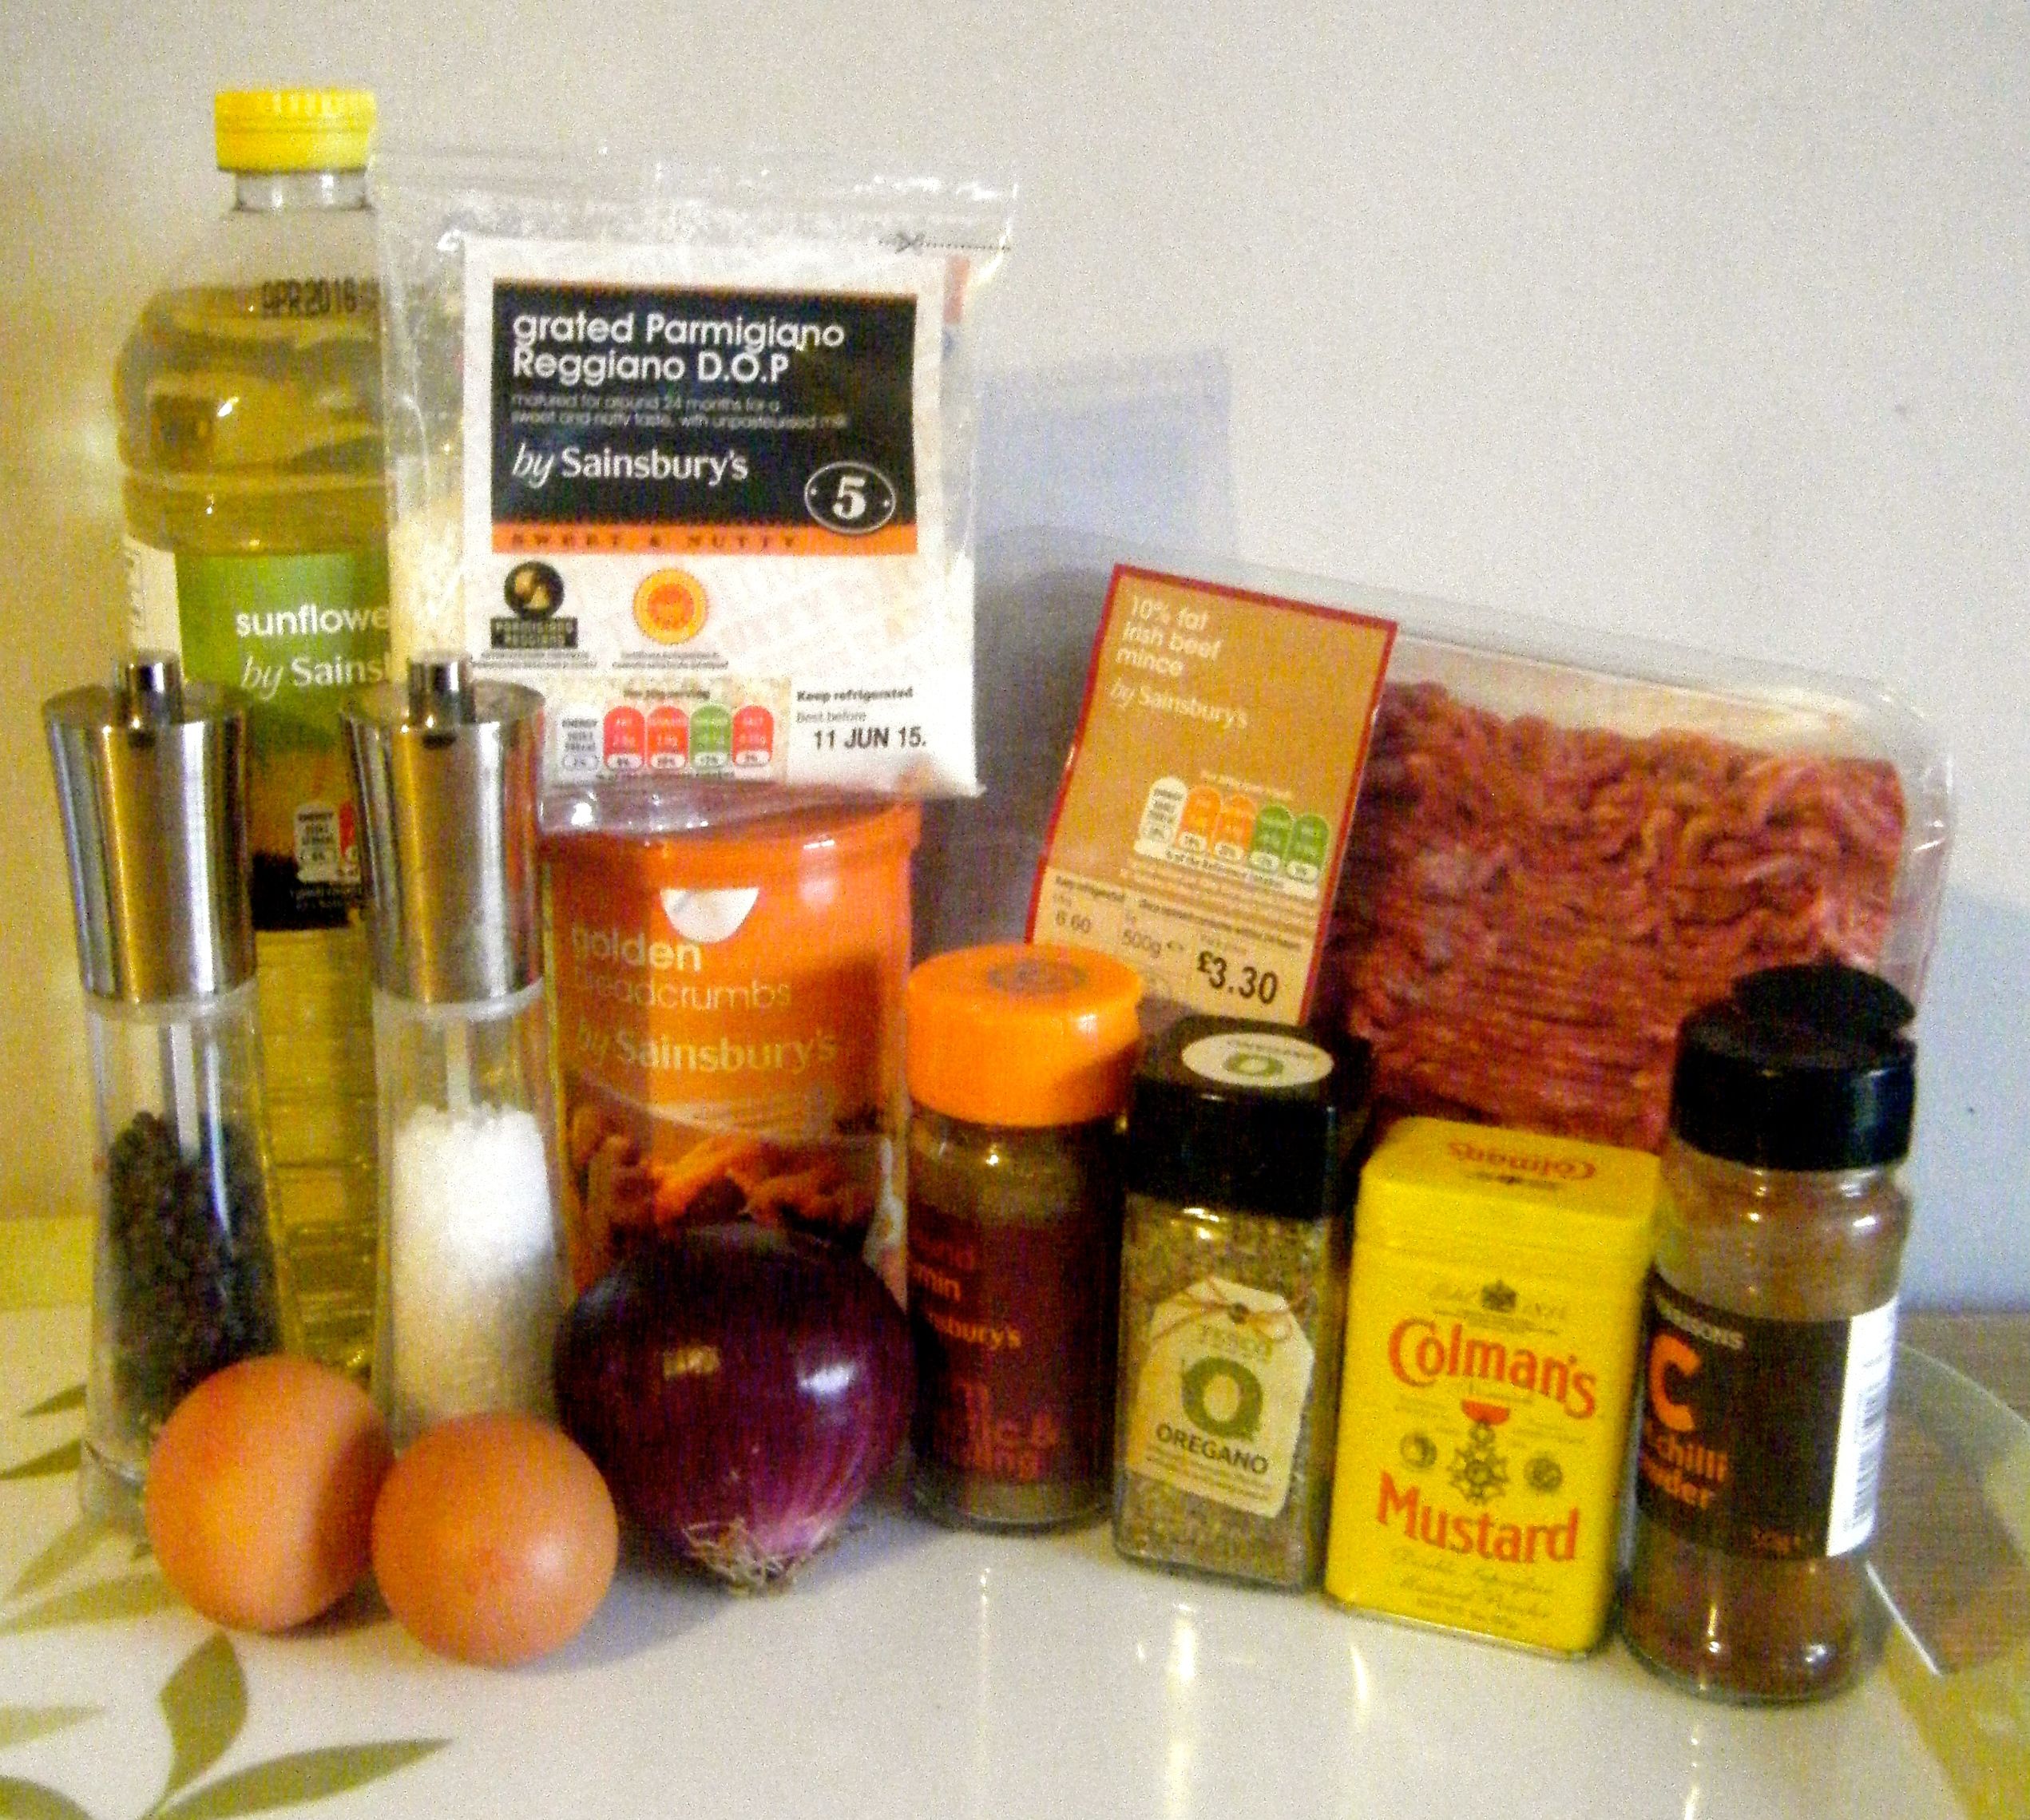
  • 250g beef mince
  • 1/2 small red onion, chopped finely
  • 2 med egg
  • 25g breadcrumbs
  • 1/8 tsp hot chilli powder
  • 1/4 tsp ground cumin
  • 1/4 tsp mustard powder
  • 1/2 tsp dried oregano
  • 25g parmesan cheese
  • Olive oil
  • Sea salt
  • Freshly ground black pepper

Edited - ingredients 1

For my adaption* of Kristen’s burger recipe you will need the following:-
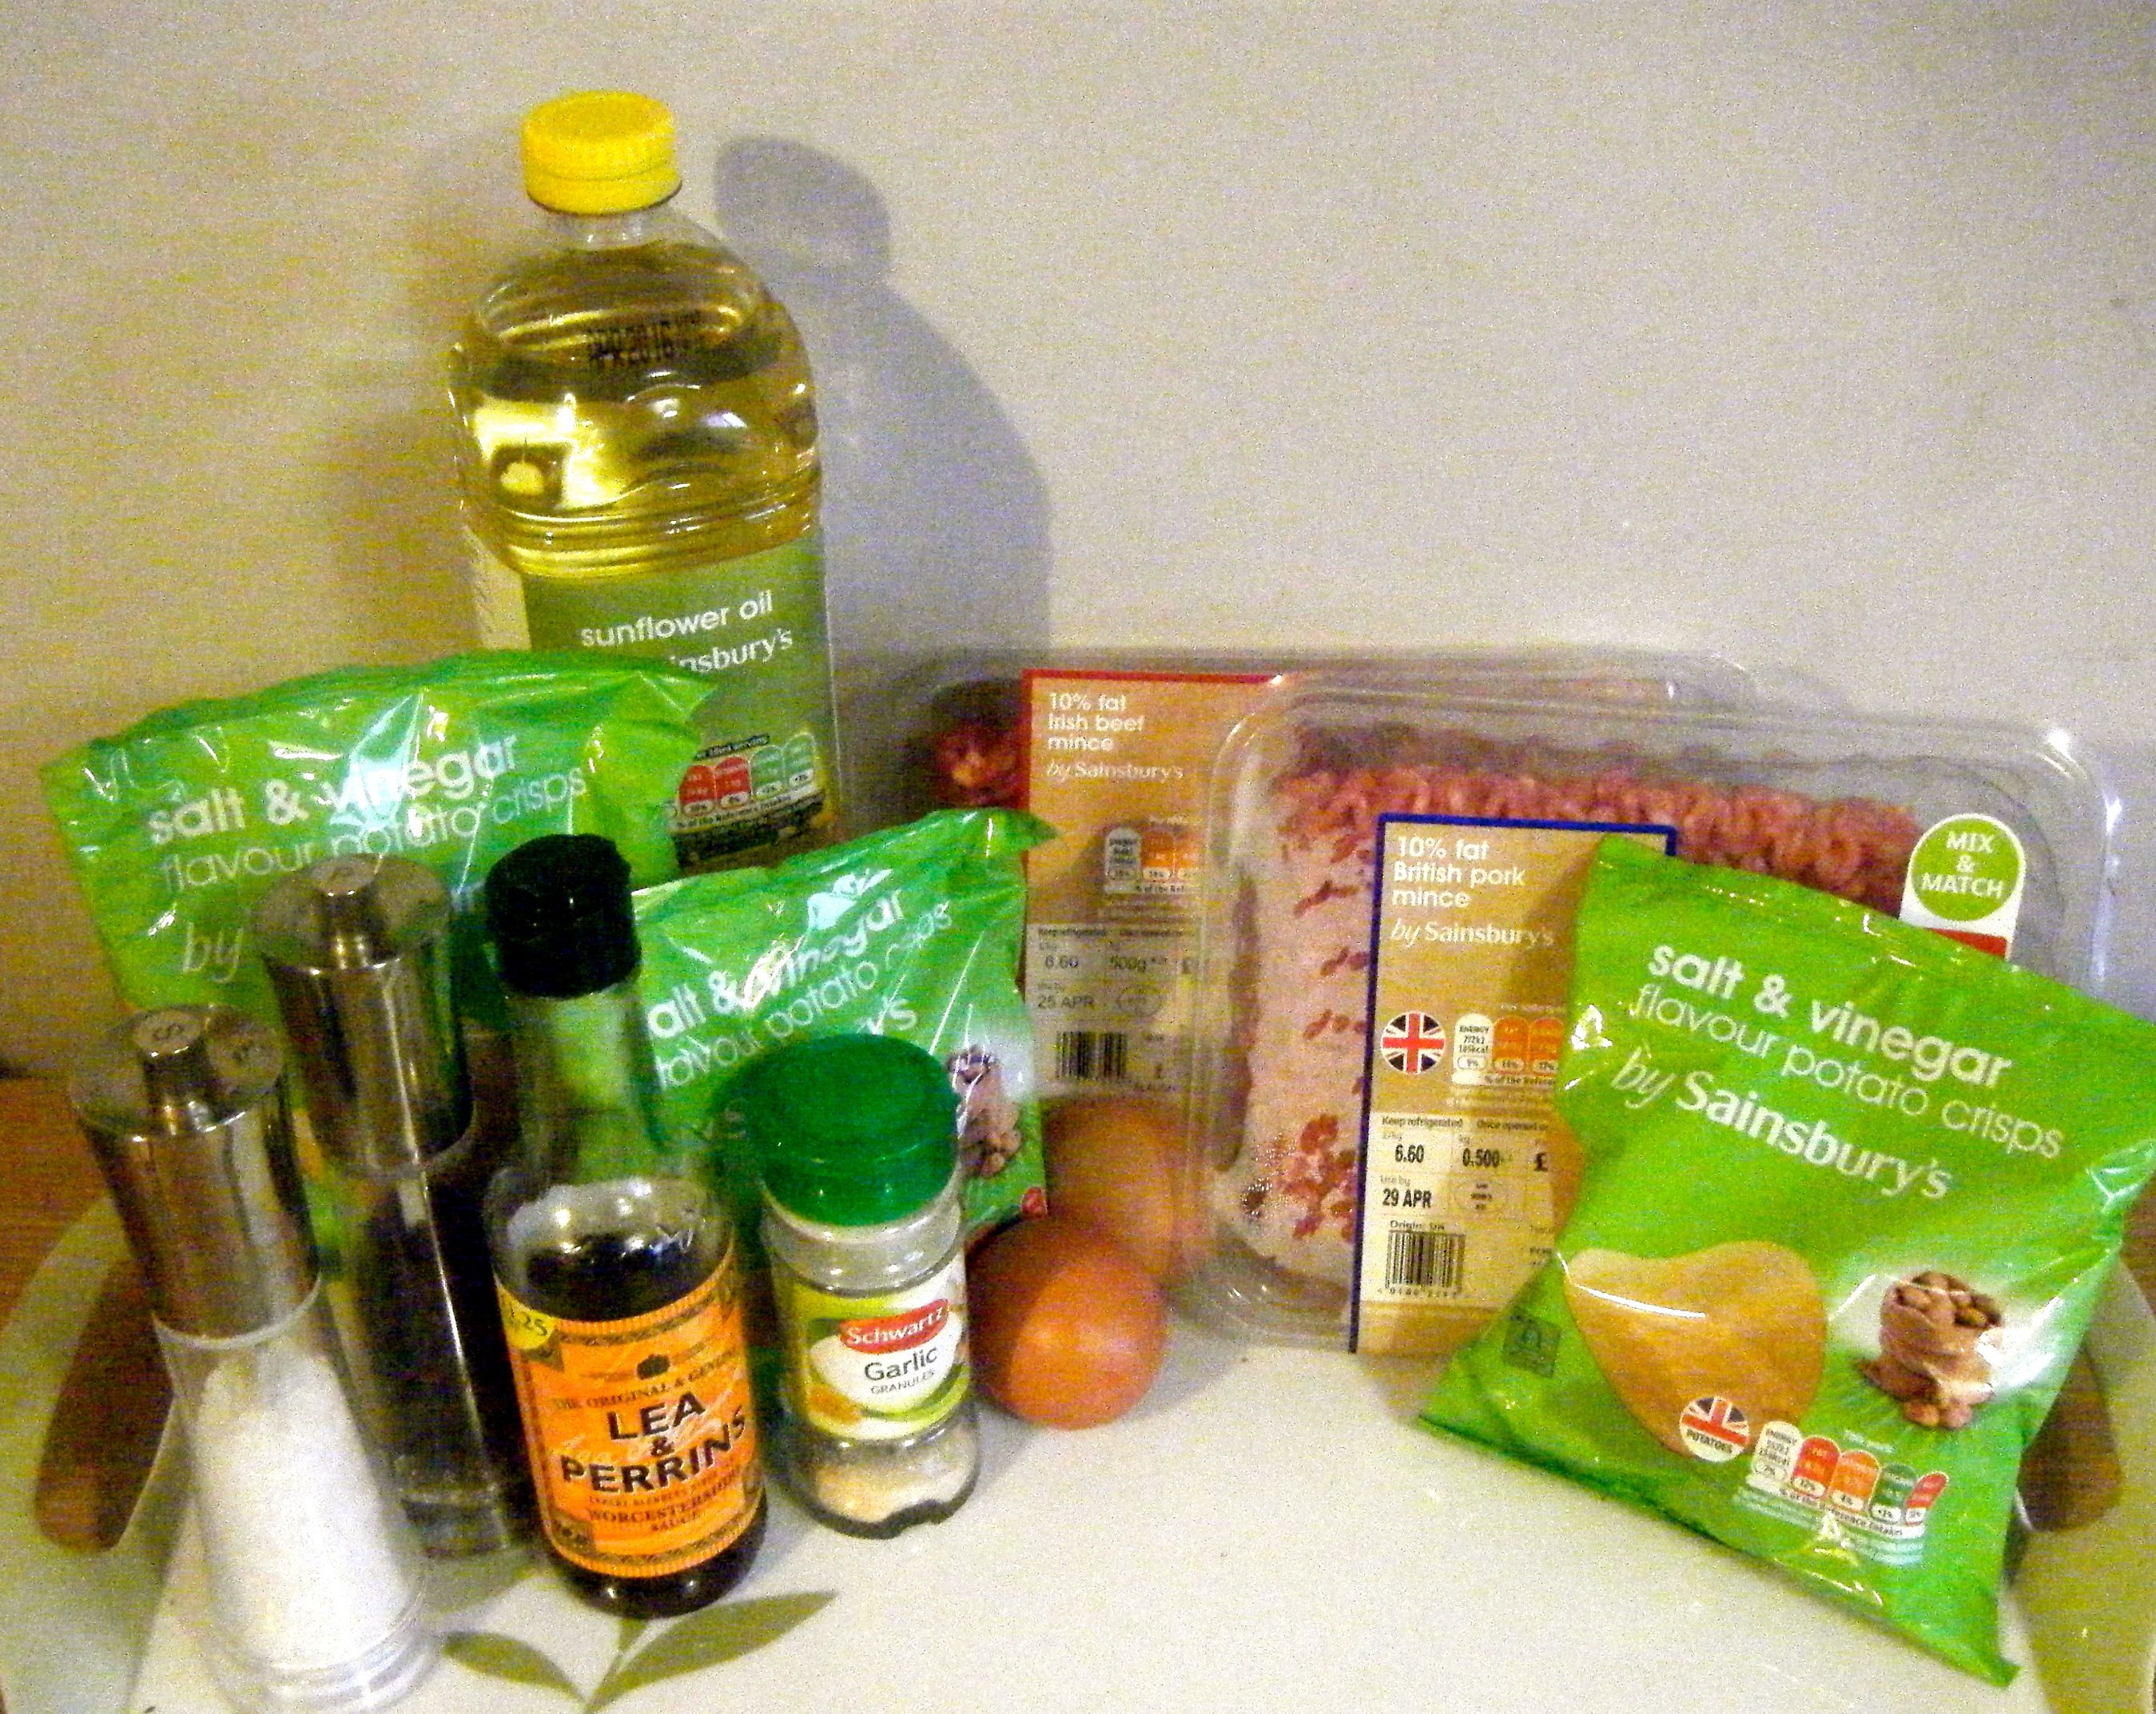
  • 250g pork mince
  • 250g beef mince
  • 1 1/2 tsp worcester sauce
  • 1 tsp garlic powder
  • 50g Salt and vinegar crisps, crushed
  • Salt
  • Pepper

Edited - ingredients 2

To serve:-

  • Brioche buns
  • Cheese (we went for cheddar but I also love blue cheese on a burger!)
  • Lettuce
  • Tomato
  • Sauce(s) of your choice

*This is an adaption for 2 reasons.  Firstly, Kristen didn’t give me quantities with the recipe, just the ingredient list, so I just went with my instincts and used the amounts I’ve set out above.  Secondly, I left out one of the ingredients Kristen recommended – pickle juice.  Neither Dave or I eat pickles and I couldn’t find any small jars in the supermarket.  I didn’t want to buy a huge jar just for a bit of juice so I decided to leave this ingredient out. 

On with the burger making.  If you’ve never made burgers before, it is really simple! All you need to do is put the ingredients in a bowl, get your hand dirty by mixing it all up until well combined.  You then portion the meat mixture into balls and squash them flat to make your burger patties.

Edited - onion in bowl Edited - mixed up

 Edited - mixed up 2Edited - mixed up 3

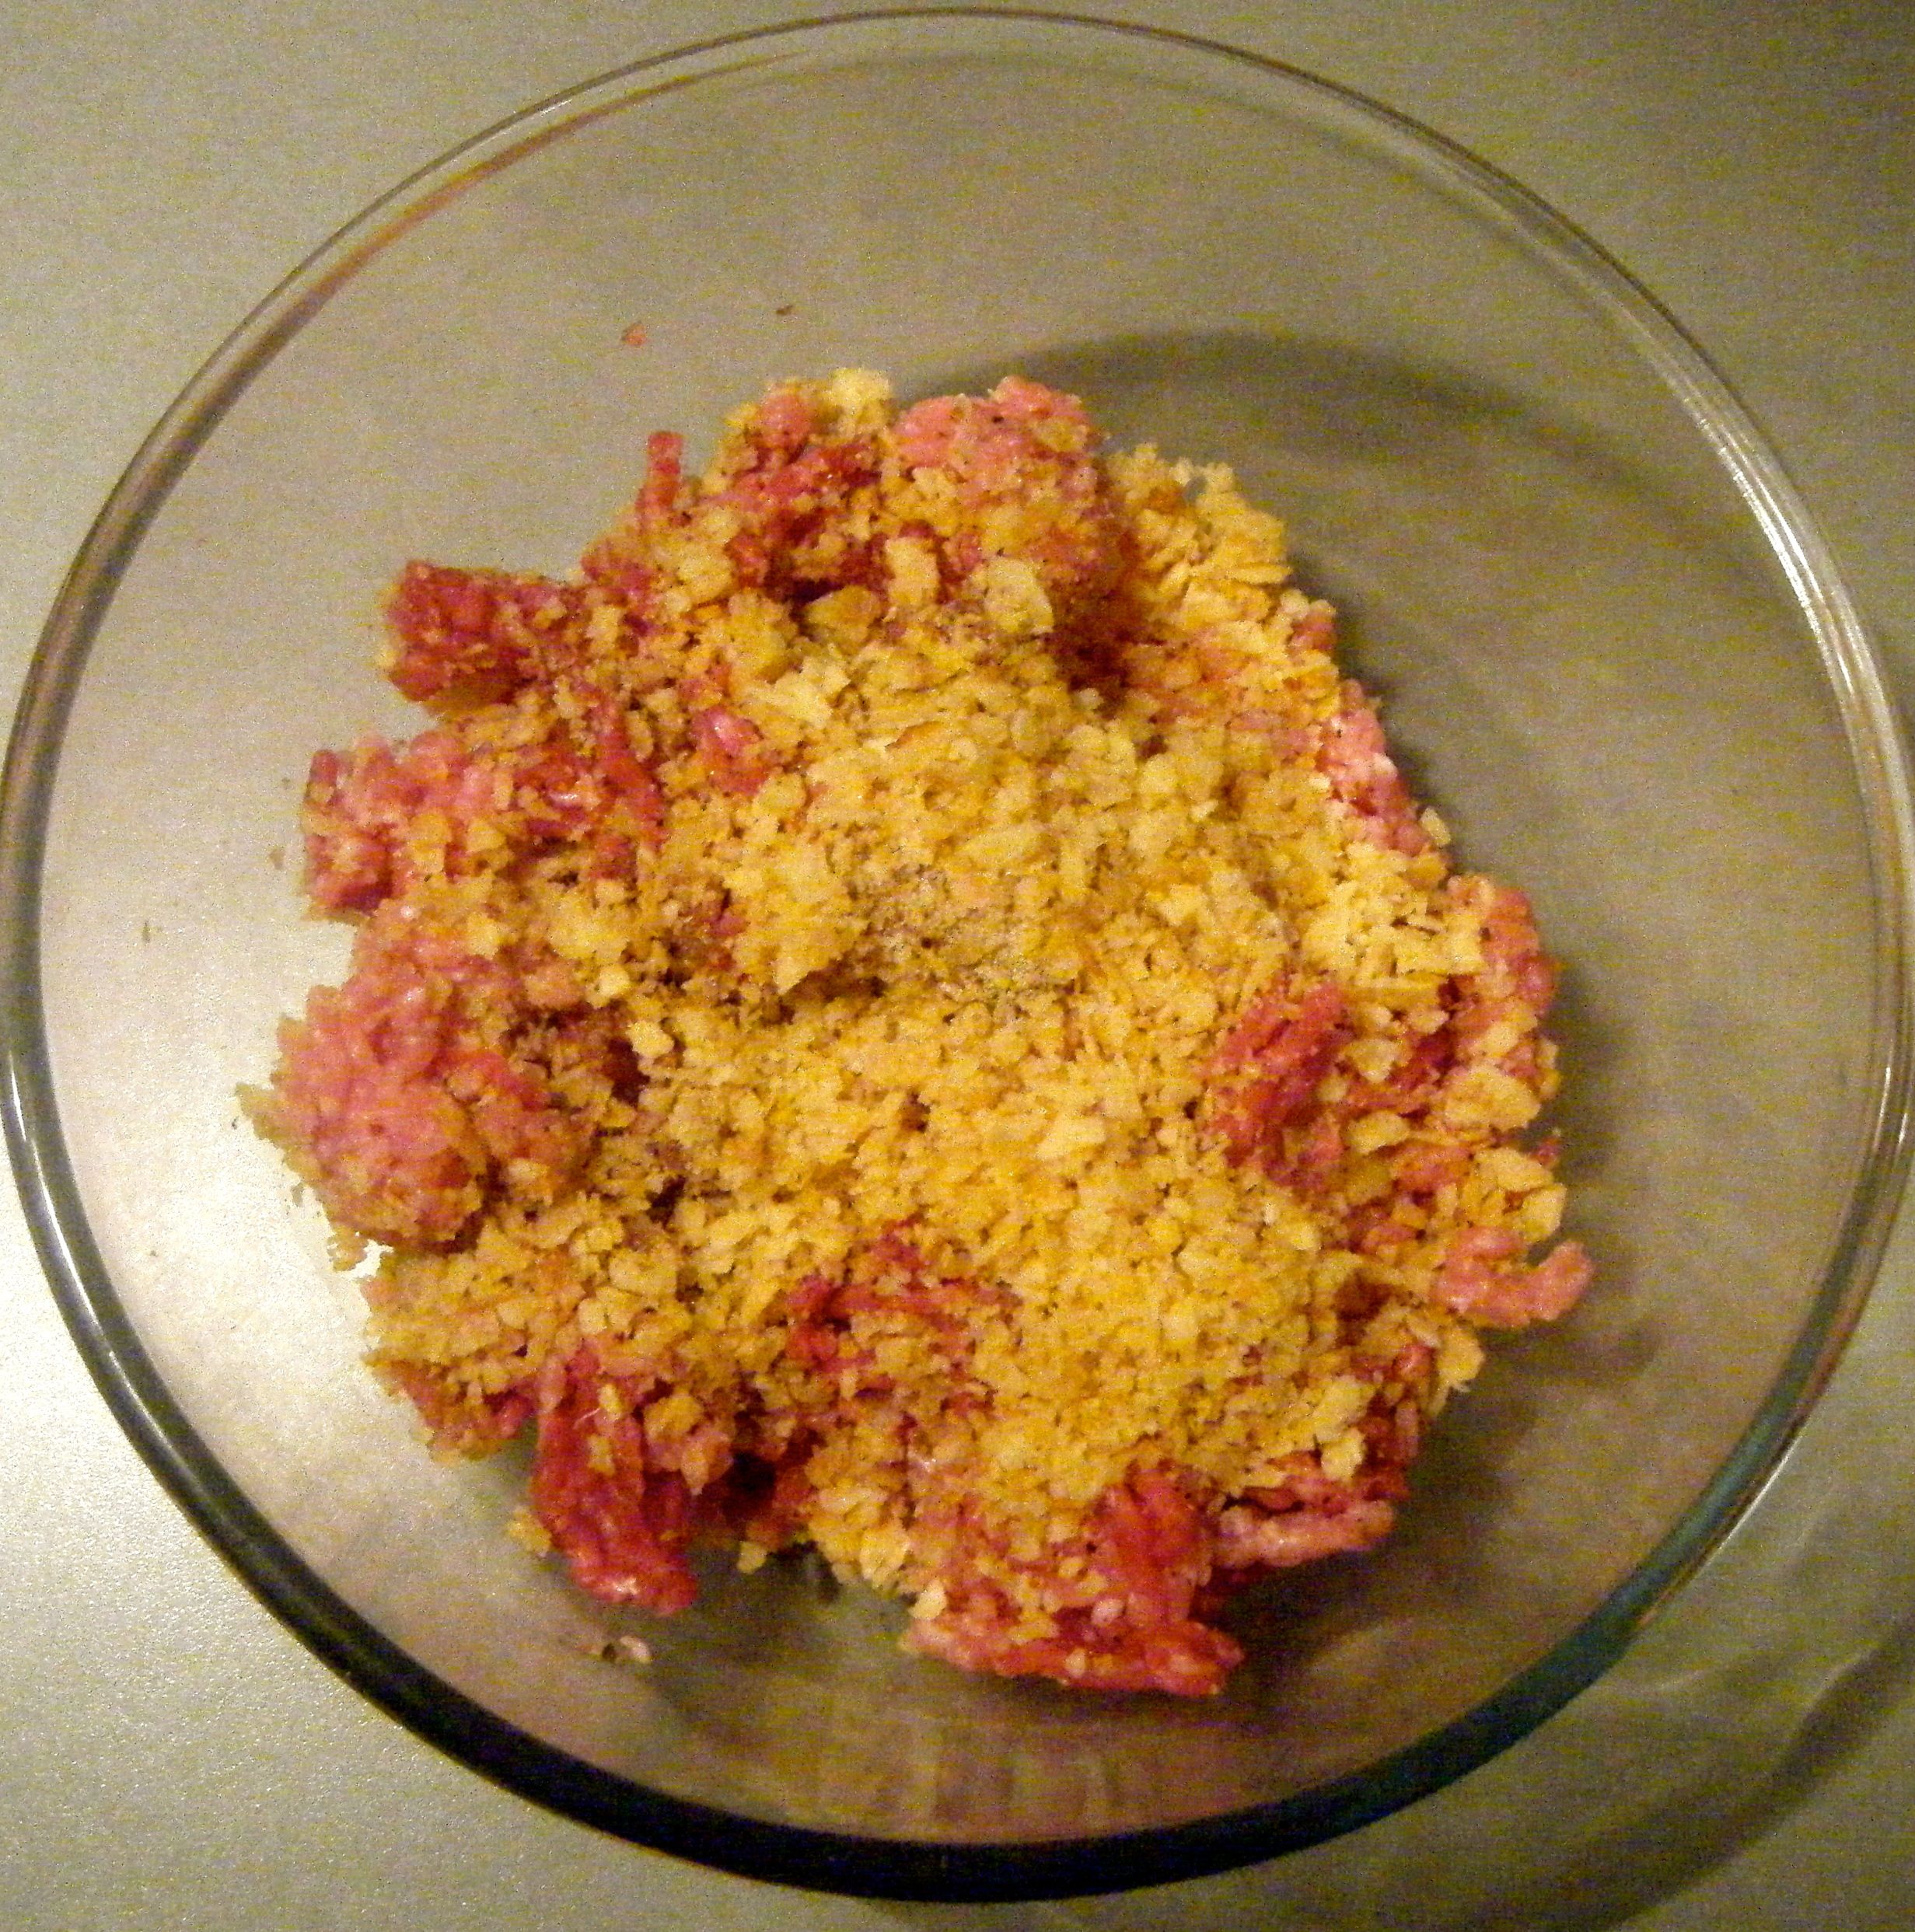
I put the shaped burgers onto a greased tray, brushed the tops with some oil and then covered them with cling film before popping them in the fridge for 10 minutes to firm up.

Edited - on the tray 2 Practical tip: the ingredients above make a lot of burger meat but it can be frozen to cook at a later date.  Simply shape your burgers, wrap them in some baking paper and cling film.  Pop them in the freezer and enjoy another day.  I also used the left overs from Kristen’s recipe to make some meatballs which I cannot wait to try with a rich tomato sauce and spaghetti! 

Edited - meatballs

Whilst the burgers were firming up, I heated up my griddle pan and sprayed it with some cooking oil.  This is a bit different to what I have previously done as I normally just use a normal frying pan.  However, my mum recently gave me a griddle pan and I thought this would be a good opportunity to try it out.  To be honest, I didn’t like it as much as my frying pan.  The burgers ended up sticking and I think next time I’ll go back to my trusty frying pan 🙂

Once the pan was hot, I added my burgers and let them cook away for around 7 minutes before flipping them over to cook the other side for another 7 minutes.  I gave each side a little longer until cooked all the way through.

Edited - in the pan Edited - flipped

Practical tip: the amount of time required to cook your burgers will depend on how thick you make them.  The thicker the burger, the longer they need to be cooked for but I suggest keeping the heat on medium to low so as to ensure you don’t burn the outside before the inside is cooked.

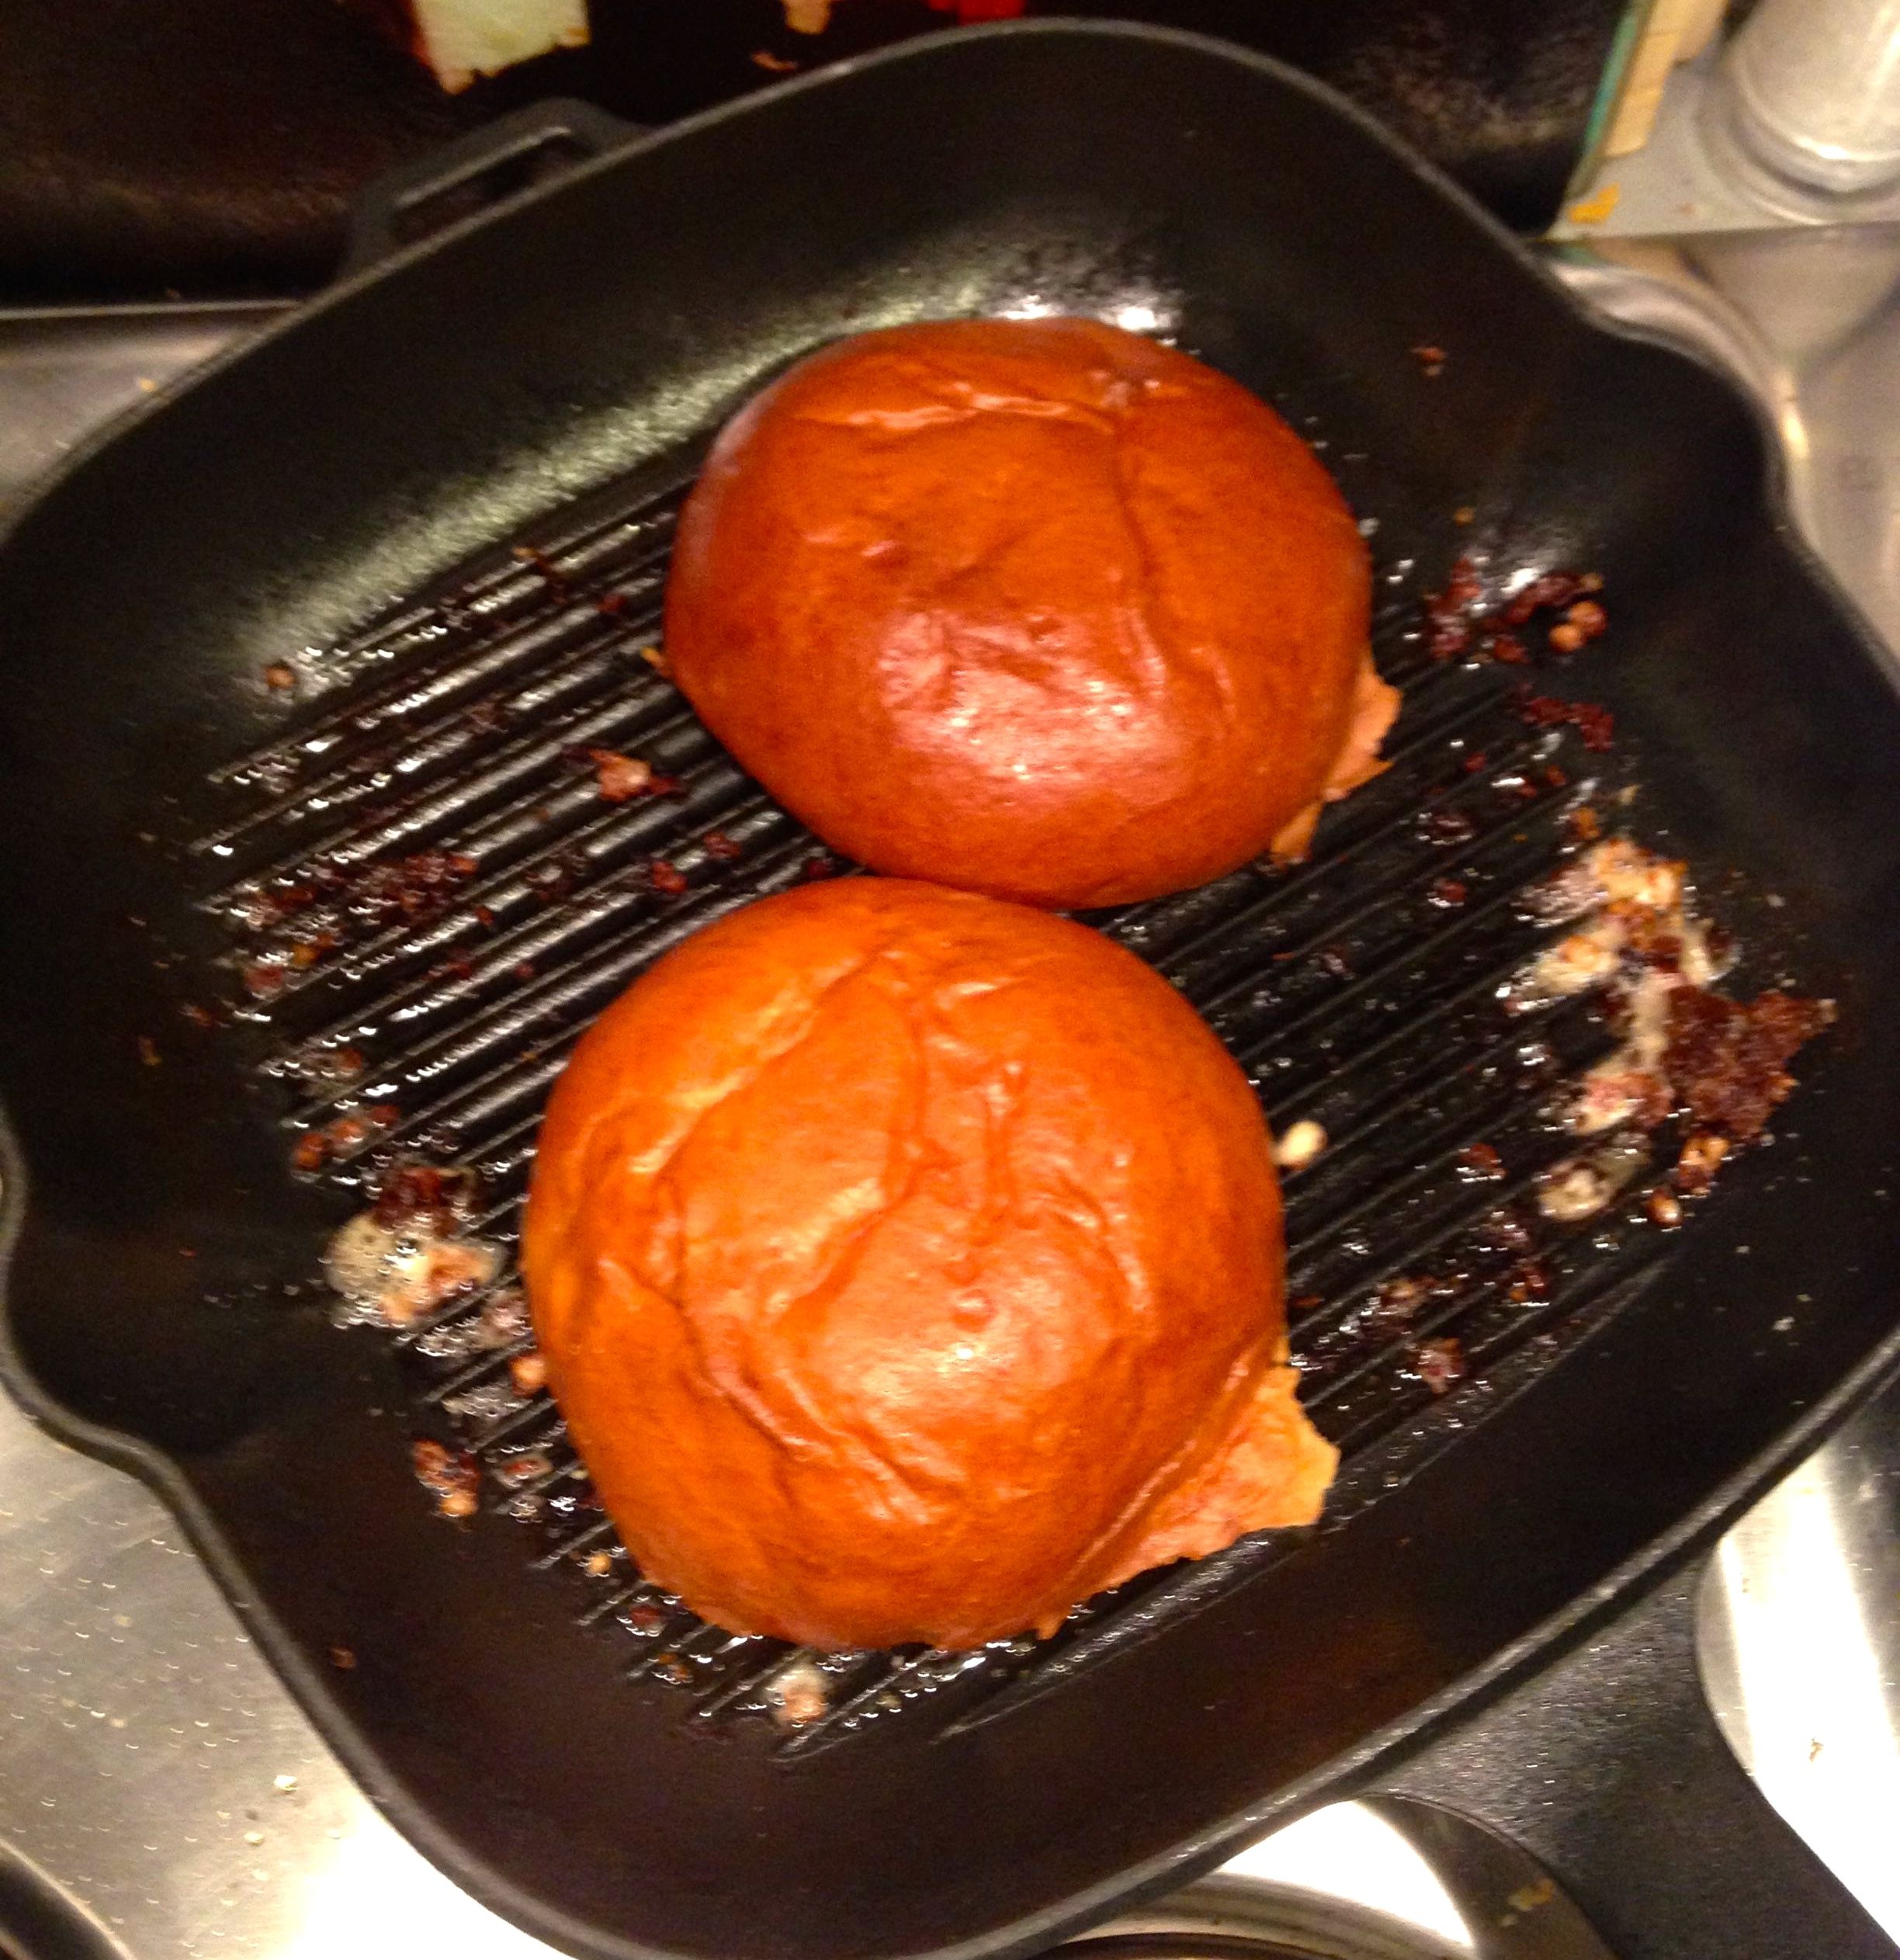
Once the burgers were done, I put them to one side and toasted some brioche buns (which I plan to try and make myself one day but for now they were store bought) on the griddle pan. 

Edited - toasting bottoms Edited - toasted tops

I added some cheese to the burgers and popped them under a hot grill to melt the cheese.  I then cut the cooked burgers in half and added half of mine and half of Kristen’s to each bun.  Finally, I added some lettuce and tomato to one of the buns along with some ketchup and mayonnaise; the other I left plain as Dave doesn’t like any of this stuff, he just wanted meat, cheese and bread 🙂  I then served the burgers with some homemade sweet potato fries and we tucked in.

Edited - served up

Both recipes produced very tasty burgers, however, I have to admit, Dave and I both agreed that Kristen’s recipe just won the competition.  Kristen’s recipe produced a great tasting burger with a really good texture and it was something a bit different from just your run of the mill burger.  We will definitely be having these again and I can’t wait to enjoy the burgers and meatballs already in the freezer!

Coming up next week, Challenge No. 23 – Chocolate Truffles 

Challenge No. 21 – Carrot Cake

This recipe was suggested by another of my close University friends.  I lived with Kate in my first year and throughout the year, we shared the job of resident baker.  It was therefore so nice that Kate challenged me to make a cake 🙂 But this isn’t just any old cake, its one I’ve never made and have always been a bit apprehensive about making it.  Why was I apprehensive – it’s a cake which has carrots and cream cheese in it! There is just something about that which never quite sat right with me.  As I’ve said before, this is the whole point of Challenge 52, to take me out my comfort zone!

When I started searching for recipes, I was still trying my best to avoid the cream cheese but every which way I turned, there it was.  Finally, I found a recipe that didn’t use a cream cheese topping but by then I had come to realise that the cream cheese is an almost iconic part of the carrot cake and I felt guilty about leaving it out! So instead I kept looking and found this recipe by the Hairy Bikers for a carrot and sultana cake with creamy orange frosting.

For the recipe you will need the following:-

  • For the cake
    • 200g/7oz self-raising flour
    • 75g/3oz sultanas
    • 75g/3oz pecans, broken into rough pieces
    • ½ large orange, zest only
    • 1 tsp ground cinnamon
    • ½ whole nutmeg, finely grated
    • 1 tsp baking powder
    • ½ tsp bicarbonate of soda
    • pinch fine sea salt
    • 3 free-range eggs
    • 175ml/6fl oz sunflower oil, plus extra for greasing
    • 175g/6oz soft light brown sugar
    • 200g/7oz carrots, grated
  • For the cream cheese icing
    • 100g/3½oz icing sugar
    • 100g/3½oz unsalted butter, softened
    • 1 tsp fresh orange juice
    • 200g/7oz full-fat cream cheese
    • ½ orange, zest only
    • 25g/1oz pecan nuts, roughly broken

Edited - ingredients

If you look at the ingredients photo carefully, you may note an extra ingredient which has snuck in there.  I accidentally included the vanilla essence which I had purchased to stock up my store cupboard but it isn’t needed for this recipe!

I started off by sorting through my pecans to remove all the nice whole ones to put to one side for the topping.  I then weighed the remaining bits to make sure I had 75g, adding a few of the whole ones back in to bring it up to the right weight.  I then chopped them up nice and small.

Edited - choped nuts

I put the nuts in a bowl with the flour, sultanas, ground cinnamon, grated nutmeg, baking power, bicarbonate of soda and the salt.  I then grated in the orange zest from one half of my orange.

Edited - dry ingredients

I broke the eggs into a jug and whisked with a fork until they were smooth.  I then added the oil and brown sugar, giving it a good whisk until well combined.  I created a well in my dry ingredients and poured in some of the egg/sugar/oil mix.

I stirred it all together with a wooden spoon, gradually adding more of the oil mix until it was all combined. I added the grated carrot and gave it a final mix.

Edited - well Edited - well filledEdited - cake mix

The recipe puts the cake mix into a 20cm square cake tin but I wanted to do something a little different.  I’ve found these adorable cases in the supermarket and thought it would be nice to make individual carrot cakes rather than one big one.   So i split the mixture between 14 cases, 13 of them weighing 79g with the mix in, and the 14th having a little less.

Edited - in the cases

I put the filled cases on a tray and into the oven on 180 celsius.  Given that I used individual cases rather than a big tin, I knew I needed to adjust the cooking time.  I originally set the timer for 20 minutes and then checked them.  I felt the tops of the cakes and decided they needed a little longer so I returned them to the oven for around 2-3 minutes.  I then tested the cakes and decided they were done.

Practical tip: I’ve given this tip a few times but it is one of the key points to perfecting your cake making skills – knowing when the cake is done.  To test whether the cakes are cooked, gently press the top of one of the cakes with your finger; if it is done it will be springy to touch and bounce back into place.  You can also take a tooth pick (or cake tester if you have one) and slide it into the centre of one of the cakes; if the cake is done the tester will come out clean.  If you think it’s not quite done return the cakes to the oven but keep an eye on them – 1 minute may be all they need but that 1 minute can make all the difference!

I put the cakes on a cooling rack and left them to cool completely whilst I got started on the icing.

Edited - cooked

I put the softened butter in my bowl, beat it with a fork until smooth and added the orange juice.

Practical tip: this is another one I’ve given before but in case you missed Challenge No. 5 I’ve included it again.  To soften the butter, cut it into cubes and put it in a sandwich bag in a bowl of lukewarm water for between 5 to 10 minutes until soft.  This can be a lot quicker than leaving the butter at room temperature, especially in the winter when your kitchen may not be so warm!

I then gradually sifted in the icing sugar a bit at a time, giving it a good stir between each addition.  Once it was all added, I used a wooden spoon to beat until light and creamy. 

Editd - softened butter

I stirred through the cream cheese and remaining orange zest before popping it in the fridge for 30 minutes.

Edited - cream cheese Edited - combined

When the icing was firm, I used a teaspoon to smooth a bit on each cake.  Finally, it was time to add the decoration.  The recipe uses the whole pecans (which I set aside at the beginning) but I wanted to do something a little bit cuter.  So I made mini icing carrots with some coloured fondant icing and added one to each cake.

Edited - topped

These cakes took a little trip with me to Sheffield to celebrate my friends birthday and new home.  Kate was part of the celebrations so she got to try her suggestion, along with all my University girls.  Everyone said it was delicious! 🙂

 Edited - in the caseEdited - served up1

I even managed to persuade Dave to try this one (he had an issue with the whole carrot in a cake thing!) and he said “actually, its quite nice”.  I feel this is a great review, all things considering.

Personally, I really enjoyed this challenge, both eating and making the cakes.  They weren’t too heavy and were just perfect with a cup of tea.

Coming up next week, Challenge No. 22 – homemade burgers.

Challenge No. 20 – Gammon

This is another recipe suggested by my friend Rachel.  If you’ve been following Challenge 52, you may remember that Rachel suggested Challenge No. 11 chocolate ganache and cherry tart.  I’m not sure if there is some sort of telepathy going on between Rachel and my boyfriend, but she managed to pick dishes which Dave loves.  Chocolate and cherries are always a winner for him and if we have a roast dinner, Dave will always opt for a roast gammon.  It also happens to be one of the meats I’ve never got my head around cooking! So thanks for the great suggestion Rachel.

I started looking for recipes and came across the same issue I’ve always found when I cook gammon – the recipe tells you to do so much and then remove the skin, leaving a thin layer of fat which should be scored.  The joints of meat I’ve bought from the supermarket never seem to have skin on and I would always just get a bit confused!  This time, I decided to go to my local butchers to get the joint (and it had the skin on).  I even plucked up the courage to ask them whether I needed to soak the joint.  Traditionally gammon would need to be soaked to remove some of the saltiness, however, nowadays most joints don’t need this.  If you buy your meat from the supermarket, the package will normally tell you if this is the case and if you buy from your butchers, just ask them.

I found a yummy looking recipe for a maple glazed ham…yep…MAPLE GLAZED HAM!!! I got quite excited when I found this recipe because I love maple syrup 🙂 

If you want to give this Challenge a try for yourself, you’ll need the following:-

  • 2kg unsmoked boneless gammon joint
  • 2l cola (not diet)
  • 1 carrot, chopped
  • 1 onion, peeled and quartered
  • 1 stick celery, chopped
  • 1 cinnamon stick
  • ½ tbsp peppercorn
  • 1 bay leaf
  • For the glaze
    • 150ml maple syrup
    • 2 tbsp wholegrain mustard
    • 2 tbsp red wine vinegar
    • pinch of ground cloves or five-spice

Edited - ingredients

My butcher recommended I soak the joint for at least a couple of hours but I opted to soak it for 24 hours.  I got my biggest pan out, squeezed in my joint of meat and covered it with water.  I didn’t quite know what to do next – should it go in the fridge or is it okay on the side?  I therefore turned to my on-hand cooking guru, my mum.  However, mum delegated this one to the best ham cook I know, my dad! He always has the job of cooking the Christmas ham and every year, without fail, it turns out perfectly. Dad confirmed I could leave the ham on the side and that it didn’t need to go in the fridge. 

So after the ham had been soaking for 24 hours, I carefully removed the joint, tipped the water away and washed out my pan ready to get started.  I put the joint back into my pan and chopped up the vegetables.

Edited - chopped veg

I added, the chopped vegetables, cinnamon stick, peppercorns and bay leaf to the pan and then poured over the cola.  The recipe calls for 2 litres of cola, however, I didn’t even manage to get half of this in the pan.  I finally had to admit defeat and accepted that my pan was just too small.  I quickly shot out to the shop and bought a new super catering pan!  It didn’t look that big in the shop next to all the other catering equipment but when I got it home, I realised it was huge! Hey, at least the ham fitted in properly this time 🙂

Edited - pan fail Edited - big pan

With my new pan full of all the necessary ingredients, I added a bit of boiling water to ensure the joint was fully covered and turned on the heat.  It took quite a while to come up to boil so I patiently waited for this to happen and then turned it down to a simmer for 2 and a half hours.

Once the time was up, I removed the ham and put it in my roasting tin, which I lined with tin foil.  Previous experience with sugar glazing has taught me this is very important if you don’t want to end up scrubbing at your roasting tin for a few days after!

Edited - cooling

Practical tip: the recipe says to carefully pour the liquid away and then to let the ham cool down. I didn’t want to try and tip the liquid away whilst it was so hot (it was heavy and I would almost definitely have ended up hurting myself) so I lifted the ham out and then left the liquid to one side to cool down. 

While the ham was cooling down, I prepare the glaze ingredients by mixing them all together in a jug.

Edited - glaze

When the ham was cool enough to handle, I took the string off and cut skin away.  It actually pealed off really easily, leaving a layer of fat.  I then just cut some of the fat away to even out the layer and scored it all over.

Edited - scored fat

I poured approximately half the glaze over the joint of meat and put it in the oven for 15 minutes on 190 degrees celsius.  When the timer went off, I poured over the remainder of the glaze and returned the ham to the oven for another 30 minutes.  I glazed the meat half way through this final bit of cooking time.

With the cooking done, I removed the ham and covered it with foil, letting it rest for 10 minutes. 

After 10 minutes, I tried to spoon over some more of the glaze but it had solidified in the bottom of the tin.  However, in all honesty, I don’t think it needed any more glaze so I didn’t worry about this and got on with the carving.

Edited - cookedEdited - carved

I served up with a delicious roast dinner consisting of polenta roast potatoes, cabbage, honey roasted carrots and parsnips, gravy and of course, giant Yorkshire puddings.

Edited - served up

This ham was absolutely gorgeous! I ended up eating far too much and made myself feel ill but it was so worth it.  The leftover ham was also yummy the next night served up with homemade chips and a fried egg. 

This was a great suggestion from Rachel and the recipe gave me and Dave a beautiful piece of ham to enjoy. 

Coming up next week, Challenge No. 21 – Carrot Cake