Challenge No. 35 – Mother of all Milkshakes

This challenge was suggested by my milkshake-a-holic brother.  Despite being nearly 30, Si regularly orders milkshakes when we go out for dinner.  Over the last few years, I think he has become a bit of an expert.  With this, Si didn’t just suggest any old milkshake for this challenge, he specified that it should be the mother of all milkshakes.  I started thinking about all the different flavours I could bring together but then spoke to Si about what the mother of all milkshakes means to him.  And do you know what he said?  Just a good, simple, chocolate milkshake.  So here it is, my attempt to make a simple chocolate milkshake be the mother of all milkshakes.

I started by having a little look at what makes a good milkshake.  It’s not rocket science and a few simple things help make a good milkshake great.  In particular:-

  • Freeze your serving glass beforehand
  • Use good quality ice cream
  • Use full fat milk
  • Use a nice thick straw to drink through

I did some quick searches online and found a recipe for a homemade chocolate syrup here.  So to make this chocolate syrup and my mother of all milkshakes, you’ll need the following ingredients:-

  • 120ml water
  • 3 tbsp granulated sugar
  • 1 tbsp brown sugar
  • 6 tbsp cocoa powder (plus a little extra for dusting)
  • 1 tsp grated dark chocolate (plus extra to put in the milkshake)
  • 1 tsp vanilla extract
  • pinch salt
  • Vanilla ice cream
  • Milk (full fat is best!)
  • Double/Whipping cream

Edited - ingredients

With everything ready to go, I ran my glass under cold water and popped it in the freezer to chill.  I then got started on the chocolate syrup.  I put the water, sugars and cocoa powder into a small saucepan and mixed it all together. 

Edited - syrup pre

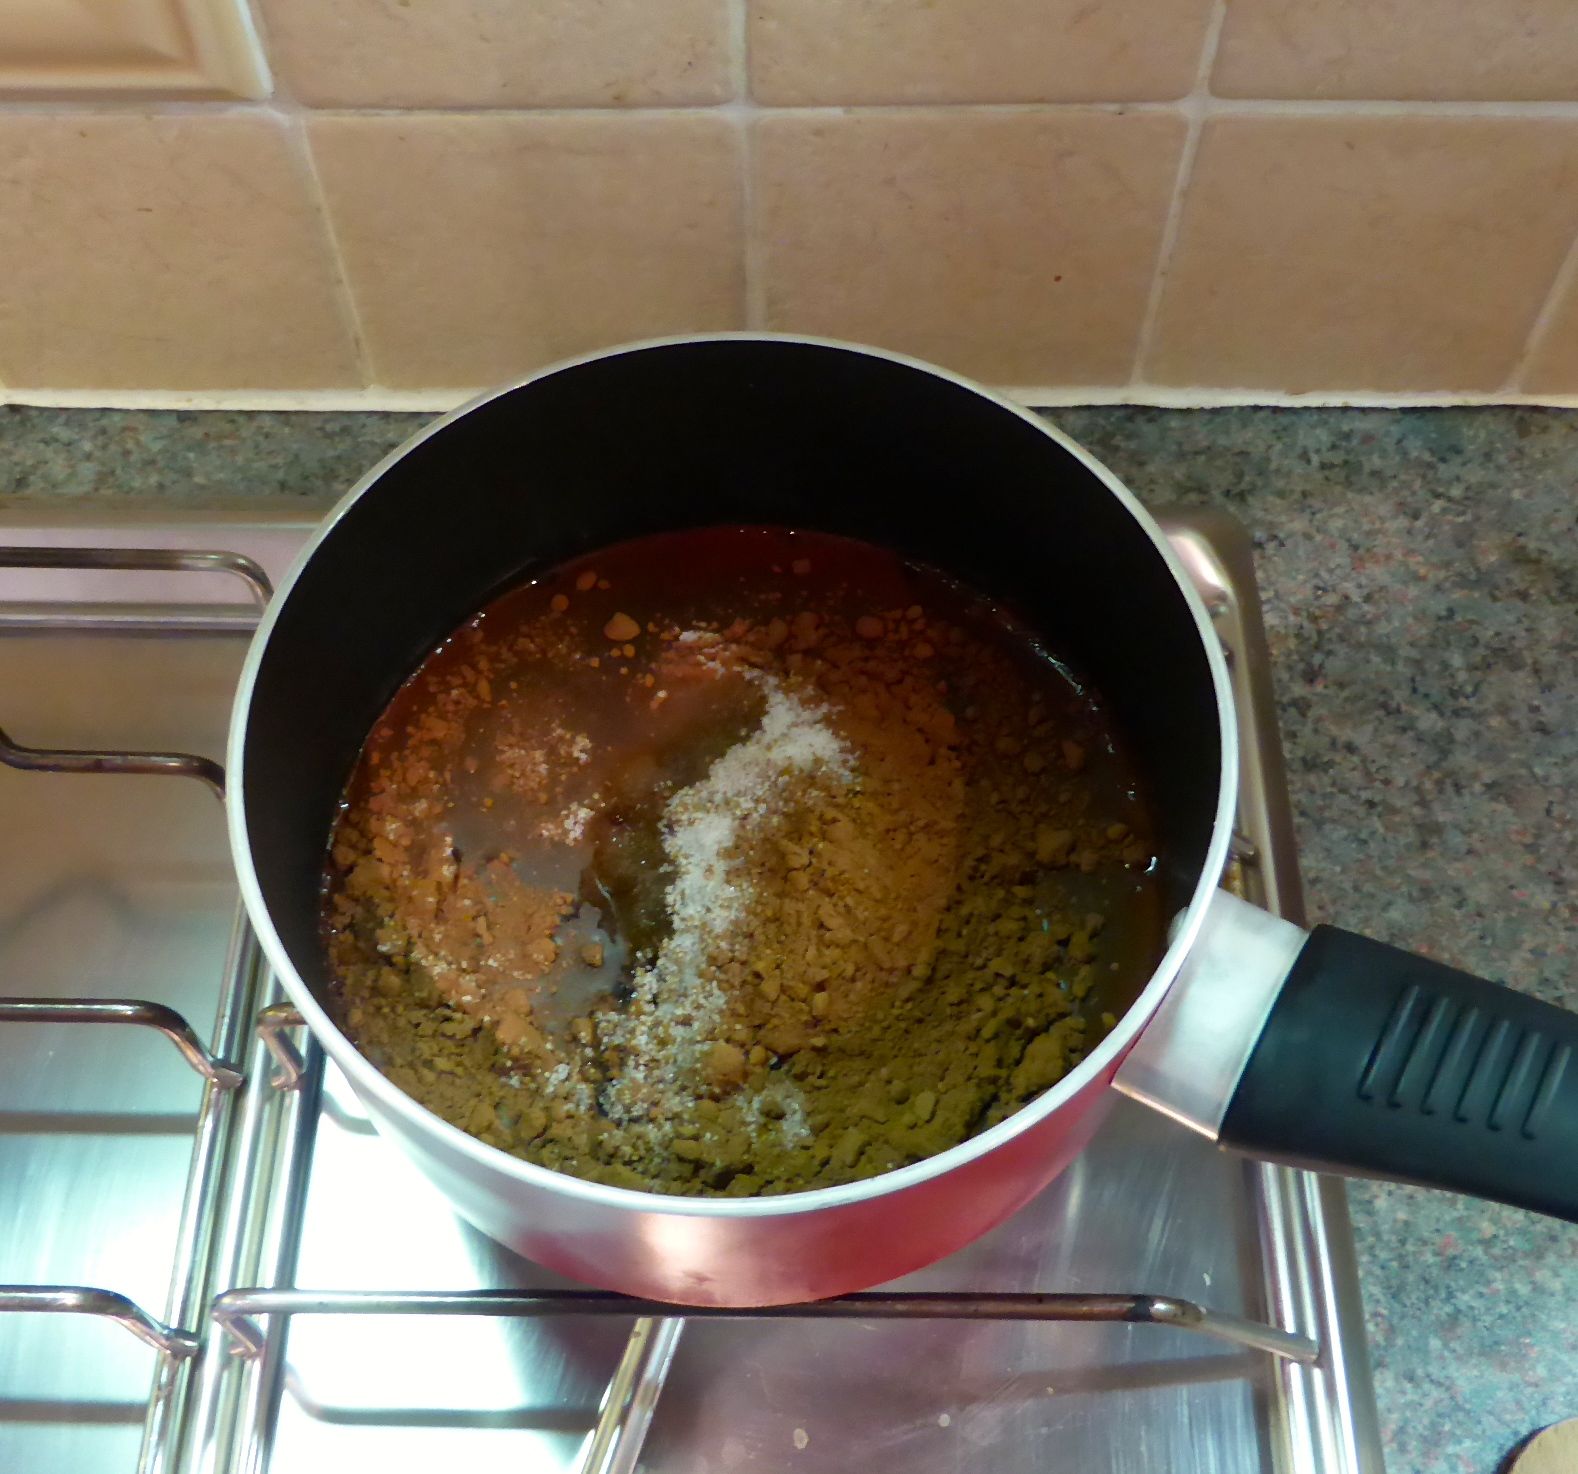
I put the saucepan over a medium to low heat to bring it to a simmer.  I then reduced the heat to low and let it simmer for 5 minutes, being sure to stir the mix regularly. 

I took the saucepan off the heat and stirred in the grated chocolate.  Once it had sat for a minute, I added the vanilla extract and a pinch of salt.  I poured the chocolate syrup into a pot and let it cool to room temperature whilst I had a yummy lunch with my family. 

Edited - chocolate syrup

Edited- Judy enjoying the bowl

Judy had the pleasure of licking the spoon clean 🙂

Once we were all well fed, I started to make the milkshake for us to enjoy as pudding.  I added the ice cream into my blender.  I actually used 500ml of ice cream as I was making enough milkshake for 7 of us. 

Edited - ice cream

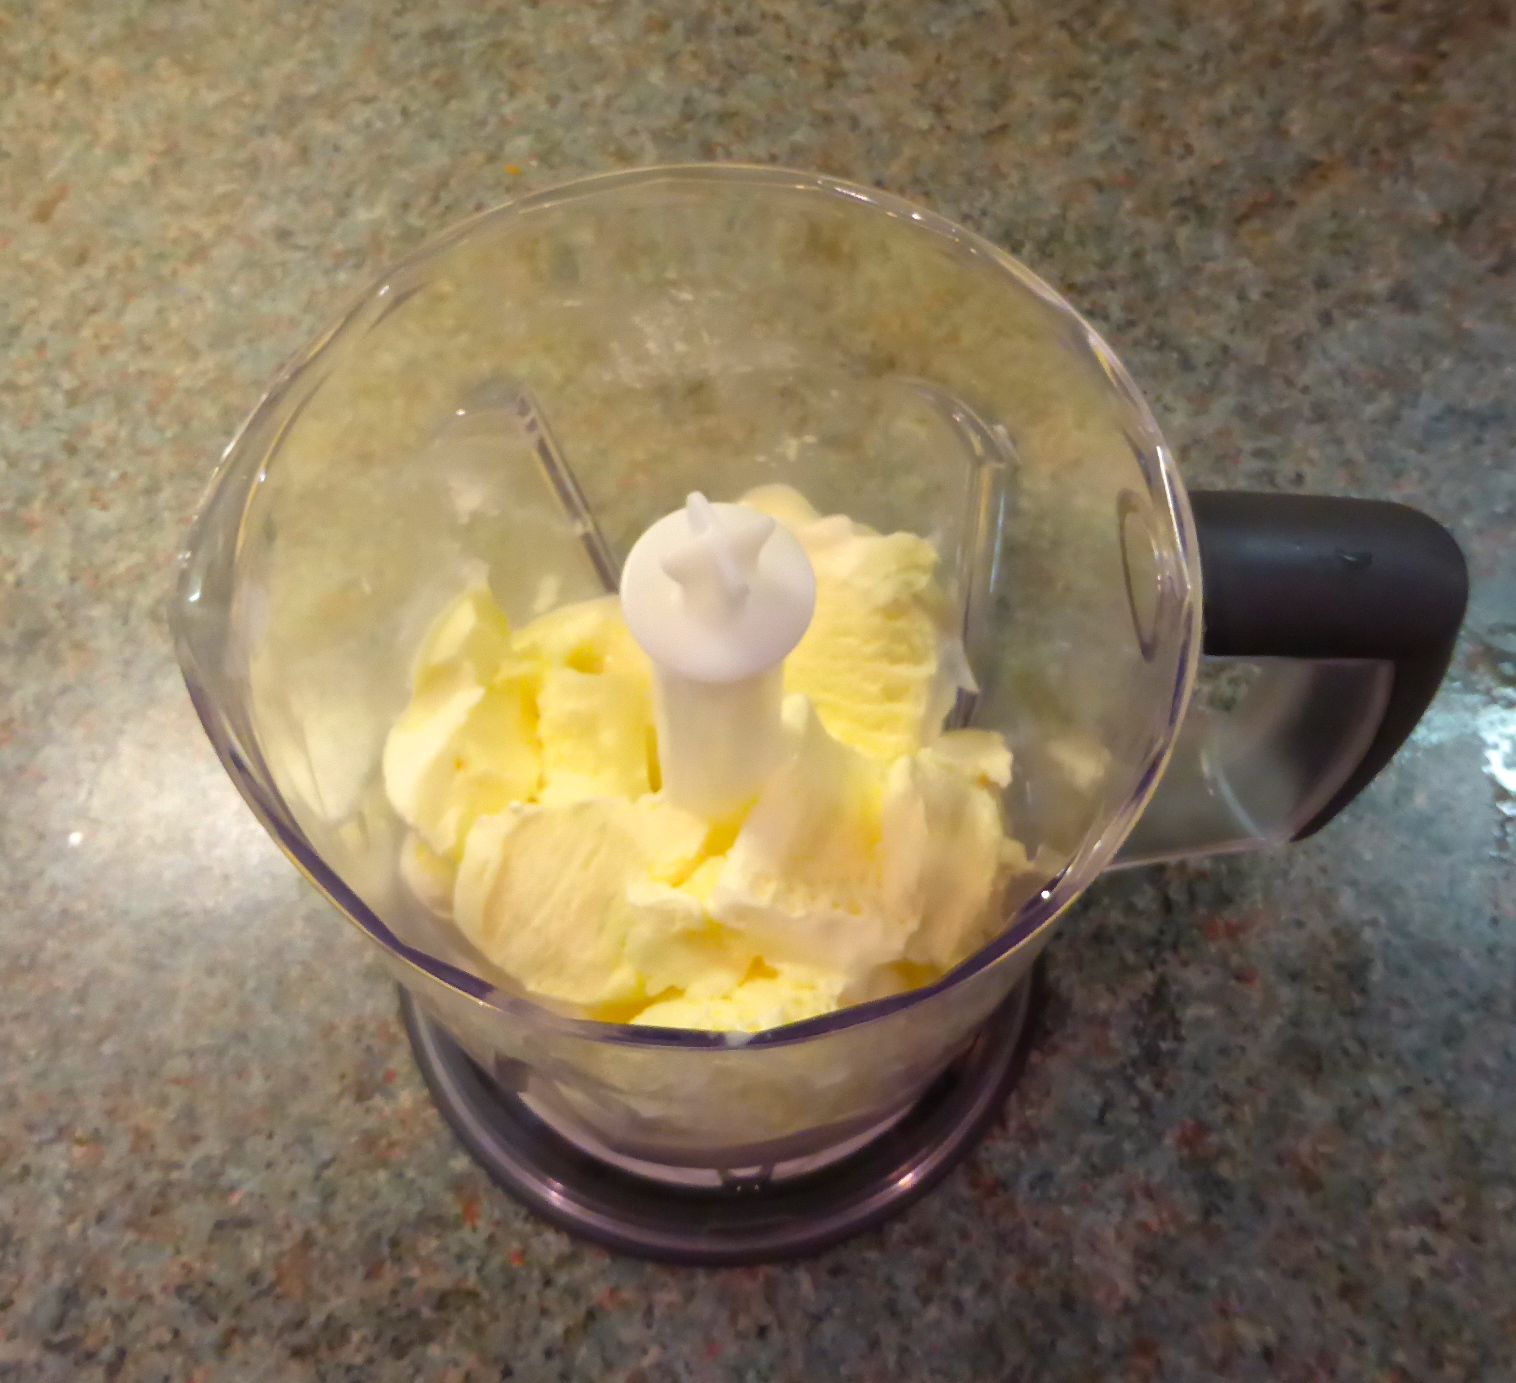
Next up, I added the milk.  I started off with just a small amount and gave it a blitz.  I then checked the consistency and added a little more milk

Practical tip: if you add too much milk, you can just add more ice cream and vice versa.  It’s best to add a little at a time until you have it exactly as you want – plus you get to taste after each addition! 🙂

I then added about three table spoons of chocolate syrup and some chopped up chocolate before giving it another blitz.  Once the milkshake was at the right consistency and level of chocolate-goodness, I got my frozen glass out and poured in the milkshake.

I put some of the double cream into a bowl and whisked it with a balloon whisk until stiff.  I topped the milkshake, drizzled over some extra chocolate syrup and a sprinkling of cocoa powder.

Edited - milkshake

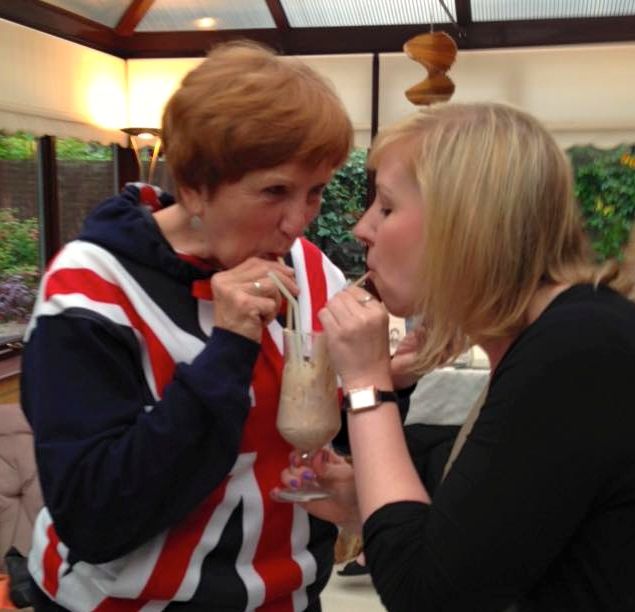
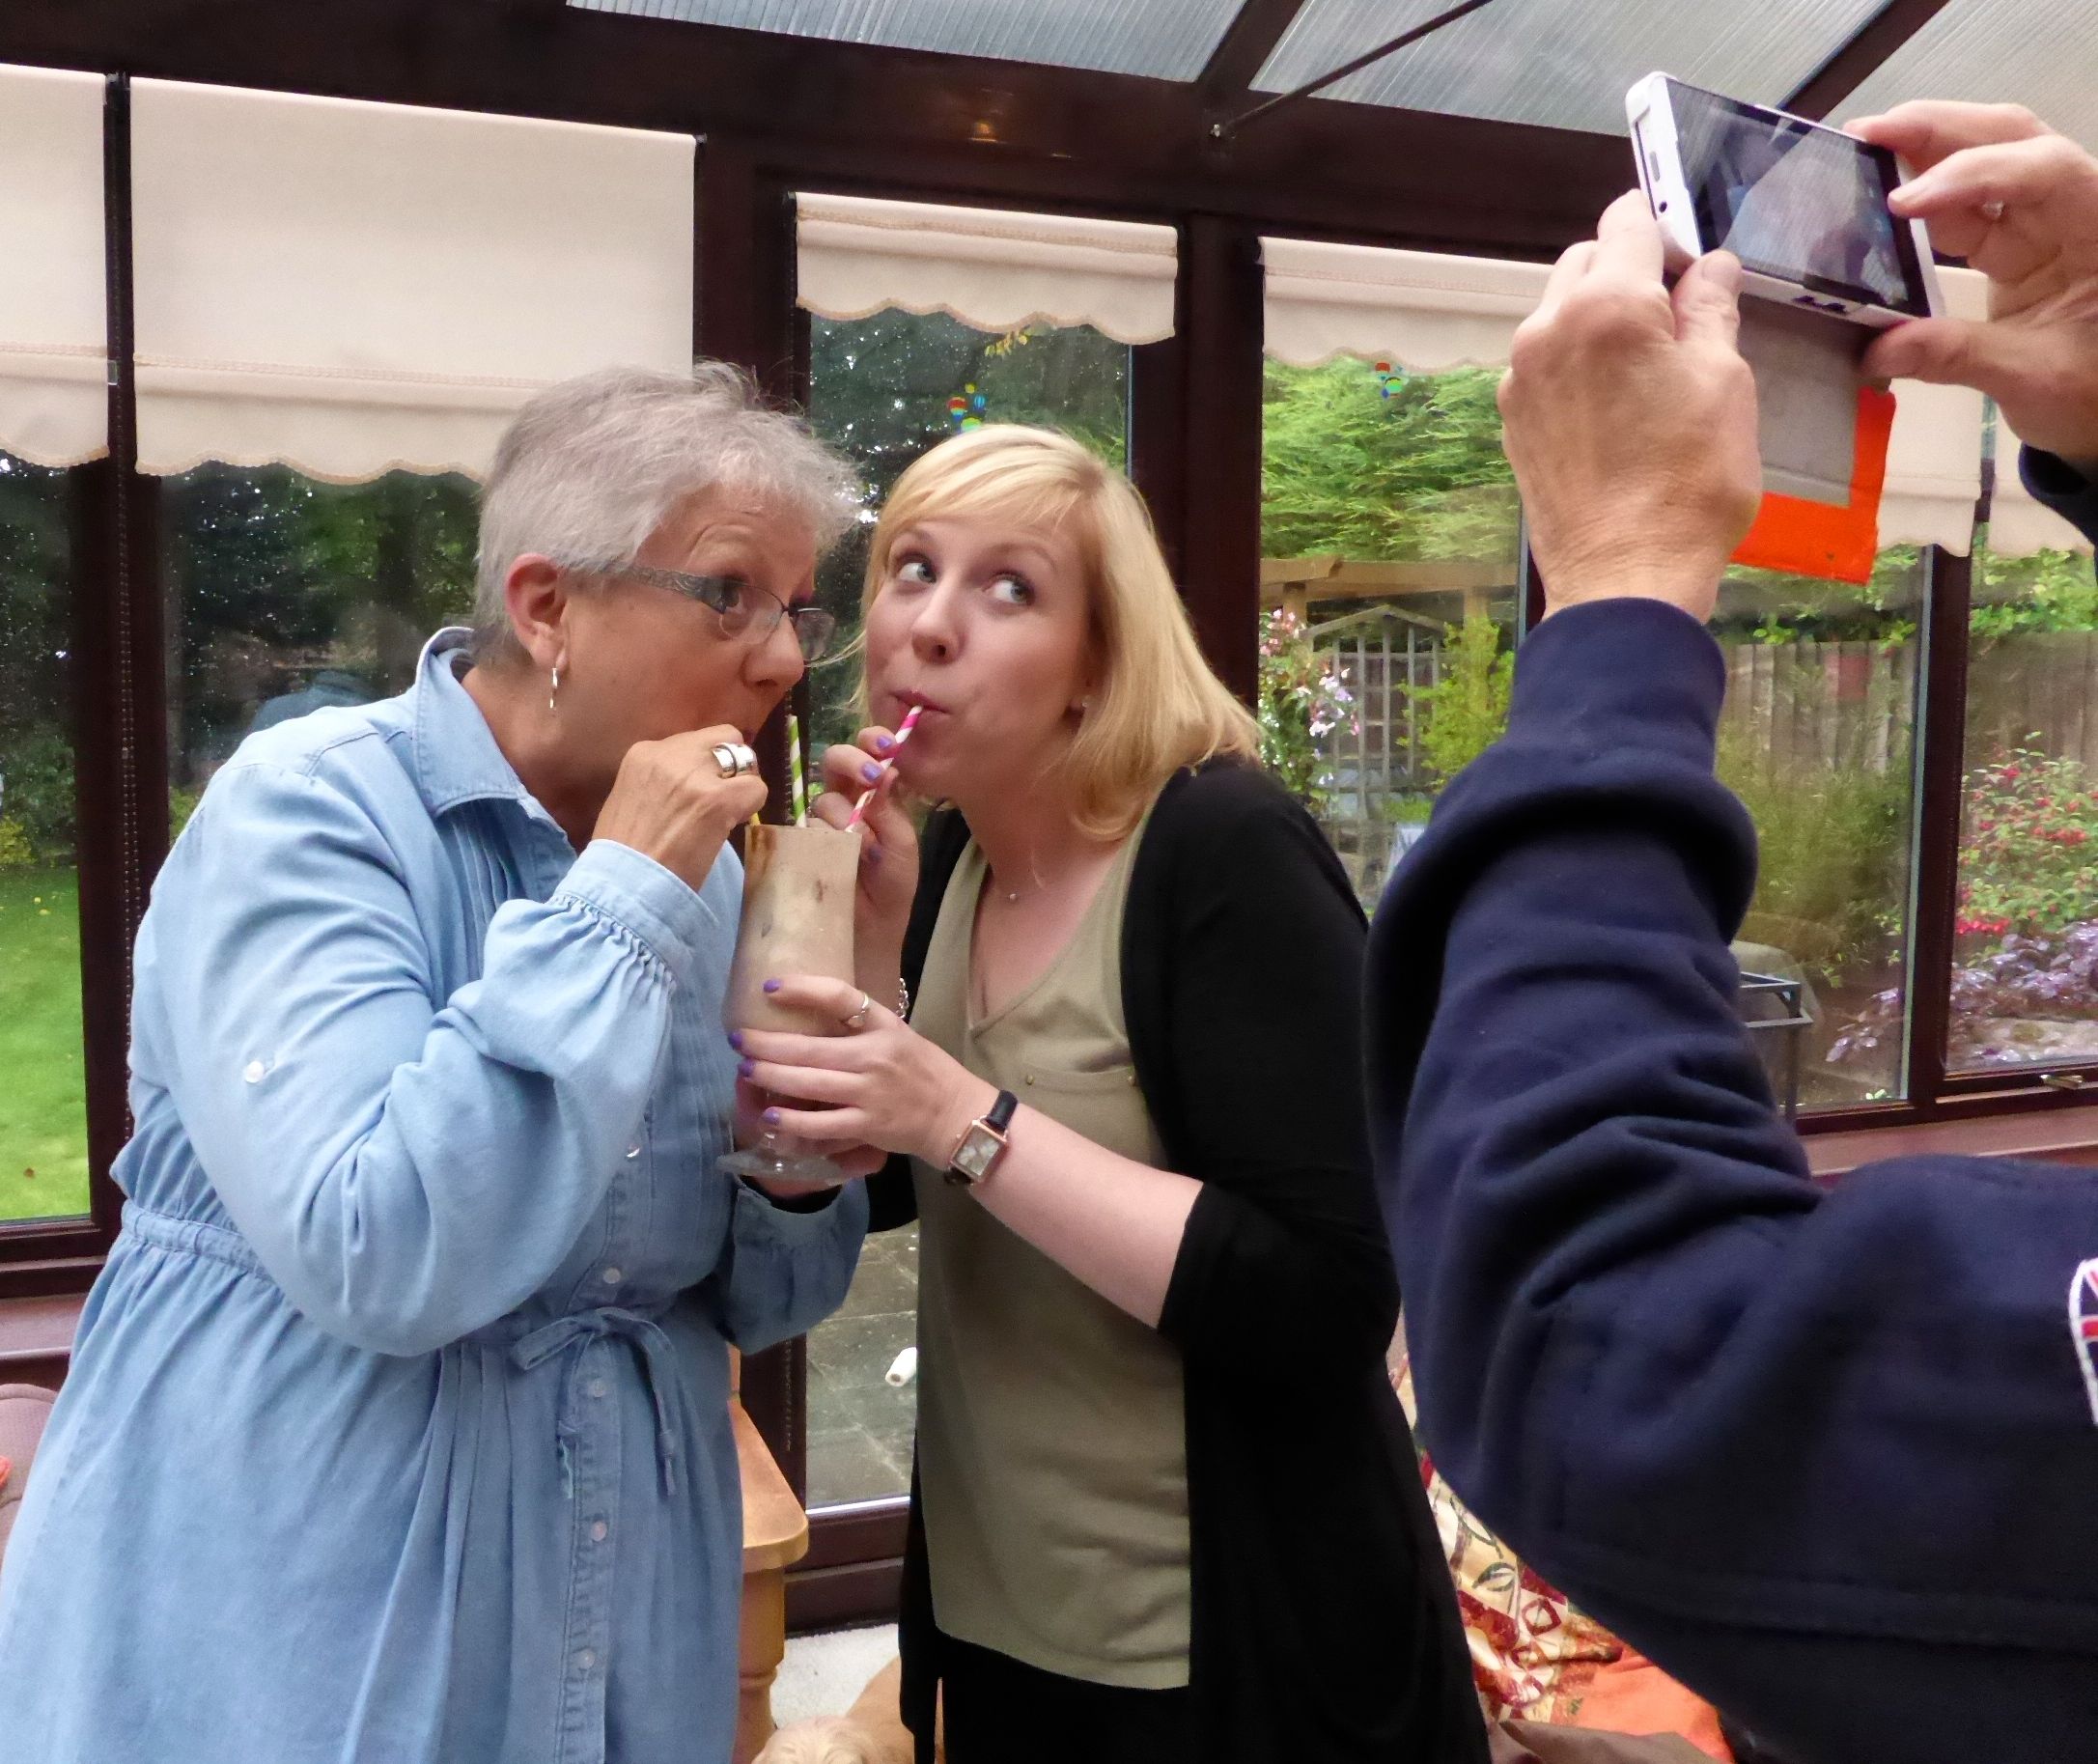
So here it is, my mother of all milkshakes and I have to admit it was pretty amazing! Unfortunately, my brother wasn’t there to try this one, although the spare chocolate syrup has been saved for him to use.   However, as I’ve said above, there were 7 of us to enjoy this milkshake and it was a resounding success.  We all had great fun enjoying this together and even my 86 year old nan had some 🙂

Edited - me and judy Edited - me and champ Edited - Linda enjoying the creamimage1

This milkshake was so rich and creamy with a perfect texture and the bits of chocolate added a delicious bite.  The chocolate syrup was amazing and I’ll definitely be making this again to try in other drinks and recipes. 

Coming up next week, Challenge No. 36  – eggs benedict

Challenge No. 22 – Homemade Burgers

This challenge was suggested by my colleague Dean after he bought himself a George Forman grill. I’ve been making burgers to a particular recipe for a couple of years now but I thought this would be a good opportunity to test my recipe against one made by my family in Canada.  When Dave and I visited my family in Goderich in 2014, my cousin’s wife made us some absolutely delicious homemade burgers and so a couple of weeks ago, I asked Kristen for her recipe.  With the recipes and ingredients ready, it was time to put our burgers to the test.

For my original burger recipe you will need the following:-

  • 250g beef mince
  • 1/2 small red onion, chopped finely
  • 2 med egg
  • 25g breadcrumbs
  • 1/8 tsp hot chilli powder
  • 1/4 tsp ground cumin
  • 1/4 tsp mustard powder
  • 1/2 tsp dried oregano
  • 25g parmesan cheese
  • Olive oil
  • Sea salt
  • Freshly ground black pepper

Edited - ingredients 1

For my adaption* of Kristen’s burger recipe you will need the following:-

  • 250g pork mince
  • 250g beef mince
  • 1 1/2 tsp worcester sauce
  • 1 tsp garlic powder
  • 50g Salt and vinegar crisps, crushed
  • Salt
  • Pepper

Edited - ingredients 2

To serve:-

  • Brioche buns
  • Cheese (we went for cheddar but I also love blue cheese on a burger!)
  • Lettuce
  • Tomato
  • Sauce(s) of your choice

*This is an adaption for 2 reasons.  Firstly, Kristen didn’t give me quantities with the recipe, just the ingredient list, so I just went with my instincts and used the amounts I’ve set out above.  Secondly, I left out one of the ingredients Kristen recommended – pickle juice.  Neither Dave or I eat pickles and I couldn’t find any small jars in the supermarket.  I didn’t want to buy a huge jar just for a bit of juice so I decided to leave this ingredient out. 

On with the burger making.  If you’ve never made burgers before, it is really simple! All you need to do is put the ingredients in a bowl, get your hand dirty by mixing it all up until well combined.  You then portion the meat mixture into balls and squash them flat to make your burger patties.

Edited - onion in bowl Edited - mixed up

 Edited - mixed up 2Edited - mixed up 3

I put the shaped burgers onto a greased tray, brushed the tops with some oil and then covered them with cling film before popping them in the fridge for 10 minutes to firm up.

Edited - on the tray 2 Practical tip: the ingredients above make a lot of burger meat but it can be frozen to cook at a later date.  Simply shape your burgers, wrap them in some baking paper and cling film.  Pop them in the freezer and enjoy another day.  I also used the left overs from Kristen’s recipe to make some meatballs which I cannot wait to try with a rich tomato sauce and spaghetti! 

Edited - meatballs

Whilst the burgers were firming up, I heated up my griddle pan and sprayed it with some cooking oil.  This is a bit different to what I have previously done as I normally just use a normal frying pan.  However, my mum recently gave me a griddle pan and I thought this would be a good opportunity to try it out.  To be honest, I didn’t like it as much as my frying pan.  The burgers ended up sticking and I think next time I’ll go back to my trusty frying pan 🙂

Once the pan was hot, I added my burgers and let them cook away for around 7 minutes before flipping them over to cook the other side for another 7 minutes.  I gave each side a little longer until cooked all the way through.

Edited - in the pan Edited - flipped

Practical tip: the amount of time required to cook your burgers will depend on how thick you make them.  The thicker the burger, the longer they need to be cooked for but I suggest keeping the heat on medium to low so as to ensure you don’t burn the outside before the inside is cooked.

Once the burgers were done, I put them to one side and toasted some brioche buns (which I plan to try and make myself one day but for now they were store bought) on the griddle pan. 

Edited - toasting bottoms Edited - toasted tops

I added some cheese to the burgers and popped them under a hot grill to melt the cheese.  I then cut the cooked burgers in half and added half of mine and half of Kristen’s to each bun.  Finally, I added some lettuce and tomato to one of the buns along with some ketchup and mayonnaise; the other I left plain as Dave doesn’t like any of this stuff, he just wanted meat, cheese and bread 🙂  I then served the burgers with some homemade sweet potato fries and we tucked in.

Edited - served up

Both recipes produced very tasty burgers, however, I have to admit, Dave and I both agreed that Kristen’s recipe just won the competition.  Kristen’s recipe produced a great tasting burger with a really good texture and it was something a bit different from just your run of the mill burger.  We will definitely be having these again and I can’t wait to enjoy the burgers and meatballs already in the freezer!

Coming up next week, Challenge No. 23 – Chocolate Truffles