
This is another challenge suggested by my lovely mum. I don’t really remember eating pie much as a child but during my teens, I remember mum and I getting excited about having some yummy chicken and gravy pie served with deliciously creamy mash potato. My love of chicken pie wasn’t missed by Dave and on my first birthday with him, he bought me some frozen chicken pies 🙂
I started looking for recipes a while ago but I couldn’t find the right thing. All of the recipes I found included vegetables in the pie or where with a really creamy sauce. But this wasn’t right! I knew exactly the type of pie I wanted but I couldn’t find the right recipe. And then, I stumbled across a chicken stew recipe in one of my cookbooks which looked perfect. The recipe is from The Slow Cook Book by Heather Whinney. This book is great because it gives you a slow cooker version of the recipe as well as a tradition method. I’ve had this book for a while now and every recipe I’ve made has been delicious! I would definitely recommend it.
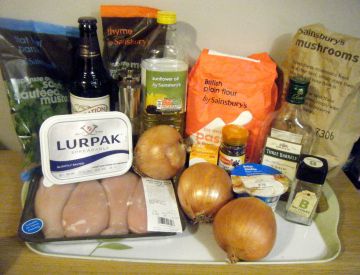
Anyway, the recipe I decided to use was for a chicken and beer stew. I decided to make the stew and then pop it into a pie dish to top with puff pastry. I’ve had a bit of a disaster with pastry recently and so I decided to make my life a little easier by using ready to roll pastry. So for this recipe, you’ll need the following ingredients:-
- 4 chicken breasts
- salt and pepper
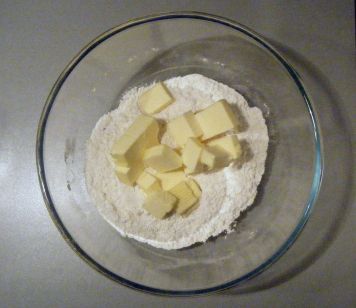
- 30g butter
- 2tbsp vegetable oil
- 750g (approx 3 large) onions, thinly sliced
- 30g plain flour
- 3-4 tbsp brandy
- 500g mushrooms, quartered
- 5-6 parsley sprigs
- 2-3 thyme sprigs
- 1 bay leaf
- 2 tbsp juniper berries, gently crushed (I used my pestle and mortar)
- 500ml beer
- 250ml hot chicken stock
- 4 tbsp double cream
- 1 pack just roll puff pastry
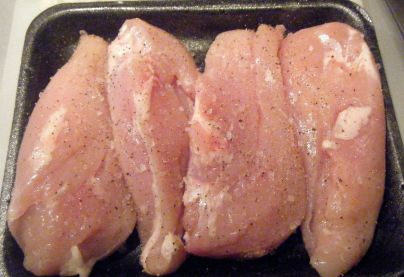
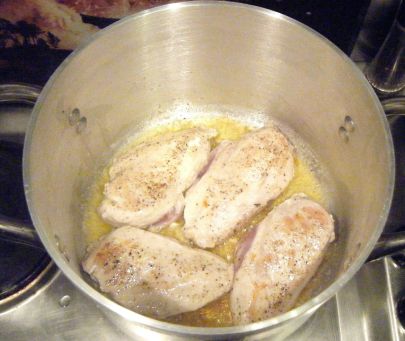
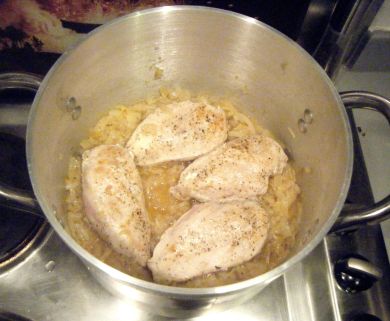
I started off by seasoning the chicken breasts with salt and pepper. I heated the butter and oil in my big pan over a medium to high heat until it was foaming. I then added the chicken and cooked for about 5 minutes on each side until browned. I put the chicken to one side.
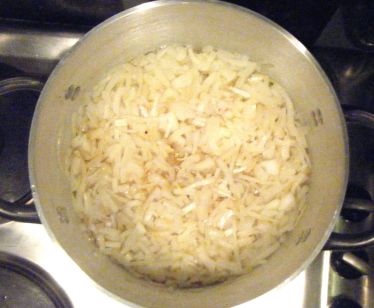
I turned the heat down to medium and cooked the sliced onions for 10 minutes.
Whilst the onions were cooking, I started to make a bouquet garni with the parsley, thyme and bay leaf.
Practical tip: a bouquet garni is like a floral bouquet but made with the herbs. Simply take the herbs and tie them together with some cooking string.

Once the onions were soft, I sprinkled in the flour, gave it a good stir and cooked it for around 2 minutes. I put the chicken back in in a single layer before adding the brandy and letting it come to the boil for a few minutes. During this time, I kept spooning the brandy over the chicken.
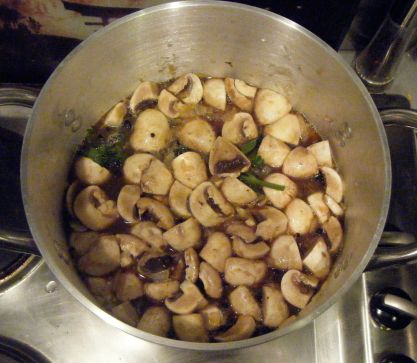
I added the mushrooms, bouquet garni and the crushed juniper berries. I added the beer and the chicken stock. Once the liquid was boiling, I put the lid on and left it to simmer for 50 minutes.
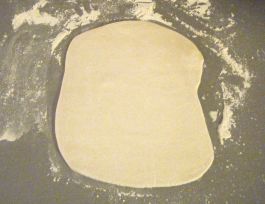
As I was approaching the end of the 50 minutes, I rolled out my pastry to ensure it had time to settle. I lightly dusted the work top and rolled out a third of the pack into a rectangle. I placed the pie dish upside down on the pastry and cut round it with a sharp knife.

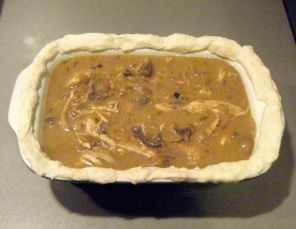
When the timer went off, I pulled out the chicken and used forks to shred it. I then returned it to the pan and stirred through the cream.
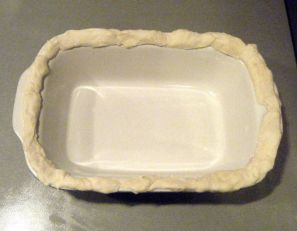
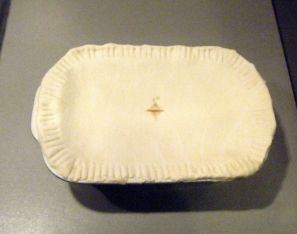
I portioned out some of the stew into my pie dish and brushed the edge with some water. I then used the cutoffs to line the edges, brushed it with a little more water and then positioned the pastry lid on top. I used a fork to seal the edges and then used a sharp knife to put a cross in the centre.
Practical tip: freeze the leftover stew and pastry to use another day.
I put the pastry in the oven on 200 degrees celsius for 20 minutes until the puff pastry was golden brown.

I served up with some mash potato which I made using some of the double cream.
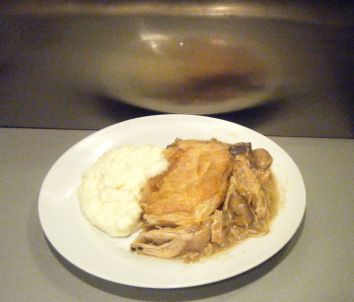
This dish was absolutely delicious!! The pie filling was rich and full of flavour, the top was lovely a crispy and the mash was so creamy…the perfect combination. I can’t wait to use the leftovers and I will definitely be making this again for my mum when she visits!
Coming up next, Challenge No. 47 – stollen.


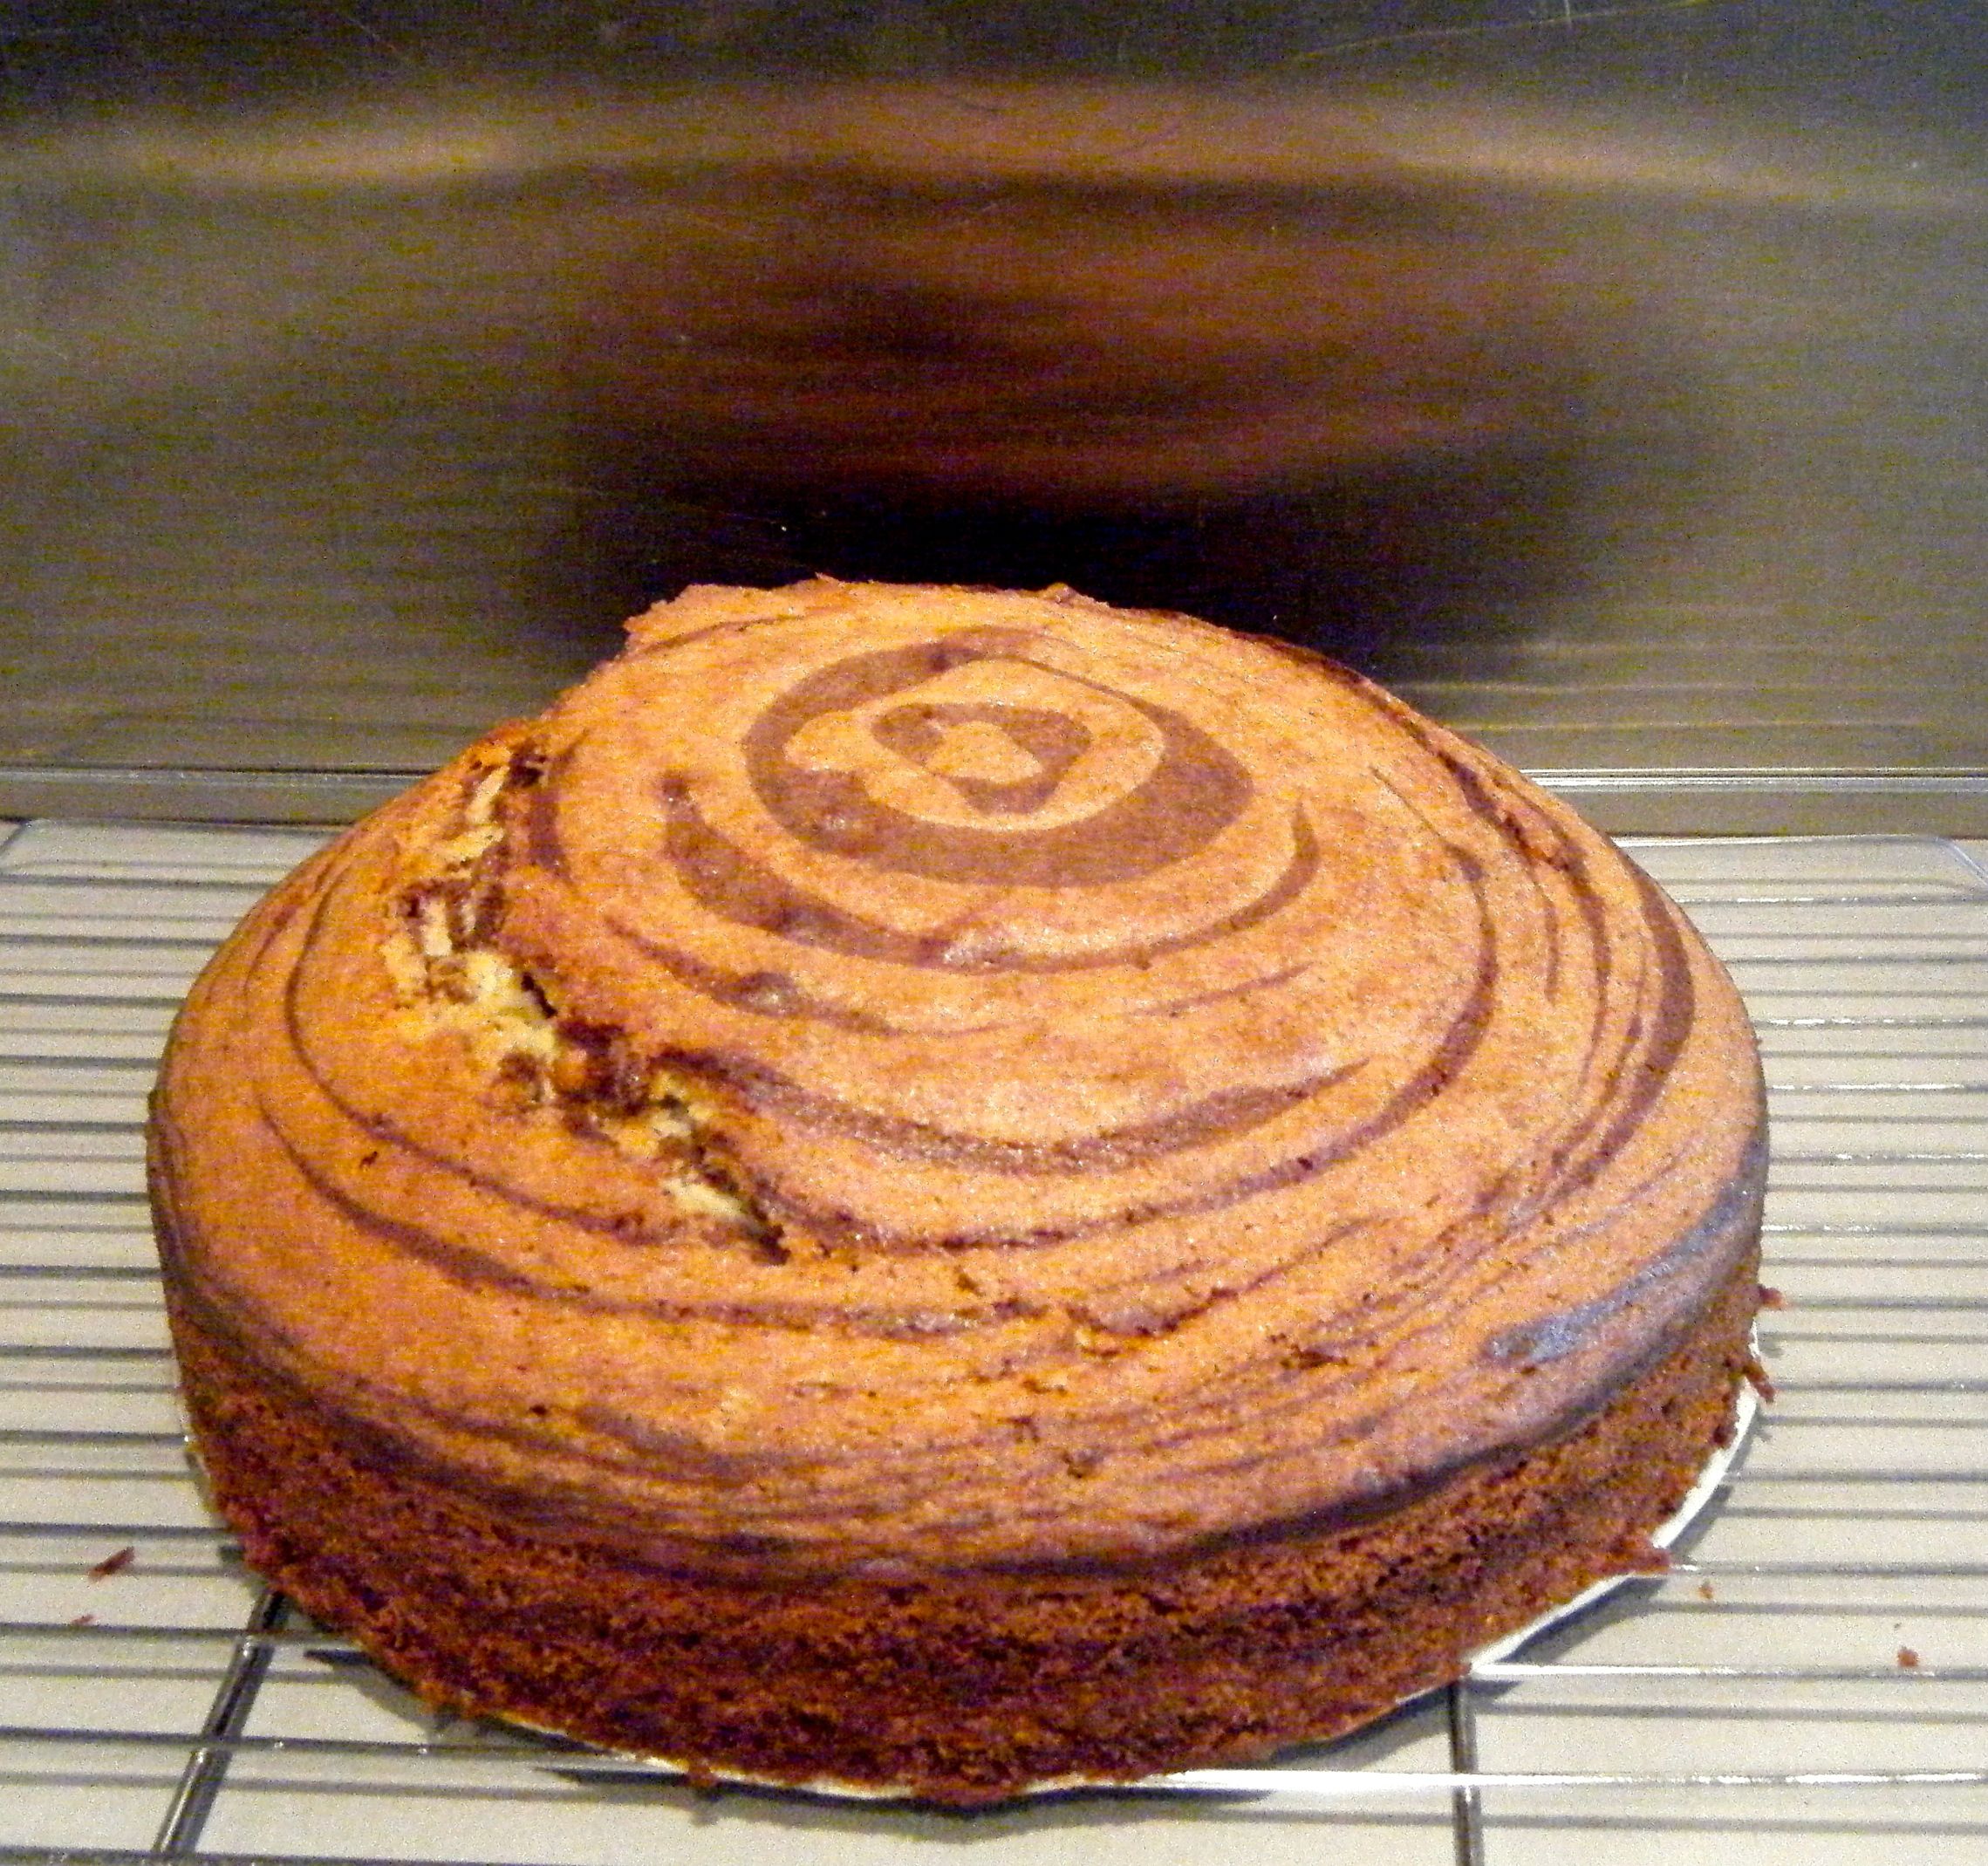
 I then put the tin in the oven on 180 degree celsius for 25 minutes.

