Challenge No. 41 – Zebra Cake

This challenge was suggested by one of the members of Rochdale Triathlon Swim Club (which I haven’t been to for a few months now!).  When I was going, Sarah was always in the fast lane and I’m not quite good enough to move up to that lane.  Maybe one day 🙂  Whilst Sarah and I never got to swim together, we often had a good chat before and after the swim sessions.  Sarah also loves baking and suggested I make a zebra cake for Challenge 52.

After a quick bit of research, I settled on a recipe by Lorraine Pascale.  This uses a little bit of orange zest to flavour the chocolate sponge and I thought it would be delicious – I was right!

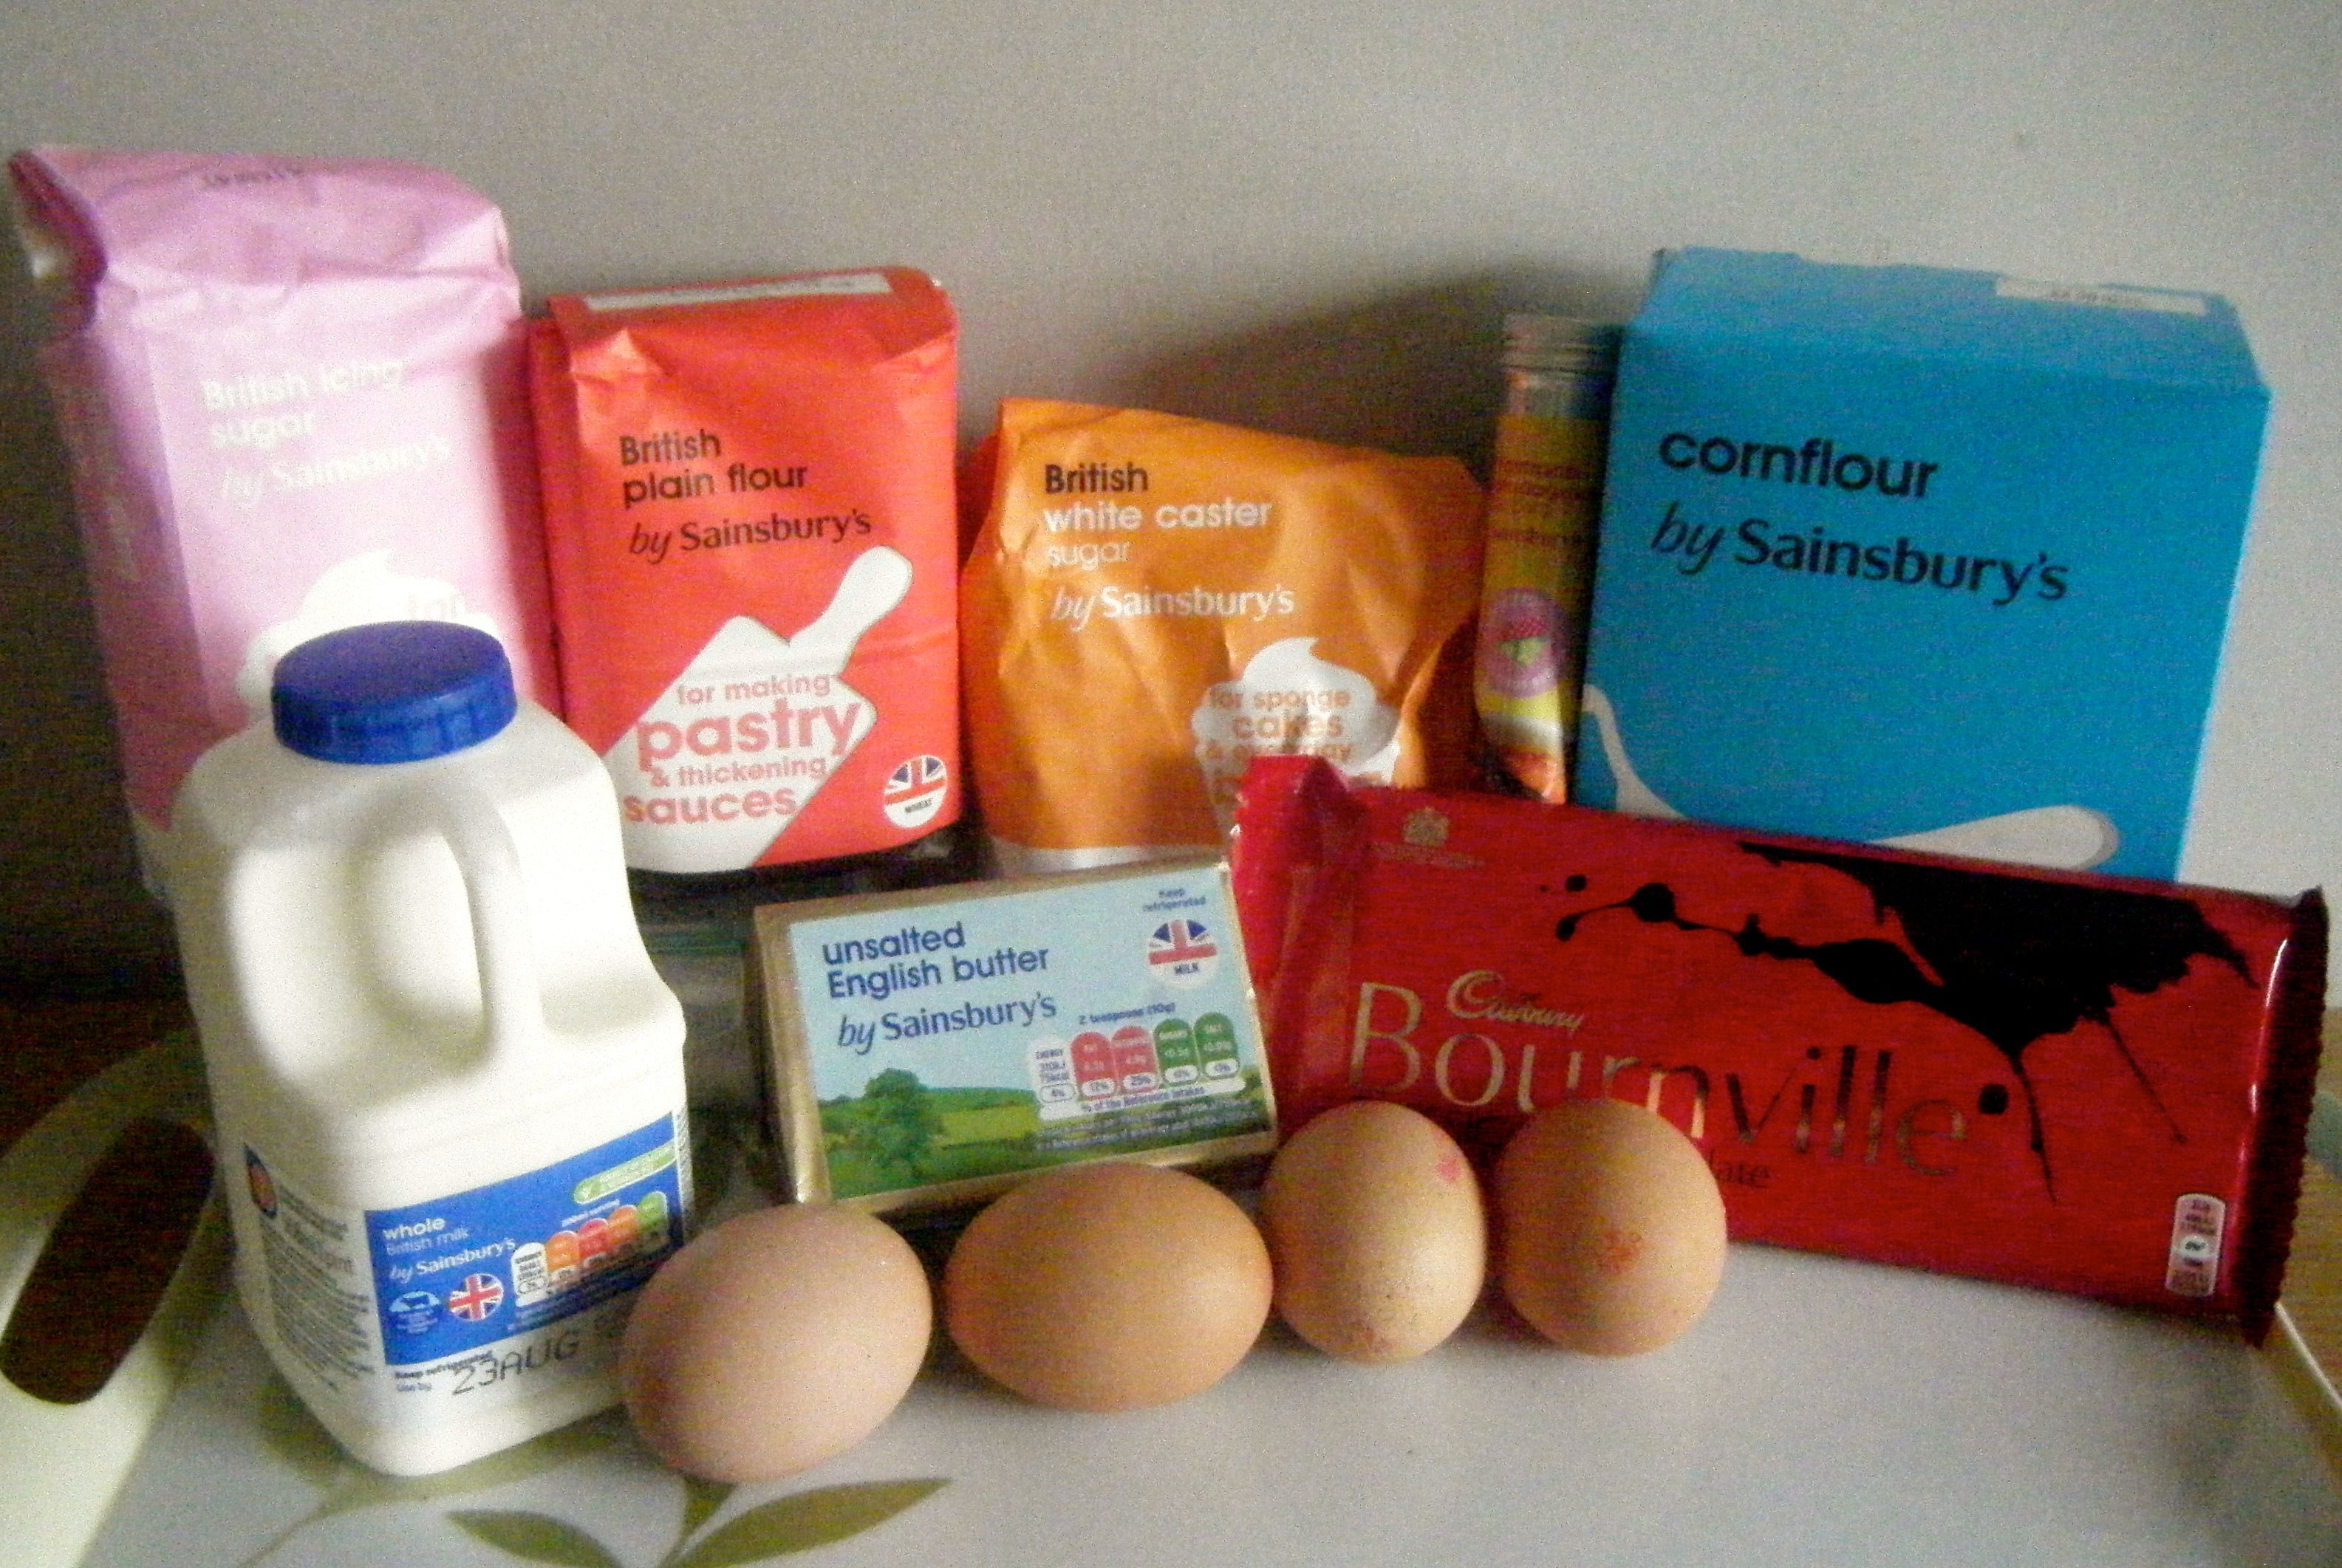
For this recipe you’ll need the following:-

  • 250ml sunflower (or other flavourless) oil, plus extra for greasing
  • 250g caster sugar
  • 100ml semi-skimmed milk
  • 4 medium eggs (at room temperature)
  • A few drops of vanilla extract
  • 300g self-raising flour
  • 1 tsp baking powder
  • 25g cocoa powder
  • 1 orange

Ed - ingredients

The recipe uses a 23cm round cake tin, however, I only had a 20cm one and I just went ahead and used this.  I just had to adjust the cooking times slightly as it was a deeper cake than it would have been in the 23cm tin.

I started by lining the base of my tin with baking parchment.  I removed the base and used it to trace a circle on the baking parchment.  I then brushed the tin and base with some olive oil, pushed in the parchment and then gave it a once over with the already oiled brush.

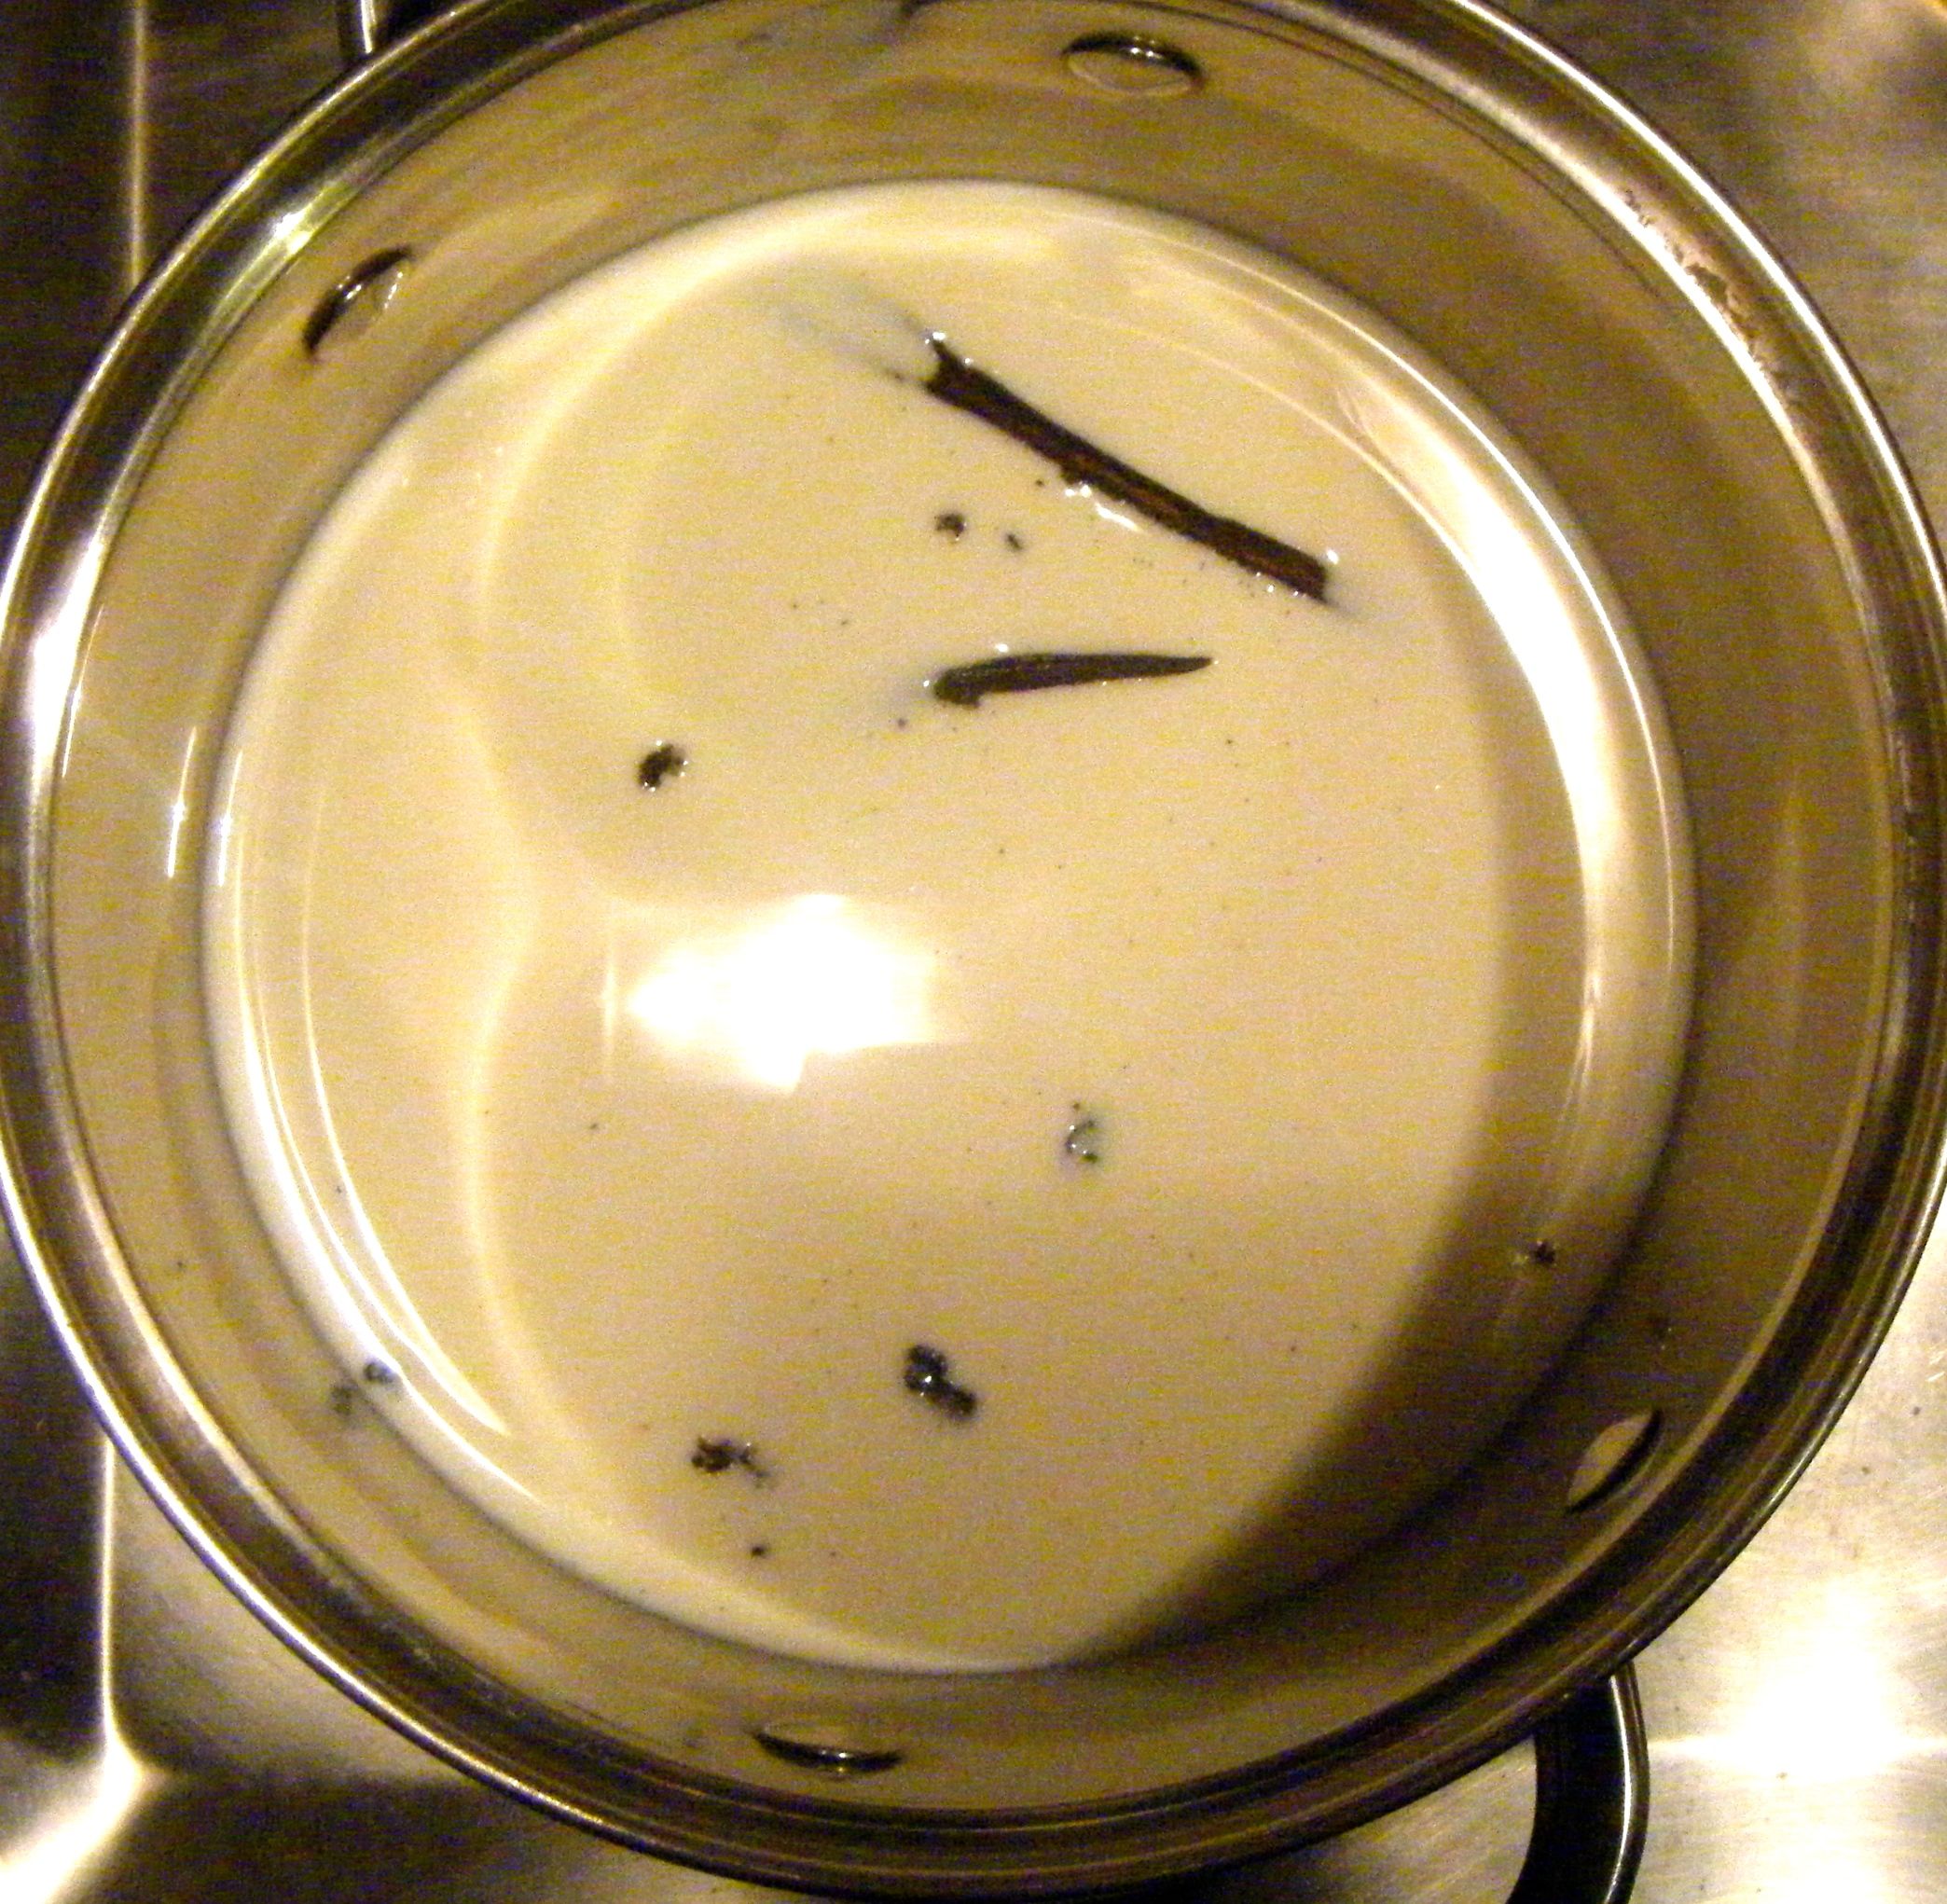
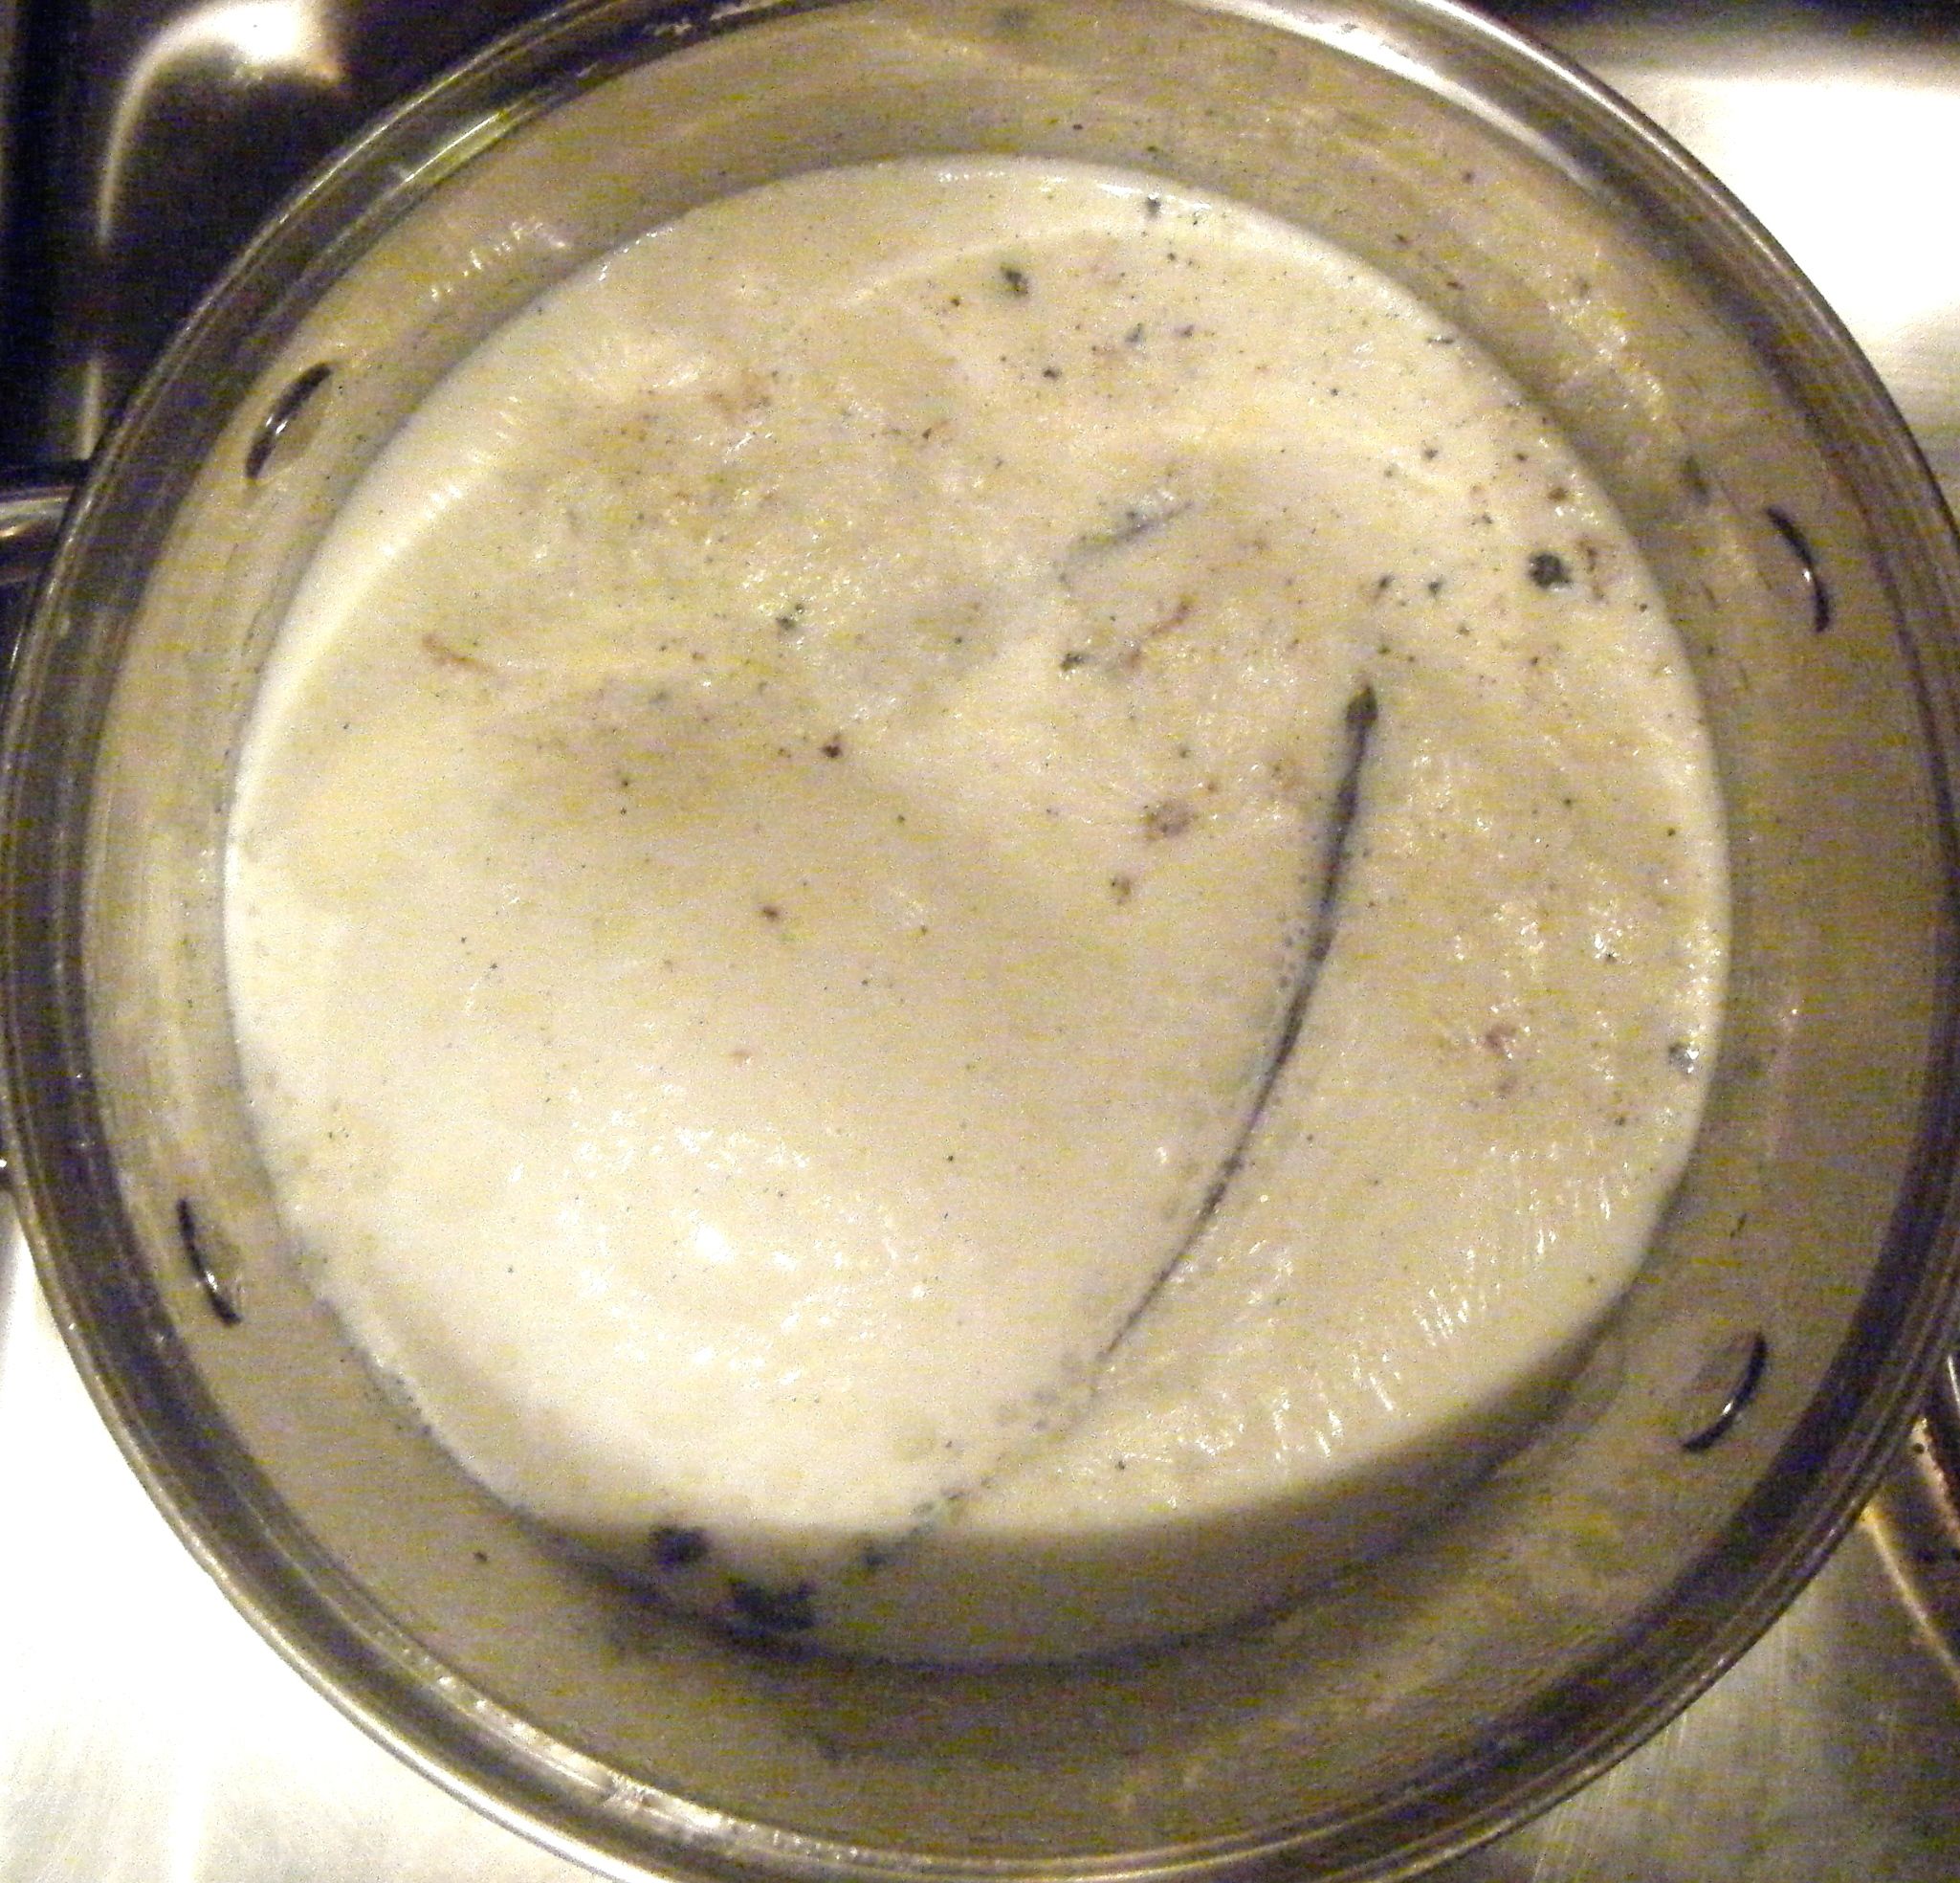
I then put the oil, sugar, milk, eggs and vanilla extract into a bowl.  By the time I had got all the ingredients in, the sugar had started to crystallised, having soaked up the wet ingredients.  However, it soon started to break down as I have it a good stir with a wooden spoon.  The recipe recommends against using an electric whisk as you don’t want too many air bubbles in the mixture.

Ed - wet ingredients

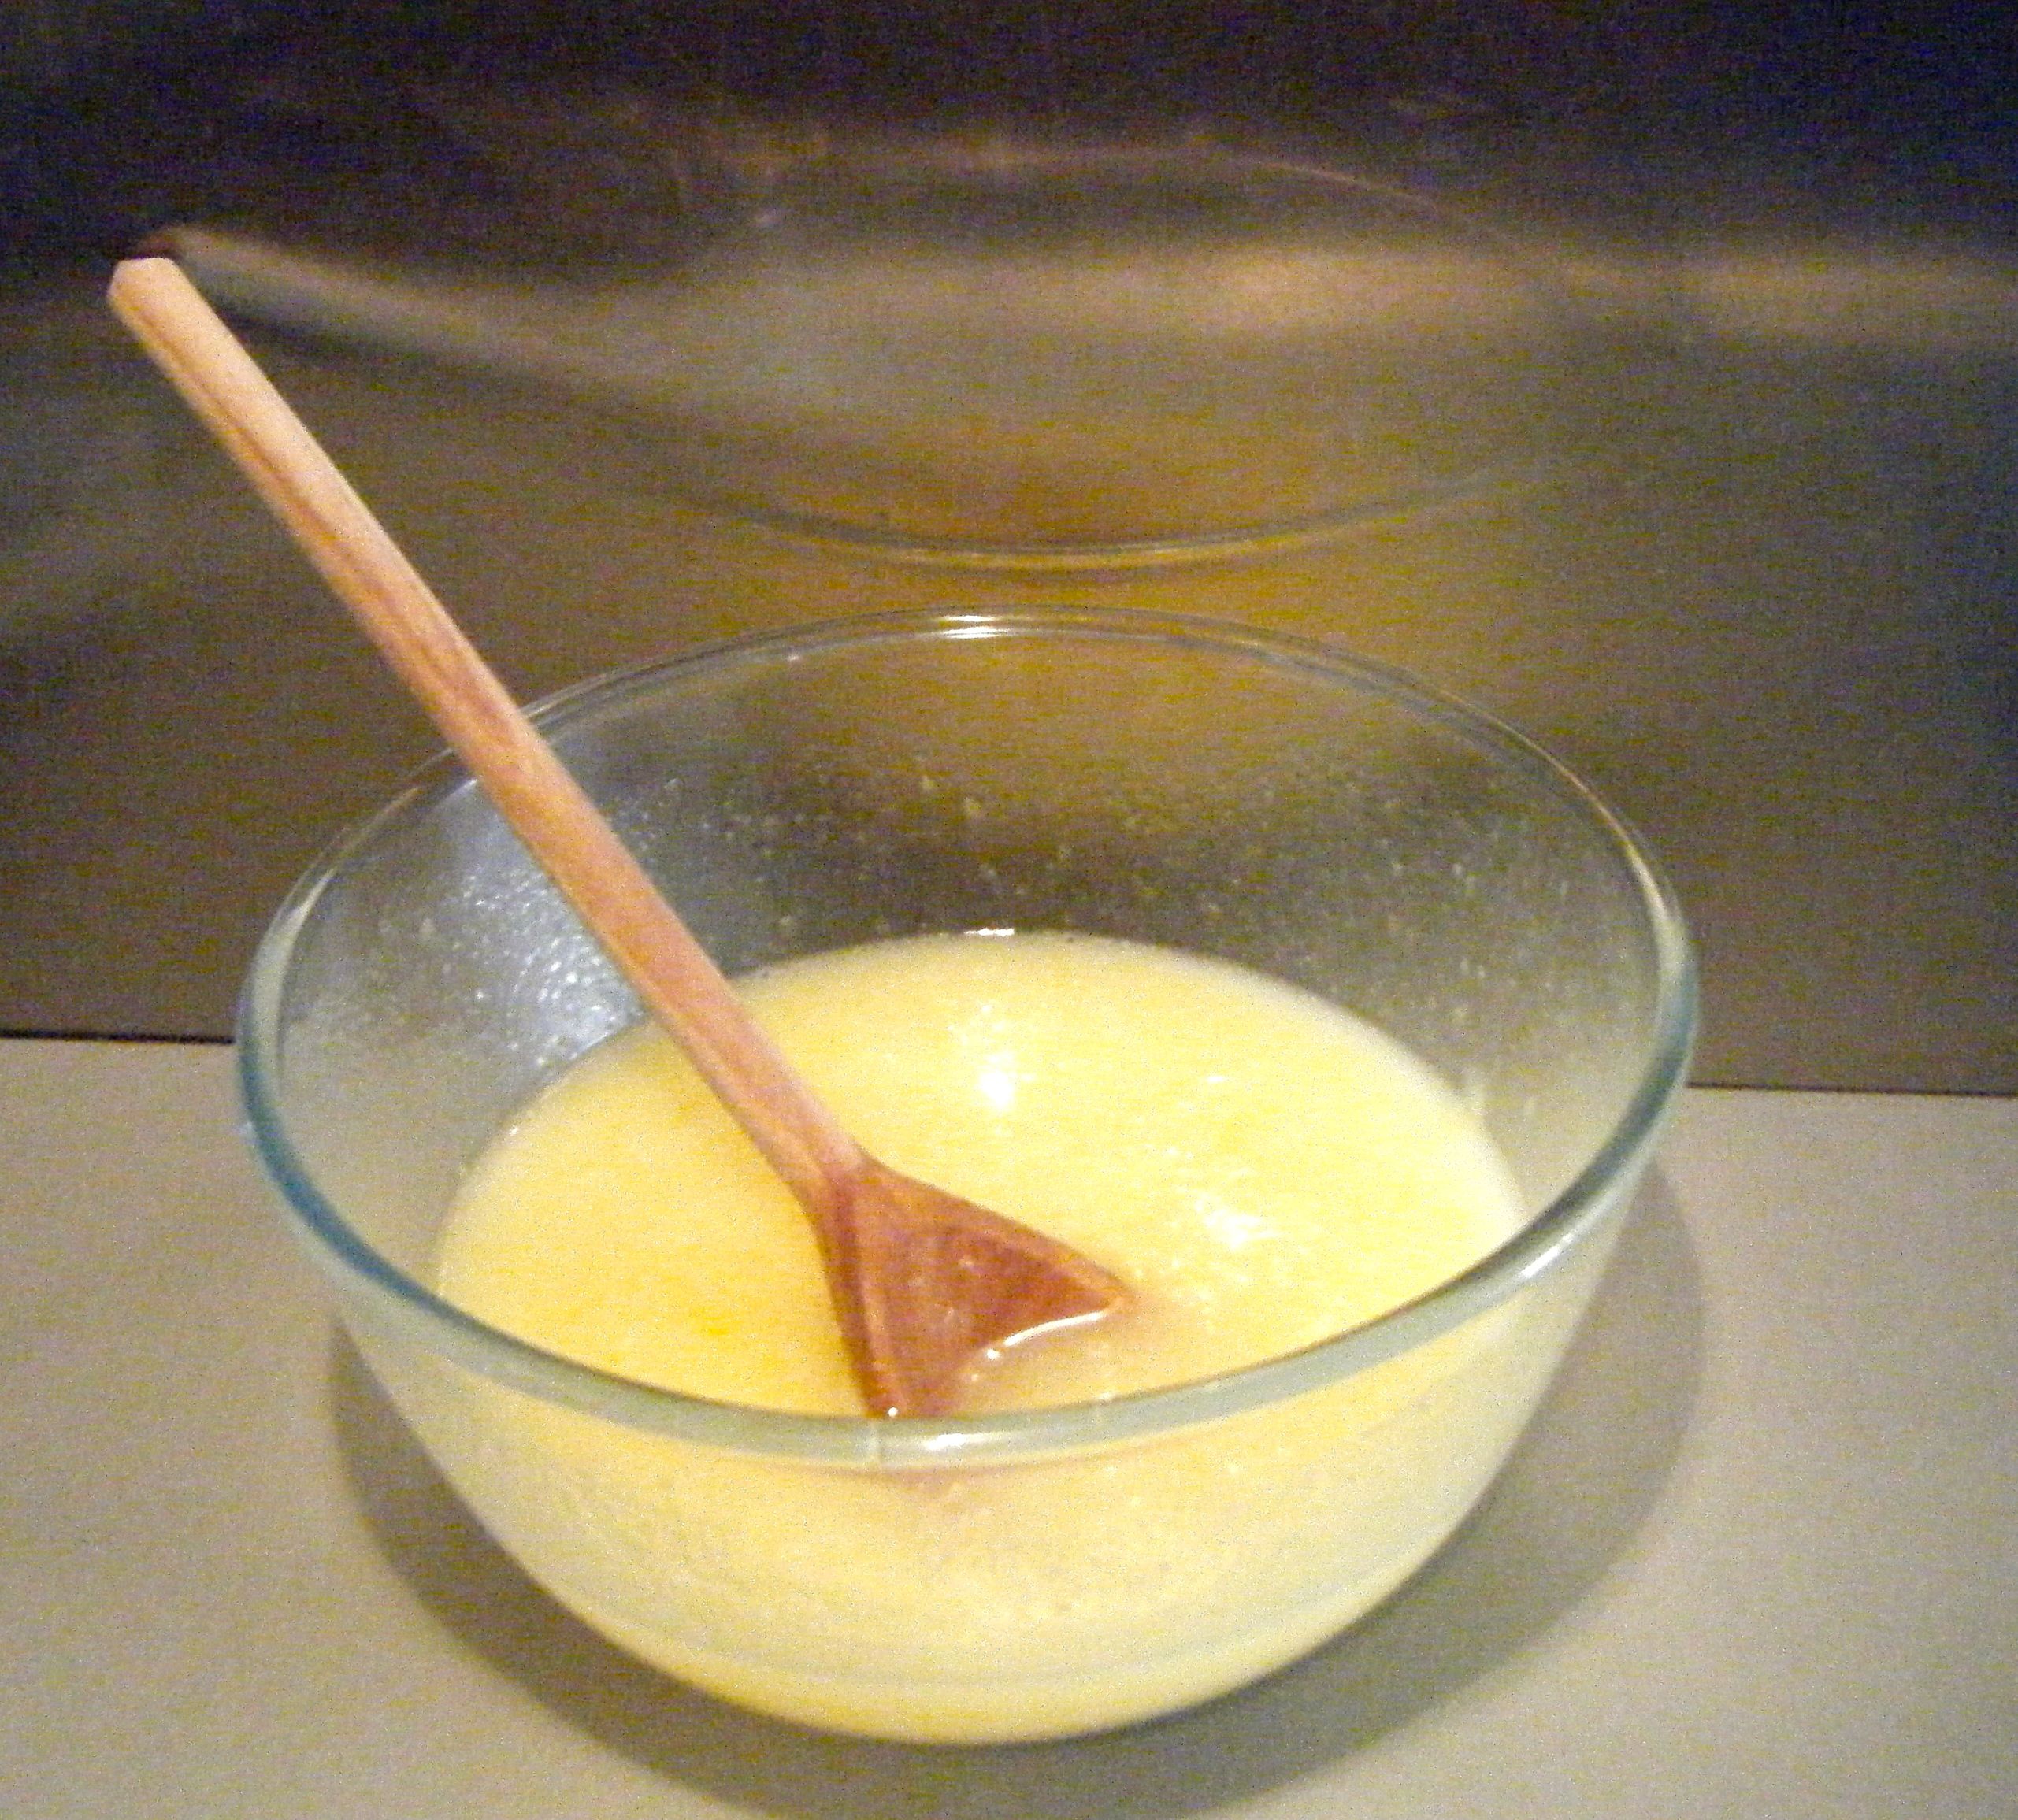
Anyway, once the ingredients has mixed together to form a smooth wet liquid, I measured out 400ml into a jug and poured it into another bowl.  I wondered whether it needed to be half the mixture but when I measured the remainder there was only 300ml.  I therefore took 50ml back from the larger amount so I had 350ml in each bowl.  I then reread the recipe and doubted myself so I decided to switch it back to 400ml and 300ml. 

Edited - split mix

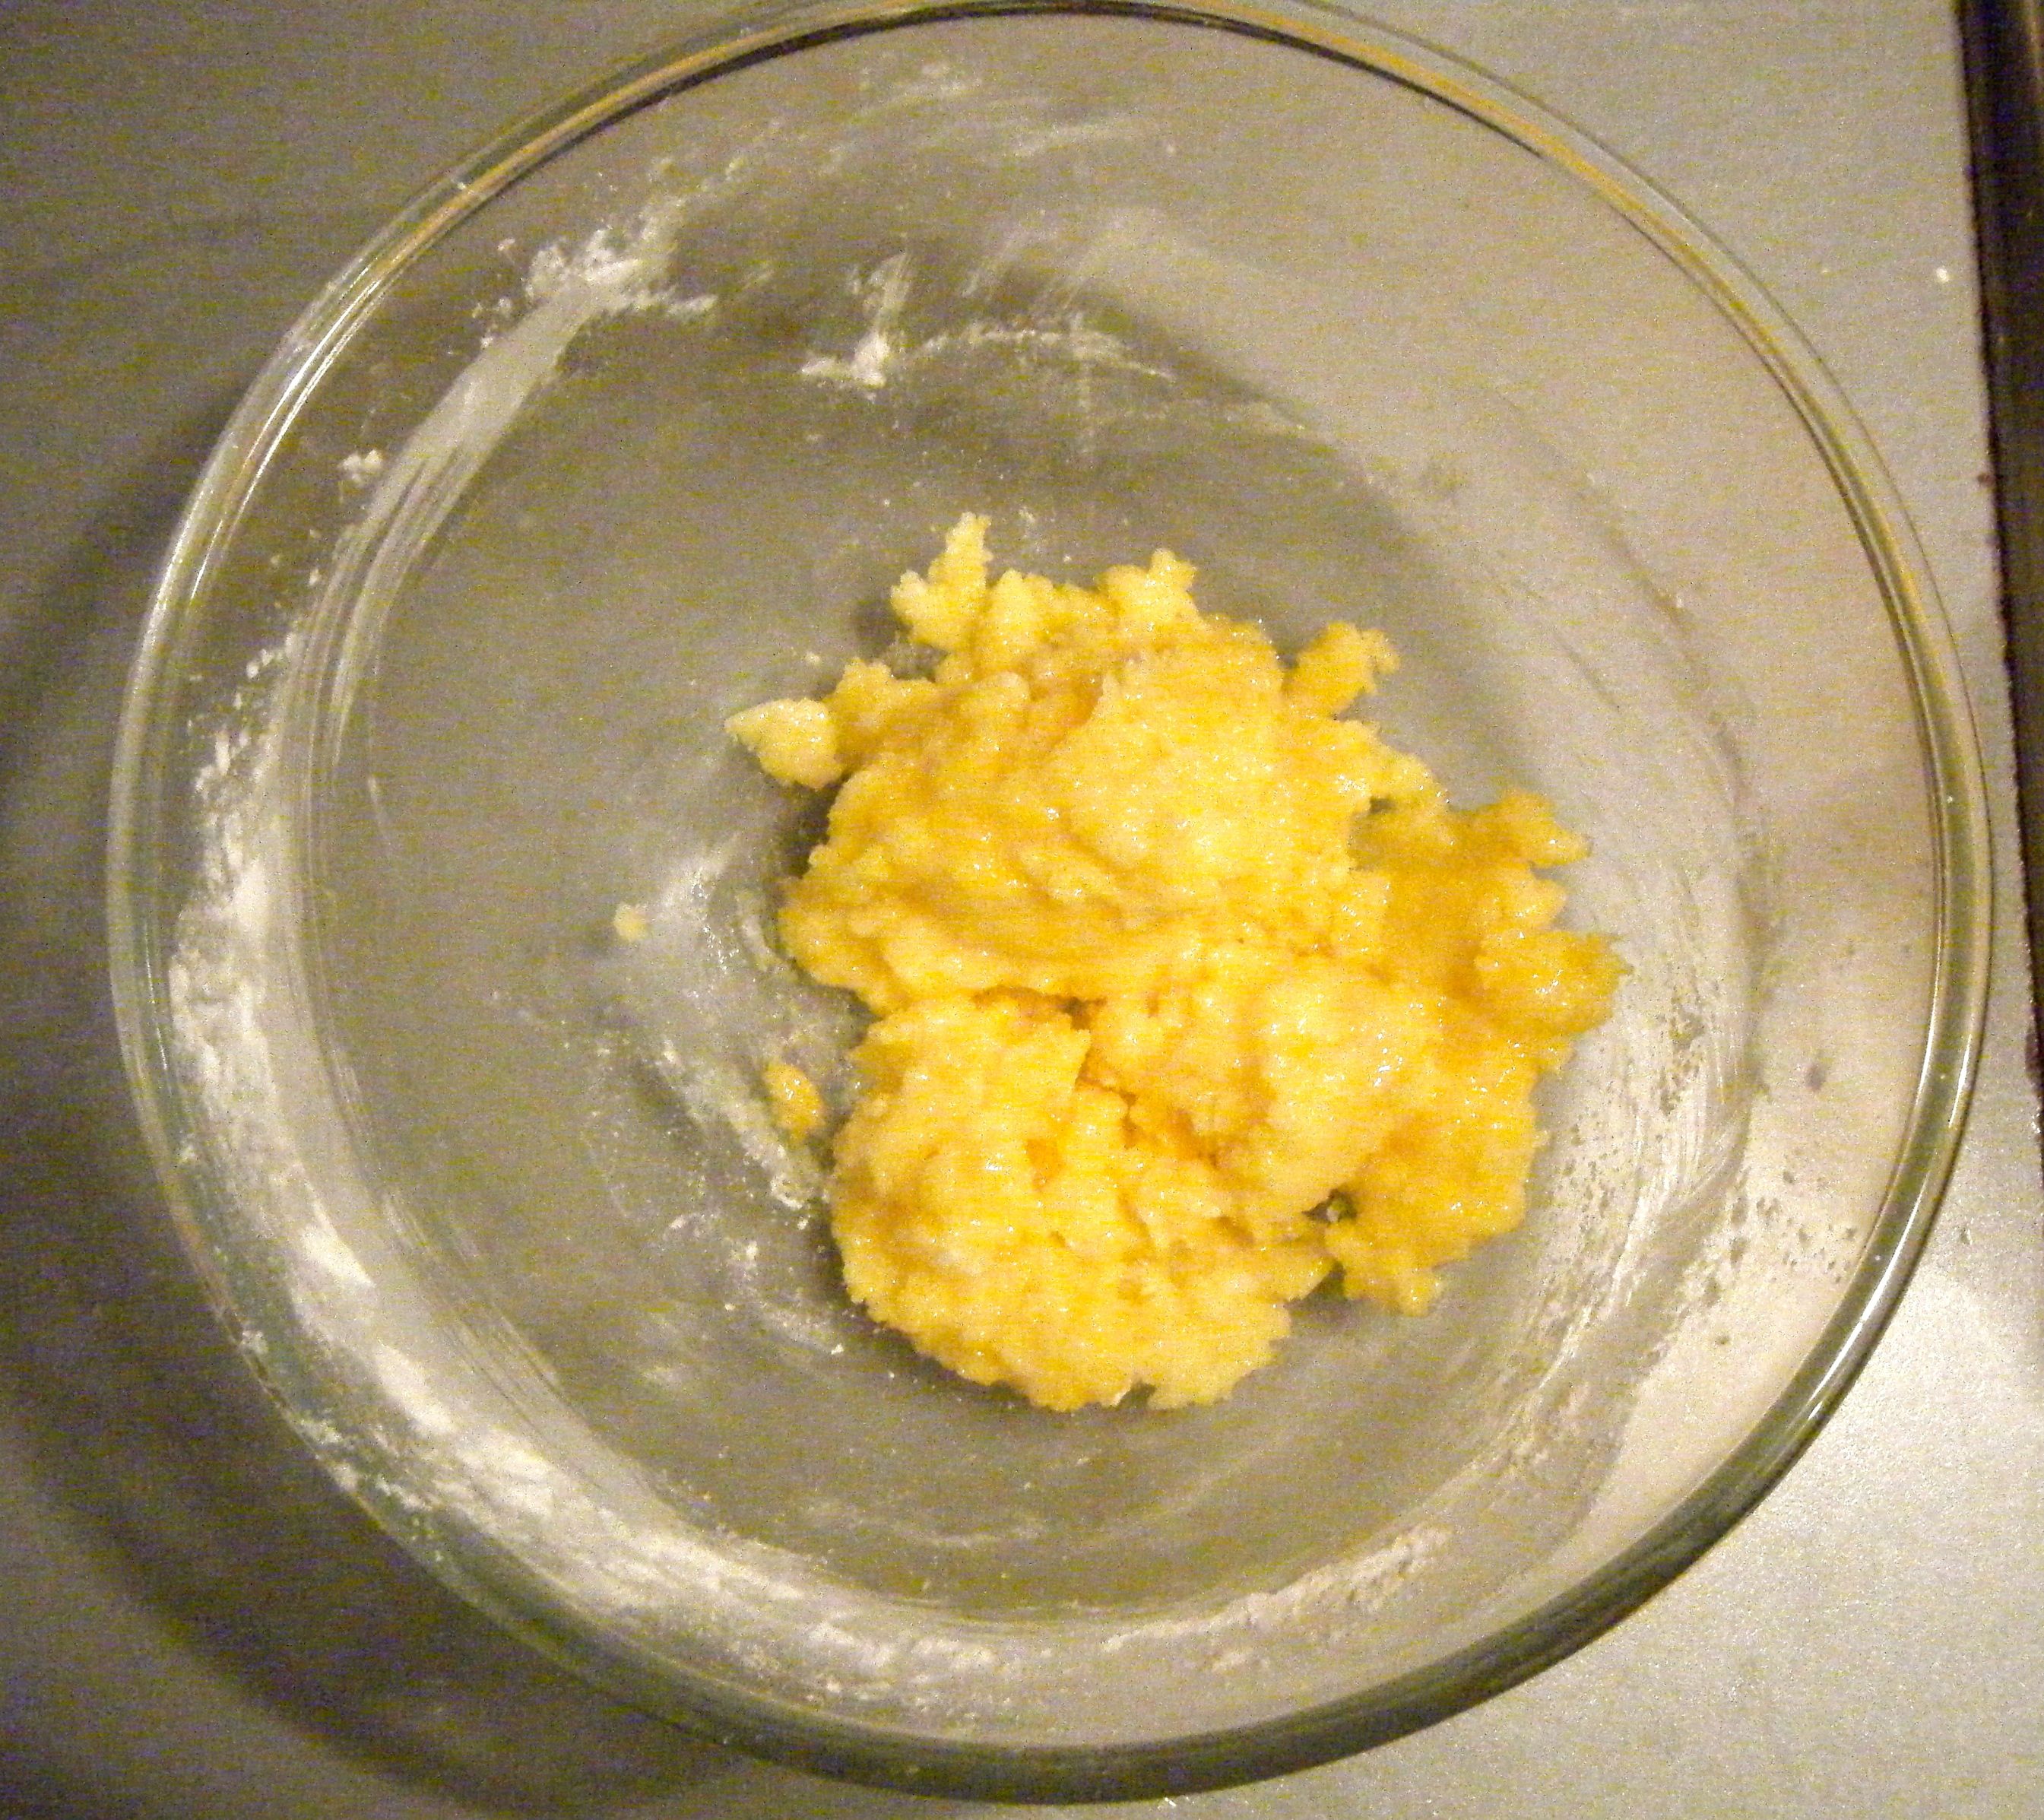
I then sifted 175g of self raising flour and 1/2 tsp of baking powder into the 400ml portion.  I have it a good mix with the wooden spoon until it was well combined.

Ed - white mix

I put this mixture to one side and got started on the chocolate one.  I sifted 125g of self raiding flour, 1/2 tsp of baking powder and 25g cocoa powder into the bowl with 300ml of mixture.  I mixed it all together and then stirred through the orange zest.

Ed - orange in choc

Practical tip: zest the orange directly over the bowl to get the best flavour and not lose out on any of the orange goodness!

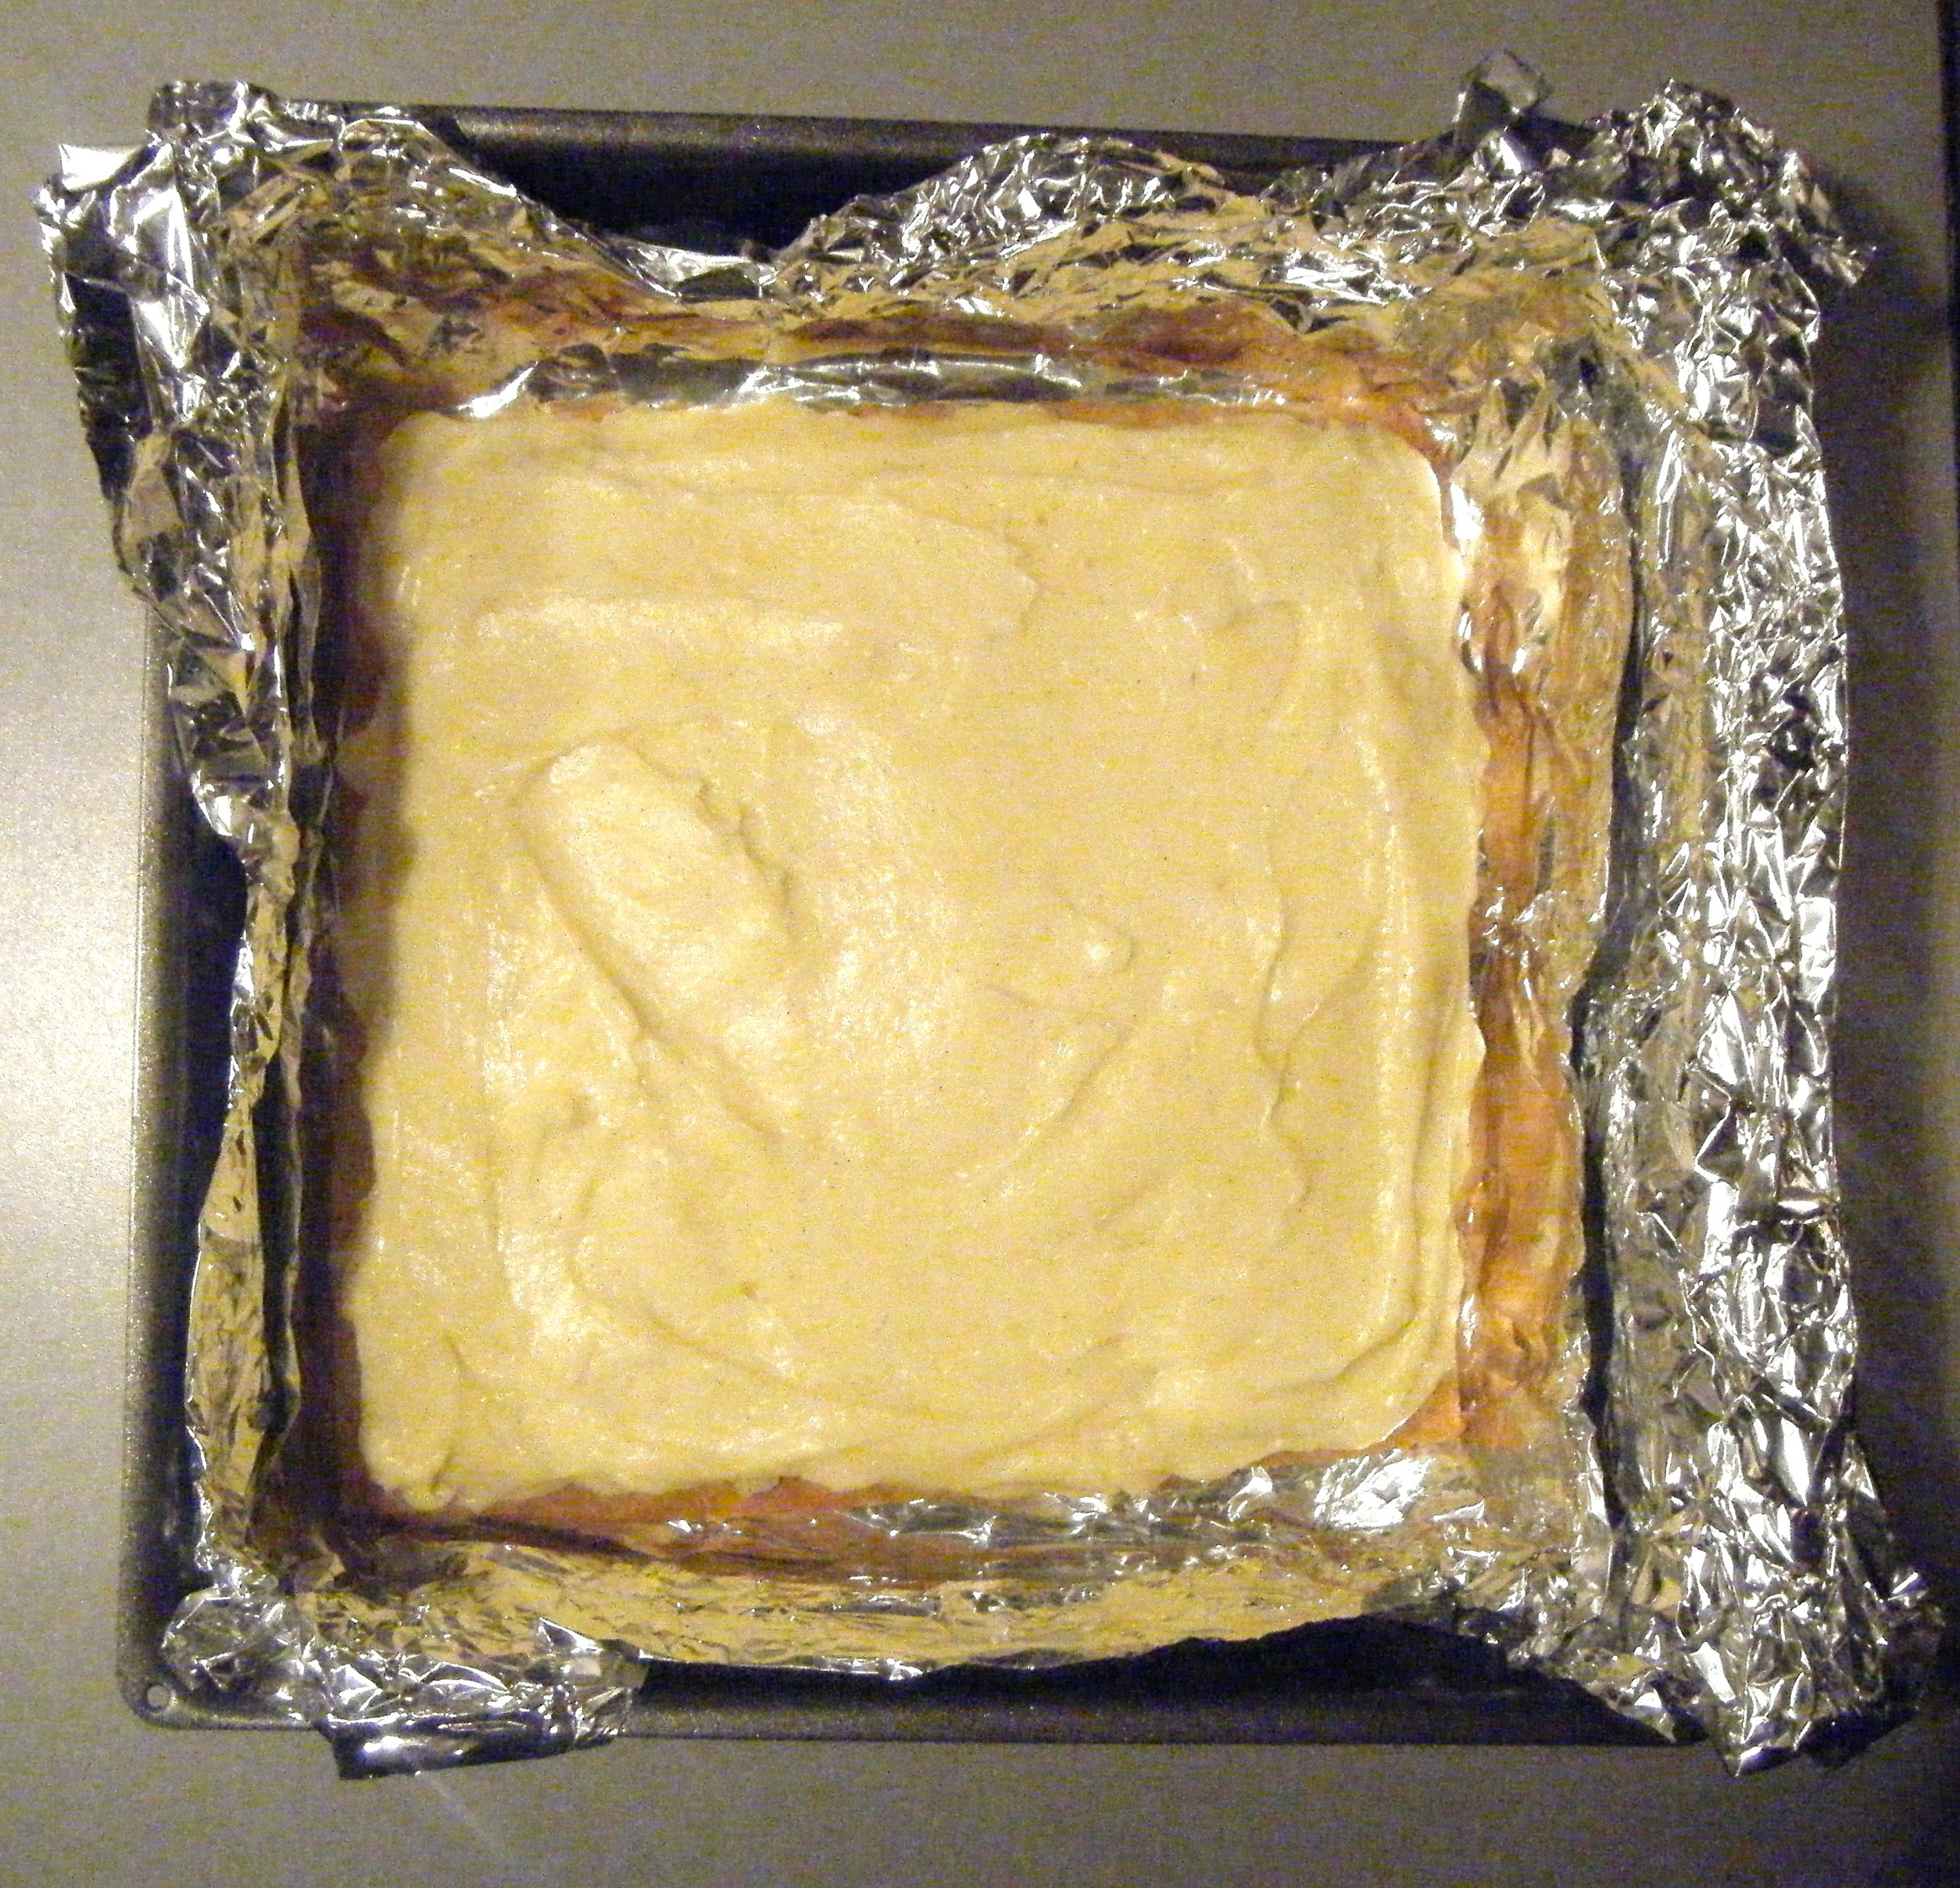
With the two mixtures ready, I got my pan and four tablespoons.  I used two tablespoons for each bowl…one to measure the mixture and one to scoop it off the other.  I then put one tablespoon of white mixture into the pan and then added a tablespoon of the chocolate mixture.  I kept alternating the mixtures until it was nearly all used and the mixture reached the edges of the tin.   

Ed - start Ed - choc

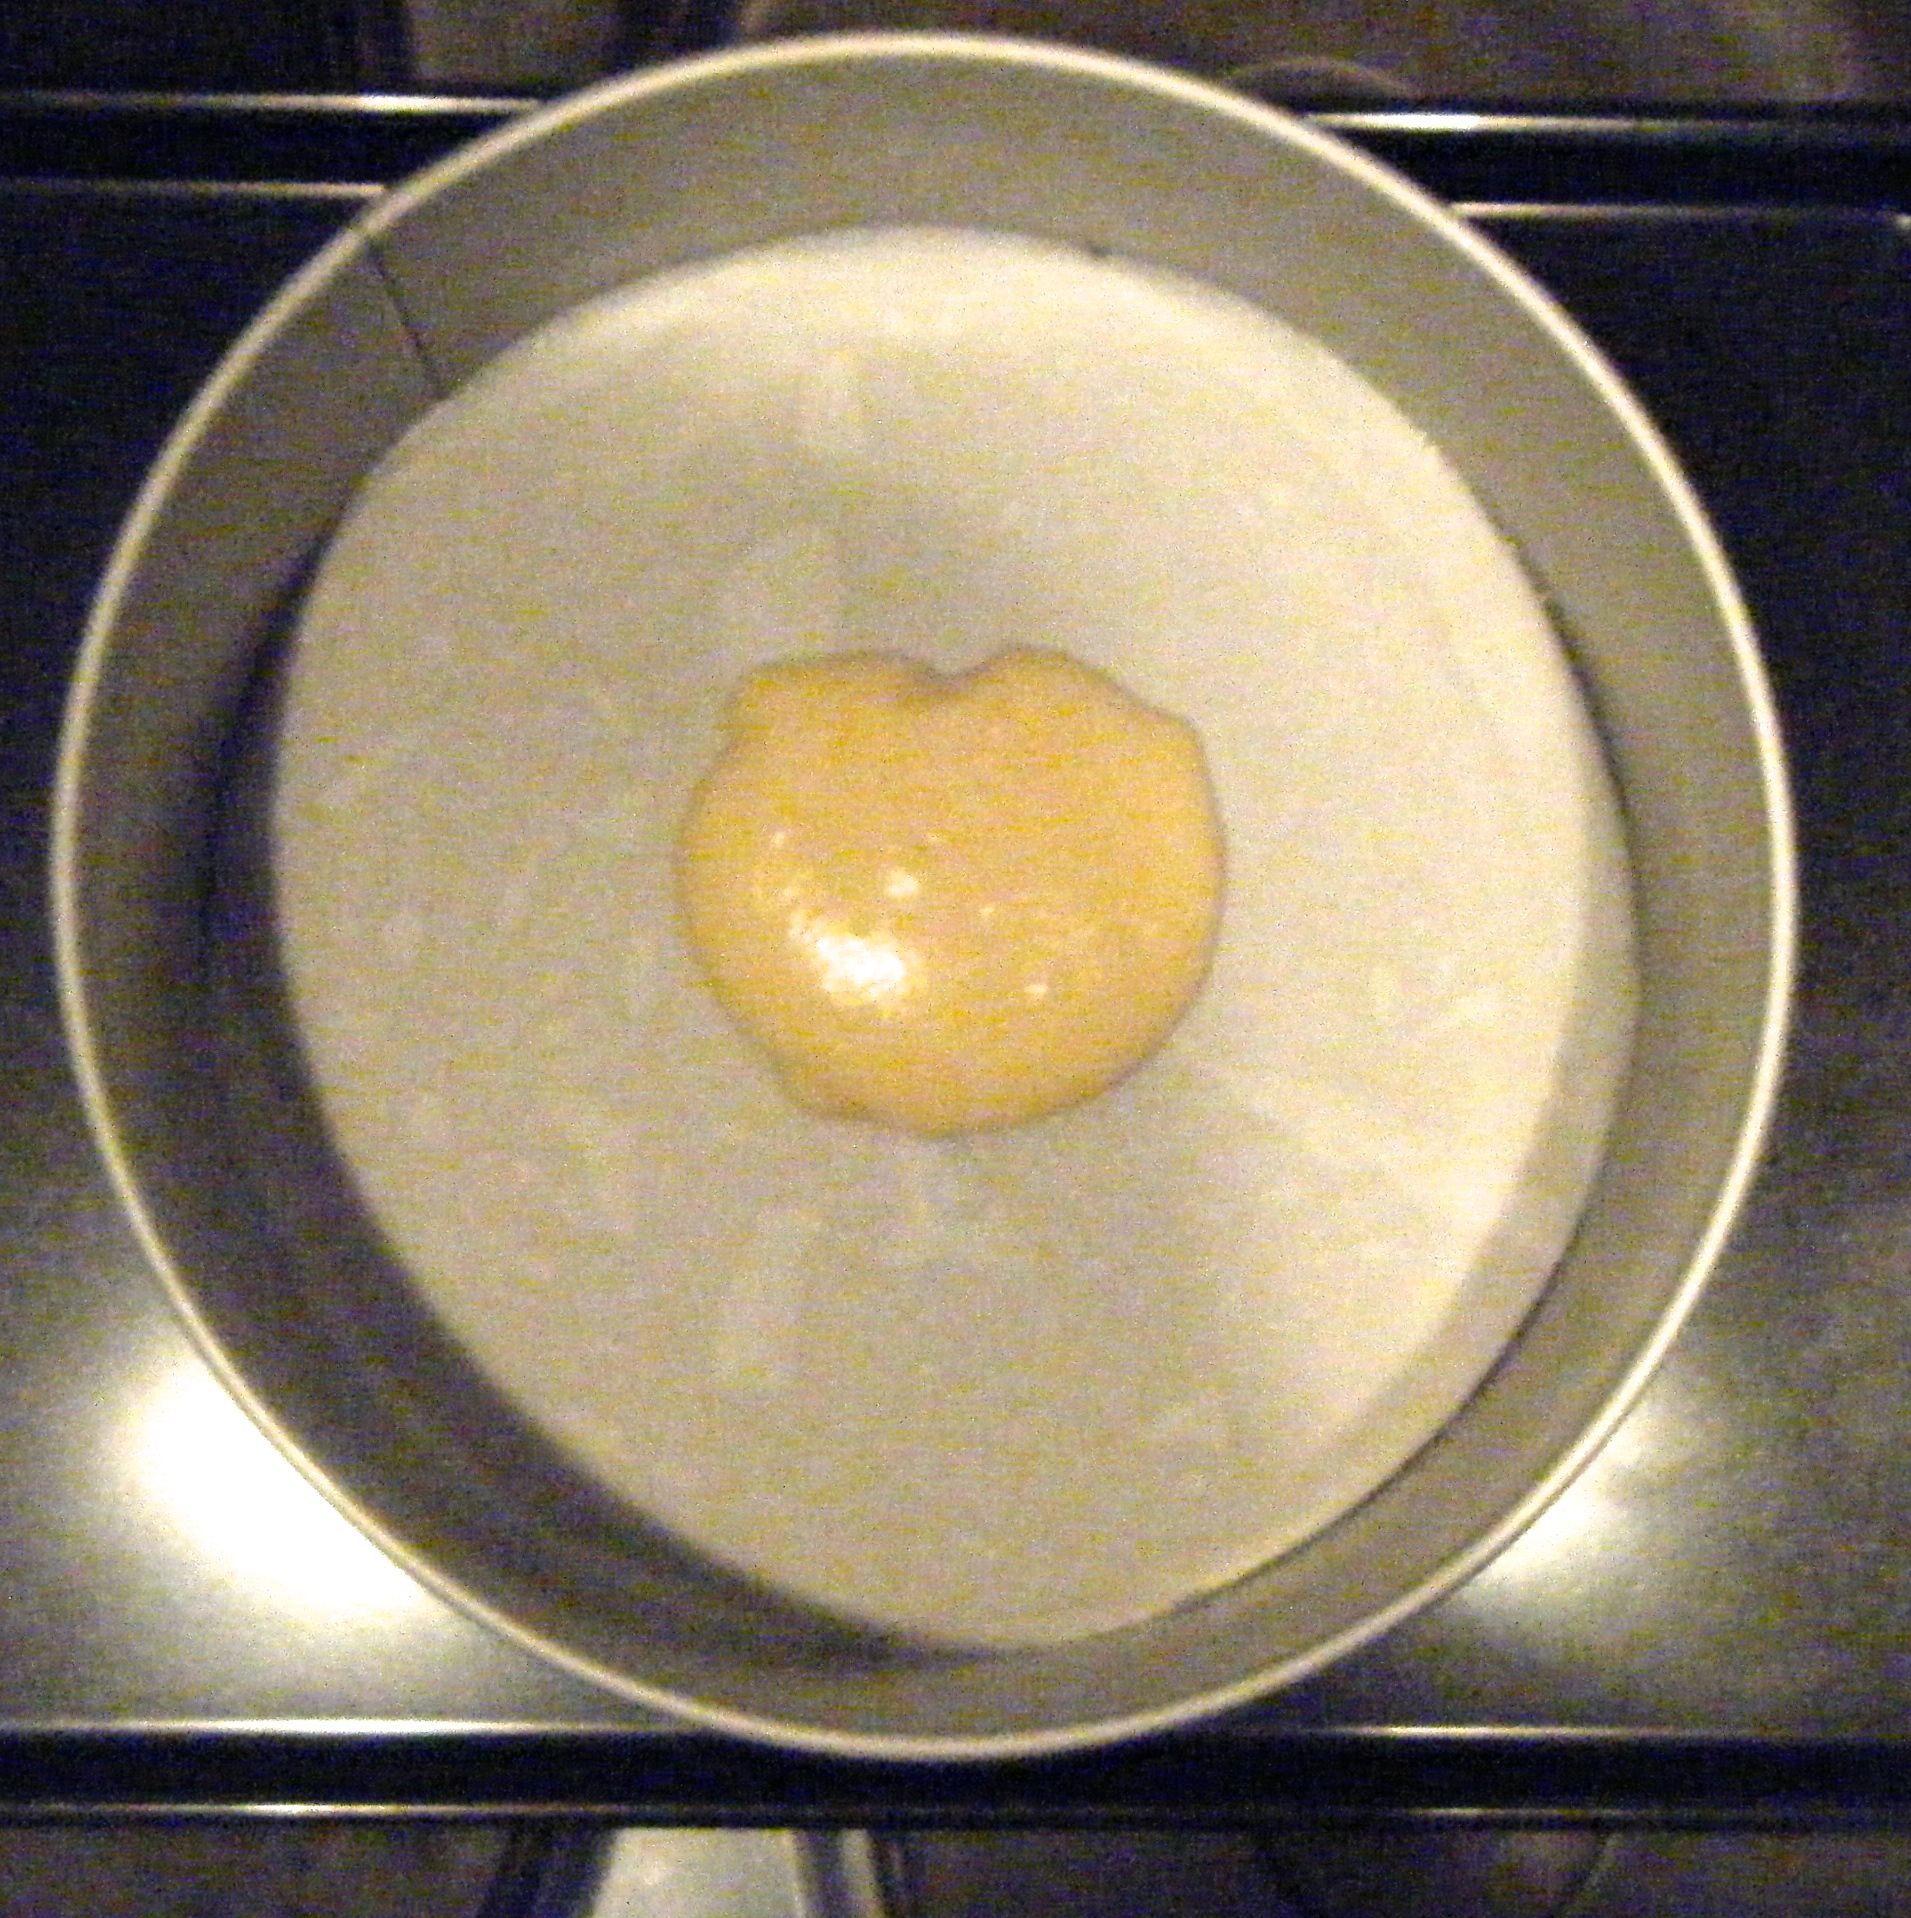
I wasn’t very good at keeping my ‘dollops’ in the centre of the tin and soon enough, I was working more to one side of the tin.  When I realised this was happening, I tried to avoid putting the mixture directly in the centre of the last ‘dollop’ and gradually worked it back towards the centre.

Ed - in tinI then put the tin in the oven on 180 degree celsius for 25 minutes.  I rotated the tin half way through cooking.  After the 25 minutes was up, I reset the timer for another 5 minutes and continued to do so until the cake was cooked.  In total I think I cooked the cake for around 48 to 53 minutes (I lost track slightly but I think it was one of these!).

Practical tip: in case you missed my earlier cake challenges, to test whether a cakes is cooked, gently press the top with your finger; if it is done it will be springy to touch and bounce back into place.  You can also take a tooth pick (or cake tester if you have one) and slide it into the centre the cake; if the cake is done the tester will come out clean.  If unsure, test a few different parts of the cake to make sure its done!  If you think it’s not quite done return the cakes to the oven but keep an eye on them – 1 minute may be all they need but that 1 minute can make all the difference!

Ed - cooling tin

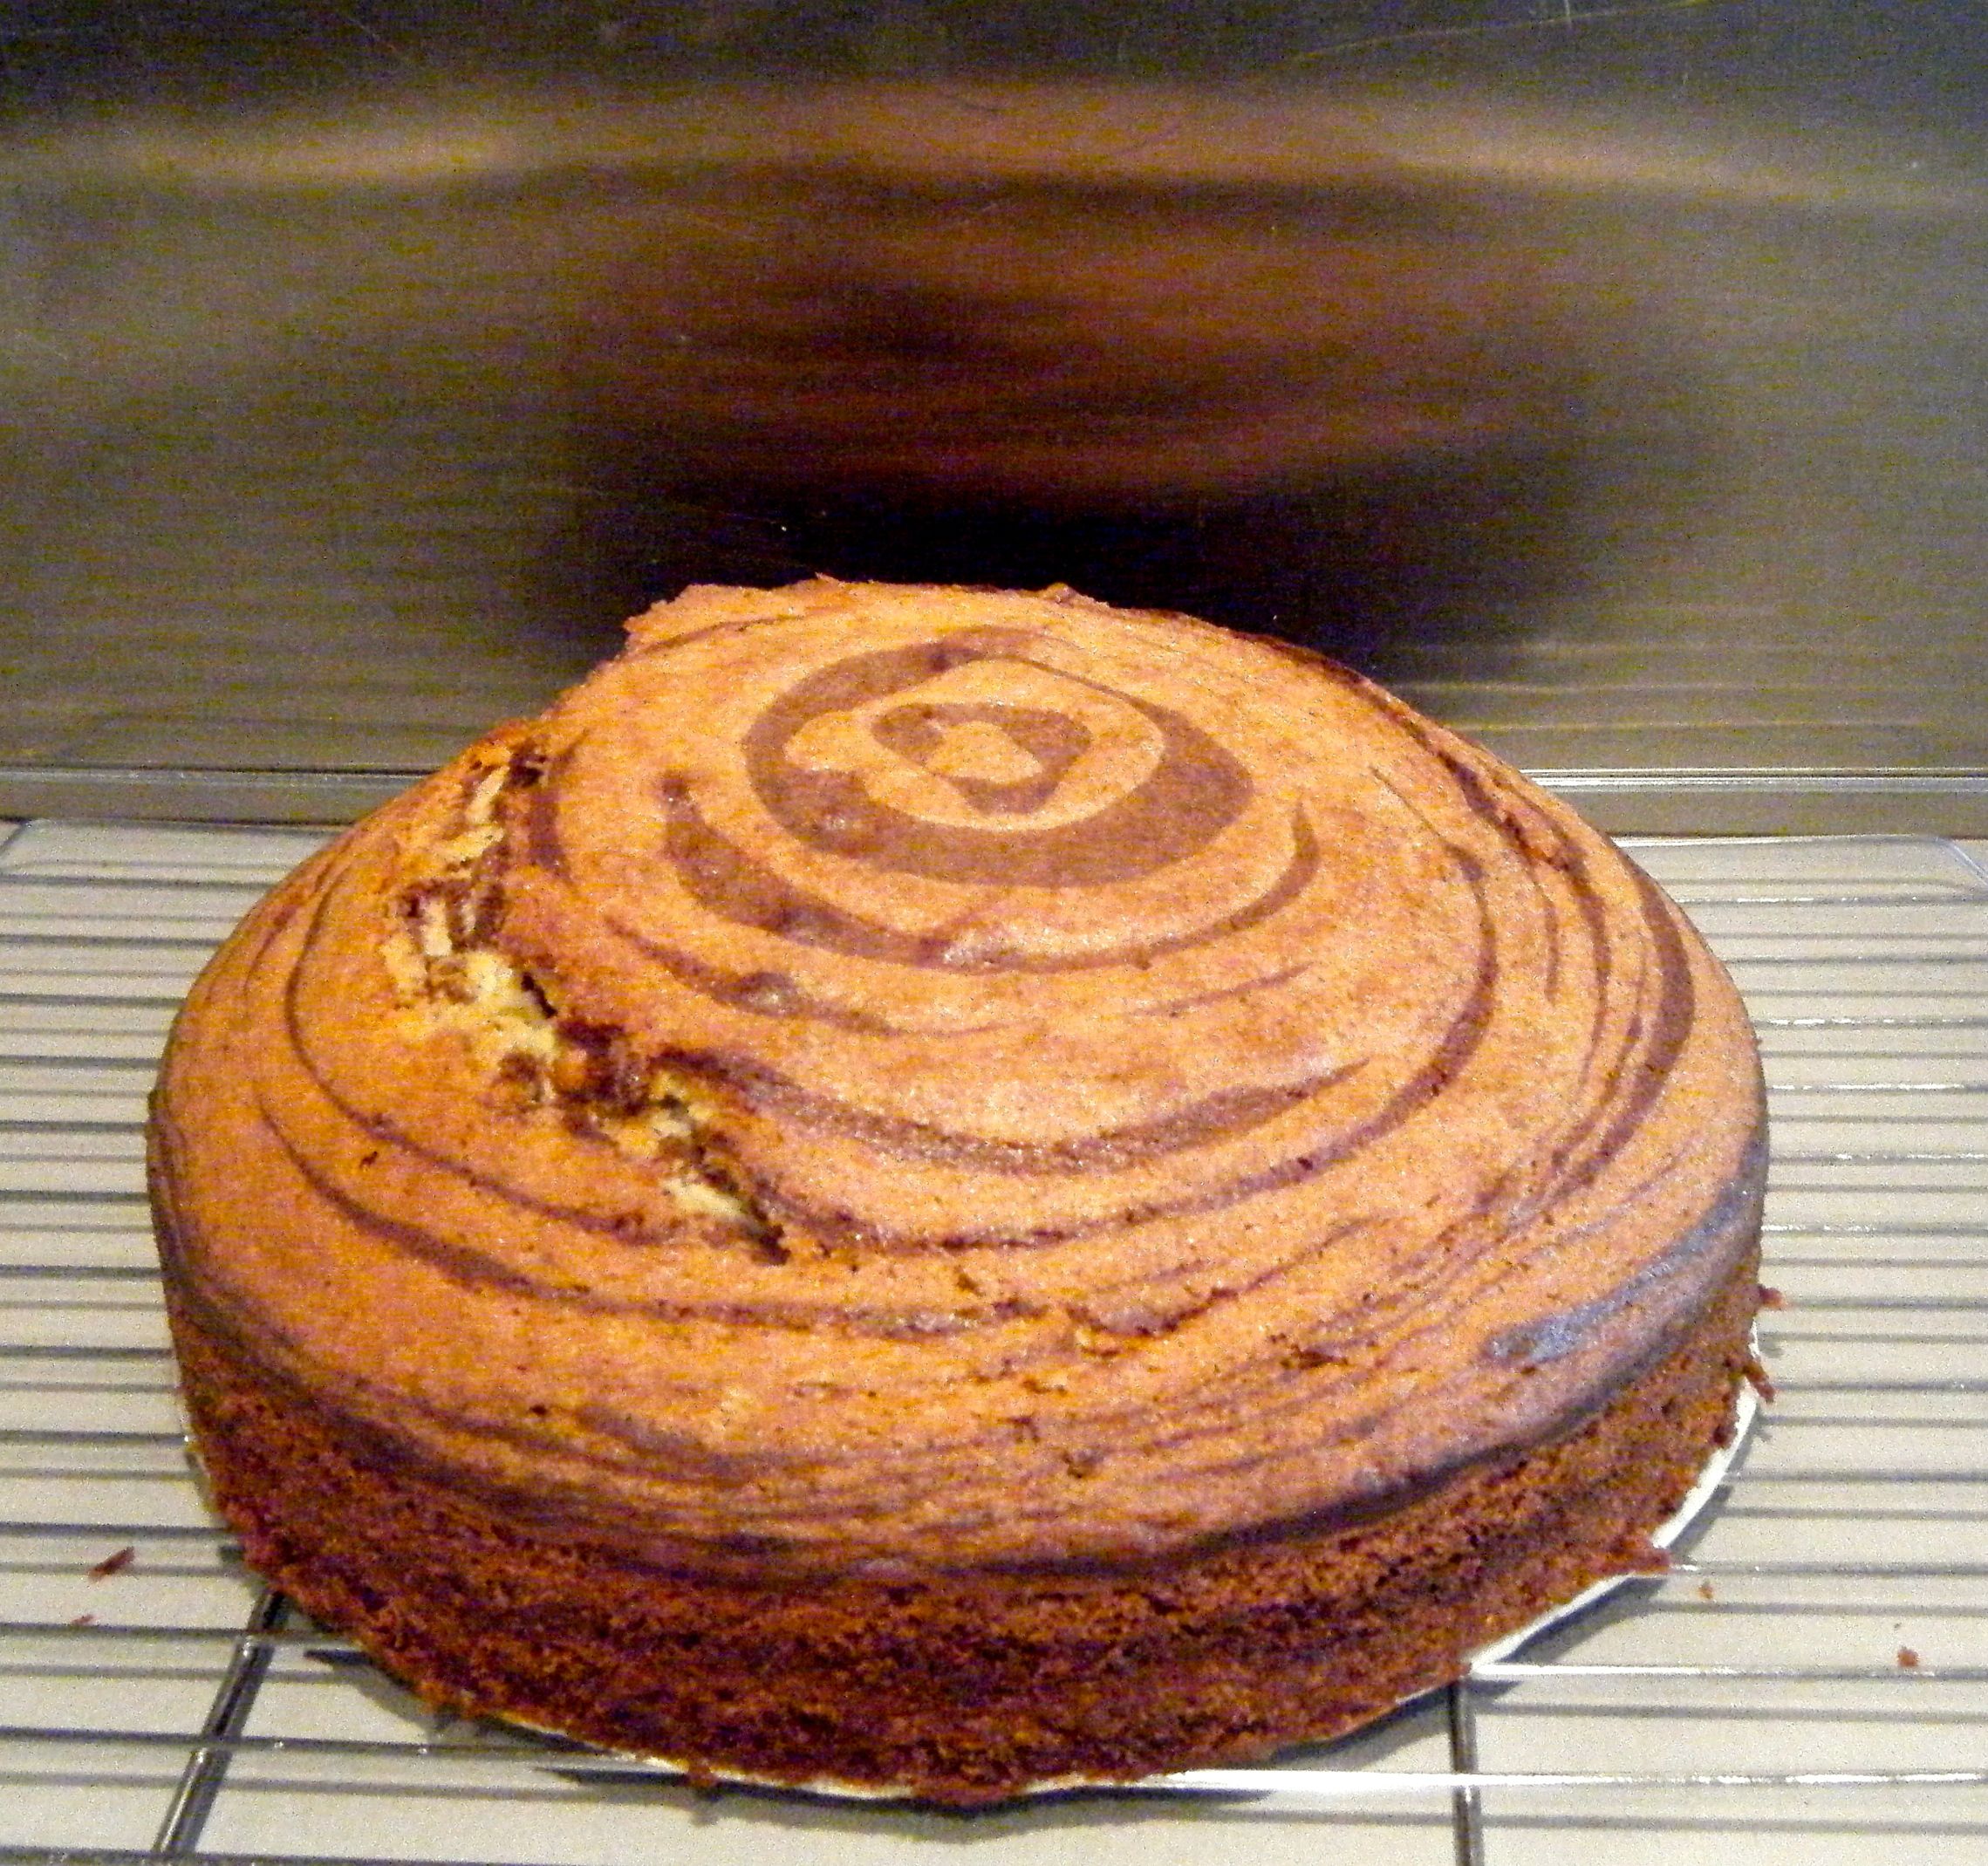
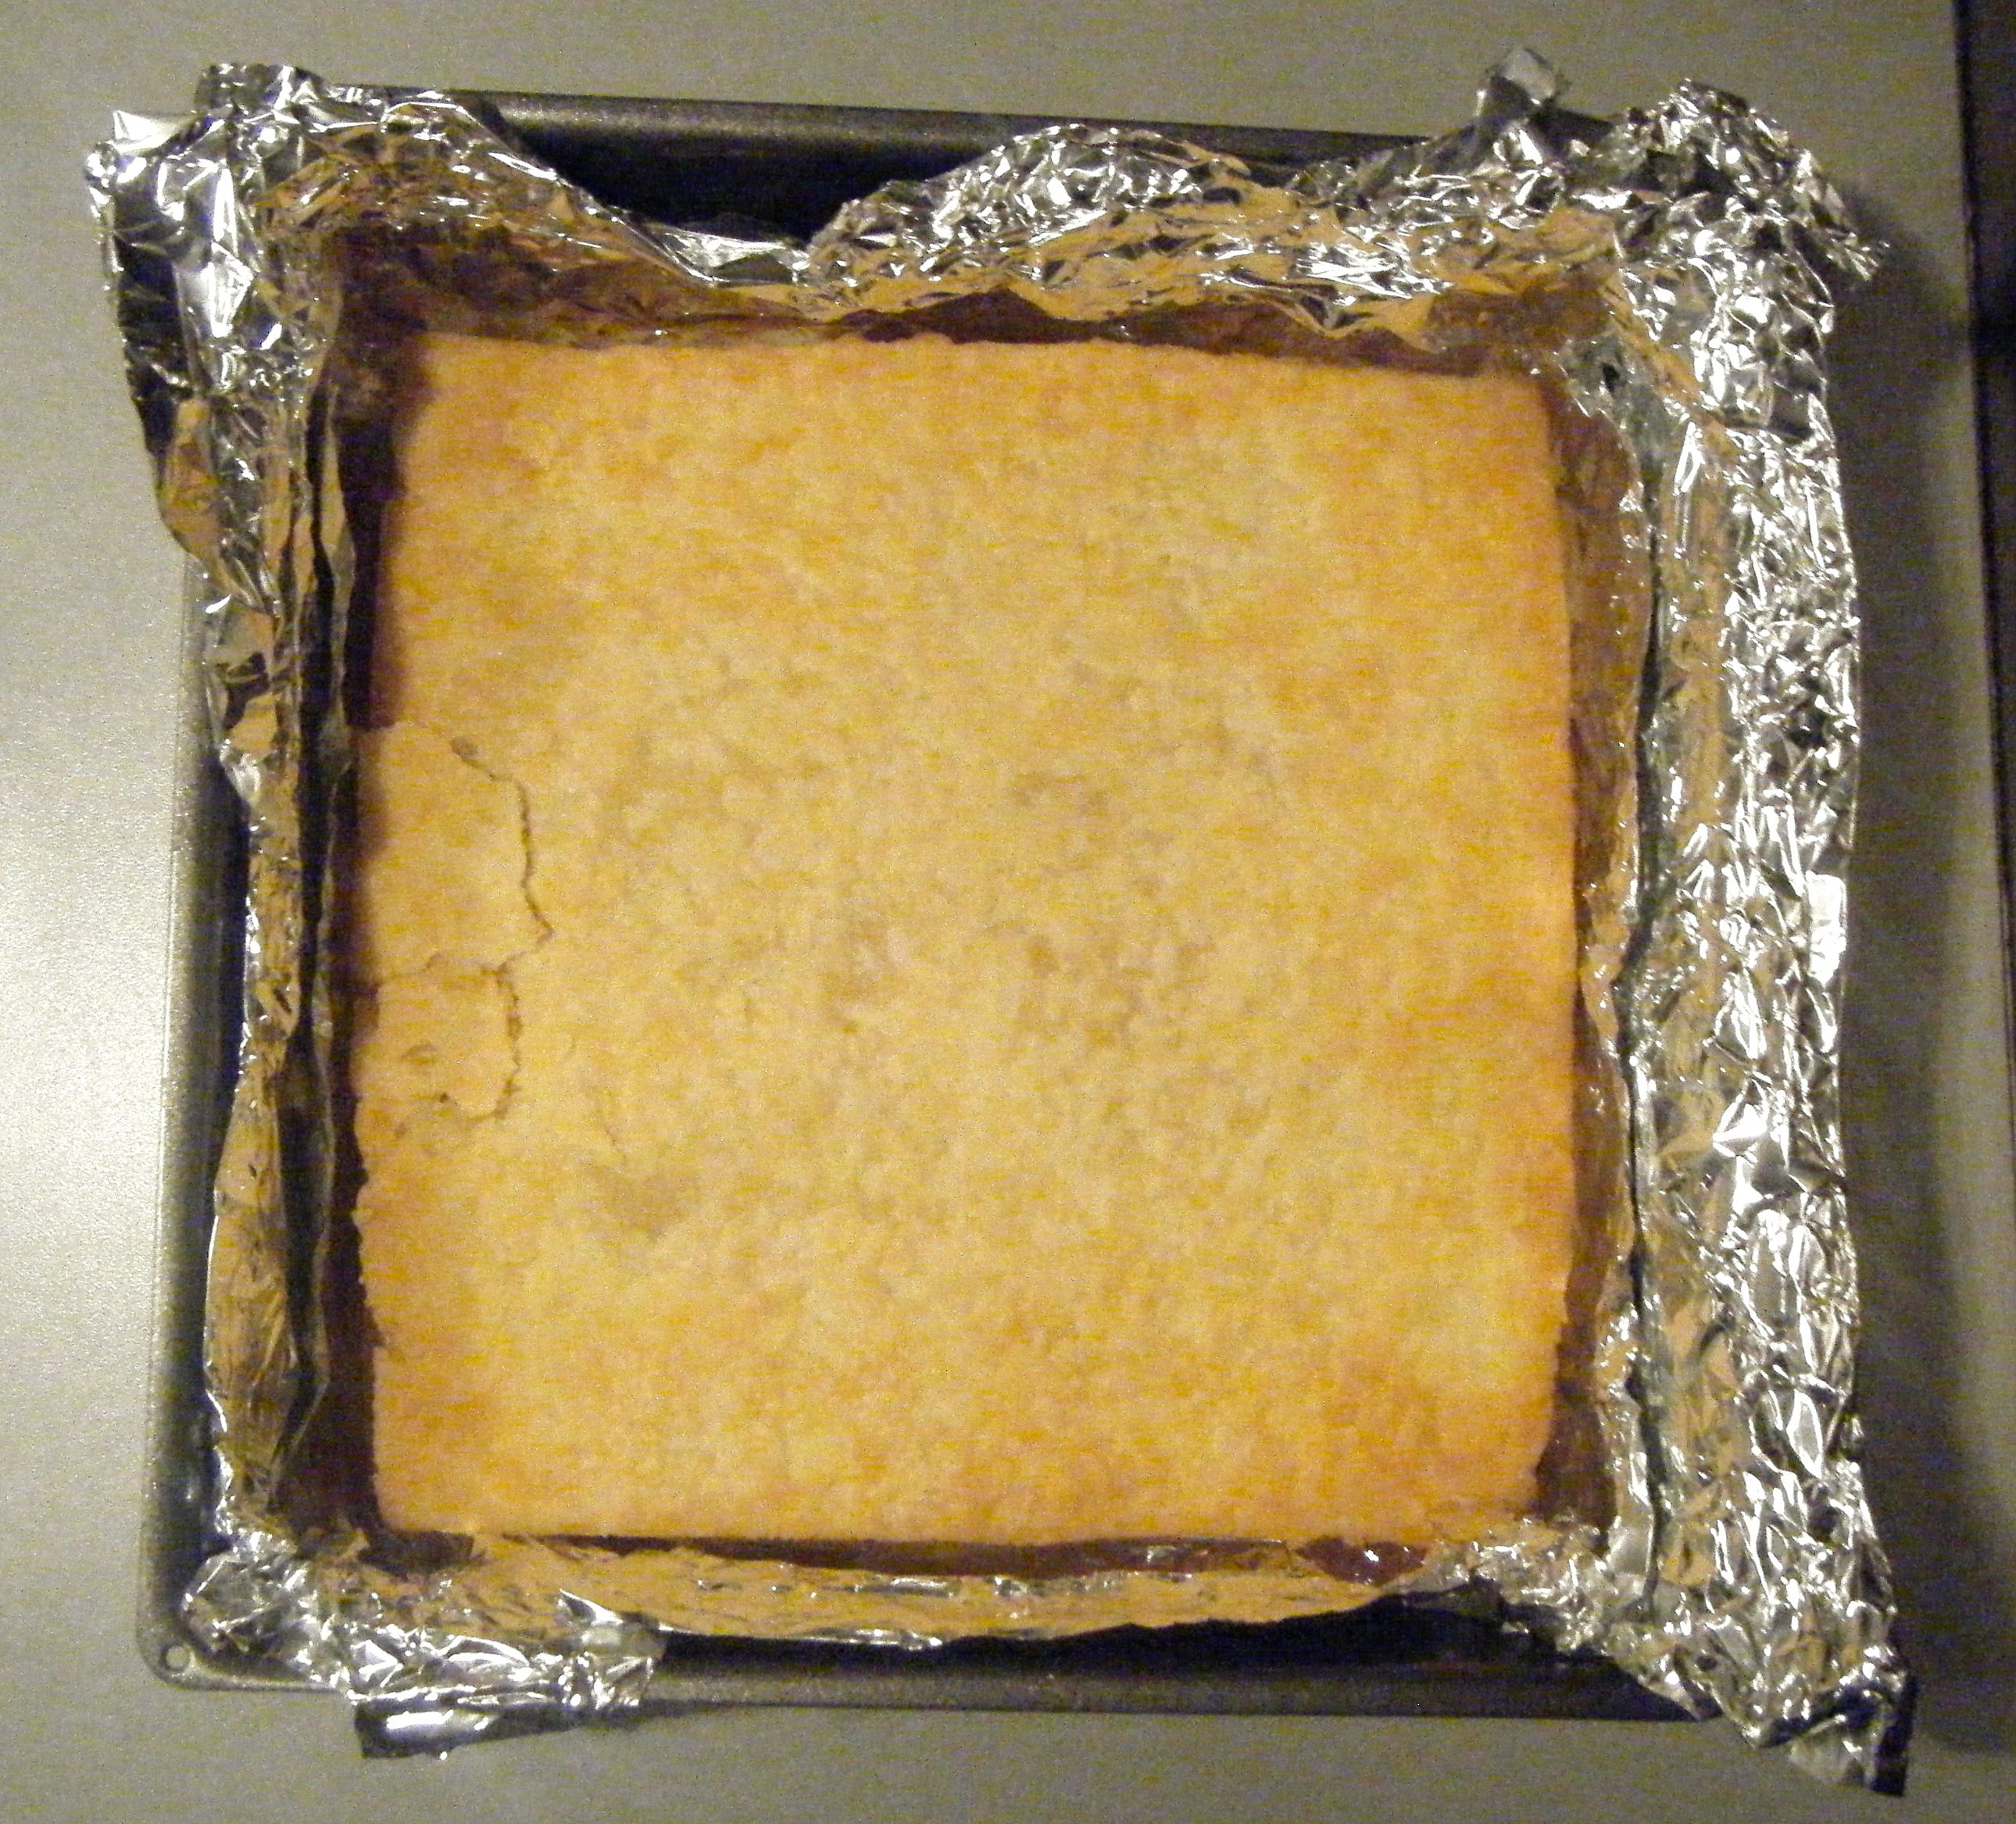
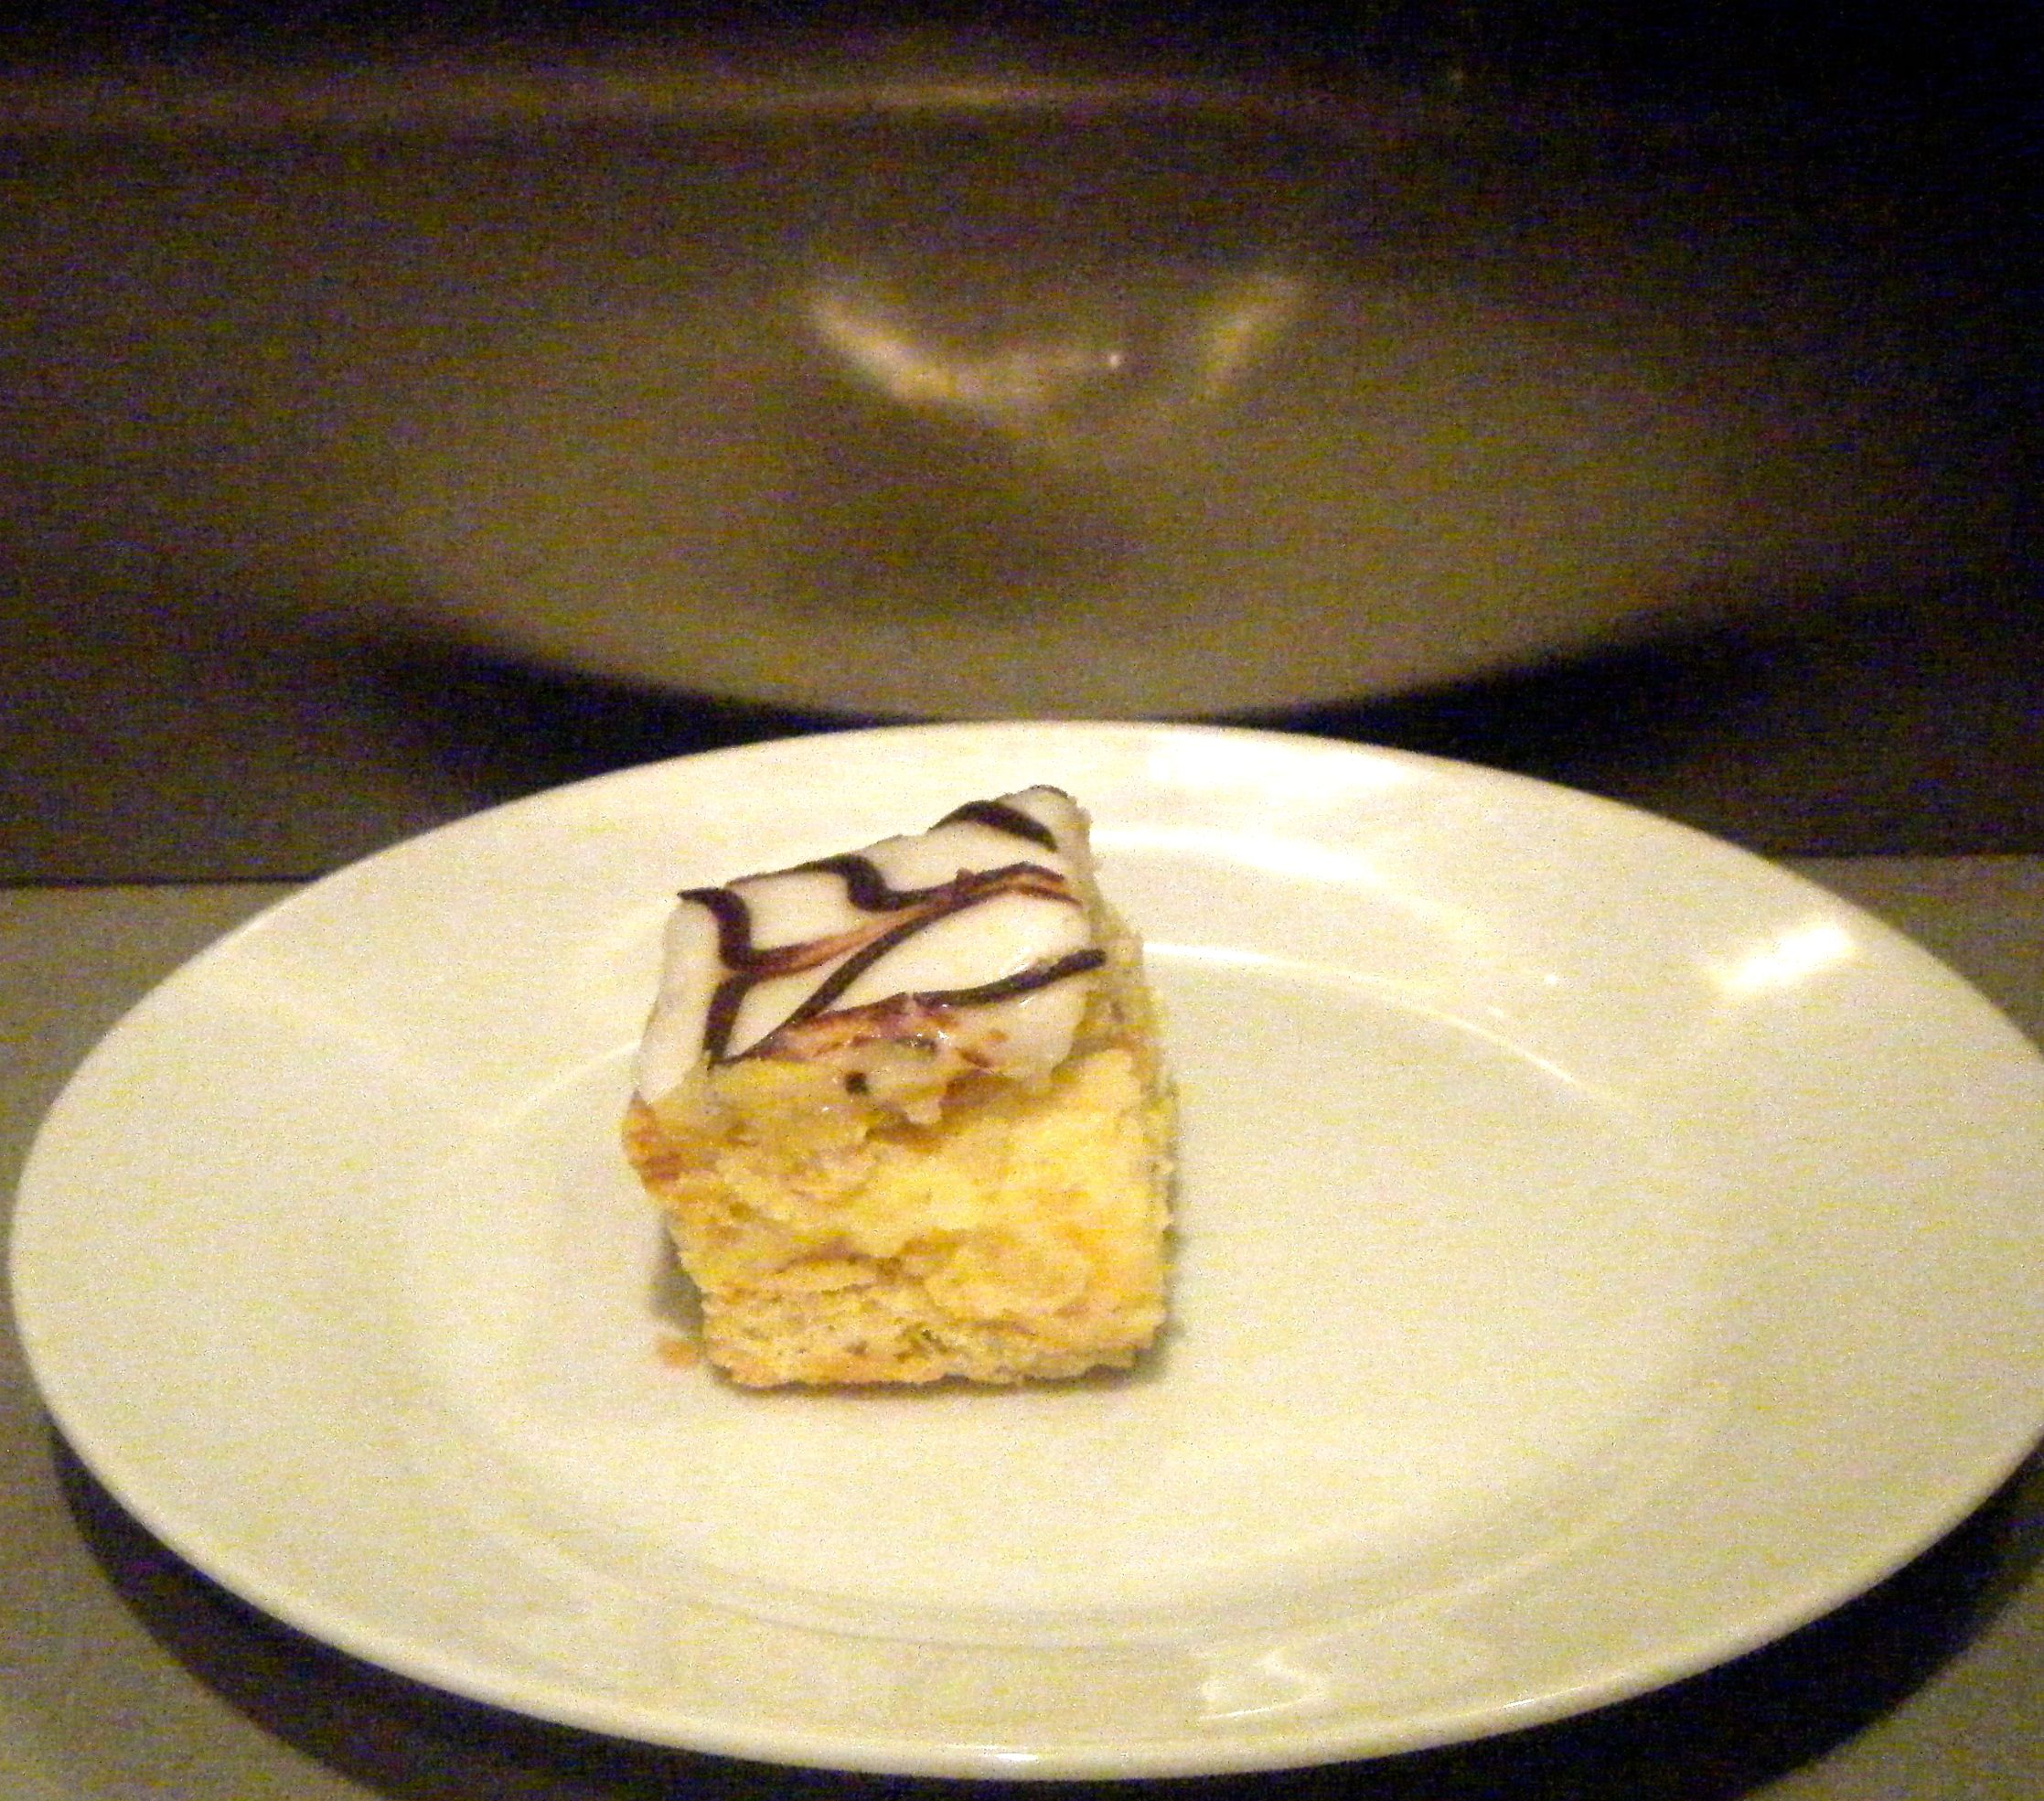
I left the cake to cool in the tin for 10 minutes and then put it on a cooking rack with the parchment still on the bottom.  Once it was cool, I cut a slice for me and Dave to share.

Ed - done  Ed - centre

Ed - slice

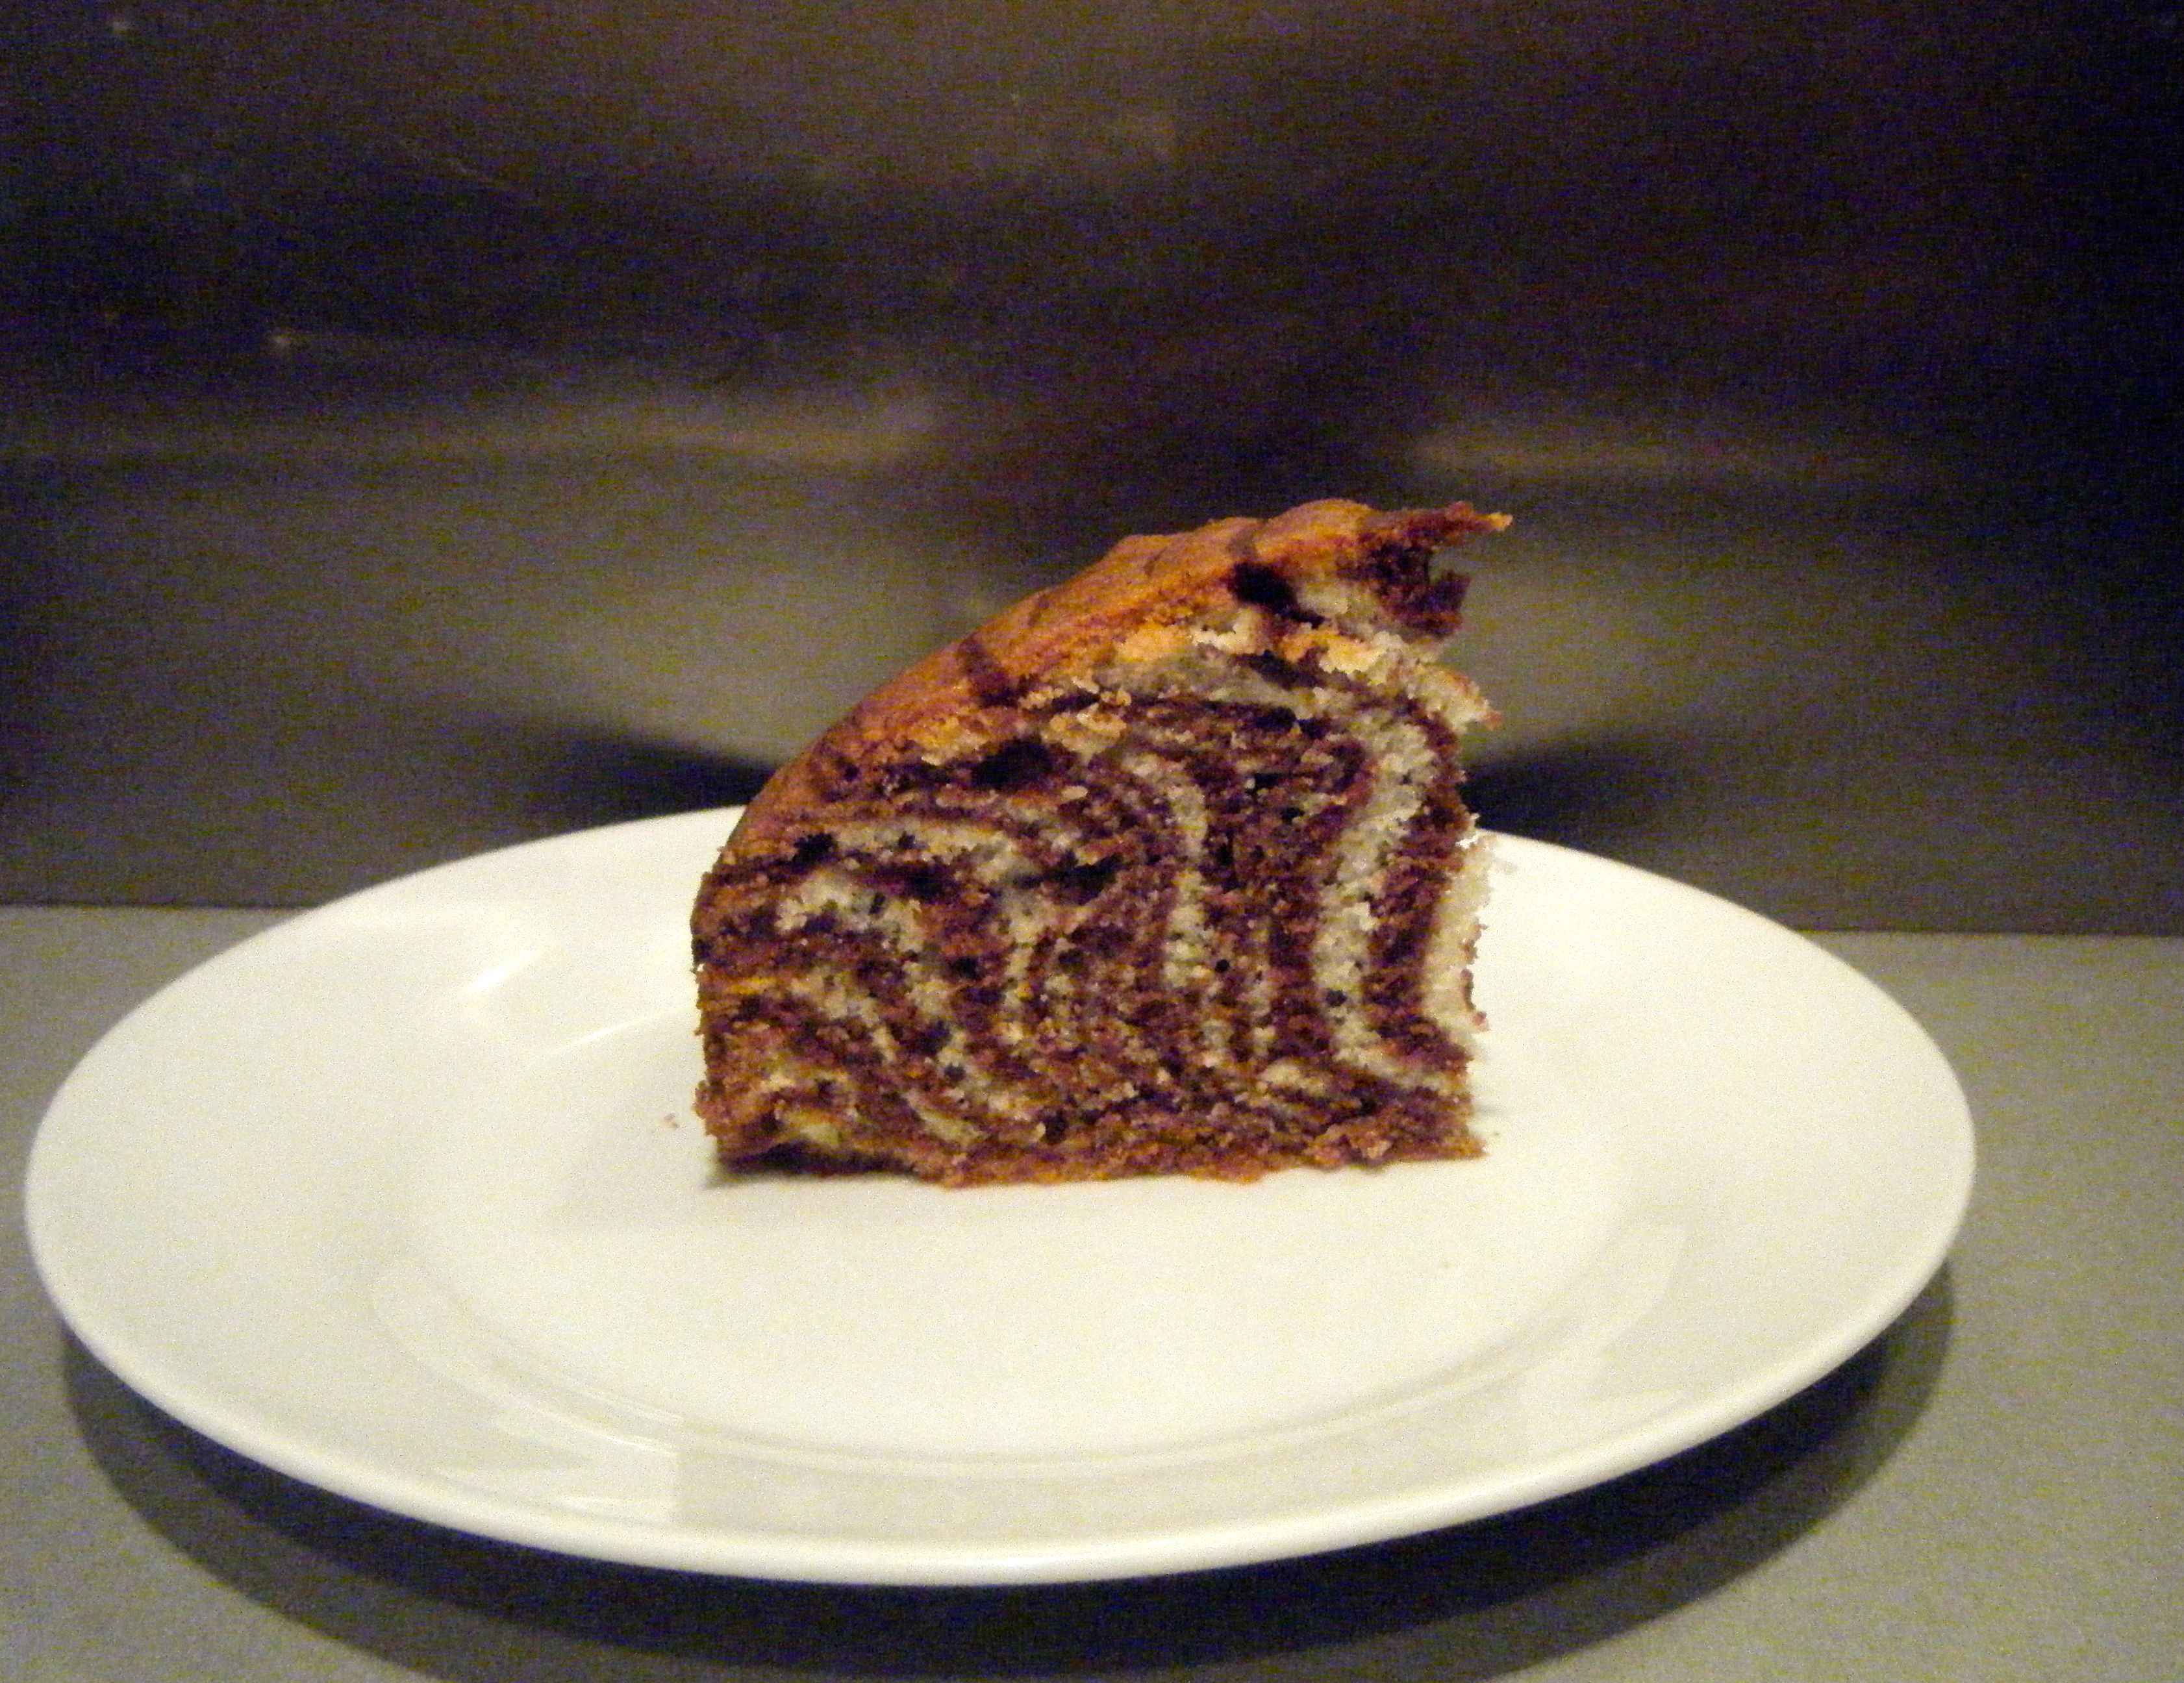
Well, what can I say about this cake…it was gorgeous!  It was so moist and full of flavour.  The chocolate orange flavour was soooo good and I would encourage everyone to have a go at this cake.  Not only does it look pretty and skilful, it tastes amazing. 

Even Dave, who isn’t generally the biggest fan of normal sponge cake, went back for a second, larger helping! 🙂

Coming up next week, Challenge No. 42 – Lamb boulangere.

Challenge No. 35 – Mother of all Milkshakes

This challenge was suggested by my milkshake-a-holic brother.  Despite being nearly 30, Si regularly orders milkshakes when we go out for dinner.  Over the last few years, I think he has become a bit of an expert.  With this, Si didn’t just suggest any old milkshake for this challenge, he specified that it should be the mother of all milkshakes.  I started thinking about all the different flavours I could bring together but then spoke to Si about what the mother of all milkshakes means to him.  And do you know what he said?  Just a good, simple, chocolate milkshake.  So here it is, my attempt to make a simple chocolate milkshake be the mother of all milkshakes.

I started by having a little look at what makes a good milkshake.  It’s not rocket science and a few simple things help make a good milkshake great.  In particular:-

  • Freeze your serving glass beforehand
  • Use good quality ice cream
  • Use full fat milk
  • Use a nice thick straw to drink through

I did some quick searches online and found a recipe for a homemade chocolate syrup here.  So to make this chocolate syrup and my mother of all milkshakes, you’ll need the following ingredients:-

  • 120ml water
  • 3 tbsp granulated sugar
  • 1 tbsp brown sugar
  • 6 tbsp cocoa powder (plus a little extra for dusting)
  • 1 tsp grated dark chocolate (plus extra to put in the milkshake)
  • 1 tsp vanilla extract
  • pinch salt
  • Vanilla ice cream
  • Milk (full fat is best!)
  • Double/Whipping cream

Edited - ingredients

With everything ready to go, I ran my glass under cold water and popped it in the freezer to chill.  I then got started on the chocolate syrup.  I put the water, sugars and cocoa powder into a small saucepan and mixed it all together. 

Edited - syrup pre

I put the saucepan over a medium to low heat to bring it to a simmer.  I then reduced the heat to low and let it simmer for 5 minutes, being sure to stir the mix regularly. 

I took the saucepan off the heat and stirred in the grated chocolate.  Once it had sat for a minute, I added the vanilla extract and a pinch of salt.  I poured the chocolate syrup into a pot and let it cool to room temperature whilst I had a yummy lunch with my family. 

Edited - chocolate syrup

Edited- Judy enjoying the bowl

Judy had the pleasure of licking the spoon clean 🙂

Once we were all well fed, I started to make the milkshake for us to enjoy as pudding.  I added the ice cream into my blender.  I actually used 500ml of ice cream as I was making enough milkshake for 7 of us. 

Edited - ice cream

Next up, I added the milk.  I started off with just a small amount and gave it a blitz.  I then checked the consistency and added a little more milk

Practical tip: if you add too much milk, you can just add more ice cream and vice versa.  It’s best to add a little at a time until you have it exactly as you want – plus you get to taste after each addition! 🙂

I then added about three table spoons of chocolate syrup and some chopped up chocolate before giving it another blitz.  Once the milkshake was at the right consistency and level of chocolate-goodness, I got my frozen glass out and poured in the milkshake.

I put some of the double cream into a bowl and whisked it with a balloon whisk until stiff.  I topped the milkshake, drizzled over some extra chocolate syrup and a sprinkling of cocoa powder.

Edited - milkshake

So here it is, my mother of all milkshakes and I have to admit it was pretty amazing! Unfortunately, my brother wasn’t there to try this one, although the spare chocolate syrup has been saved for him to use.   However, as I’ve said above, there were 7 of us to enjoy this milkshake and it was a resounding success.  We all had great fun enjoying this together and even my 86 year old nan had some 🙂

Edited - me and judy Edited - me and champ Edited - Linda enjoying the creamimage1

This milkshake was so rich and creamy with a perfect texture and the bits of chocolate added a delicious bite.  The chocolate syrup was amazing and I’ll definitely be making this again to try in other drinks and recipes. 

Coming up next week, Challenge No. 36  – eggs benedict

Challenge No. 33 – Custard Slice

This challenge was suggested by one of my closest friends, Libby, who I met 8 years ago when we moved to Sheffield for our first year of University.  Our accommodation wasn’t ready in time and so myself, Libby and our 6 other flat mates where put into temporary halls for the first week.  We were placed in an old hospital wing of one of the halls due to be knocked down.  It was a horrible place and unbearable for poor Lib who has a fear of all things hospital related! After such a traumatic start to University and a wonderful first year of adventures, it’s not surprising that us girls are all still so close.  We regularly meet up and spend our time eating, drinking and talking endlessly.  Whenever possible, I try to make sure I show up at these get togethers with baked goods for all to enjoy.  However, Lib managed to suggest not only a dish I had never made but one I’d never even eaten.  The, as I have now discovered, truly delicious, custard slice.

I did a quick search online and found a recipe by Paul Hollywood straight away.  I always enjoy making Paul’s recipes and with GBBO back on our TV’s, I thought it was rather fitting to use this recipe.

To make these custard slices, you will need the following ingredients:-

  • For the rough puff pastry
    • 225g/8oz plain flour, plus extra for dusting
    • ½ tsp salt
    • 200g/7oz butter, chilled and cut into 1cm/½in cubes
    • 140-160ml/5-5½fl oz water
  • For the crème pâtissière
    • 500ml/18fl oz milk
    • 1 vanilla pod, split down the middle and seeds scraped out
    • 100g/3½oz caster sugar
    • 4 free-range eggs, yolks only
    • 40g/1½oz cornflour
    • 40g/1½oz butter
  • For the icing
    • 200g/7oz icing sugar
    • 5 tsp water
    • 50g/2oz dark chocolate, melted

Edited - ingredients

As instructed by the recipe, I started by making the puff pastry.  I put the flour, salt and one third of the chilled butter into a large bowl.  Making sure my hands were cold, I started rubbing the mixture together until it resembles breadcrumbs.

Practical tip: warm hands will begin to melt the butter and the mix will become too wet.  If, like me, your hands are prone to being warm, run them under a cold tap for a while and dry them thoroughly before you get started.  Repeat this cooling process periodically to make sure your hands don’t warm up too much.

Edited - butterEdited - breadcrumbsI added the remaining butter (which I kept in the fridge whilst I did the first bit) and gentle rubbed to bring together but being careful to leave some lumps.  I then added the water, only a little at a time.  The recipe says to add just enough until the pastry combines.  I actually only used 65ml of water.  I think this may have been because I rubbed too much of the second lot of butter into the mix so it didn’t need much more moisture.  I panicked a little but decided to carry on and see what happens.

  Edited - added butterEdited - rubbed together

I floured the worktop and tipped out the pastry.  I floured the top of the pastry, turned it over, floured it again along with the rolling pin and then set out rolling the pastry into a rectangle.  I then folded the bottom third up and then the top third down.  I wrapped the pastry in cling film and popped it in the fridge.  The recipe says to put it in the fridge for 10 minutes but because it was quite warm in the flat, I decided to let it chill for 15 minutes.

Edited - rectangle Edited - folded

Once the 15 minutes were up, I rolled the pastry into another rectangle, folded the bottom third up, top third down and popped it in the fridge for another 15 minutes.  I then repeated the step for one final turn before letting the pastry rest in the fridge.

Next up, I got started on the crème pâtiessière.  I put the milk in a pan over a low heat and added the vanilla pod and seeds. 

Edited - milk

Practical tip: the difference between scalding and boiling milk is very small.  If you have a heavy based pan, this is easier to control but you still need to be careful.  Make sure you keep the heat low and be patient.  Stir the milk occasionally and keep a close eye on it.  Reaching boiling point will happen all of a sudden and the milk will start to foam and bubble up.   

Edited - boiling milk

Whilst I was waiting for the milk to boil, I put the caster sugar and corn flour into a bowl and got my egg yolks ready.  As soon as the milk started boiling, I took it off the heat and added the egg yolks to the sugar/cornflour mixture, whisking it together with a balloon whisk.

Edited - caster:cornflour Edited - egg mixture

I then added a small ladle of the hot milk and whisked until combined.  I gradually added the remaining milk, being sure to whisk continuously as I did so.

Edited - running crem pat

I returned the milk mixture to my pan and popped it back on a medium heat.  I stirred continuously with one hand whilst searching on the internet for a video to show me how thick the mixture should be.  Just as I found a third video (which I hoped would be more helpful), it happened…the mixture started to thicken!  Lumpy at first but I kept stirring, pausing only to assess whether it had reached boiling point again.  After less than a minute, I had a lovely thick, smooth custard.

The recipe then says to pass the mixture through a sieve into a clean bowl.  I might need a new sieve or maybe this is normal but it took me a lot of hard work to do this!  Finally after a vigorous 20 minutes, during which I had to strip off a layer of clothing and tie my hair up, I had pushed near enough all the mixture through the sieve. 

Edited - creme pat

I then added the butter and mixed until it was melted.  I’d kept the butter in the fridge thinking the mixture would be very hot but after the 20 minutes it took me to sieve it, most of the heat was gone.  I therefore decided to chop the butter into small pieces to help it melt properly.  I let it cool for a further 5 minutes and then covered the crème pât before putting it in the fridge to chill.

I took the pastry out the fridge, divided it into two equal pieces and rolled each into a 20cm square.  I used the base of a 20cm tin to trim the pastry to size.

Edited - rolled pastry

I placed each square onto a tray lined with baking paper and popped it in the fridge for another 15 minutes whilst I tucked into our takeaway dinner which had arrived whilst I was fighting with the sieve!

Once chilled, I popped the pastry into a pre-heated oven on 220 degrees celsius for 15 minutes.  I had to use 2 trays which wouldn’t fit on one shelf together so after 5 minutes, I switched them over.  And then again after the next 7 minutes.  Once they were cooked, I left the pastry squares to cool on the trays.

Edited - cooked pastry

I lined a square tin with foil and then placed one of the cooled pastry squares into the bottom.  The recipe says to use a 23cm square tin but the pastry looked a bit lost so I took it out and transferred the foil to my loose base 20cm square tin before adding the pastry again.

Edited - layer 1

I spooned the crème pât onto the pastry and used an icing spatula to spread it out as evenly as possible.

Edited - layer 2

I added the second pastry square (which broke slightly!) and got started on the icing.

Edited - layer 3

I sifted the icing sugar into a bowl and gradually added the water.  I used a little more than the recipe suggested as the mixture felt too stiff to be able to spread on the delicate pastry.  If you do this, just be careful to add a small amount at a time, it’s amazing how quickly the icing can turn from being too thick to being too runny. 

Edited - icing

I let the icing to one side whilst I melted the chocolate.  To do this, I put the squares into a mug and popped it in the microwave for around 30 seconds, string part way through.  I then gave it a good mix until it was nice a smooth.  I took a disposable icing bag and put it into a glass without cutting the bottom.  I added the chocolate and left it to firm up slightly whilst I iced the top of the pastry.

After the chocolate had cooled slightly, I snipped off the corner of the icing bag to leave a very fine ‘nozzle’.  I then piped parallel lines onto the white icing.  I started off with 5 (not very evenly spaced) lines and then decided I could pipe some more in between each of them.  Once there was enough chocolate lines, I took a tooth pick and pulled parallel lines across the melted chocolate and icing in alternating directions to create the feathered effect.  I had never done this before and was impressed with how easy it was to make the decoration look so good!

Edited - feathered

I then put the finished custard slice back in the fridge to set over night.

The next day I used a sharp knife to cut it into small squares and boxed them up to take with me to Doncaster, where I was due to spend the day with 4 of the girls from University and one of their parents.  Unfortunately, Libby wasn’t at this get together and so didn’t get to try her suggested challenge.  However, everyone who got to try them said they were very delicious.

Edited - sliced up Edited - served up 2

I personally was really impressed with these.  This challenge pushed me to try new techniques in making puff pastry and crème pât, both of which turned out really well.  Plus, I discovered a new sweet treat favourite!  As I write this, I’ve just had one of the left over slices (well there weren’t any left over from Doncaster, but I sneakily kept a couple of squares at home for me and Dave) and they really are absolutely yummy!

Coming up next week, Challenge No. 34 – sausage rolls.