Challenge No. 36 – Eggs Benedict

Breakfast, brunch, lunch or dinner…I really don’t care what time of day it is, I will always happily devour a plate of eggs benedict.  I absolutely love it and I cannot get enough of hollandaise sauce.  This recipe was suggested by mum and whilst I was so happy to get to eat this dish as part of Challenge 52, I was actually pretty terrified about making it.  I’ve always cheated and used a egg poaching microwave gadget and packet hollandaise sauce.  But as Challenge52 is all about learning new kitchen skills and recipes, it is only right that I made the sauce and learn to poach eggs the proper way.

I’ve actually tried poaching an egg before.  I got a pan, half filled with water, I added a splash of vinegar, gave it a stir and added my egg.  It all sounded right but the results was anything but.  The egg just spread out in the water and made a right mess.  I ended up getting out my microwave cheat and I haven’t tried again since…until now.

I found this recipe by Jamie Oliver which looked absolutely delicious! The recipe serves 2 to 4 people, however, this is a dish Dave didn’t want to try (sometimes I really don’t understand him!!) so I adjusted the quantities.  I love hollandaise sauce so I left the quantities for this bit unamended meaning I could have lots of it! I also decided to leave out the lemon from my spinach, simply because I’m not a fan of food which has been covered in lemon.

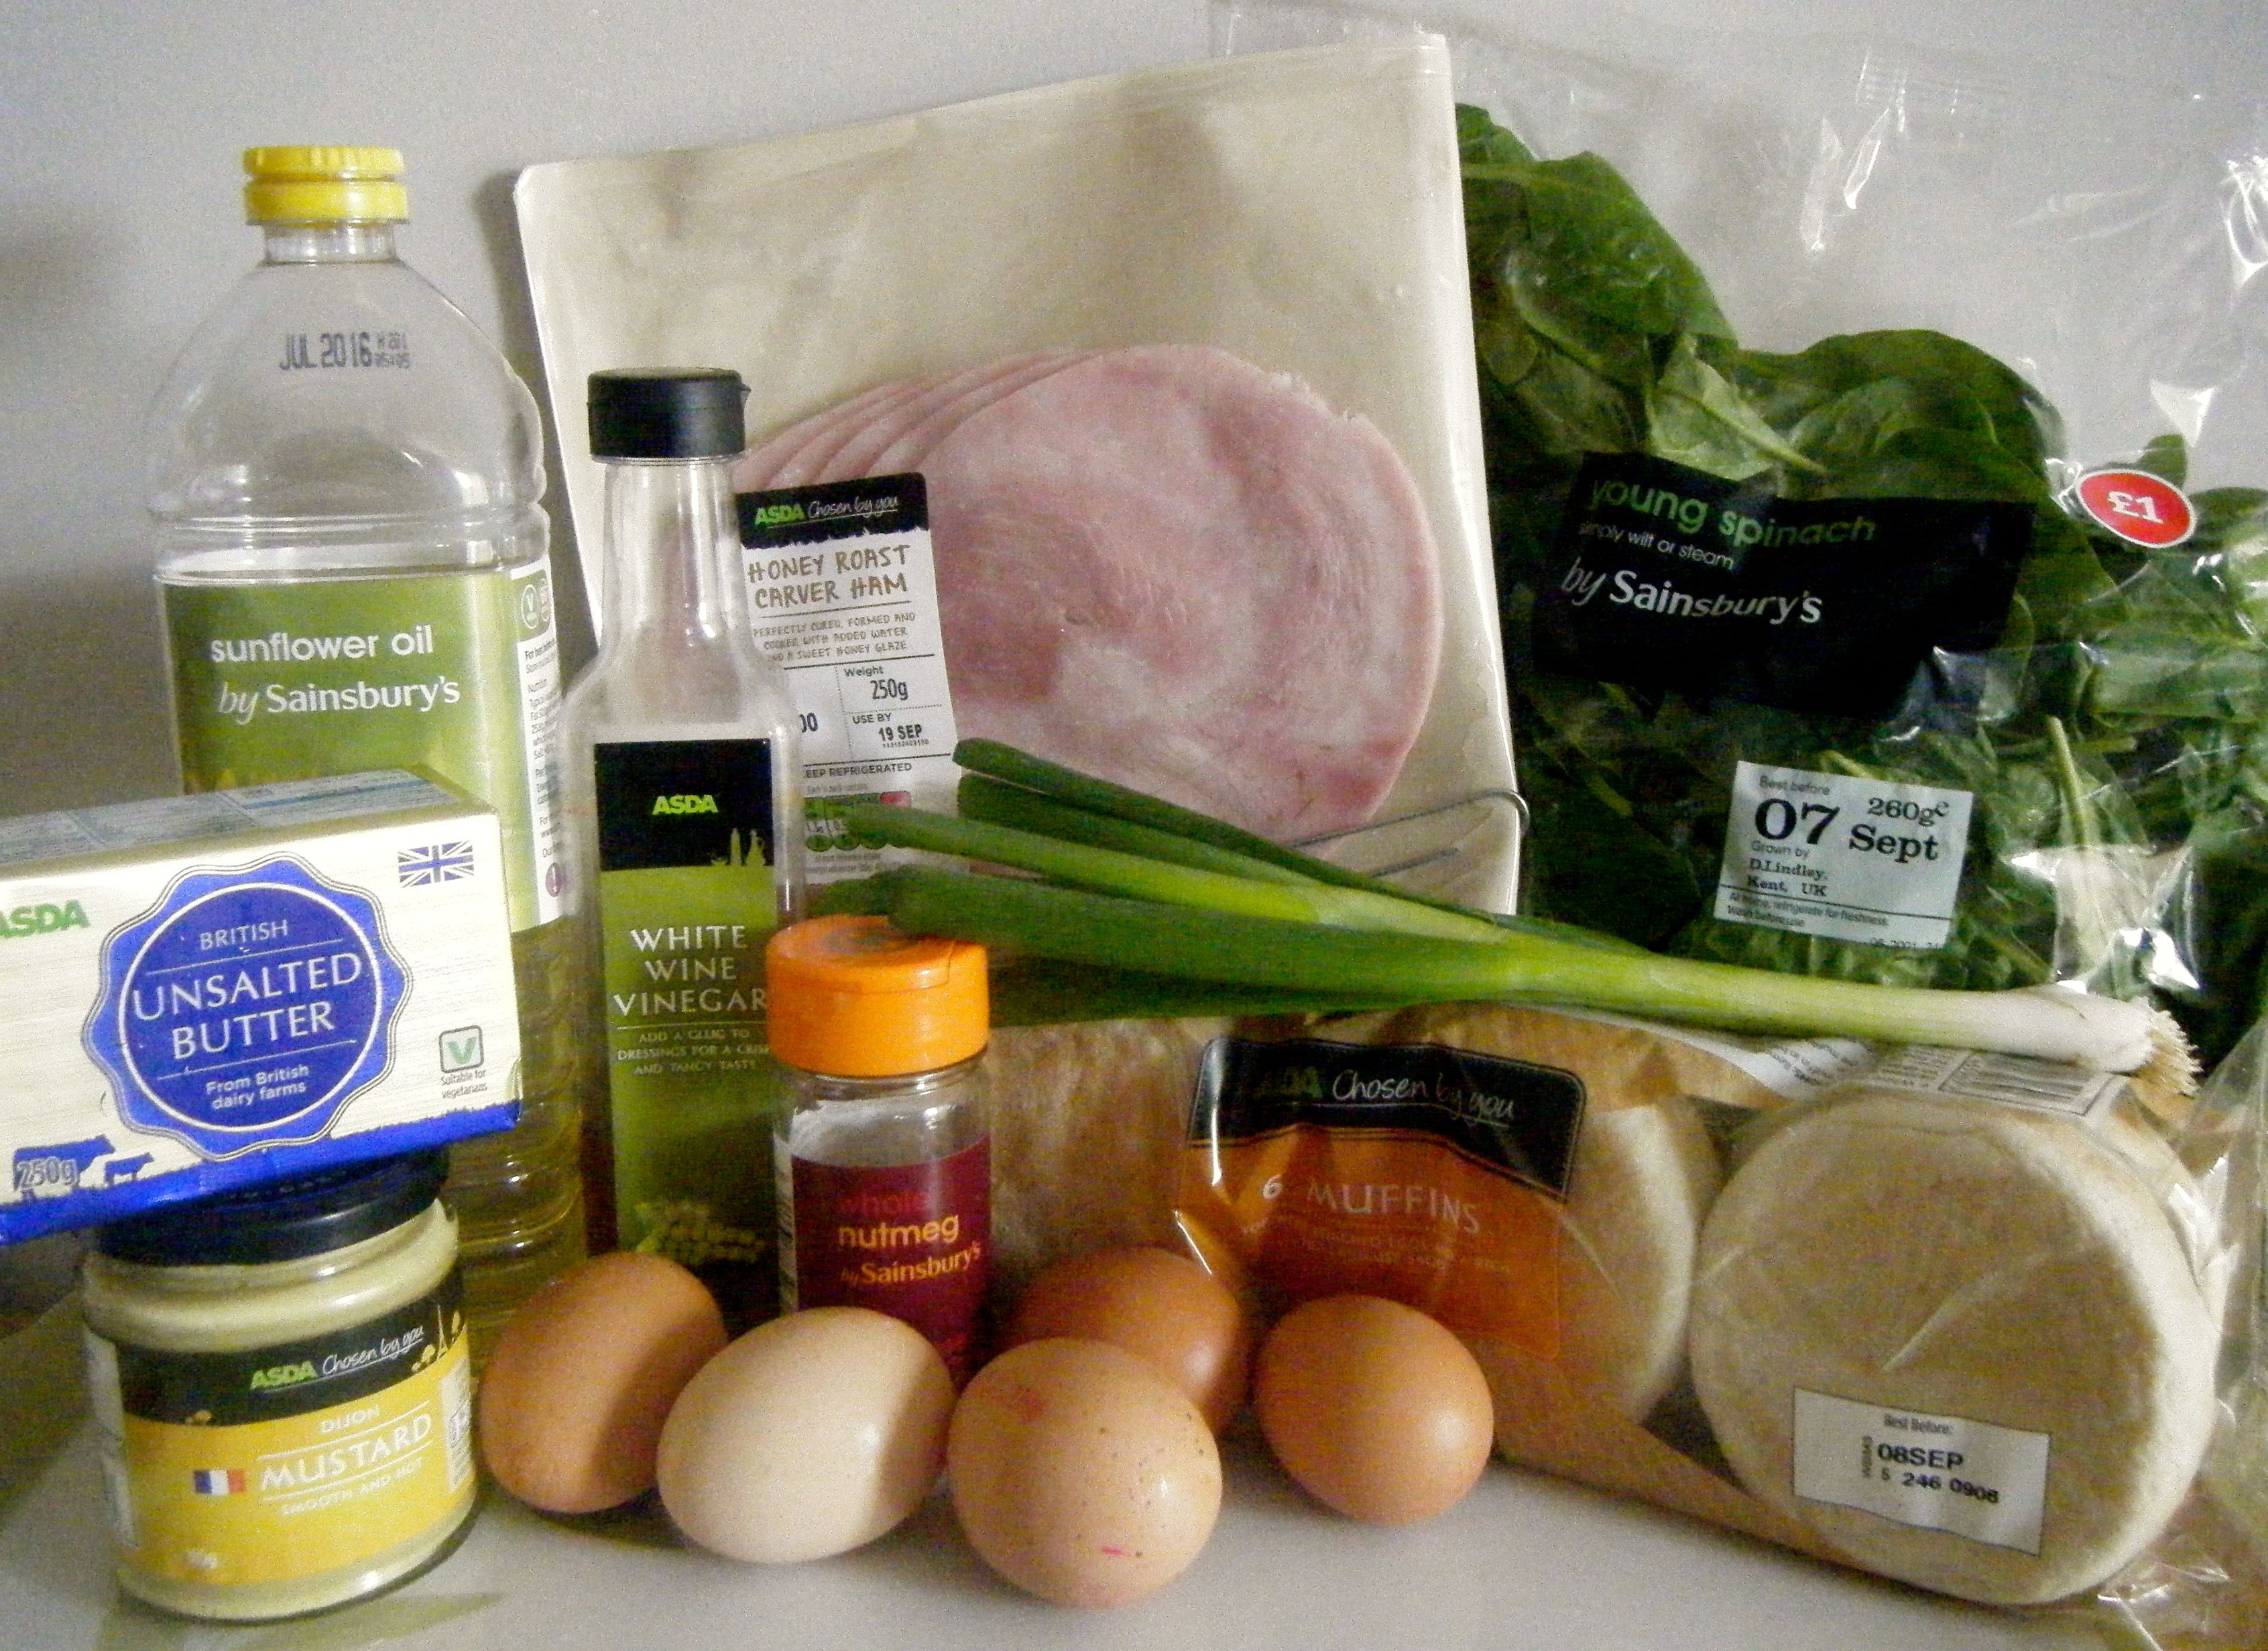
So for my slightly adjusted recipe, you will need the following:-

  • 2 spring onions
  • olive oil
  • 200g baby spinach
  • 1/2 a whole nutmeg, for grating
  • Salt and pepper (missing from my photo!)
  • 1 English muffins
  • 3 free-range eggs
  • 1 large slice of ham
  • For the hollandaise:
    • 100 g unsalted butter
    • 2 large free-range egg yolks
    • 1 teaspoon Dijon mustard
    • 1/3 tbsp lemon juice (this is also missing from my photo!)
    • white wine vinegar

Edited - ingredients

I started by making the spinach topping.  I finely chopped the spring onion and added it to a pan with some hot oil.  I gave it a stir and then added the spinach.  It was near enough spilling over the side of the pan so I decided to let this cook down slightly before I grated over half a nutmeg and seasoned it with some salt and pepper.  I then gave it another mix together and let it cook until all the moisture was cooked out.  This actually took quite a while and at one point I decided to squash the spinach to release some of the water and then tip this out of the pan.  Eventually I had a lovely smelling and dark spinach mixture which I transferred to an oven proof dish, covered with foil and popped it in the oven on a low heat to keep warm.

Edited - leaves Edited - spinach

Practical tip: my research told me that hollandaise sauce doesn’t reheat very well.  However, to make the sauce and poach eggs at the same time is not easy.  So I dug out a thermal mug, filled it with boiling water whilst I made my sauce.  When the sauce was done, I poured the water away, dried the mug and added my sauce.  I put on the lid and put it to one side whilst I poached my eggs.  It worked perfectly!   

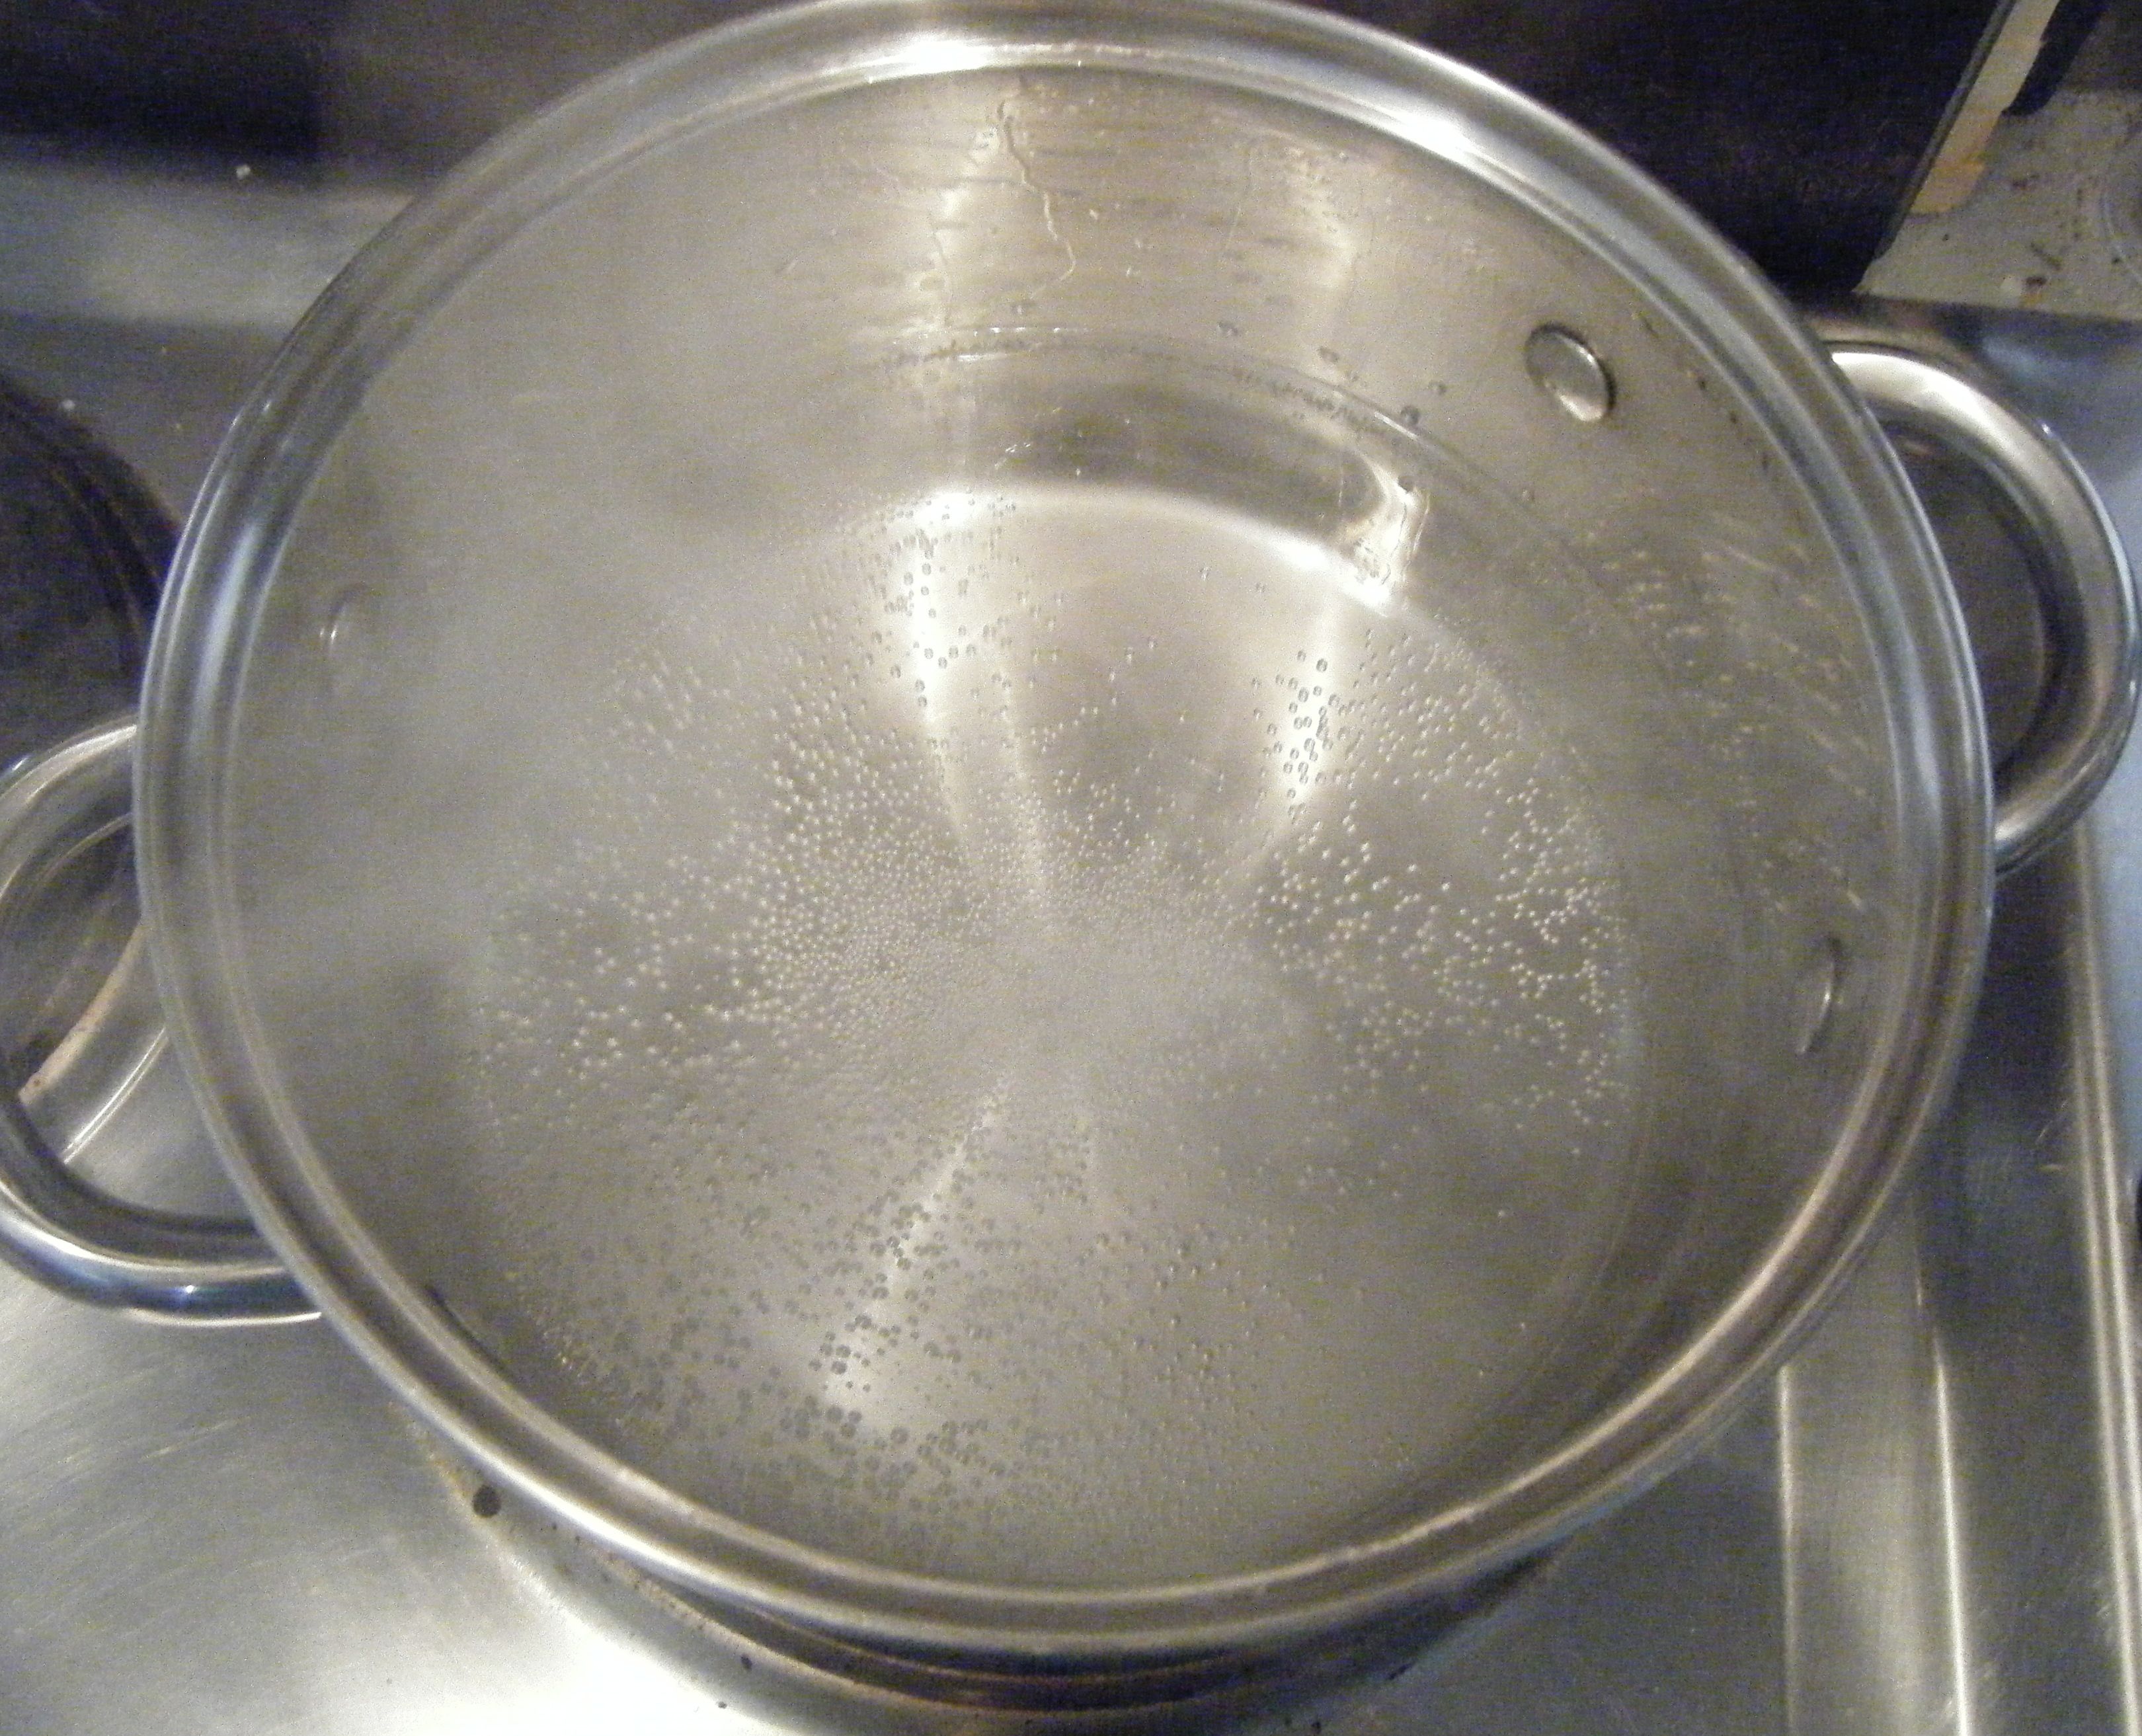
With my thermal flask heating up, I got on with the hollandaise sauce.  I filled my small pan with some water and put it over a medium to low heat.  I then separated the egg yolks and put these into a heatproof glass bowl.  At the same time, I measured out the mustard and lemon juice ready to be added to the eggs. 

Edited - eggs
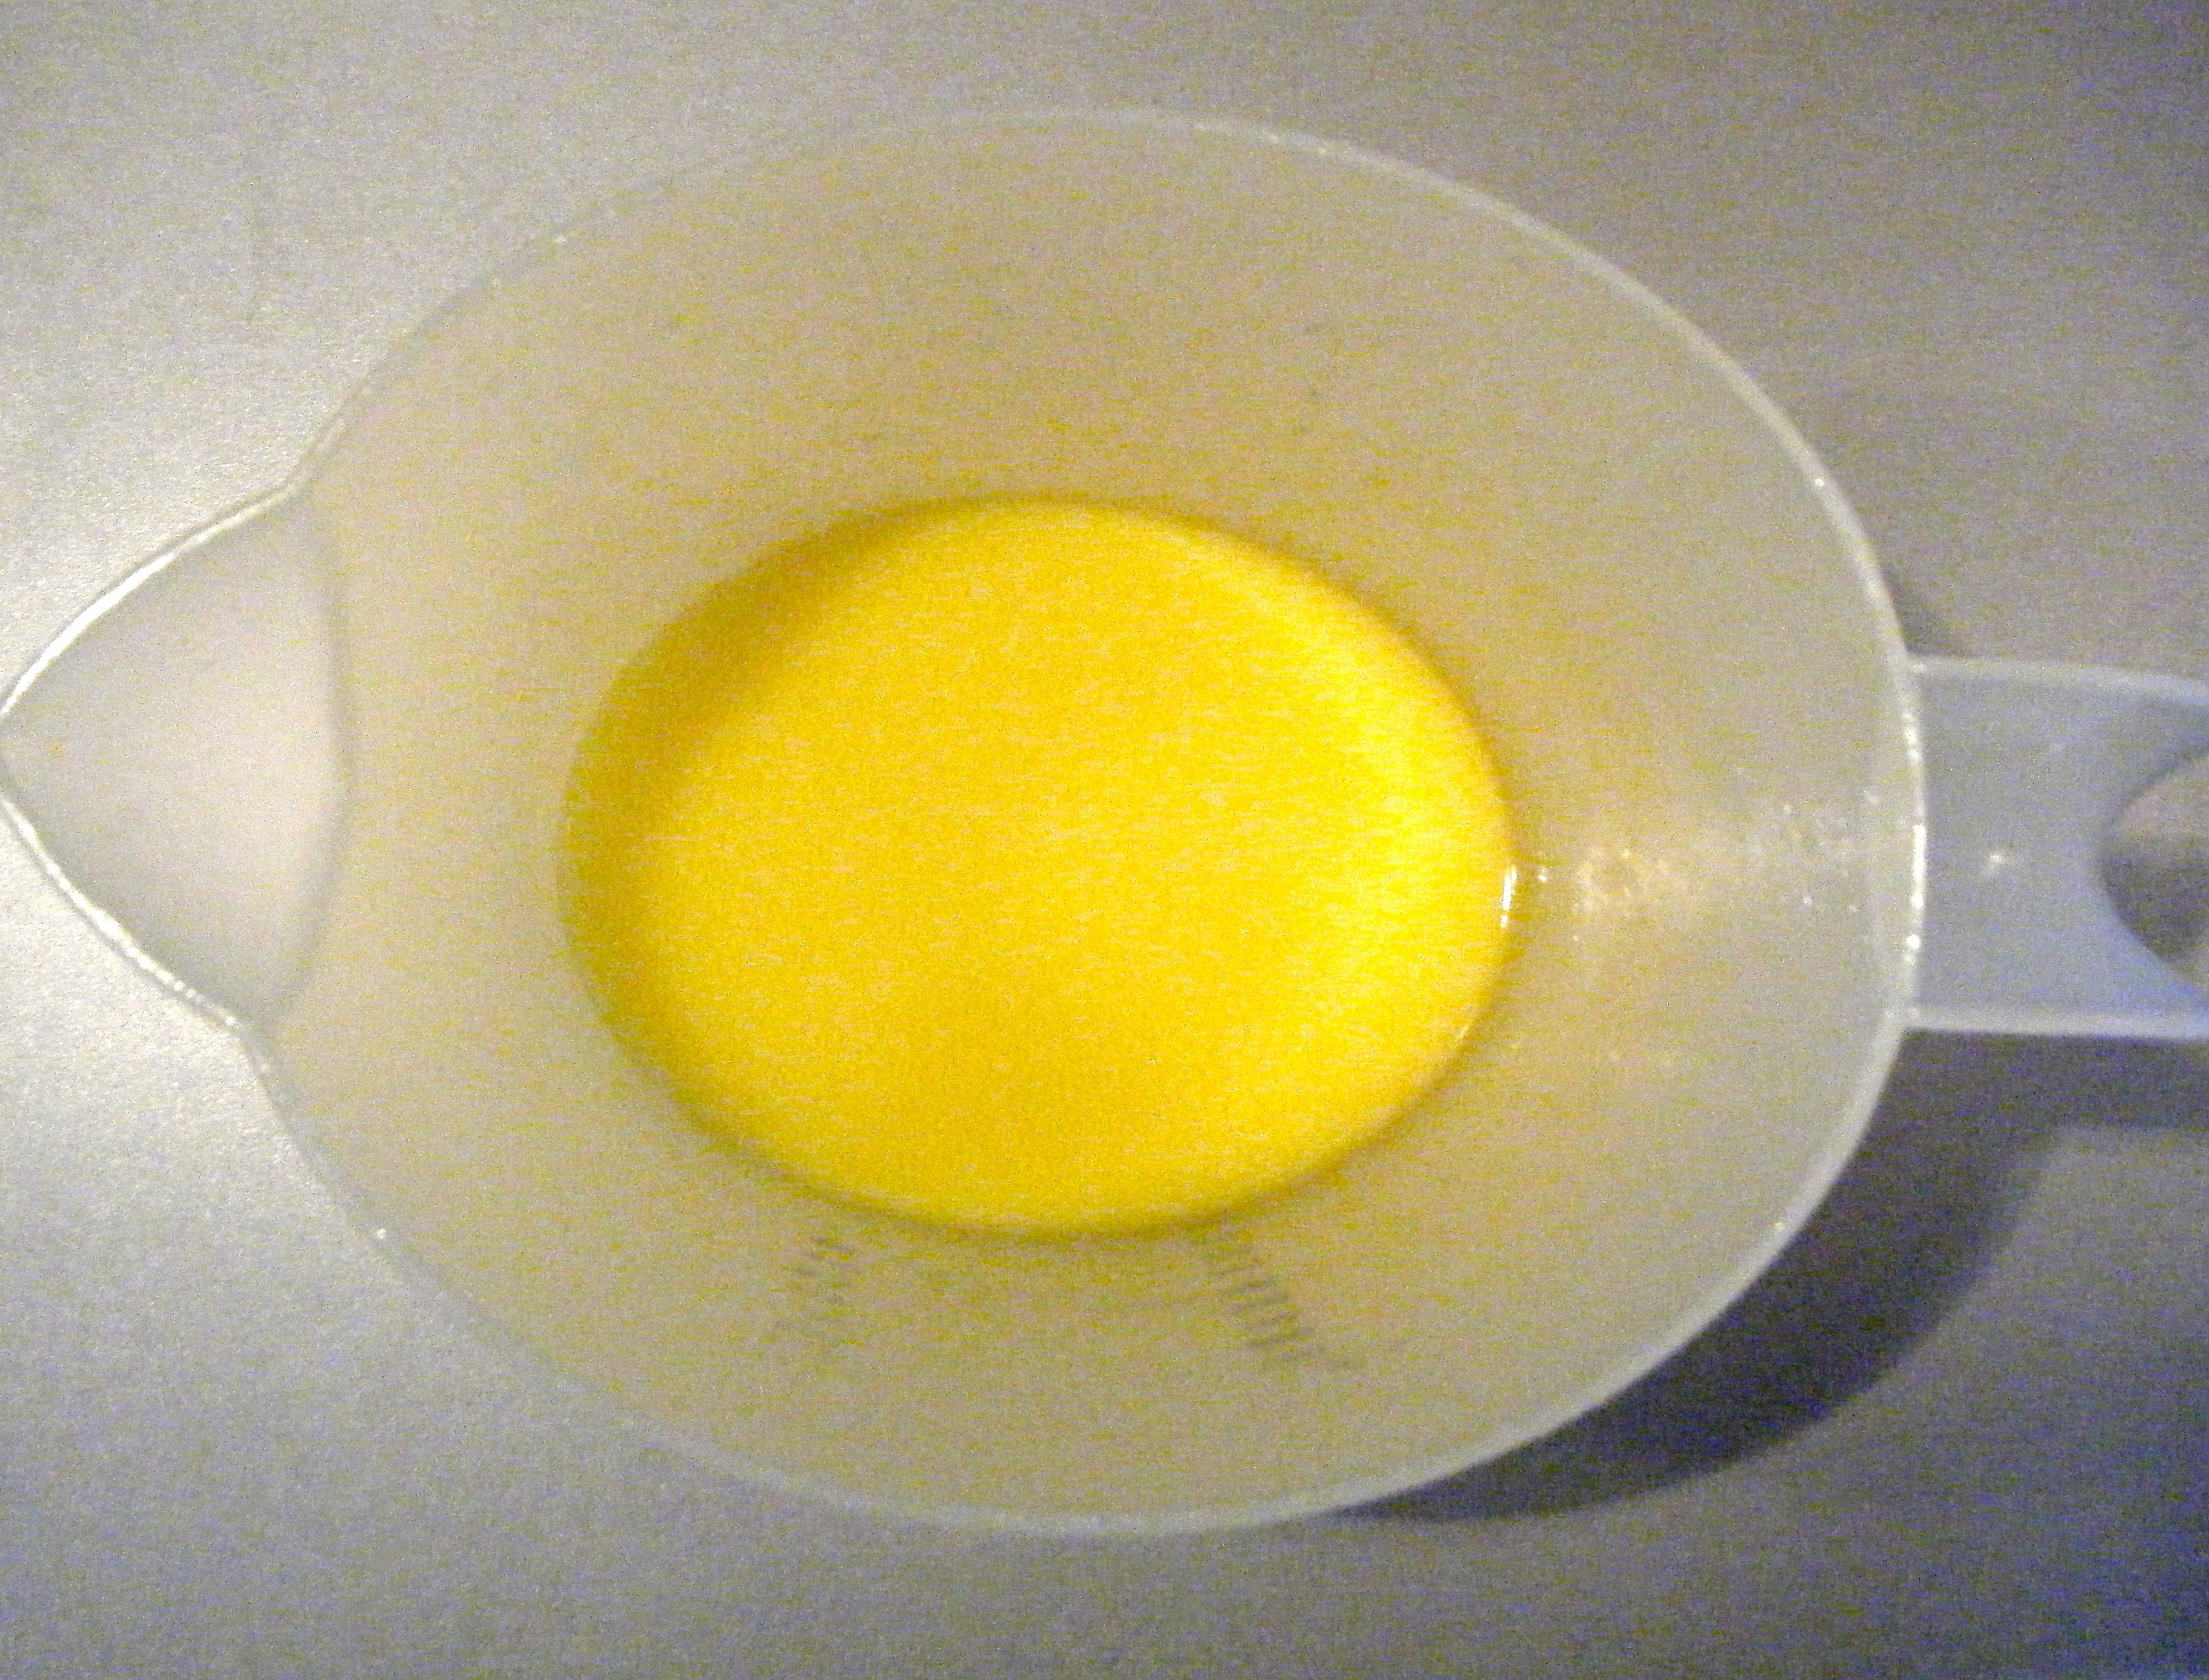
Whilst the pan was coming up to heat, I melted my butter.  The recipe says to do this in a pan on the hob.  However, I don’t have enough pans for this so I decided to melt it in a jug in the microwave and it worked perfectly.

Edited - butter

Once the pan of water was just bubbling, I put the bowl with the eggs in on top (making sure the water didn’t touch the bottom of the bowl).  I started whisking the eggs, poured in the mustard and lemon juice and whisked it together.  I then very slowly added the butter, being sure to continue whisking constantly.

Practical tip: keep an ice cube to hand and if the mix starts to split add it to your bowl.  I didn’t have to do this but apparently it helps.

When the sauce started to thicken up, I added a splash of white wine vinegar and gave it a taste.  It was delicious! So I emptied and dried the thermal flask before pouring in the hollandaise sauce to keep warm.

Edited - hollandaise sauce Edited - thermal flask

I sliced the muffin in half and popped it under the grill whilst I poached my eggs.  I half filed a large pan of water and bought this to a simmer. 

Practical tip: make sure the water isn’t too hot.  It should be just simmering, but definitely not boiling.

Edited - simmering water

I put a drop of white wine vinegar into a small jug and then broke in one of the eggs.  I whisked the simmering  water with a balloon whisk to create a vortex before carefully pouring the egg into the centre.  I did this very slowly, dipping the tip of the jug into the water to help with a smooth transition.  I then covered the pan and let it simmer for 3-4 minutes.  I fished out the egg with a slotted spoon and put it on some kitchen roll to drain off.  I then repeated this with my other three eggs.

Edited - poached

Once these were done, it was time to assemble everything.  I topped each half of the toasted muffin with some ham, the spinach mixture, a poached egg and finally some of the lovely hollandaise sauce.  Time to tuck in 🙂

  Edited - served up Edited - served up4

Oh my gosh! This was absolutely amazing! I am so proud of myself for the poached eggs.  The first one was slightly over done but the other two were perfectly runny.  And the hollandaise sauce was so rich and quite frankly so much nicer than the packet stuff I usually use! I can’t believe I’ve never made this before.  If you are a fan of eggs benedict I would encourage you to give this recipe a go!  I’ll definitely be making it again and again.

Coming up next week, Challenge No. 37 – panna cotta with fruit coulis

Challenge No. 28 – Pizza

I don’t know about you, but I absolutely love pizza! My dad is a pizza supplier and there was always a lot of pizza in the house growing up, so much so that I think my brother and I perhaps share a slightly unhealthy love for pizza.  If I had to choose one meal to live on for the rest of my life, I’m pretty sure it would be pizza.  So when my mum suggested this as one of the challenges, I thought it was brilliant.

I had a quick search online and found a recipe for a mozzarella and pesto pizza with homemade base and sauce.  I used different toppings but the dough and sauce recipe was just perfect for what I wanted.  So to make this recipe, you will need the following ingredients:-

  • 500g bread flour (plus more for kneading)
  • 1tbsp salt
  • 330ml tepid water   
  • 2 tbsp olive oil
  • 1tbsp golden sugar
  • 1 7g sachet of dried yeast
  • 1 tin of tomatoes
  • 1 tsp of oregano
  • 1 clove of garlic
  • 1 tsp of salt

Edited - ingredients

I started by sifting my flour and salt into a large bowl and then made a well in the centre.

Edited - well

I mixed the water, oil and sugar together and then added the yeast.  I gave it a good mix and waited 3 minutes before pouring the mixture into my flour well.

Edited - premixing

I used a metal spoon to slowly stir the flour into the liquid until it was well combined. I ended up having to add a little bit more water as it seemed a bit too dry.  I just added a few drops at a time until it came together as a relatively sticky dough.

I floured my work top and tipped out the dough ball.  I gave it a good knead for about 10 minutes until it was smooth and springy.  I popped it in a clean bowl which I had covered with a fine coating of flour, sprinkled some flour on top of the dough and then I covered the bowl with a damp tea towel.  I put the bowl in the hottest part of my flat, in front of the working tumble dryer and set the timer for 1 hour.

Edited - ready to proove

Practical tip: in case you missed Challenge No. 16, remember to develop your own method of kneading.  This may sound silly but when I first starting making bread, I tried to replicate other people’s kneading styles.  Unfortunately, I have bad joints, particularly bad in my hands and I found it painful to use some of the methods I’d seen on TV.  Instead I found I rolled and stretched the dough between my two hands, using more of the heel of my hand than my fingers.  It takes a little longer for me to knead like this but I always get there in the end and it is less painful 🙂 So find a method that works for you and just go with that.

Whilst the dough was proving, I set about making the pizza sauce.  I drained the juices from the tinned tomatoes and popped the leftover tomatoes into a jug.  I added the oregano, garlic and salt and then blitzed it with my handheld mixer.  The smell was absolutely beautiful and instantly reminded me of a lovely fresh cooked Italian pizza!  Just what you want from a pizza sauce 🙂

Edited - pizza sauce Edited - blended sauce

When the timer went off for my dough,  I turned the oven on to 220 degrees celsius and put in two tray upside down.  According to the recipe I found, this helps crisp up the base of the pizza.

I tipped out the dough onto a well floured surface and divided the mixture into 4 equal balls.  I took the first one a kneaded it for about 5 minutes until it felt right to start stretching.  I gave it a bit of a roll with the rolling pin and then decided that, if I am making pizza, I’m going to do it properly…so I started throwing it in the air, spinning it into a flat oval.  It kind of worked too!! I still had to give it a bit of a stretch to get it to the right size but I soon had a base ready to be topped.  I popped it onto some floured foil and got started on the toppings.

Edited - ball of doughEdited - flat dough

Practical tip: this recipe makes 4 pizza bases.  If you don’t want to eat all four at once, just knead and shape any extra dough.  Layered the extra bases together with foil to separate them and then pop them in the freezer for another day.

I made Dave’s pizza first and added some sauce before layering up some grated cheddar, pepperoni slices, ham slices, some barbecue chicken, some pulled mozzarella and then a drizzle of chilli oil.

Edited - 4

Practical tip: don’t cut your mozzarella, always pull it.  I’ll be honest I don’t know why this is but its something my dad always says to do when topping a pizza and having been in the industry for a long time, I’m inclined to listen to him 🙂

With Dave’s pizza put to one side, I took the next ball of dough to knead and stretch into my base.  I topped it with some of the sauce and then added my ingredients.  I covered a quarter of the pizza with goats cheese, a quarter with gorgonzola, a quarter with mozzarella and a quarter with a cheddar/parmesan mix.   I then topped it all with ham and some chilli oil.

Edited - ham

I put each pizza onto one of the heated trays and put them in the oven.  I set the timer for 8 minutes and when this went off, I broke an egg into the centre of my pizza.  Trust me, don’t knock this until you have tried it. Egg on a pizza is one of life’s little food secrets that no-one should miss out on (although Dave still wont try it!).

I let the pizzas cook for another couple of minutes and then decided they needed a little longer.  I hadn’t made my bases quite as thin as the recipe suggests and I know Dave prefers his pizza slightly overdone.  I ended up cooking the pizzas for about 16 minutes in total and this was just about right for us.

Edited - DA done Edited - done2

These were absolutely amazing!  They was much less greasy than a takeaway pizza and I’m amazed at how simple it was to do.  Once I’ve used the 2 extra bases I have in the freezer, I will definitely be making some more.

Coming up next week, Challenge No. 29 – panda cupcakes (gluten free).

Challenge No. 20 – Gammon

This is another recipe suggested by my friend Rachel.  If you’ve been following Challenge 52, you may remember that Rachel suggested Challenge No. 11 chocolate ganache and cherry tart.  I’m not sure if there is some sort of telepathy going on between Rachel and my boyfriend, but she managed to pick dishes which Dave loves.  Chocolate and cherries are always a winner for him and if we have a roast dinner, Dave will always opt for a roast gammon.  It also happens to be one of the meats I’ve never got my head around cooking! So thanks for the great suggestion Rachel.

I started looking for recipes and came across the same issue I’ve always found when I cook gammon – the recipe tells you to do so much and then remove the skin, leaving a thin layer of fat which should be scored.  The joints of meat I’ve bought from the supermarket never seem to have skin on and I would always just get a bit confused!  This time, I decided to go to my local butchers to get the joint (and it had the skin on).  I even plucked up the courage to ask them whether I needed to soak the joint.  Traditionally gammon would need to be soaked to remove some of the saltiness, however, nowadays most joints don’t need this.  If you buy your meat from the supermarket, the package will normally tell you if this is the case and if you buy from your butchers, just ask them.

I found a yummy looking recipe for a maple glazed ham…yep…MAPLE GLAZED HAM!!! I got quite excited when I found this recipe because I love maple syrup 🙂 

If you want to give this Challenge a try for yourself, you’ll need the following:-

  • 2kg unsmoked boneless gammon joint
  • 2l cola (not diet)
  • 1 carrot, chopped
  • 1 onion, peeled and quartered
  • 1 stick celery, chopped
  • 1 cinnamon stick
  • ½ tbsp peppercorn
  • 1 bay leaf
  • For the glaze
    • 150ml maple syrup
    • 2 tbsp wholegrain mustard
    • 2 tbsp red wine vinegar
    • pinch of ground cloves or five-spice

Edited - ingredients

My butcher recommended I soak the joint for at least a couple of hours but I opted to soak it for 24 hours.  I got my biggest pan out, squeezed in my joint of meat and covered it with water.  I didn’t quite know what to do next – should it go in the fridge or is it okay on the side?  I therefore turned to my on-hand cooking guru, my mum.  However, mum delegated this one to the best ham cook I know, my dad! He always has the job of cooking the Christmas ham and every year, without fail, it turns out perfectly. Dad confirmed I could leave the ham on the side and that it didn’t need to go in the fridge. 

So after the ham had been soaking for 24 hours, I carefully removed the joint, tipped the water away and washed out my pan ready to get started.  I put the joint back into my pan and chopped up the vegetables.

Edited - chopped veg

I added, the chopped vegetables, cinnamon stick, peppercorns and bay leaf to the pan and then poured over the cola.  The recipe calls for 2 litres of cola, however, I didn’t even manage to get half of this in the pan.  I finally had to admit defeat and accepted that my pan was just too small.  I quickly shot out to the shop and bought a new super catering pan!  It didn’t look that big in the shop next to all the other catering equipment but when I got it home, I realised it was huge! Hey, at least the ham fitted in properly this time 🙂

Edited - pan fail Edited - big pan

With my new pan full of all the necessary ingredients, I added a bit of boiling water to ensure the joint was fully covered and turned on the heat.  It took quite a while to come up to boil so I patiently waited for this to happen and then turned it down to a simmer for 2 and a half hours.

Once the time was up, I removed the ham and put it in my roasting tin, which I lined with tin foil.  Previous experience with sugar glazing has taught me this is very important if you don’t want to end up scrubbing at your roasting tin for a few days after!

Edited - cooling

Practical tip: the recipe says to carefully pour the liquid away and then to let the ham cool down. I didn’t want to try and tip the liquid away whilst it was so hot (it was heavy and I would almost definitely have ended up hurting myself) so I lifted the ham out and then left the liquid to one side to cool down. 

While the ham was cooling down, I prepare the glaze ingredients by mixing them all together in a jug.

Edited - glaze

When the ham was cool enough to handle, I took the string off and cut skin away.  It actually pealed off really easily, leaving a layer of fat.  I then just cut some of the fat away to even out the layer and scored it all over.

Edited - scored fat

I poured approximately half the glaze over the joint of meat and put it in the oven for 15 minutes on 190 degrees celsius.  When the timer went off, I poured over the remainder of the glaze and returned the ham to the oven for another 30 minutes.  I glazed the meat half way through this final bit of cooking time.

With the cooking done, I removed the ham and covered it with foil, letting it rest for 10 minutes. 

After 10 minutes, I tried to spoon over some more of the glaze but it had solidified in the bottom of the tin.  However, in all honesty, I don’t think it needed any more glaze so I didn’t worry about this and got on with the carving.

Edited - cookedEdited - carved

I served up with a delicious roast dinner consisting of polenta roast potatoes, cabbage, honey roasted carrots and parsnips, gravy and of course, giant Yorkshire puddings.

Edited - served up

This ham was absolutely gorgeous! I ended up eating far too much and made myself feel ill but it was so worth it.  The leftover ham was also yummy the next night served up with homemade chips and a fried egg. 

This was a great suggestion from Rachel and the recipe gave me and Dave a beautiful piece of ham to enjoy. 

Coming up next week, Challenge No. 21 – Carrot Cake