Challenge No. 45 – Egg Custards

I’m starting off with an apology for the lateness with this post.  I’ve been having trouble uploading the photos.  I’ve finally managed to add the photographs to the blog, although I don’t like the new way of doing it!

This suggestion caused a bit of confusion to start as my friend Laura asked me to make “egg custards”.  I’d never heard of these and wondered what on earth she was talking about.  This isn’t uncommon in our friendship.  I met Laura on my first day at University and had the pleasure of living with her for two years.  During this time and in the years of friendship since, Laura and the other University girls have taught me many things. In particular, I’m never allowed to forget the time that had to explain to me what a Wendy House was or the time I didn’t know what an onion bhaji was.  Most recently I managed to get confused between crème brûlée and tiramisu and the Laura and one of the other girls have affectionally named our group messenger chat “tiramisu” 🙂 So it was nice to see Laura teaching me something new again in Challenge 52 with her suggestion of “egg custards”.

After a little bit of research, I discovered that what Laura called “egg custards” is what I knew as custard tarts.  I found a recipe by Paul Hollywood who actually called them egg custard tarts and so I decided this was the one I had to use this one.

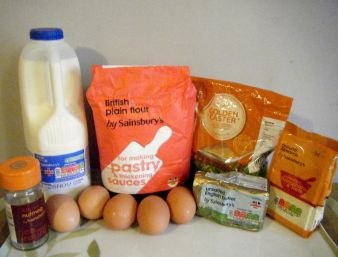
I amended the quantities slightly and for this recipe, you will need the following:-

  • For the sweet pastry
    • 165g/5¾oz plain flour, plus extra for dusting
    • 25g/1oz ground almonds
    • 120g/4¼oz chilled unsalted butter, cubed
    • 55g/2oz caster sugar
    • 1 free-range egg
  • For the custard filling
    • 400ml pint full-fat milk
    • 4 free-range egg yolks
    • 52g caster sugar
    • freshly ground nutmeg

Ed - ingredients.jpg

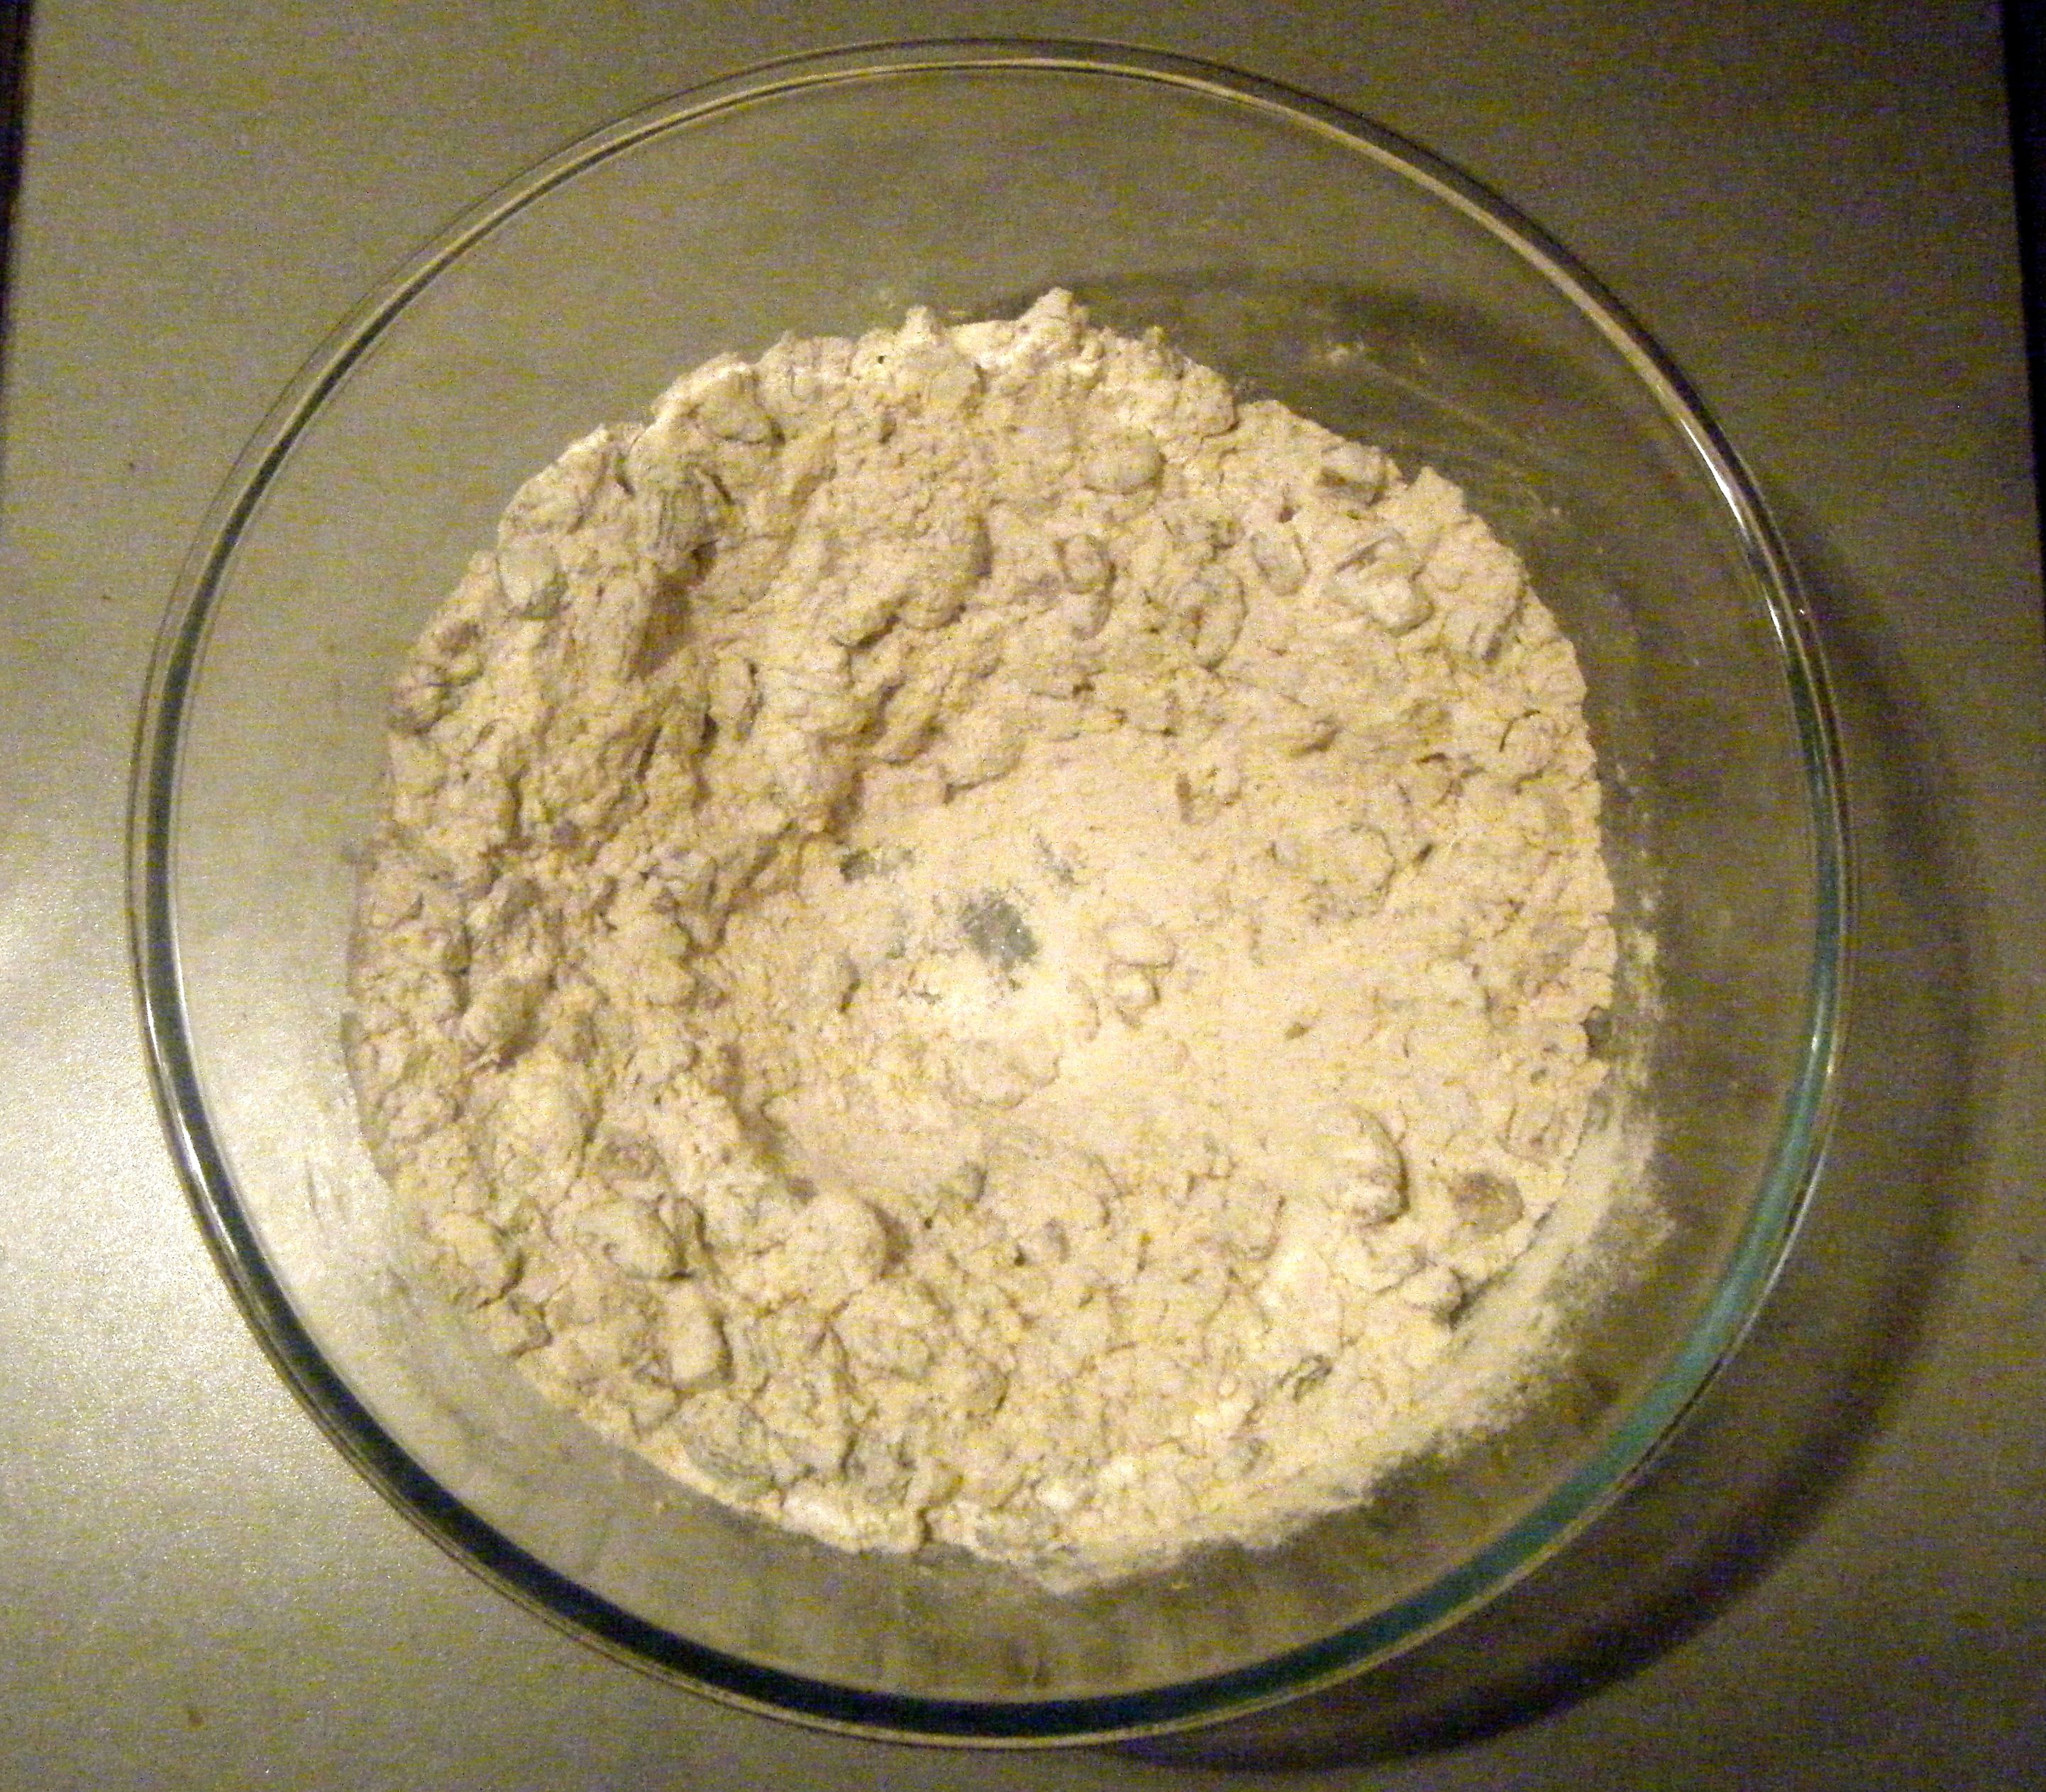
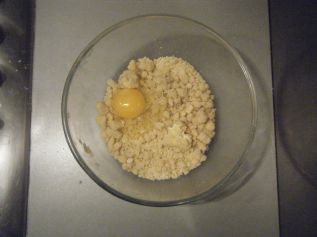
I started off by making the pastry by stirring together the flour and ground almonds.  I added the cubed butter and rubbed it together to form breadcrumbs.

Practical tip: warm hands will begin to melt the butter and the mix will become too wet.  If, like me, your hands are prone to being warm, run them under a cold tap for a while and dry them thoroughly before you get started.  Repeat this cooling process periodically to make sure your hands don’t warm up too much.

Ed - flour and butter.jpg

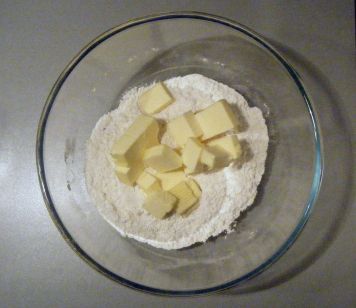
Despite having used the rubbing technique a number of times over the last year, for some reason the breadcrumbs didn’t form as they should have done this time.  I tried keeping my hands cool but it still didn’t work.  I don’t know whether the flat was a bit hot or whether I just overworked it but whatever the reason, my butter didn’t rub in very well. 

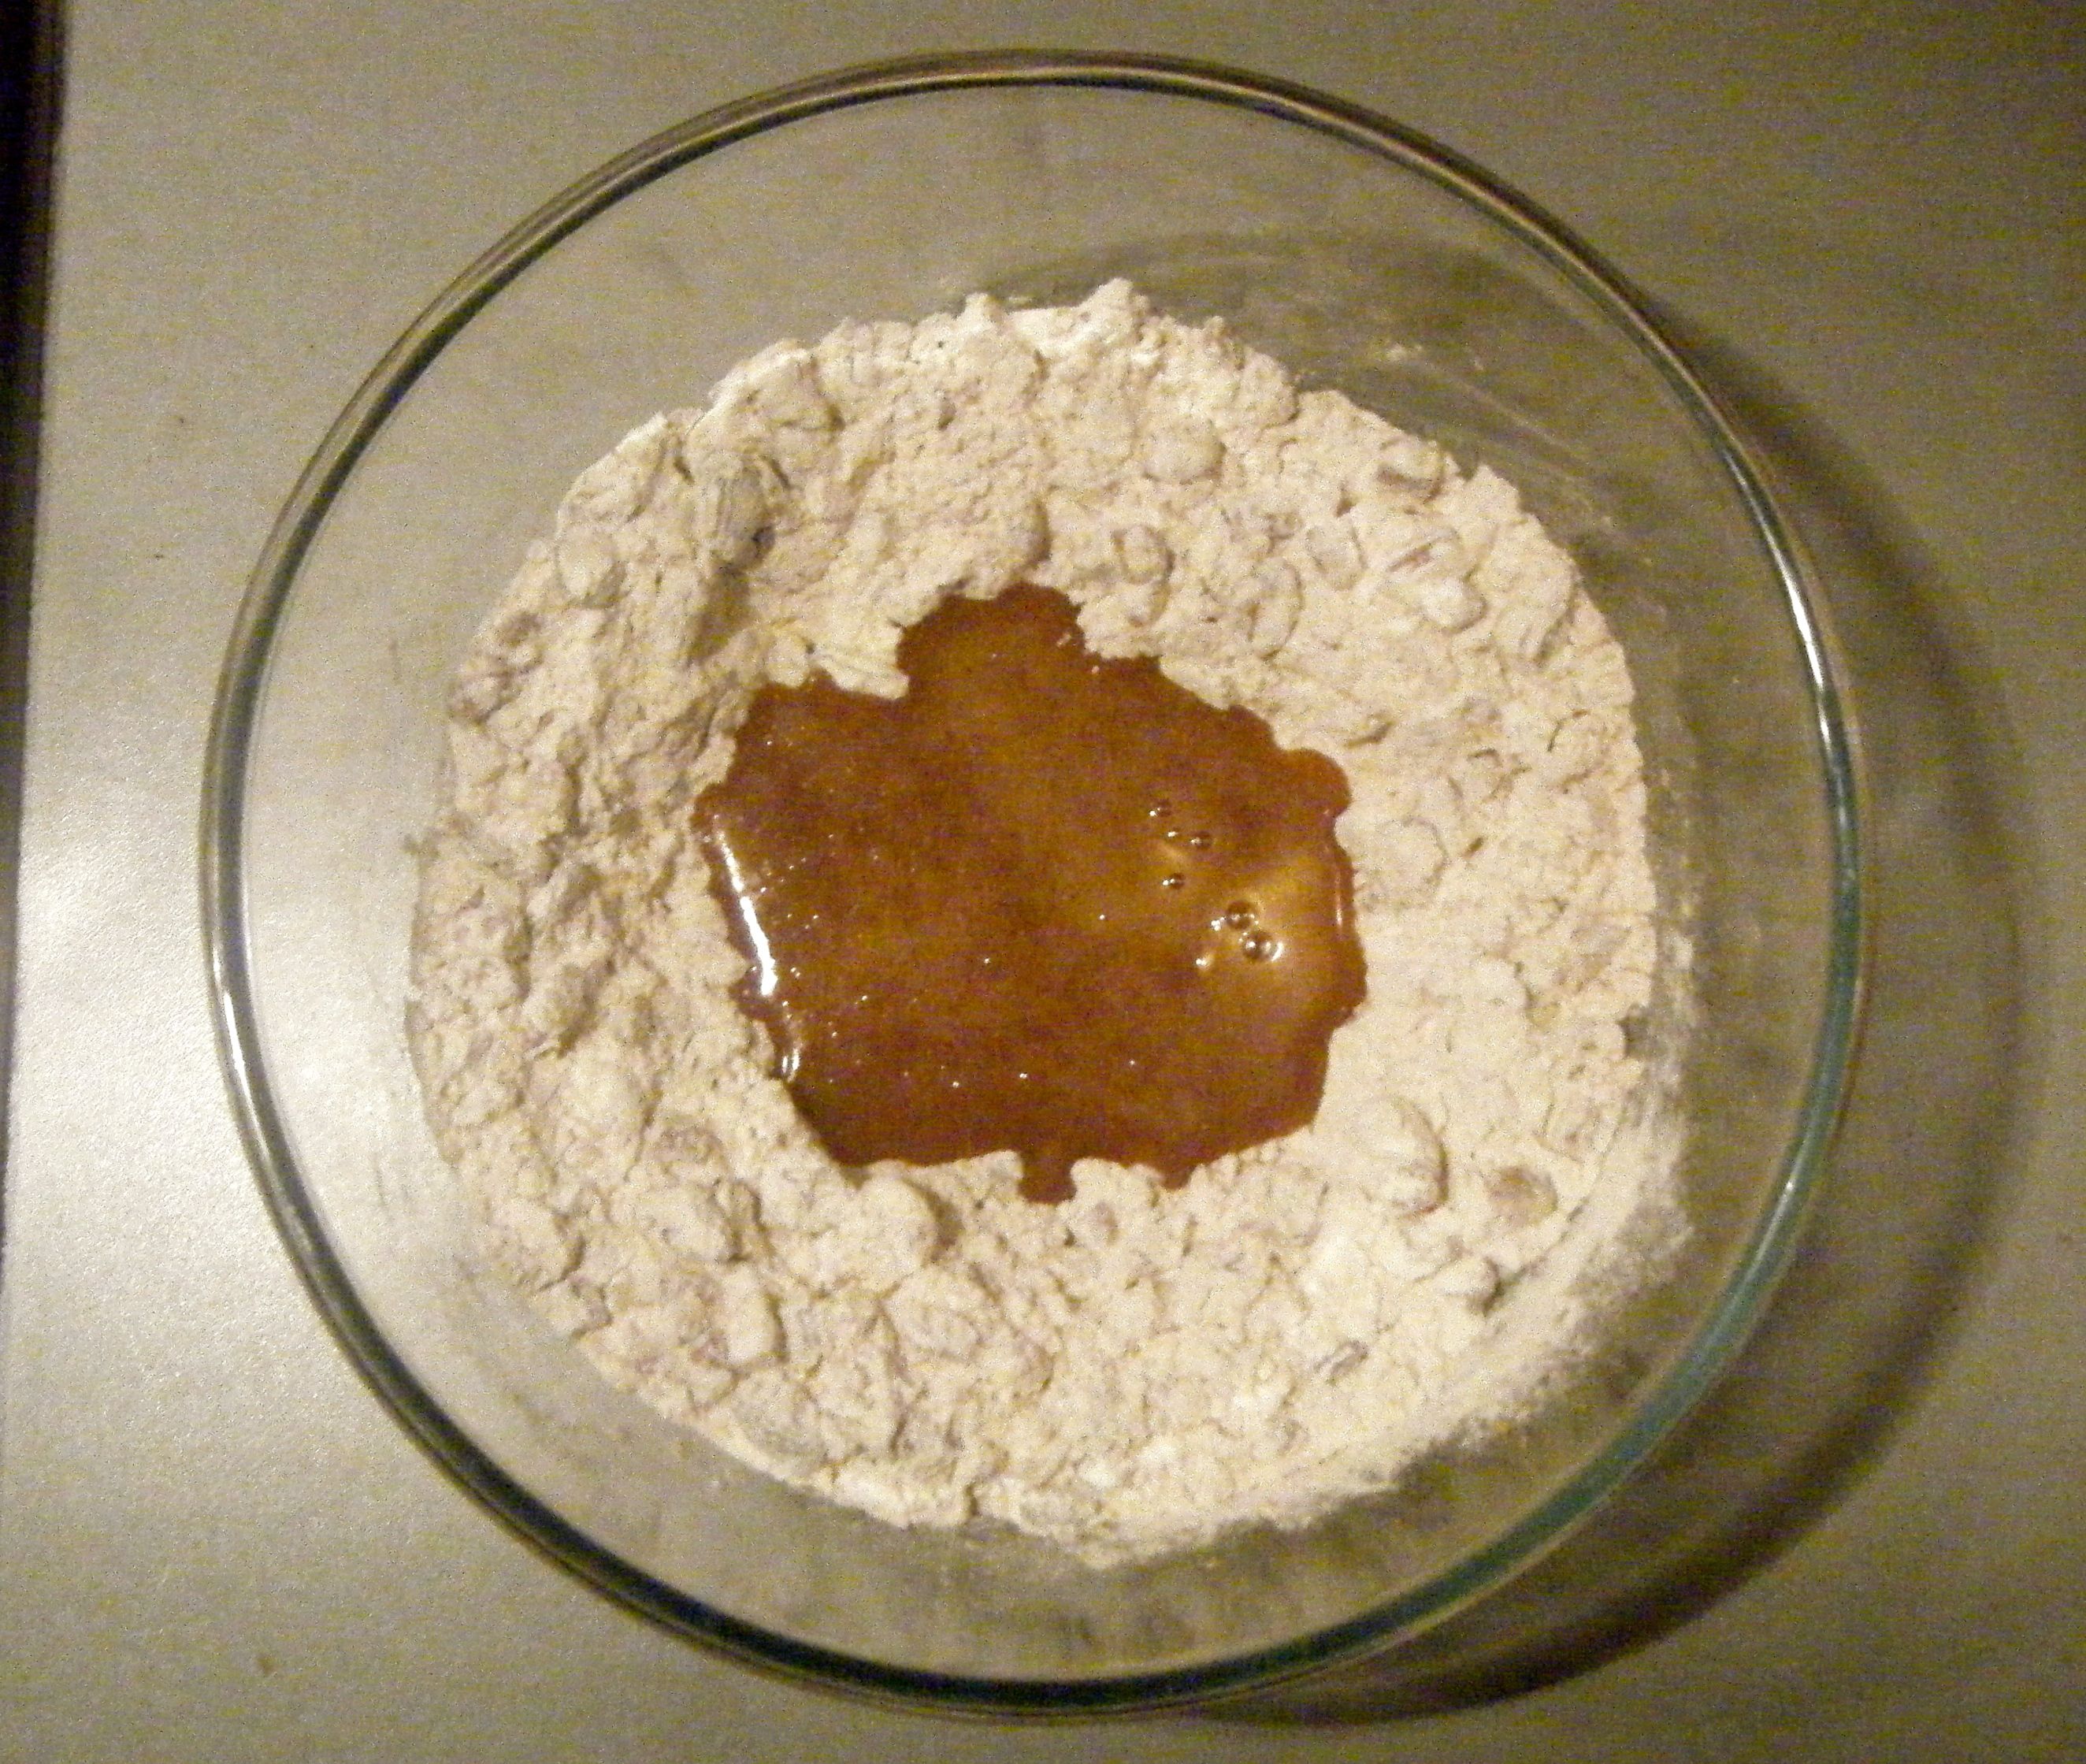
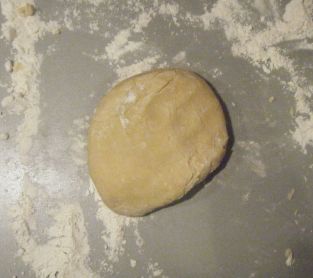
I got to a point where I decided I didn’t want to keep working the mixture as it was starting to become to moist.  I tried to stir through the sugar and added the egg.  I mixed it with my figures and tried to form a soft dough.  The dough was really wet and just didn’t quite seem right.  However, I persevered and turned it out onto a floured surface to work together.  I managed to form a ball and popped it the fridge for 30 minutes.

Ed - questionable breadcrumb.jpg

Ed - pre-chill.jpg

Once the dough had chilled, I chopped it in half.  As there was only me and Dave to eat the results of this challenge, I decided to half the custard filling quantity and just use half the pastry.  The plan was to freeze the second half of the pastry, however, as you may have picked up, this challenge didn’t quite go to plan.

I took half the pastry and on a floured surface tried to roll it out so I could cut out 6 circles using an 11cm flutted cutter (as specified by the recipe).  There is no way I could get 6 circles out of this dough.  It was too fragile to roll out to the necessary size.  I decided to just get as many as I could but the dough was too ‘wet’ to lift up and pop in my muffin tin. 

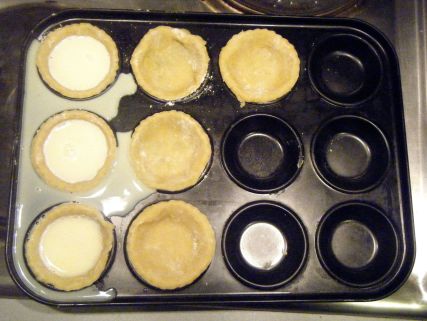
After a little bit of a stress, I decided to use my smaller tin and a smaller cutter.  In hindsight, this wasn’t the best decision and I should have just persevered with the muffin tin and large cutter.  Instead, I ended up with tiny tarts which didn’t really have the filling they needed to constitute a proper egg custard tarts.

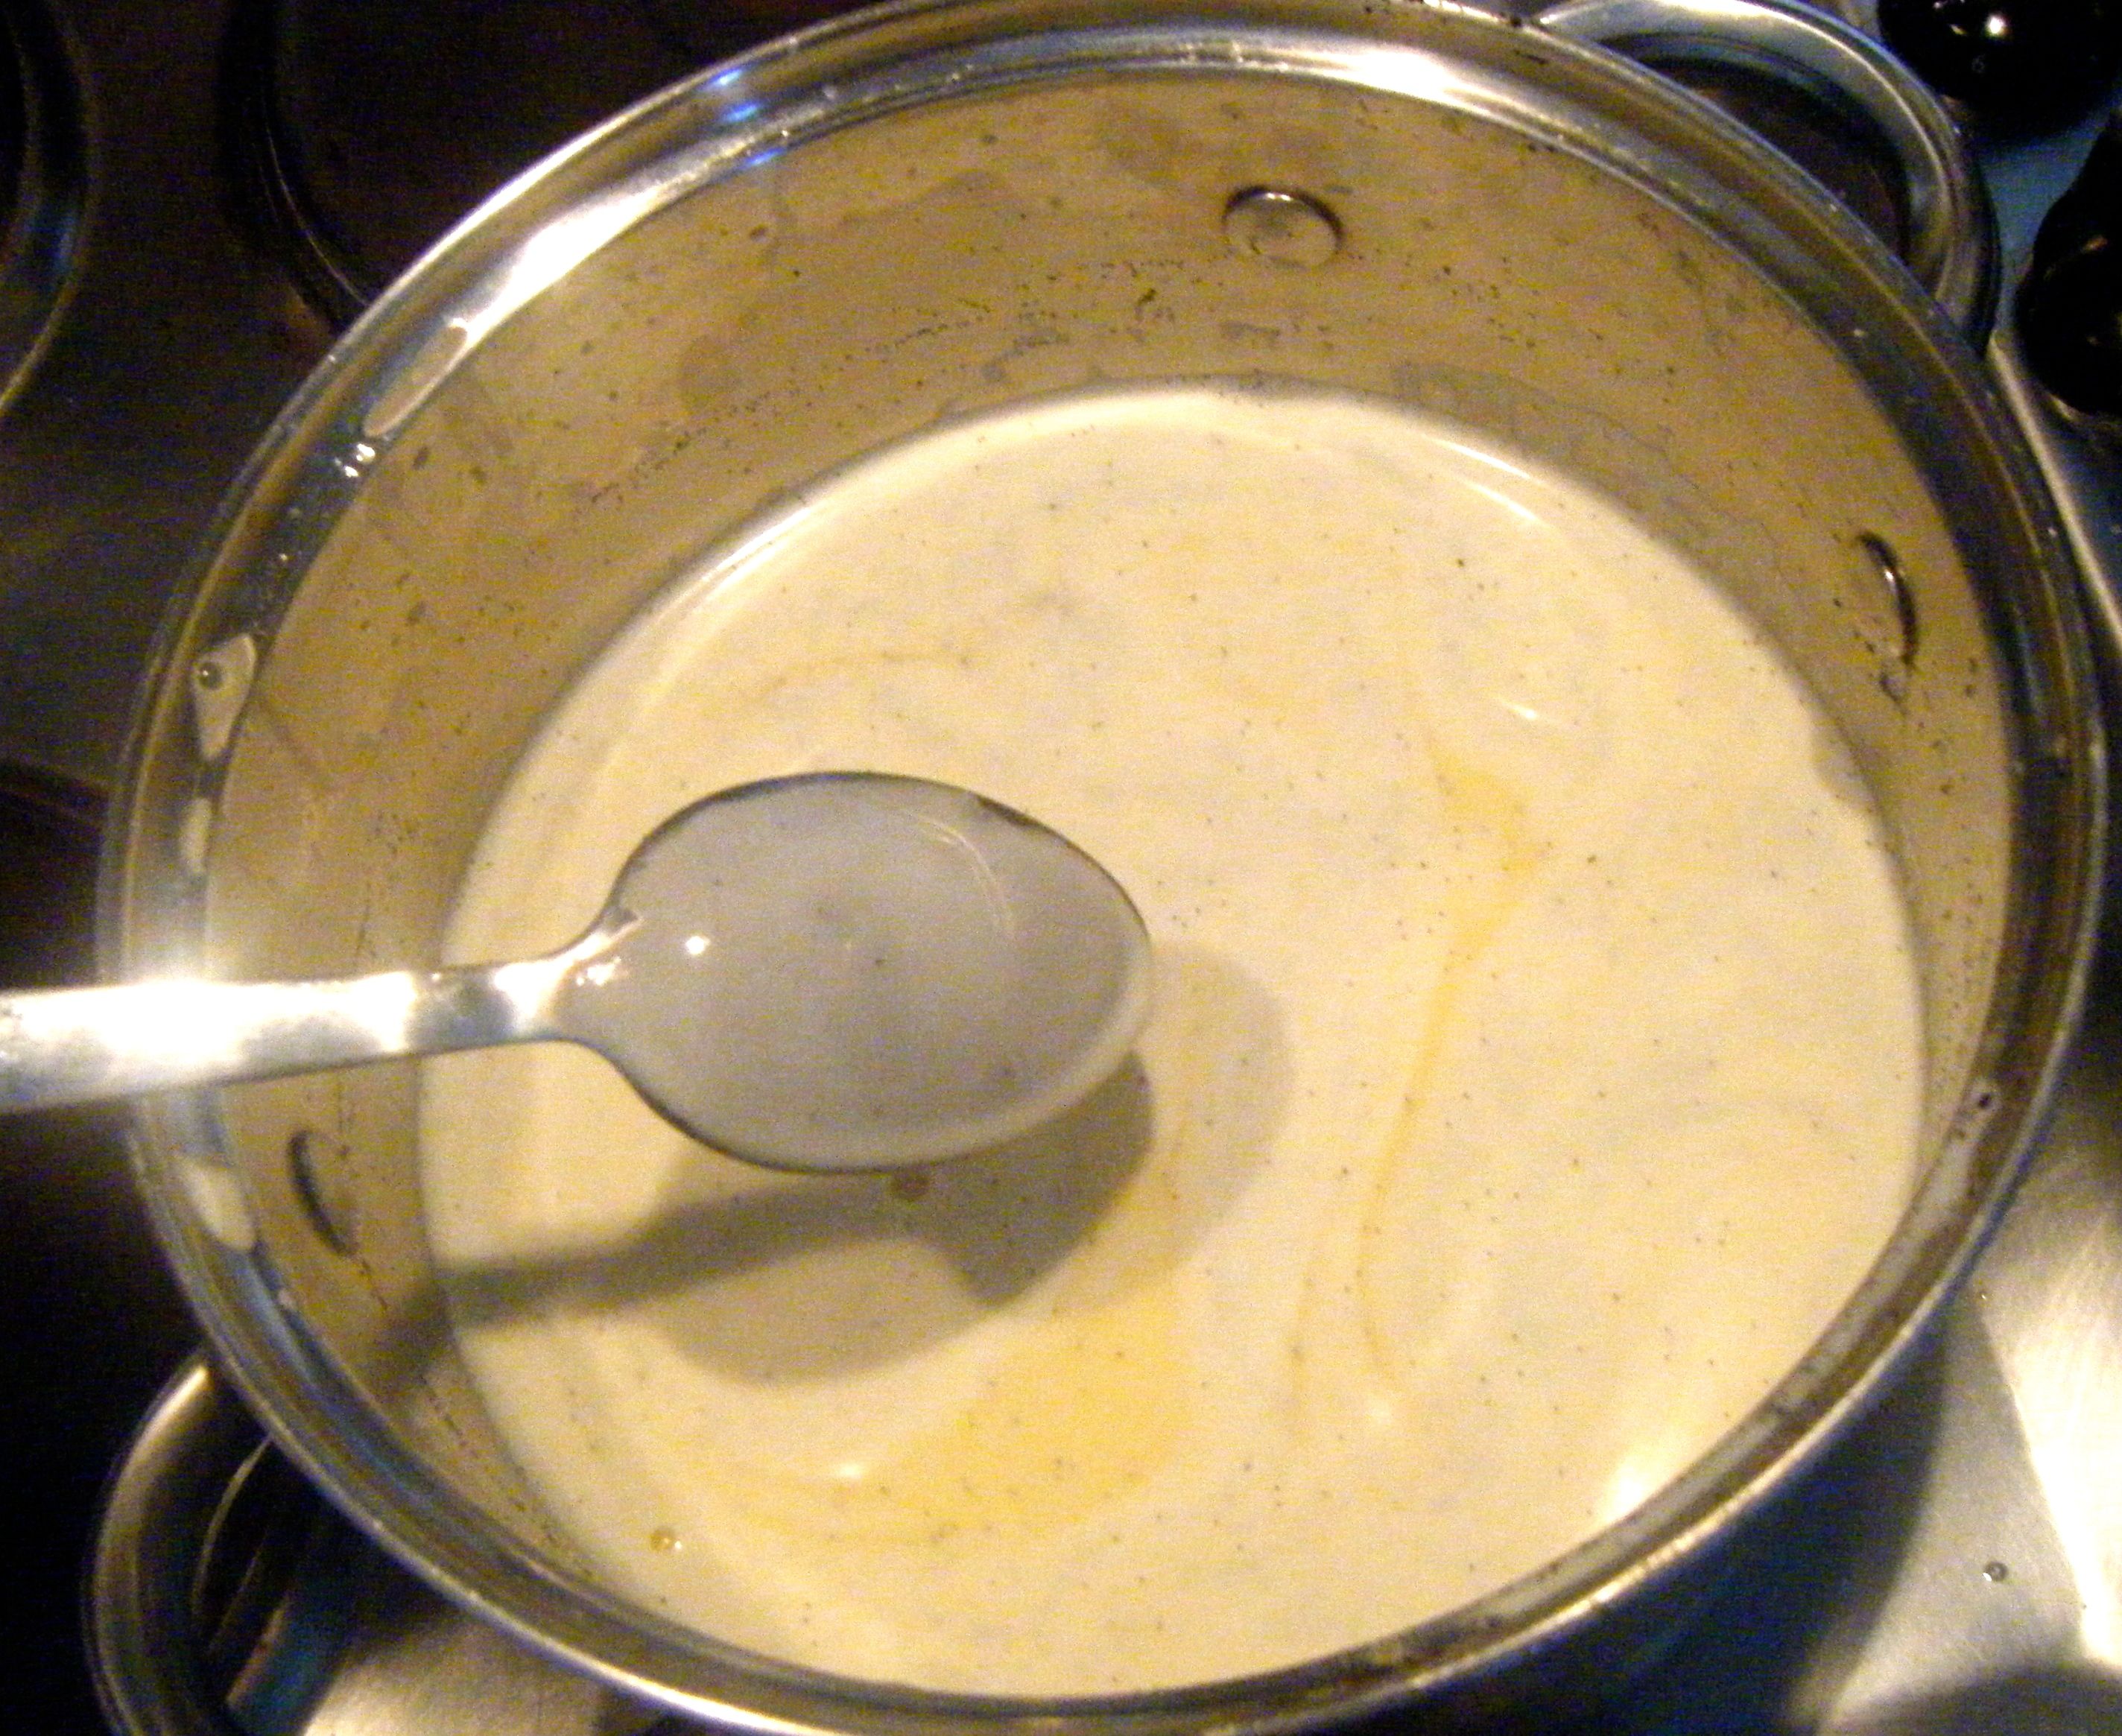
Anyway with my pastry in the smaller tin, I got start on the custard.  I put the milk into a pan over a medium heat and waited for it to nearly reach a simmer. 

I used a balloon whisk to bring together the egg yolks and sugar until pale.  I then poured in the warm milk and whisked it together.

I transferred the custard mixture to a pouring jug and tried to carefully pour this into the tarts.  DISASTER struck! I managed to spill the mixture all over one side of the tin, ruining at least 4 of the tarts.  I was on the verge of giving up, had a little strop and shouted at Dave for trying to help.  I then calmed myself down, apologised to Dave and cracked on to see just how badly these would turn out.

Ed - disaster.jpg

I grated some nutmeg on top and popped them in the oven on 180 degrees celsius.  I set the timer for 10 minutes to then keep an eye on them.

When the tarts were in the oven, I decided to use the remaining pastry to push into two of the muffin tin holes.  There was no way I could roll it out but I thought I’d give this a go.  I then filled the pastry with some of the custard mixture and added the tin to the oven.   

When the 10 minutes timer went off, I sat in front of the oven and watched until I got a very slight dome on the custard.  I don’t really know what this meant and just guessed.  I mean, it couldn’t get much worse.

I took the tins out of the oven (at different times as the muffin tin tarts took a lot longer to dome) and left them on the side to cool for 30 minutes.  I then removed them from the tin and braved a taste.

Ed - done.jpgEd - done2.jpg

Ed - done3.jpg

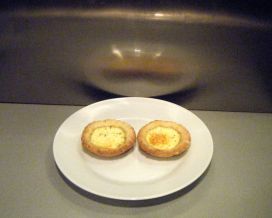
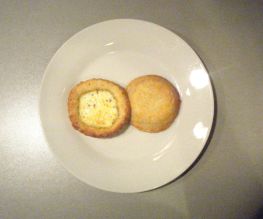
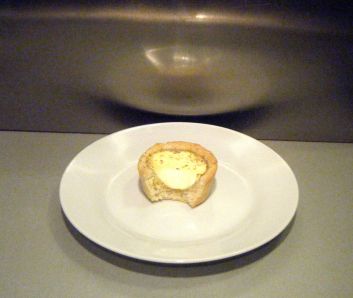
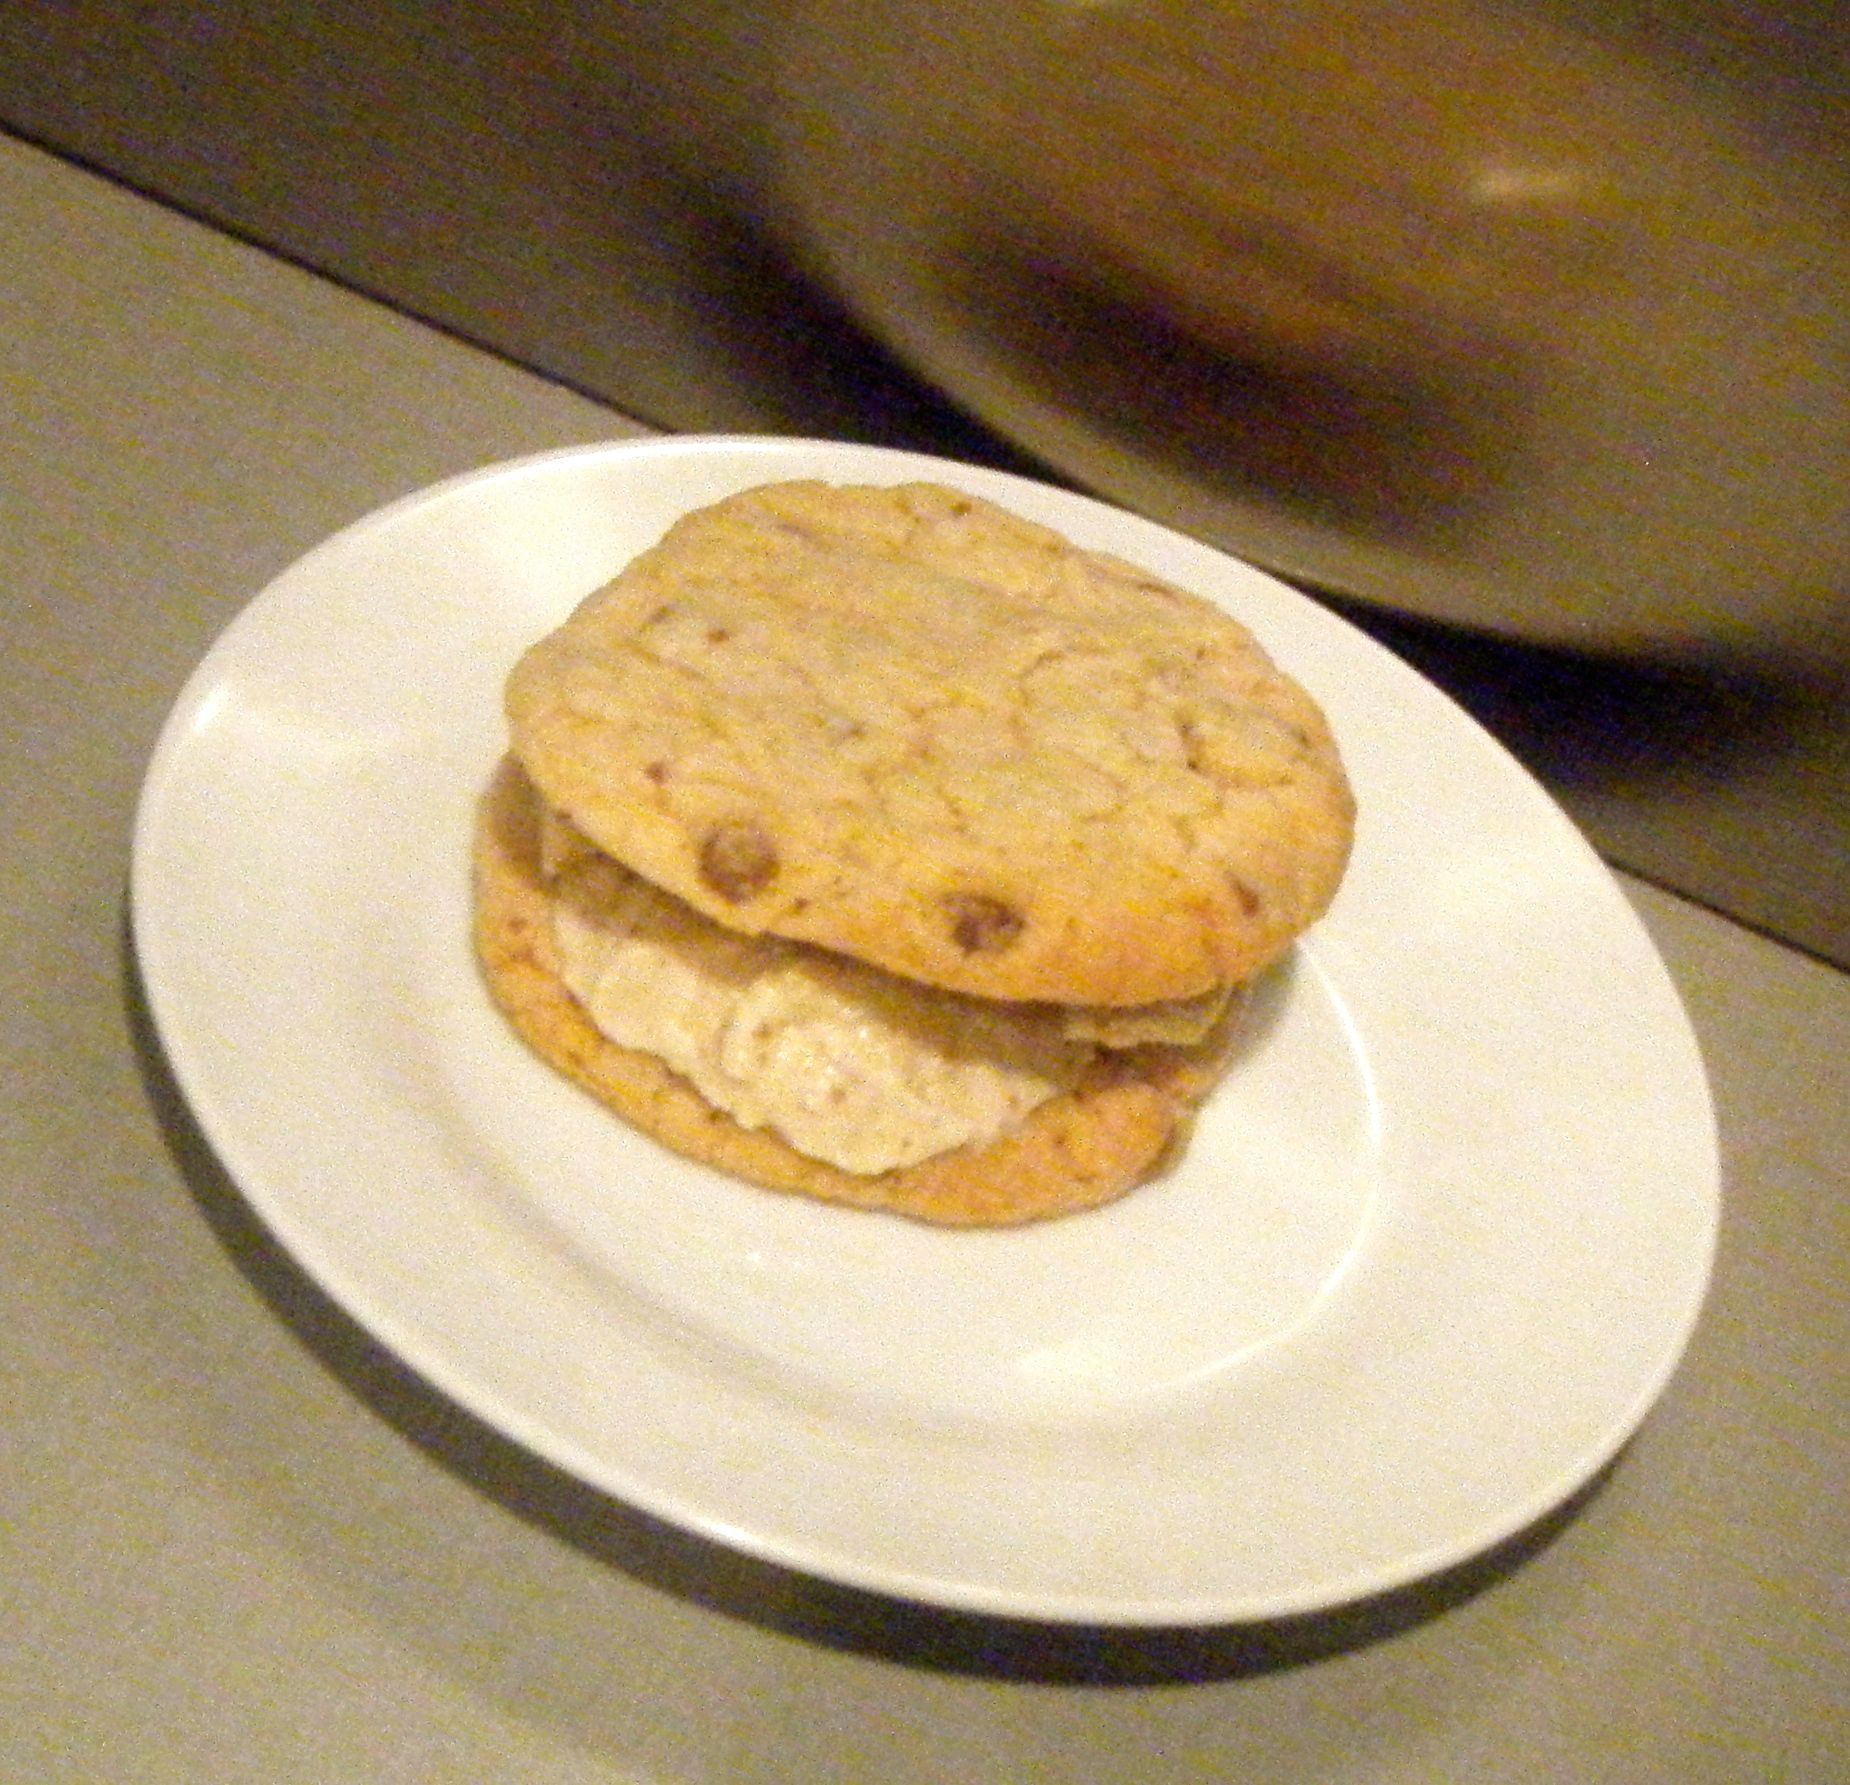
They weren’t as bad as I thought they were going to be but they were far from a success.  Dave loves custard tarts and was really looking forward to this challenge.  He tried some (before I’d even managed to get my photos – hence the half eaten one below) and said they were okay but didn’t quite taste right.

So not a total failure but definitely not something to write home about.  Laura was really disappointed she wasn’t going to get to try her suggestion but after reading this, she’ll probably be glad to have escaped the experience.

Coming up next week, a hopefully less stressful Challenge No. 46 – chicken gravy pie.

Challenge No. 21 – Carrot Cake

This recipe was suggested by another of my close University friends.  I lived with Kate in my first year and throughout the year, we shared the job of resident baker.  It was therefore so nice that Kate challenged me to make a cake 🙂 But this isn’t just any old cake, its one I’ve never made and have always been a bit apprehensive about making it.  Why was I apprehensive – it’s a cake which has carrots and cream cheese in it! There is just something about that which never quite sat right with me.  As I’ve said before, this is the whole point of Challenge 52, to take me out my comfort zone!

When I started searching for recipes, I was still trying my best to avoid the cream cheese but every which way I turned, there it was.  Finally, I found a recipe that didn’t use a cream cheese topping but by then I had come to realise that the cream cheese is an almost iconic part of the carrot cake and I felt guilty about leaving it out! So instead I kept looking and found this recipe by the Hairy Bikers for a carrot and sultana cake with creamy orange frosting.

For the recipe you will need the following:-

  • For the cake
    • 200g/7oz self-raising flour
    • 75g/3oz sultanas
    • 75g/3oz pecans, broken into rough pieces
    • ½ large orange, zest only
    • 1 tsp ground cinnamon
    • ½ whole nutmeg, finely grated
    • 1 tsp baking powder
    • ½ tsp bicarbonate of soda
    • pinch fine sea salt
    • 3 free-range eggs
    • 175ml/6fl oz sunflower oil, plus extra for greasing
    • 175g/6oz soft light brown sugar
    • 200g/7oz carrots, grated
  • For the cream cheese icing
    • 100g/3½oz icing sugar
    • 100g/3½oz unsalted butter, softened
    • 1 tsp fresh orange juice
    • 200g/7oz full-fat cream cheese
    • ½ orange, zest only
    • 25g/1oz pecan nuts, roughly broken

Edited - ingredients

If you look at the ingredients photo carefully, you may note an extra ingredient which has snuck in there.  I accidentally included the vanilla essence which I had purchased to stock up my store cupboard but it isn’t needed for this recipe!

I started off by sorting through my pecans to remove all the nice whole ones to put to one side for the topping.  I then weighed the remaining bits to make sure I had 75g, adding a few of the whole ones back in to bring it up to the right weight.  I then chopped them up nice and small.

Edited - choped nuts

I put the nuts in a bowl with the flour, sultanas, ground cinnamon, grated nutmeg, baking power, bicarbonate of soda and the salt.  I then grated in the orange zest from one half of my orange.

Edited - dry ingredients

I broke the eggs into a jug and whisked with a fork until they were smooth.  I then added the oil and brown sugar, giving it a good whisk until well combined.  I created a well in my dry ingredients and poured in some of the egg/sugar/oil mix.

I stirred it all together with a wooden spoon, gradually adding more of the oil mix until it was all combined. I added the grated carrot and gave it a final mix.

Edited - well Edited - well filledEdited - cake mix

The recipe puts the cake mix into a 20cm square cake tin but I wanted to do something a little different.  I’ve found these adorable cases in the supermarket and thought it would be nice to make individual carrot cakes rather than one big one.   So i split the mixture between 14 cases, 13 of them weighing 79g with the mix in, and the 14th having a little less.

Edited - in the cases

I put the filled cases on a tray and into the oven on 180 celsius.  Given that I used individual cases rather than a big tin, I knew I needed to adjust the cooking time.  I originally set the timer for 20 minutes and then checked them.  I felt the tops of the cakes and decided they needed a little longer so I returned them to the oven for around 2-3 minutes.  I then tested the cakes and decided they were done.

Practical tip: I’ve given this tip a few times but it is one of the key points to perfecting your cake making skills – knowing when the cake is done.  To test whether the cakes are cooked, gently press the top of one of the cakes with your finger; if it is done it will be springy to touch and bounce back into place.  You can also take a tooth pick (or cake tester if you have one) and slide it into the centre of one of the cakes; if the cake is done the tester will come out clean.  If you think it’s not quite done return the cakes to the oven but keep an eye on them – 1 minute may be all they need but that 1 minute can make all the difference!

I put the cakes on a cooling rack and left them to cool completely whilst I got started on the icing.

Edited - cooked

I put the softened butter in my bowl, beat it with a fork until smooth and added the orange juice.

Practical tip: this is another one I’ve given before but in case you missed Challenge No. 5 I’ve included it again.  To soften the butter, cut it into cubes and put it in a sandwich bag in a bowl of lukewarm water for between 5 to 10 minutes until soft.  This can be a lot quicker than leaving the butter at room temperature, especially in the winter when your kitchen may not be so warm!

I then gradually sifted in the icing sugar a bit at a time, giving it a good stir between each addition.  Once it was all added, I used a wooden spoon to beat until light and creamy. 

Editd - softened butter

I stirred through the cream cheese and remaining orange zest before popping it in the fridge for 30 minutes.

Edited - cream cheese Edited - combined

When the icing was firm, I used a teaspoon to smooth a bit on each cake.  Finally, it was time to add the decoration.  The recipe uses the whole pecans (which I set aside at the beginning) but I wanted to do something a little bit cuter.  So I made mini icing carrots with some coloured fondant icing and added one to each cake.

Edited - topped

These cakes took a little trip with me to Sheffield to celebrate my friends birthday and new home.  Kate was part of the celebrations so she got to try her suggestion, along with all my University girls.  Everyone said it was delicious! 🙂

 Edited - in the caseEdited - served up1

I even managed to persuade Dave to try this one (he had an issue with the whole carrot in a cake thing!) and he said “actually, its quite nice”.  I feel this is a great review, all things considering.

Personally, I really enjoyed this challenge, both eating and making the cakes.  They weren’t too heavy and were just perfect with a cup of tea.

Coming up next week, Challenge No. 22 – homemade burgers.

Challenge No. 19 – Rum Raisin Ice Cream

Have you ever made home-made ice cream without an ice cream maker? Better still, have you ever tried to find a recipe online for making ice cream without an ice cream maker?  It is not easy – finding a recipe that is!  My mum suggested this challenge and I thought it was a great idea.  I set out trying to find a recipe and a few times thought I had got one only to get to the last instruction and the recipe would say to “put it in your ice cream maker and follow the manufacturer’s instructions”.  It was very frustrating! And then I remembered, my many (and I mean many!) recipe books in the flat.  I had a quick rummage and found Jamie Oliver has kindly provided a recipe which works with or without an ice cream machine. Yay 🙂

Although I had found a recipe for vanilla ice cream, I kept having a sneaky look online and do you know what I found? One of my new blogging friends has blogged about the same recipe.  You can see read about Laura’s experience at Feast Wisely

Jamie’s book (Jamie’s Comfort Food) not only gives you a lovely recipe for vanilla ice cream, it also gives 4 delicious flavour variations. One of my mum’s favourites is rum and raisin ice cream – she say’s its her ‘holiday ice cream’ but I think she would have it all the time if she could 😉 I know I would!

So for the rum raisin ice cream you will need the following ingredients:-

  • 100g raisins
  • 150ml dark spiced rum
  • 2 vanilla pods
  • 500ml whole milk
  • 250ml double cream
  • 7 large eggs
  • 150g golden caster sugar

Edited - ingredients

These quantities make 1 litre of ice cream and Jamie helpfully tells me that 1 scoop is 106 calories.  I however like to believe that anything which is homemade is guilt free, so we don’t need to worry about the calorie content 🙂

Anyway, on with the recipe.  I started off by putting the raisins in a bowl and covering them with the spiced rum.  I covered the bowl with cling film and left it on the side for around a couple of hours.

Edited - rum and raisins

Once I had about half hour left, I got on with making the vanilla ice cream.  I halved the vanilla pods lengthways and scraped out the seeds.  I’ve seen chef’s do this on TV and it looks really simple…it wasn’t! I got in a bit of a mess but I managed to scrape most of the seeds out and get them in the pan.  I added the pods to the seeds and poured over the milk and cream.

Edited - vanilla pods Edited - vanilla cream

I put the pan on a low heat to gently warm for 15 minutes and then took it off the heat.

Whilst the vanilla cream mixture was cooling slightly, I separated my eggs and put the yolks in a bowl.

Edited - egg yolk 

Practical tip: Jamie advises to freeze the egg whites in a sandwich bag to make meringues for another day.  I therefore dutifully put the whites in a plastic container and put in the fridge so I could later make room for it in the freezer – I then promptly forgot to do this and ended up throwing away the whites! Silly me!

I whisked the yolks and caster sugar with a balloon whisk until pale.

Edited - whisked egg sugar

Before combining the vanilla milk with the egg/sugar mix, I sorted out the soaked raisins.  I took out around half and put them to one side.  I then used a hand blender to blitz the remaining raisins and rum together until it was a smooth purée. 

Edited - purée

I then took the vanilla cream mixture and poured it through a sieve into my egg/sugar mix.  I added a bit at a time and whisked thoroughly between each addition.  At the end, I made sure to push through as many vanilla seeds as possible – I mean come on, the more true vanilla flavour you can get the better!

Edited - combined

I added the combined mixture back into my pan and put it over a very low heat.  I stirred constantly, patiently waiting for the mixture to thicken.  Jamie’s says this should take about 15 minutes but it took me longer.  I had my pan on a very low heat and perhaps I could have turned it up slightly but I didn’t want to burn it.  When it was finally thick enough to coat the back of a spoon, I was happy it was done.

Edited - spoon

I poured the mixture in to a clean bowl and left it to cool – this took about a couple of hours.

Edited - cooling

Time to add the rum/raisin to my vanilla ice cream.  I poured in the purée and whole raisins into the cooled ice cream base and gave it a good stir. I then poured it all into my ice cream contained (a simple klick lock storage box).

Edited - in the container

I put the container into my freezer and set the time for 30 minutes.  According to the recipe you need to whisk the ice cream every 30 minutes for about 3 to 4 hours to help break up the ice crystals. The aim is to do this until the ice cream is nicely set. 

When I read Laura’s blog, she mentioned that she stopped stirring too soon and ended up with some ice crystals.  I therefore tried to preserver and when I had reached 4 hours and it still was set, I just kept going with my 30 minutes schedule. 

I got to 5 and a half hours and it still wasn’t set! It was also time for bed so I just left it for the night and hoped it would be okay in the morning.

So here it is…

Edited - frozen

It looked okay – except that the whole raisins had definitely all sunk to the bottom of the container!  It’s a nice treat for when you get to the bottom 🙂

Now, I don’t know about you but if I am going to have ice cream, it clearly has to be served with either hot chocolate fudge cake, a cone or perhaps best of all, cookies!  So I also made some chocolate chip cookies to sandwich together with the ice cream. 

Edited - cookie

Be sure to come back after the end of Challenge 52 when I will be sharing my foolproof recipe for these delicious cookies.

This was absolutely delicious! Dave tried a TINY bit and said “whoaa, you can taste the rum in that!”.  Well that’s what we want – rum, raisin and vanilla galore.  I’ve now got to be controlled and make sure I don’t eat the whole lot before my mum next comes to visit!

Coming up next week, Challenge No. 20 – maple syrup glazed ham! Hope to see you then.