Challenge No. 24 – Scotch Eggs

This is another dish suggested by my wonderfully supportive mum. I was back in Peterborough at the weekend and I thought a bit of mother daughter bonding in the kitchen would be fun; so I suggested we make the scotch eggs together.  I started doing a bit of research and all the recipes I found involved deep frying the scotch eggs.  I didn’t really want to do this and I had a vague recollection of previously making oven baked ones in my high school cooking class. Luckily my mum is very organised and has a folder with all my old recipes in so she had a look and found the scotch egg one.

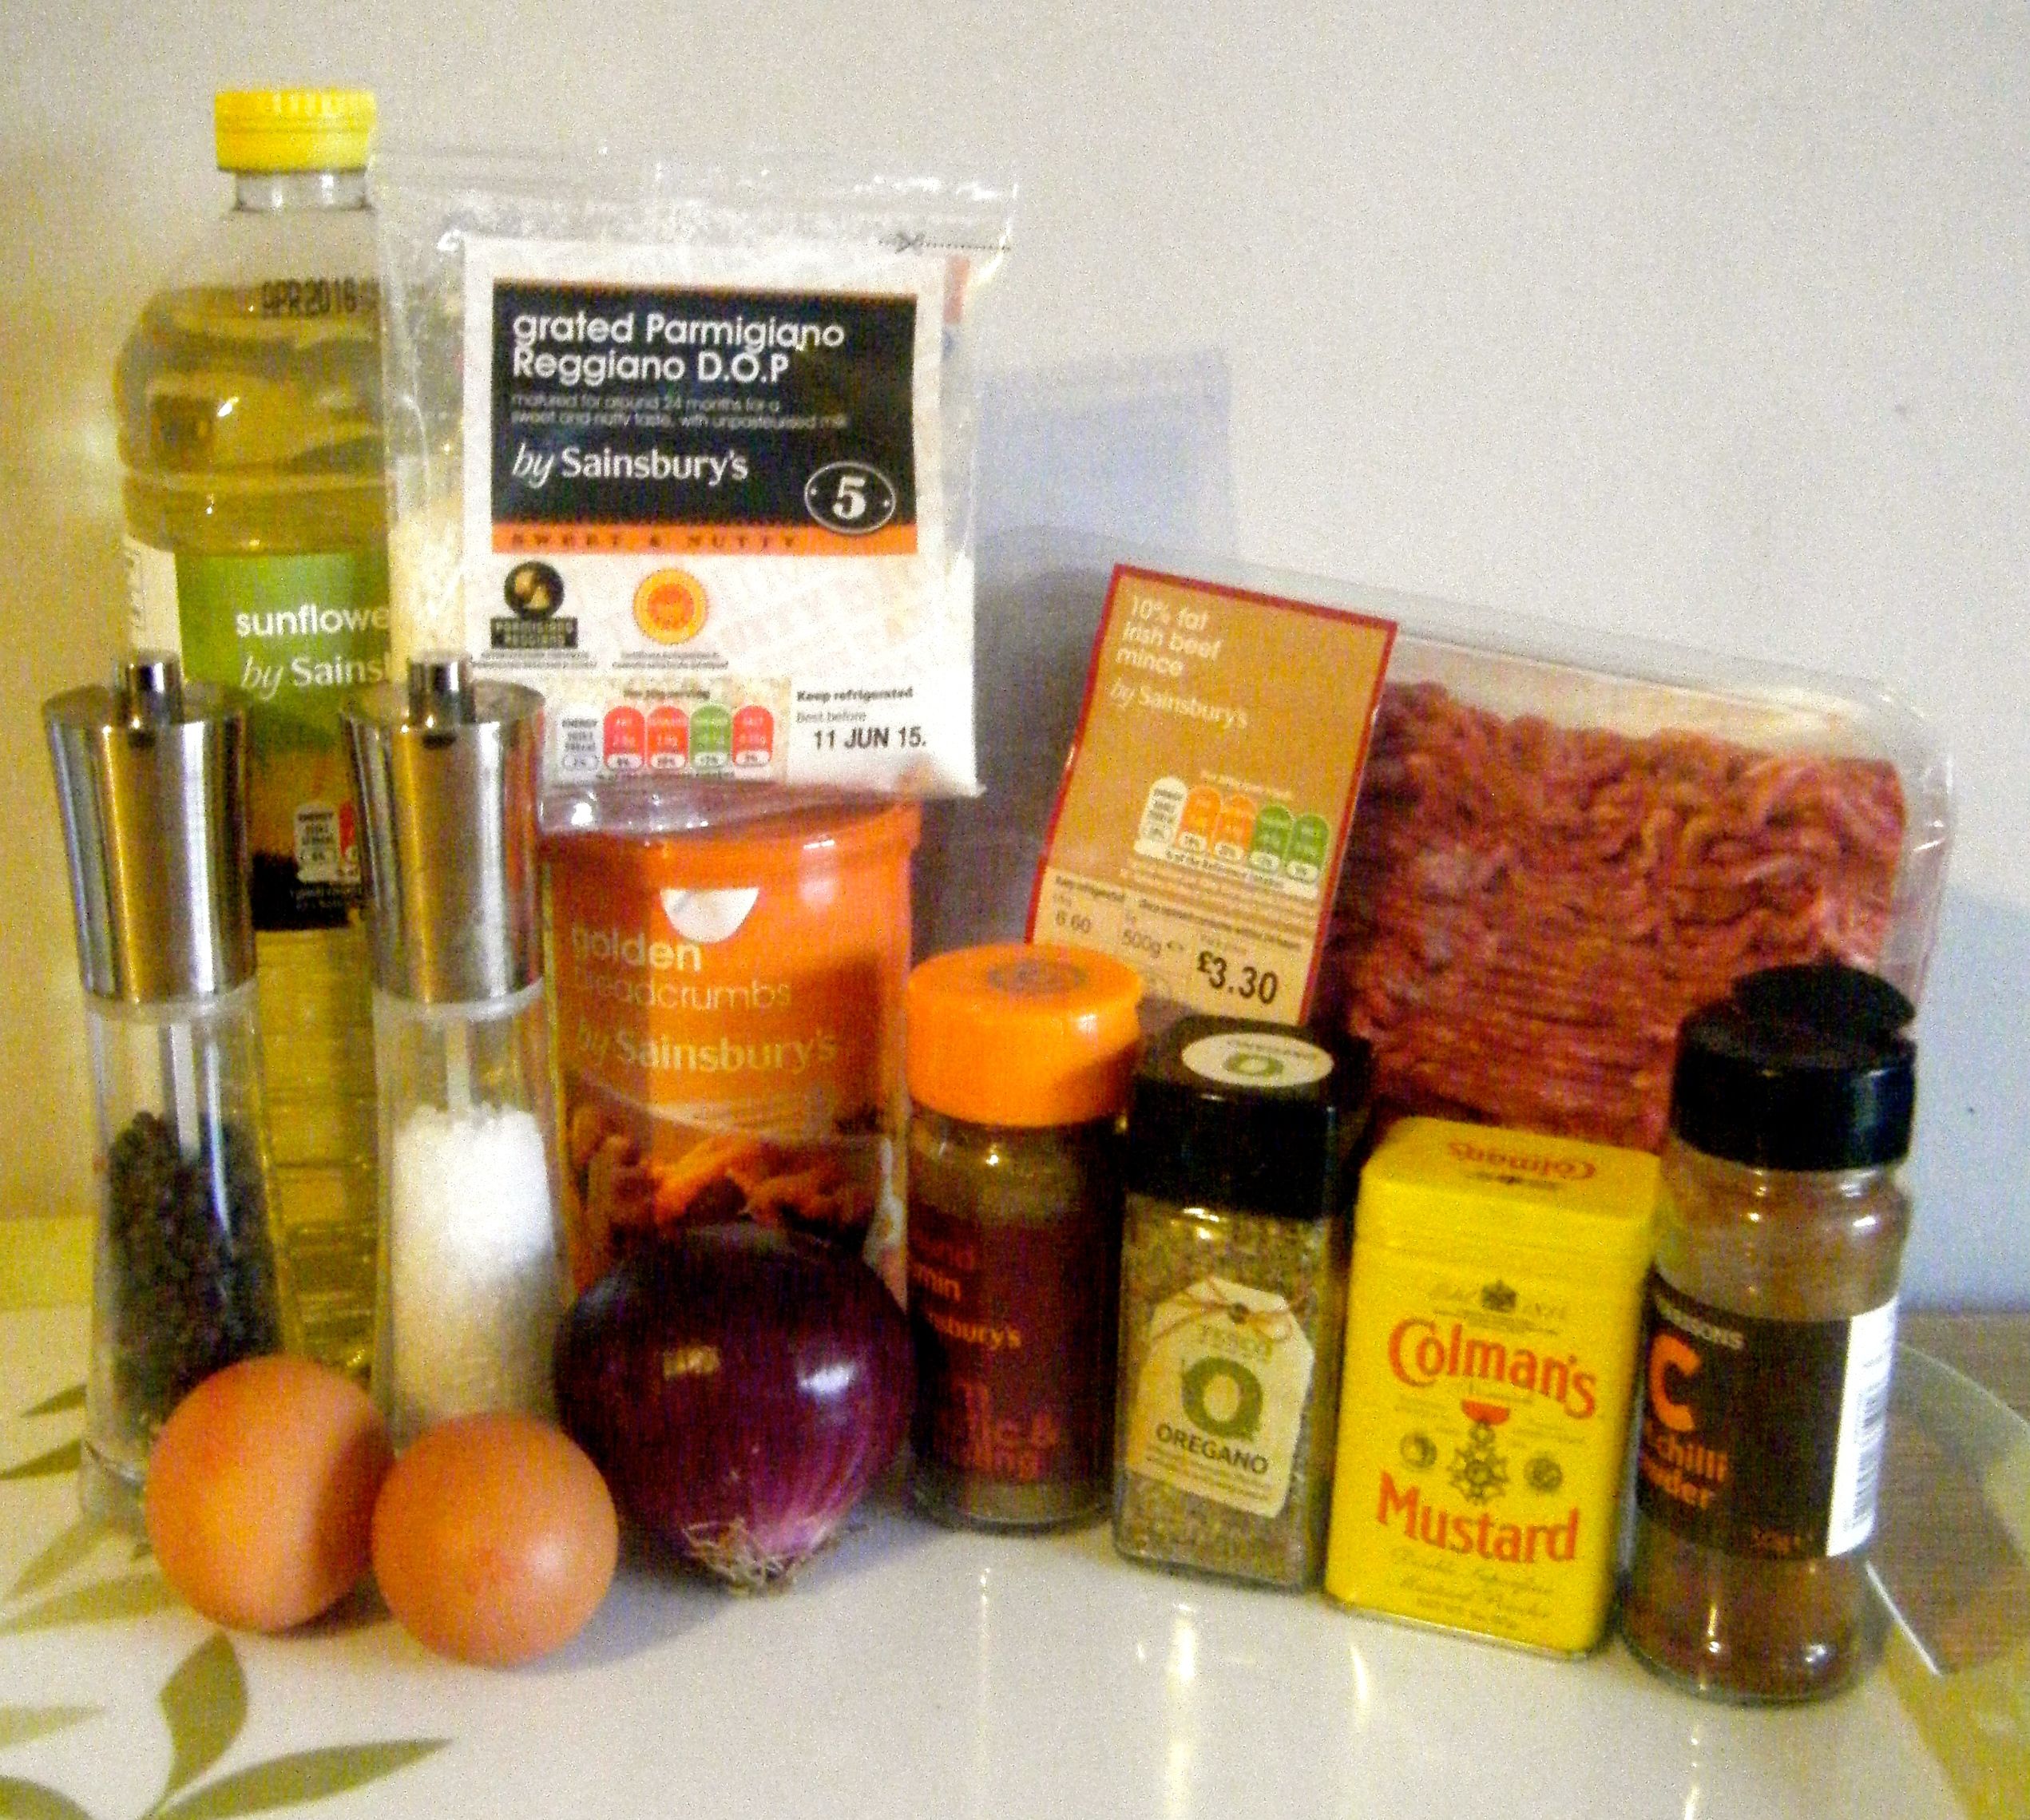
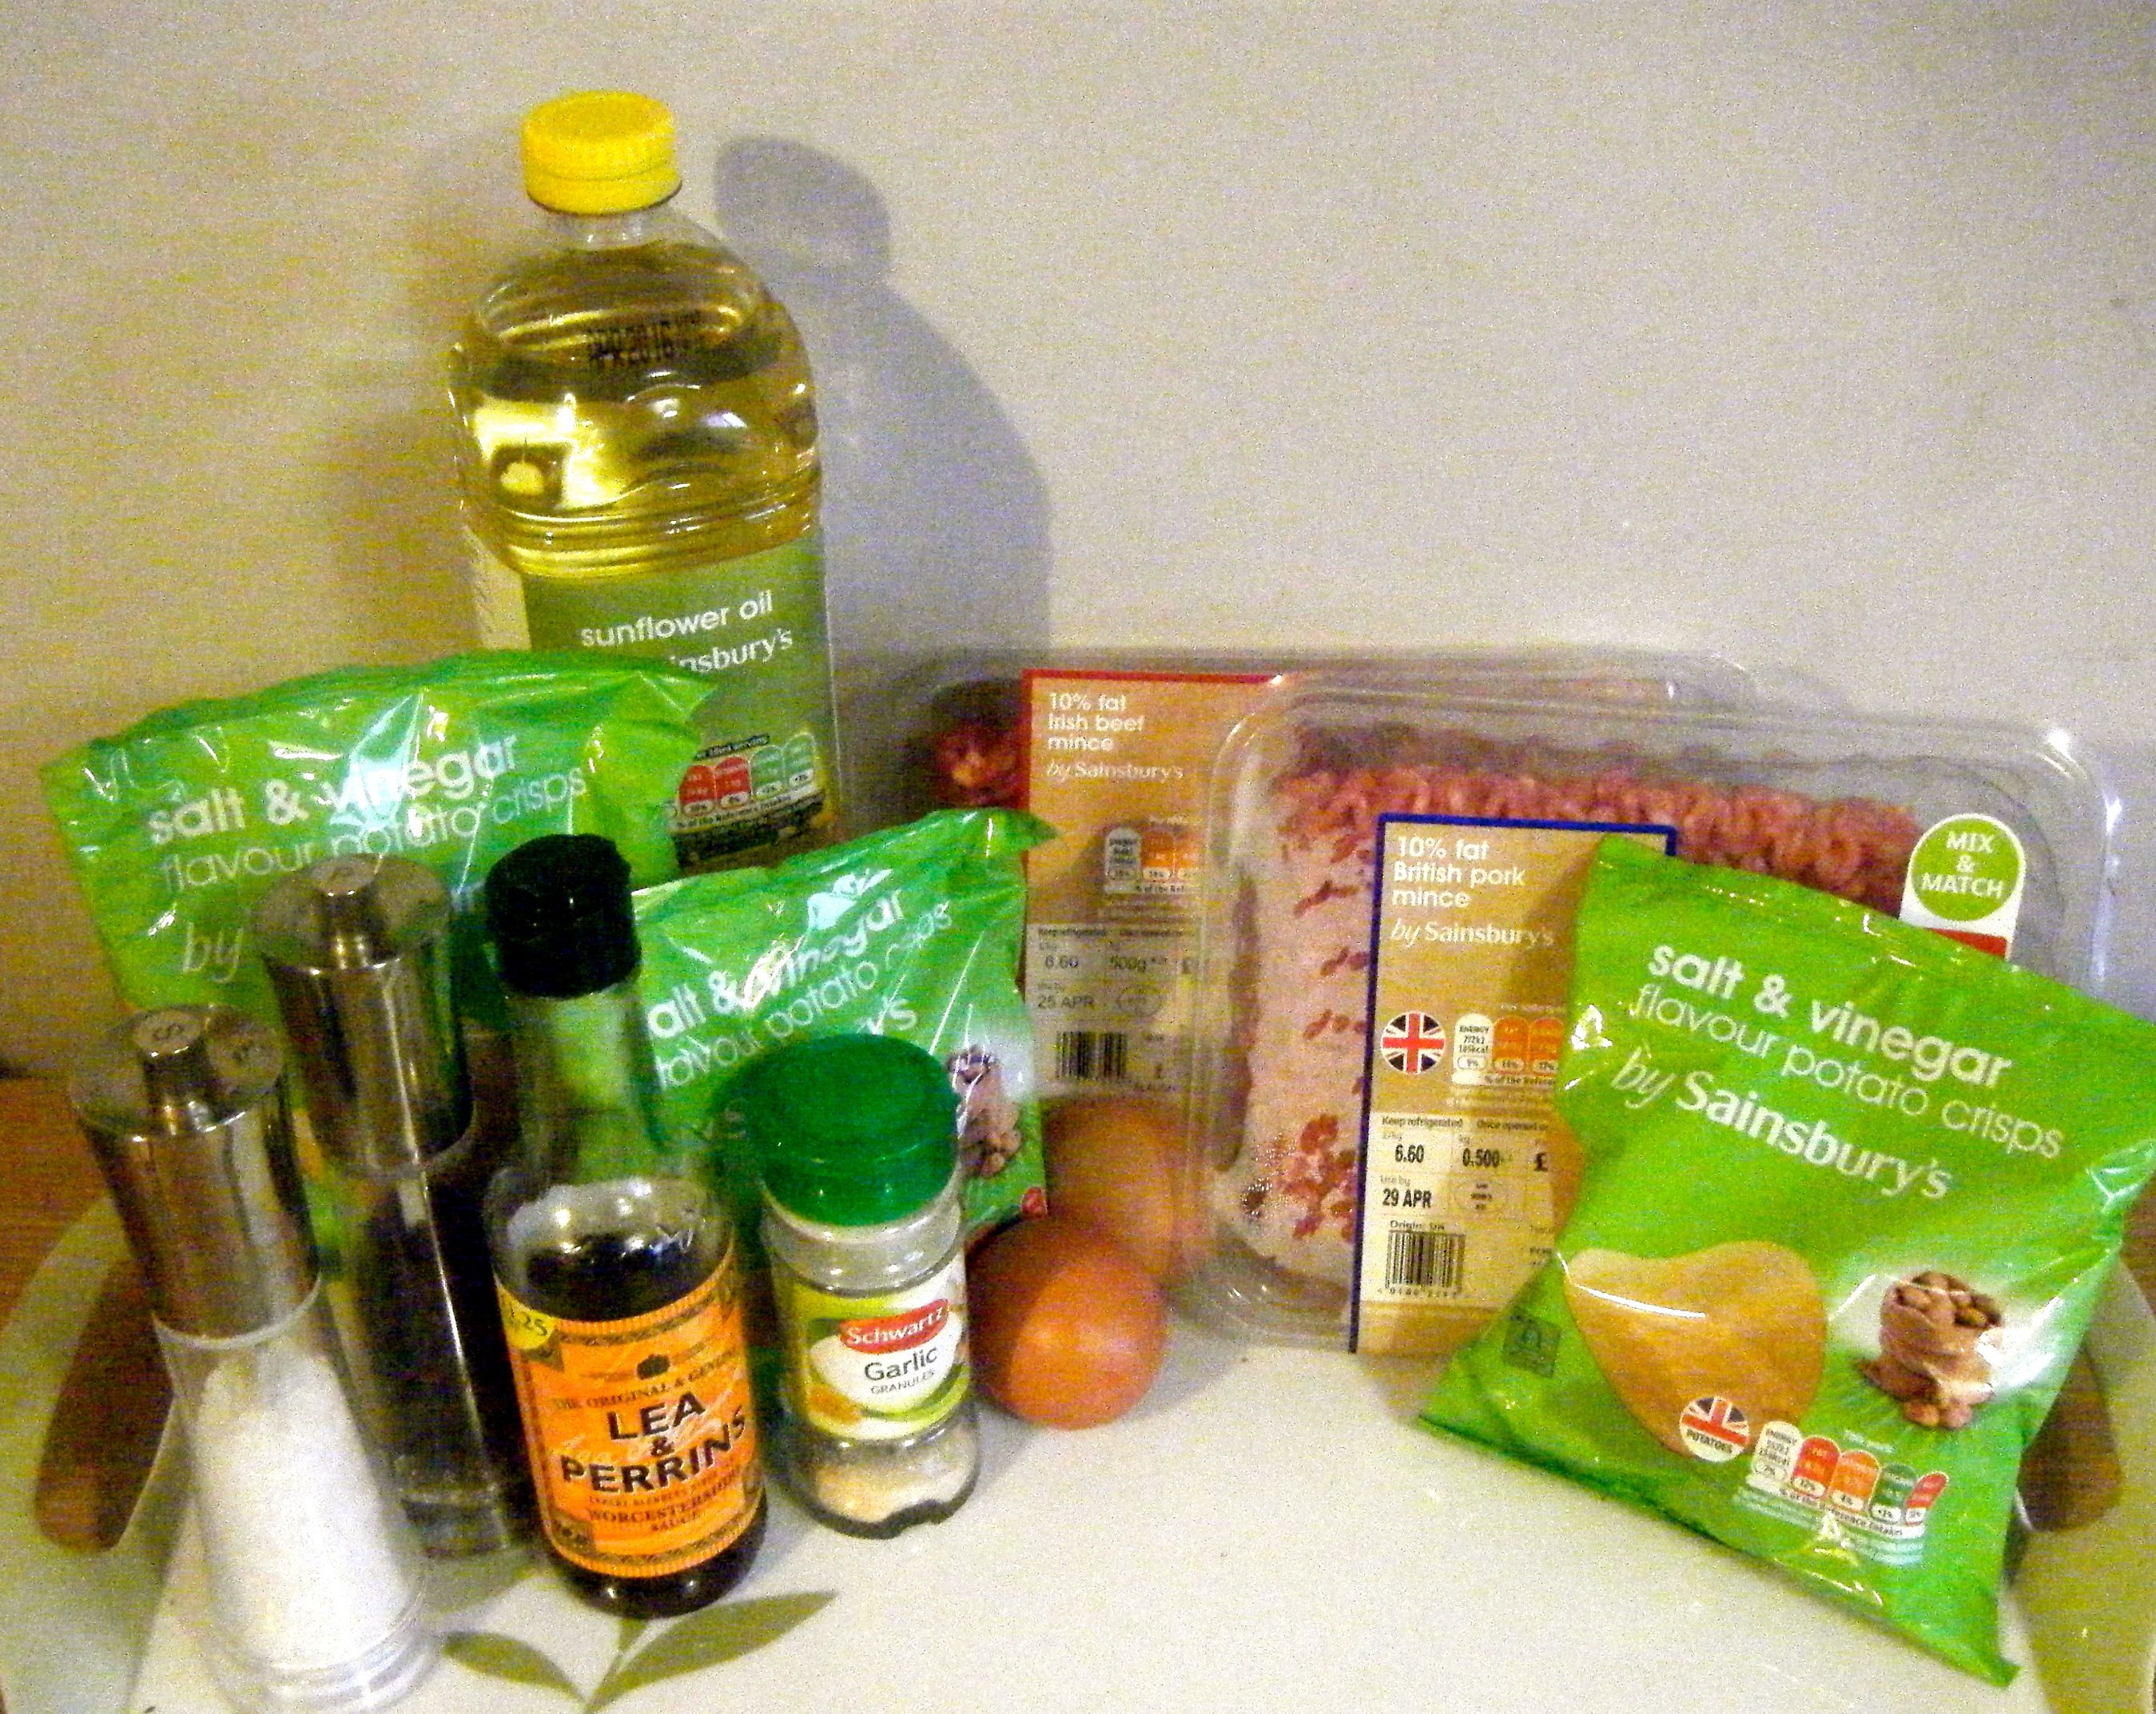
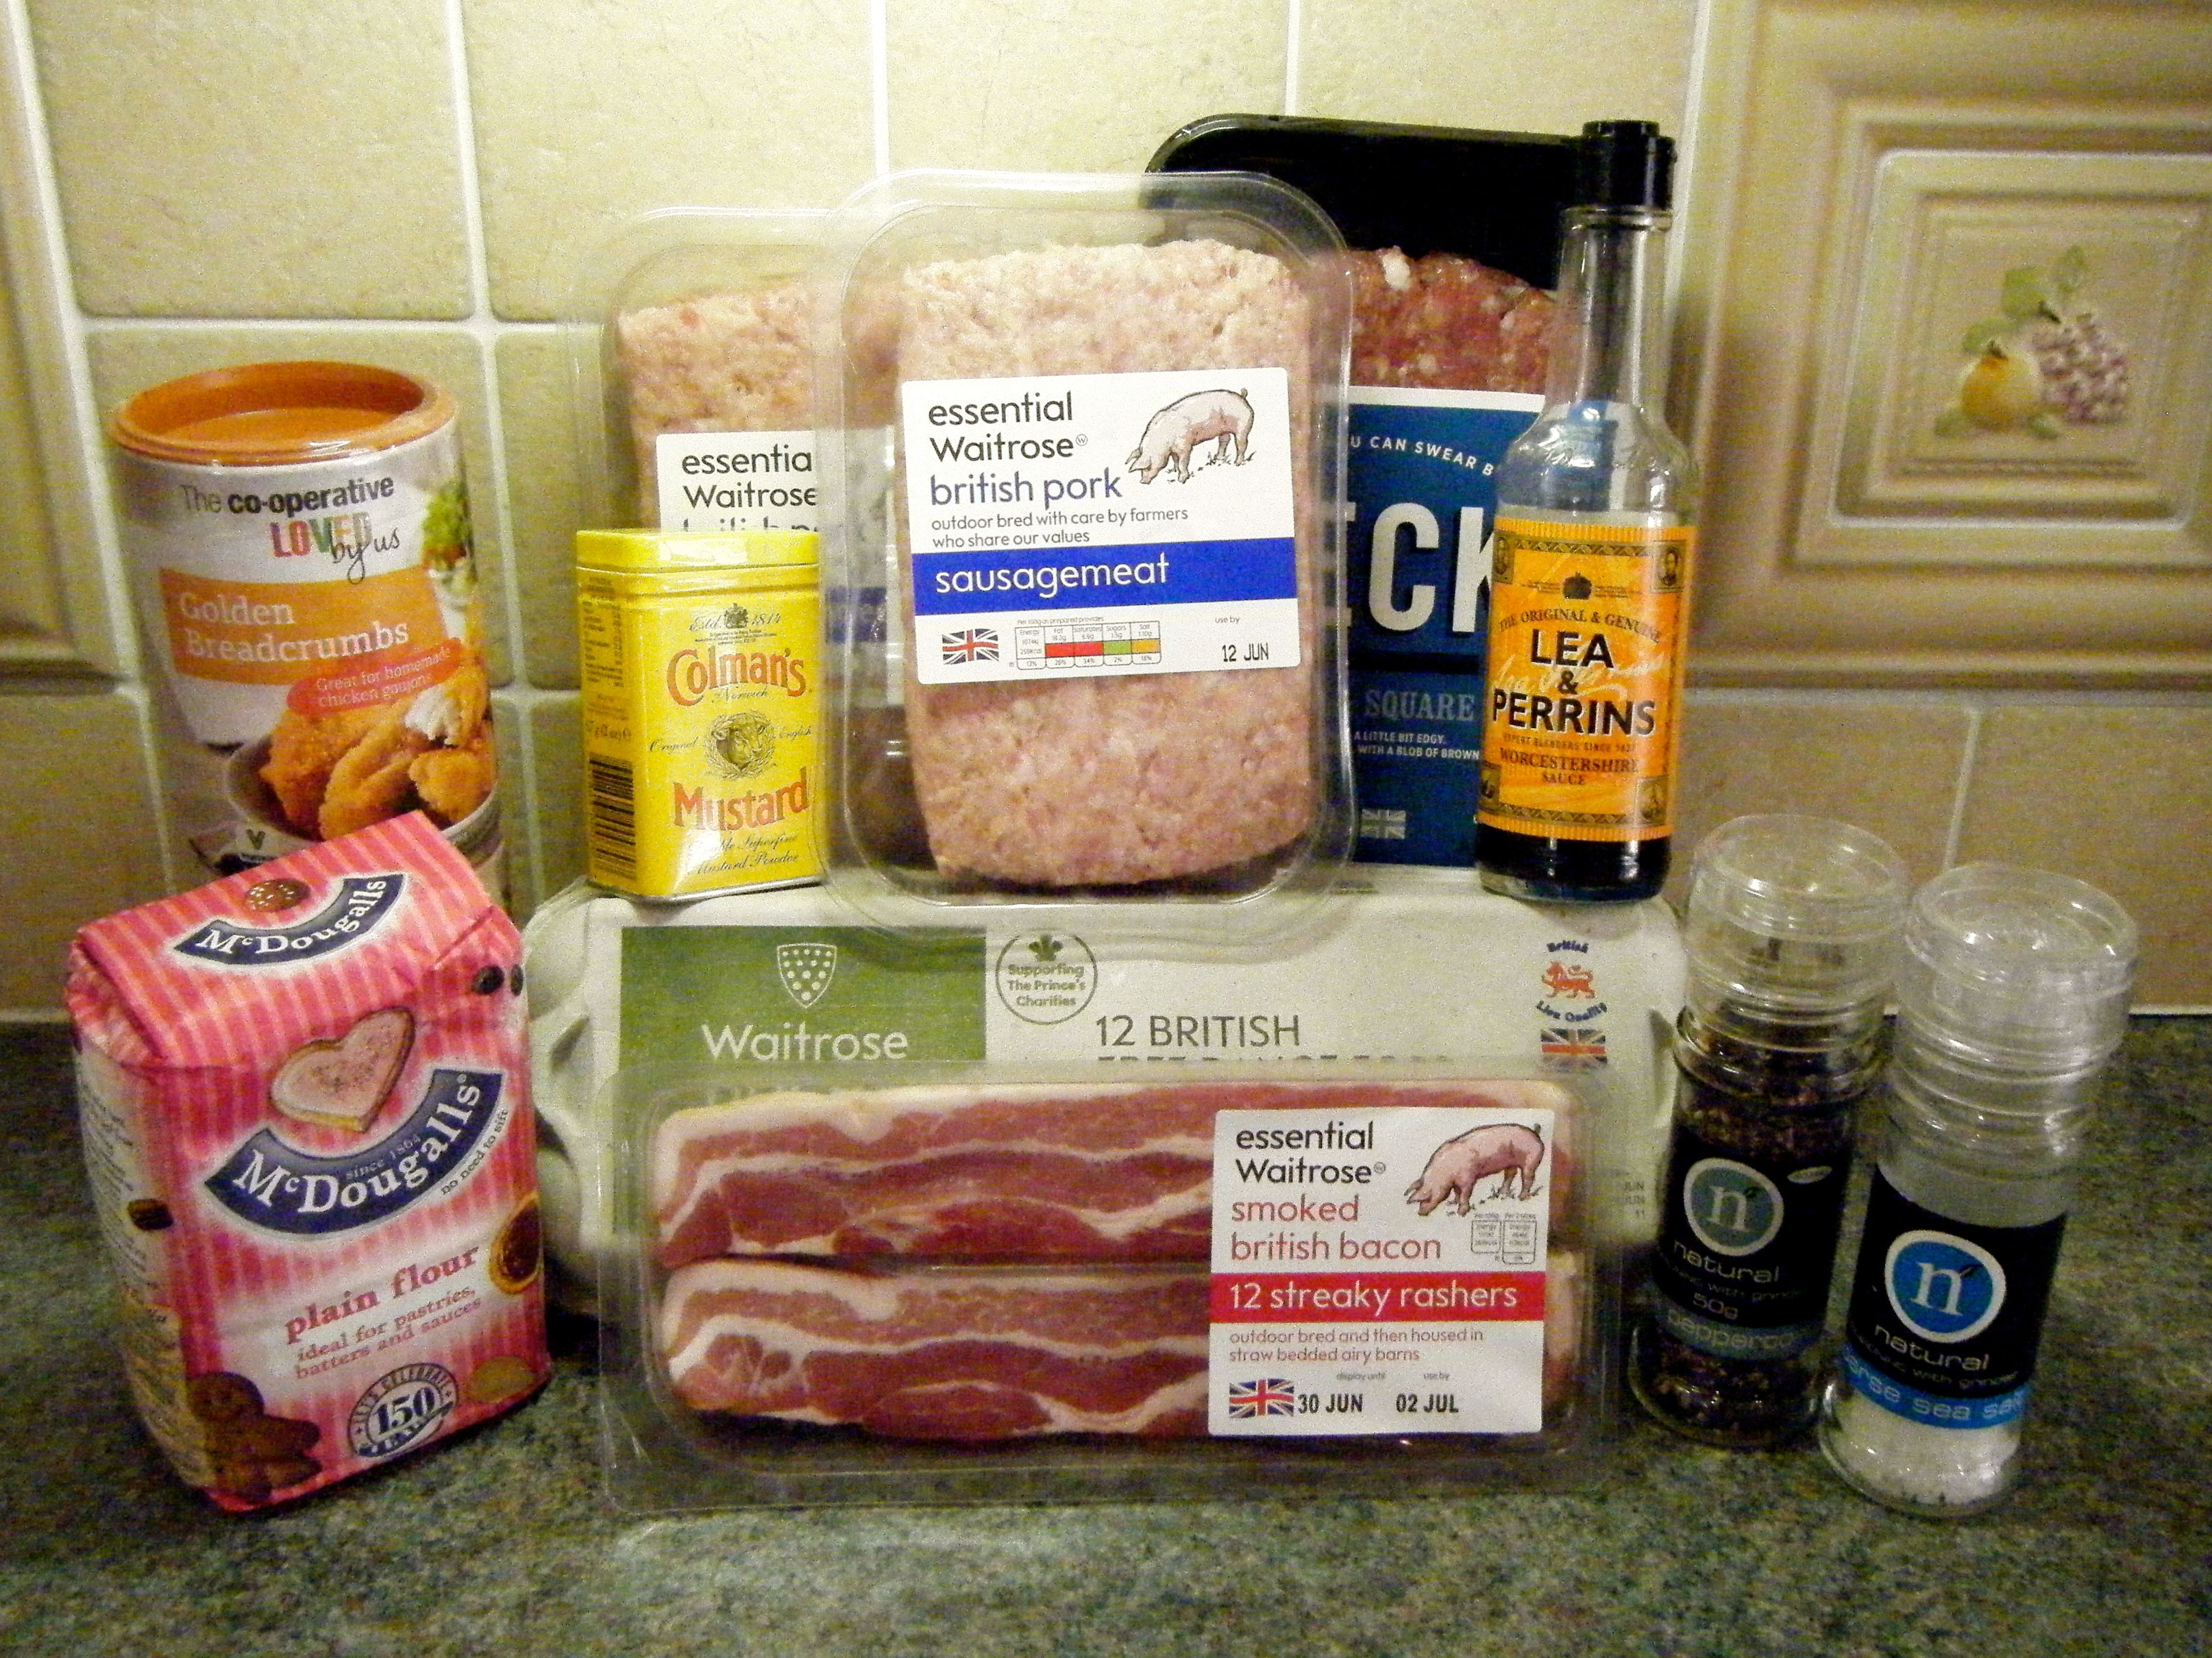
Taking inspiration from a recipe on BBC GoodFood, I’ve updated my school recipe slightly and to make my version of the scotch eggs you will need the following ingredients:-

  • 11 eggs
  • 1,300g sausage meat
  • 3 tsp worcestershire sauce
  • 2 tsp english powder
  • Salt and Pepper to season
  • 5 rashers smoked streaky bacon*
  • Approximately 50g plain flour
  • Approximately 150g golden breadcrumbs

*My soon-to-be-sister-in-law doesn’t like bacon so I made half the scotch eggs without the bacon so Nikki could try some 🙂

Edited - ingredients

The above ingredients will make 10 scotch eggs, 5 of which will include the bacon.

Now, I have a quick confession to make before we get started.  Before I attempted this challenge, I had never boiled an egg before! Yep, at the age of 26, I had never cooked a soft or hard boiled egg.  I’ve previously made scotch eggs but my mum got the ingredients ready, including providing me with hard boiled eggs.  At the weekend, I confessed this embarrassing fact to my mum who was deeply ashamed but laughed at my expense. 

So, on with my first attempt at cooking a hard boiled egg.  I put 10 of the eggs into a pan and filled it with cold water, making sure the eggs were sufficiently covered.  I then popped the pan on a medium heat and put the lid on to bring the water to a boil.  Once the water was bubbling away, I set the timer for 5 minutes.  When the timer went off, I decided to give them another minute and then plunged them into cold water.

Edited - eggs in the pan

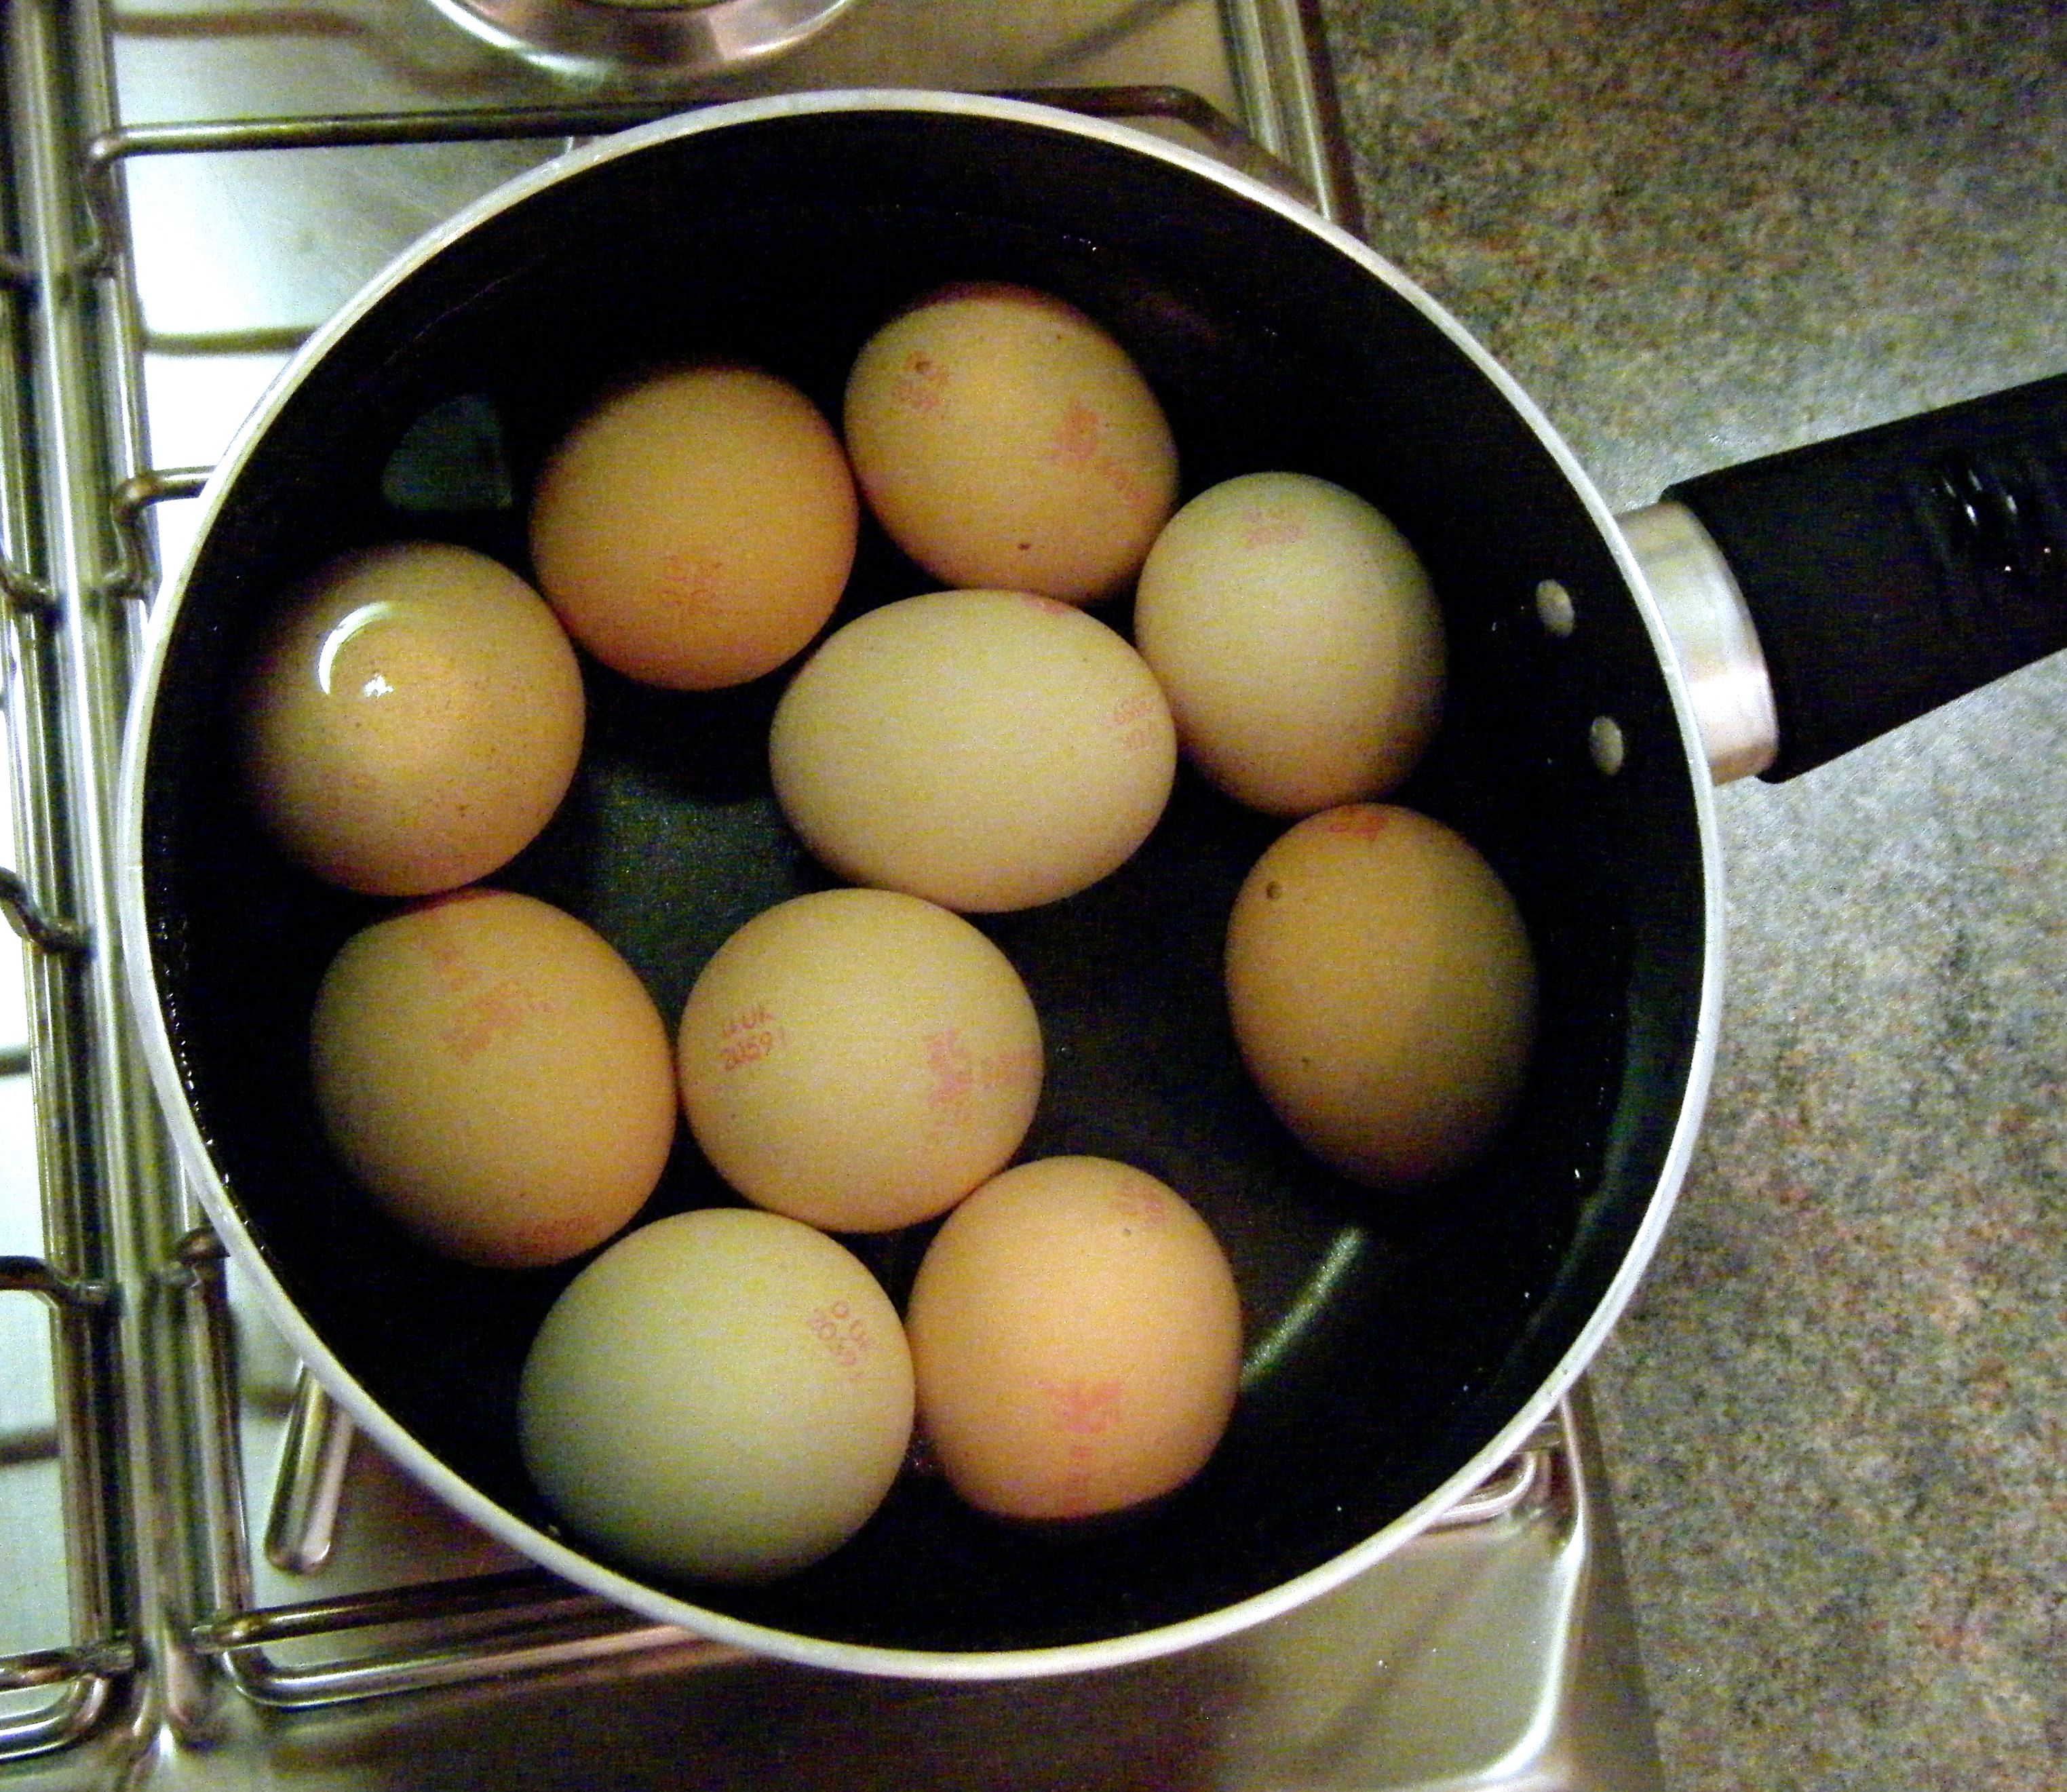
Practical tip: to check whether the eggs are done, take one out of the water and if the water evaporates quickly it will be done.  if the water takes a while to disappear, give the eggs a little longer. (This tip was provided my mum 🙂 )   

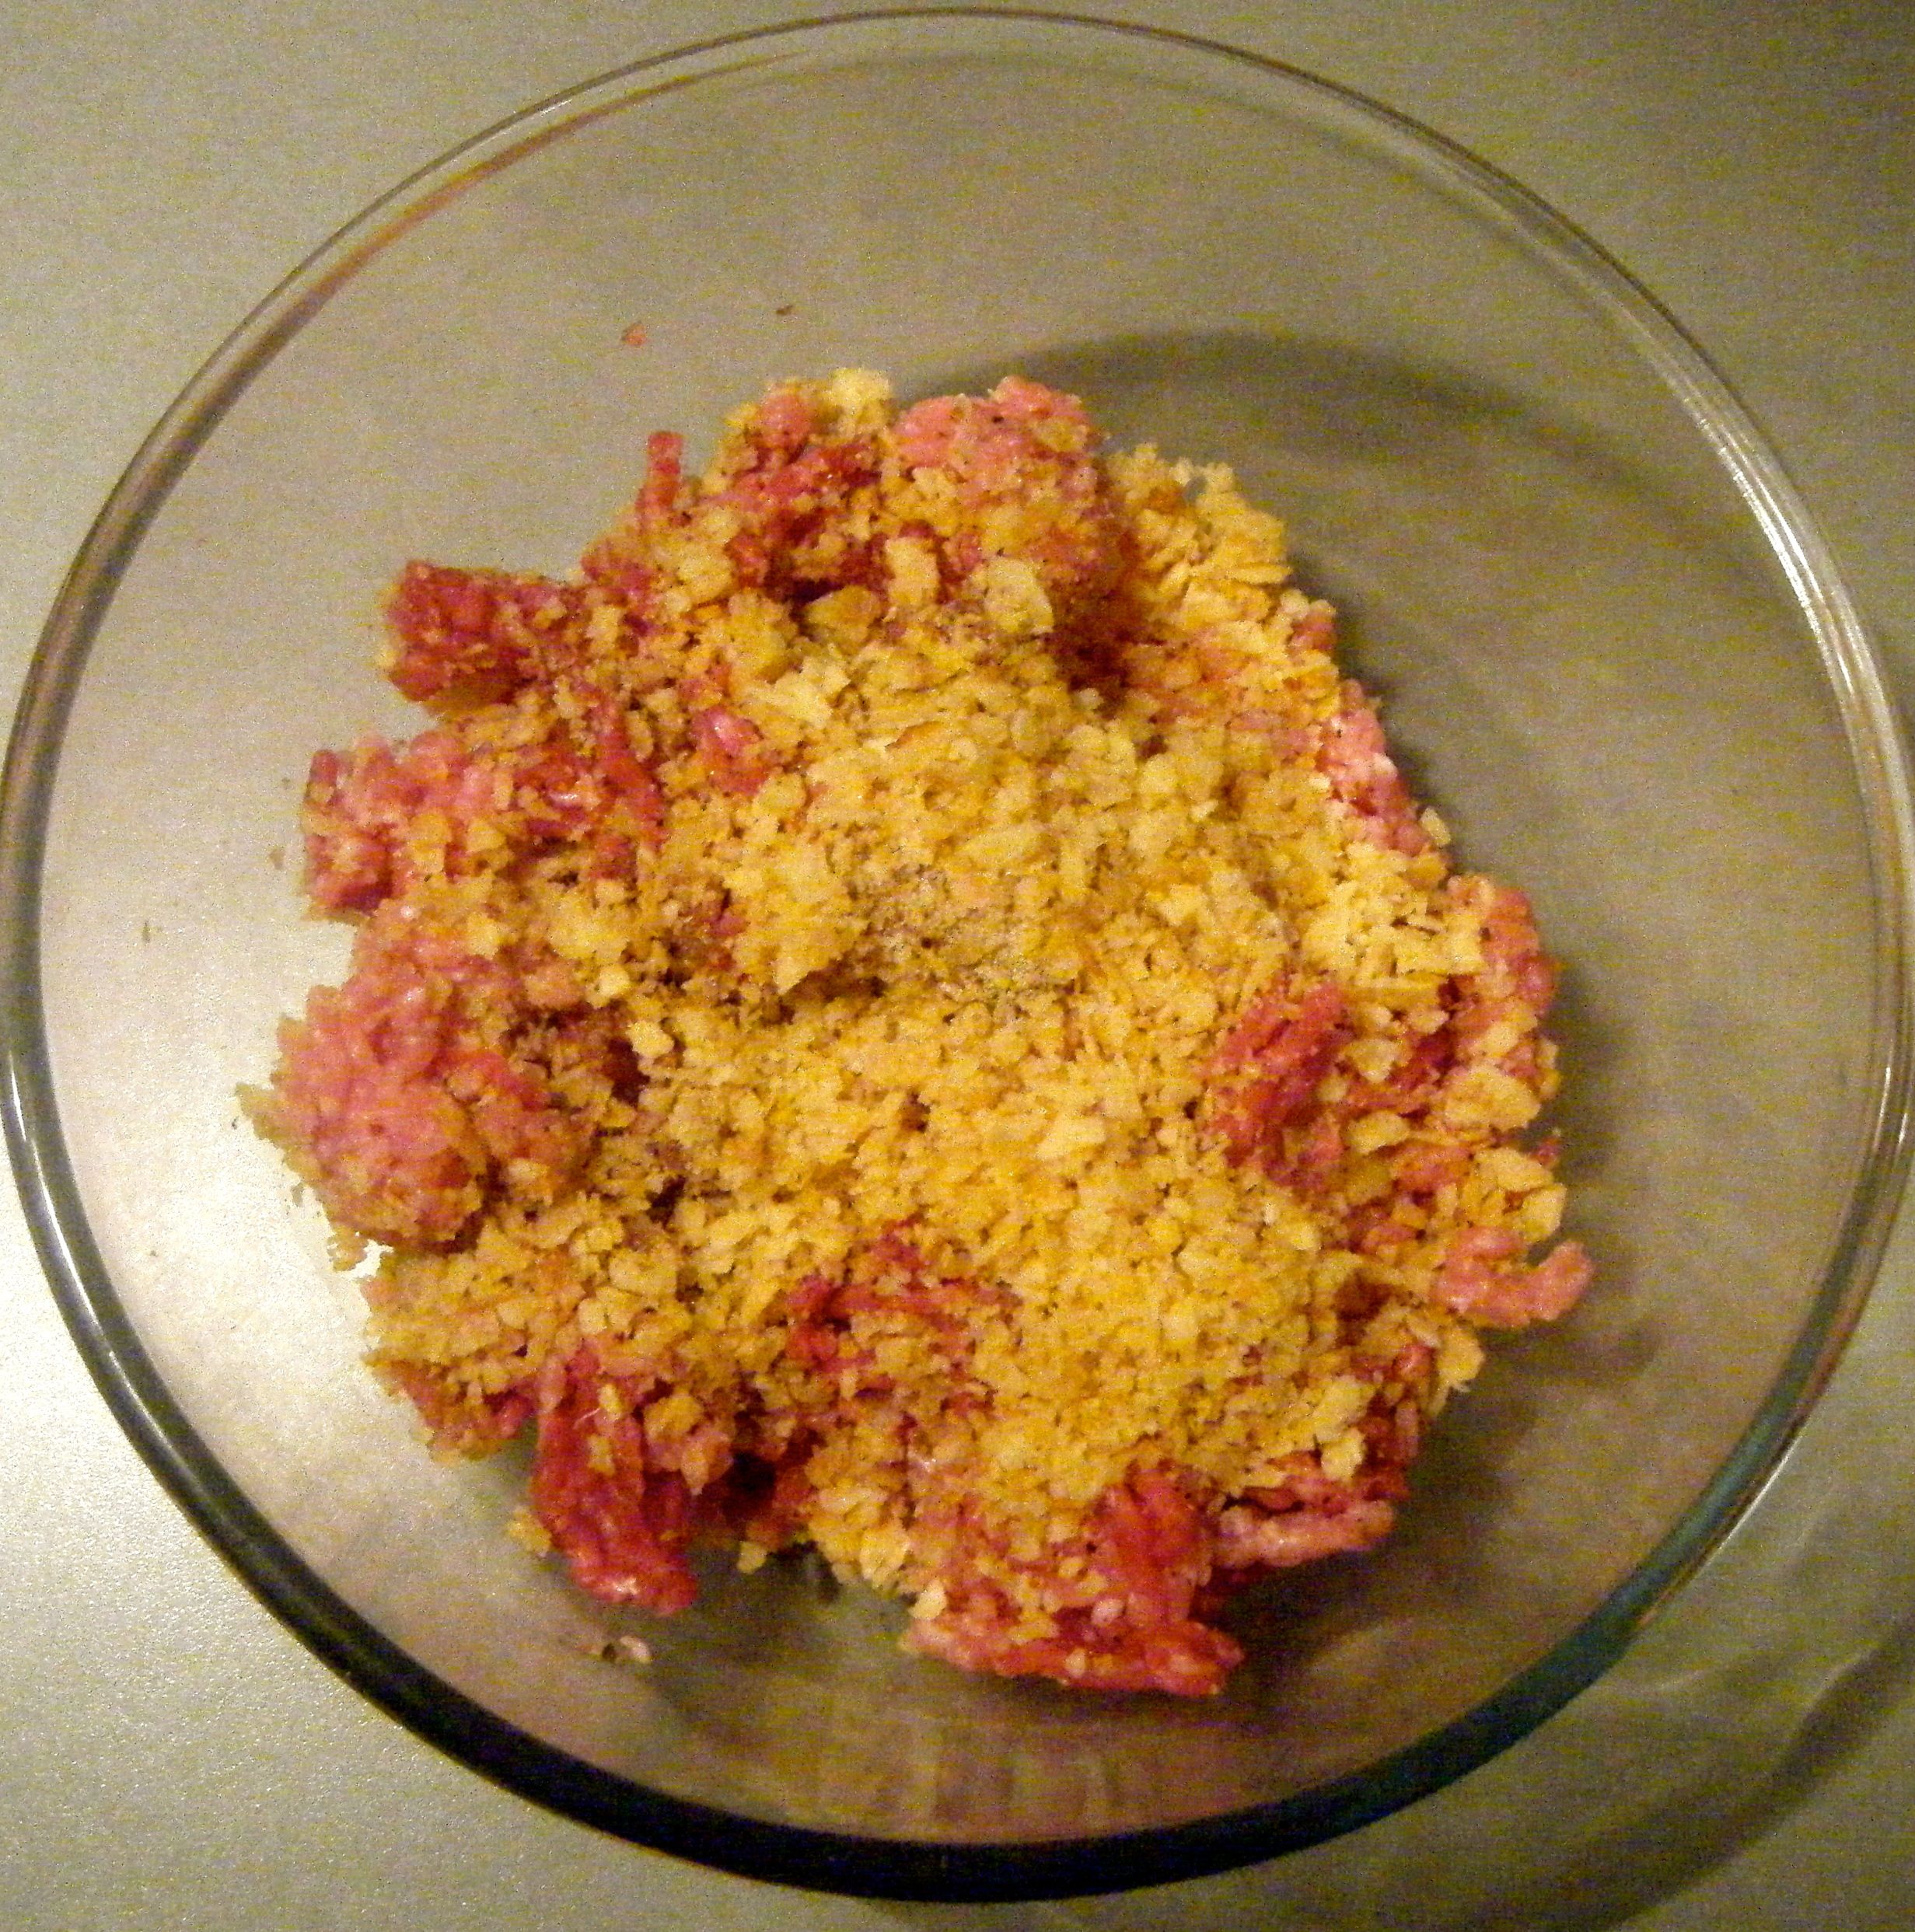
While the eggs were cooking, I had prepared the sausage meat.  I put the meat into a bowl and added the worcestershire sauce, mustard powder and seasoned it with salt and pepper.  I then mixed it up.  I tried to use a spoon but this just didn’t work so I got a bit messy and used my hand – this was actually really fun! 

Edited - sausage meat and ingredients

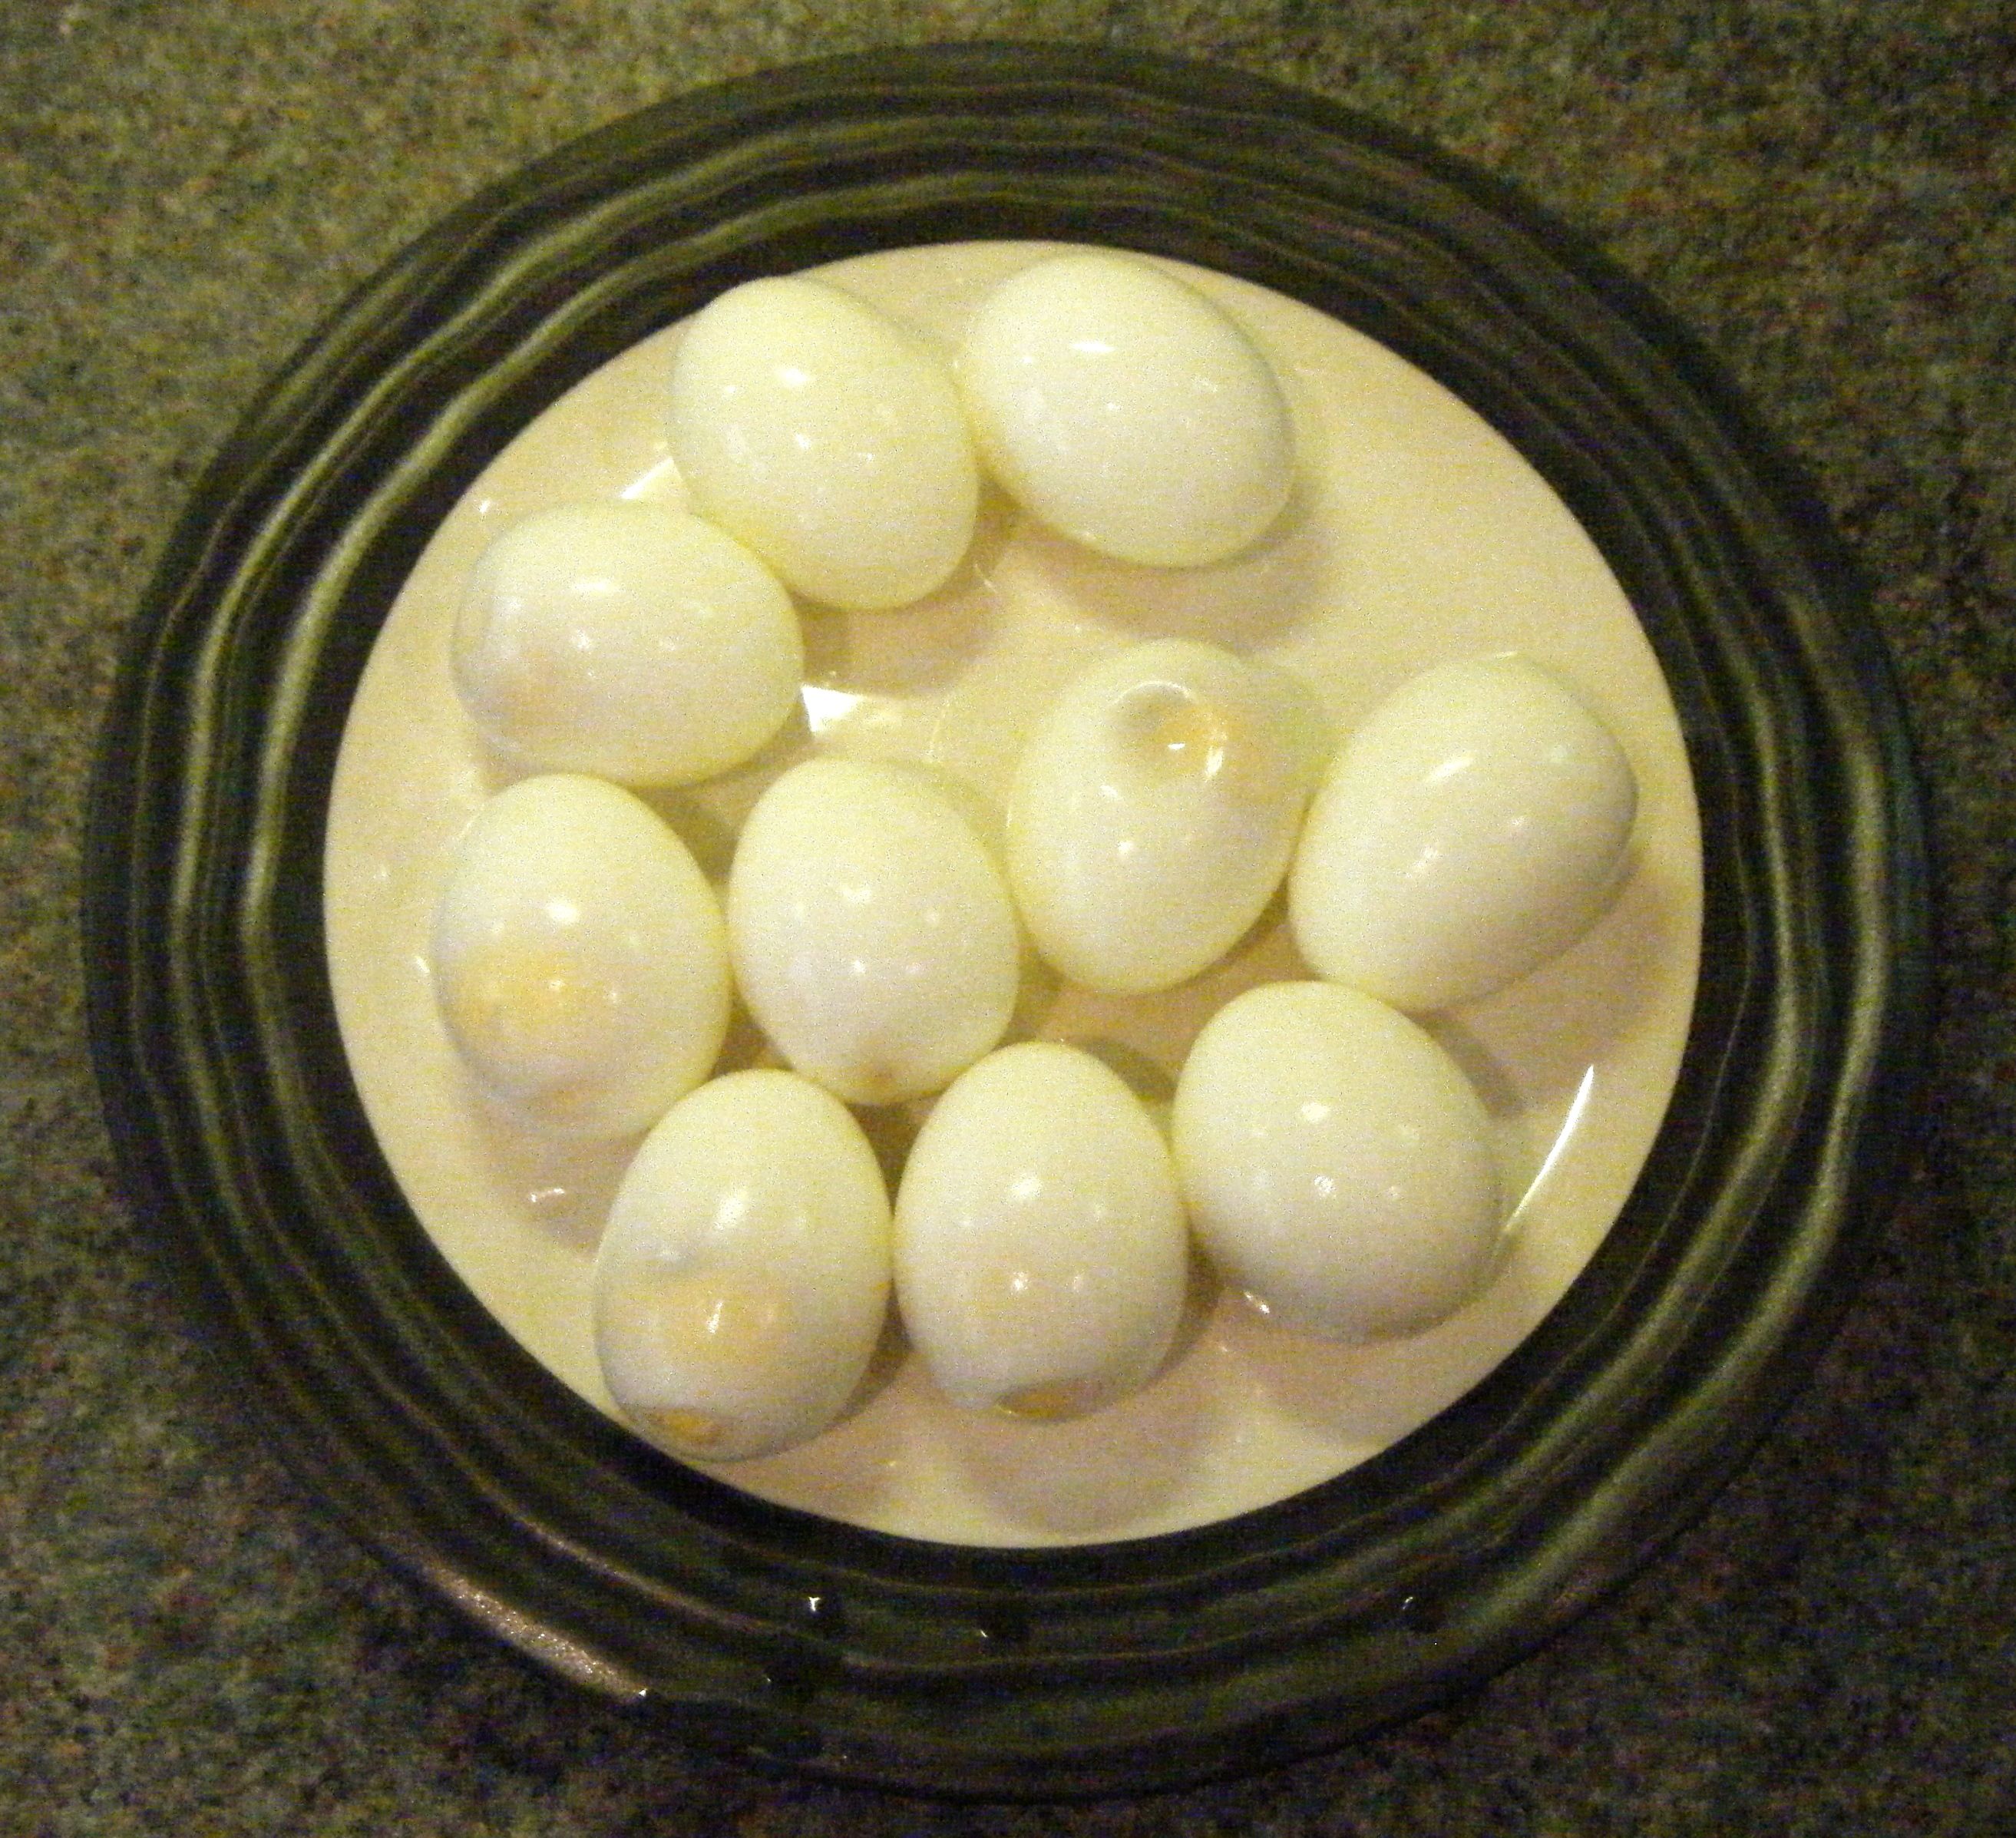
With the sausage meat ready and the eggs cooled, I set about peeling the eggs by gently tapping them on the worktop to break the shell and then pealing it off.  I dipped each pealed egg into a bowl of water to make sure all the bits of shell were washed off. 

Edited - pelled eggs

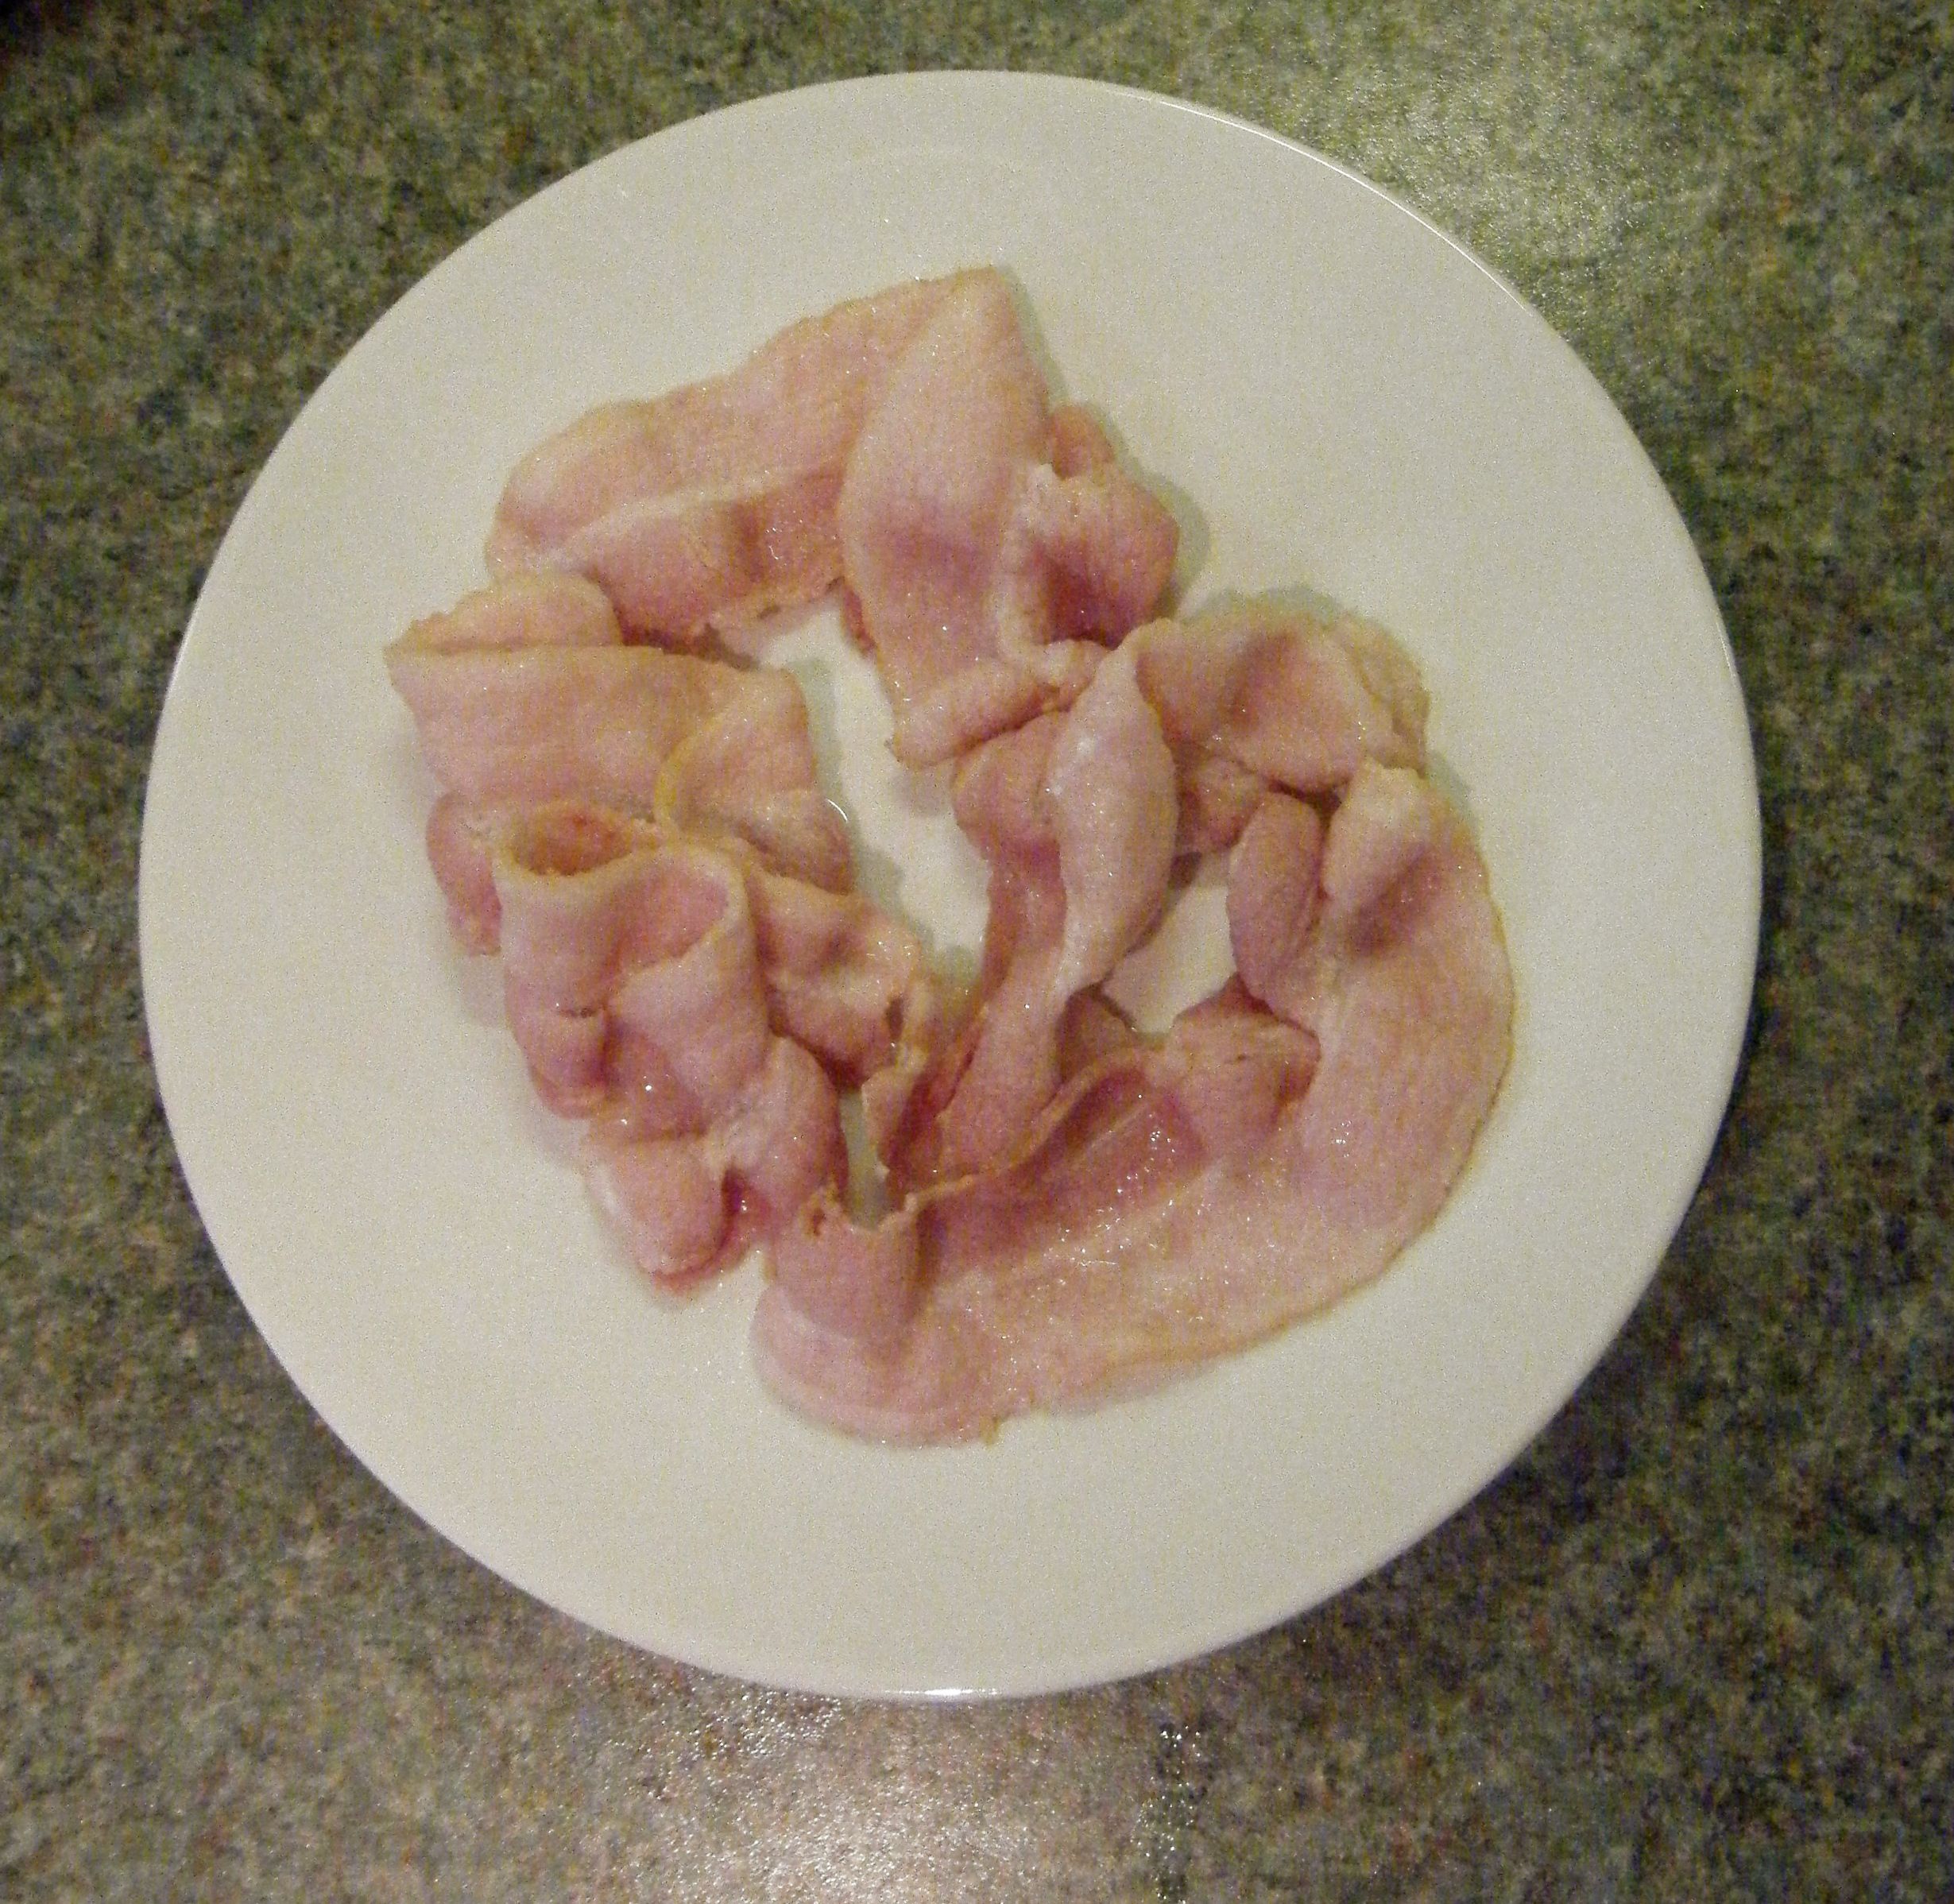
Next up, I cooked the bacon rashers.  The recipe on BBC GoodFood said to bring a pan of water to the boil and then to drop in the rashers, turn off the heat and then remove the rashers using tongs by which time they will have cooked.  I did exactly as the recipe said and I have to be honest both me and mum were amazed that this worked! Such a quick and neat way to cook the bacon!

Edited - cooked bacon

I then set up the ‘stations’ for the next stage of the recipe.  I put my eggs on one plate, bacon on another, some plain flour into a shallow bowl and I measured out 10 spoonfuls of the sausage meat mixture onto a chopping board. 

Edited - meat portions

I started with the non-bacon scotch eggs and rolled the eggs into the flour, shaking off any excess.  I then took one ball of the sausage meat mixture and squashed it flat onto the palm of my hand before adding the floured egg.  I worked the meat round the egg until it was fully encased and put it to one side as I carried on.

Edited - step 1

To make the bacon scotch eggs, I wrapped the bacon around the egg before rolling it in the flour and then adding the sausage meat mixture casing.

Edited - bacon wrapped eggs

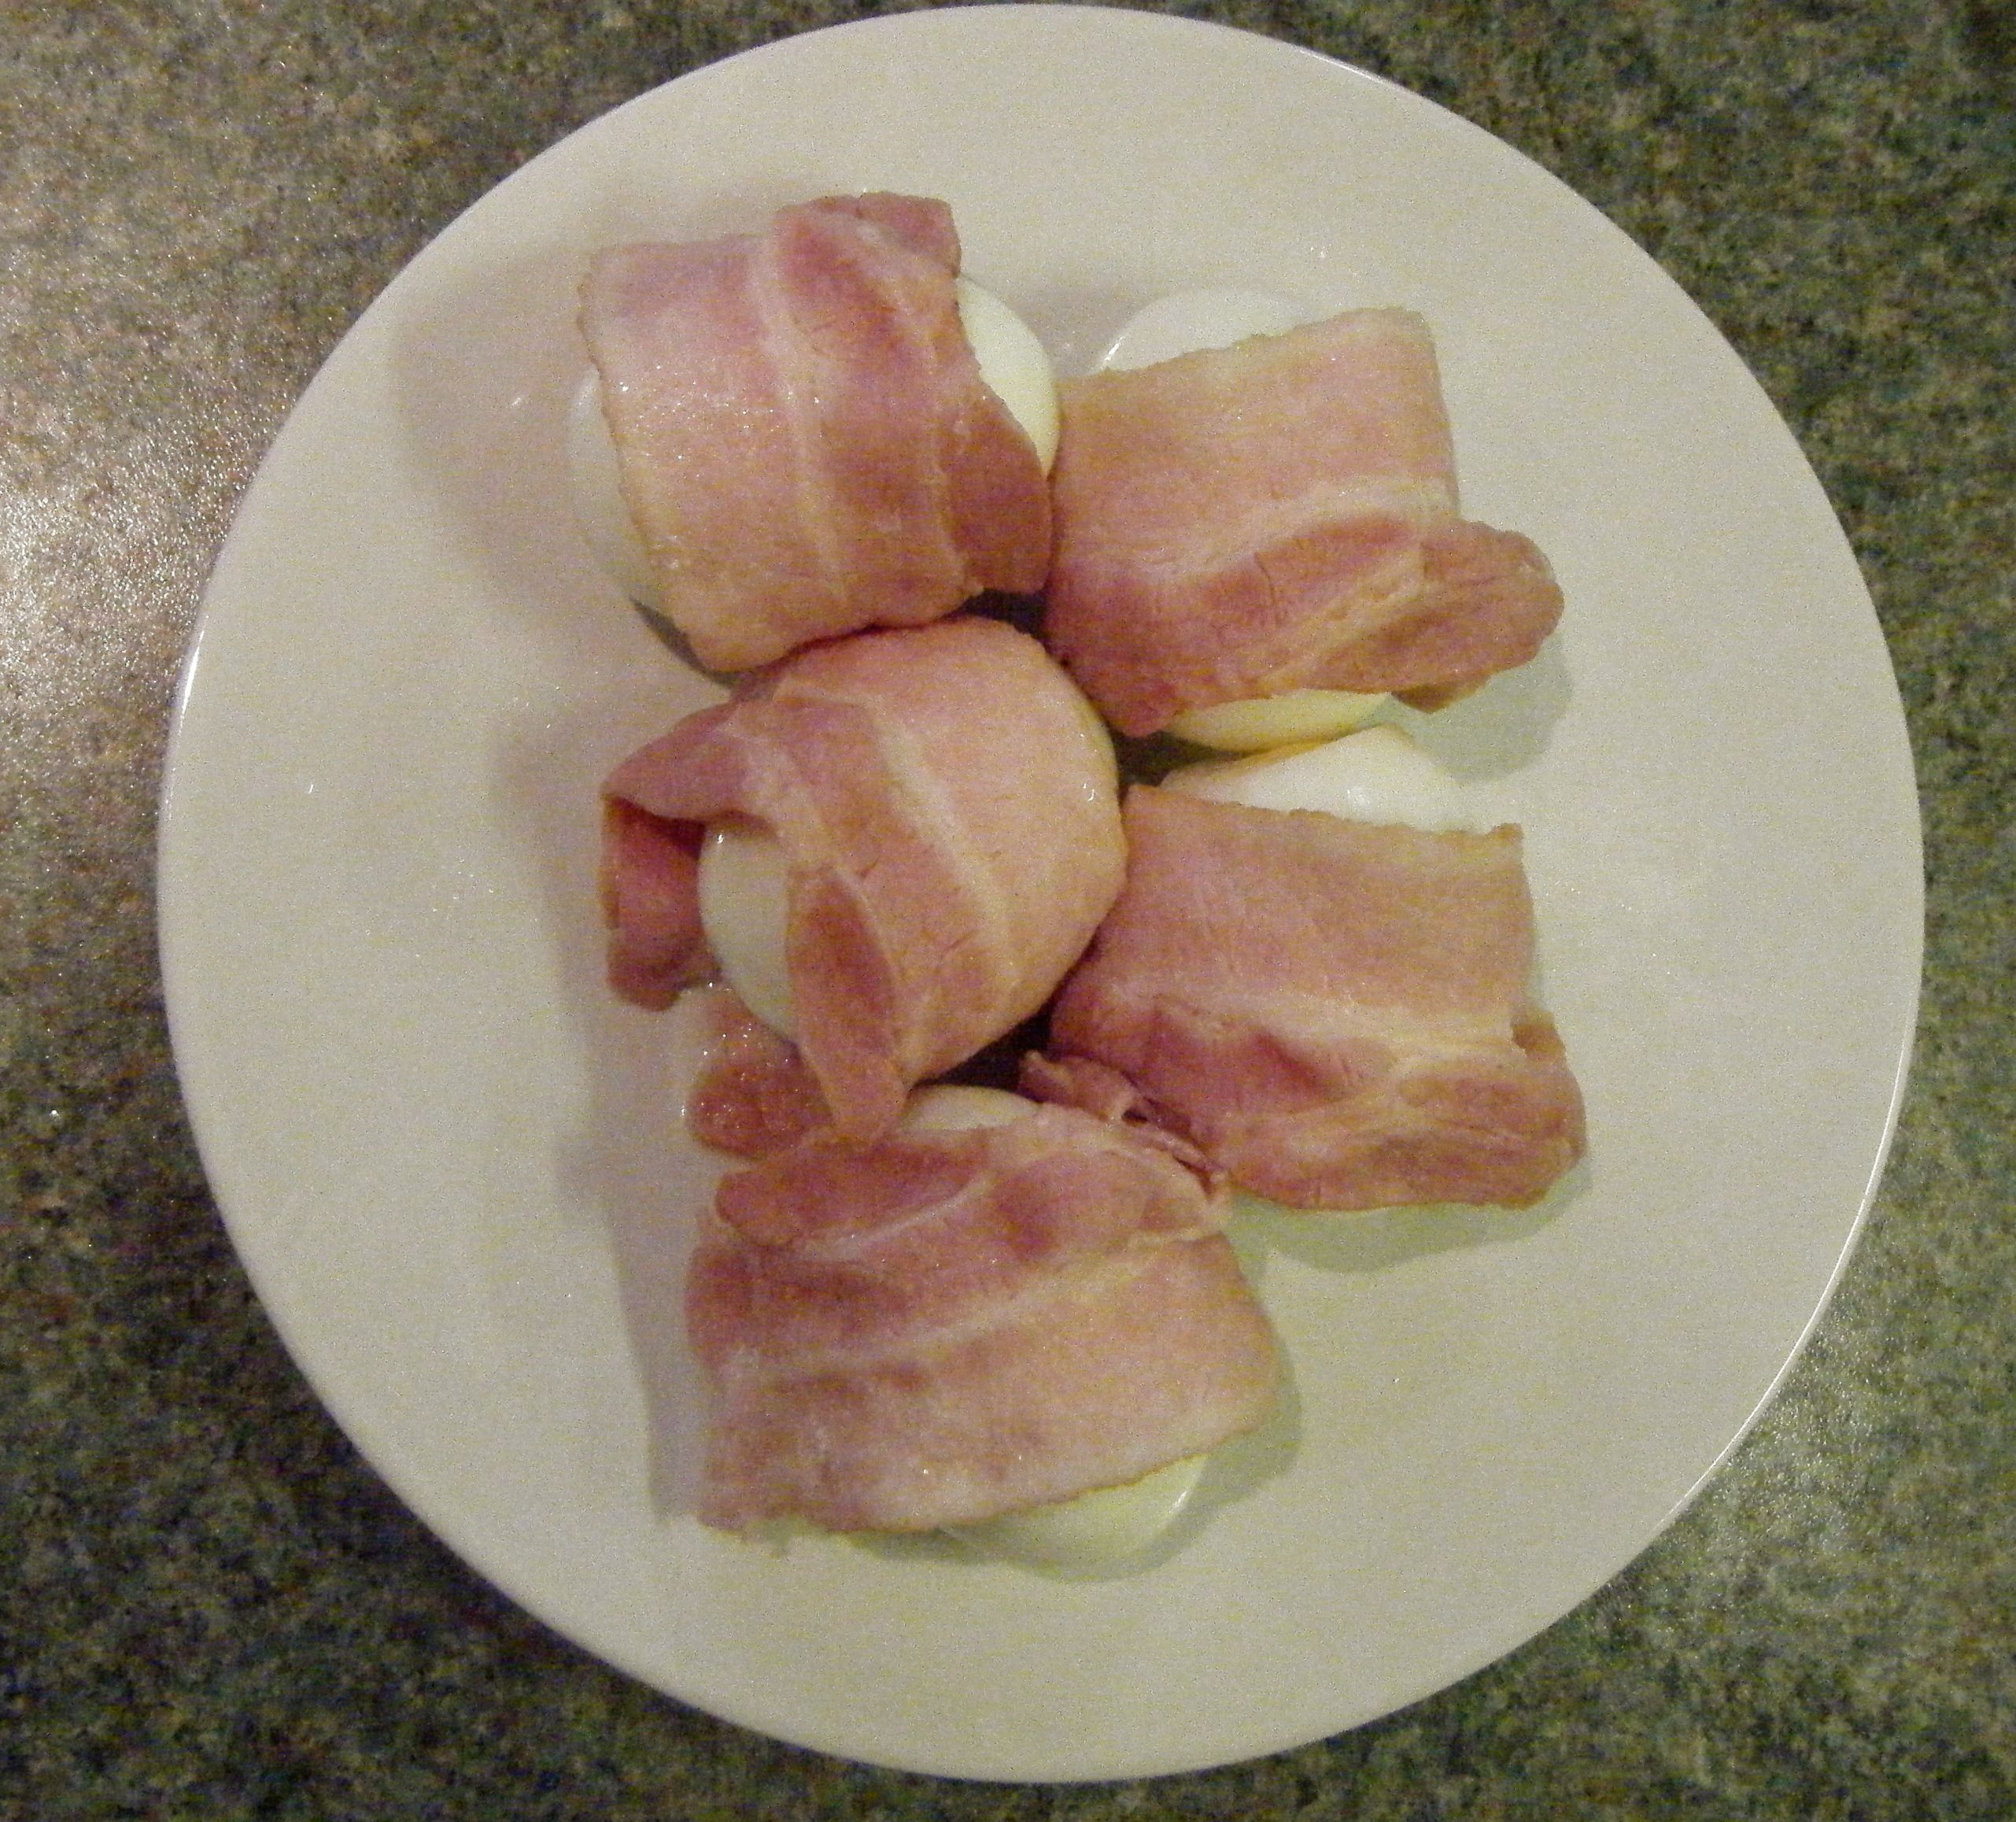
Practical tip: make sure the sausage meat mixture is sealed all the way round the egg to ensure it doesn’t break open in the oven. I didn’t quite manage this with all of them and I had a few breakers but it just makes them look more homemade 😉

Next up it was time to add the breadcrumb coating.  If your kitchen is big enough, you could do this in with the last stage by just adding two more bowls to the ‘stations’ – one with a beaten egg in and one with breadcrumbs.  I was making these in my mums kitchen which had the benefit of size, however, as I needed to take photo’s and this gets a bit messy, I thought it best to do this bit as a separate step.

Practical tip: to avoid waste, don’t put all the breadcrumbs into the bowl before you start.  Just add a small layer and top up as necessary.

Edited - stations

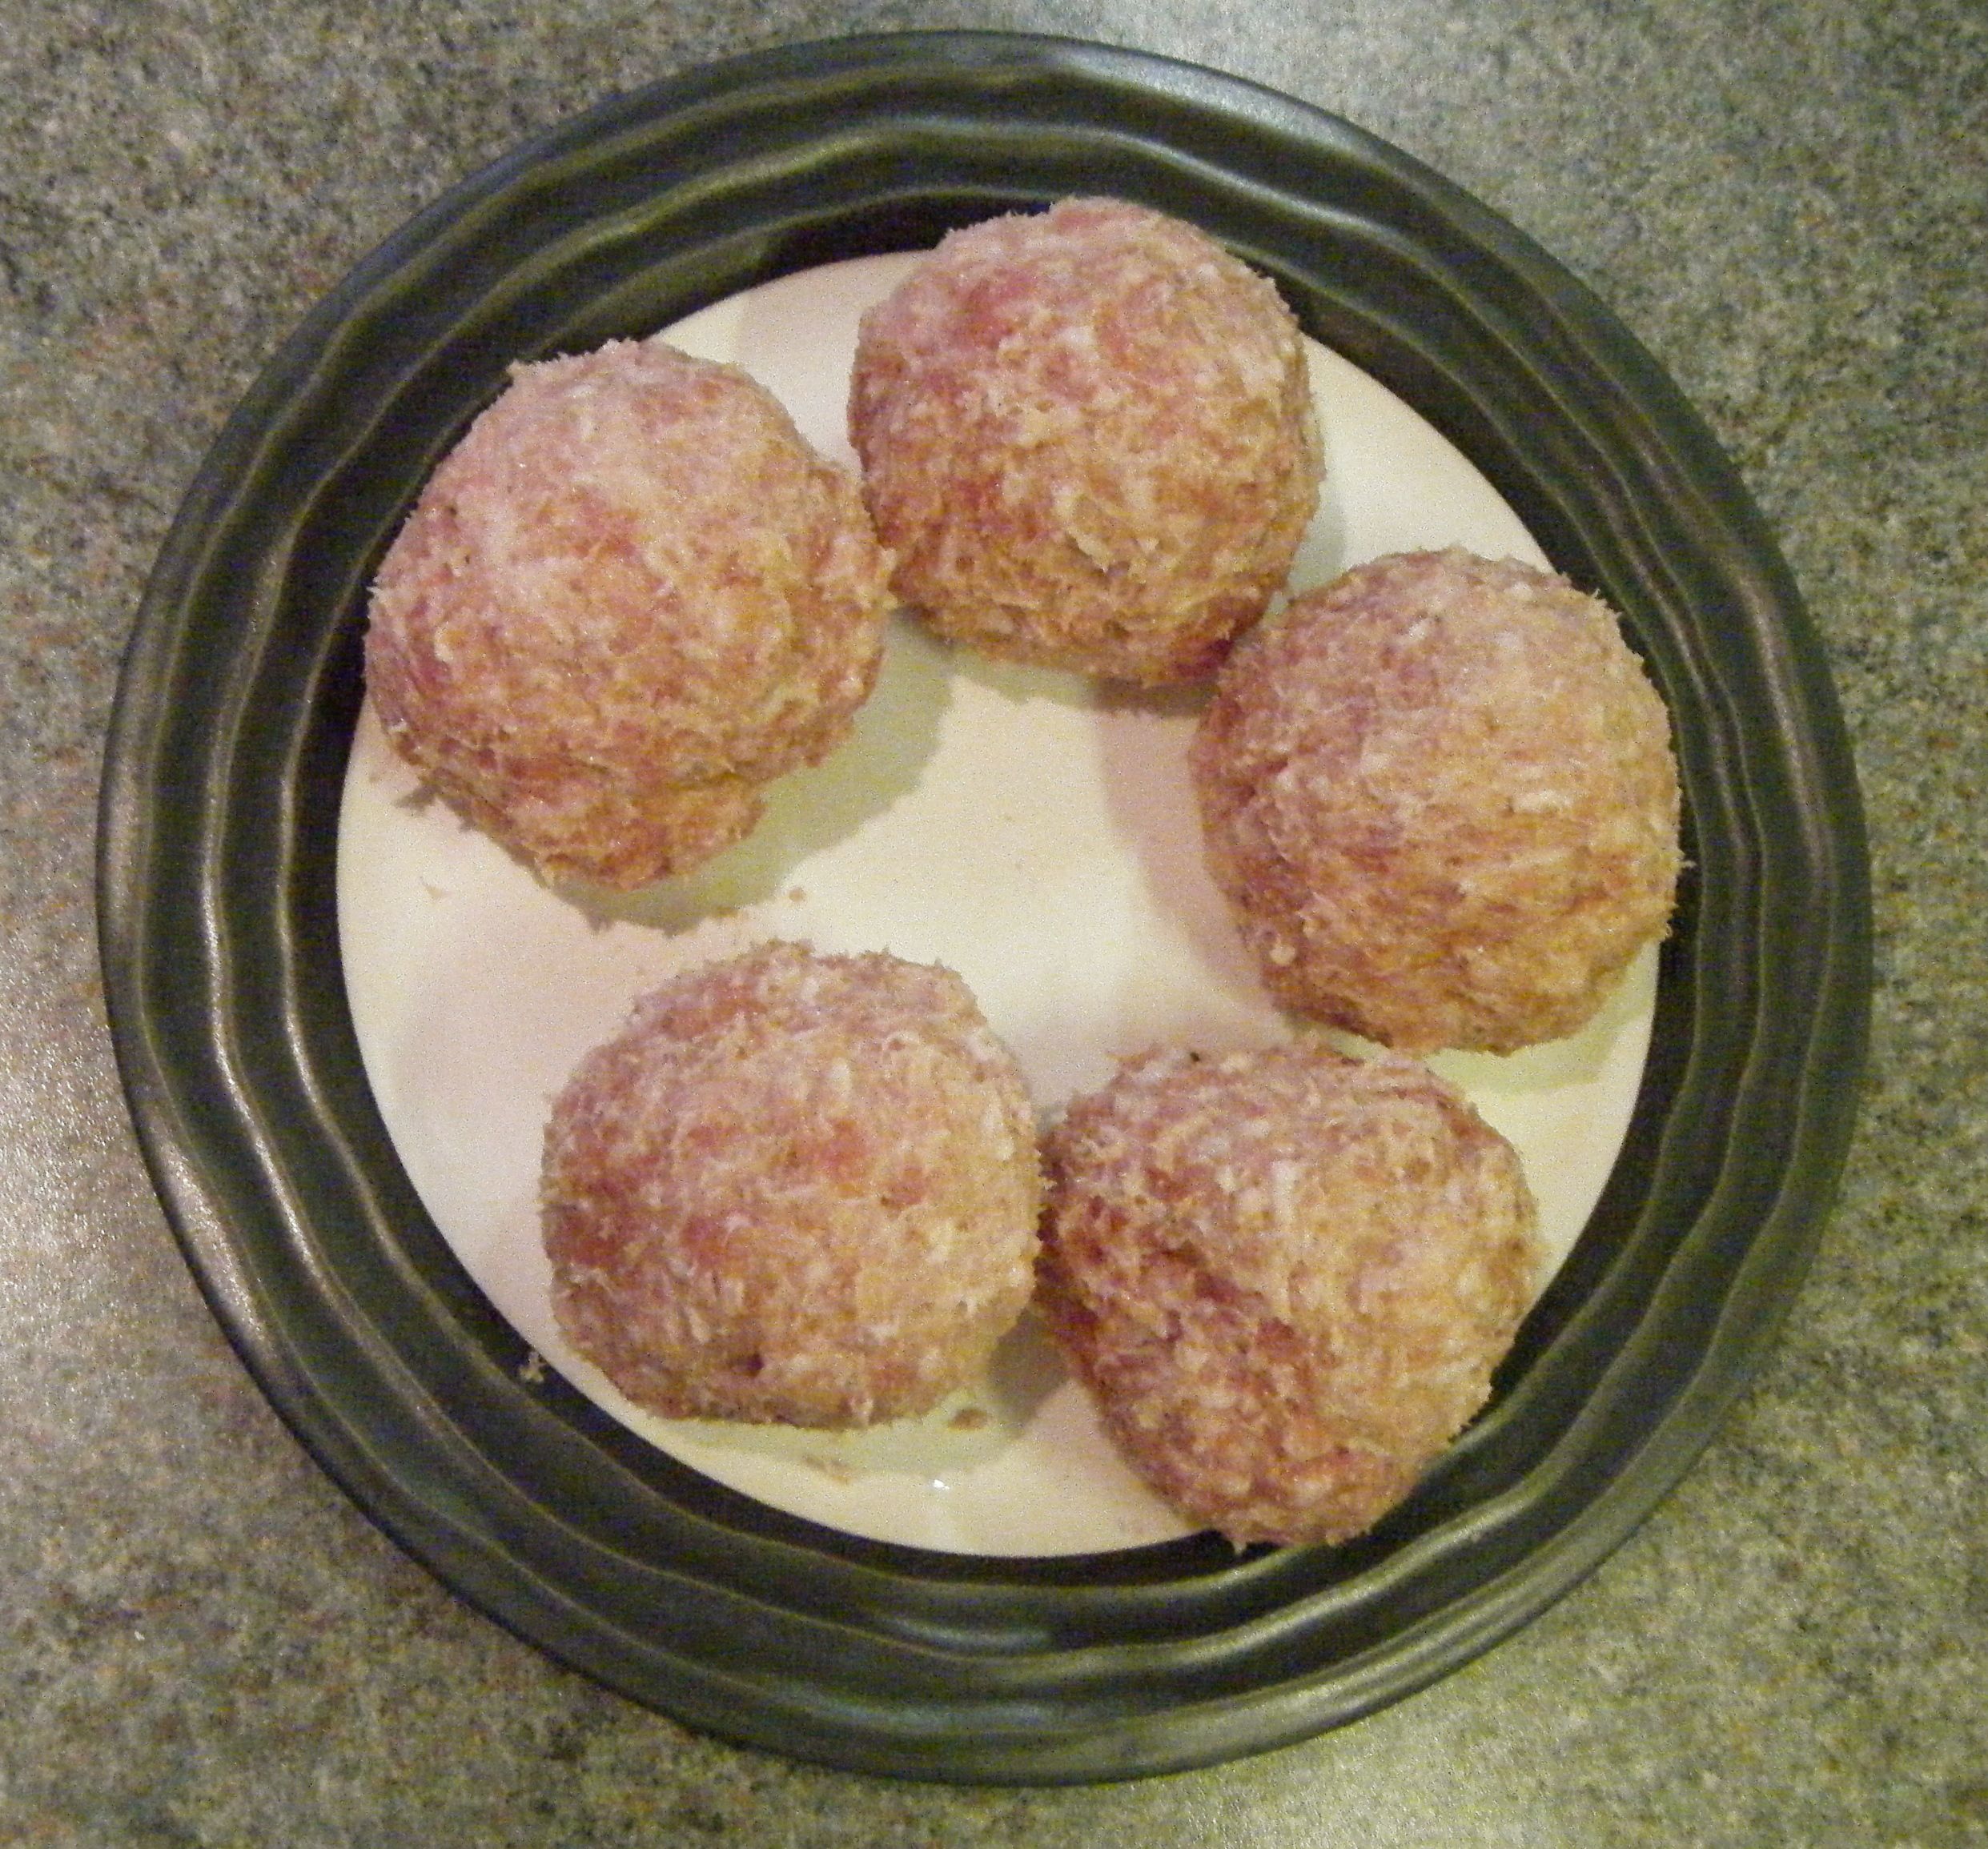
With all the hard boiled eggs wrapped in the sausage meat mixture, I took one at a time and rolled it in the beaten egg and then into the breadcrumbs before popping it onto a tray to cook in the oven.

I cooked the scotch eggs in 2 batches so I could know the difference between the ones with bacon and the ones without.  The first batch I just put on a lined baking tray, however, they went soggy on the bottom.  So the second batch, I put on a rack on the tray and these cooked a lot better.

Edited - pre oven Edited - cooked

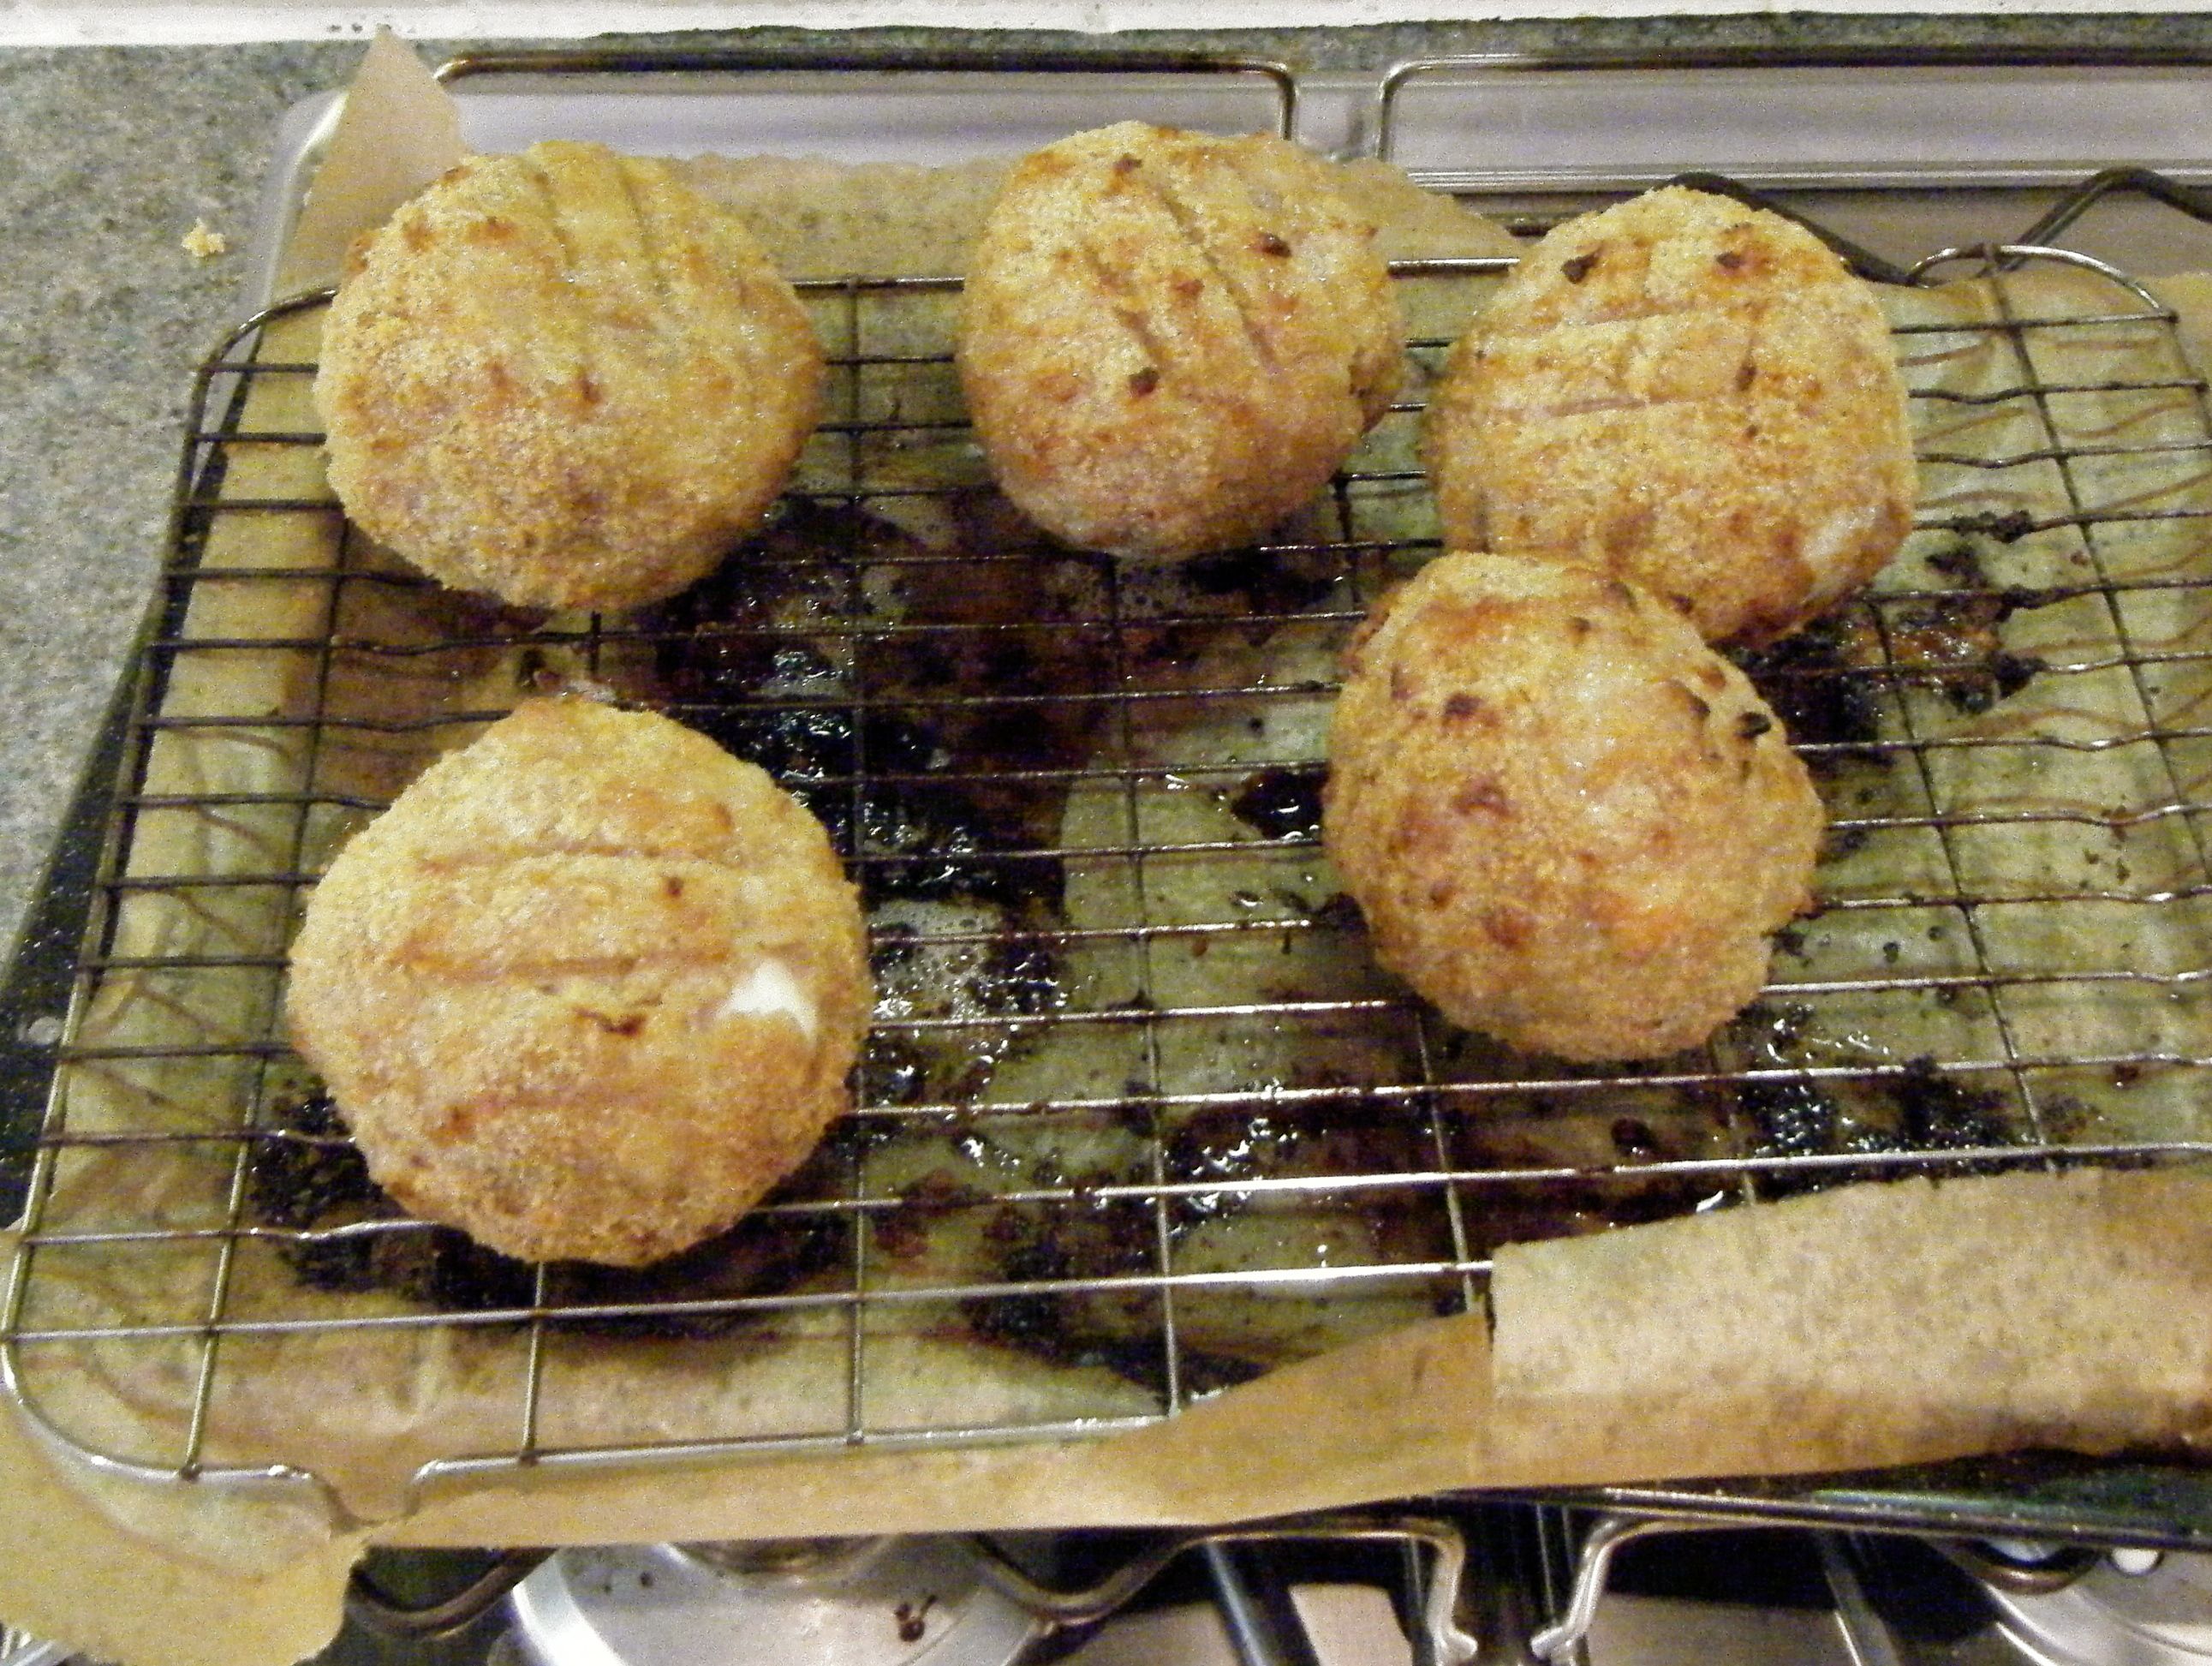
I cooked the scotch eggs for a total of 33 minutes at 190 degrees celsius.   After 30 minutes, I turned the scotch eggs over to allow the bottoms to brown for the last 3 minutes.

Once the scotch eggs were cooled, I chopped them up and my family and I enjoyed them as a starter before a yummy BBQ in a bit of rare English sunshine.  Everyone said they were very nice…even my brother who doesn’t like hard boiled eggs tried the meat and breadcrumb element and said it was a good texture and flavour. However, I think my nan liked them the most.  At 86 her appetite is definitely not what it used to be but she kept going back for more of these scotch eggs!

Edited - on a plateEdited - chopped up 1

Personally, I thought the bacon was a nice extra and made them a little bit special.  However the ones without bacon were also lovely; so much so that I’m not sure which one I prefer – I just wanted to eat them all.

Coming up next week, Challenge No. 25 – sweet potato brownies.

Challenge No. 22 – Homemade Burgers

This challenge was suggested by my colleague Dean after he bought himself a George Forman grill. I’ve been making burgers to a particular recipe for a couple of years now but I thought this would be a good opportunity to test my recipe against one made by my family in Canada.  When Dave and I visited my family in Goderich in 2014, my cousin’s wife made us some absolutely delicious homemade burgers and so a couple of weeks ago, I asked Kristen for her recipe.  With the recipes and ingredients ready, it was time to put our burgers to the test.

For my original burger recipe you will need the following:-

  • 250g beef mince
  • 1/2 small red onion, chopped finely
  • 2 med egg
  • 25g breadcrumbs
  • 1/8 tsp hot chilli powder
  • 1/4 tsp ground cumin
  • 1/4 tsp mustard powder
  • 1/2 tsp dried oregano
  • 25g parmesan cheese
  • Olive oil
  • Sea salt
  • Freshly ground black pepper

Edited - ingredients 1

For my adaption* of Kristen’s burger recipe you will need the following:-

  • 250g pork mince
  • 250g beef mince
  • 1 1/2 tsp worcester sauce
  • 1 tsp garlic powder
  • 50g Salt and vinegar crisps, crushed
  • Salt
  • Pepper

Edited - ingredients 2

To serve:-

  • Brioche buns
  • Cheese (we went for cheddar but I also love blue cheese on a burger!)
  • Lettuce
  • Tomato
  • Sauce(s) of your choice

*This is an adaption for 2 reasons.  Firstly, Kristen didn’t give me quantities with the recipe, just the ingredient list, so I just went with my instincts and used the amounts I’ve set out above.  Secondly, I left out one of the ingredients Kristen recommended – pickle juice.  Neither Dave or I eat pickles and I couldn’t find any small jars in the supermarket.  I didn’t want to buy a huge jar just for a bit of juice so I decided to leave this ingredient out. 

On with the burger making.  If you’ve never made burgers before, it is really simple! All you need to do is put the ingredients in a bowl, get your hand dirty by mixing it all up until well combined.  You then portion the meat mixture into balls and squash them flat to make your burger patties.

Edited - onion in bowl Edited - mixed up

 Edited - mixed up 2Edited - mixed up 3

I put the shaped burgers onto a greased tray, brushed the tops with some oil and then covered them with cling film before popping them in the fridge for 10 minutes to firm up.

Edited - on the tray 2 Practical tip: the ingredients above make a lot of burger meat but it can be frozen to cook at a later date.  Simply shape your burgers, wrap them in some baking paper and cling film.  Pop them in the freezer and enjoy another day.  I also used the left overs from Kristen’s recipe to make some meatballs which I cannot wait to try with a rich tomato sauce and spaghetti! 

Edited - meatballs

Whilst the burgers were firming up, I heated up my griddle pan and sprayed it with some cooking oil.  This is a bit different to what I have previously done as I normally just use a normal frying pan.  However, my mum recently gave me a griddle pan and I thought this would be a good opportunity to try it out.  To be honest, I didn’t like it as much as my frying pan.  The burgers ended up sticking and I think next time I’ll go back to my trusty frying pan 🙂

Once the pan was hot, I added my burgers and let them cook away for around 7 minutes before flipping them over to cook the other side for another 7 minutes.  I gave each side a little longer until cooked all the way through.

Edited - in the pan Edited - flipped

Practical tip: the amount of time required to cook your burgers will depend on how thick you make them.  The thicker the burger, the longer they need to be cooked for but I suggest keeping the heat on medium to low so as to ensure you don’t burn the outside before the inside is cooked.

Once the burgers were done, I put them to one side and toasted some brioche buns (which I plan to try and make myself one day but for now they were store bought) on the griddle pan. 

Edited - toasting bottoms Edited - toasted tops

I added some cheese to the burgers and popped them under a hot grill to melt the cheese.  I then cut the cooked burgers in half and added half of mine and half of Kristen’s to each bun.  Finally, I added some lettuce and tomato to one of the buns along with some ketchup and mayonnaise; the other I left plain as Dave doesn’t like any of this stuff, he just wanted meat, cheese and bread 🙂  I then served the burgers with some homemade sweet potato fries and we tucked in.

Edited - served up

Both recipes produced very tasty burgers, however, I have to admit, Dave and I both agreed that Kristen’s recipe just won the competition.  Kristen’s recipe produced a great tasting burger with a really good texture and it was something a bit different from just your run of the mill burger.  We will definitely be having these again and I can’t wait to enjoy the burgers and meatballs already in the freezer!

Coming up next week, Challenge No. 23 – Chocolate Truffles 

Challenge No. 10 – Currywurst

This recipe was suggested by my friend Jenni and is a fast food dish originating from Germany. I’ve never tried currywurst and was at first a little apprehensive.  I had flashbacks to a show and tell presentation whilst at primary school where I took in another common German dish, sauerkraut.  I have absolutely no idea why I was presenting this, of all things, but I do remember I did not like it one bit!  And so, when Jenni suggested currywurst, I immediately googled it to make sure it wasn’t related in any way to sauerkraut.  Thank goodness it wasn’t.  It is basically a german sausage smothered in a curried tomato sauce and it is often served with chips and/or a crunchy bread roll.

I set of in search of a suitable recipe and decided to use this one.  The recipe calls for the following ingredients:-

  • 2 Tbsp canola oil
  • 1 large onion, chopped
  • 2 Tbsp curry powder
  • 1 Tbsp paprika powder
  • 15 oz can tomato sauce
  • ½ cup (100g) sugar
  • ¼ cup (60ml) red wine vinegar
  • salt to taste
  • 2 bratwurst sausages
  • dinner rolls for serving

Those of you who have been following my posts will know that I always include a photo of the ingredients.  I started this recipe in the same way as all the others, by setting out my ingredients ready for their photo.  However, in doing this, I realised I had made a mistake with my prep!

Before I went shopping for the ingredients, I read through and mentally crossed off anything I already had in the cupboard, which included the curry powder.  However, when I went to get out my curry powder, I realised I had got it wrong! In my head I had thought of the chilli powder sat in the cupboard and mistakenly checked of one of the most vital ingredient! Face-palm moment – who thinks they can made currywurst without the curry?!  Anyway, after a quick emergency trip to the supermarket at 8.30 on a Saturday night, I was all ready to go.

Edited - ingredients

I started by chopping the onions and popping them in the saucepan to soften. 

Practical tip: don’t worry about chopping the onions too small – they get taken out of the sauce before you serve up and are merely there to add flavour.

Edited - onions in pan

Once the onions were soft, I added the curry powder and paprika.  I let this cook for around a minute and then added the remaining ingredients.  Personally, I didn’t add any salt as I didn’t think it needed it but obviously this comes down to personal preference.

Edited - onion and powders Edited - bubbling sauce

I then let the sauce simmer away for around 20 minutes and got started on the bratwurst.  I opted to cook 3 bratwursts for 2 of us and this worked out to be the perfect serving size.  I heated a little oil in my frying pan and put the sausages in.

I turned the sausages regularly trying to brown all sides.

 Edited - sausage panEdited - cooked sausage

With everything nearly done, I pushed the sauce through my sieve to remove all the lumpy bits of onions and was left with a lovely silky smooth sauce.  I popped this back in the pan and on the heat until ready to serve.

I cut up the sausages and spooned the sauce over the top.  I was a bit reserved with the sauce at first and ended up going back for more because it was just so delicious.  I served up with some slices of crunchy baguette and some yummy curly fries. 

Edited - served up

The verdict – currywurst is absolutely delicious! Whilst we were eating it my boyfriend revealed he was really not looking forward to having this but was surprised at how nice it was.  We did however both agree it was a little sweet and if we have it again (which we will do!), I will put a little less sugar in and probably a little more curry powder. 

One of the best things about this dish was it’s simplicity.  Whilst I cooked it on a Saturday night, it would be a really good mid-week treat and is definitely one I will be doing again!

Coming up next week, Challenge No. 11 – chocolate ganache & cherry tart. 🙂 Hope to see you then.