
Yep, I know, this post is a whole week late! And do you know what? I’m so frustrated about it as this is one of the few recipes I knew exactly when I wanted to be posted 😦 However, life has unfortunately got in the way of my blog just recently. Anyway, better late than never, this is my attempt at Challenge No. 43 and making pumpkin pie.
This challenge was suggested by one of my oldest friends. Alex and I went to primary school and ballet classes together. My parents and Alex’s parents soon became friends and still often go on holiday together. Alex and I don’t speak very often anymore but I have great memories of our early years together. And thanks to my trigger happy mum, many of those memories have been documented in embarrassing photographs like these…


P.s. sorry to Alex for posting these but I couldn’t resist!
So Alex suggested I have a go at making pumpkin pie. I’ve never had pumpkin pie and it was one of the recipes I was really looking forward to trying. It seemed right to wait until Halloween though (and then I went and missed the planned post date)!
I had a little look online and decided to use this recipe from The Guardian’s Felicity Cloake. Throughout Challenge 52 I have quite often read articles by Felicity and I thought it was about time I tried one of the recipes.
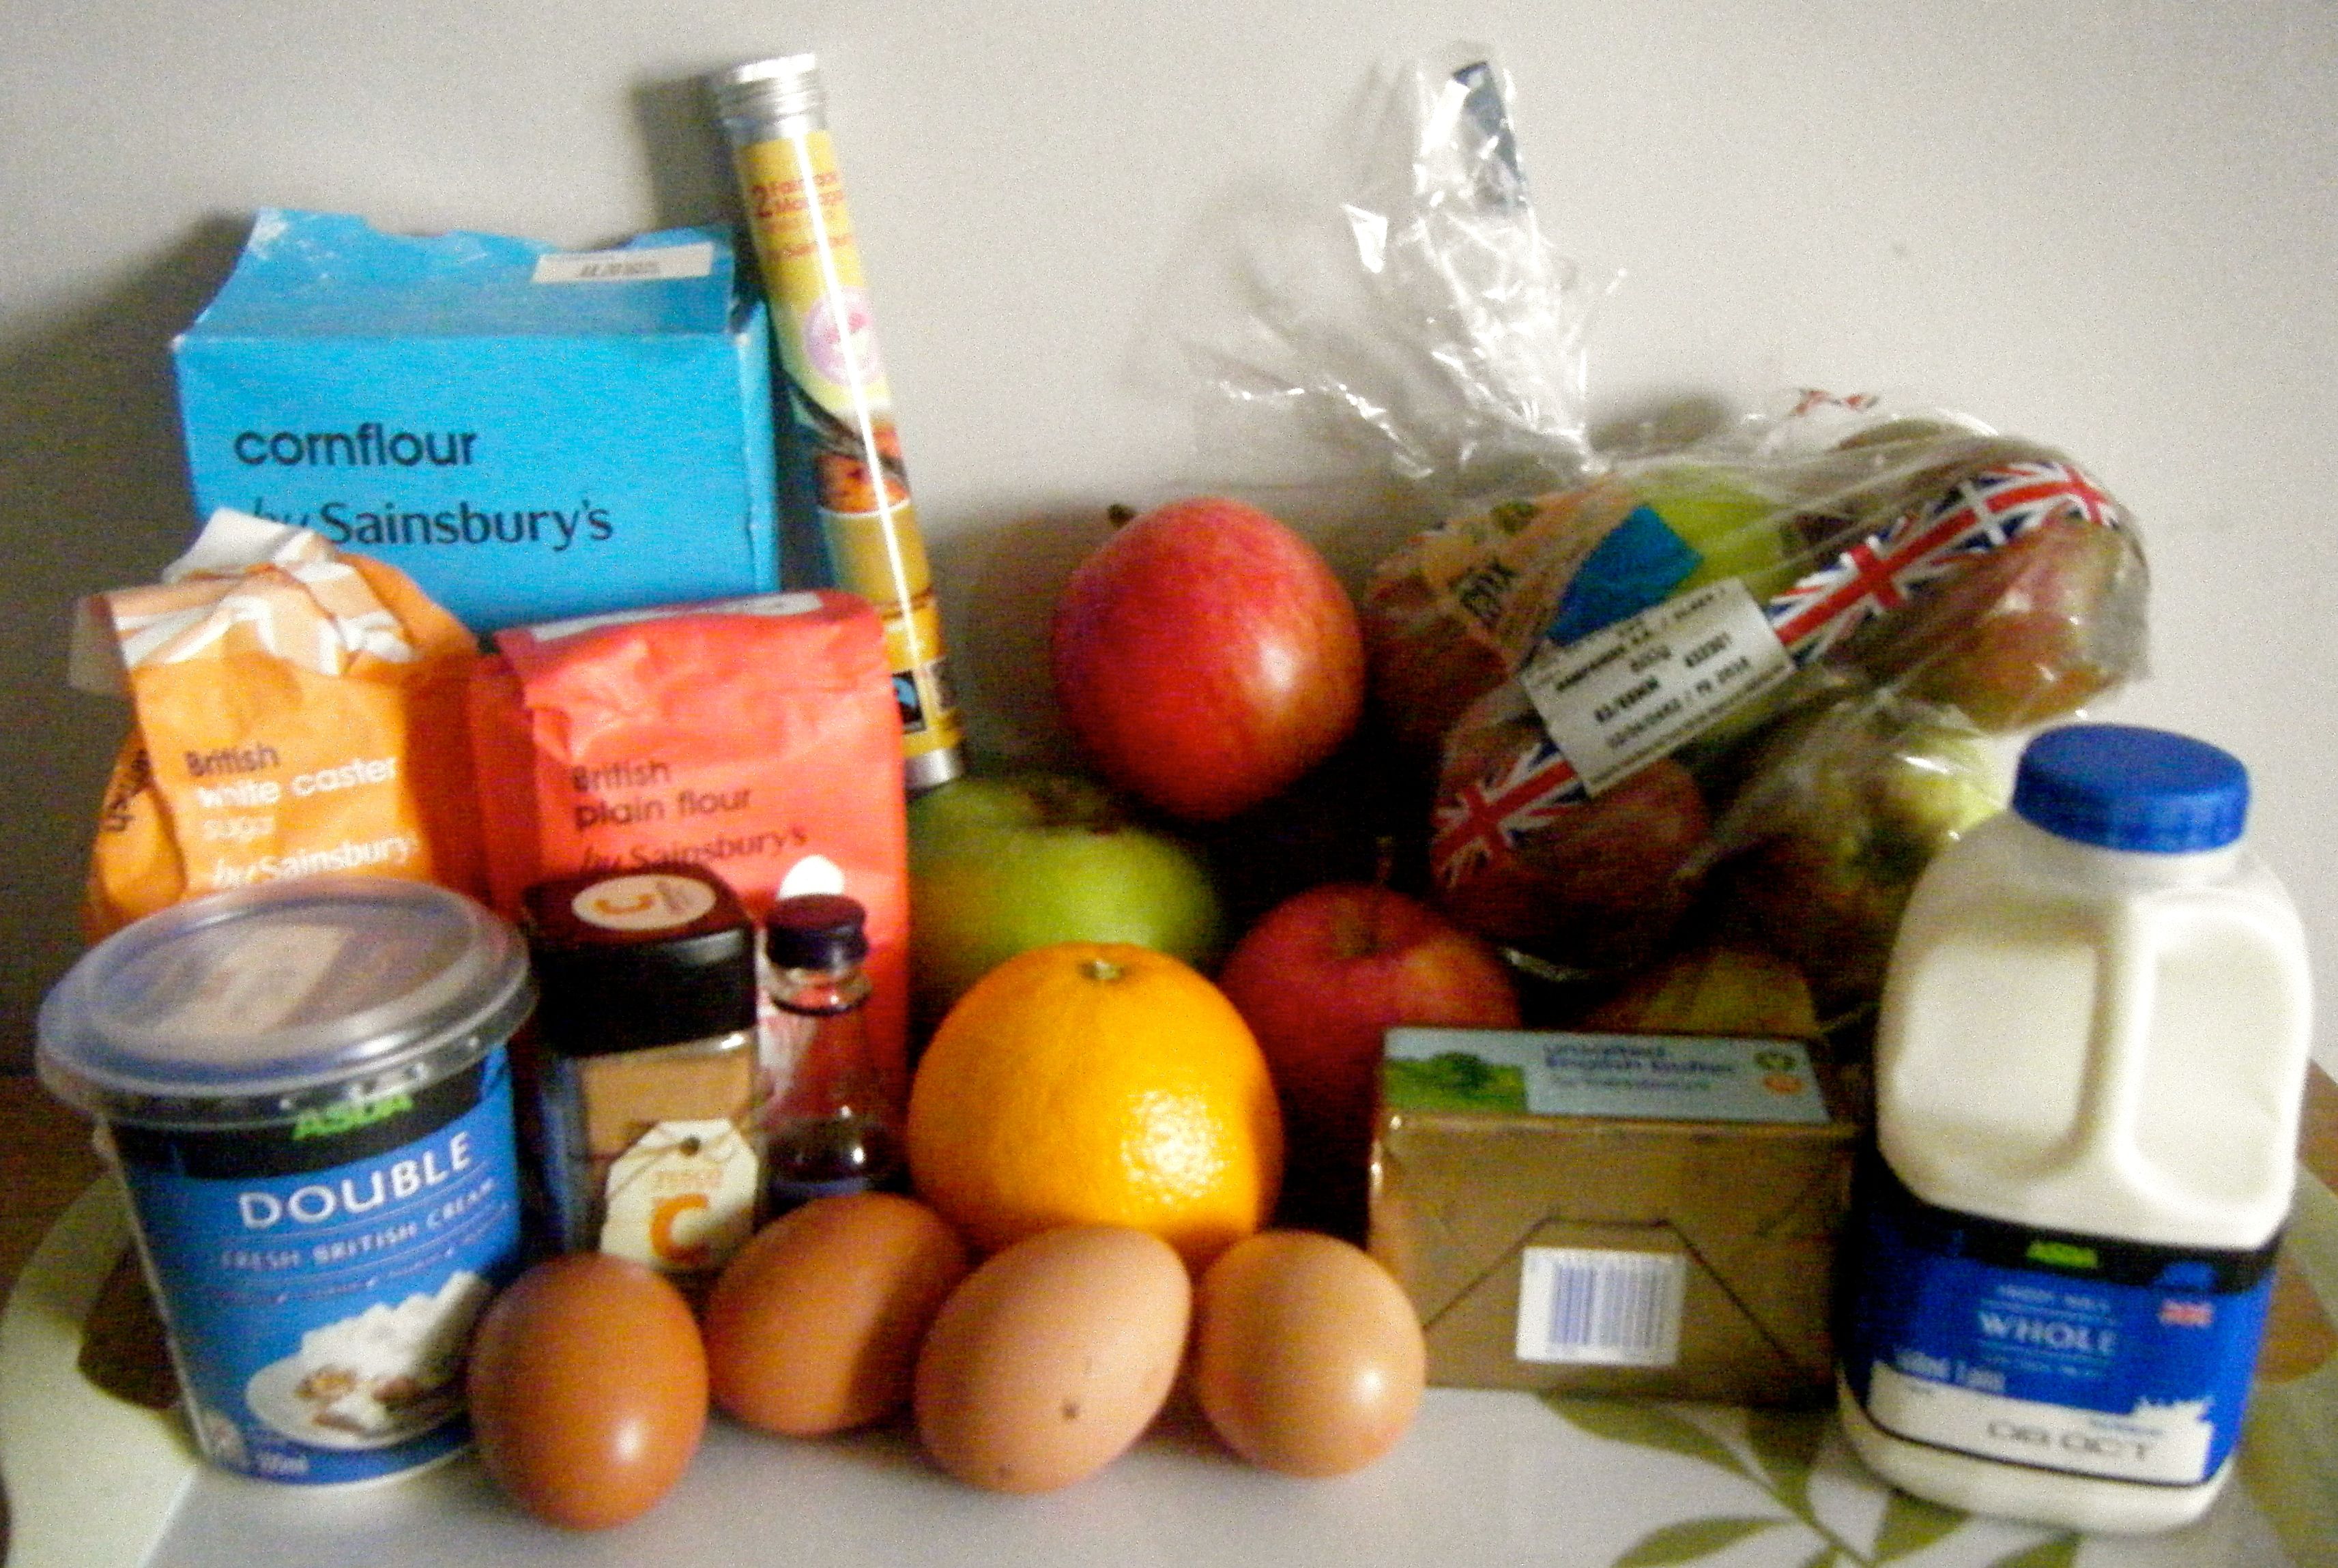
For the recipe you will need the following ingredients:-
- For the pastry:
- 170g plain flour
- Pinch of salt
- 100g cold butter
- 2tbsp caster sugar
- 1 egg yolk
- For the pie filling:
- 1 small culinary pumpkin or medium butternut squash
- 145g maple syrup
- 1 tsp cinnamon
- ½ tsp ground ginger
- ¼ tsp ground cloves (or 5 cloves, ground)
- 3 tbsp golden rum (optional)
- 2 large eggs, beaten
- 150ml evaporated milk

The recipe is for a 20cm tart tin. I think my tin is actually larger than this but it worked out fine in the end 🙂
I started by making the pumpkin puree. Part of the reason I used Felicity’s recipe was her useful guide on buying the right pumpkin. I didn’t know the big ones you use to carve aren’t very good for cooking and that there are specialist culinary pumpkins! I was therefore really surprised to find one so easily in my local supermarket. It was a sign that I should use the recipe.
I sharpened my knife before I got started to make sure it was going to cut through the pumpkin with ease. I sliced off the top part of the pumpkin and then inserted the tip of the knife into the middle of the base before pulling down to one side. I inserted the knife back into the middle of the base and pulled down the other side to separate the two halves.


I then used a tablespoon to scoop out all the seeds and flesh. I put the two halves, skin side up, onto a roasting tin with 2 tablespoons of water. I then popped it into the oven on 200 degrees celsius for 35 minutes (checking it after 30).


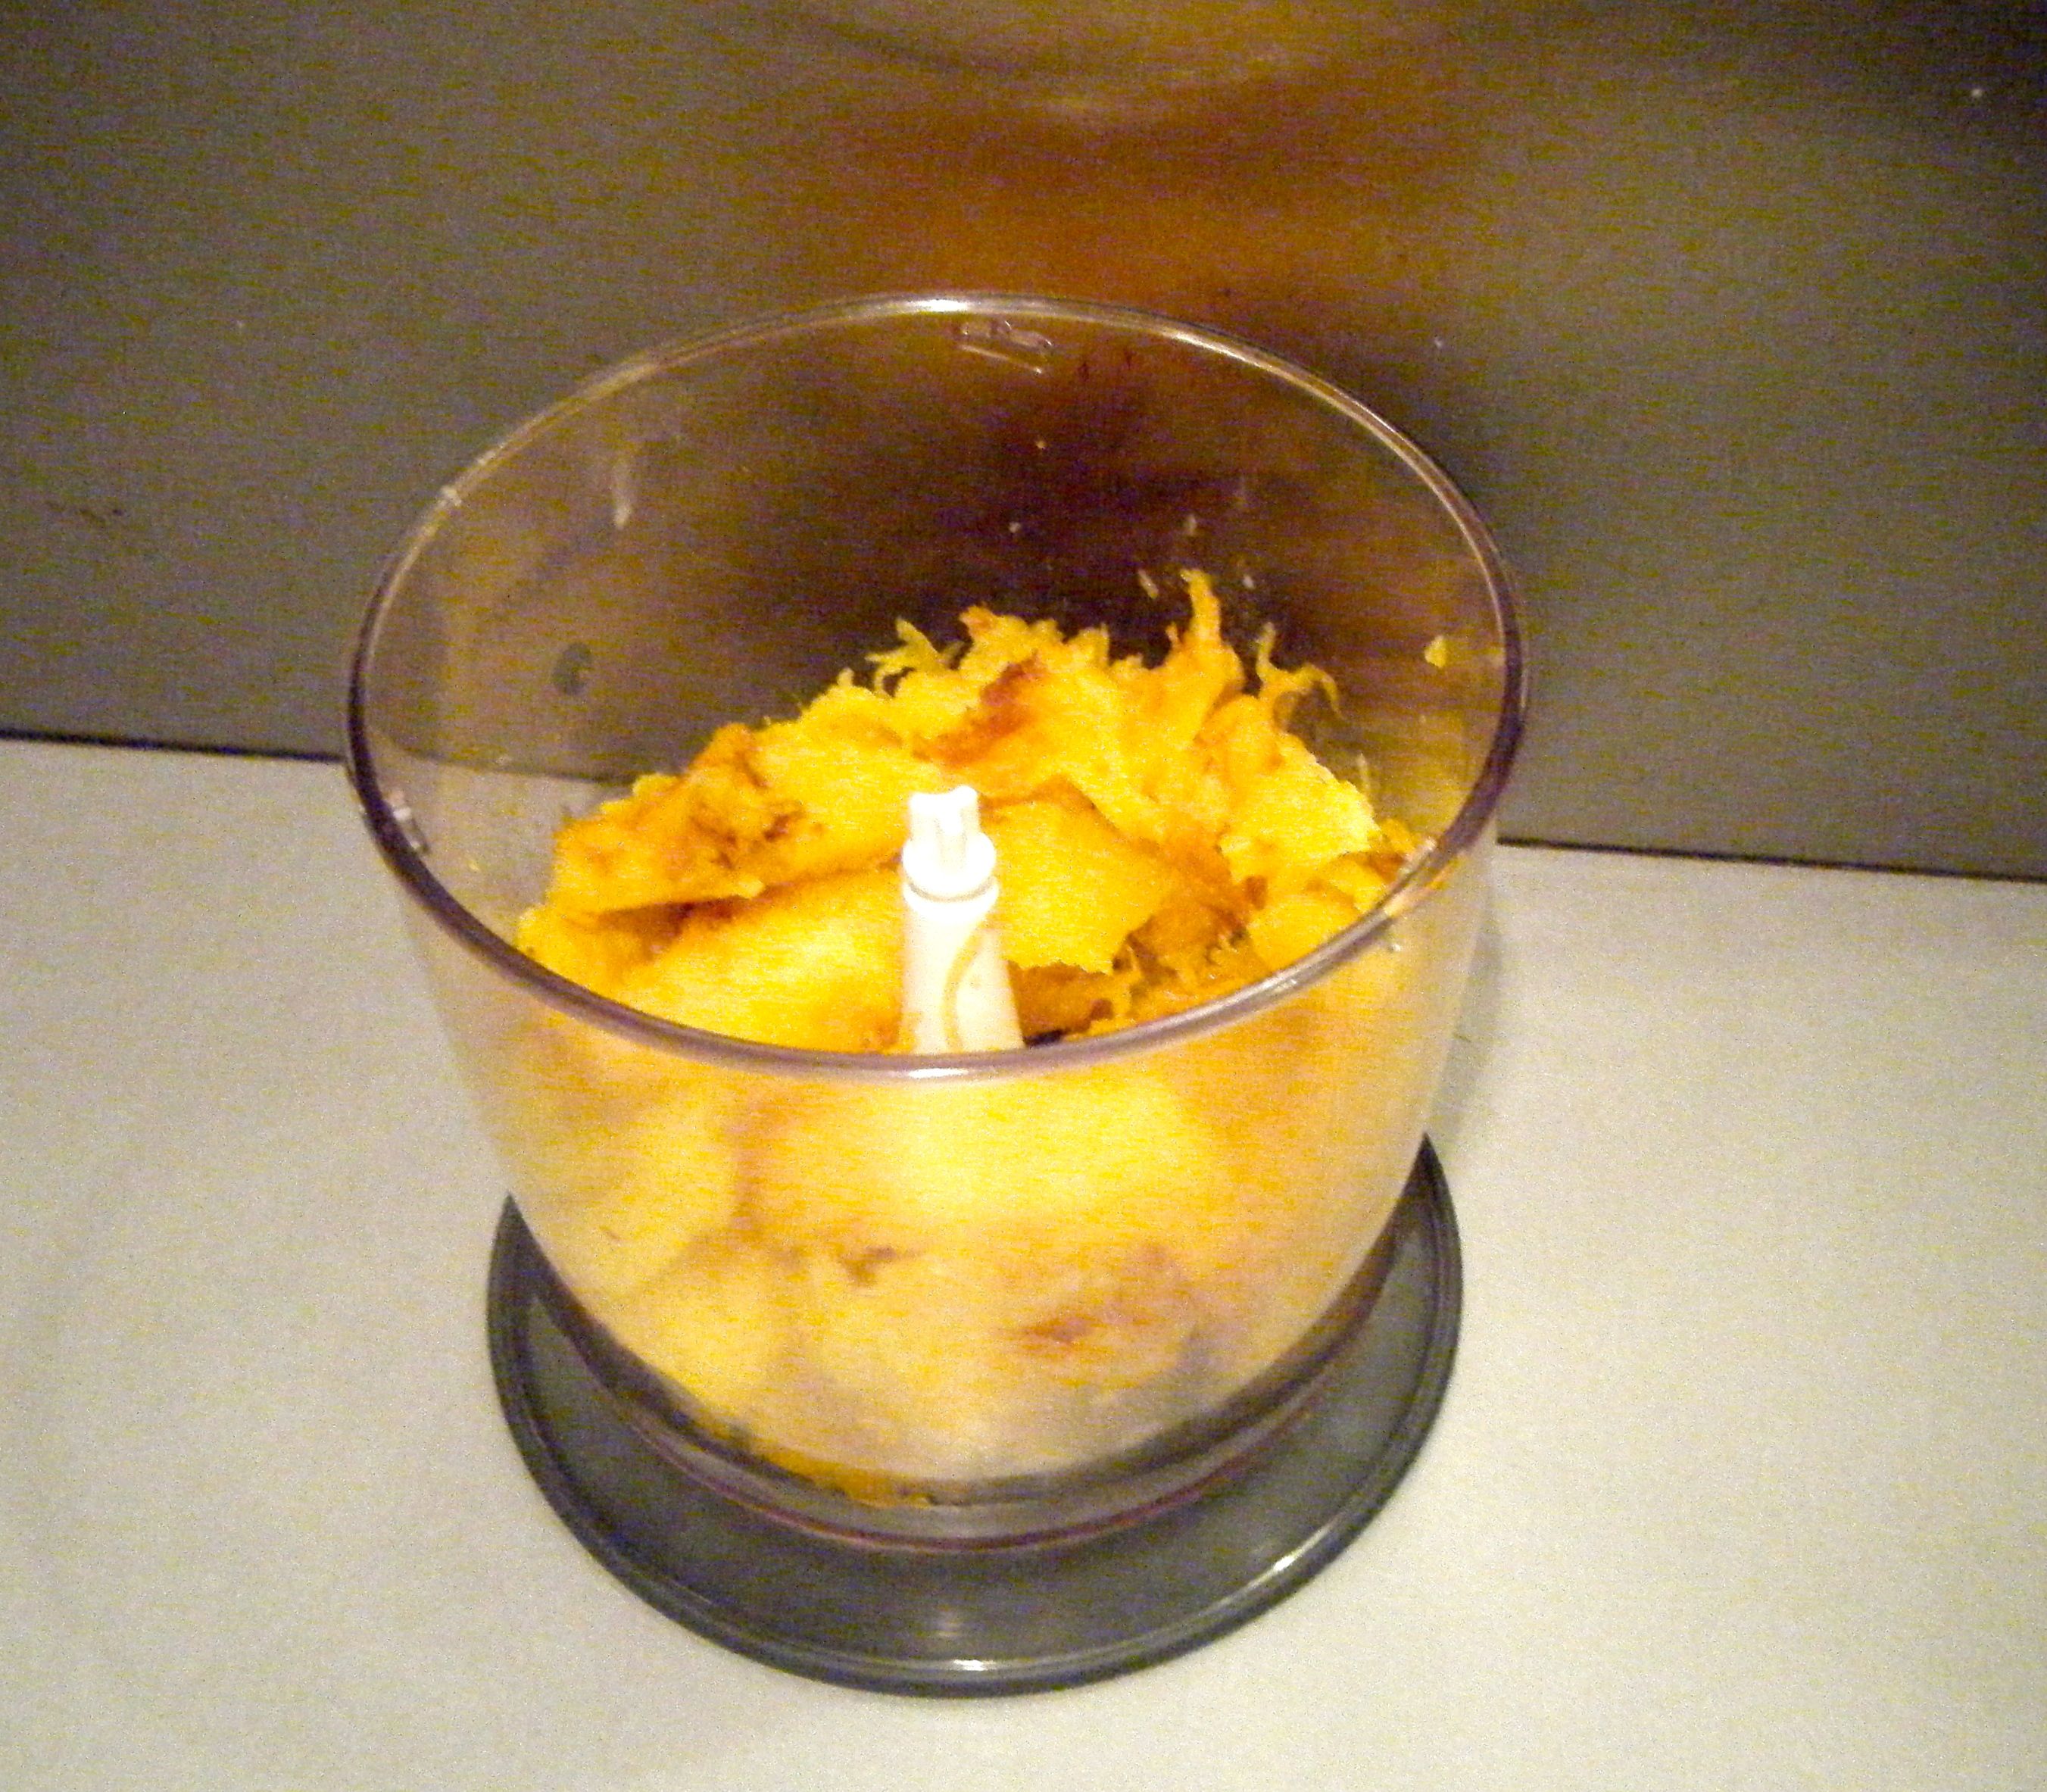
I left the roasted pumpkin on the tin to cool for 5 minutes before peeling off the skin. Once the flesh had cooled further, I put it in my mini blender until it was nice and smooth. I then put the puree into my fine sieve over a bowl. The recipe says to leave it for at least an hour. I actually made this dish over 2 nights so I left the puree in the sieve until it was time for bed. I then put it in some tupperware in the fridge.

Practical tip: pumpkin puree will keep for approximately a week in an airtight container, stored in the fridge.
So the next night when I was home, I got on with the rest of the recipe. I put the puree back into the sieve as some liquid had gathered in the bottom of the tupperware.
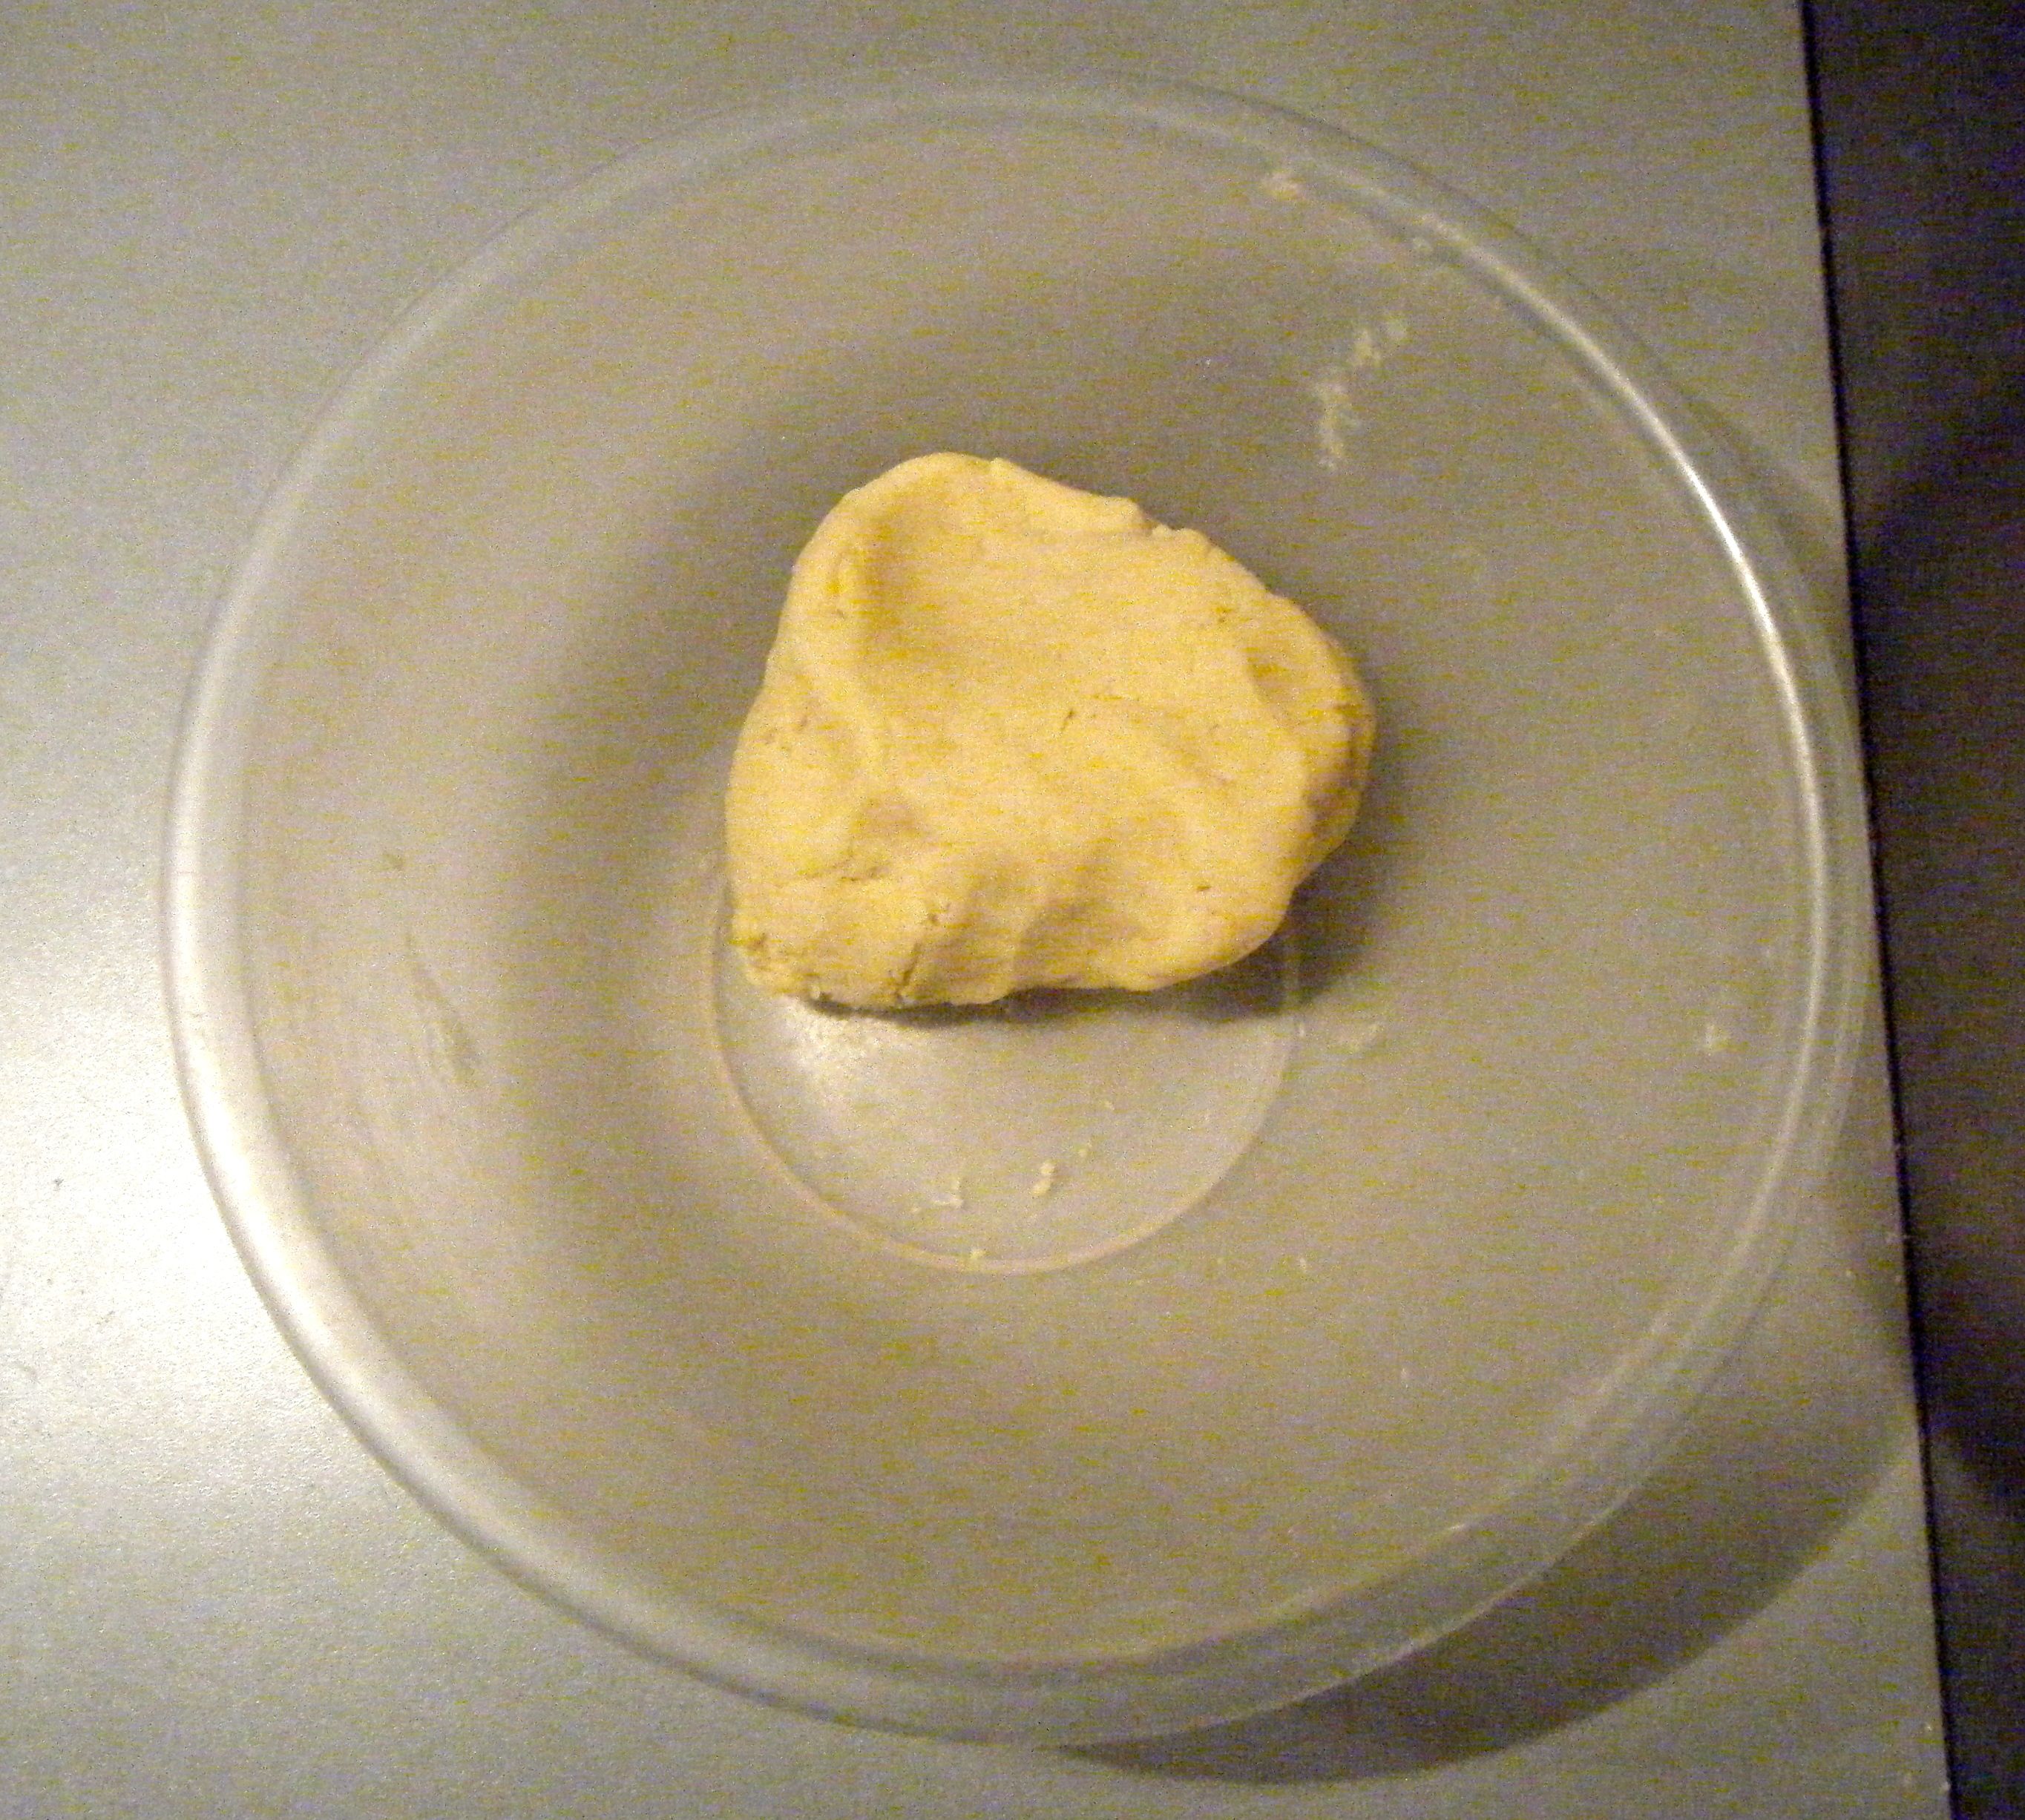
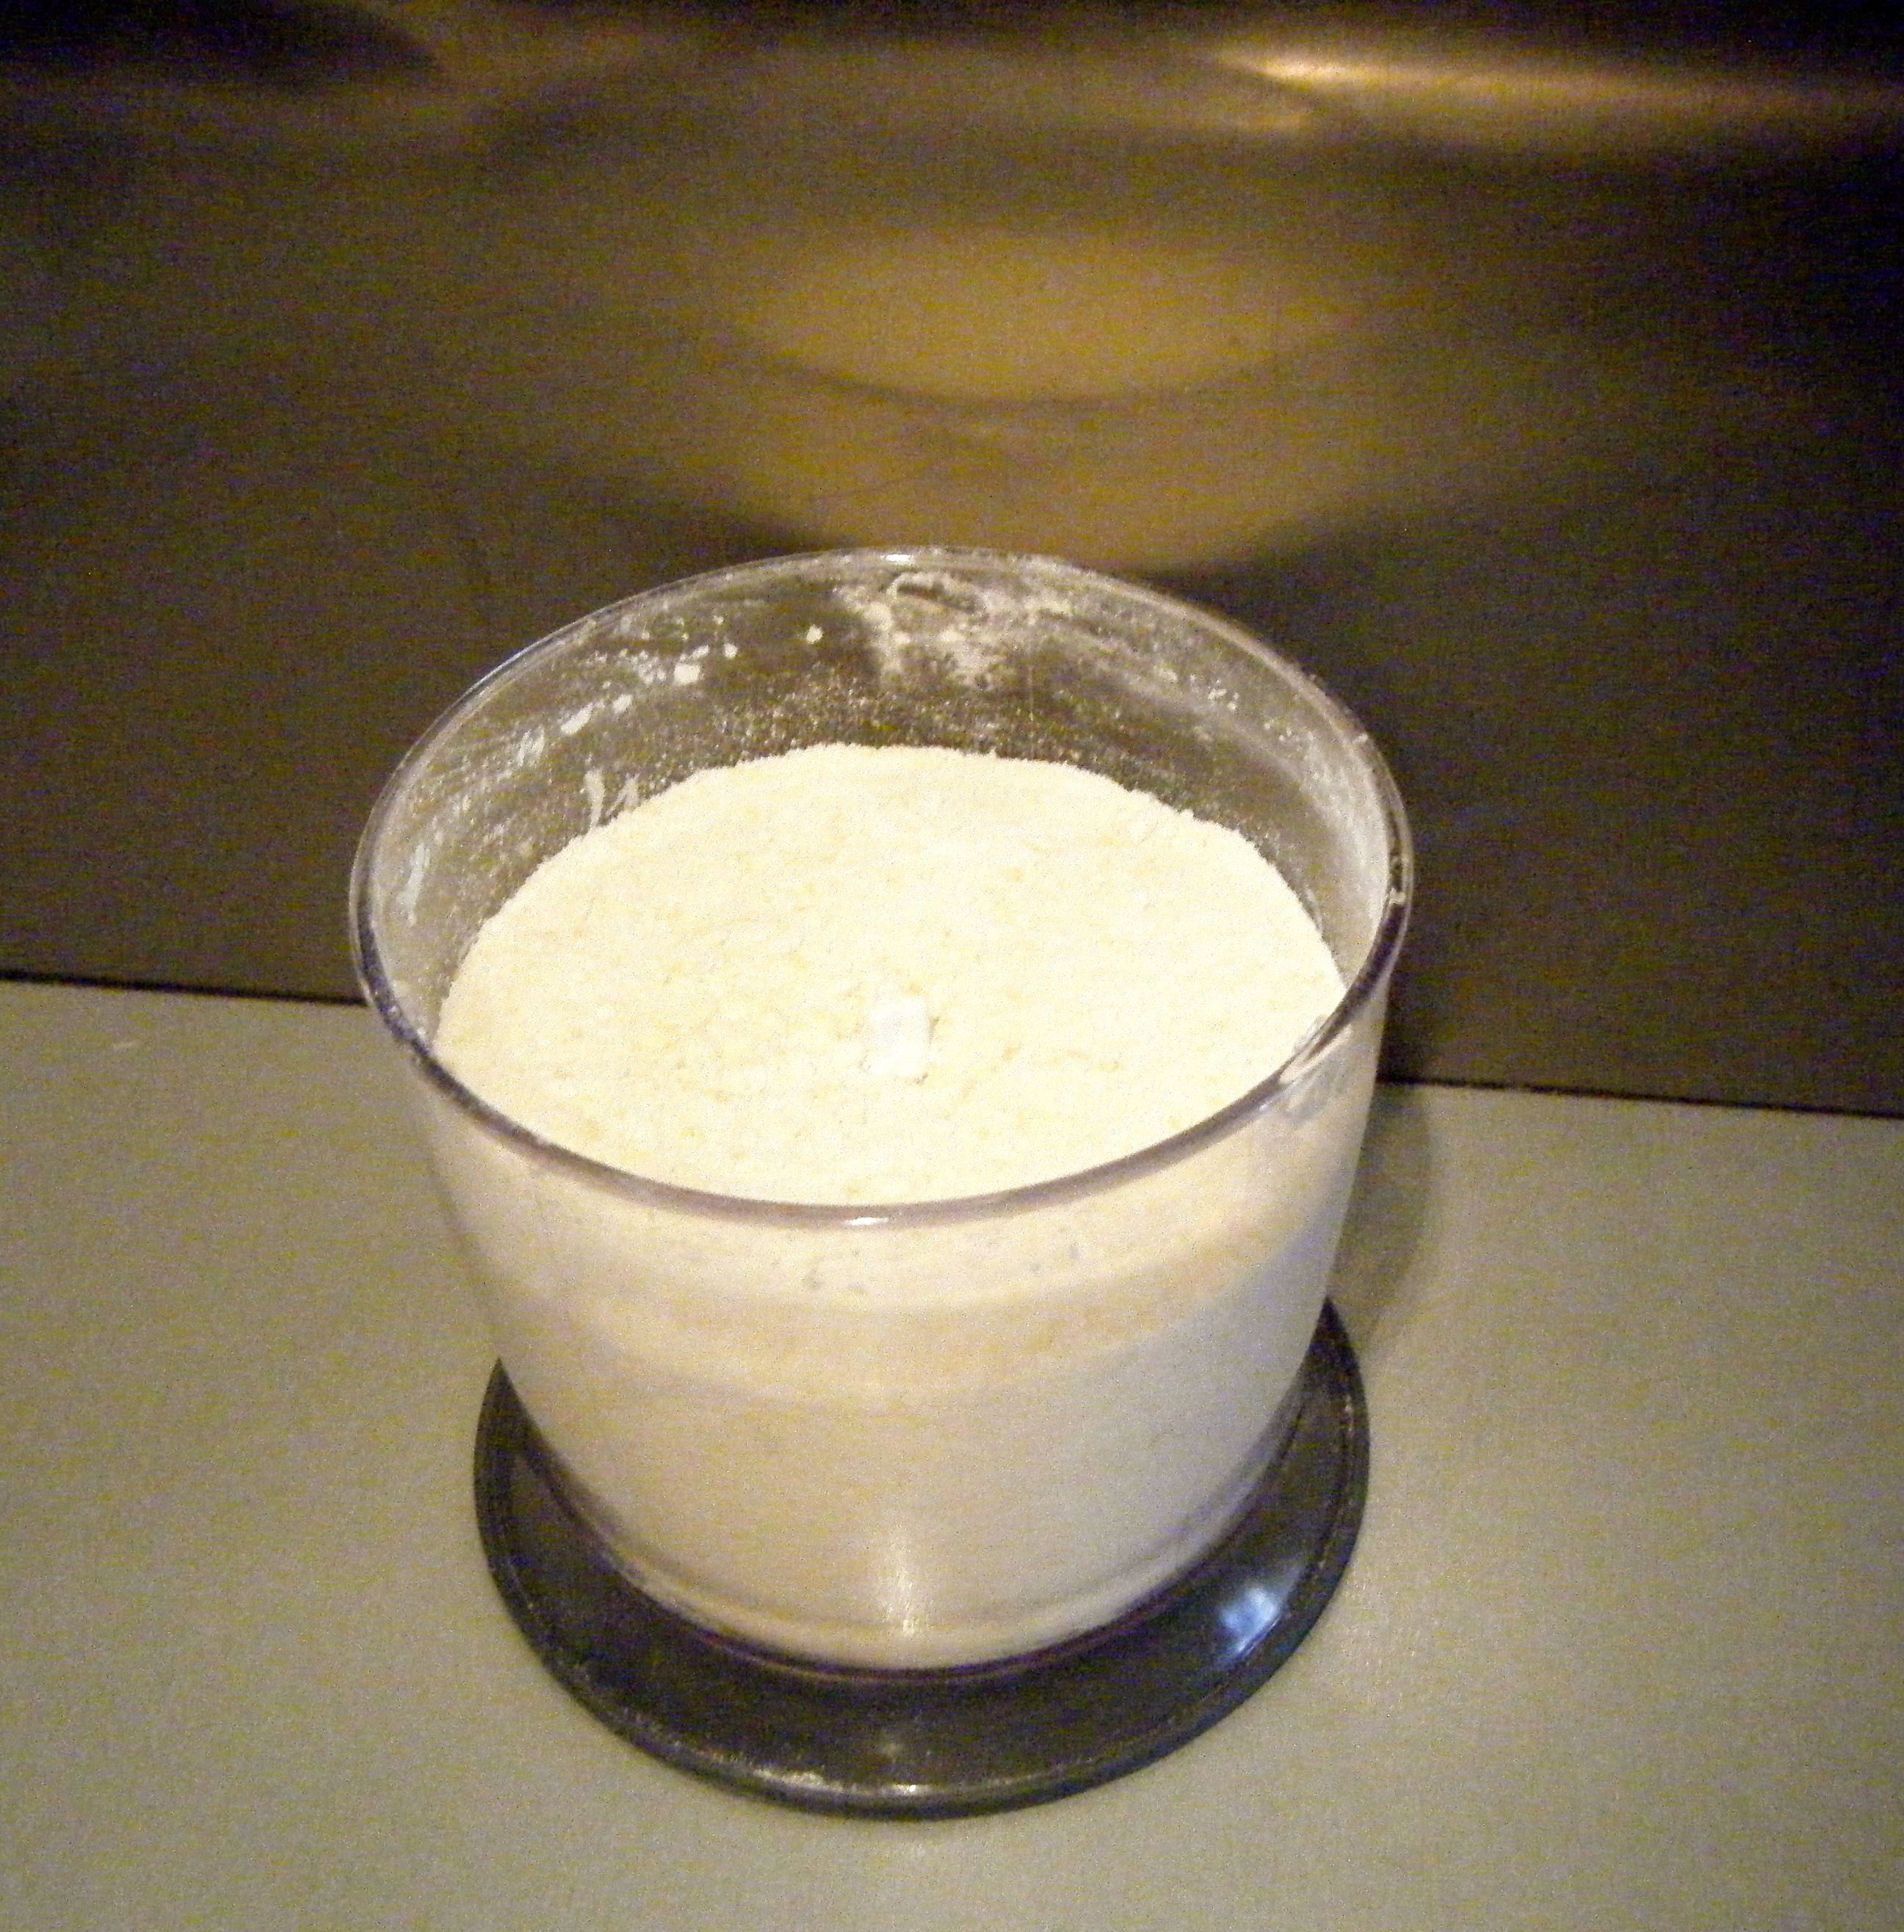
I sieved the flour into a large bowl, added the salt and then grated in the butter. I rubbed the butter into the flour until it resembled breadcrumbs and then stirred through the caster sugar.


Practical trip: warm hands will begin to melt the butter and the mix will become too wet. If, like me, your hands are prone to being warm, run them under a cold tap for a while and dry them thoroughly before you get started. Repeat this cooling process periodically to make sure your hands don’t warm up too much.
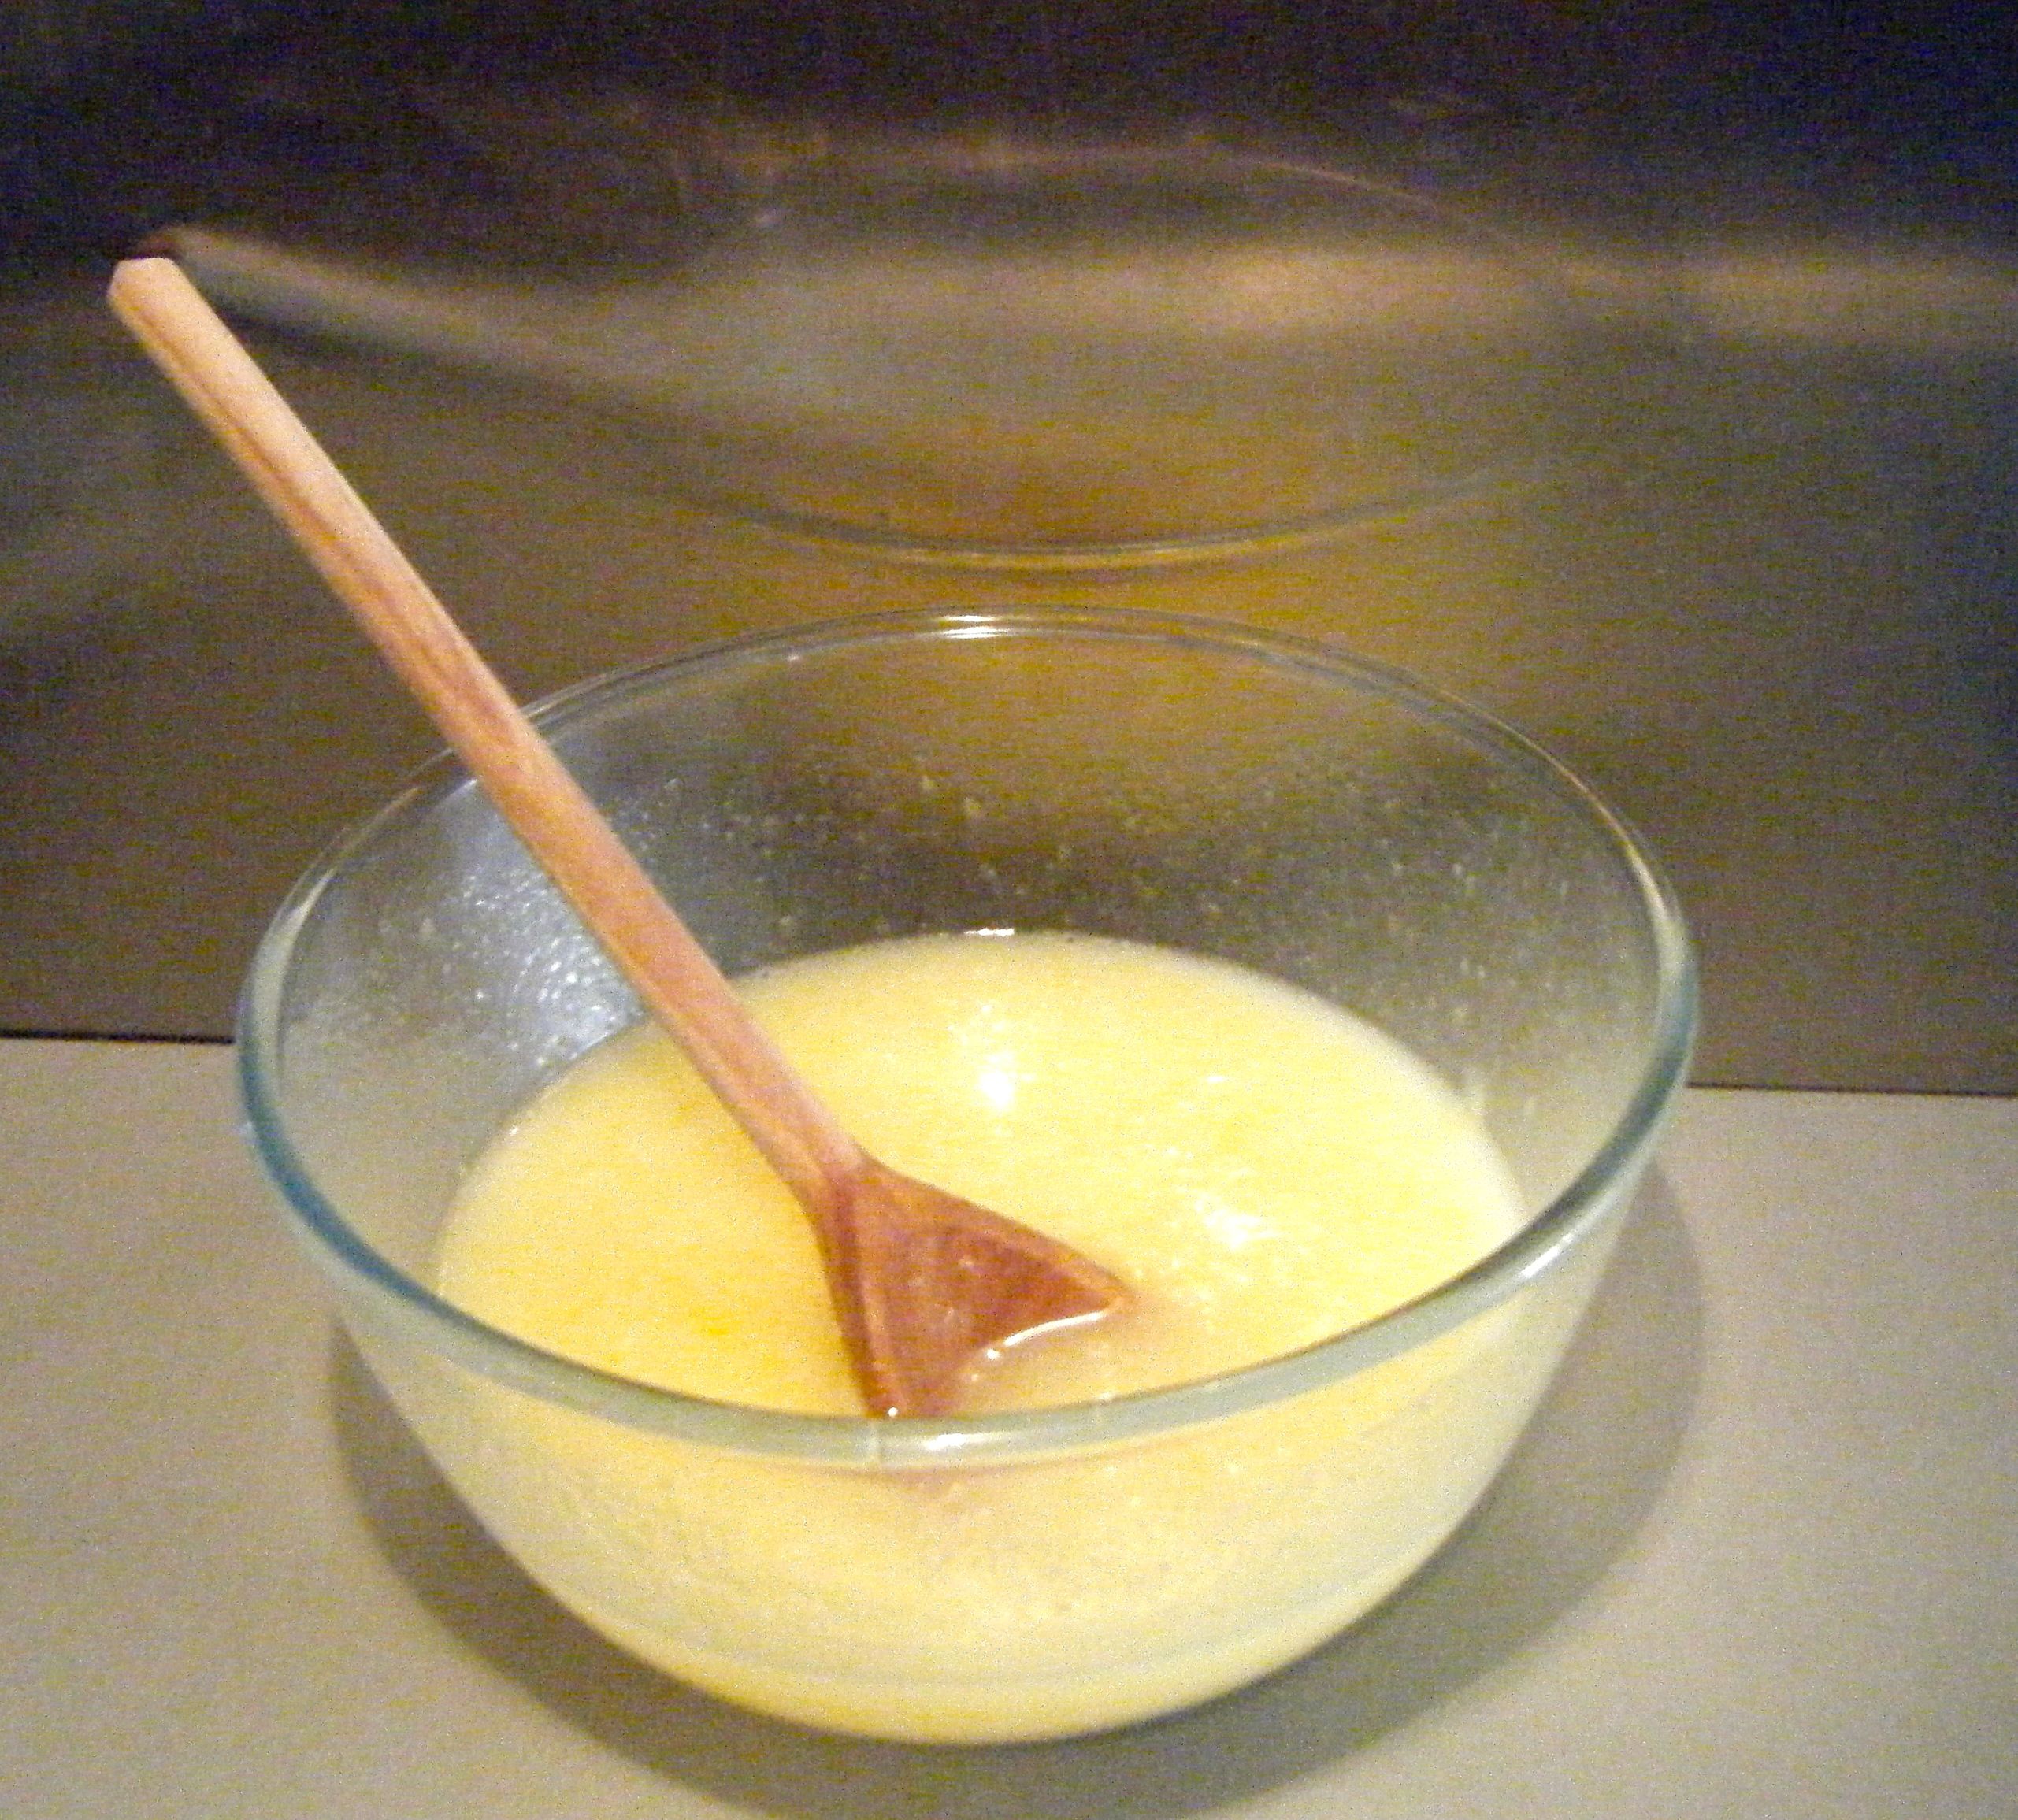
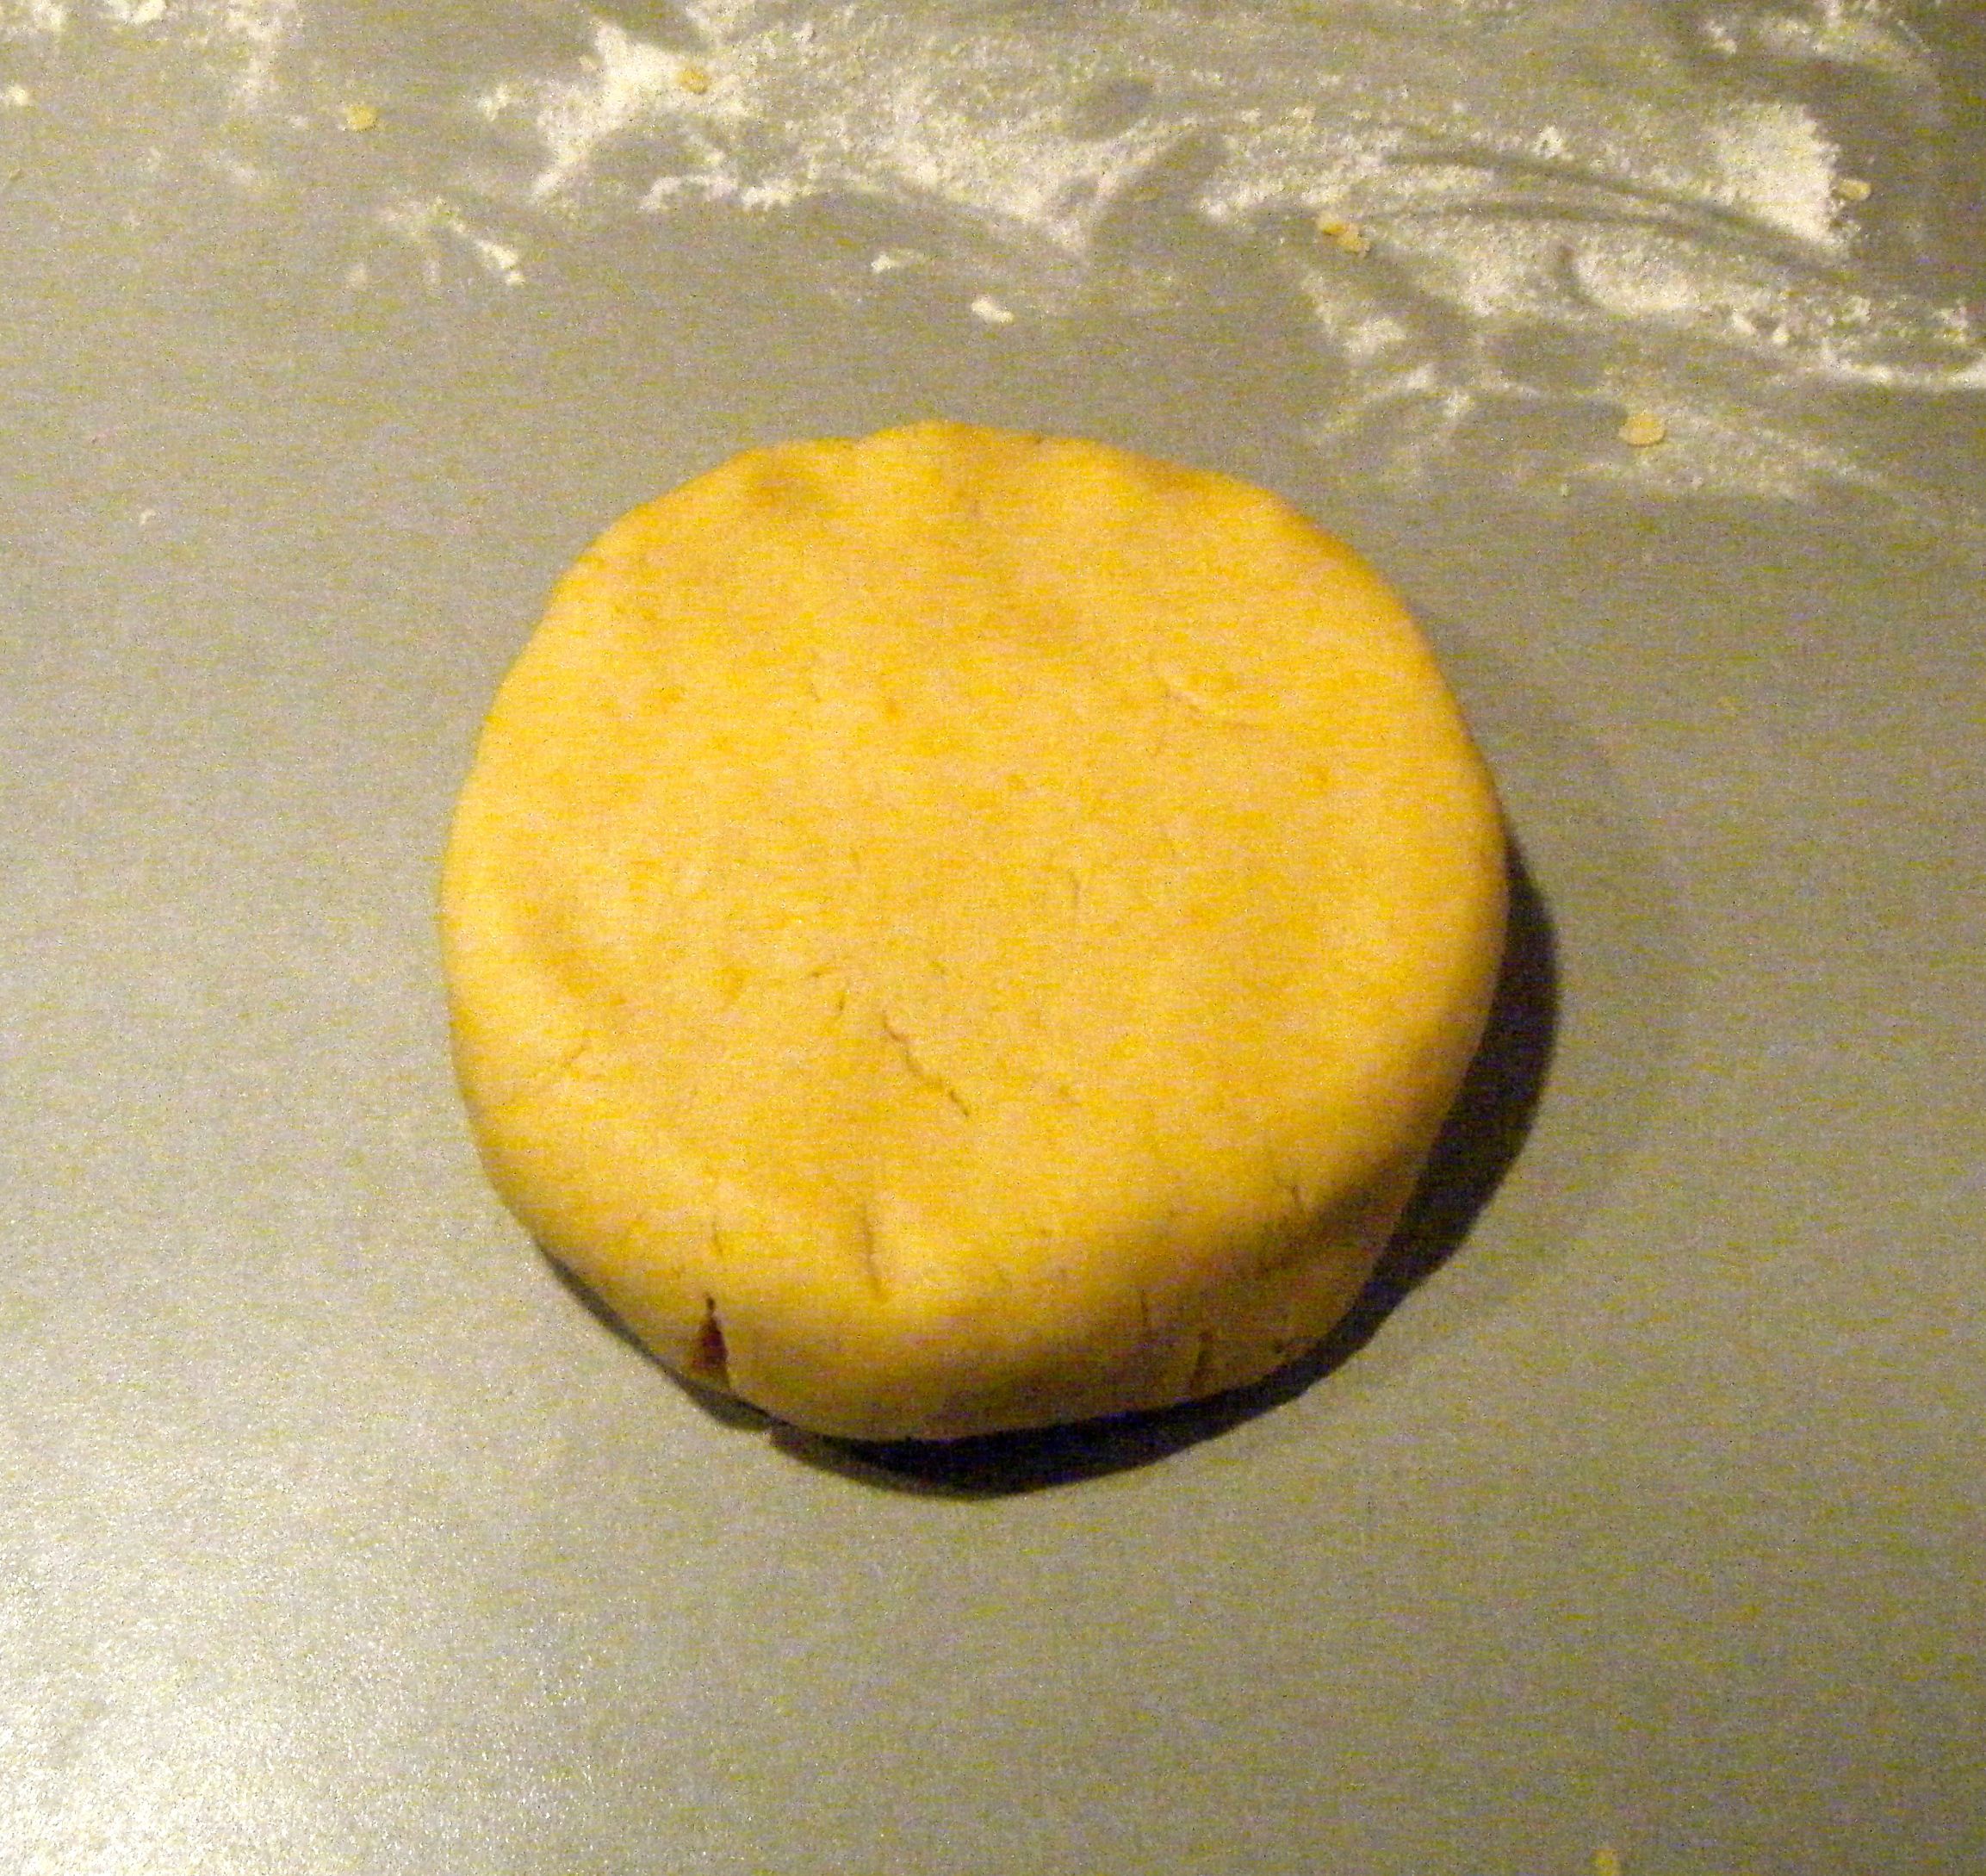
The next bit of the recipe threw me slightly. It instructs to mix the egg yolk with 2 tablespoons of iced water and then to sprinkle half over the mixture. I therefore whisked the egg yolk in my mini jug, added water which I had in the fridge and then used a tablespoon to put around half into the dry ingredients. I used knife to mix it altogether and added a little bit more liquid until it came together, finishing it by hand.
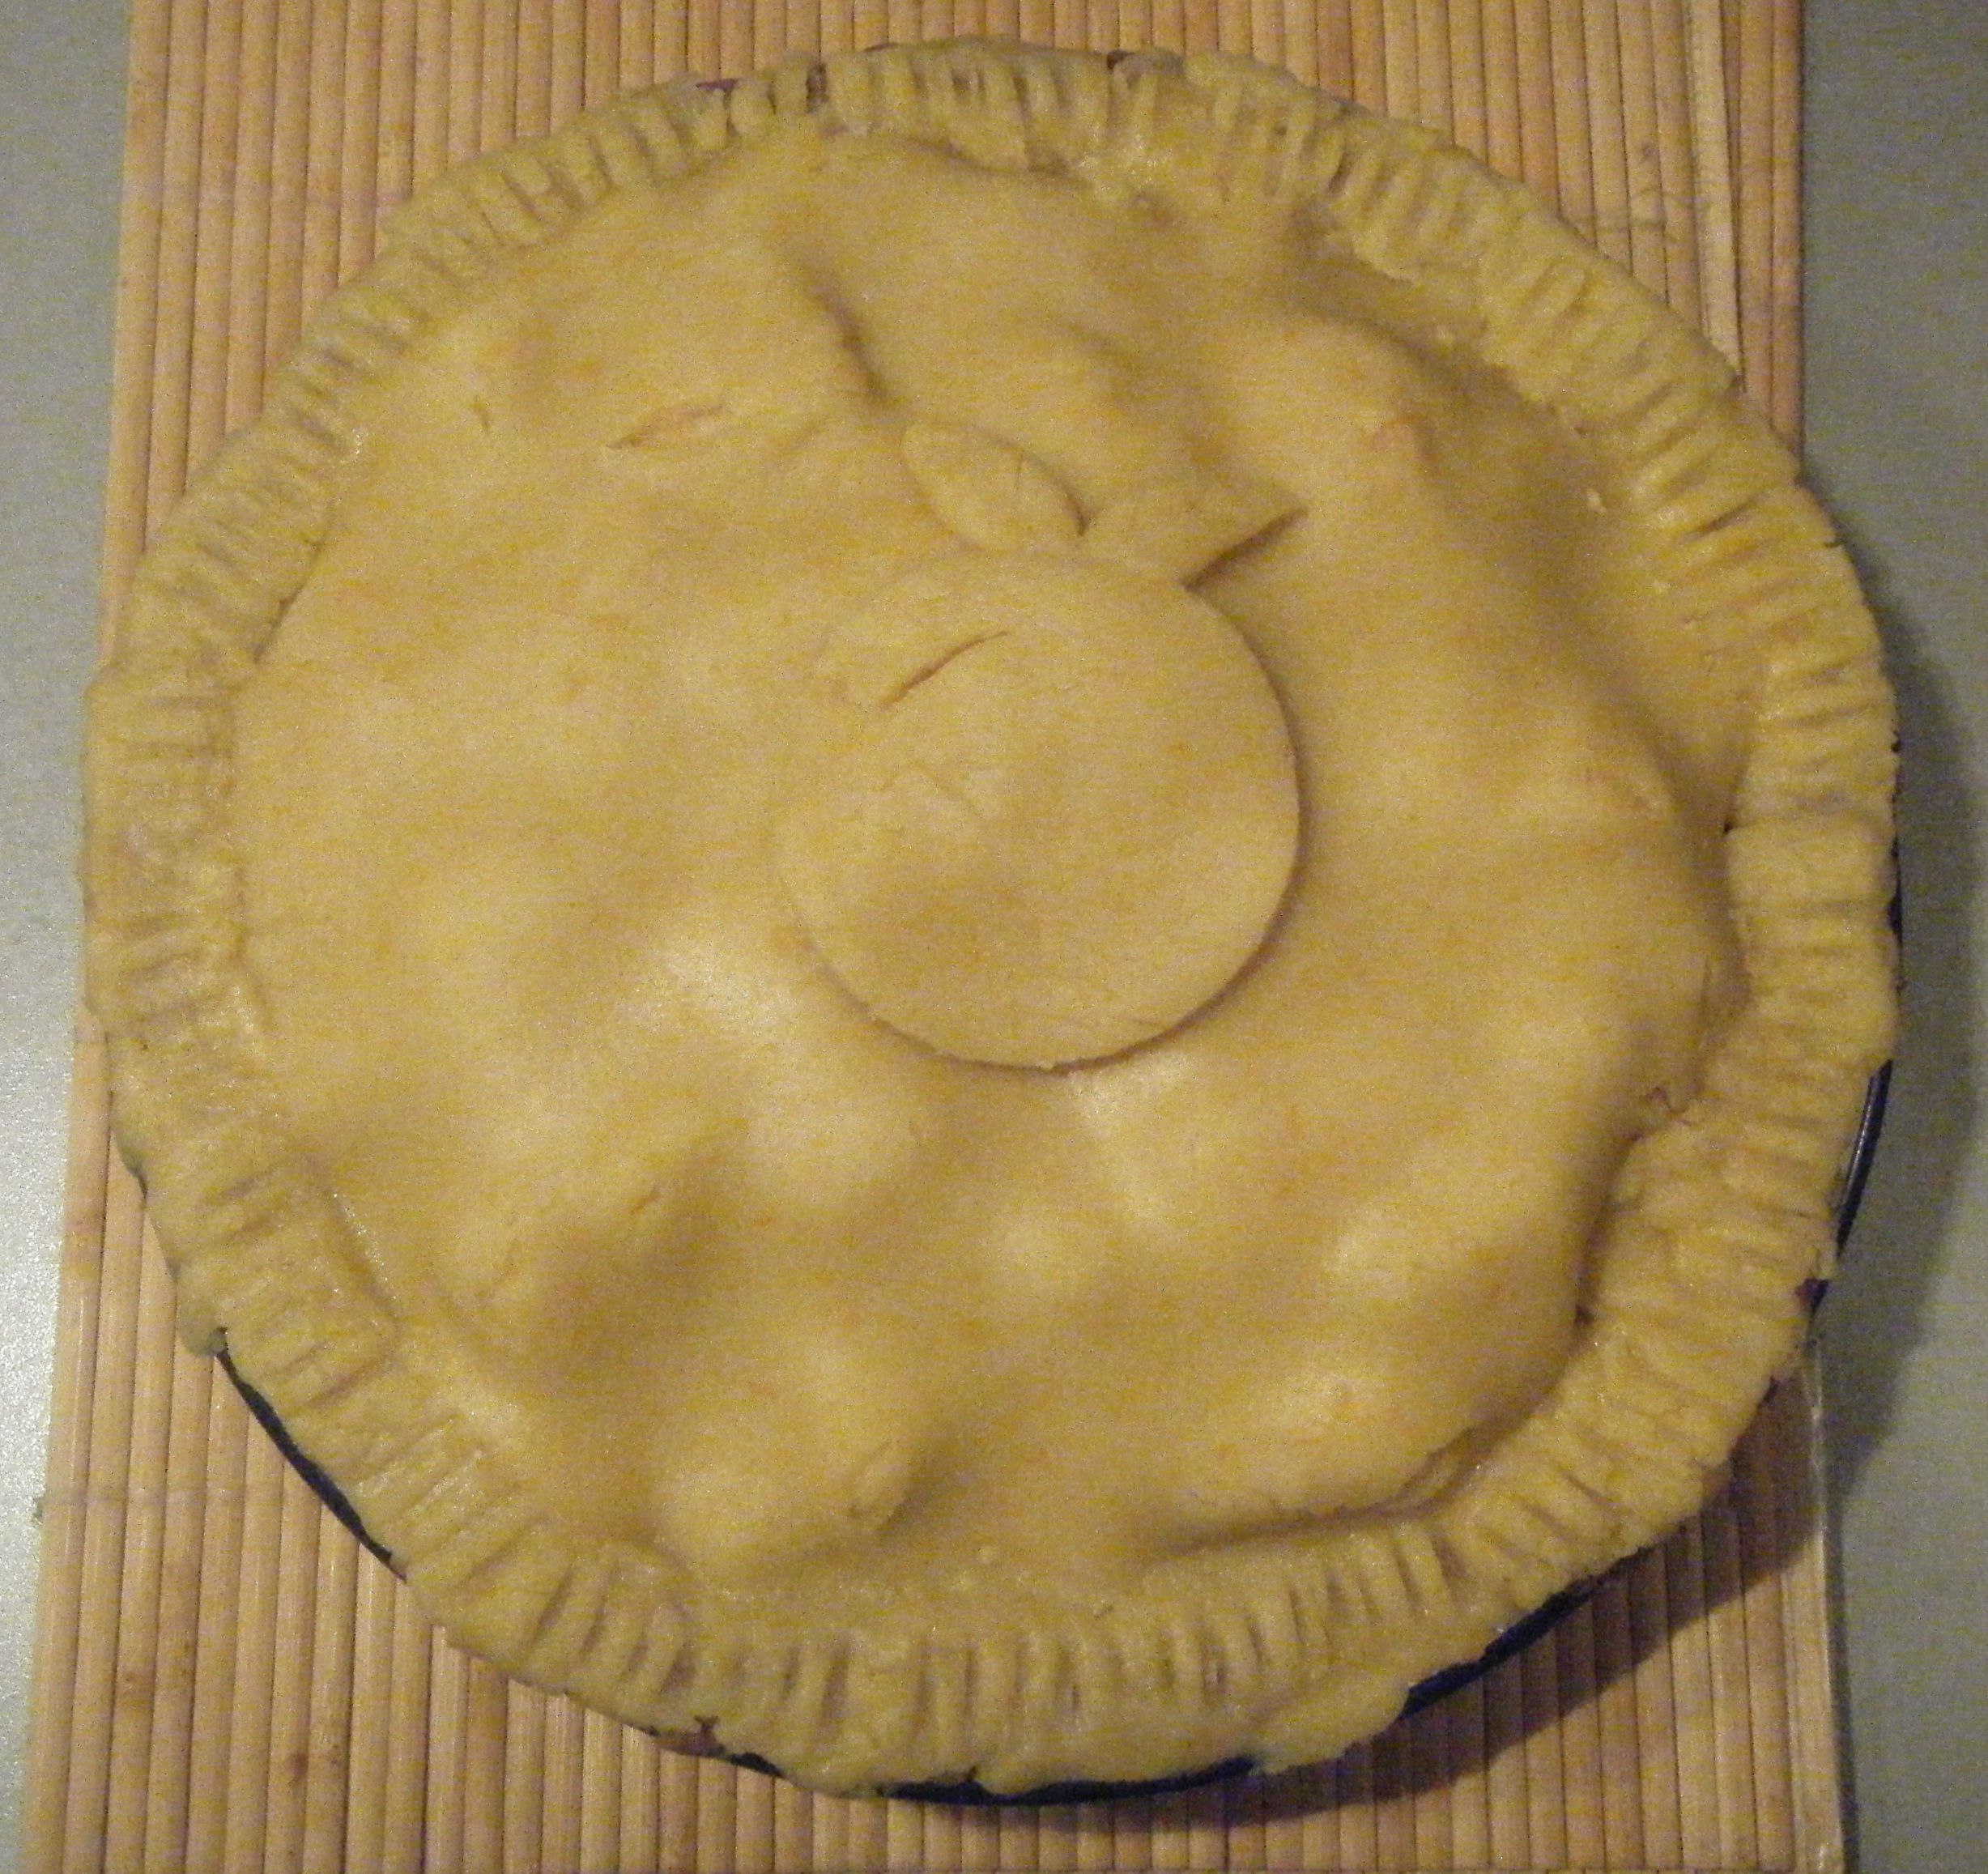
I then rolled it out onto a floured surface. Unfortunately when I tried to lift the pastry into the tin it kept splitting. So in the end I took the base out of my tin and rolled the pastry directly onto this until it was nearly to the edges; I put this back in the tin and then used my fingers to work the pastry up the sides of the tin. I used my small rolling pin to smooth out the middle as best as possible. I then put it in the fridge to chill for 30 minutes.
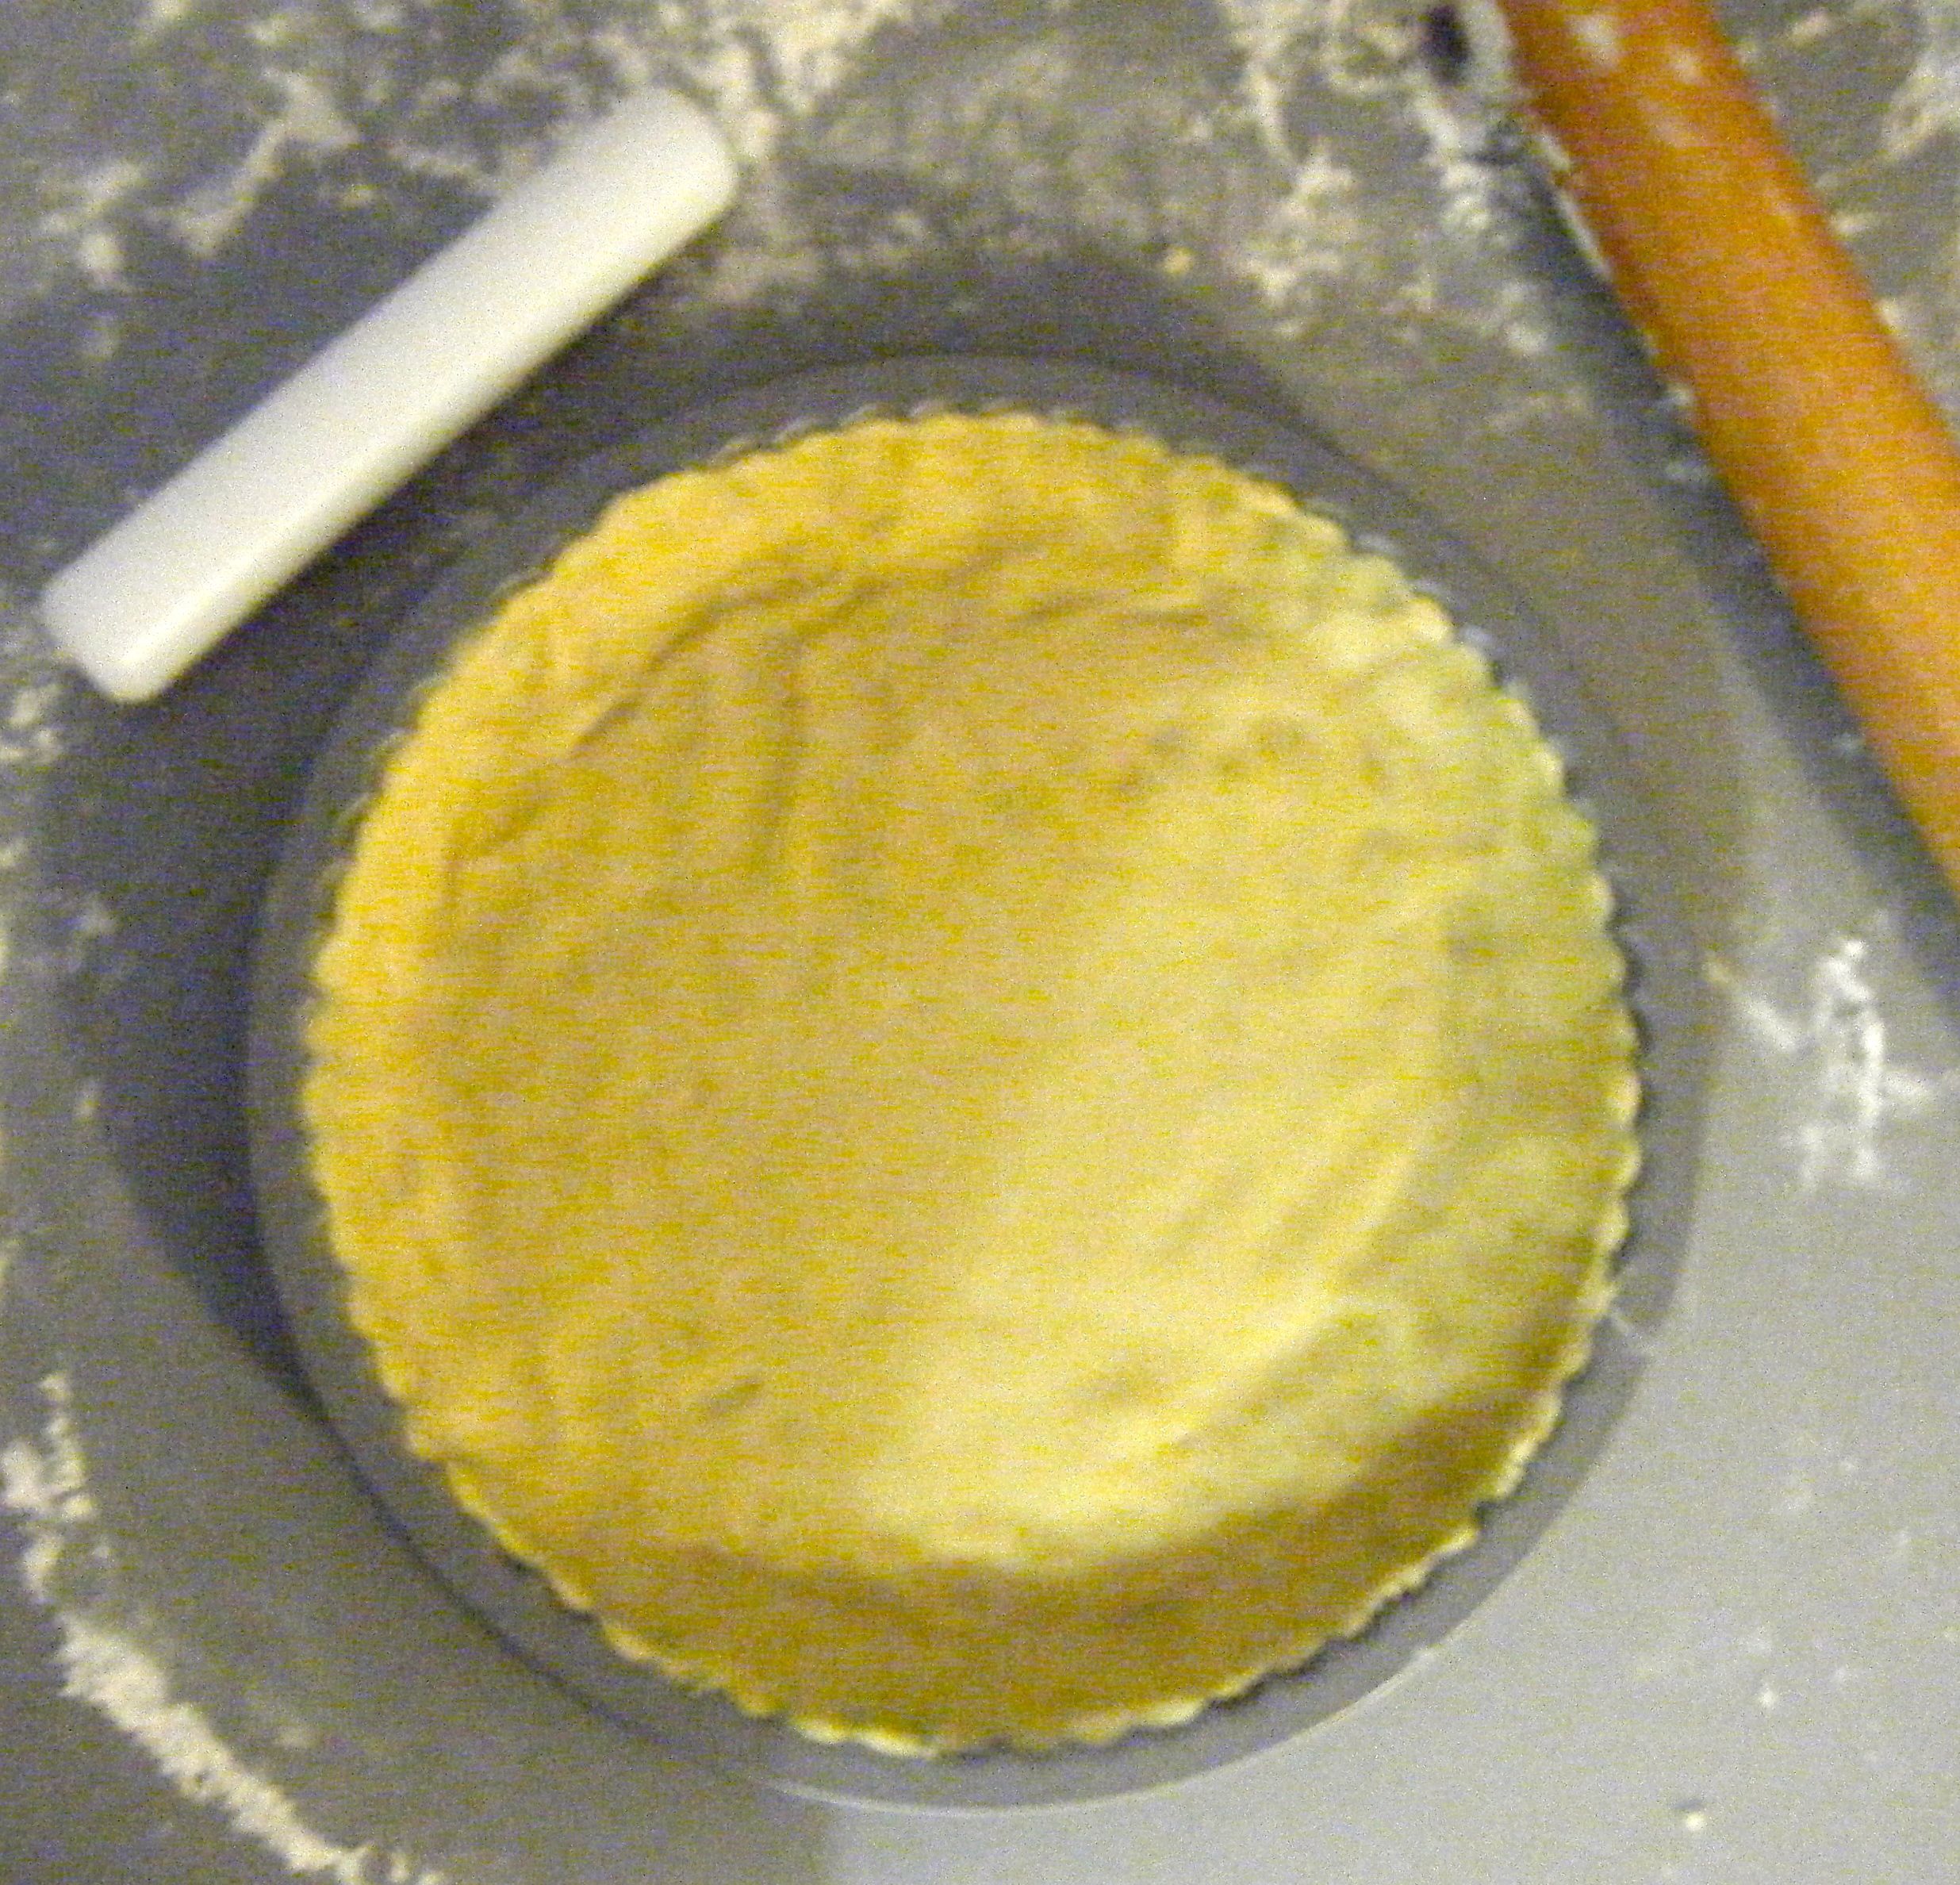
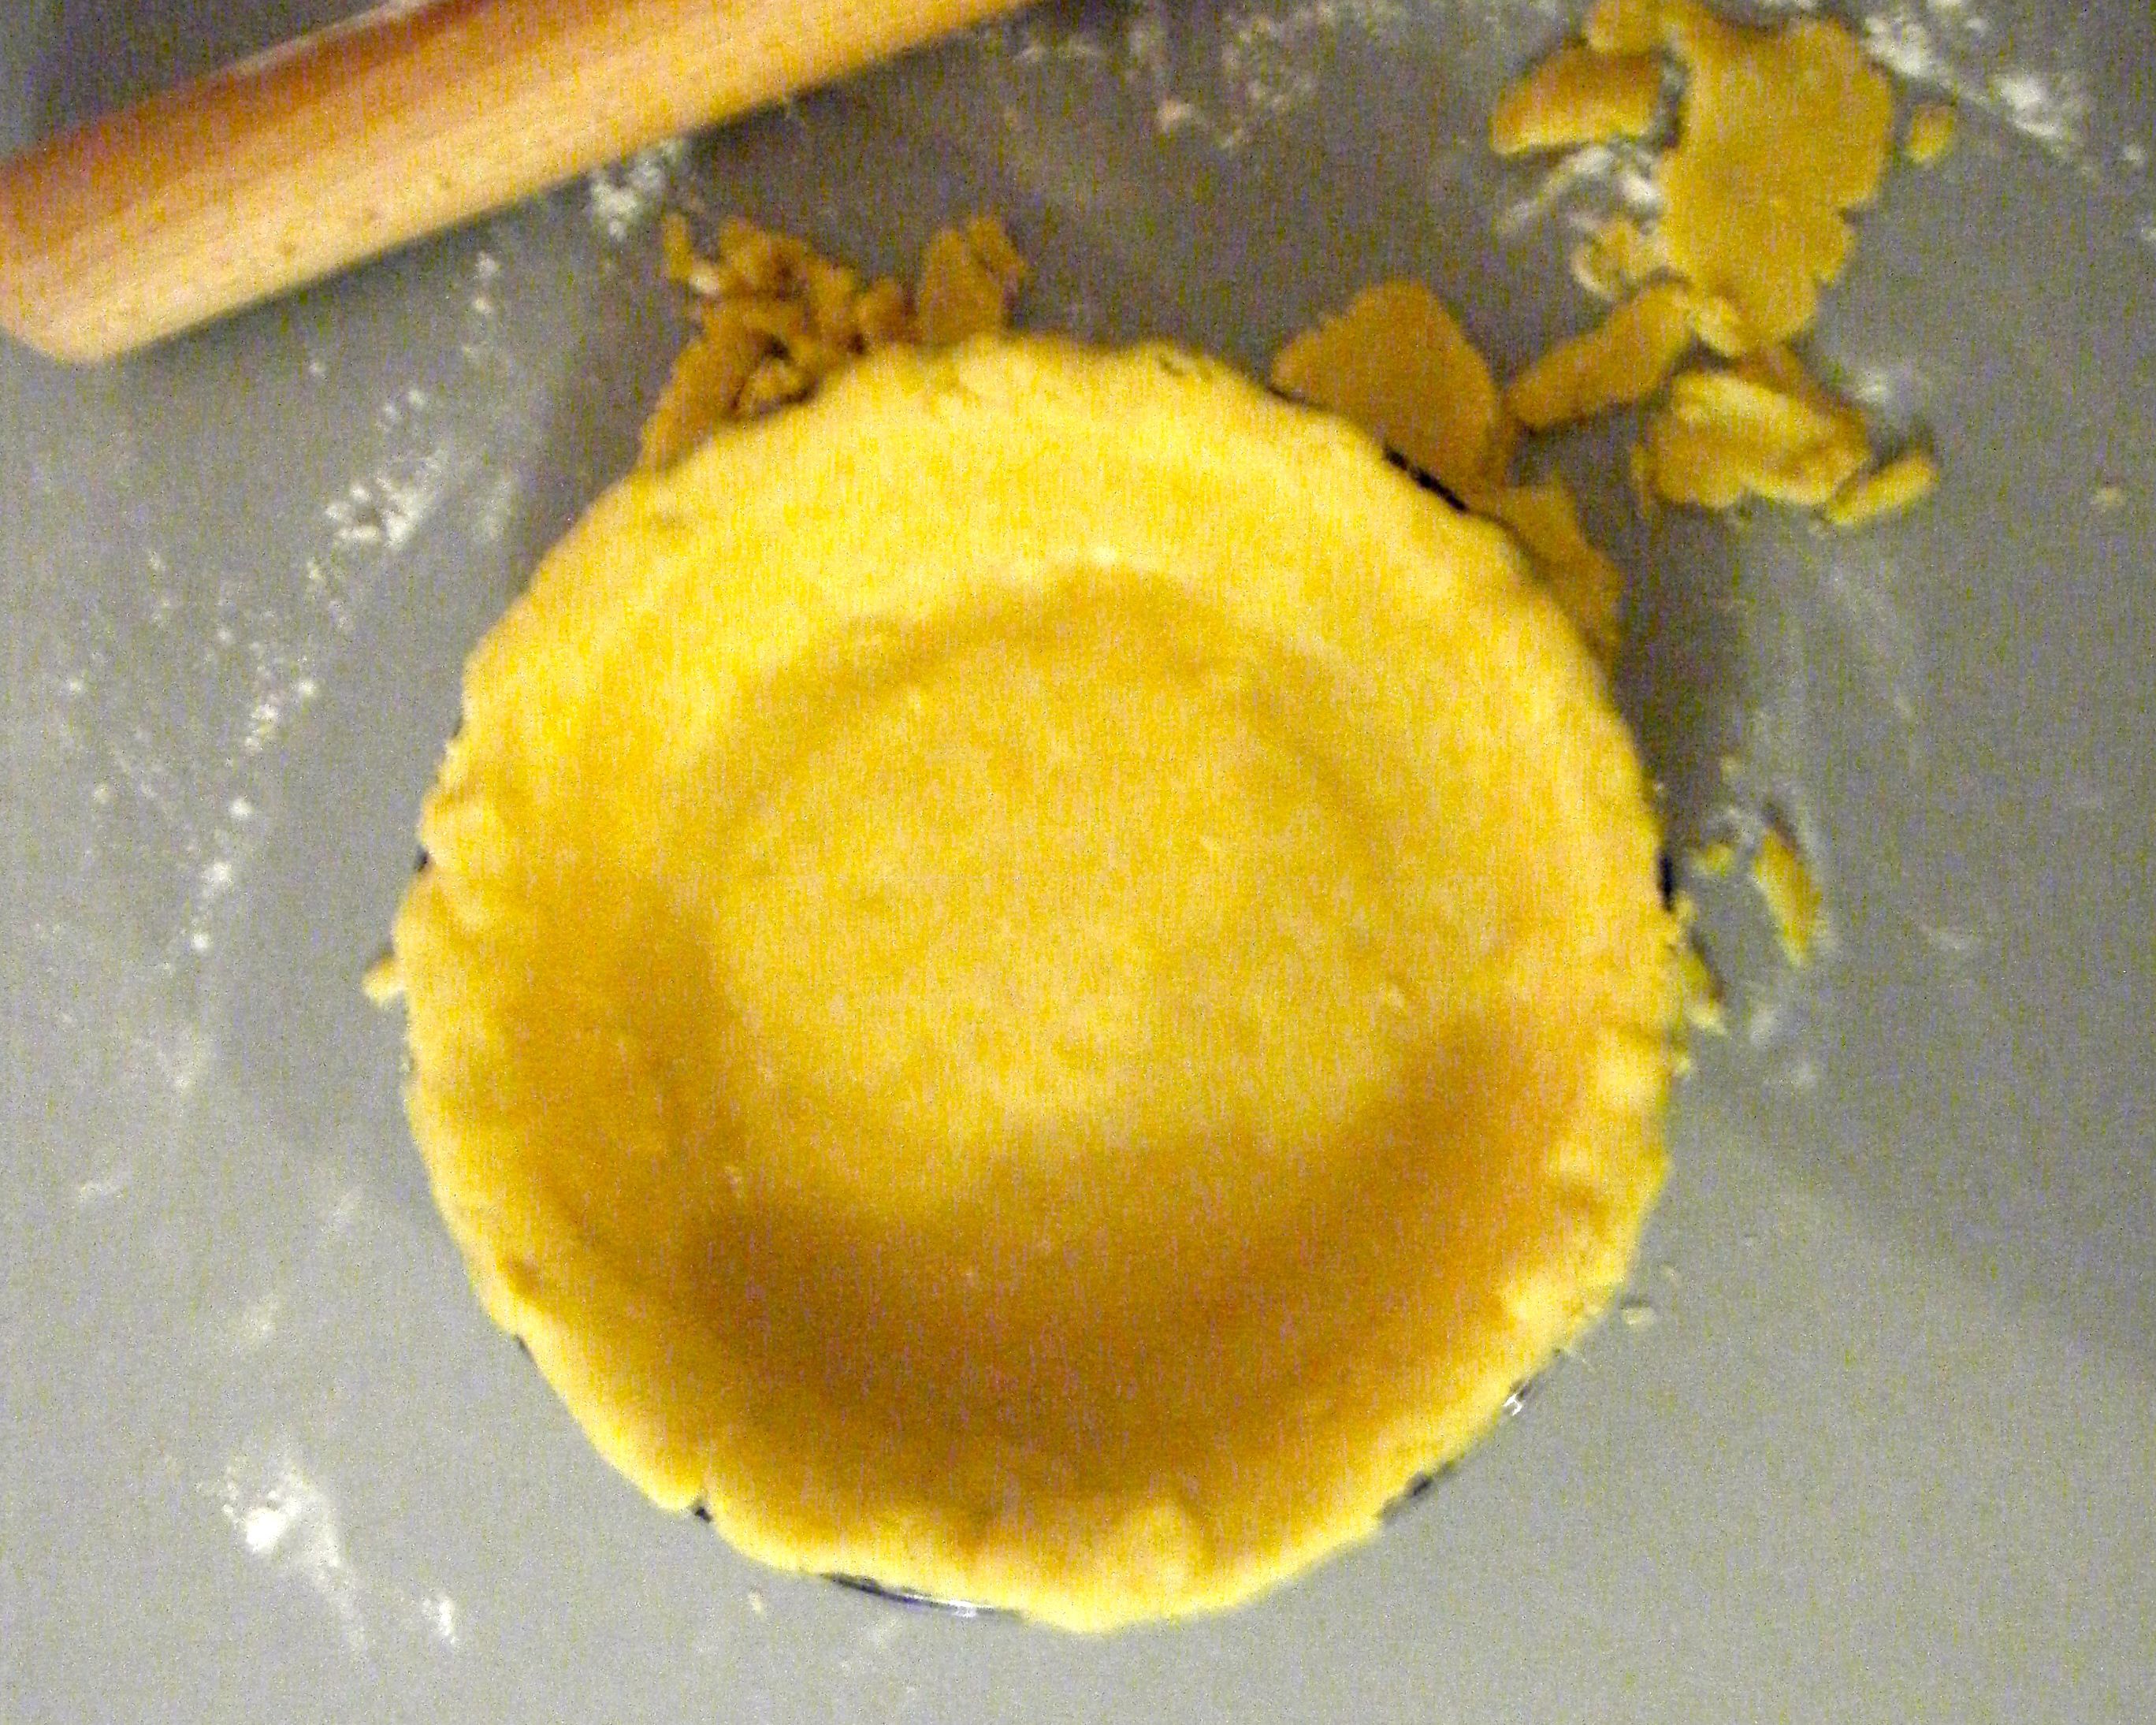
I covered the pastry with baking paper and filled the dish with my baking rice before putting it in the oven on 200 degrees celsius for 15 minutes. I then removed the rice and baking paper and returned to the oven for around 8 minutes until it was a light golden brown.
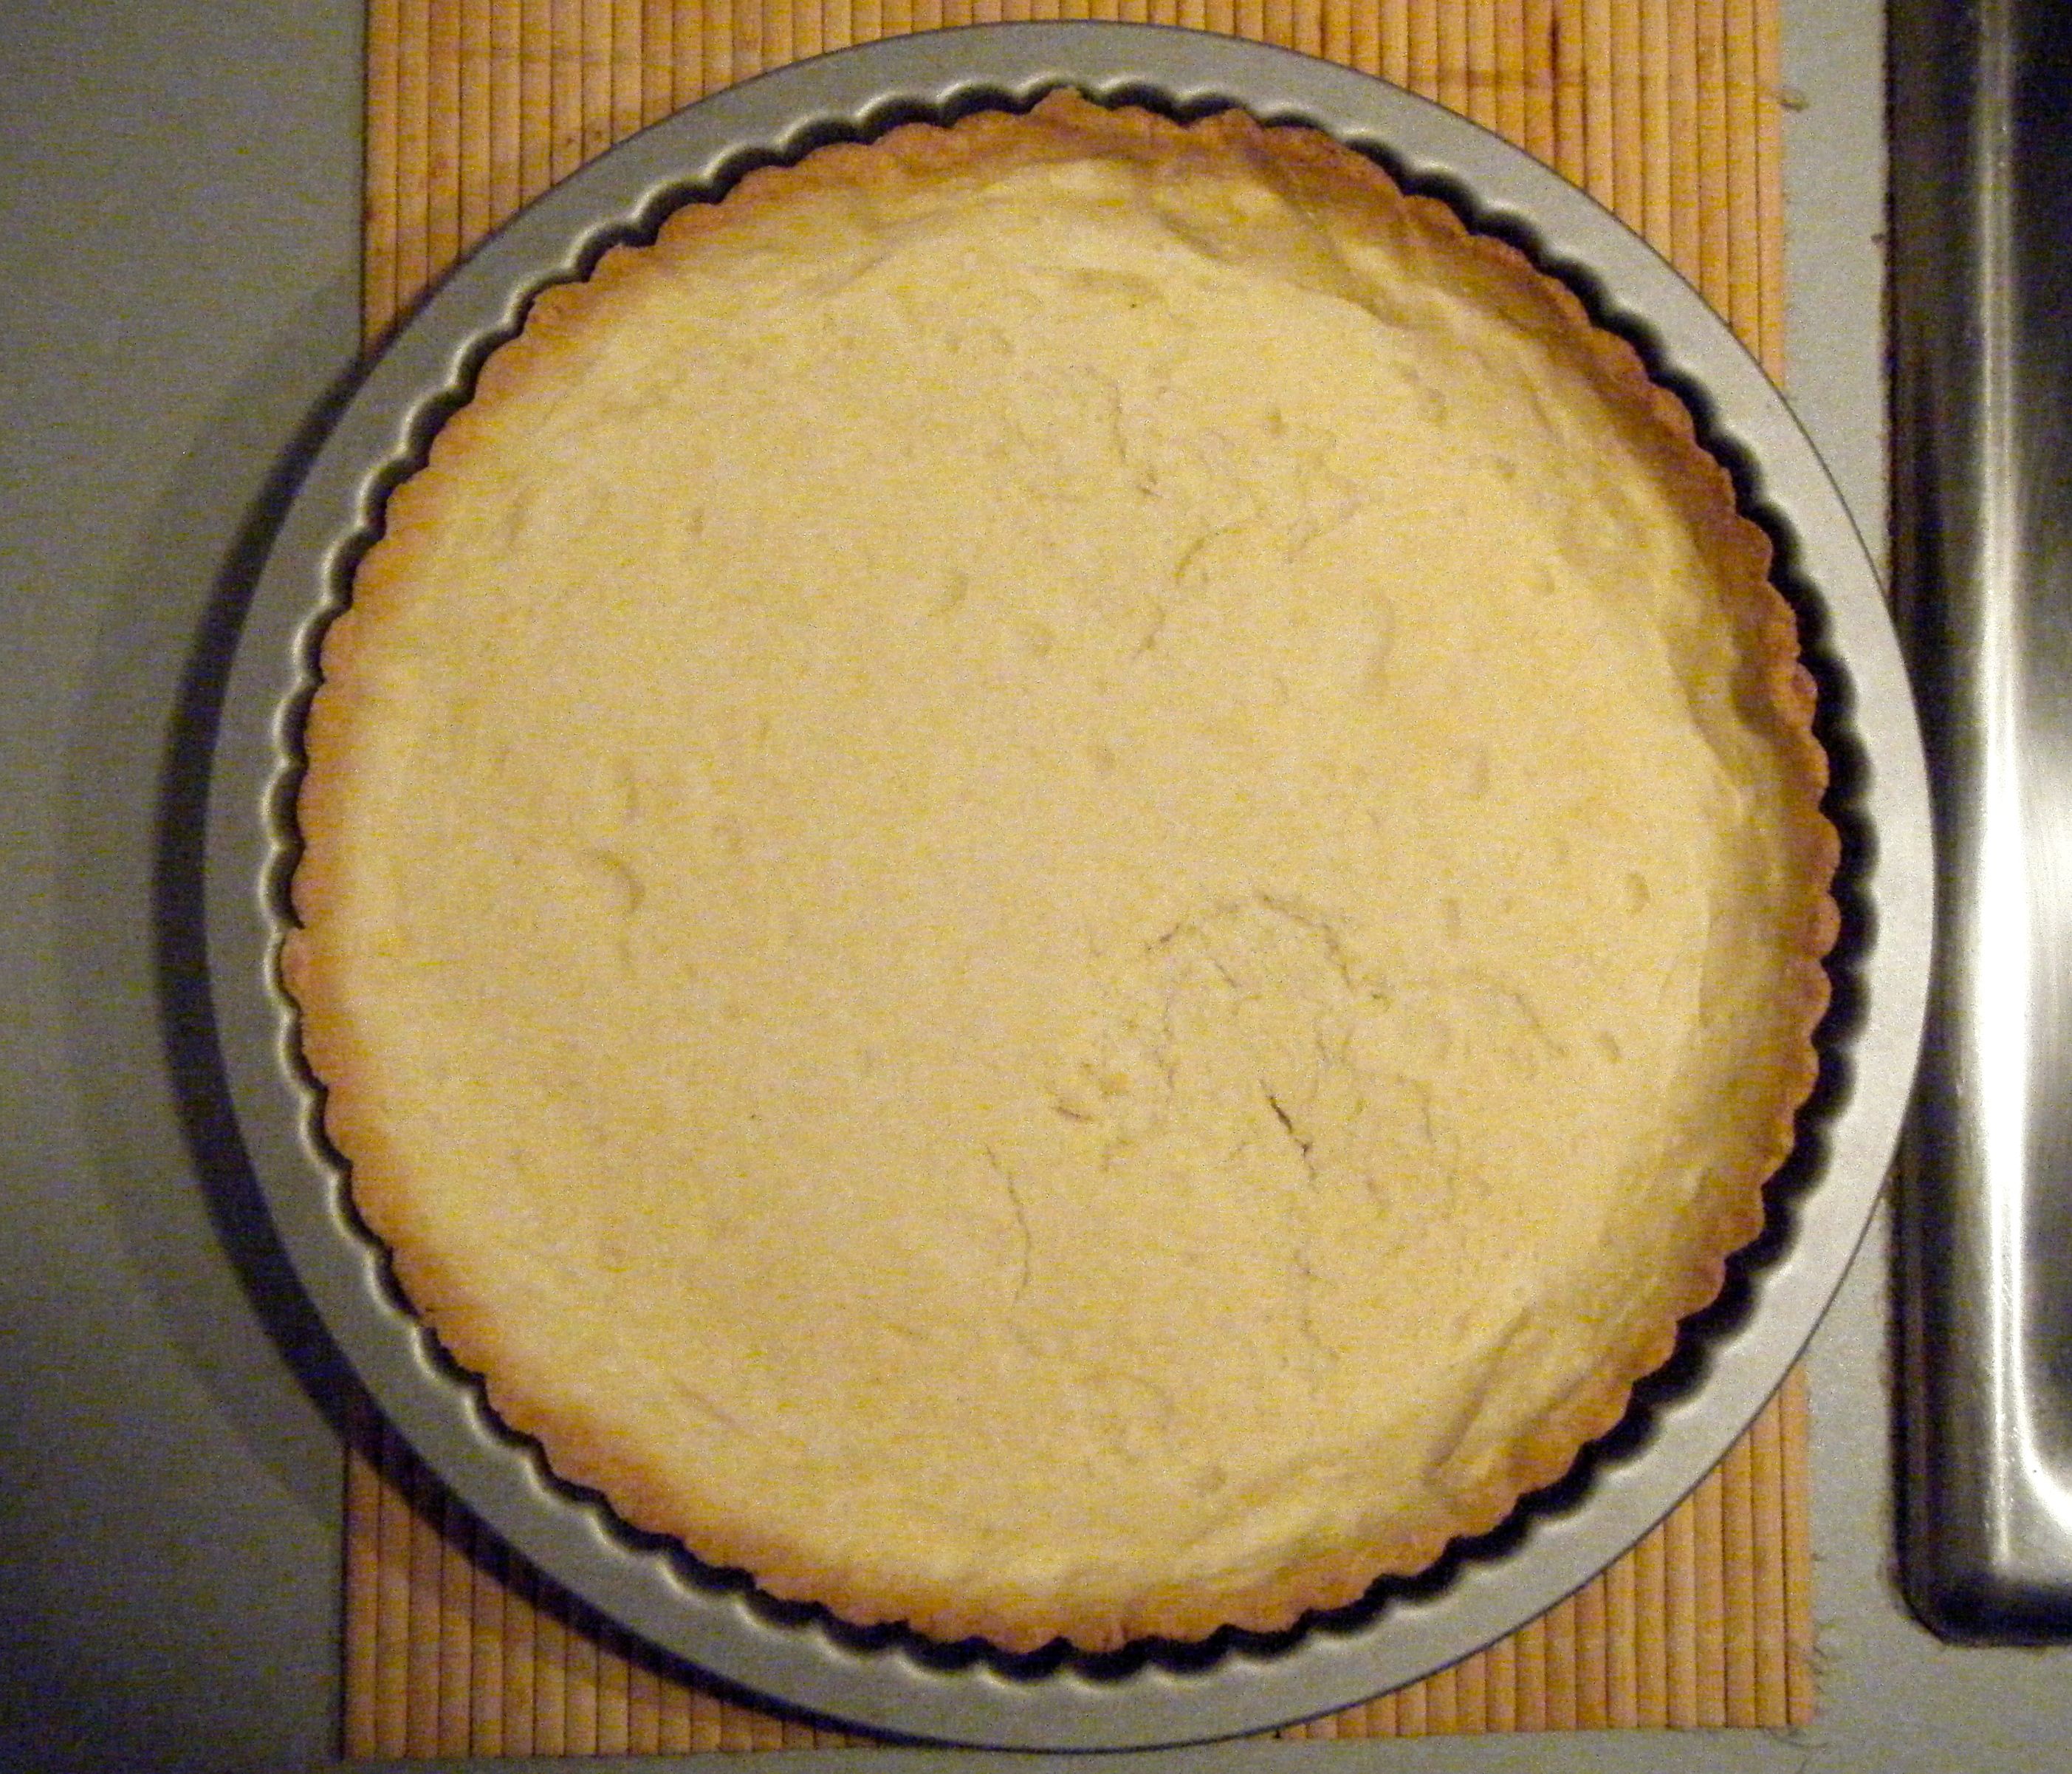
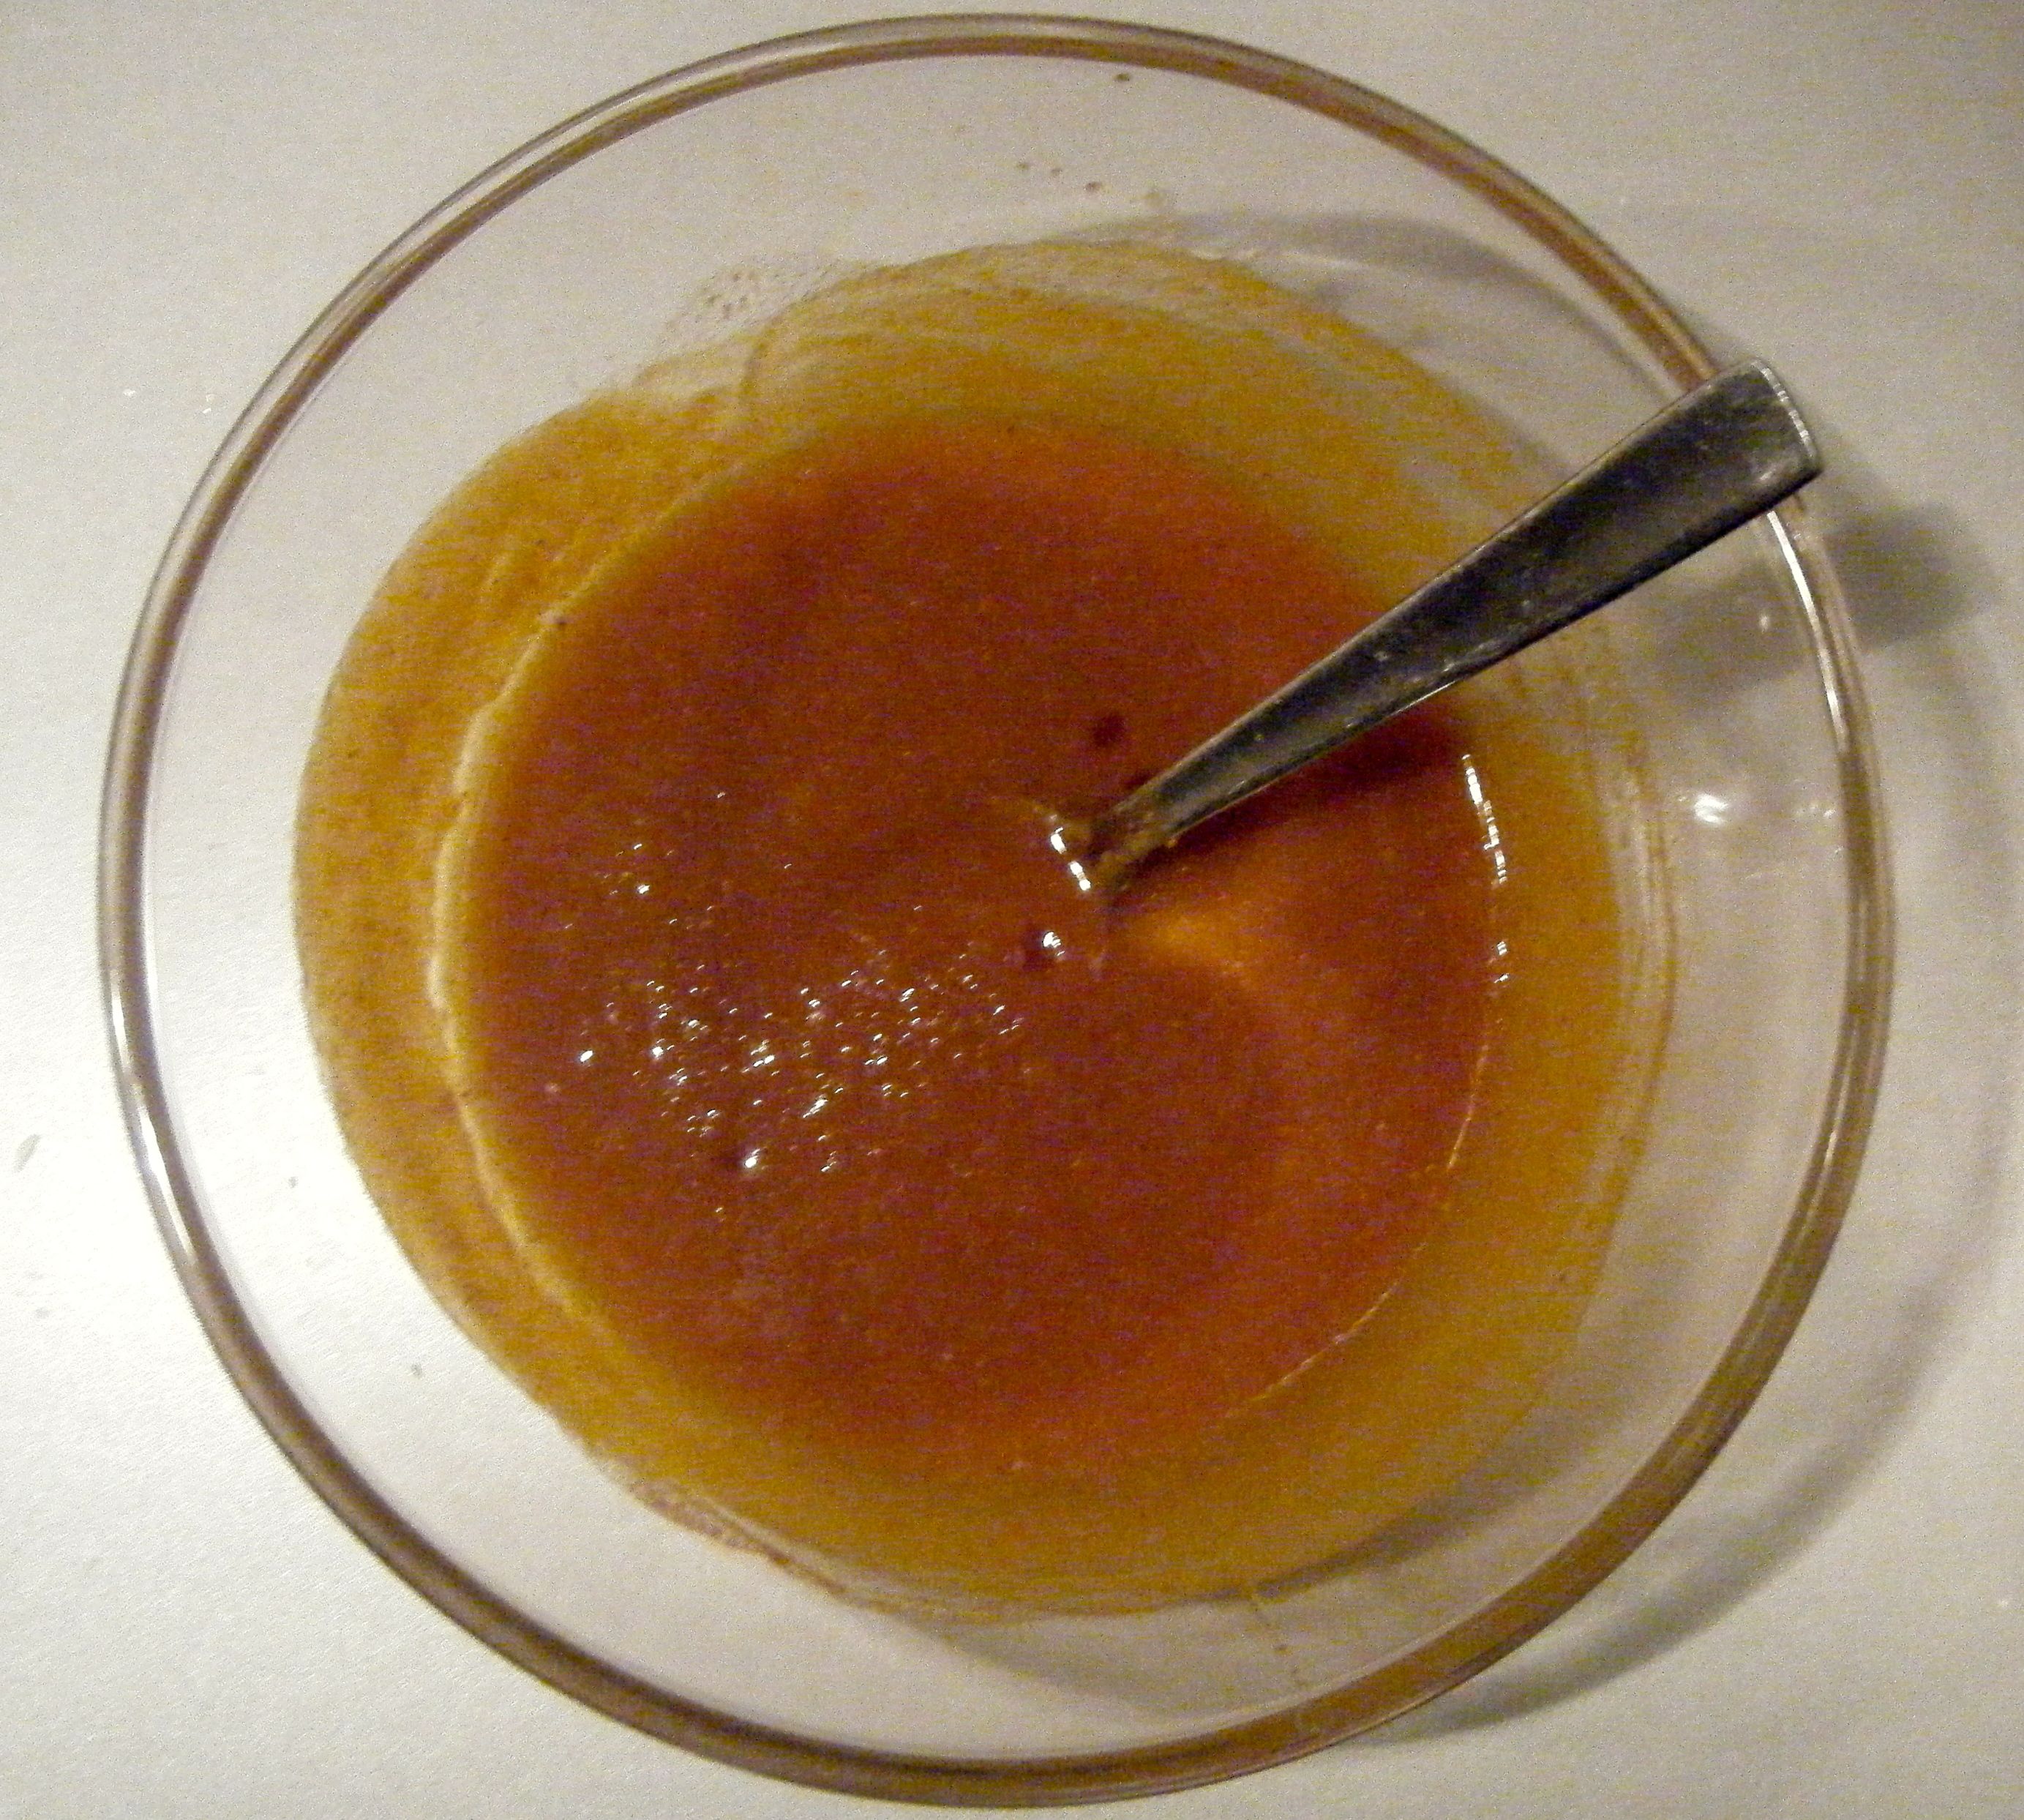
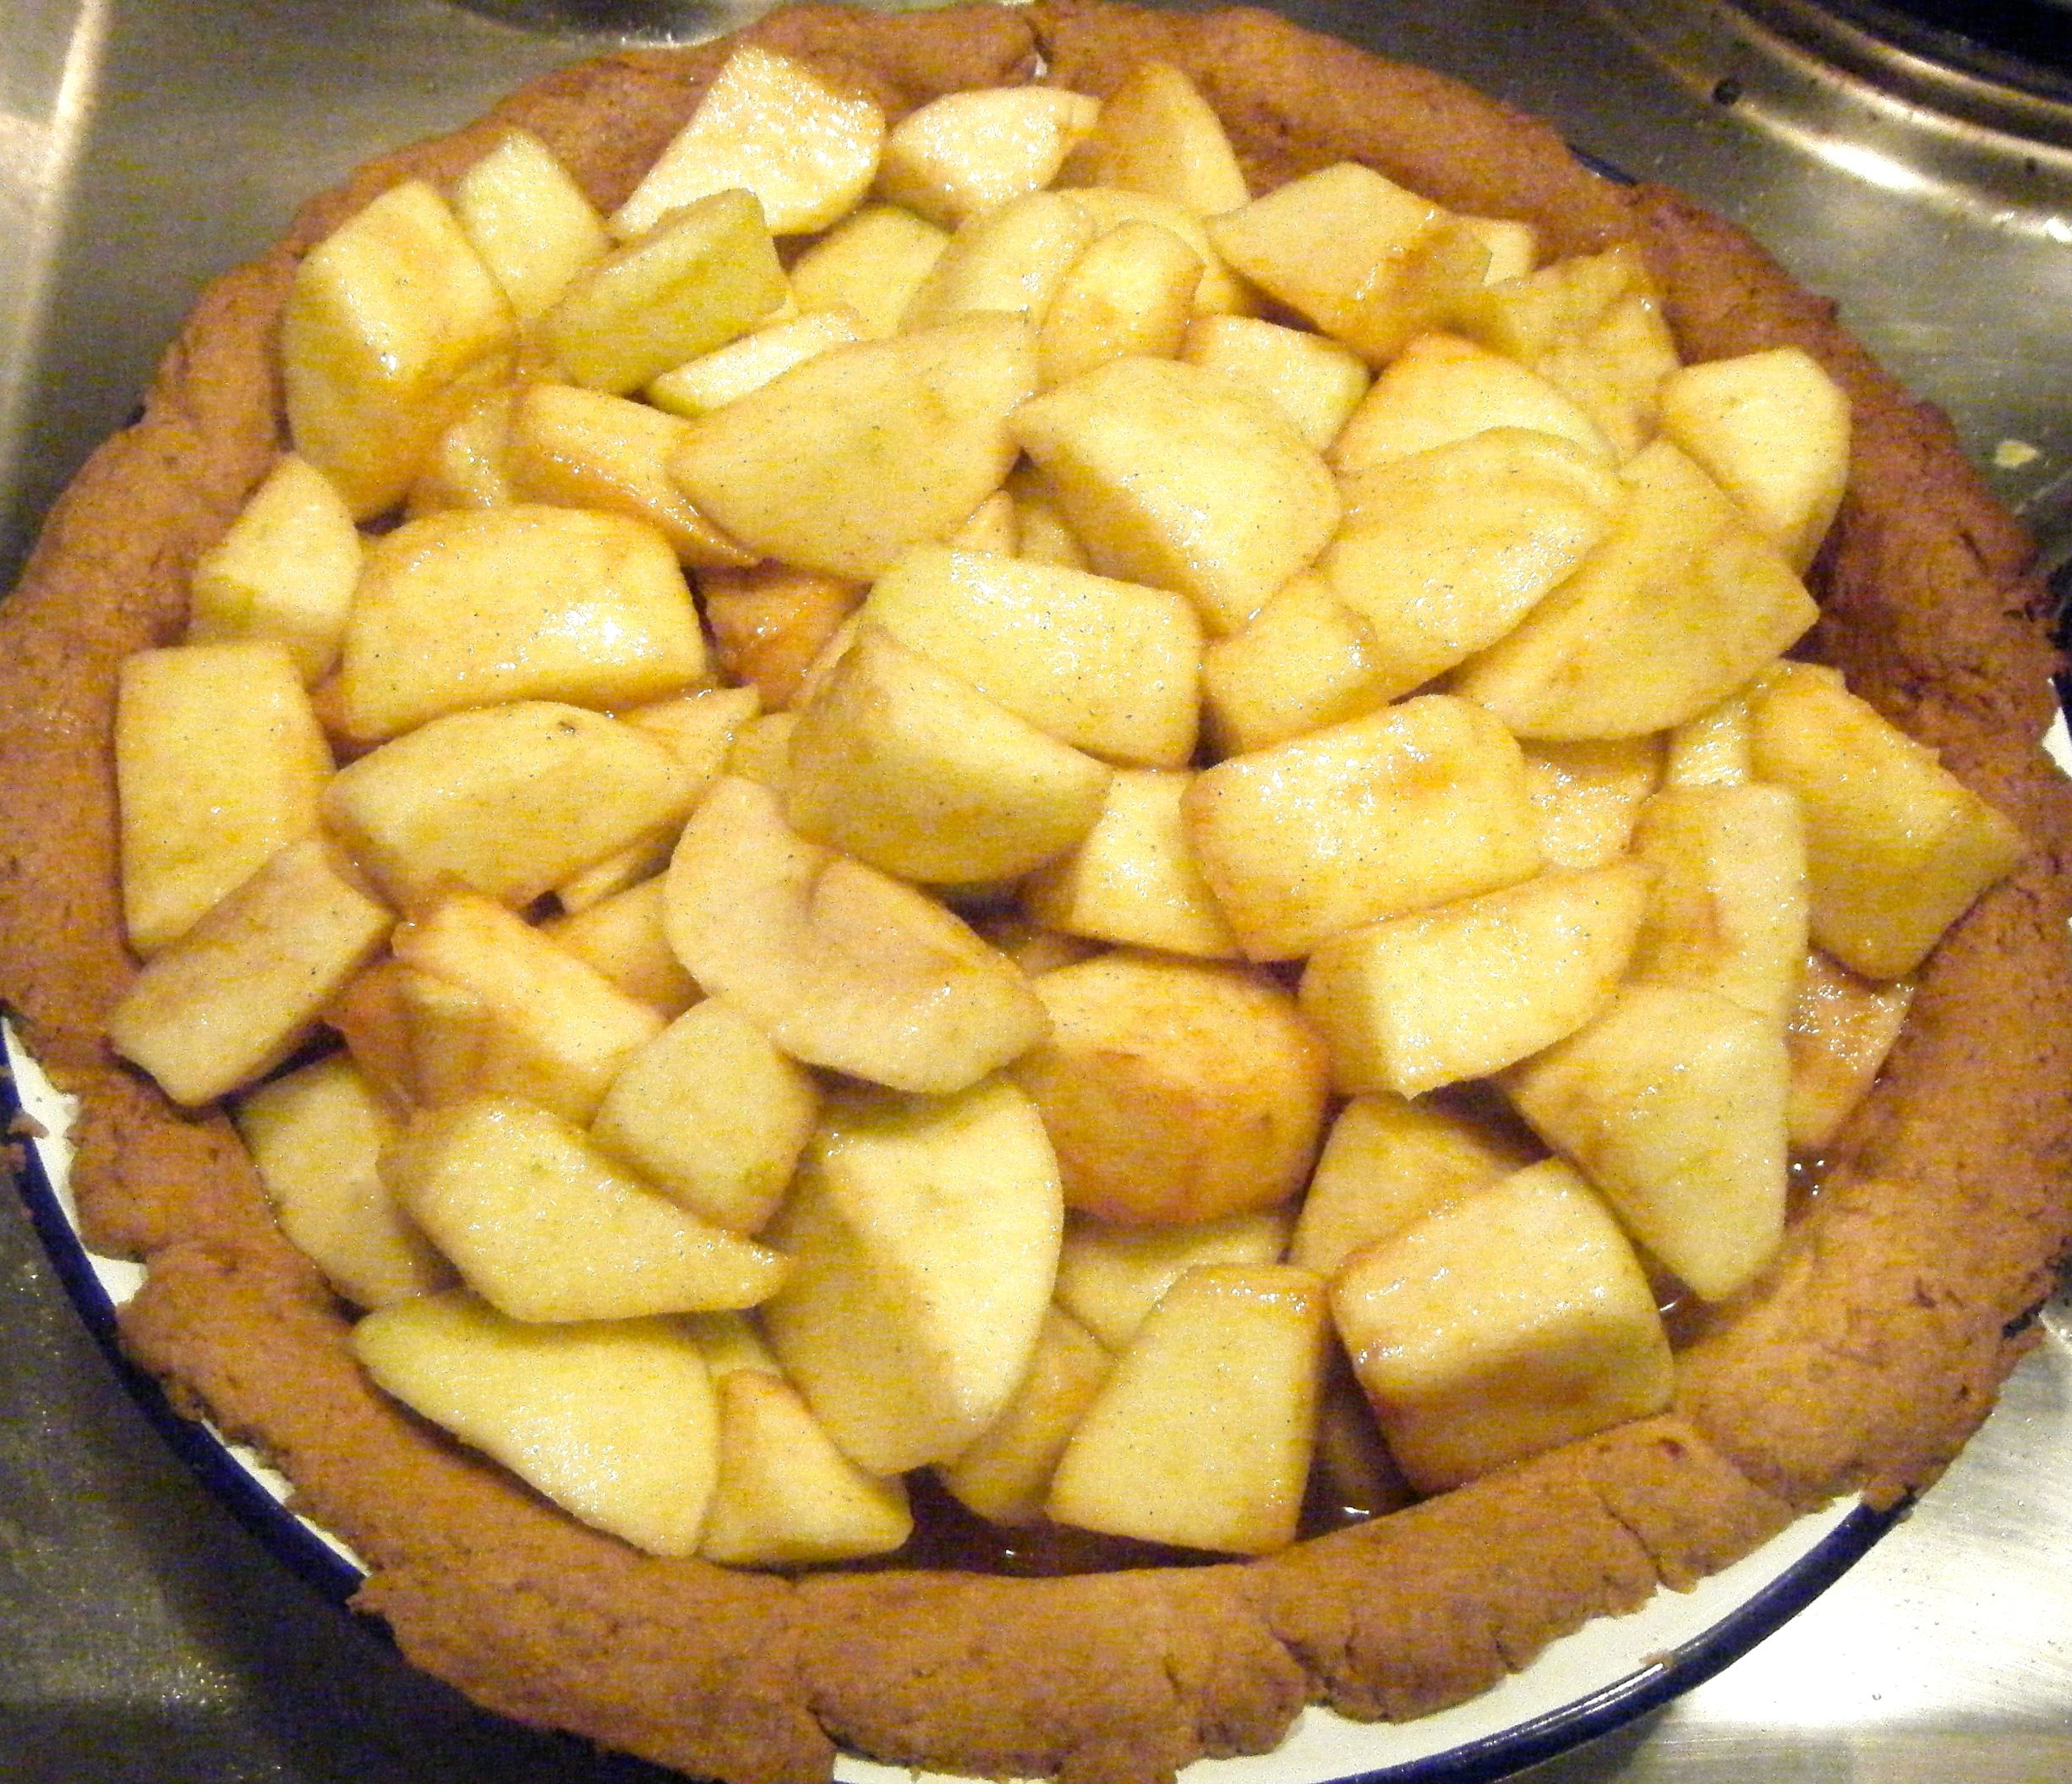
I let the pastry cool slightly whilst I made the filling. To do this I mixed together 250g of the pumpkin puree with the maple syrup, rum and spices. I stirred through the eggs before slowly adding the evaporated milk.
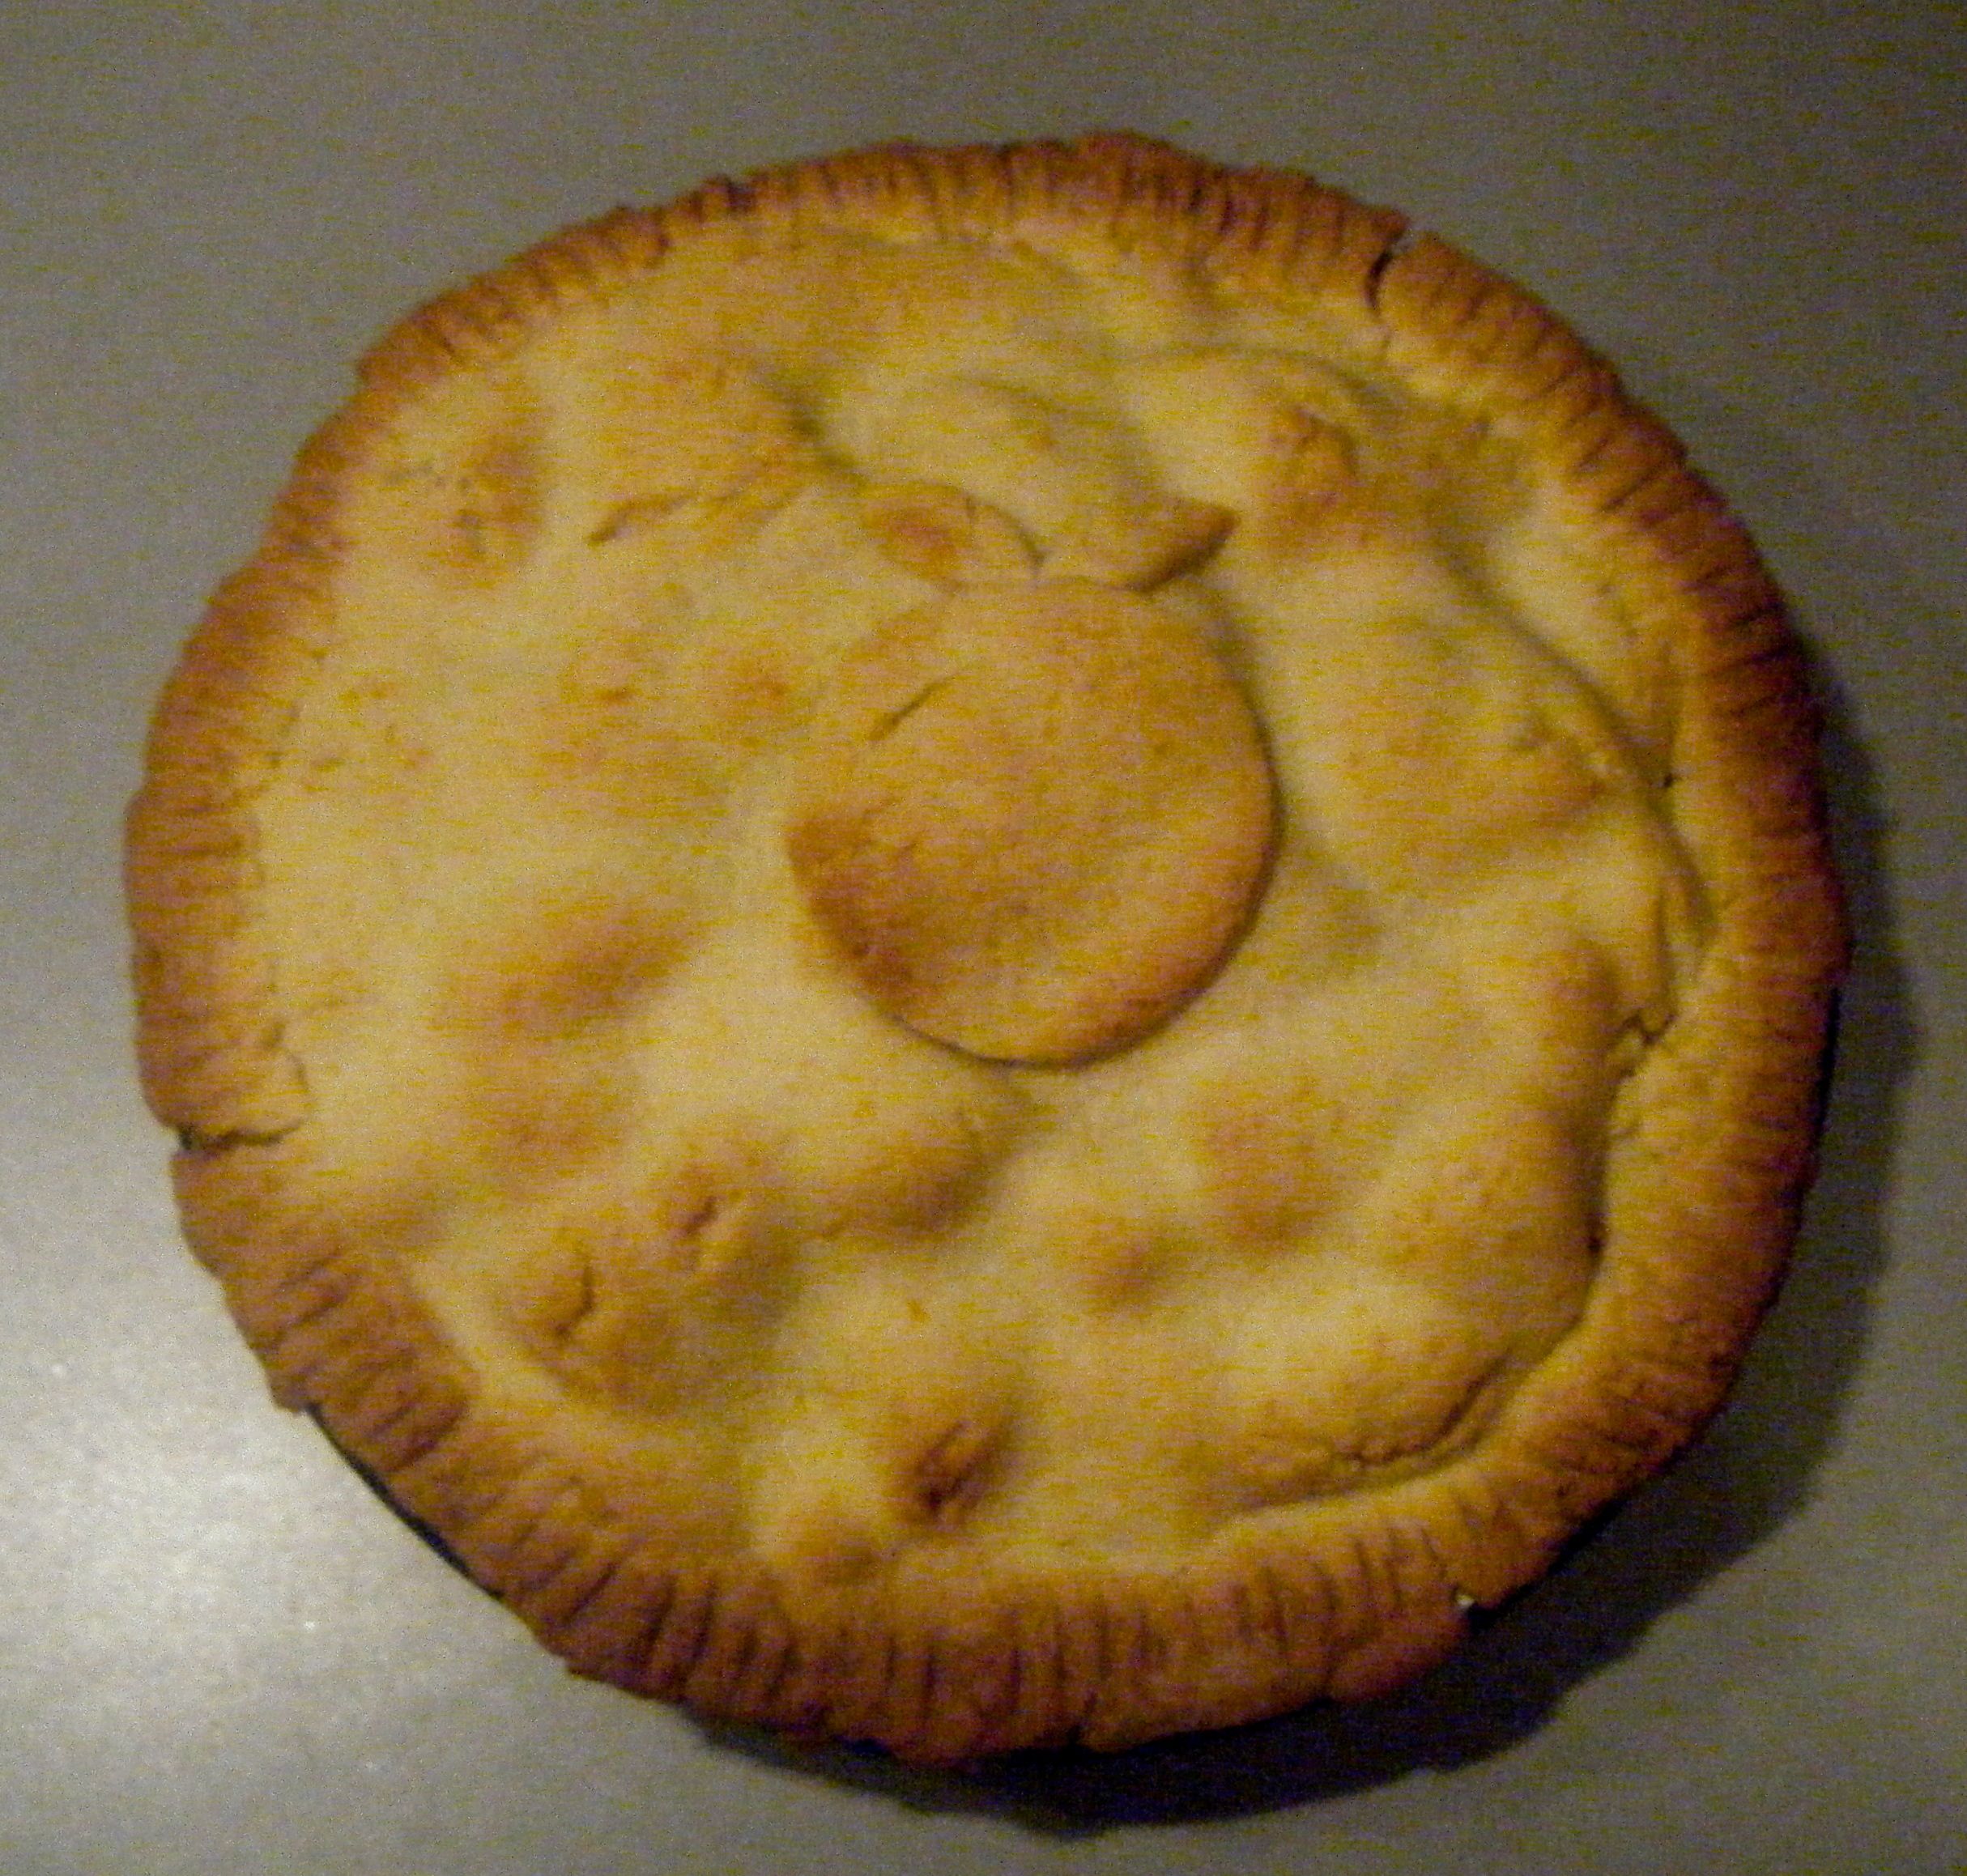
I poured the filling into the blind baked pastry and then popped it in the oven on 180 degrees celsius. I initially set the timer for 30 minutes and then checked it regularly until it was “set, but still slightly wobbly in the centre”. This ended up being about 37 minutes.
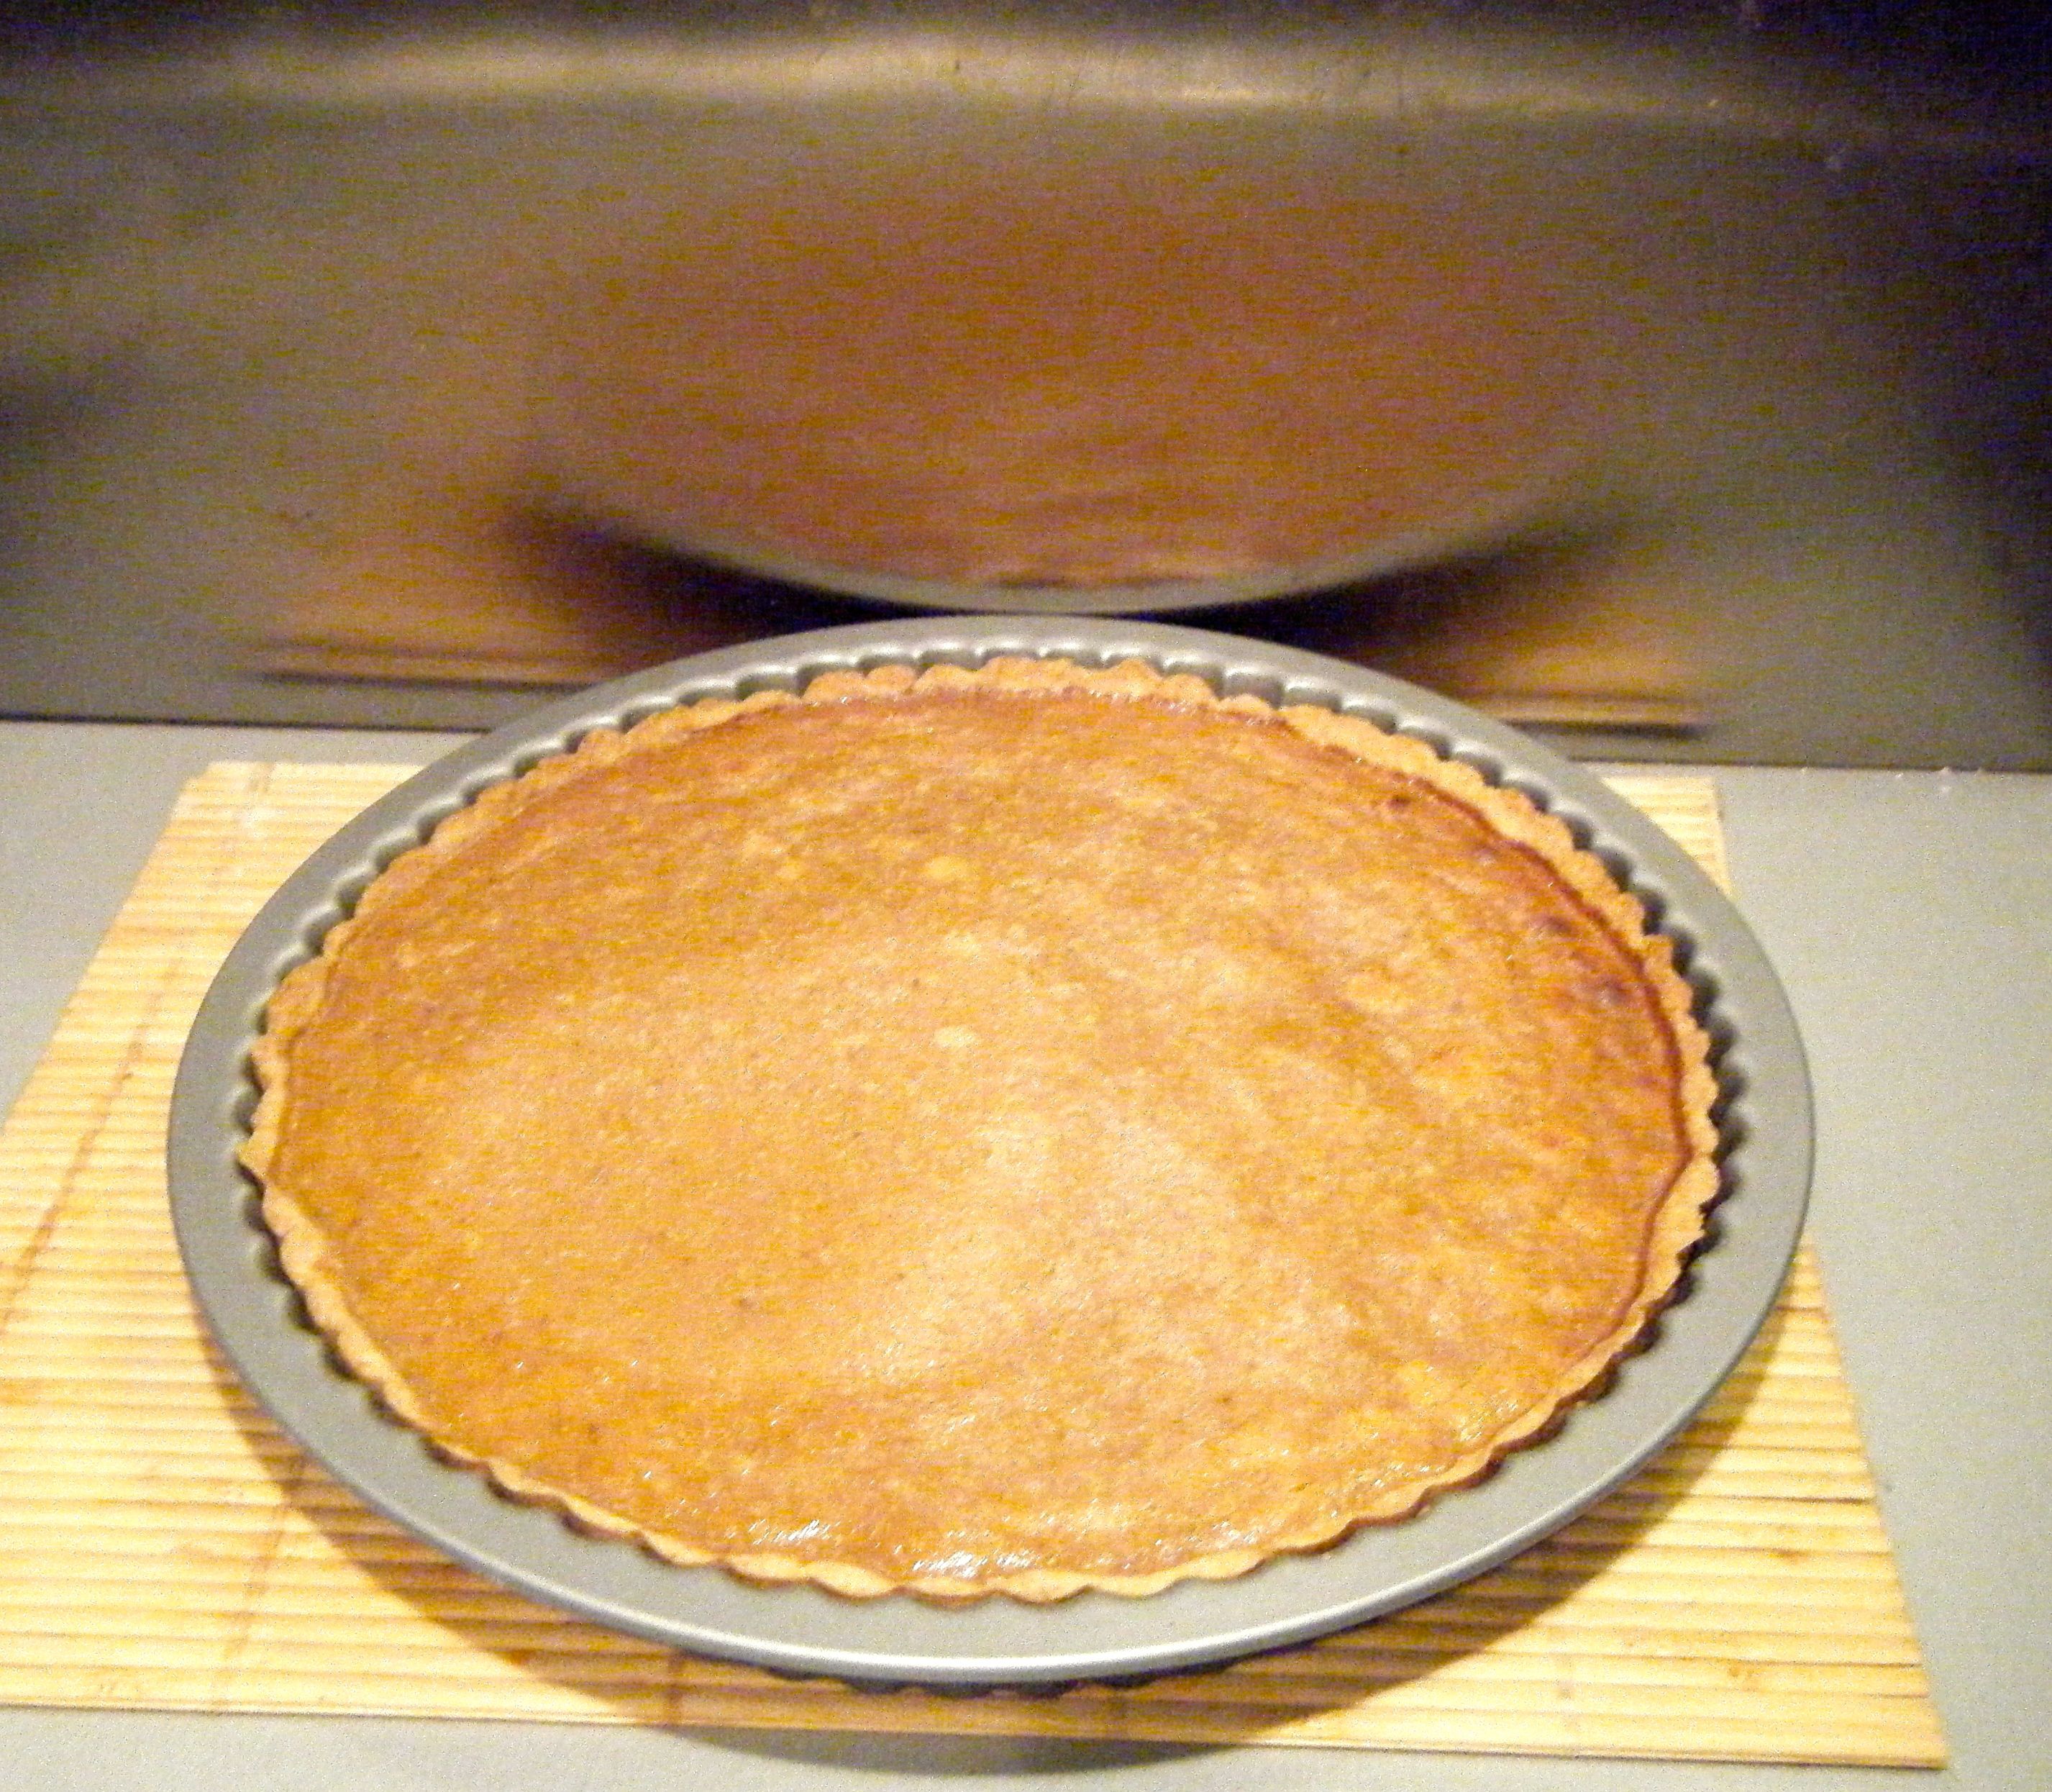
Once the timer went off, I removed the pie from the oven and let it cool for around 10 minutes before removing the outer ring. I then placed it on a cooling rack for an hour before trying a slice.

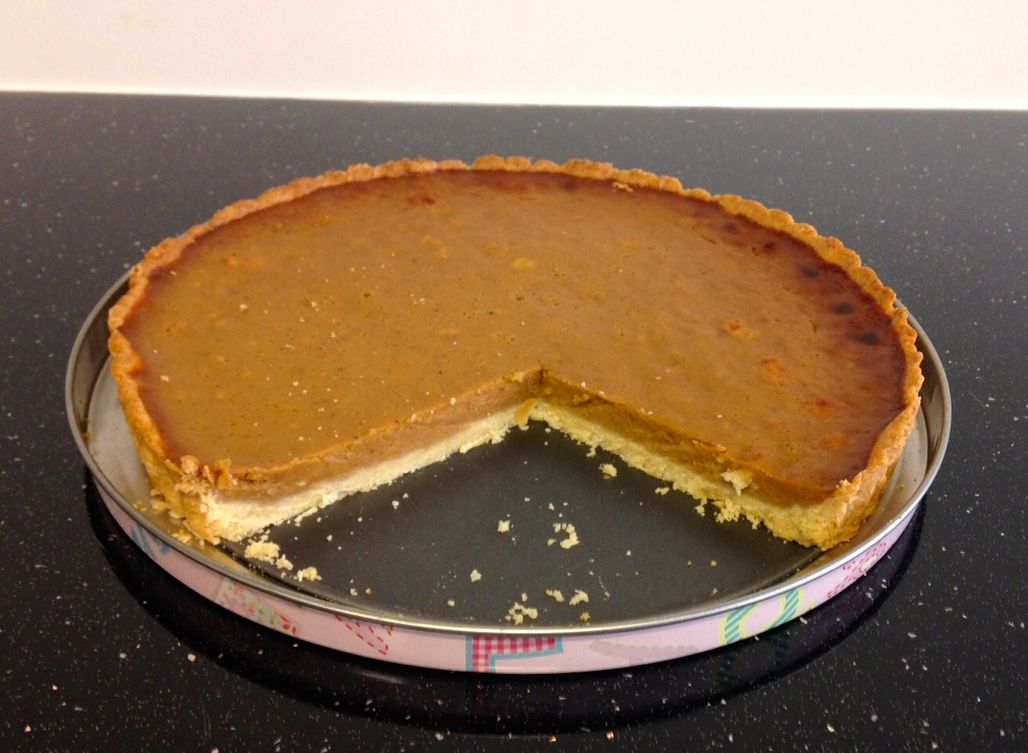
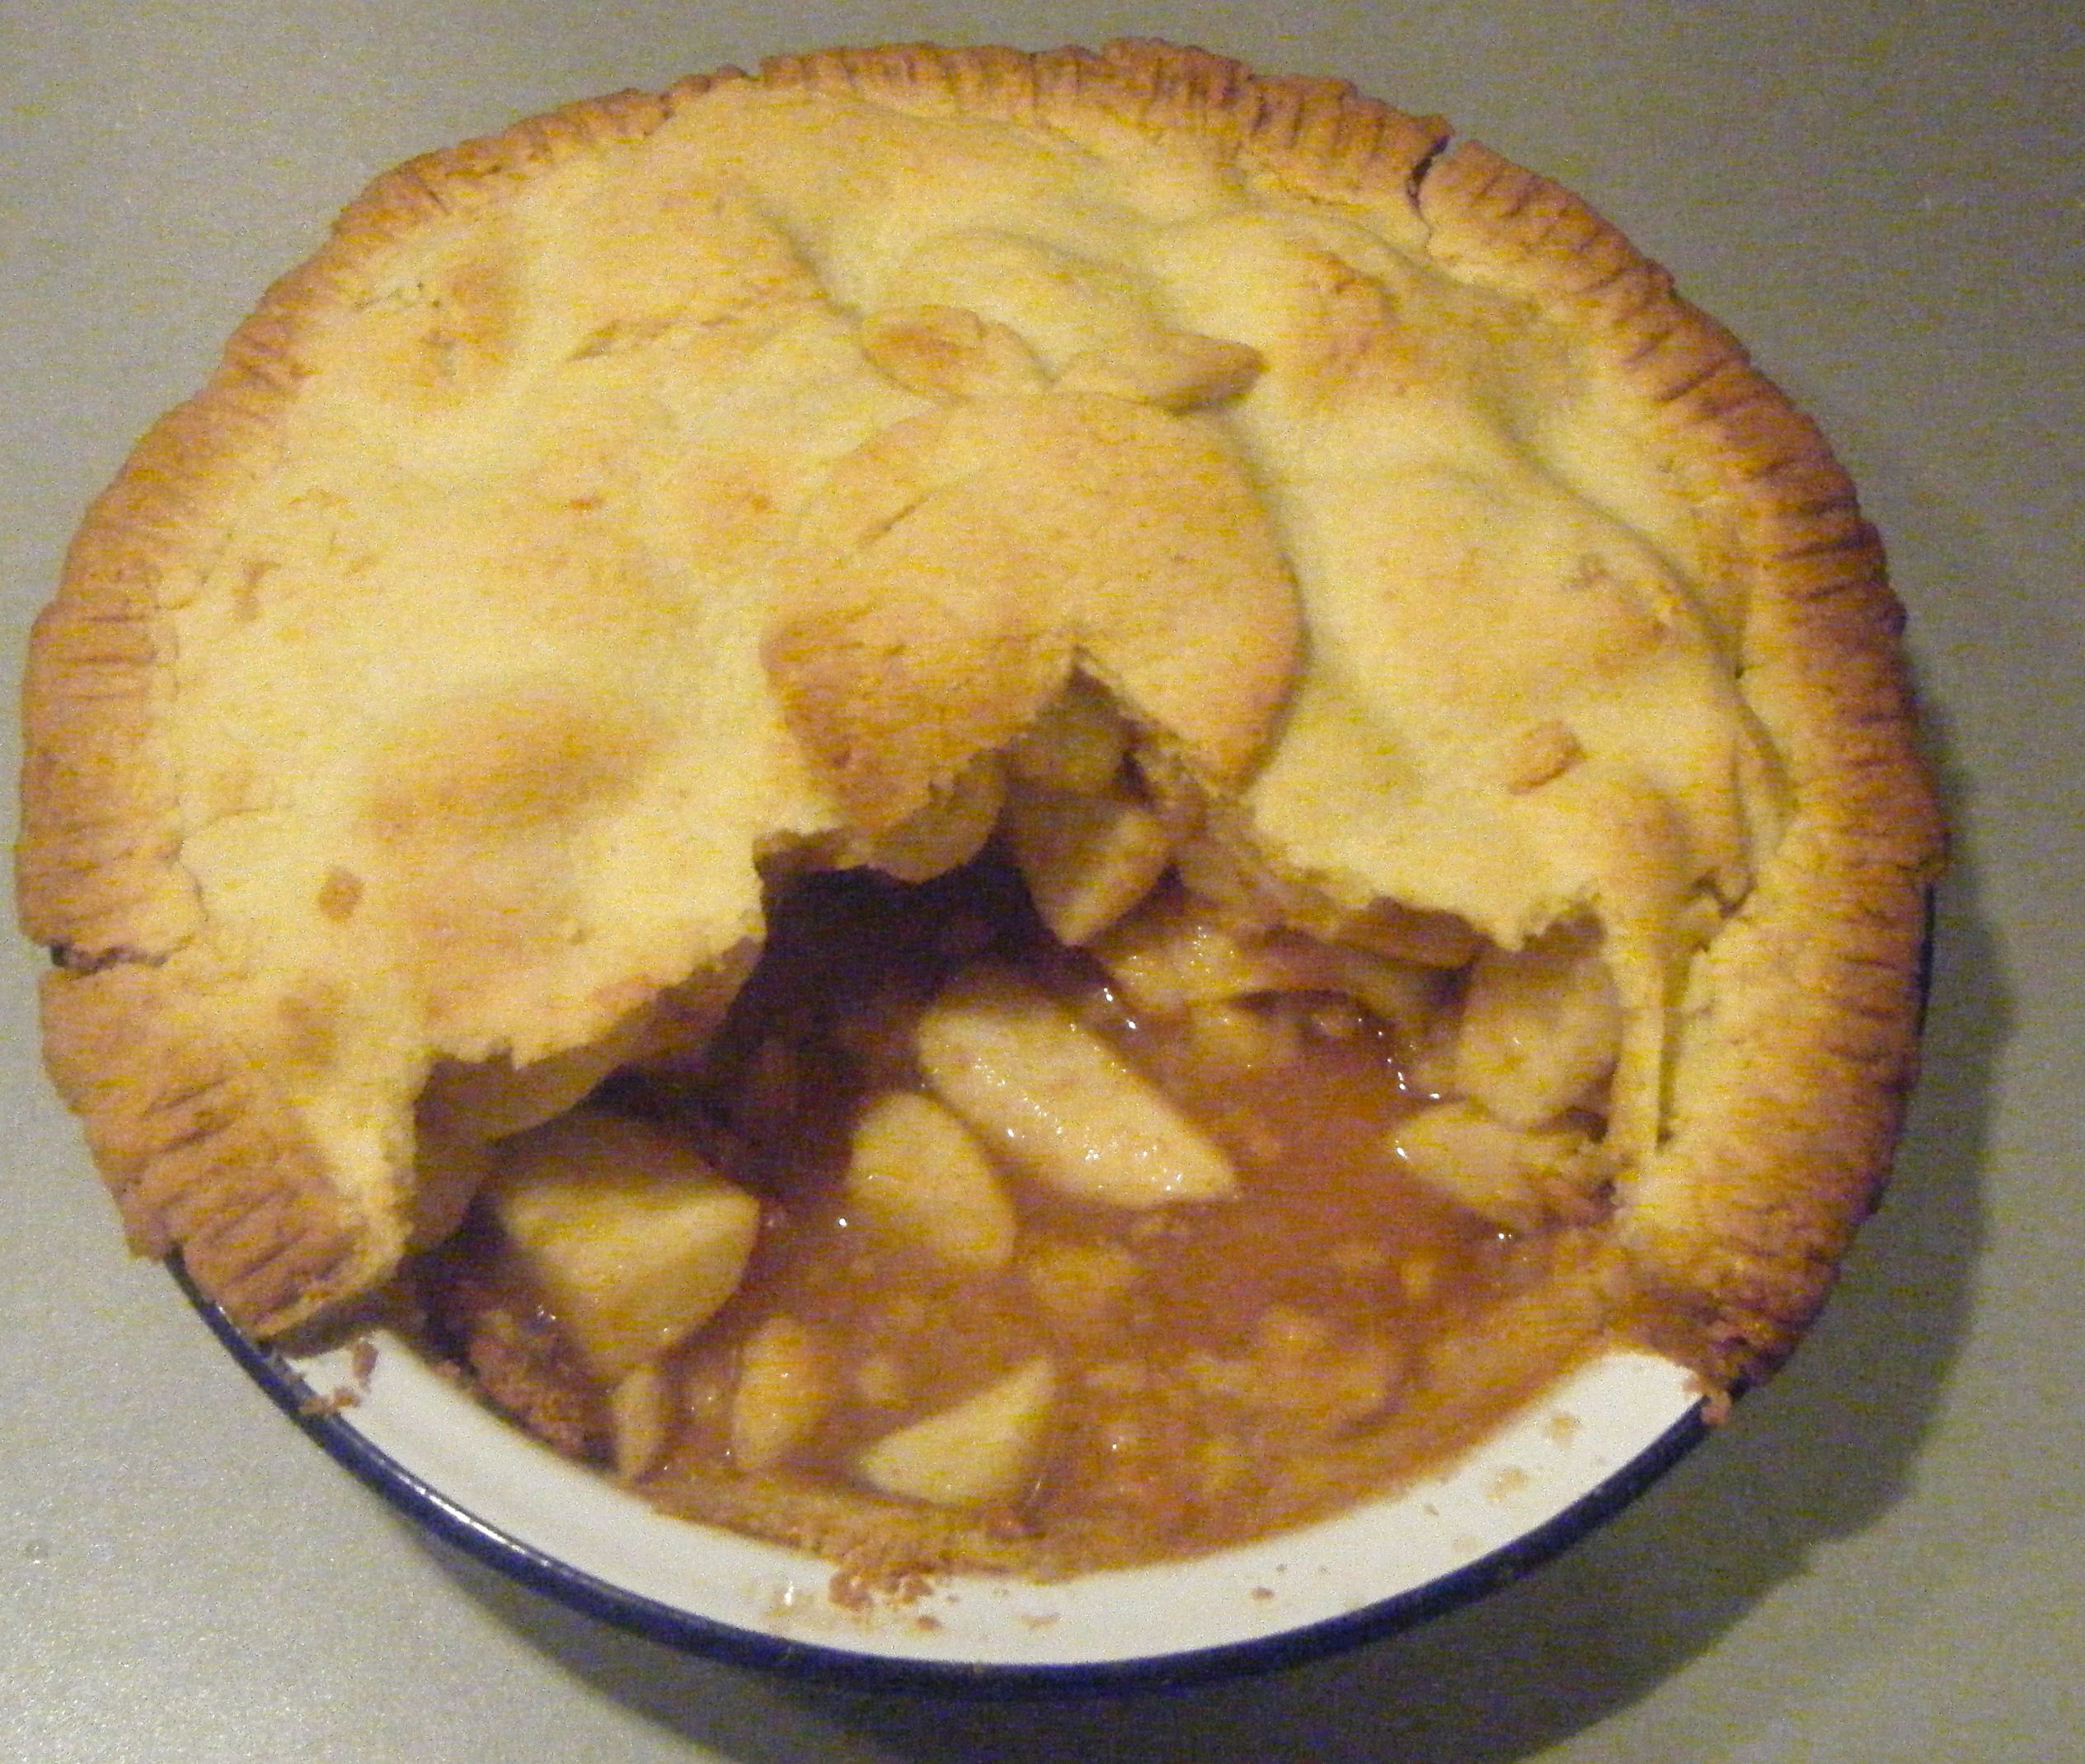
Dave and I have never had pumpkin pie before and we were both a bit sceptical. I was unsure at first but it definitely grew on me. Dave however said “it is perfectly executed and it’s not bad but its also not good”! So I decided to take the rest into work and I bought some cream for people to have. When I had my second slice with some cream, I decided I REALLY liked this! It was different but yummy. And the general verdict from my colleagues was great. Even those who didn’t like the pumpkin filling due to personal taste, said the base was amazing! I have to admit, it was the best shortcrust I’ve made 🙂
Coming up soon, Challenge No. 44 – potato bombs.


 I then put the tin in the oven on 180 degree celsius for 25 minutes.


