Challenge No. 28 – Pizza

I don’t know about you, but I absolutely love pizza! My dad is a pizza supplier and there was always a lot of pizza in the house growing up, so much so that I think my brother and I perhaps share a slightly unhealthy love for pizza.  If I had to choose one meal to live on for the rest of my life, I’m pretty sure it would be pizza.  So when my mum suggested this as one of the challenges, I thought it was brilliant.

I had a quick search online and found a recipe for a mozzarella and pesto pizza with homemade base and sauce.  I used different toppings but the dough and sauce recipe was just perfect for what I wanted.  So to make this recipe, you will need the following ingredients:-

  • 500g bread flour (plus more for kneading)
  • 1tbsp salt
  • 330ml tepid water   
  • 2 tbsp olive oil
  • 1tbsp golden sugar
  • 1 7g sachet of dried yeast
  • 1 tin of tomatoes
  • 1 tsp of oregano
  • 1 clove of garlic
  • 1 tsp of salt

Edited - ingredients

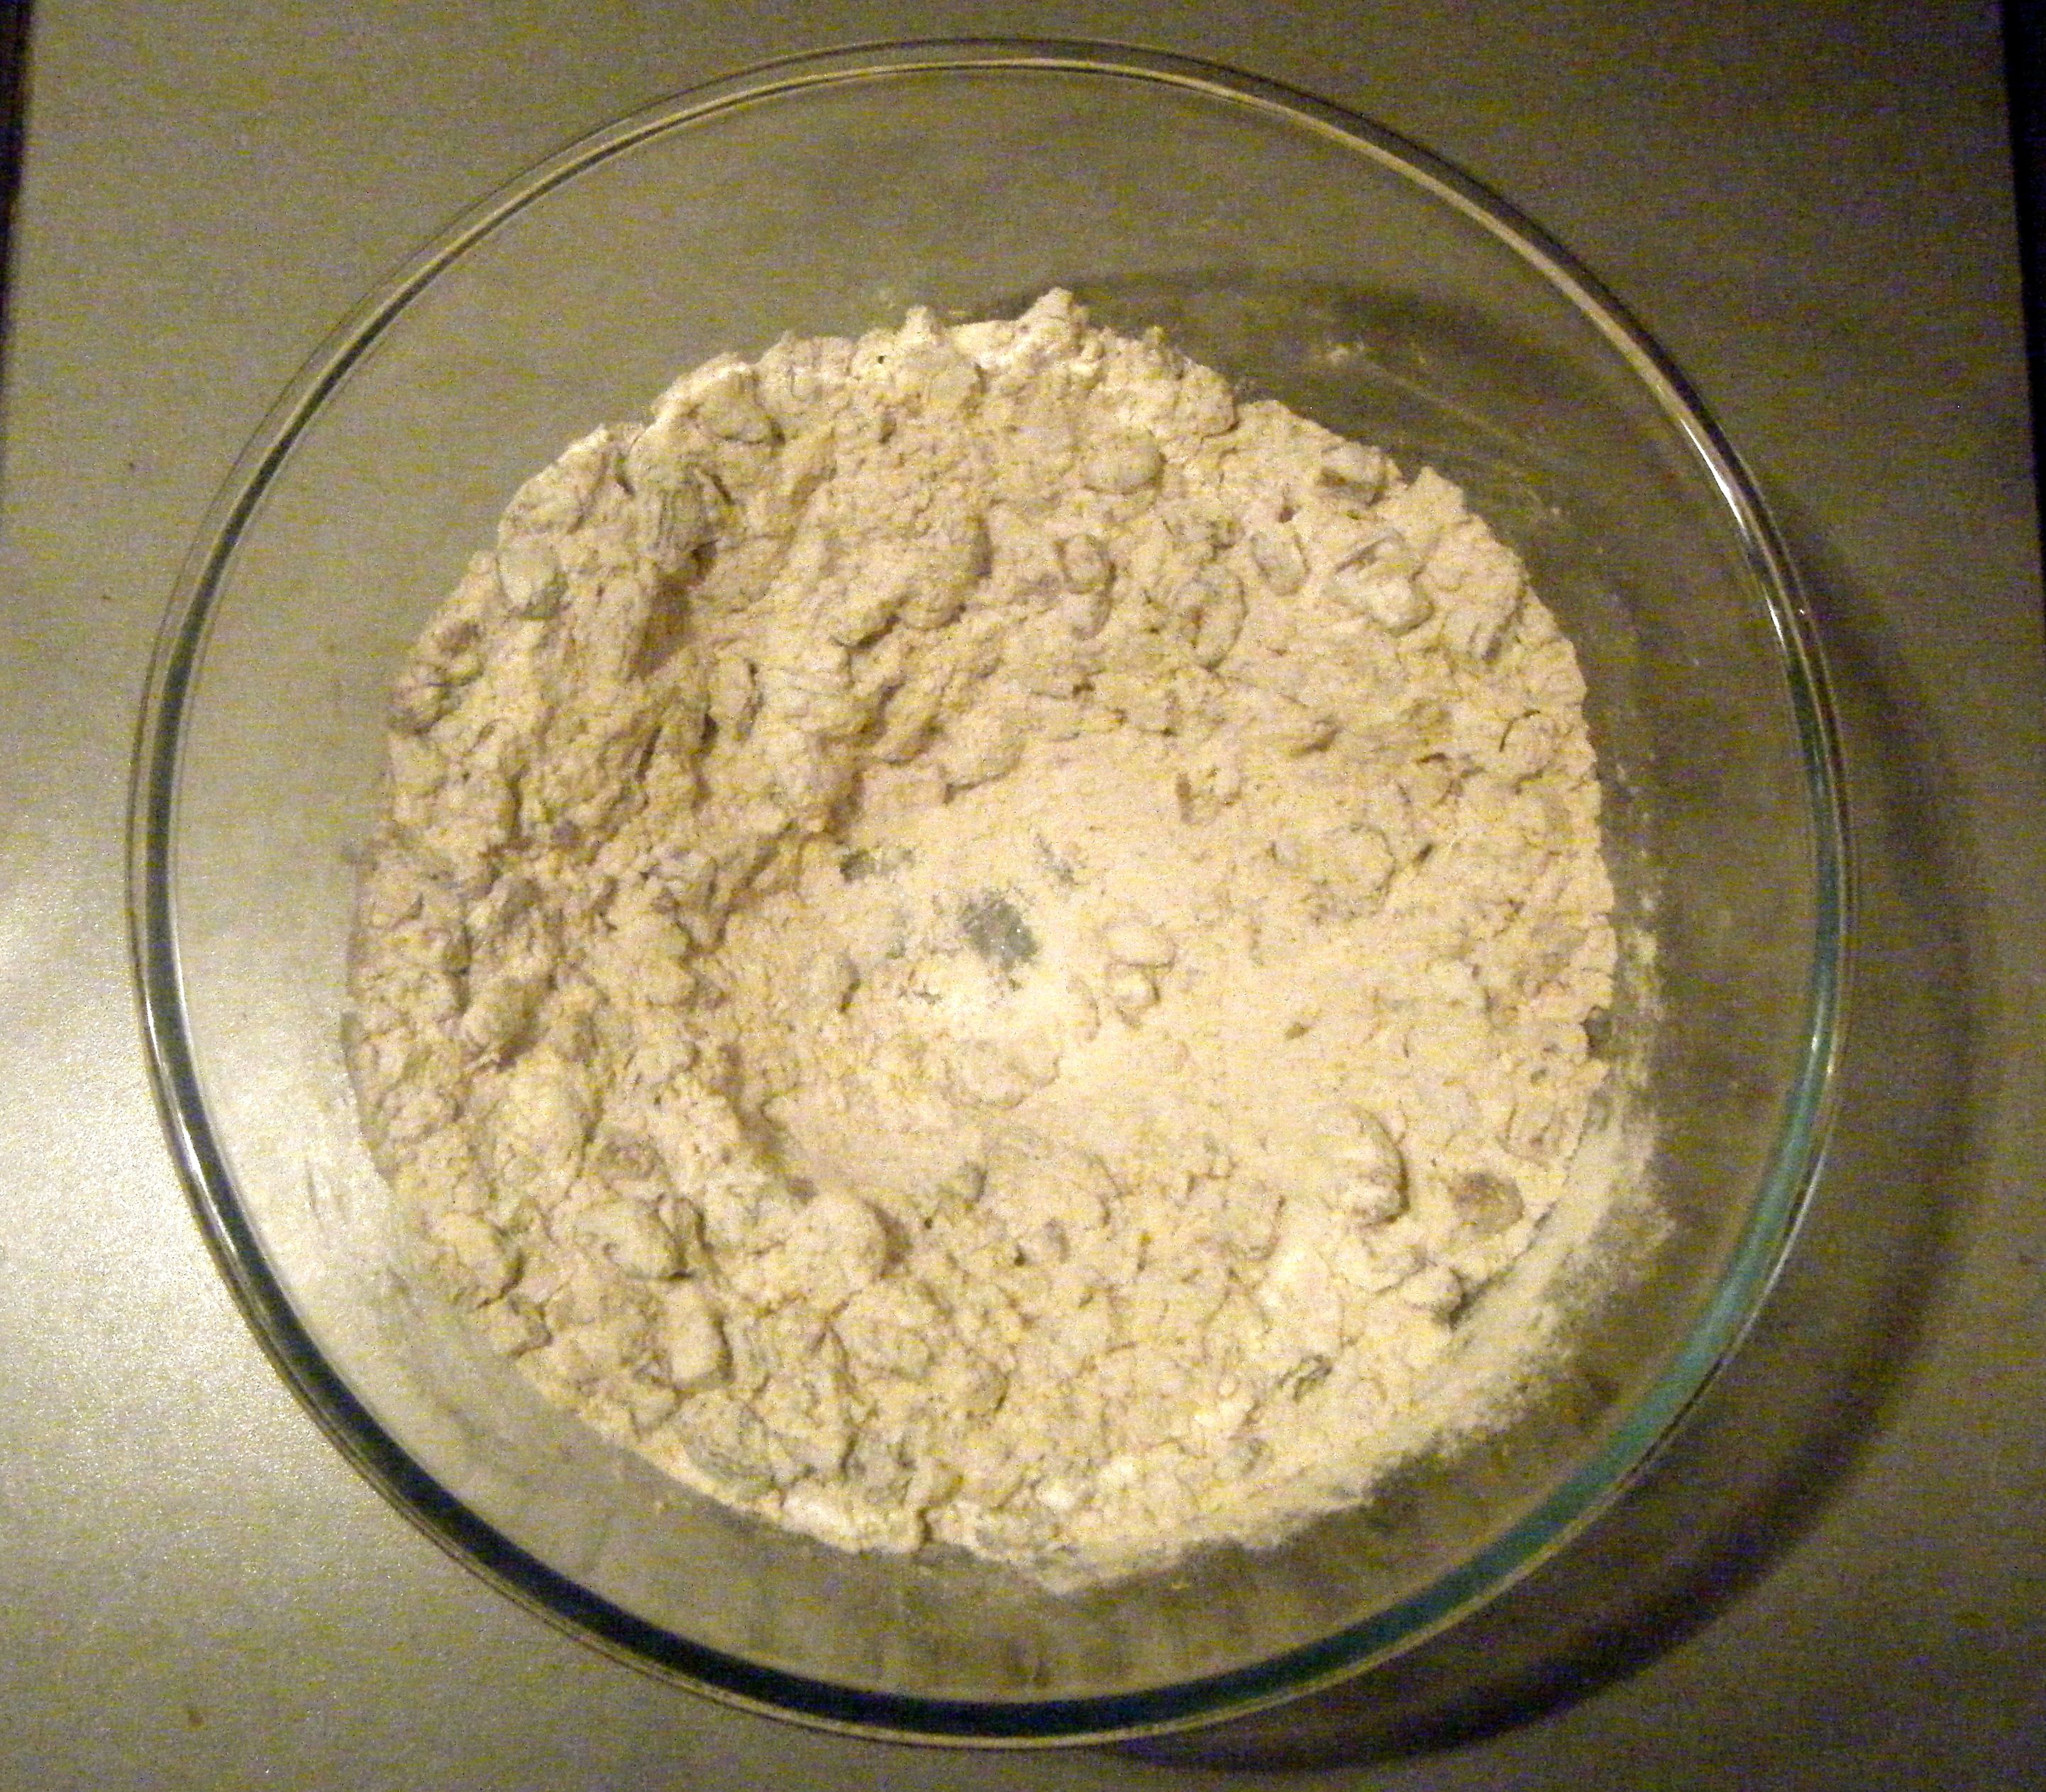
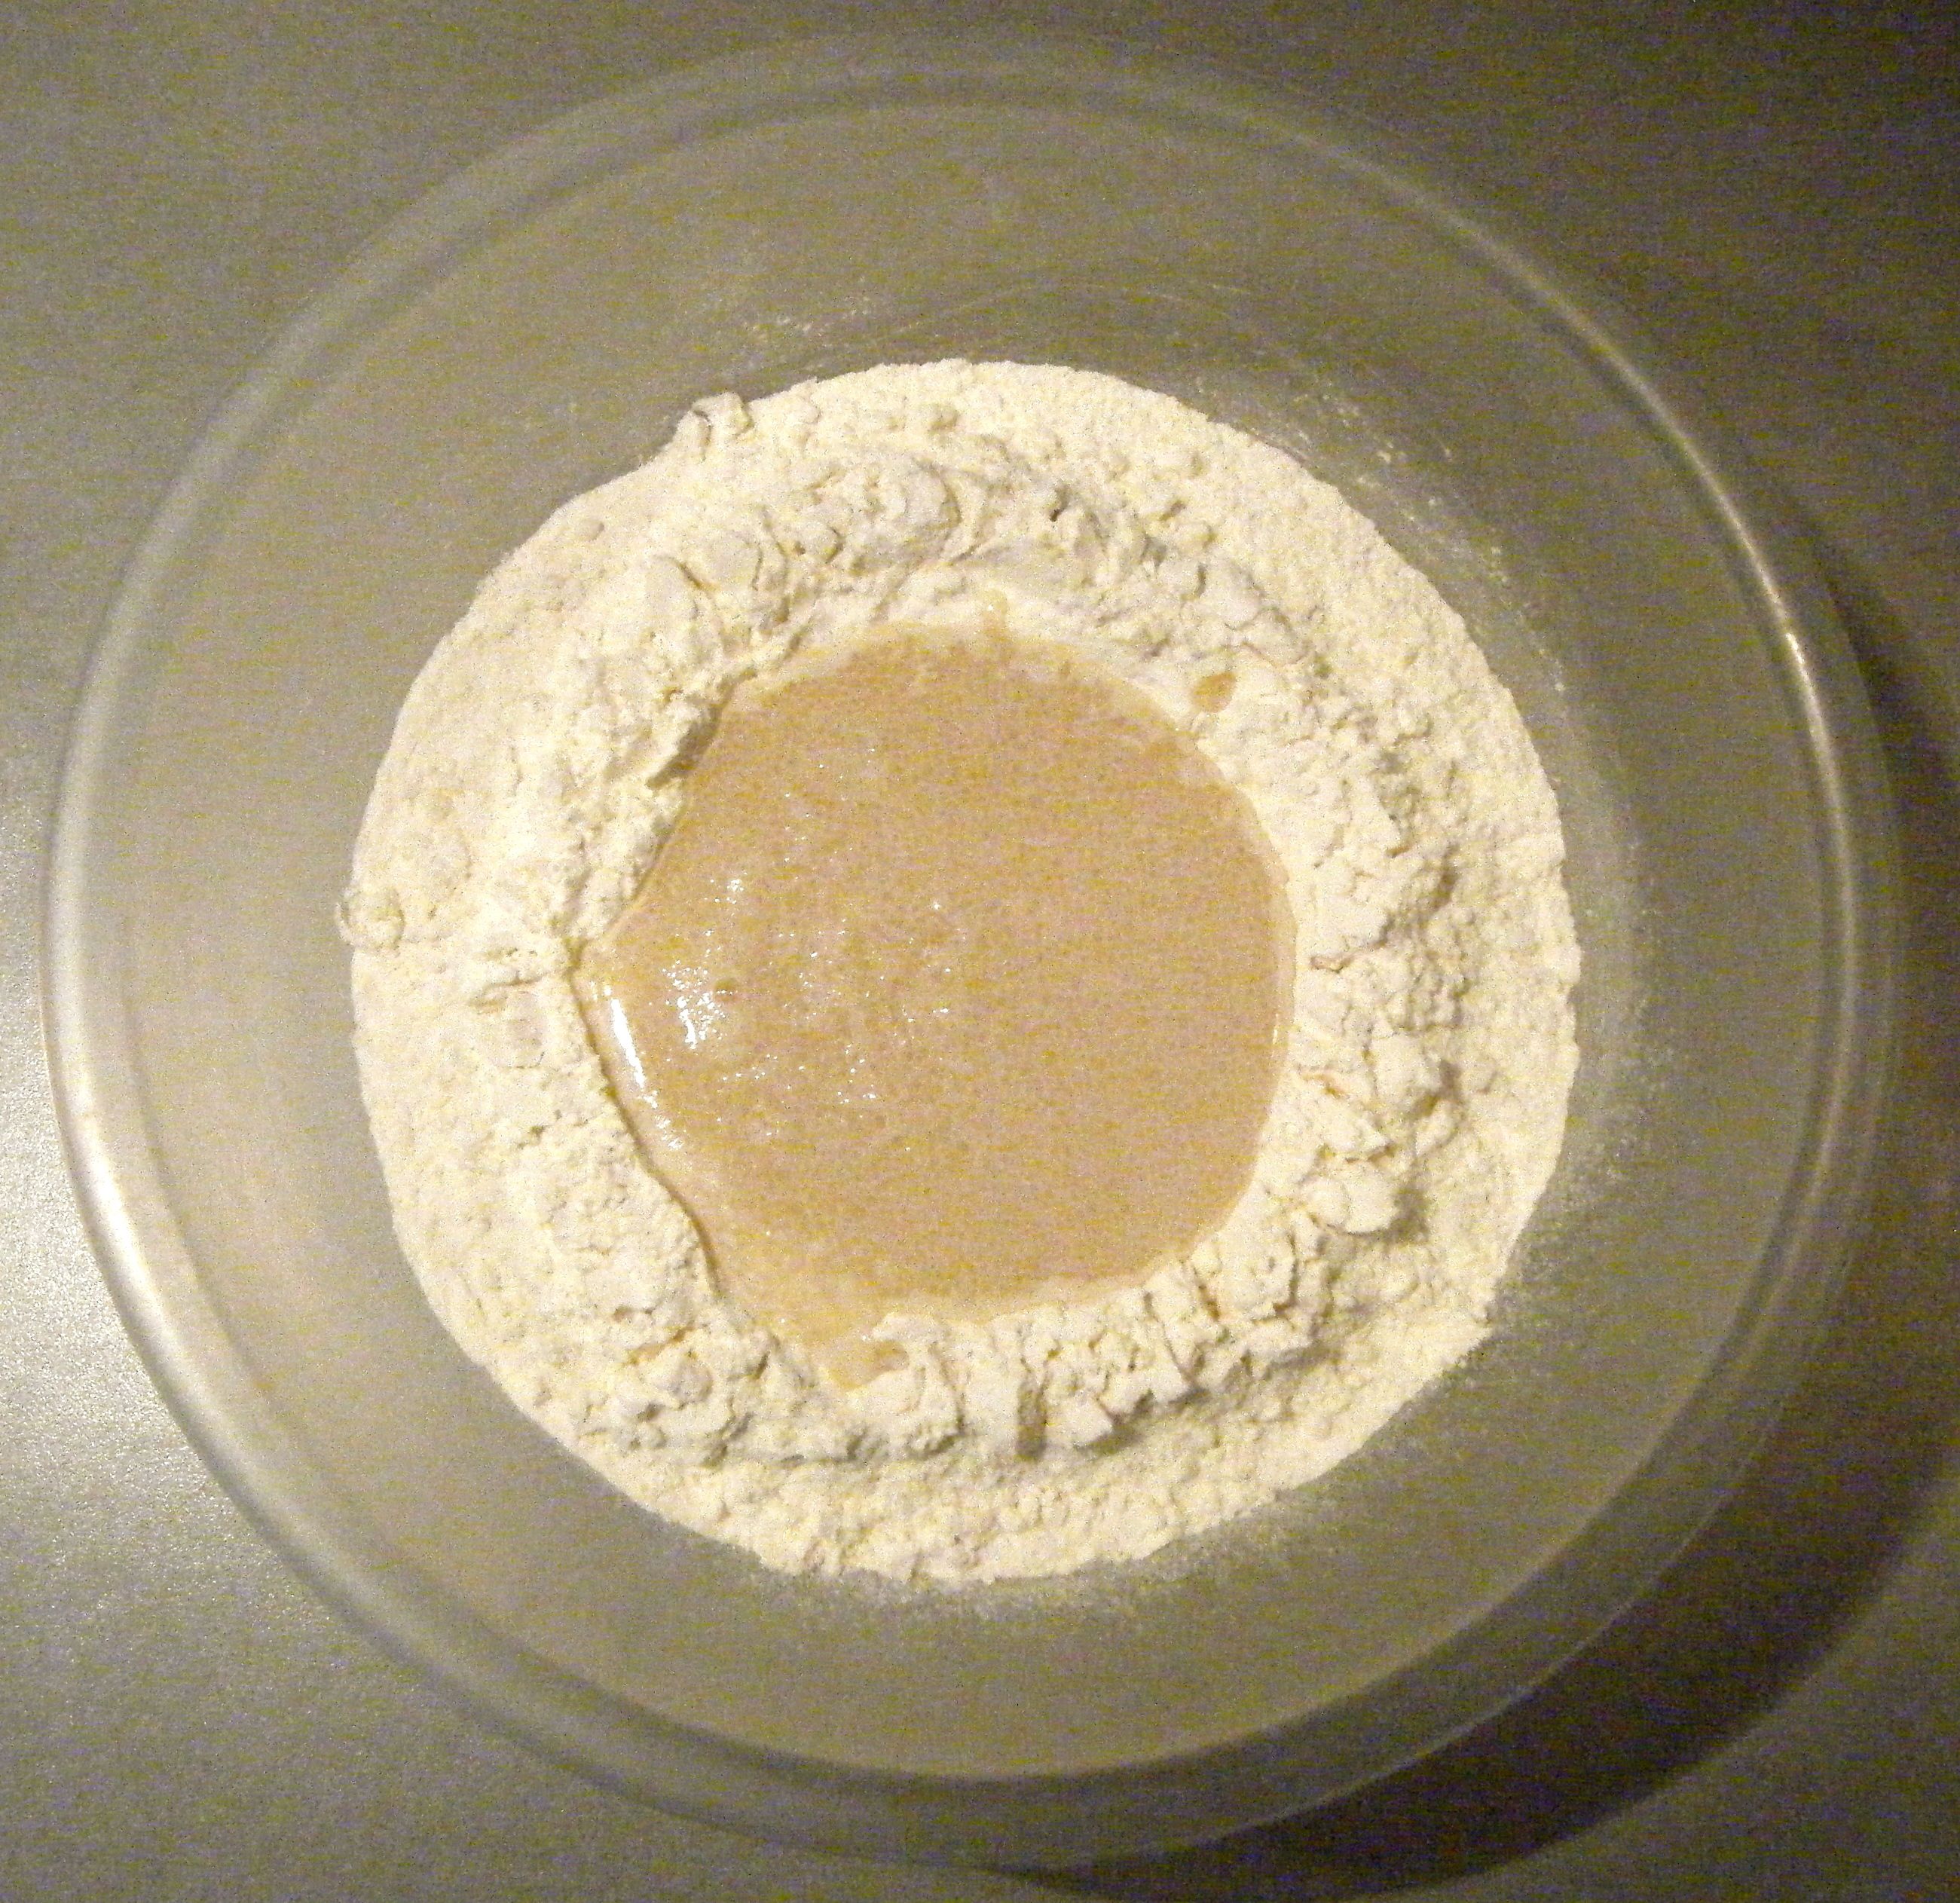
I started by sifting my flour and salt into a large bowl and then made a well in the centre.

Edited - well

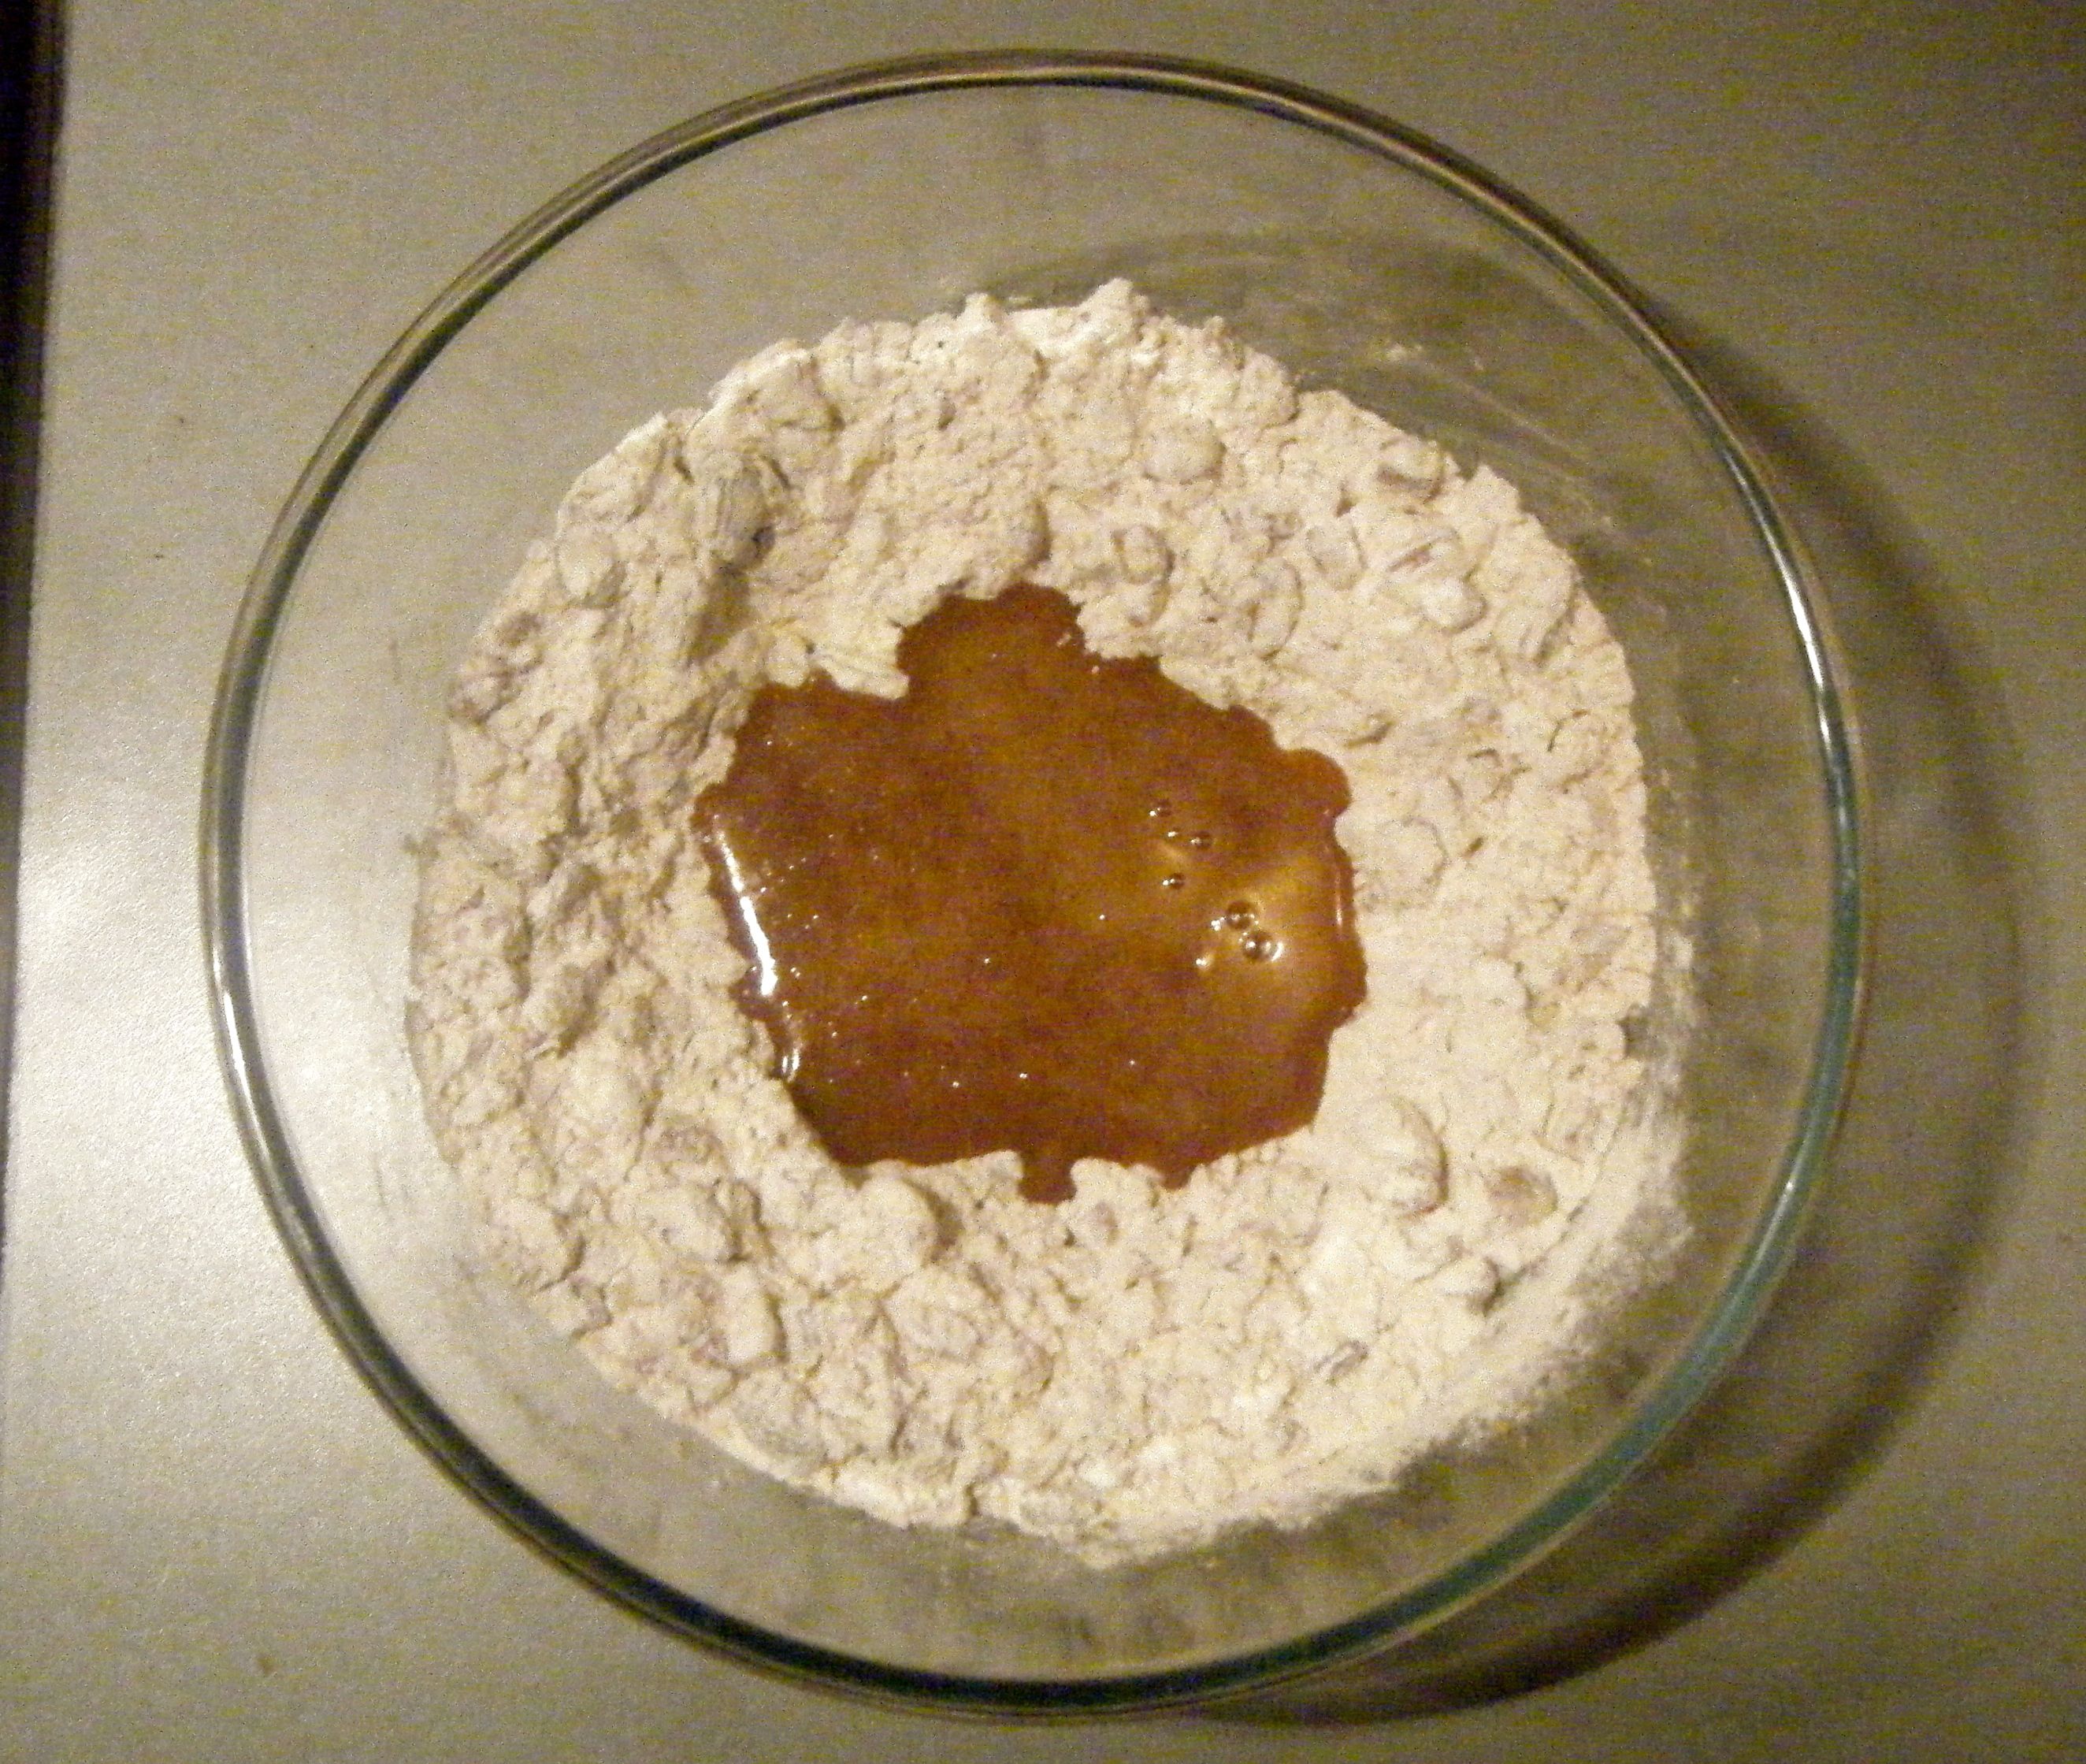
I mixed the water, oil and sugar together and then added the yeast.  I gave it a good mix and waited 3 minutes before pouring the mixture into my flour well.

Edited - premixing

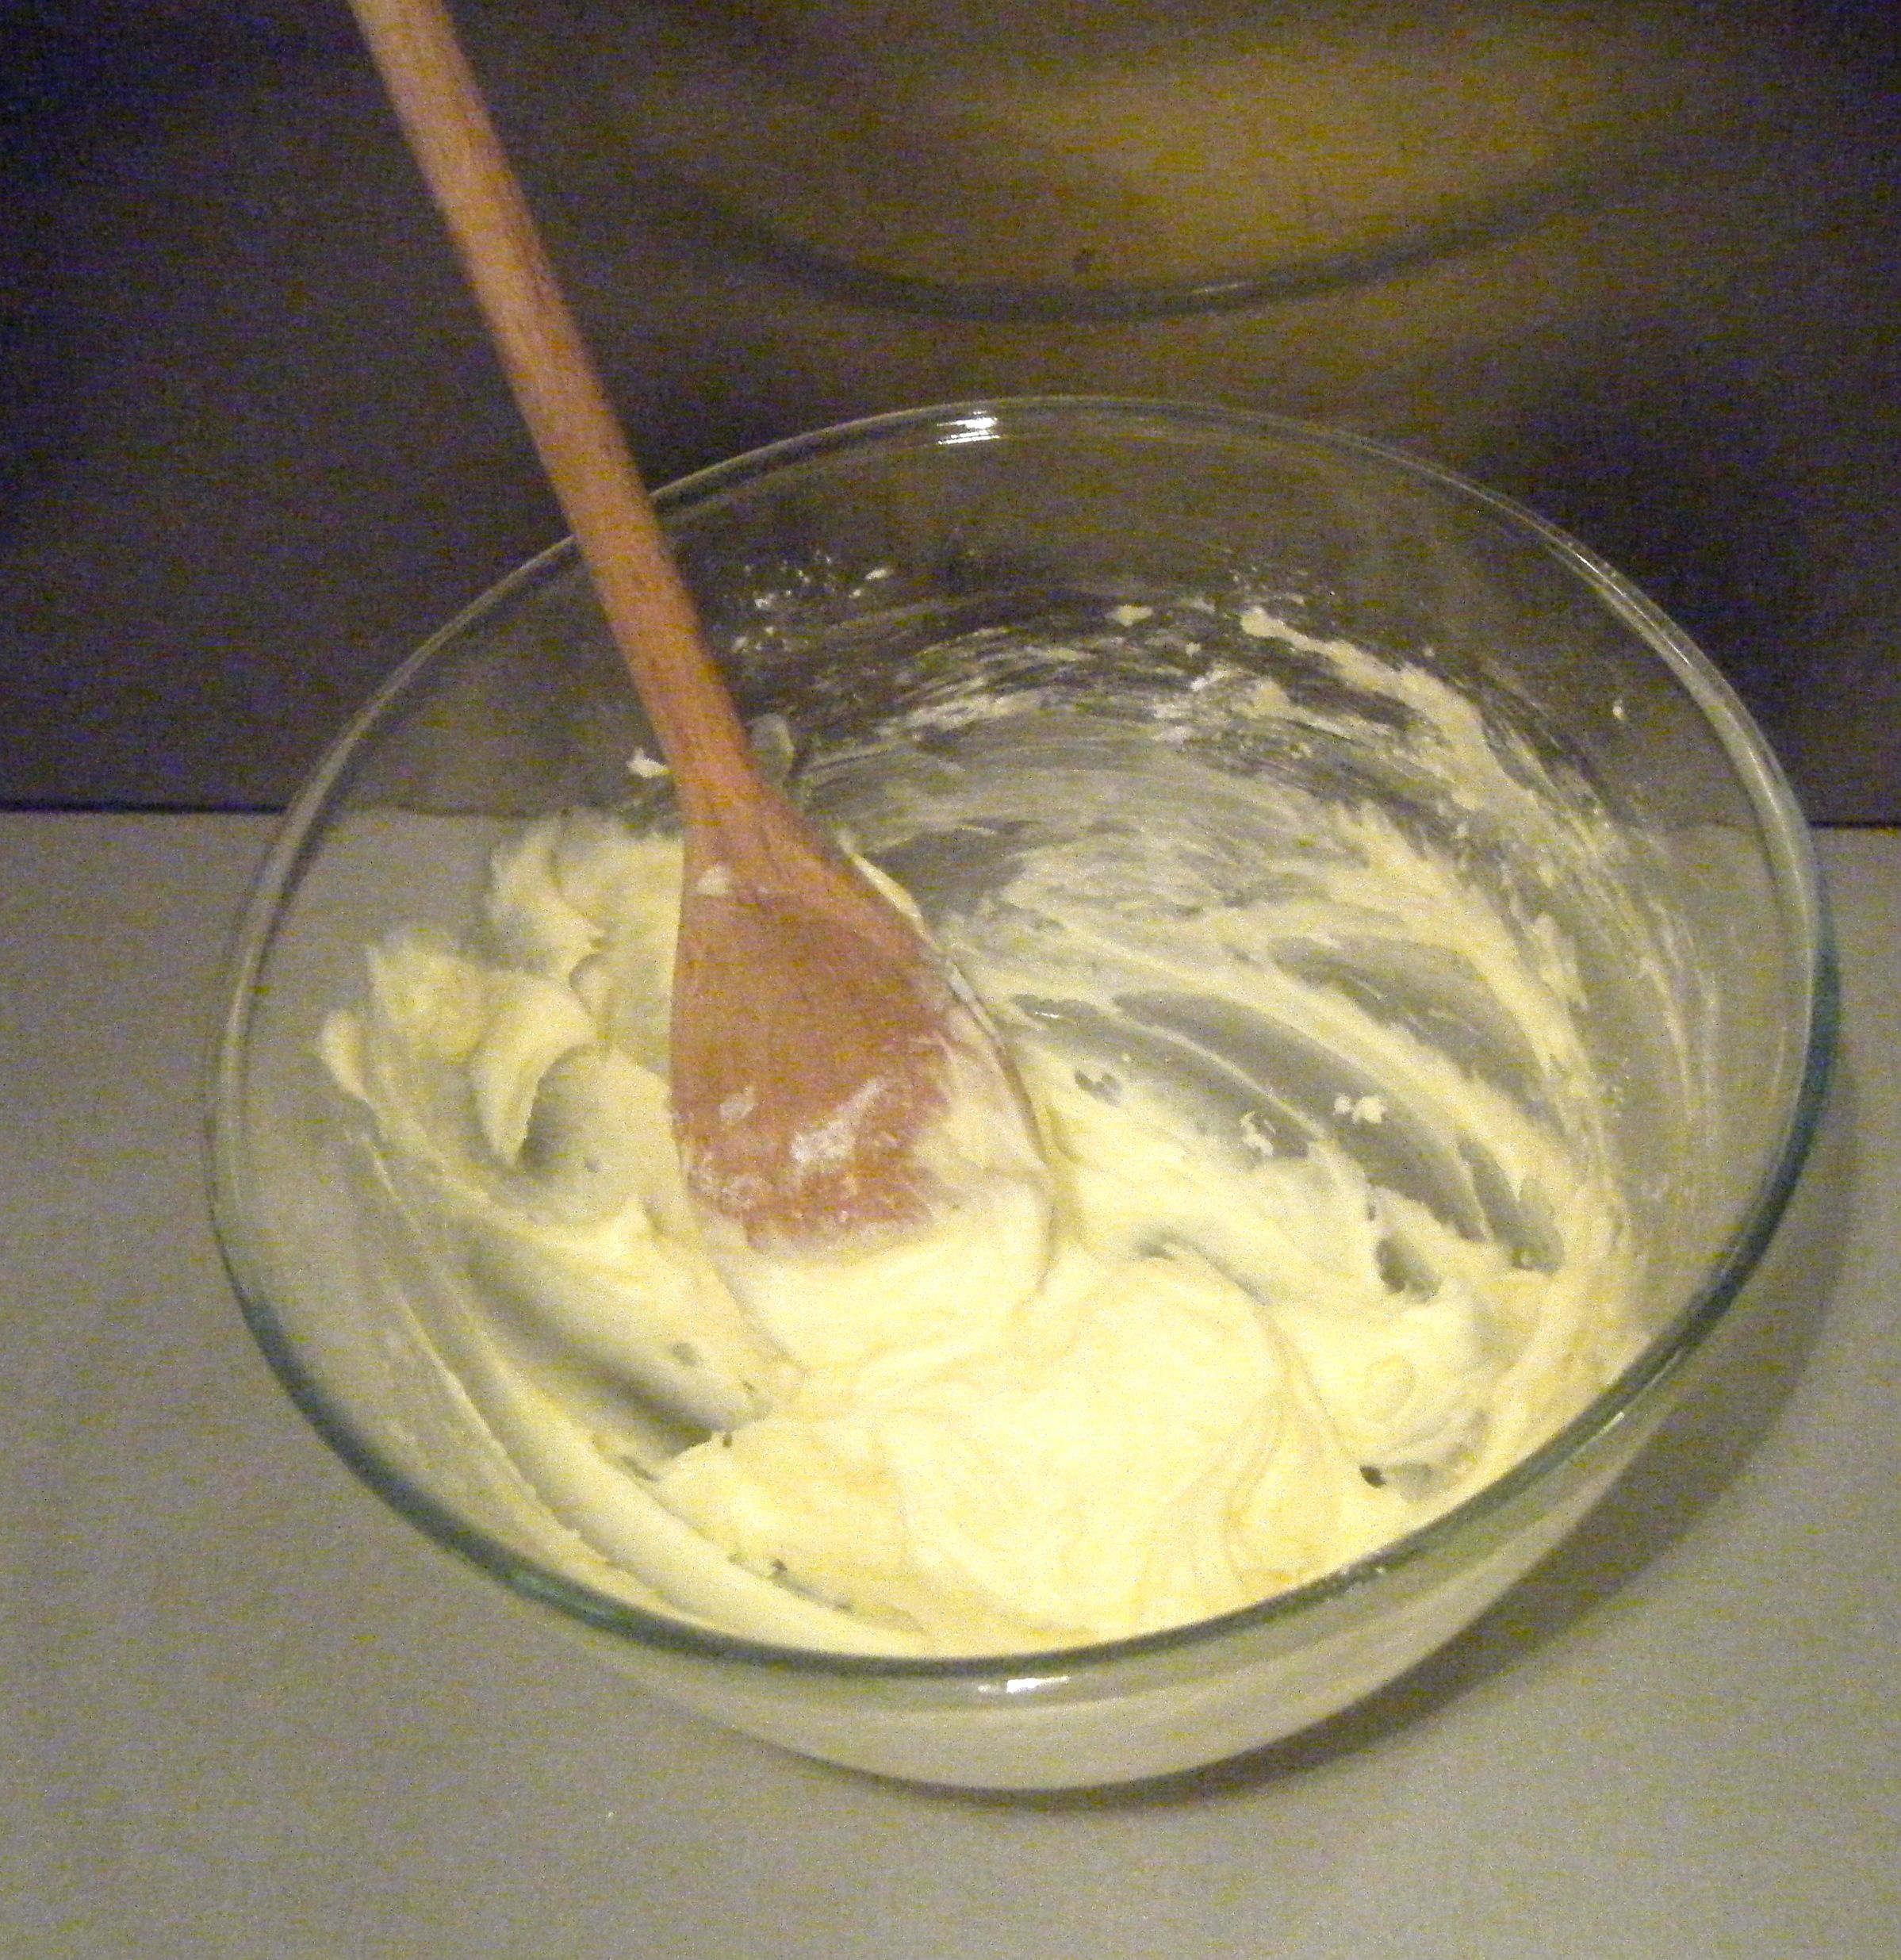
I used a metal spoon to slowly stir the flour into the liquid until it was well combined. I ended up having to add a little bit more water as it seemed a bit too dry.  I just added a few drops at a time until it came together as a relatively sticky dough.

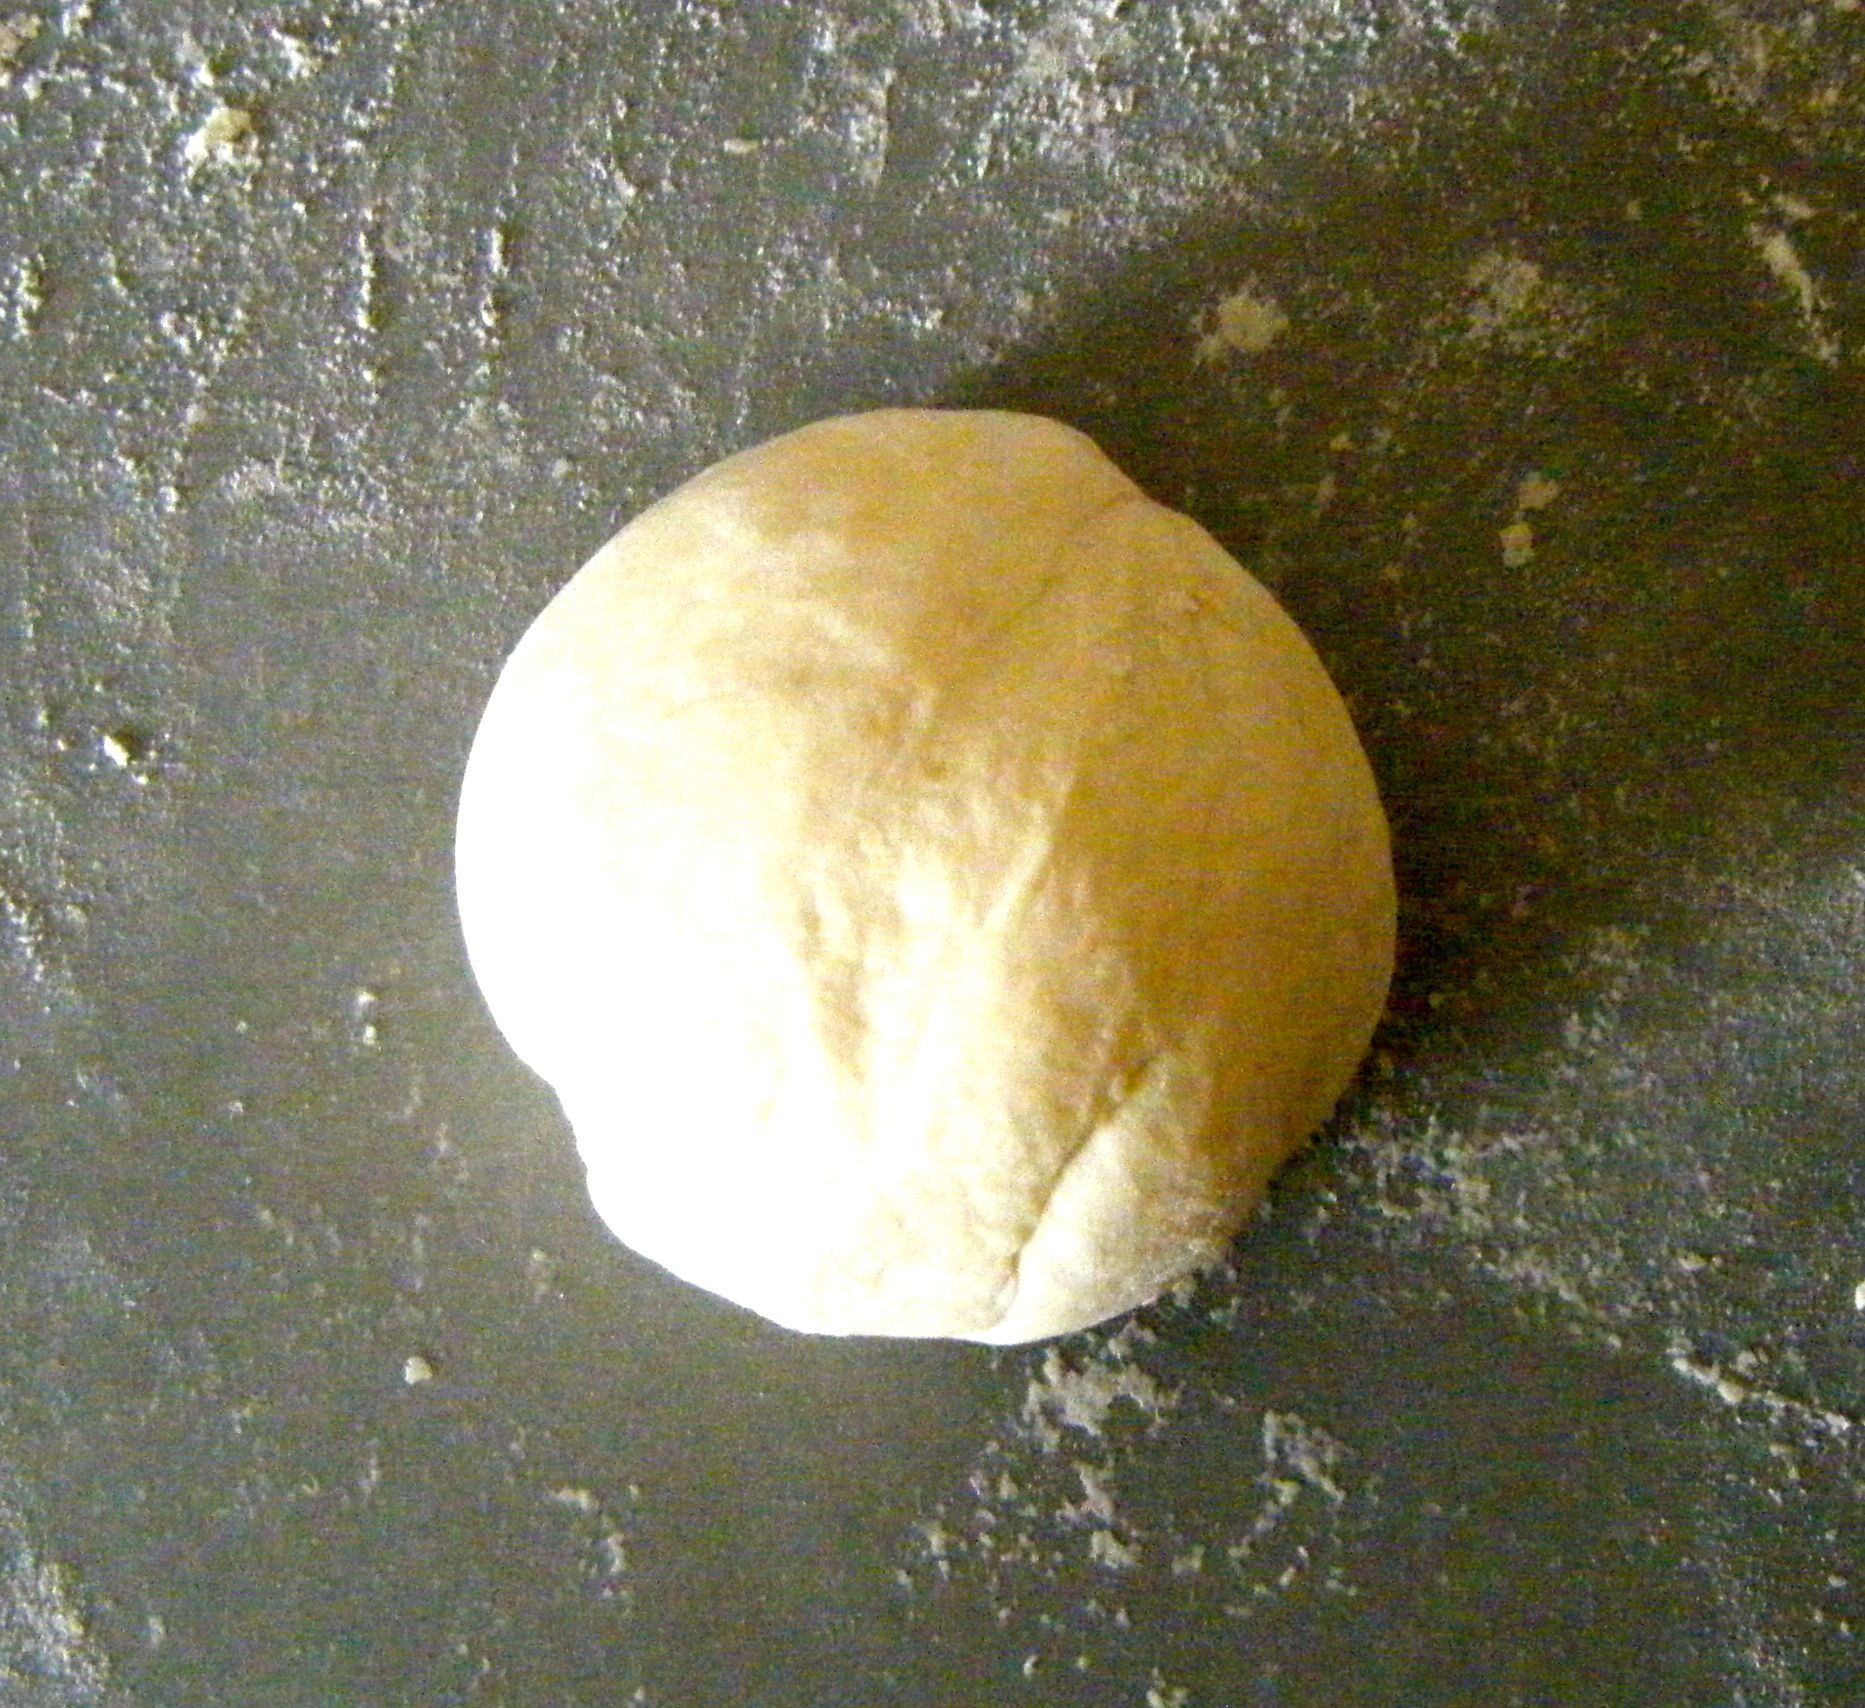
I floured my work top and tipped out the dough ball.  I gave it a good knead for about 10 minutes until it was smooth and springy.  I popped it in a clean bowl which I had covered with a fine coating of flour, sprinkled some flour on top of the dough and then I covered the bowl with a damp tea towel.  I put the bowl in the hottest part of my flat, in front of the working tumble dryer and set the timer for 1 hour.

Edited - ready to proove

Practical tip: in case you missed Challenge No. 16, remember to develop your own method of kneading.  This may sound silly but when I first starting making bread, I tried to replicate other people’s kneading styles.  Unfortunately, I have bad joints, particularly bad in my hands and I found it painful to use some of the methods I’d seen on TV.  Instead I found I rolled and stretched the dough between my two hands, using more of the heel of my hand than my fingers.  It takes a little longer for me to knead like this but I always get there in the end and it is less painful 🙂 So find a method that works for you and just go with that.

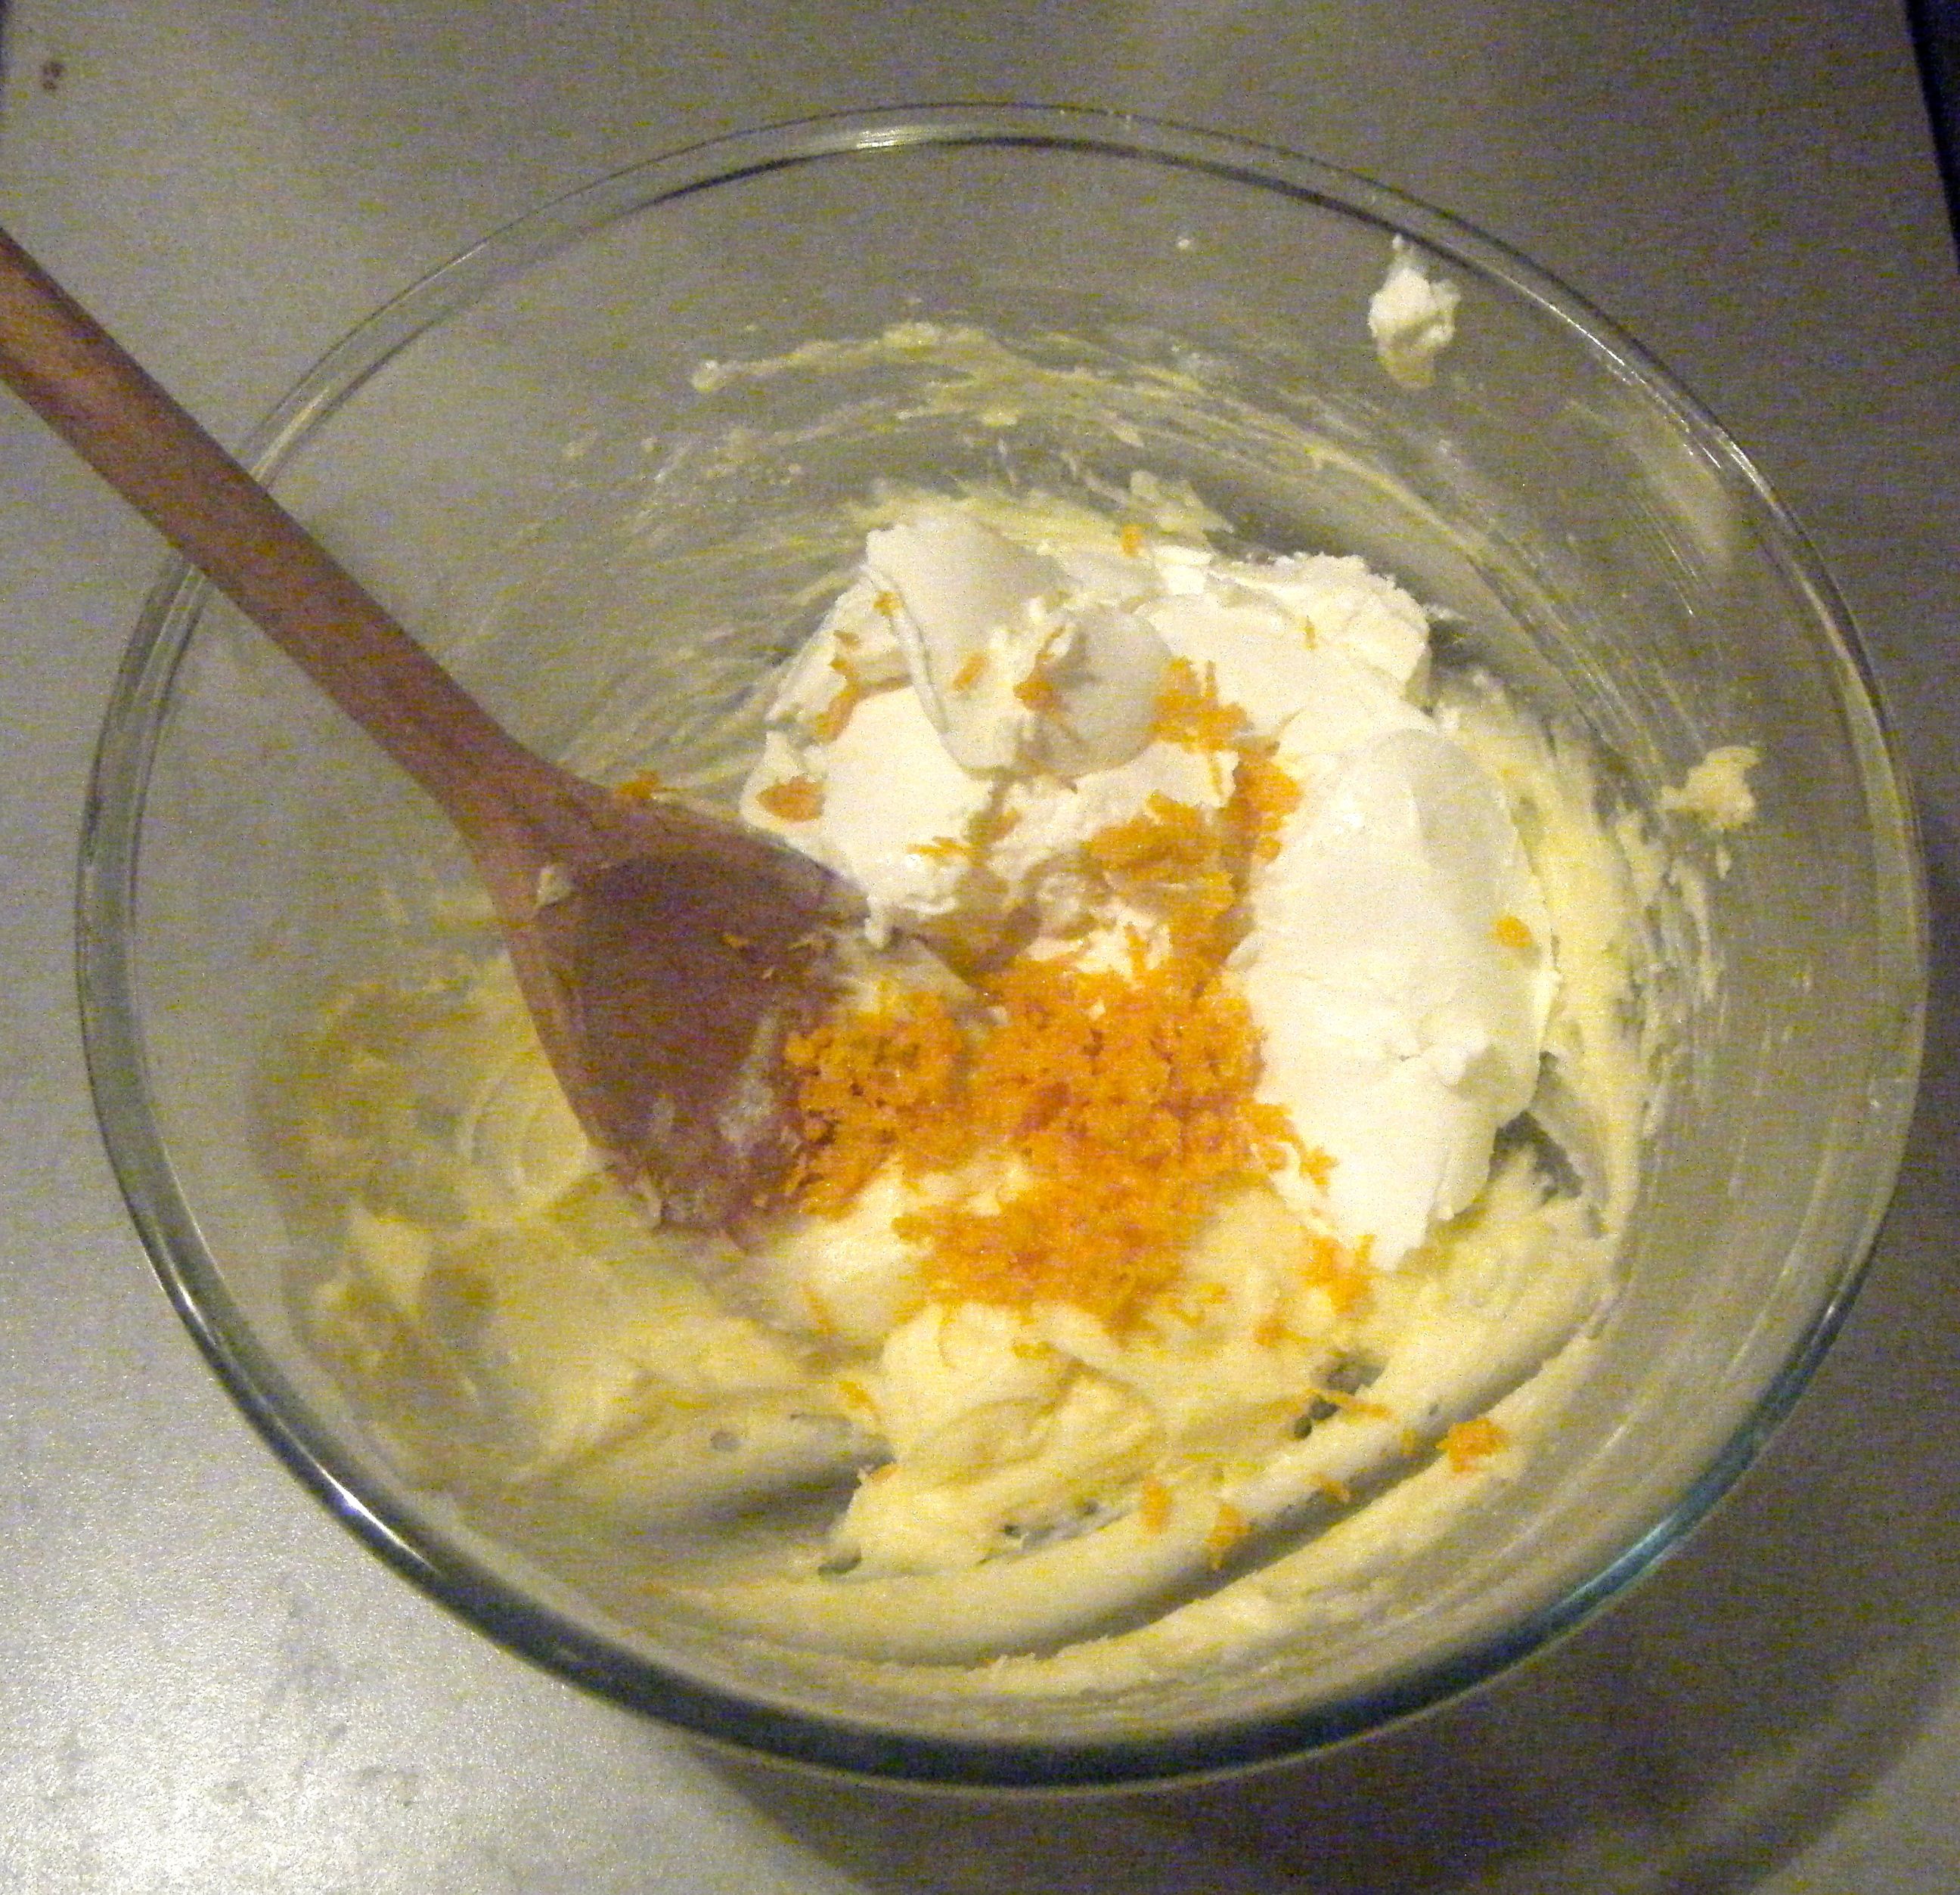
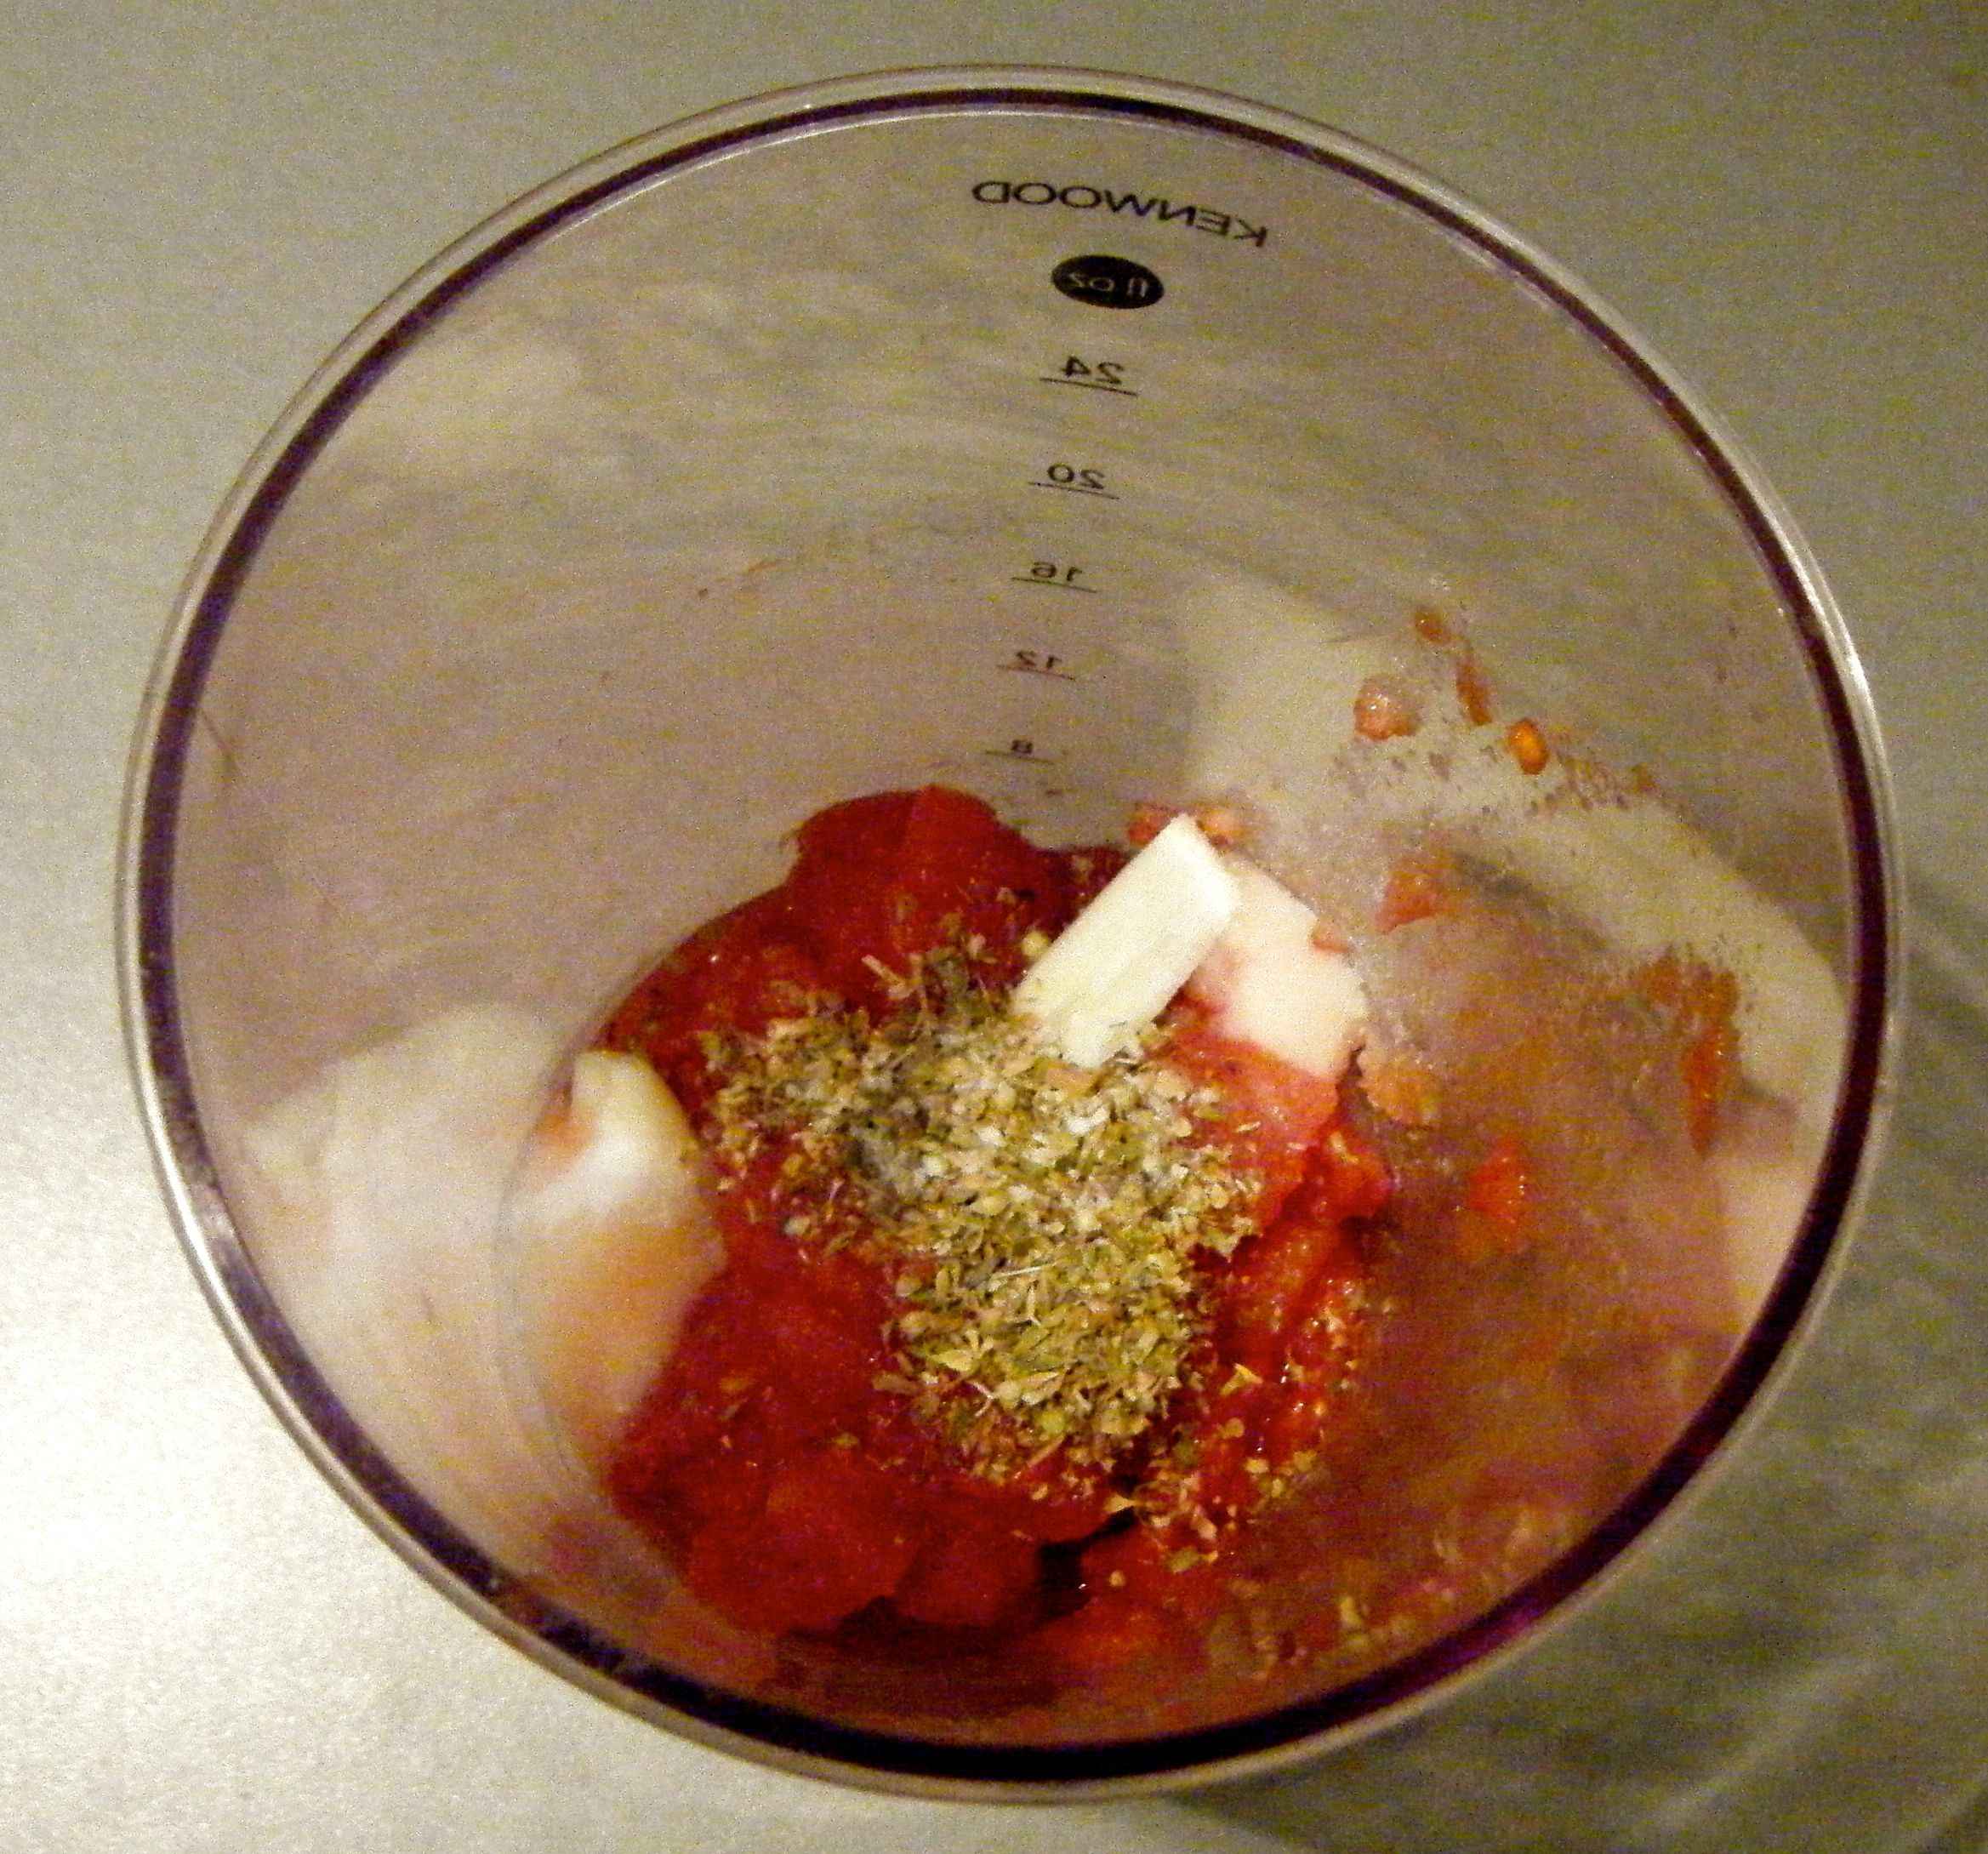
Whilst the dough was proving, I set about making the pizza sauce.  I drained the juices from the tinned tomatoes and popped the leftover tomatoes into a jug.  I added the oregano, garlic and salt and then blitzed it with my handheld mixer.  The smell was absolutely beautiful and instantly reminded me of a lovely fresh cooked Italian pizza!  Just what you want from a pizza sauce 🙂

Edited - pizza sauce Edited - blended sauce

When the timer went off for my dough,  I turned the oven on to 220 degrees celsius and put in two tray upside down.  According to the recipe I found, this helps crisp up the base of the pizza.

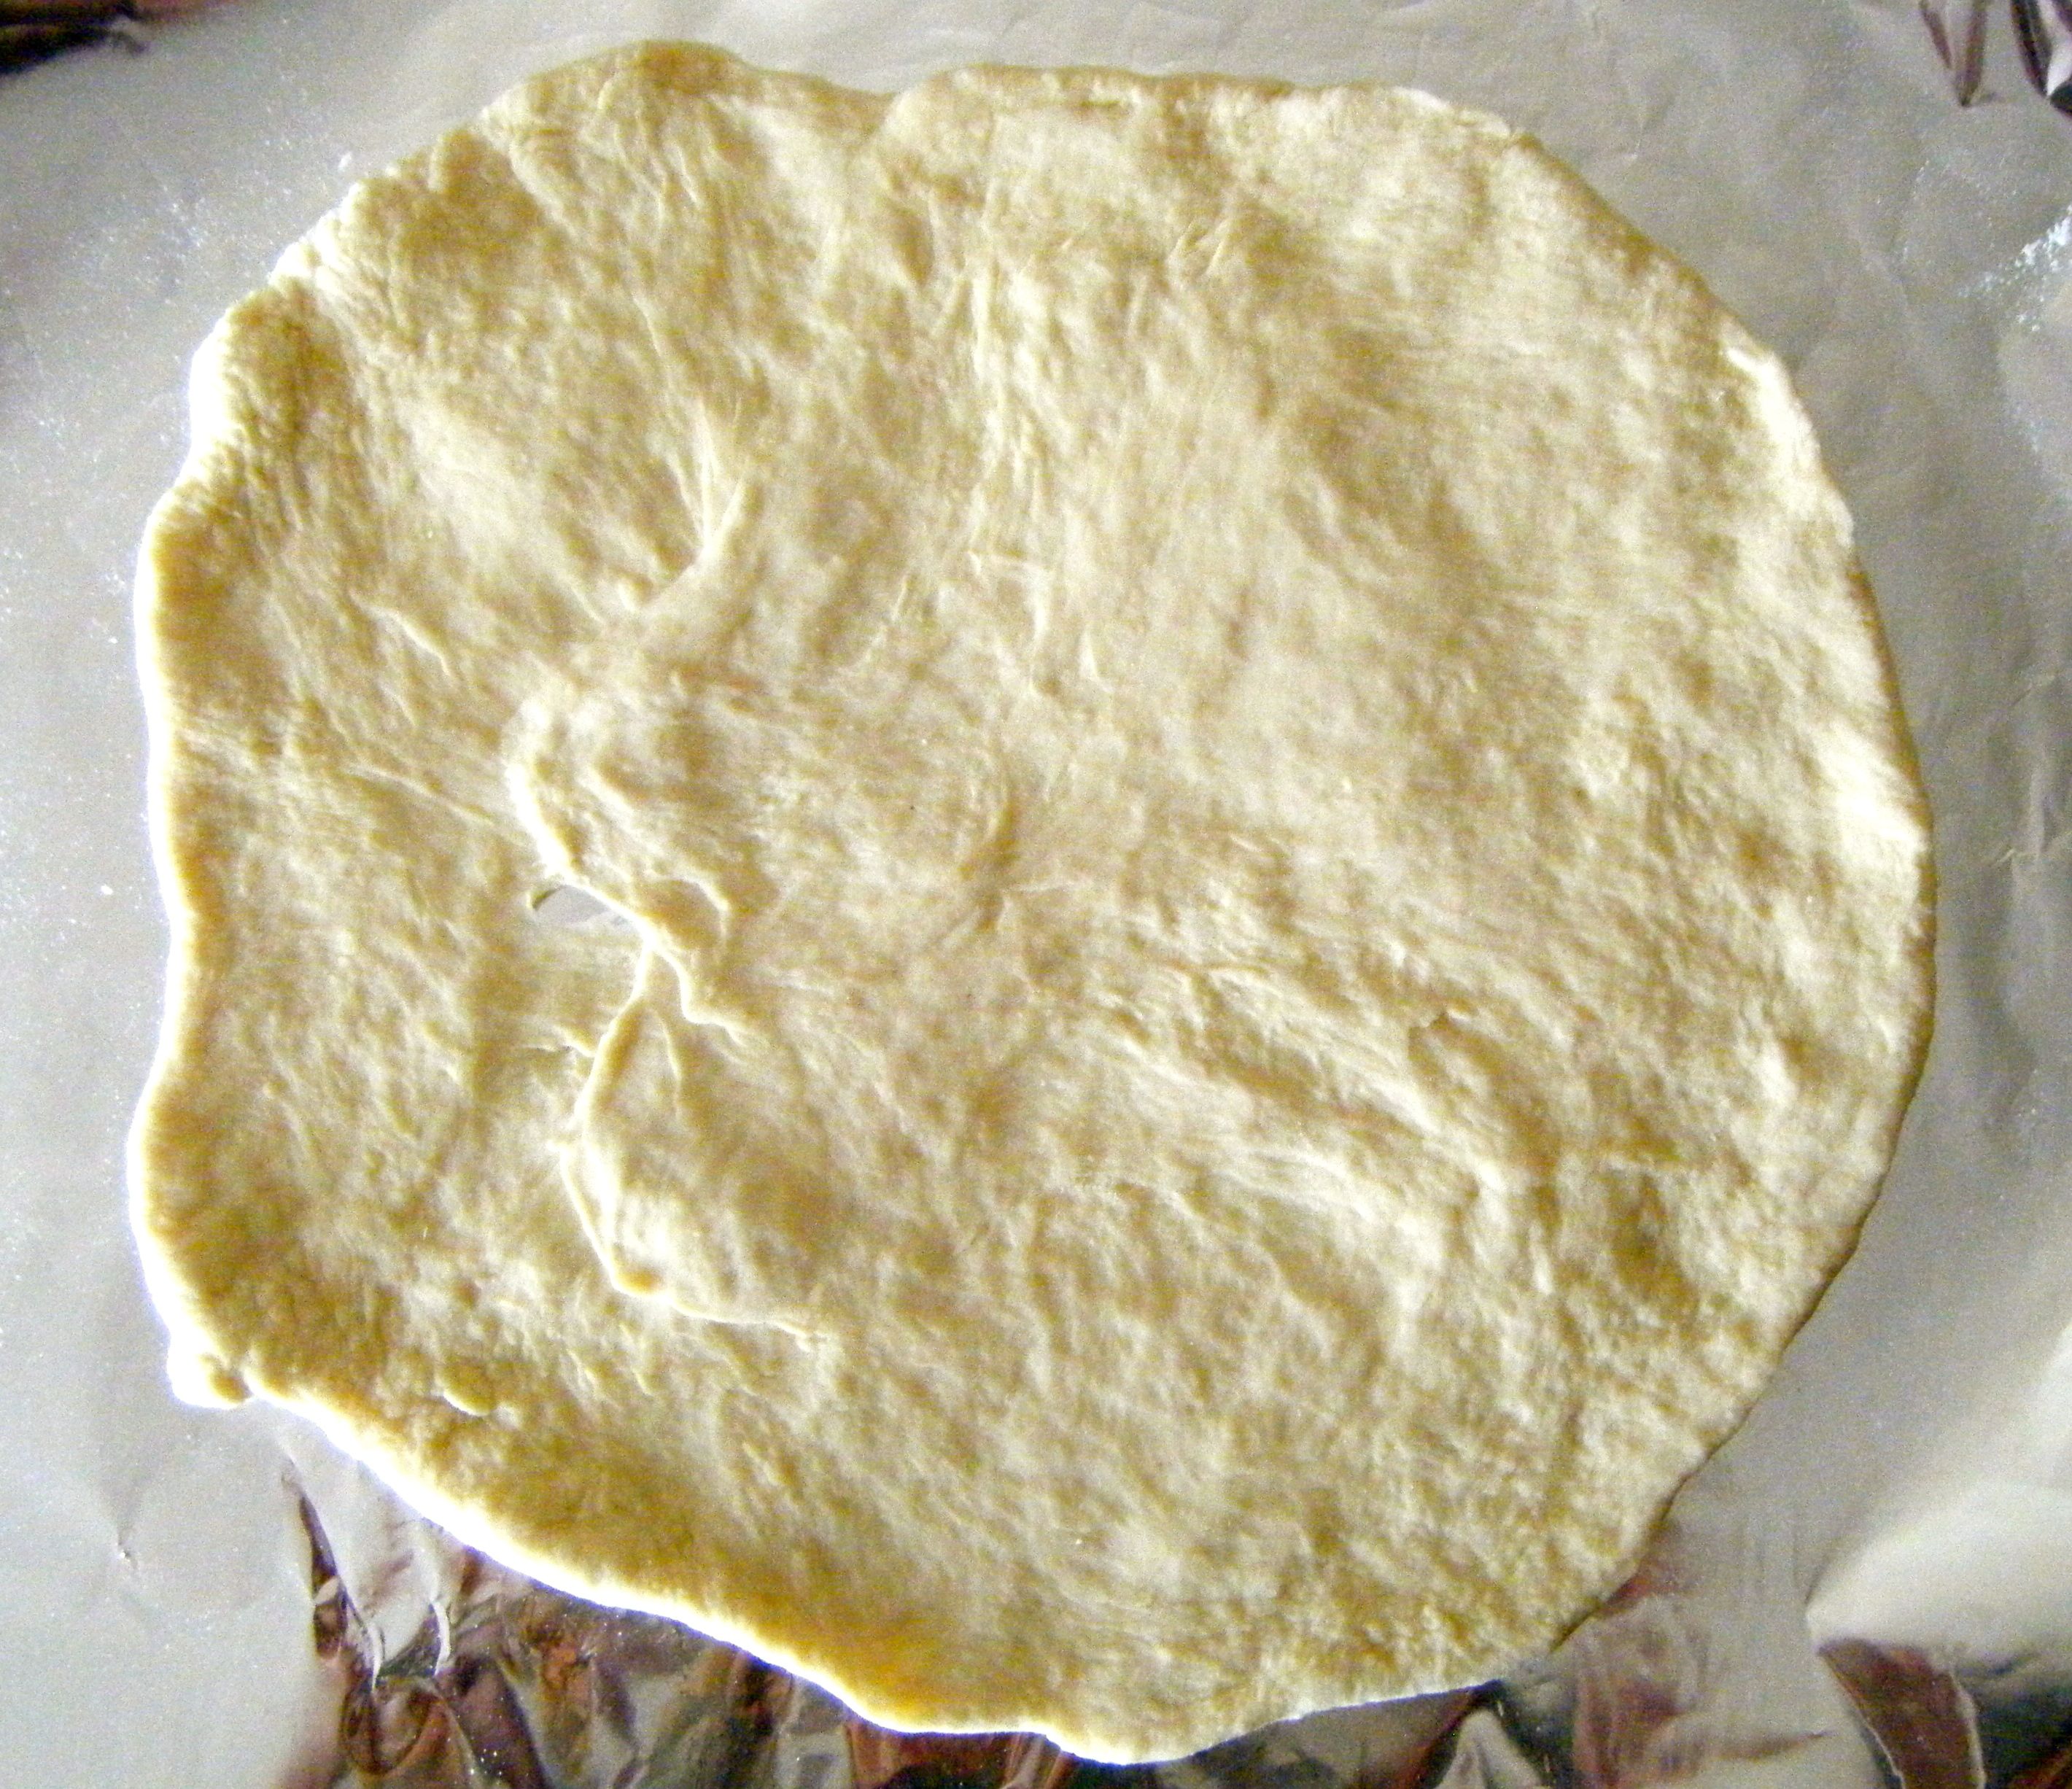
I tipped out the dough onto a well floured surface and divided the mixture into 4 equal balls.  I took the first one a kneaded it for about 5 minutes until it felt right to start stretching.  I gave it a bit of a roll with the rolling pin and then decided that, if I am making pizza, I’m going to do it properly…so I started throwing it in the air, spinning it into a flat oval.  It kind of worked too!! I still had to give it a bit of a stretch to get it to the right size but I soon had a base ready to be topped.  I popped it onto some floured foil and got started on the toppings.

Edited - ball of doughEdited - flat dough

Practical tip: this recipe makes 4 pizza bases.  If you don’t want to eat all four at once, just knead and shape any extra dough.  Layered the extra bases together with foil to separate them and then pop them in the freezer for another day.

I made Dave’s pizza first and added some sauce before layering up some grated cheddar, pepperoni slices, ham slices, some barbecue chicken, some pulled mozzarella and then a drizzle of chilli oil.

Edited - 4

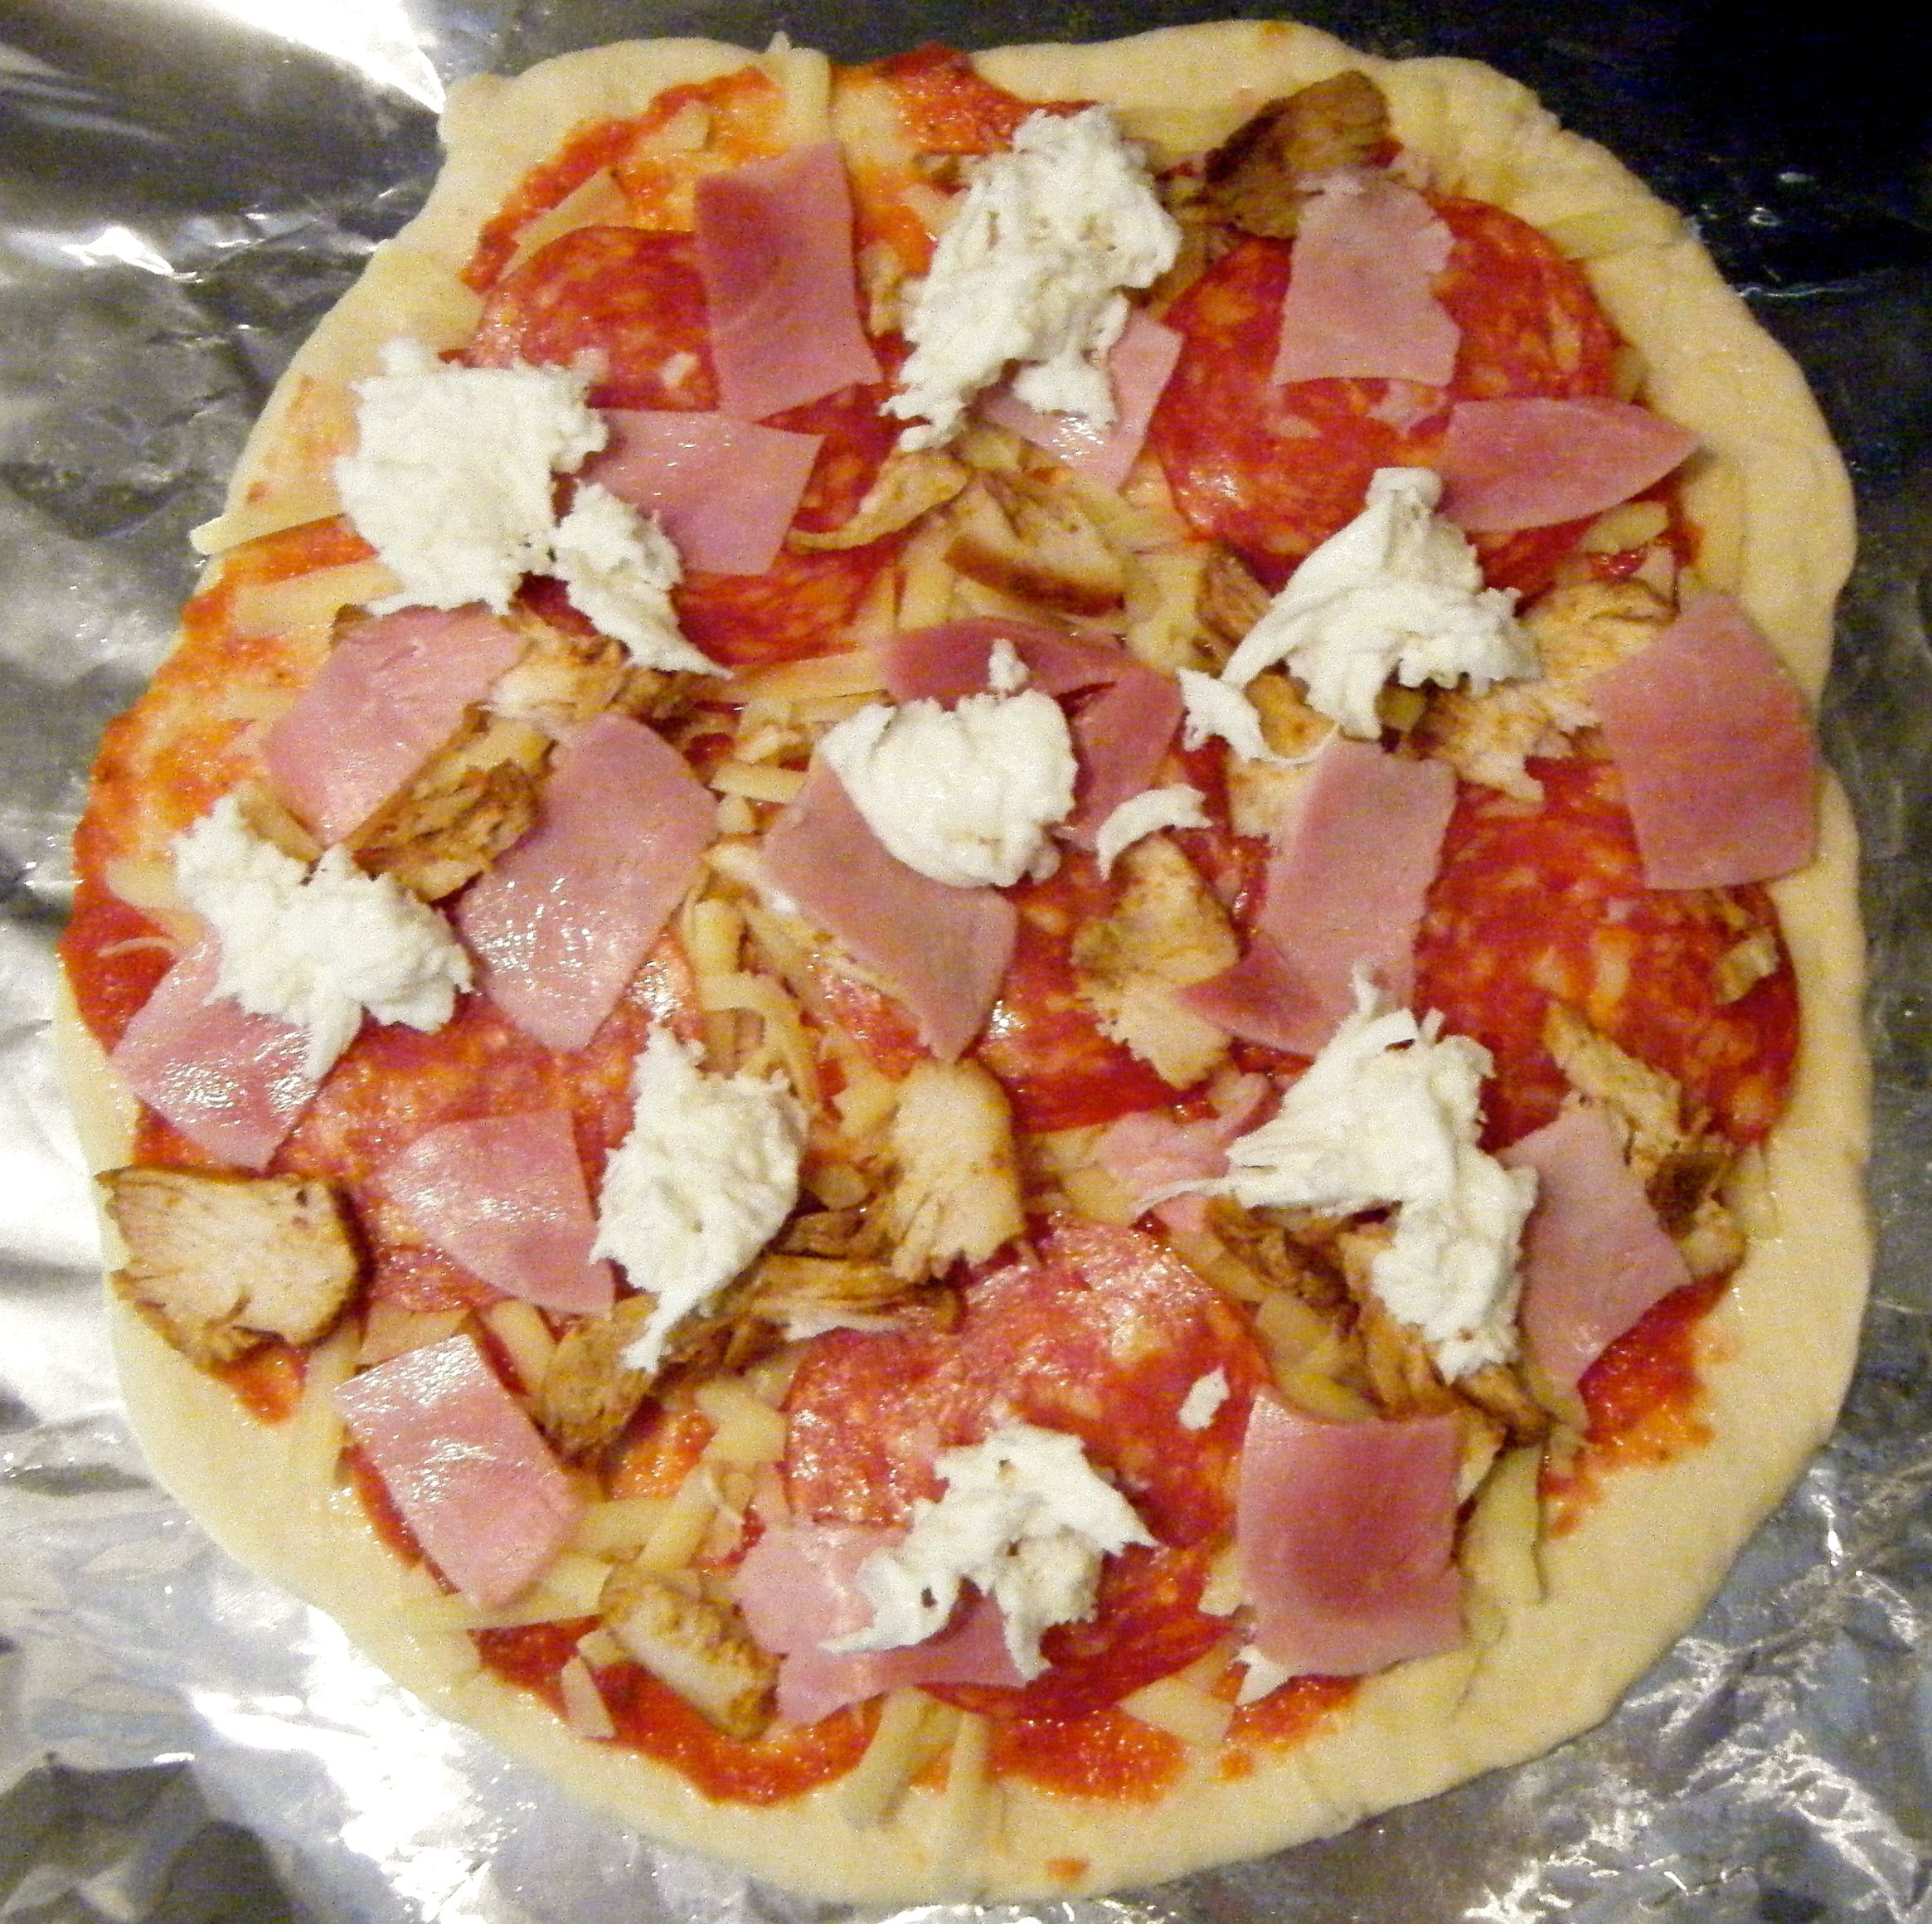
Practical tip: don’t cut your mozzarella, always pull it.  I’ll be honest I don’t know why this is but its something my dad always says to do when topping a pizza and having been in the industry for a long time, I’m inclined to listen to him 🙂

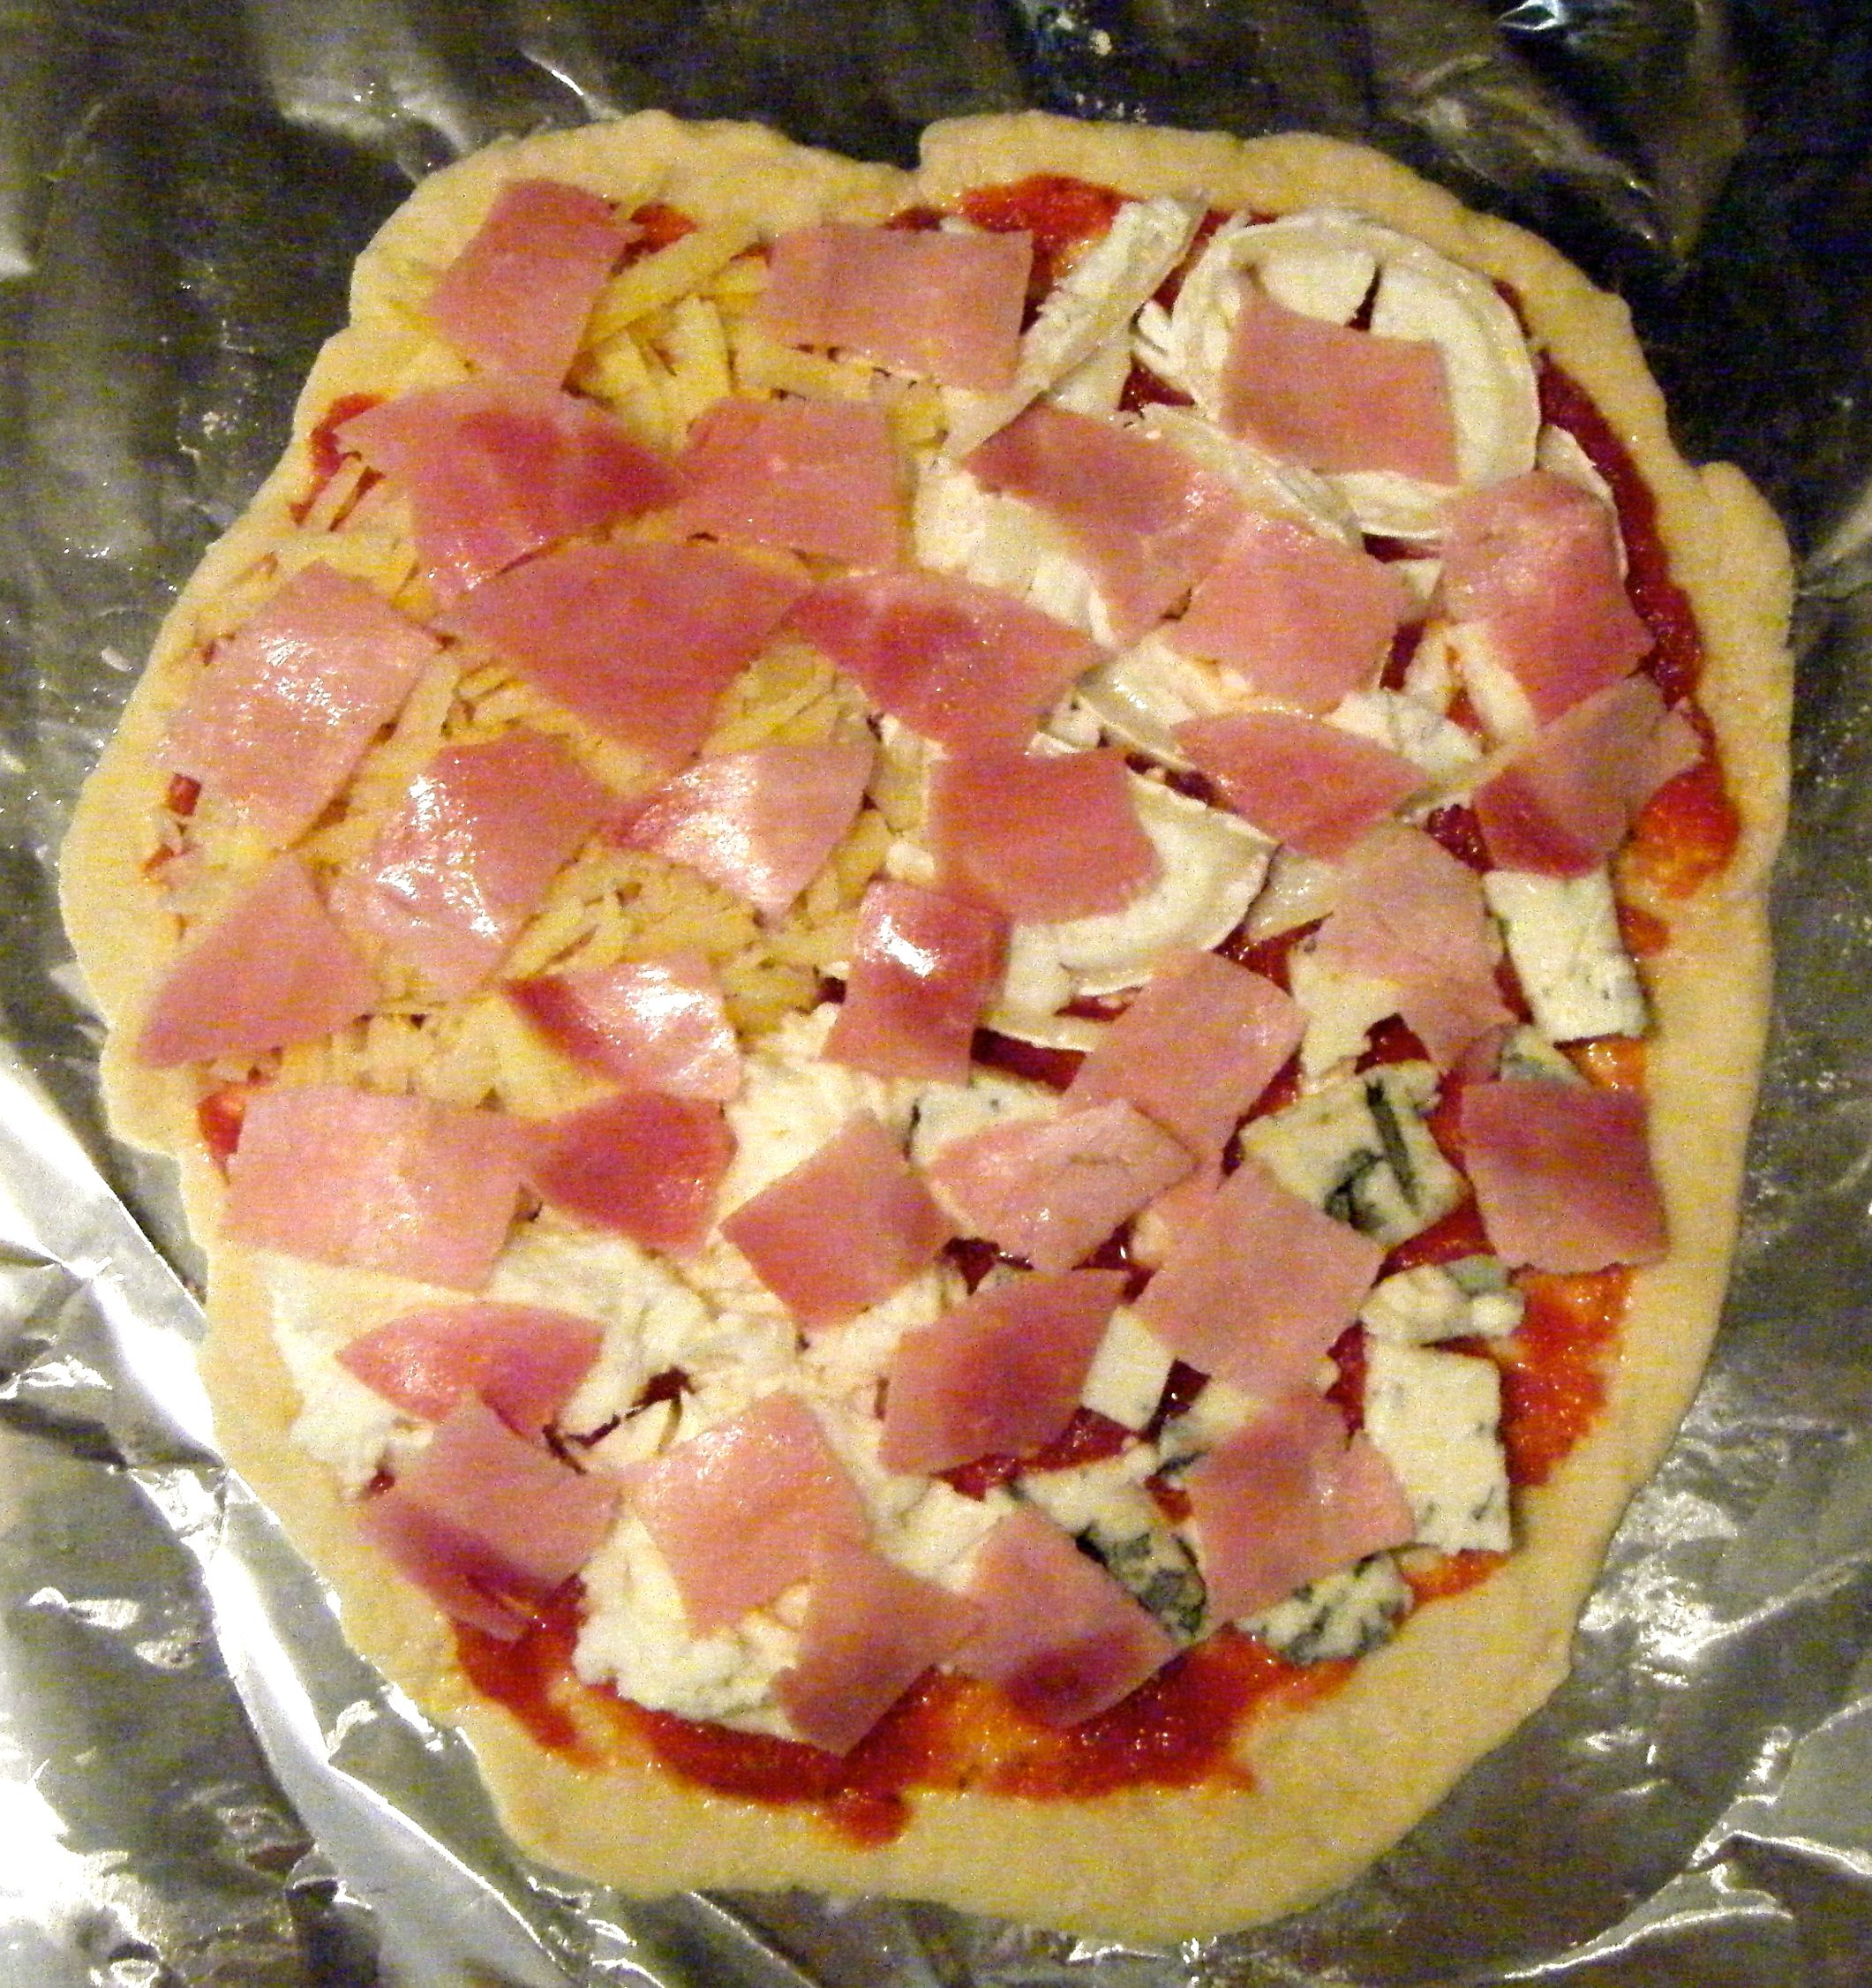
With Dave’s pizza put to one side, I took the next ball of dough to knead and stretch into my base.  I topped it with some of the sauce and then added my ingredients.  I covered a quarter of the pizza with goats cheese, a quarter with gorgonzola, a quarter with mozzarella and a quarter with a cheddar/parmesan mix.   I then topped it all with ham and some chilli oil.

Edited - ham

I put each pizza onto one of the heated trays and put them in the oven.  I set the timer for 8 minutes and when this went off, I broke an egg into the centre of my pizza.  Trust me, don’t knock this until you have tried it. Egg on a pizza is one of life’s little food secrets that no-one should miss out on (although Dave still wont try it!).

I let the pizzas cook for another couple of minutes and then decided they needed a little longer.  I hadn’t made my bases quite as thin as the recipe suggests and I know Dave prefers his pizza slightly overdone.  I ended up cooking the pizzas for about 16 minutes in total and this was just about right for us.

Edited - DA done Edited - done2

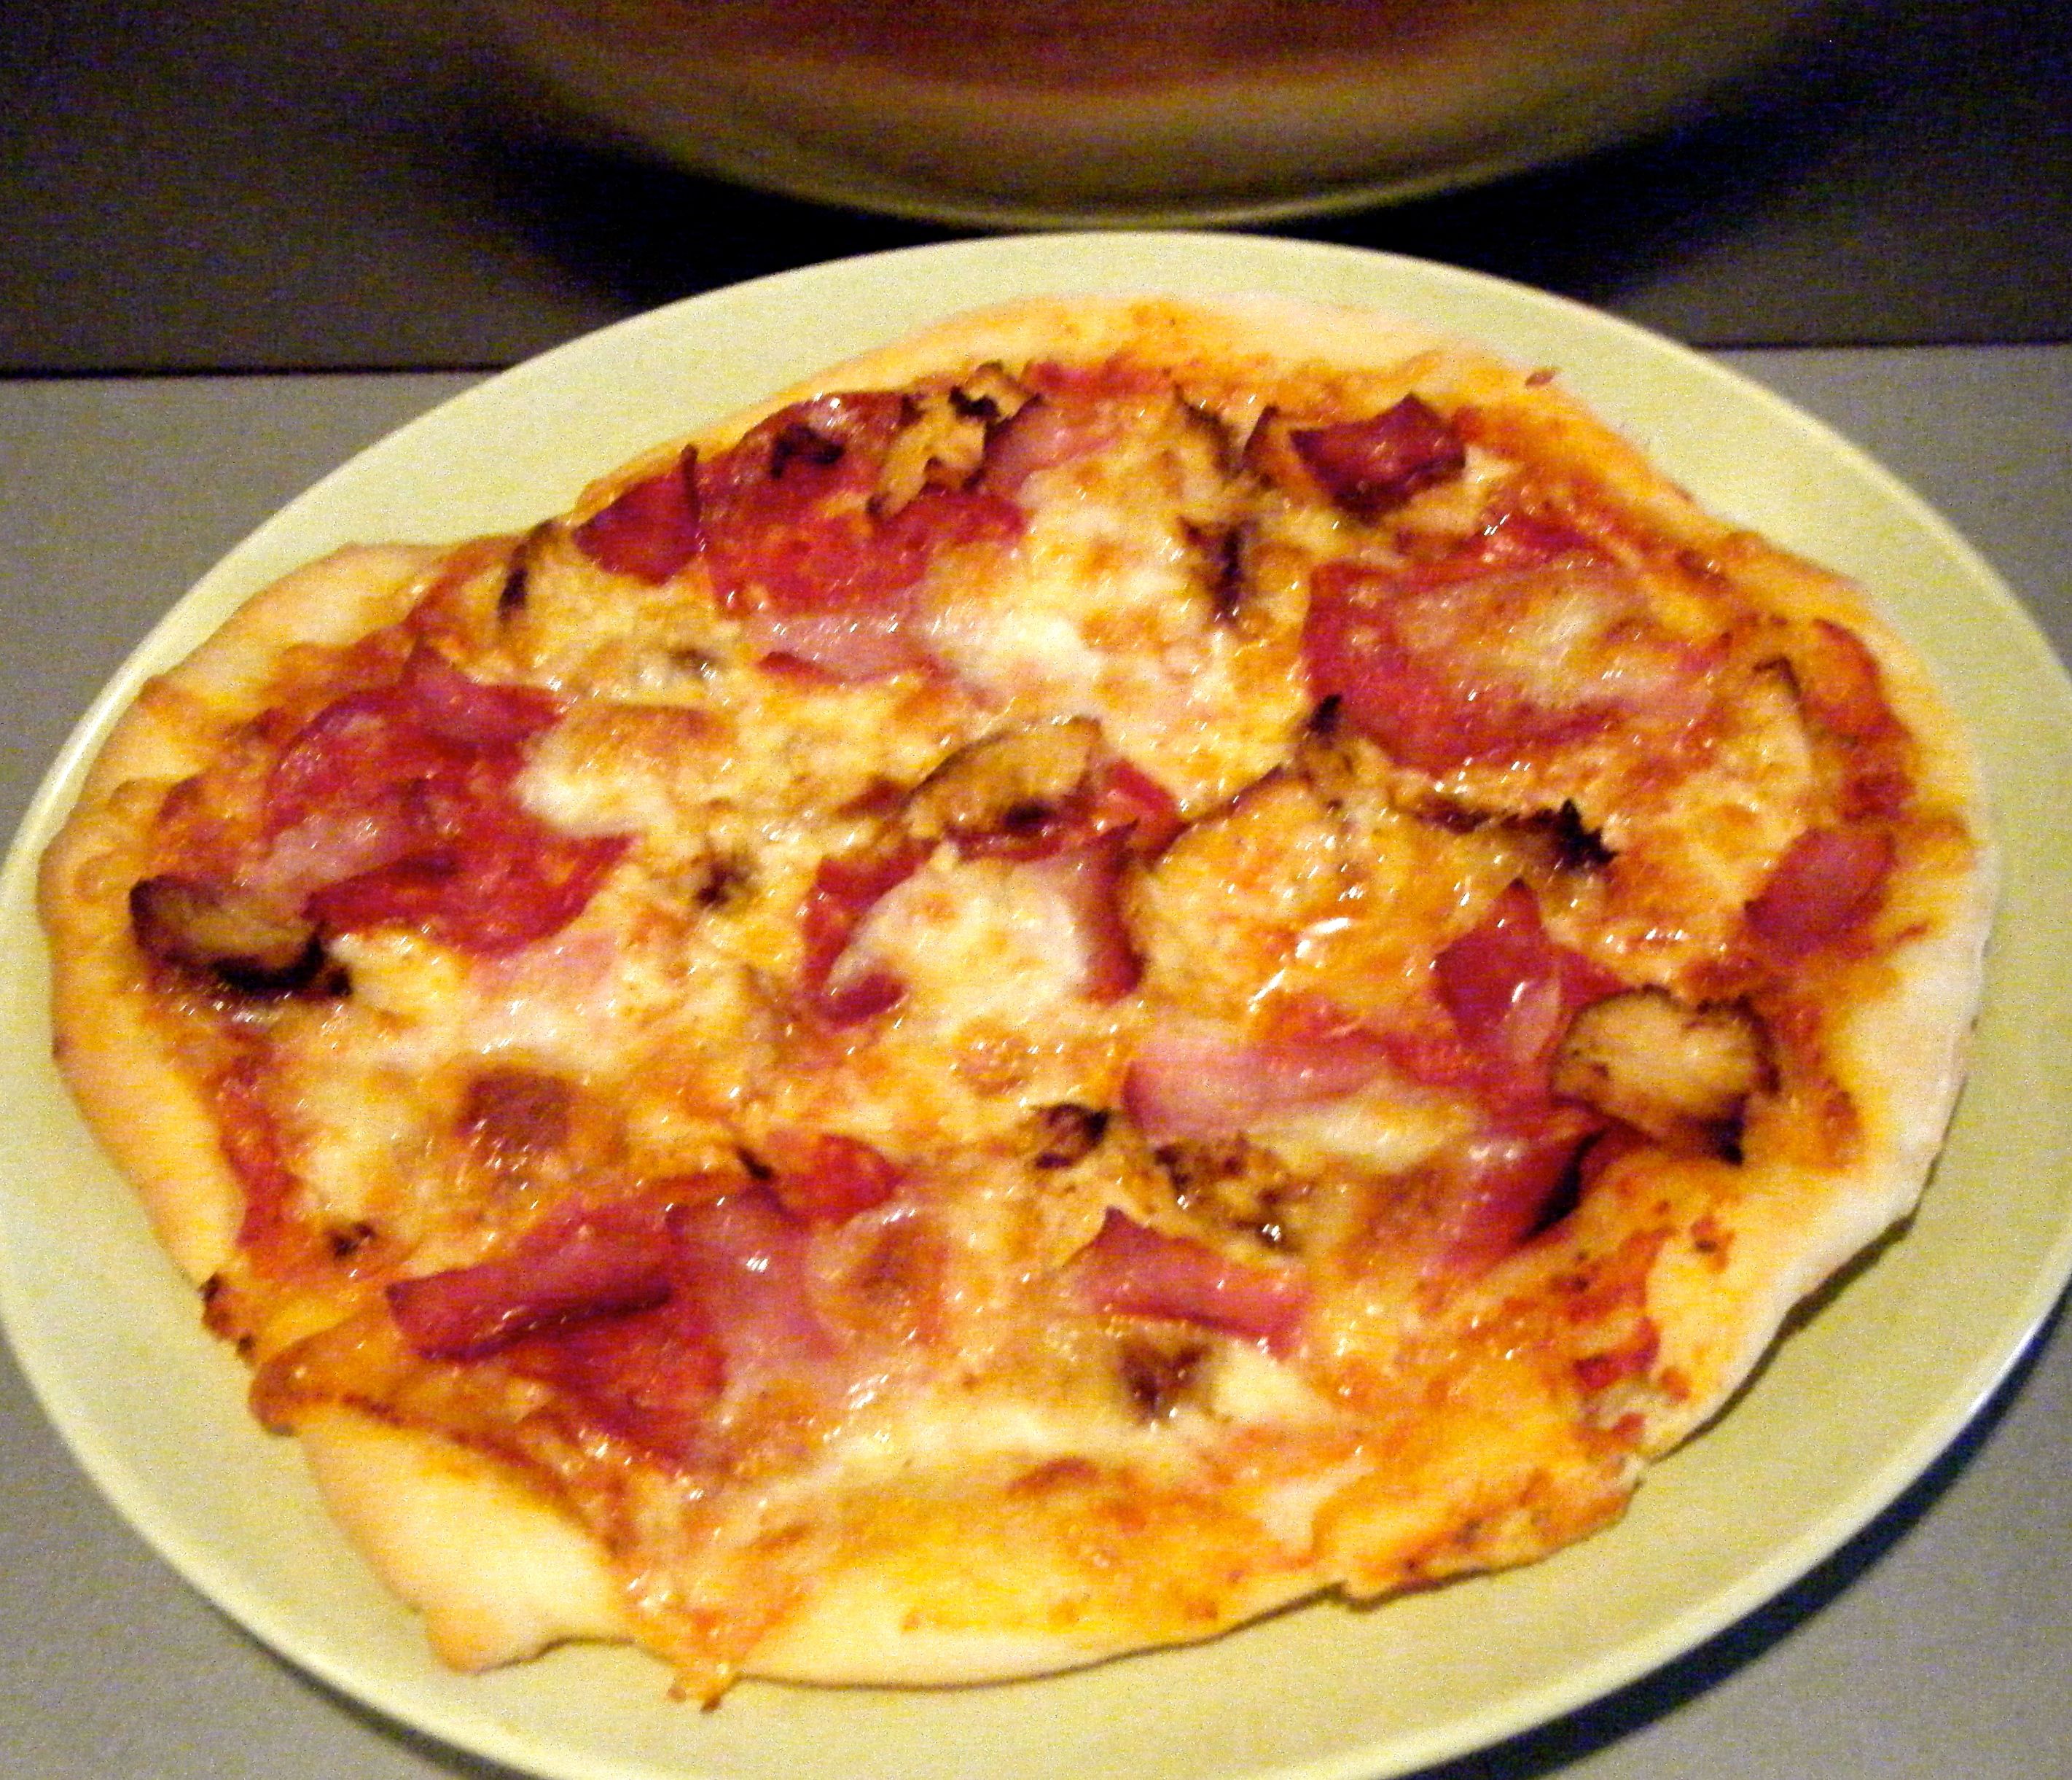
These were absolutely amazing!  They was much less greasy than a takeaway pizza and I’m amazed at how simple it was to do.  Once I’ve used the 2 extra bases I have in the freezer, I will definitely be making some more.

Coming up next week, Challenge No. 29 – panda cupcakes (gluten free).

Challenge No. 22 – Homemade Burgers

This challenge was suggested by my colleague Dean after he bought himself a George Forman grill. I’ve been making burgers to a particular recipe for a couple of years now but I thought this would be a good opportunity to test my recipe against one made by my family in Canada.  When Dave and I visited my family in Goderich in 2014, my cousin’s wife made us some absolutely delicious homemade burgers and so a couple of weeks ago, I asked Kristen for her recipe.  With the recipes and ingredients ready, it was time to put our burgers to the test.

For my original burger recipe you will need the following:-

  • 250g beef mince
  • 1/2 small red onion, chopped finely
  • 2 med egg
  • 25g breadcrumbs
  • 1/8 tsp hot chilli powder
  • 1/4 tsp ground cumin
  • 1/4 tsp mustard powder
  • 1/2 tsp dried oregano
  • 25g parmesan cheese
  • Olive oil
  • Sea salt
  • Freshly ground black pepper

Edited - ingredients 1

For my adaption* of Kristen’s burger recipe you will need the following:-

  • 250g pork mince
  • 250g beef mince
  • 1 1/2 tsp worcester sauce
  • 1 tsp garlic powder
  • 50g Salt and vinegar crisps, crushed
  • Salt
  • Pepper

Edited - ingredients 2

To serve:-

  • Brioche buns
  • Cheese (we went for cheddar but I also love blue cheese on a burger!)
  • Lettuce
  • Tomato
  • Sauce(s) of your choice

*This is an adaption for 2 reasons.  Firstly, Kristen didn’t give me quantities with the recipe, just the ingredient list, so I just went with my instincts and used the amounts I’ve set out above.  Secondly, I left out one of the ingredients Kristen recommended – pickle juice.  Neither Dave or I eat pickles and I couldn’t find any small jars in the supermarket.  I didn’t want to buy a huge jar just for a bit of juice so I decided to leave this ingredient out. 

On with the burger making.  If you’ve never made burgers before, it is really simple! All you need to do is put the ingredients in a bowl, get your hand dirty by mixing it all up until well combined.  You then portion the meat mixture into balls and squash them flat to make your burger patties.

Edited - onion in bowl Edited - mixed up

 Edited - mixed up 2Edited - mixed up 3

I put the shaped burgers onto a greased tray, brushed the tops with some oil and then covered them with cling film before popping them in the fridge for 10 minutes to firm up.

Edited - on the tray 2 Practical tip: the ingredients above make a lot of burger meat but it can be frozen to cook at a later date.  Simply shape your burgers, wrap them in some baking paper and cling film.  Pop them in the freezer and enjoy another day.  I also used the left overs from Kristen’s recipe to make some meatballs which I cannot wait to try with a rich tomato sauce and spaghetti! 

Edited - meatballs

Whilst the burgers were firming up, I heated up my griddle pan and sprayed it with some cooking oil.  This is a bit different to what I have previously done as I normally just use a normal frying pan.  However, my mum recently gave me a griddle pan and I thought this would be a good opportunity to try it out.  To be honest, I didn’t like it as much as my frying pan.  The burgers ended up sticking and I think next time I’ll go back to my trusty frying pan 🙂

Once the pan was hot, I added my burgers and let them cook away for around 7 minutes before flipping them over to cook the other side for another 7 minutes.  I gave each side a little longer until cooked all the way through.

Edited - in the pan Edited - flipped

Practical tip: the amount of time required to cook your burgers will depend on how thick you make them.  The thicker the burger, the longer they need to be cooked for but I suggest keeping the heat on medium to low so as to ensure you don’t burn the outside before the inside is cooked.

Once the burgers were done, I put them to one side and toasted some brioche buns (which I plan to try and make myself one day but for now they were store bought) on the griddle pan. 

Edited - toasting bottoms Edited - toasted tops

I added some cheese to the burgers and popped them under a hot grill to melt the cheese.  I then cut the cooked burgers in half and added half of mine and half of Kristen’s to each bun.  Finally, I added some lettuce and tomato to one of the buns along with some ketchup and mayonnaise; the other I left plain as Dave doesn’t like any of this stuff, he just wanted meat, cheese and bread 🙂  I then served the burgers with some homemade sweet potato fries and we tucked in.

Edited - served up

Both recipes produced very tasty burgers, however, I have to admit, Dave and I both agreed that Kristen’s recipe just won the competition.  Kristen’s recipe produced a great tasting burger with a really good texture and it was something a bit different from just your run of the mill burger.  We will definitely be having these again and I can’t wait to enjoy the burgers and meatballs already in the freezer!

Coming up next week, Challenge No. 23 – Chocolate Truffles 

Challenge No. 21 – Carrot Cake

This recipe was suggested by another of my close University friends.  I lived with Kate in my first year and throughout the year, we shared the job of resident baker.  It was therefore so nice that Kate challenged me to make a cake 🙂 But this isn’t just any old cake, its one I’ve never made and have always been a bit apprehensive about making it.  Why was I apprehensive – it’s a cake which has carrots and cream cheese in it! There is just something about that which never quite sat right with me.  As I’ve said before, this is the whole point of Challenge 52, to take me out my comfort zone!

When I started searching for recipes, I was still trying my best to avoid the cream cheese but every which way I turned, there it was.  Finally, I found a recipe that didn’t use a cream cheese topping but by then I had come to realise that the cream cheese is an almost iconic part of the carrot cake and I felt guilty about leaving it out! So instead I kept looking and found this recipe by the Hairy Bikers for a carrot and sultana cake with creamy orange frosting.

For the recipe you will need the following:-

  • For the cake
    • 200g/7oz self-raising flour
    • 75g/3oz sultanas
    • 75g/3oz pecans, broken into rough pieces
    • ½ large orange, zest only
    • 1 tsp ground cinnamon
    • ½ whole nutmeg, finely grated
    • 1 tsp baking powder
    • ½ tsp bicarbonate of soda
    • pinch fine sea salt
    • 3 free-range eggs
    • 175ml/6fl oz sunflower oil, plus extra for greasing
    • 175g/6oz soft light brown sugar
    • 200g/7oz carrots, grated
  • For the cream cheese icing
    • 100g/3½oz icing sugar
    • 100g/3½oz unsalted butter, softened
    • 1 tsp fresh orange juice
    • 200g/7oz full-fat cream cheese
    • ½ orange, zest only
    • 25g/1oz pecan nuts, roughly broken

Edited - ingredients

If you look at the ingredients photo carefully, you may note an extra ingredient which has snuck in there.  I accidentally included the vanilla essence which I had purchased to stock up my store cupboard but it isn’t needed for this recipe!

I started off by sorting through my pecans to remove all the nice whole ones to put to one side for the topping.  I then weighed the remaining bits to make sure I had 75g, adding a few of the whole ones back in to bring it up to the right weight.  I then chopped them up nice and small.

Edited - choped nuts

I put the nuts in a bowl with the flour, sultanas, ground cinnamon, grated nutmeg, baking power, bicarbonate of soda and the salt.  I then grated in the orange zest from one half of my orange.

Edited - dry ingredients

I broke the eggs into a jug and whisked with a fork until they were smooth.  I then added the oil and brown sugar, giving it a good whisk until well combined.  I created a well in my dry ingredients and poured in some of the egg/sugar/oil mix.

I stirred it all together with a wooden spoon, gradually adding more of the oil mix until it was all combined. I added the grated carrot and gave it a final mix.

Edited - well Edited - well filledEdited - cake mix

The recipe puts the cake mix into a 20cm square cake tin but I wanted to do something a little different.  I’ve found these adorable cases in the supermarket and thought it would be nice to make individual carrot cakes rather than one big one.   So i split the mixture between 14 cases, 13 of them weighing 79g with the mix in, and the 14th having a little less.

Edited - in the cases

I put the filled cases on a tray and into the oven on 180 celsius.  Given that I used individual cases rather than a big tin, I knew I needed to adjust the cooking time.  I originally set the timer for 20 minutes and then checked them.  I felt the tops of the cakes and decided they needed a little longer so I returned them to the oven for around 2-3 minutes.  I then tested the cakes and decided they were done.

Practical tip: I’ve given this tip a few times but it is one of the key points to perfecting your cake making skills – knowing when the cake is done.  To test whether the cakes are cooked, gently press the top of one of the cakes with your finger; if it is done it will be springy to touch and bounce back into place.  You can also take a tooth pick (or cake tester if you have one) and slide it into the centre of one of the cakes; if the cake is done the tester will come out clean.  If you think it’s not quite done return the cakes to the oven but keep an eye on them – 1 minute may be all they need but that 1 minute can make all the difference!

I put the cakes on a cooling rack and left them to cool completely whilst I got started on the icing.

Edited - cooked

I put the softened butter in my bowl, beat it with a fork until smooth and added the orange juice.

Practical tip: this is another one I’ve given before but in case you missed Challenge No. 5 I’ve included it again.  To soften the butter, cut it into cubes and put it in a sandwich bag in a bowl of lukewarm water for between 5 to 10 minutes until soft.  This can be a lot quicker than leaving the butter at room temperature, especially in the winter when your kitchen may not be so warm!

I then gradually sifted in the icing sugar a bit at a time, giving it a good stir between each addition.  Once it was all added, I used a wooden spoon to beat until light and creamy. 

Editd - softened butter

I stirred through the cream cheese and remaining orange zest before popping it in the fridge for 30 minutes.

Edited - cream cheese Edited - combined

When the icing was firm, I used a teaspoon to smooth a bit on each cake.  Finally, it was time to add the decoration.  The recipe uses the whole pecans (which I set aside at the beginning) but I wanted to do something a little bit cuter.  So I made mini icing carrots with some coloured fondant icing and added one to each cake.

Edited - topped

These cakes took a little trip with me to Sheffield to celebrate my friends birthday and new home.  Kate was part of the celebrations so she got to try her suggestion, along with all my University girls.  Everyone said it was delicious! 🙂

 Edited - in the caseEdited - served up1

I even managed to persuade Dave to try this one (he had an issue with the whole carrot in a cake thing!) and he said “actually, its quite nice”.  I feel this is a great review, all things considering.

Personally, I really enjoyed this challenge, both eating and making the cakes.  They weren’t too heavy and were just perfect with a cup of tea.

Coming up next week, Challenge No. 22 – homemade burgers.