Challenge No. 30 – Fig and Goats Cheese Tart

This dish was suggested by a family friend.  I’ve known Debbie ever since her daughter and I went to primary school and ballet class together.  I’ve never eaten a fig before but I love goats cheese so was quite excited to make (and eat!) this challenge.

I had a quick search online and found this recipe for fig, goats cheese and caramelised onion tarts.  The tarts are made with filo pastry sheets.   Whilst Challenge 52 is all about taking me out of my kitchen comfort zone, I decided to listen to my baking hero Mary Berry for this one.  I remember watching one of her programmes and whilst Mary Berry once made filo pastry as part of her training, she actually encourages home cooks to use shop bought ready made pastry. And who am I to ignore advice from Mary Berry? 🙂

So for this recipe, you will need the following ingredients:-

  • Filo pastry sheets
  • 1 Onion
  • 2tbsp light muscovado sugar
  • 1tbsp balsamic vinegar
  • 55g Goats’ cheese
  • 110g unsalted butter
  • 3 Figs Fresh
  • Honey for drizzling

Edited - ingredients

The recipe on the BakingMad website actually used 2tbsp of dark muscovado sugar and no balsamic vinegar.   However, when I went to get my sugar out the cupboard I realised I only had light muscavado sugar.  After a bit of research, I discovered that you can get the same caramelised effect by adding a tbsp of balsamic vinegar to 2tbsp of light muscavado sugar and this is what I did.

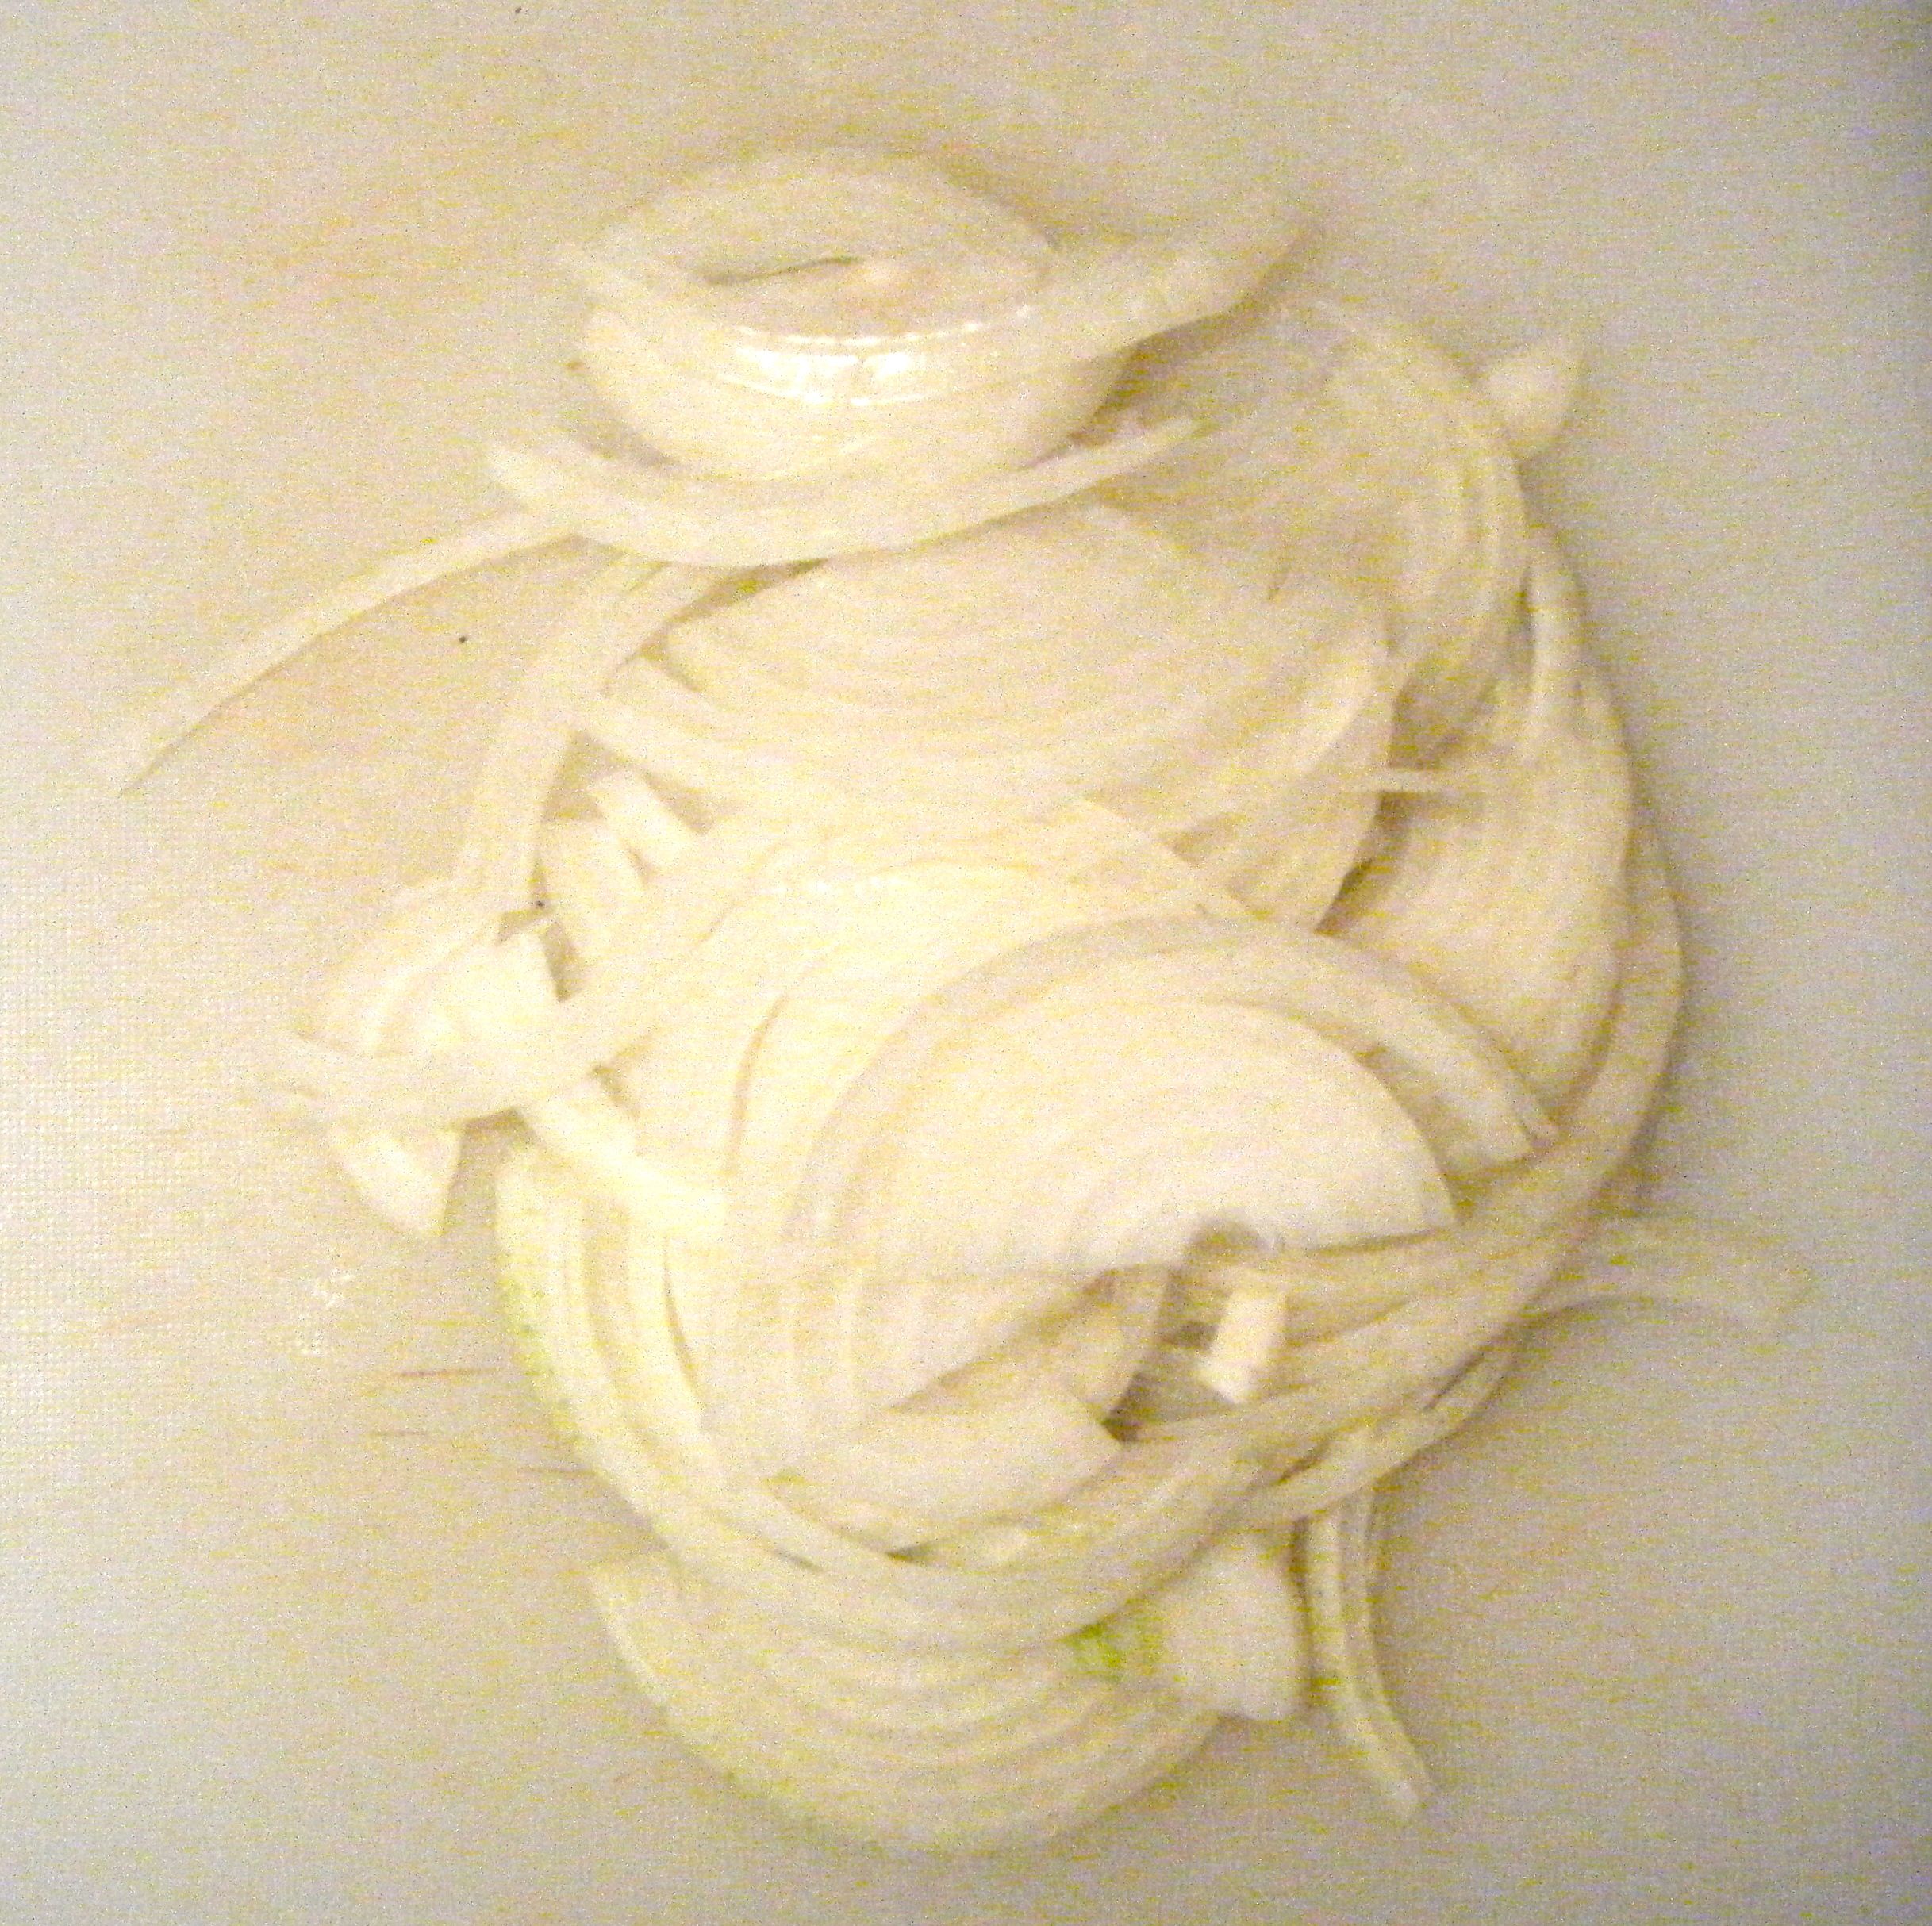
I started by preparing my onion.  I cut it in half and then sliced it at thinly as possible.

Edited - onions

I melted two knobs of butter in my frying pan and then added the muscavado sugar and balsamic vinegar.  Once the butter was fully melted, I added the sliced onion and fried them on a medium heat for about 20 minutes.

Edited - onions cooking Edited - onions

Whilst the onion was cooking, I prepared my muffin tin.  I greased each hole with some butter and then made some little baking parchment squares to insert into each one.  I cut the baking parchment into the following shape:-

Screen Shot 2015-07-17 at 20.51.43

Edited - prepared tin

Practical tip: these little inserts help to remove the cooked tarts without breaking the delicate pastry 🙂

I then melted the remaining butter and started to make the pastry shells.  I took my pastry sheets and decided to cut 12cm squares to line the tin.  The recipe said to cut them into 6cm squares but these looked to small.  I brushed the top of each square with melted butter, doubled it up with another square and pushed the two into a hole in the prepared tin.

Edited - pastry in the tin

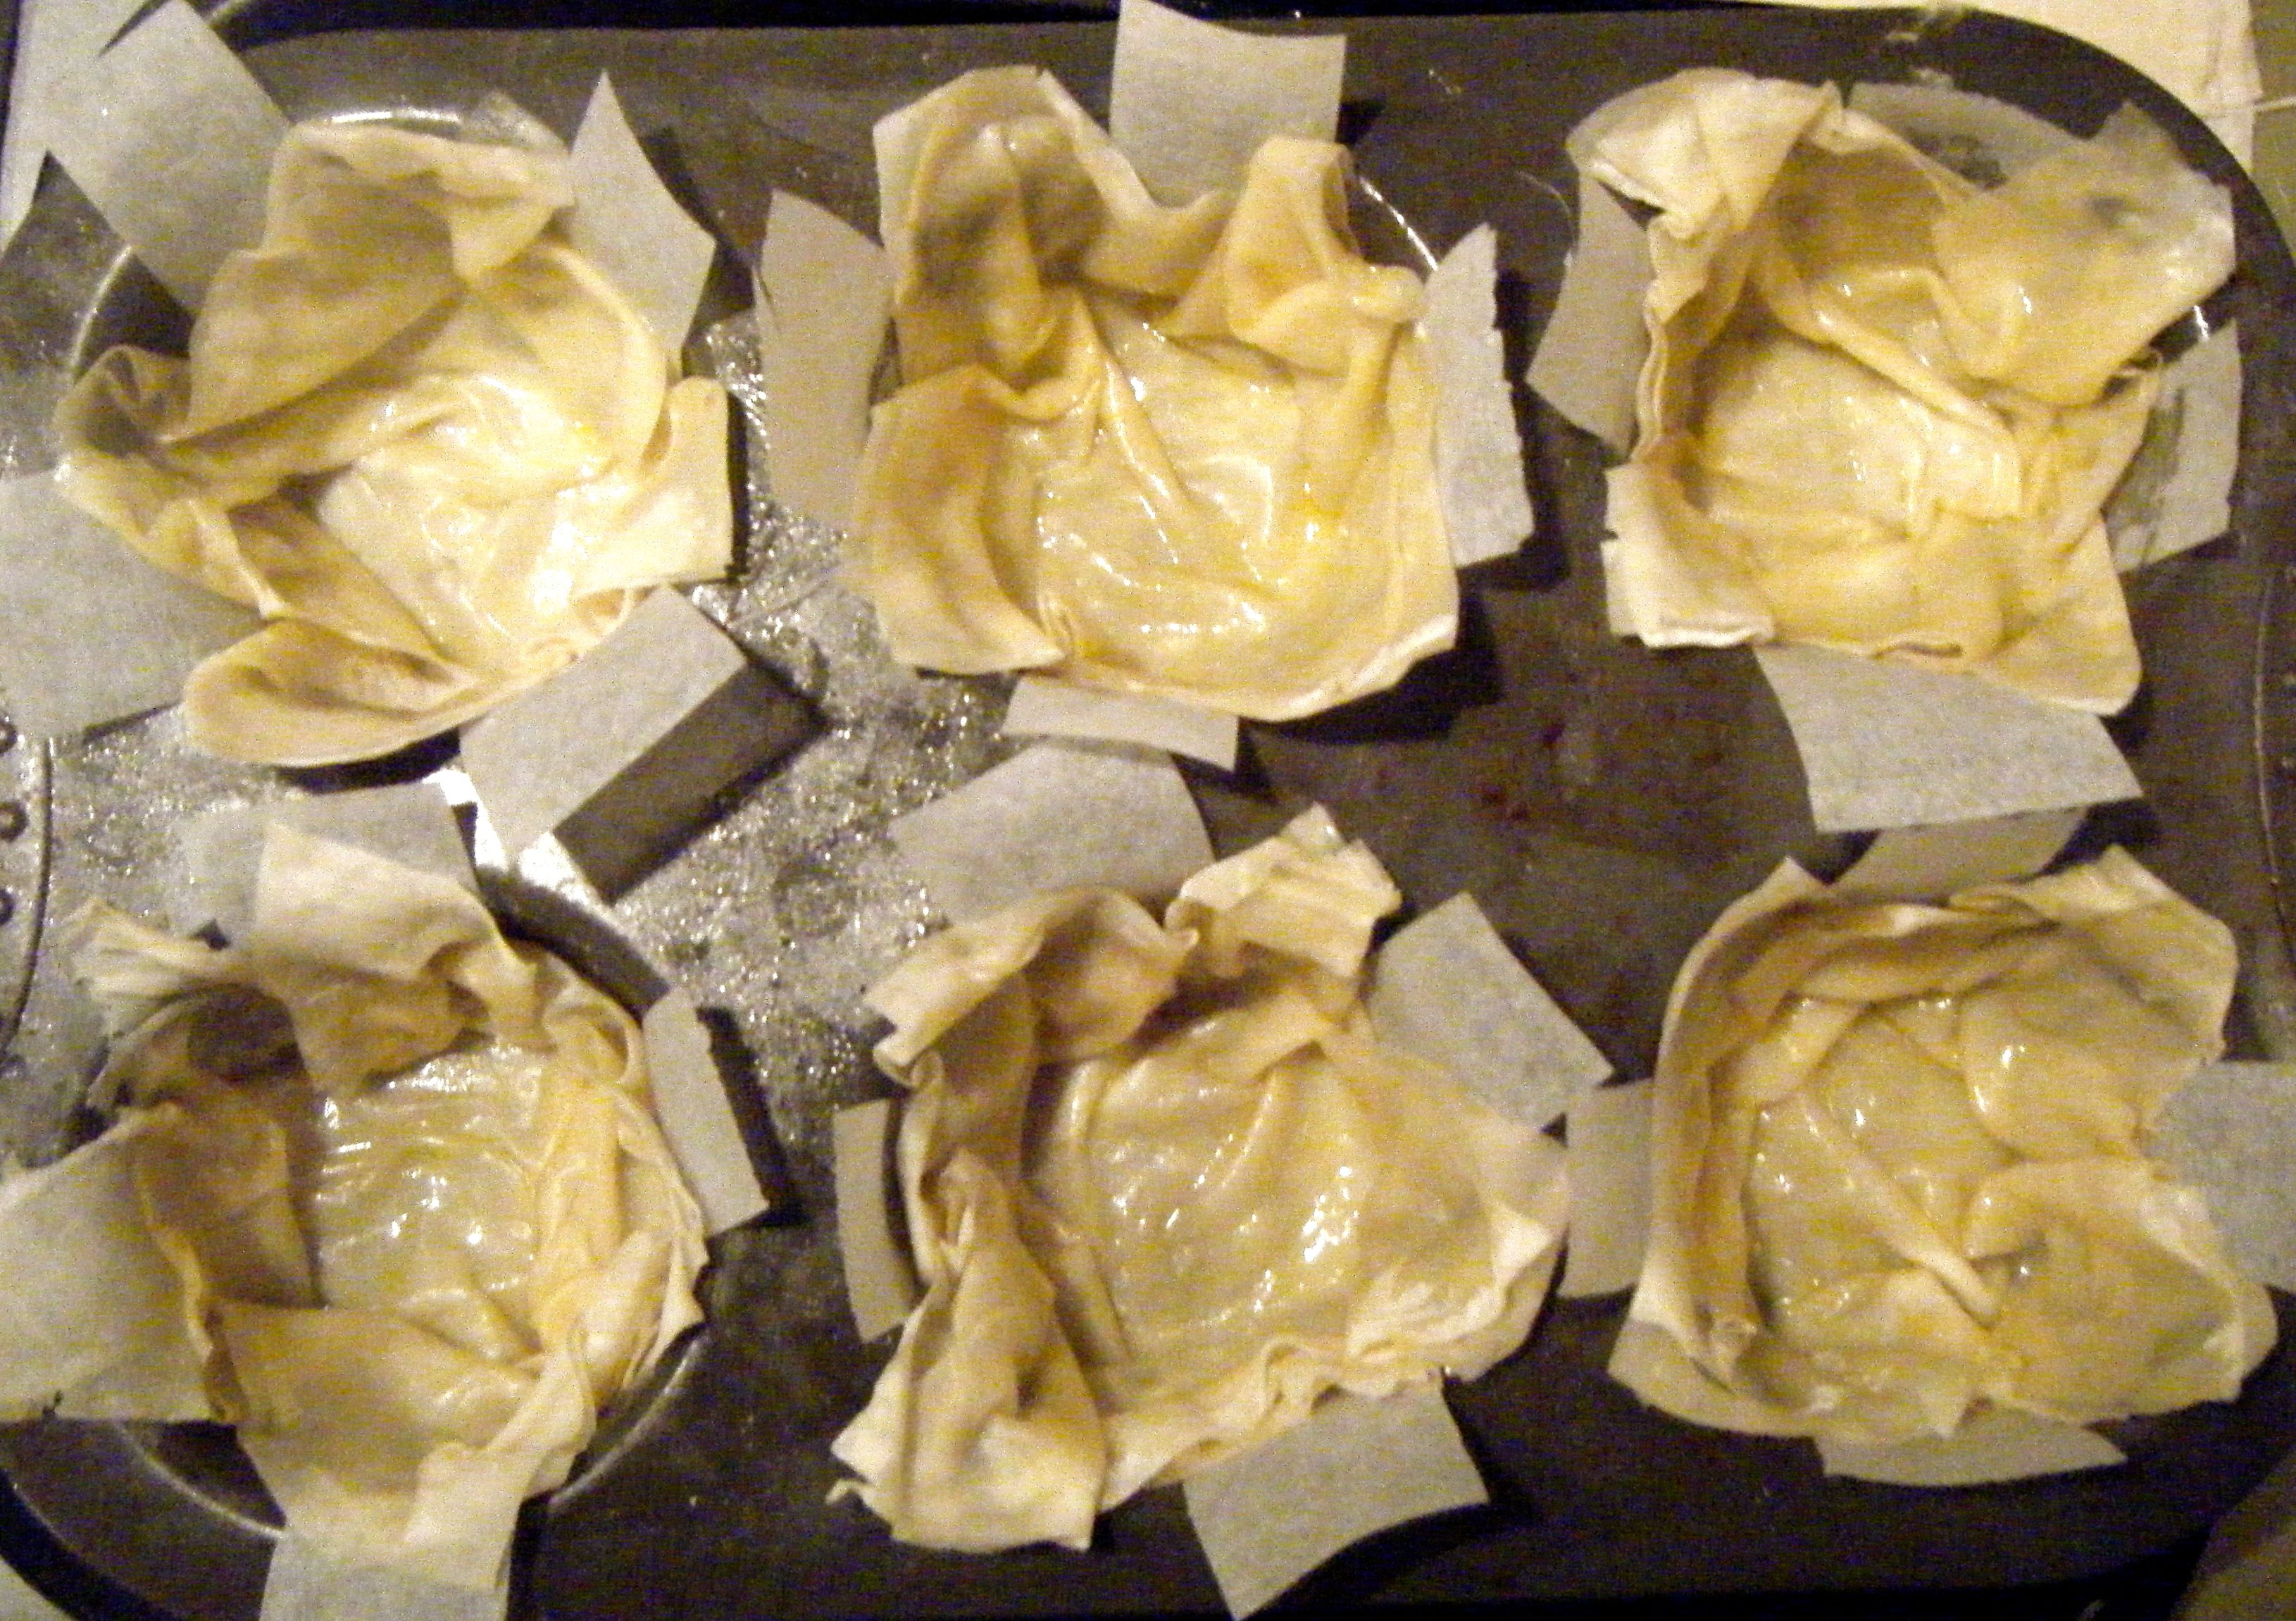
I put the pastry cases into the oven on 180 degrees celsius for 5 minutes to brown them slightly. 

Edited - part cooked

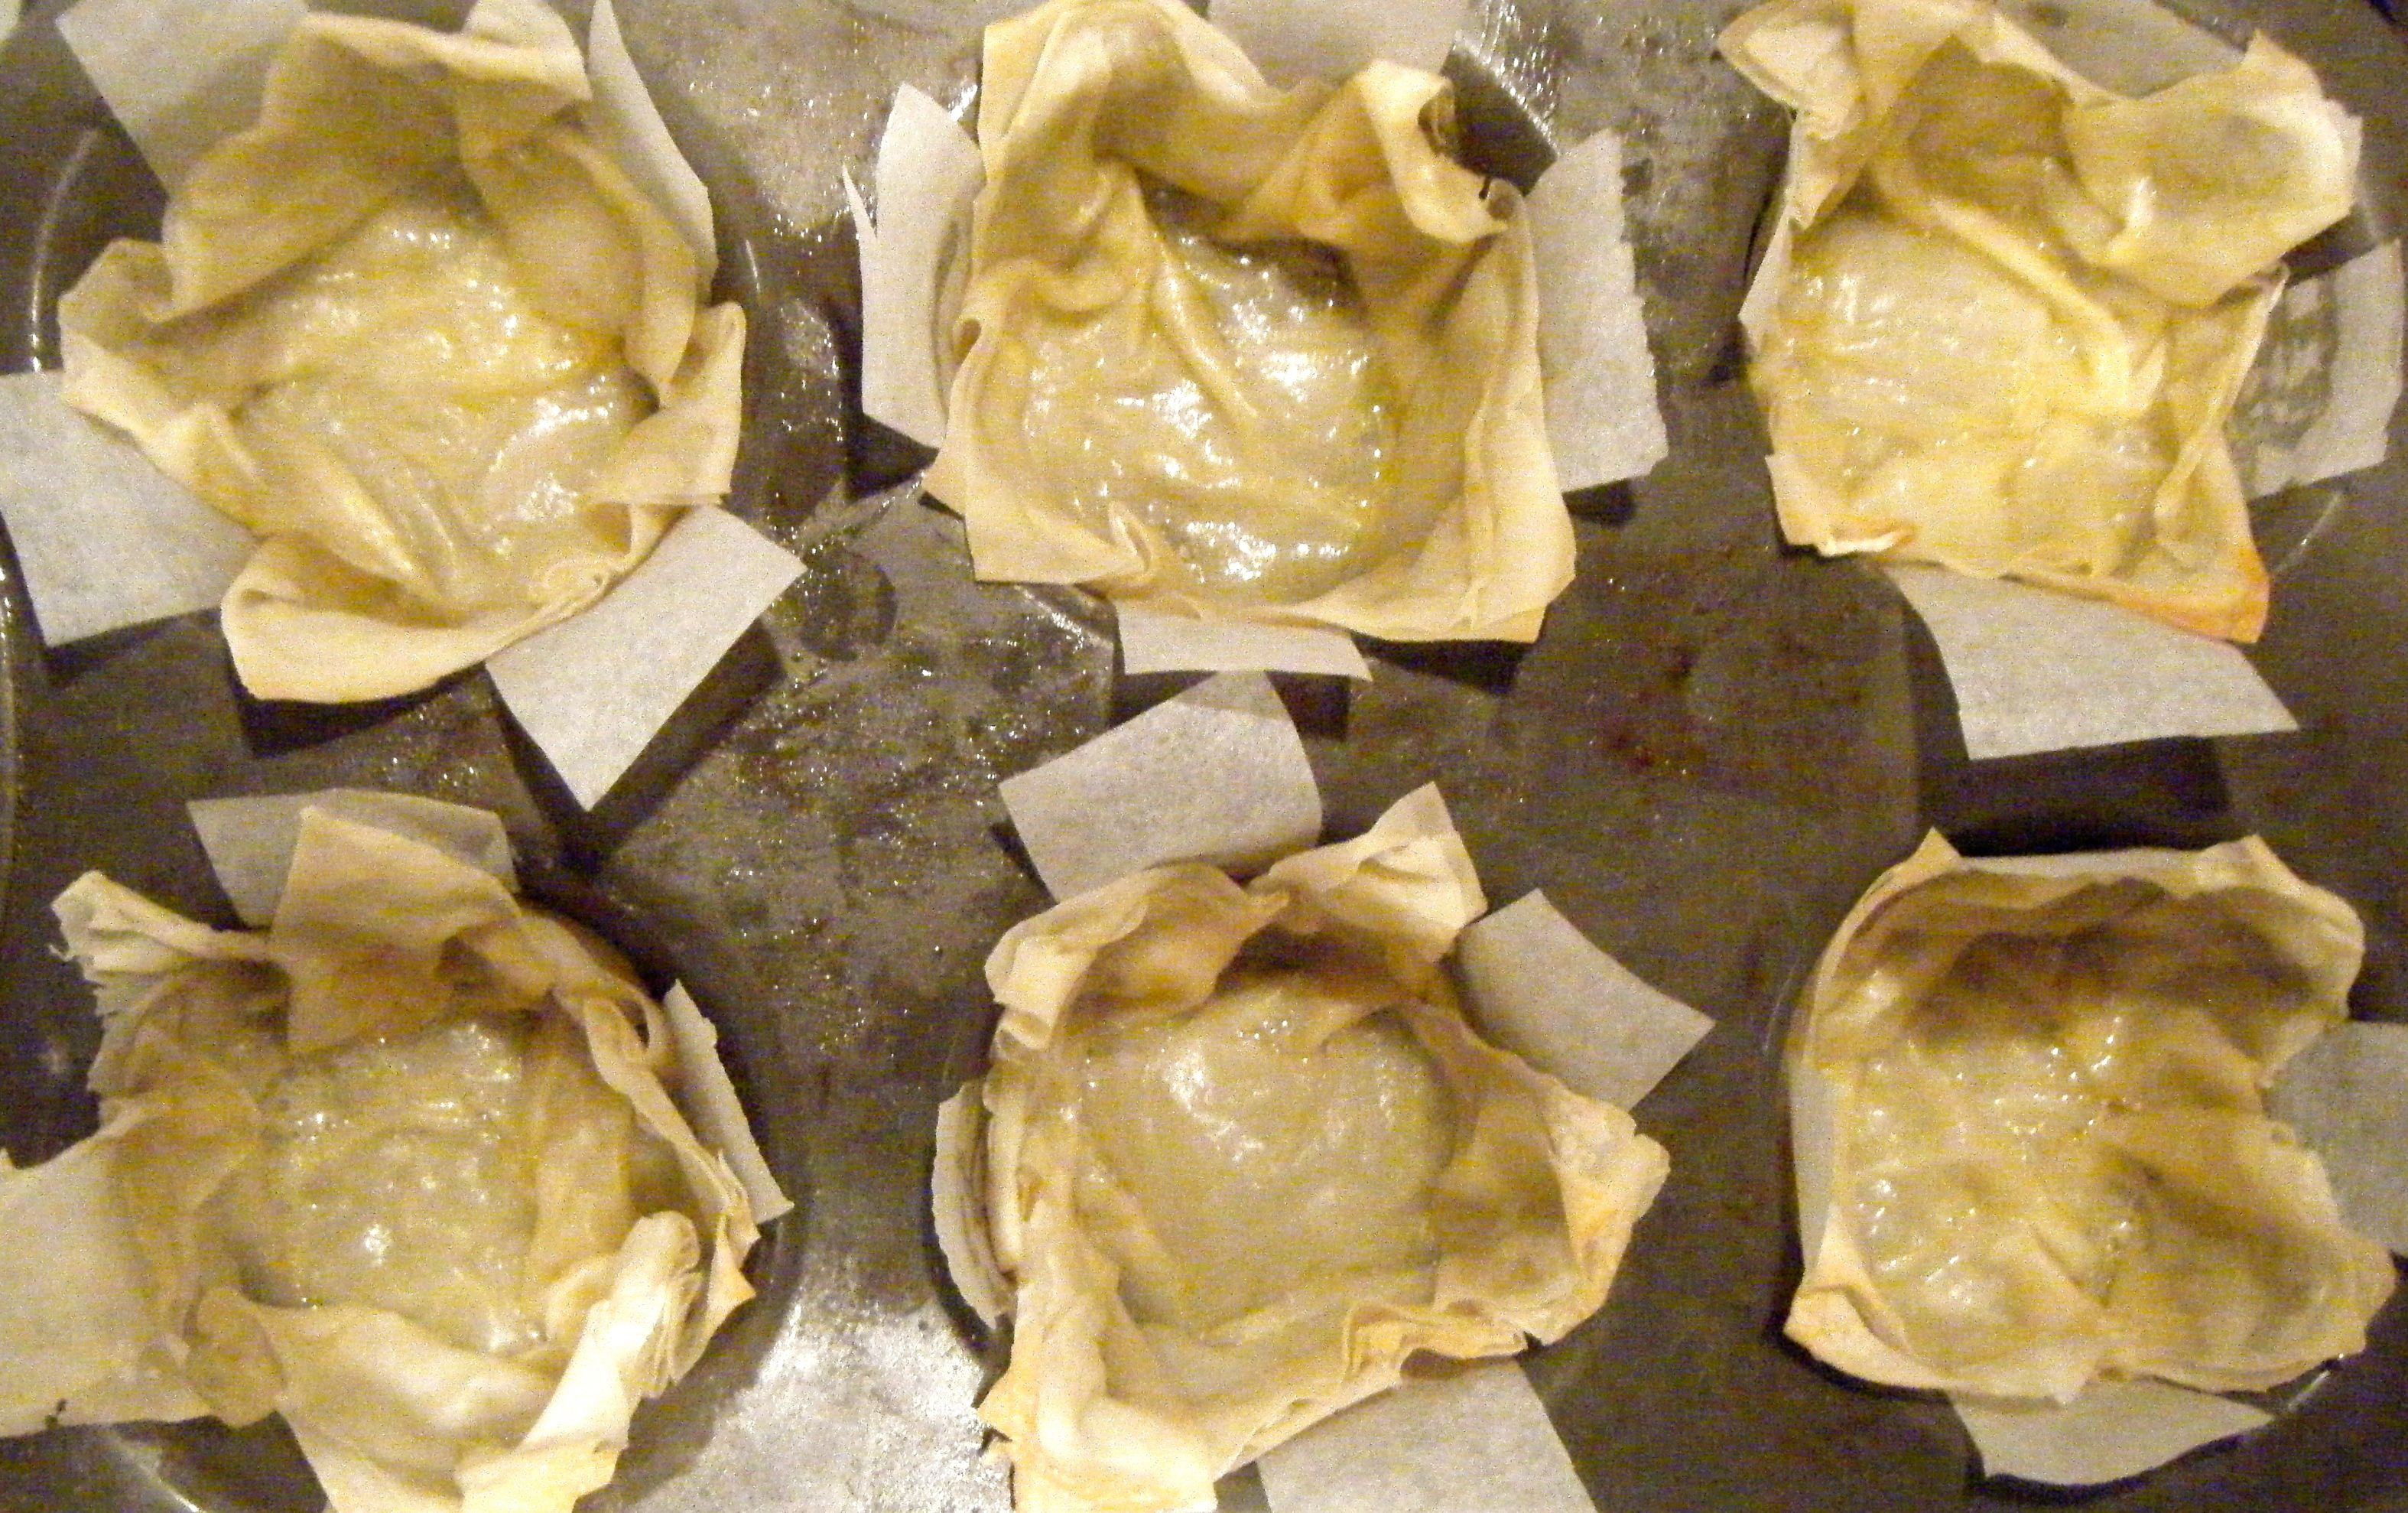
With the pasty part cooked, I put a teaspoon of caramelised onion into each one and topped it with some goats cheese.  I then returned the tarts to the oven until the cheese was melted.  This actually took longer than I was expecting, probably around 7 to 10 minutes.

Edited - cheese in the tin

I sliced the figs and topped the cooked tarts with a portion each before drizzling them with a little honey.

Edited - served up

These were delicious.  They weren’t quite as small and dainty as I thought they would be (probably because I used 12cm squares of pastry) but they sure did taste nice.

Coming up next week, Challenge No. 31 – battenberg.

Challenge No. 29 – Chocolate Panda Cupcakes (Gluten Free)

This challenge wasn’t actually suggested by any friend or family for Challenge52, however, it is a bake which I owed to a friend from a couple of years ago.  Chloè absolutely loves pandas and she found some photos of panda cupcakes and sent them to me.  I offered to make them for her birthday but unfortunately life got in the way and I didn’t manage to do it.  So I added this one to Challenge52 myself as a special gift for Chloè’s birthday.

These cute mini panda cupcakes have been inspired by Bakerella.  Whilst Bakerella gives you all the tips you need to decorate the cakes, I needed to find a gluten free cake recipe for Chloè.  I did a quick search and found this recipe for a gluten free chocolate cake.

To make these gluten free chocolate panda cupcakes you will need the following ingredients:-

  • 100g unsalted butter, diced, plus extra for greasing
  • 140g best-quality dark chocolate, with 70% cocoa solids, broken into pieces
  • 6 large eggs, separated
  • 140g ground almonds
  • pinch of salt
  • 85g caster sugar
  • 150g unsalted butter
  • 300g icing sugar
  • 1tsp vanilla extract
  • Popping candy
  • Chocolate chips
  • Chocolate sprinkles
  • A black icing pen

Edited - ingredients

Bakerella uses sanding sugar which is a special type of sugar used in baking and cake decorating.  It has an extra sparkle compared to normal granulated sugar and it can be cooked and added to icing without dissolving.  I couldn’t find any sanding sugar in my local shops so I thought I would try it with popping candy as it was the closest colour to what I needed.

The cupcakes are made with petit four cases and the above quantities made 50 mini cupcakes, with leftover cake mix! So unless you are making these for a big groups of people, it might be worth reducing the quantities 🙂

I started by putting my diced butter and broken chocolate into a heatproof bowl over a pan of simmering water.  I kept string and then once the butter and chocolate were melted I took it off the heat and mixed until it was well combined. 

Edited - butter:choc Edited - melted

I let the chocolate butter mixture cool for 5 minutes and spent the time separating the eggs.

Edited - eggs

I then added the ground almonds and egg yolks to the chocolate/butter mixture.

Edited - almonds added

I added a pinch of salt to my egg whites and whisked them into soft peaks.   I then added a little of the caster sugar at a time and kept whisking until I had stiff peaks.

Edited - soft peaks Edited - stiff peaks

I added 2 large tablespoons of the eggs whites to the chocolate mixture.  Once it was combined, I gradually added all of the eggs whites, folding it in carefully until all the white was gone.  This took longer than I thought it would but I kept my patience as I didn’t want to beat the air out of the egg whites.

Edited - whites added Edited - mixed up

With the cake mixture ready, I put all my cases on a tray and used a measuring spoon to put a teaspoon of mixture into each case.

Edited - cases

I then put them in the oven for 8 minutes at 200 degrees celsius until cooked through.

Edited - cooked

Once the cakes were cool, I got started with the panda decorating.  I started by putting 150g softened butter into a bowl and whisked it with my handheld electric mixer.  As said in Challenge No. 13, it is important not to rush this stage and so I did this for about 5 minutes.

Edited - butter softened

I gradually added the icing sugar, covering the bowl with a clean tea towel and whisking between each addition until combined. I continued adding a bit at a time until all the icing sugar was incorporated and I added the vanilla extract towards the end.

Edited - buttercream

I put 1/4 of the mixture into a piping bag fitted with a No. 2 nozzle and the remainder into another piping bag fitted with a No. P6 nozzle.

Now for the fun bit, making the little panda faces.  I took each cupcake and pipped icing on top using the wide nozzle before dipping it into a bowl of popping candy (ensuring it was fully covered).  I added 2 chocolate drops for ears, 2 for eyes and one for the nose.  I then added a chocolate sprinkle for the mouth.  Finally, I used the smaller nozzle to pipe the whites of the eyes onto the chocolate drops.  Once the whites were set, I used my icing pen to add the black centres.

Edited - pandas Edited - three pandas

And there you have it, mini chocolate panda cupcakes.

I think these are just so cute! They tasted really nice too 🙂 The only problem was that my popping candy very quickly lost its pop! As I was decorating the cakes, I kept hearing the faint sound of the candy popping on the finished cupcakes.  By the time I had one the next day, there was no pop left. But this doesn’t take away from how cute they are.

Coming up next week, Challenge No. 30 – fig and goats cheese tart.

Challenge No. 28 – Pizza

I don’t know about you, but I absolutely love pizza! My dad is a pizza supplier and there was always a lot of pizza in the house growing up, so much so that I think my brother and I perhaps share a slightly unhealthy love for pizza.  If I had to choose one meal to live on for the rest of my life, I’m pretty sure it would be pizza.  So when my mum suggested this as one of the challenges, I thought it was brilliant.

I had a quick search online and found a recipe for a mozzarella and pesto pizza with homemade base and sauce.  I used different toppings but the dough and sauce recipe was just perfect for what I wanted.  So to make this recipe, you will need the following ingredients:-

  • 500g bread flour (plus more for kneading)
  • 1tbsp salt
  • 330ml tepid water   
  • 2 tbsp olive oil
  • 1tbsp golden sugar
  • 1 7g sachet of dried yeast
  • 1 tin of tomatoes
  • 1 tsp of oregano
  • 1 clove of garlic
  • 1 tsp of salt

Edited - ingredients

I started by sifting my flour and salt into a large bowl and then made a well in the centre.

Edited - well

I mixed the water, oil and sugar together and then added the yeast.  I gave it a good mix and waited 3 minutes before pouring the mixture into my flour well.

Edited - premixing

I used a metal spoon to slowly stir the flour into the liquid until it was well combined. I ended up having to add a little bit more water as it seemed a bit too dry.  I just added a few drops at a time until it came together as a relatively sticky dough.

I floured my work top and tipped out the dough ball.  I gave it a good knead for about 10 minutes until it was smooth and springy.  I popped it in a clean bowl which I had covered with a fine coating of flour, sprinkled some flour on top of the dough and then I covered the bowl with a damp tea towel.  I put the bowl in the hottest part of my flat, in front of the working tumble dryer and set the timer for 1 hour.

Edited - ready to proove

Practical tip: in case you missed Challenge No. 16, remember to develop your own method of kneading.  This may sound silly but when I first starting making bread, I tried to replicate other people’s kneading styles.  Unfortunately, I have bad joints, particularly bad in my hands and I found it painful to use some of the methods I’d seen on TV.  Instead I found I rolled and stretched the dough between my two hands, using more of the heel of my hand than my fingers.  It takes a little longer for me to knead like this but I always get there in the end and it is less painful 🙂 So find a method that works for you and just go with that.

Whilst the dough was proving, I set about making the pizza sauce.  I drained the juices from the tinned tomatoes and popped the leftover tomatoes into a jug.  I added the oregano, garlic and salt and then blitzed it with my handheld mixer.  The smell was absolutely beautiful and instantly reminded me of a lovely fresh cooked Italian pizza!  Just what you want from a pizza sauce 🙂

Edited - pizza sauce Edited - blended sauce

When the timer went off for my dough,  I turned the oven on to 220 degrees celsius and put in two tray upside down.  According to the recipe I found, this helps crisp up the base of the pizza.

I tipped out the dough onto a well floured surface and divided the mixture into 4 equal balls.  I took the first one a kneaded it for about 5 minutes until it felt right to start stretching.  I gave it a bit of a roll with the rolling pin and then decided that, if I am making pizza, I’m going to do it properly…so I started throwing it in the air, spinning it into a flat oval.  It kind of worked too!! I still had to give it a bit of a stretch to get it to the right size but I soon had a base ready to be topped.  I popped it onto some floured foil and got started on the toppings.

Edited - ball of doughEdited - flat dough

Practical tip: this recipe makes 4 pizza bases.  If you don’t want to eat all four at once, just knead and shape any extra dough.  Layered the extra bases together with foil to separate them and then pop them in the freezer for another day.

I made Dave’s pizza first and added some sauce before layering up some grated cheddar, pepperoni slices, ham slices, some barbecue chicken, some pulled mozzarella and then a drizzle of chilli oil.

Edited - 4

Practical tip: don’t cut your mozzarella, always pull it.  I’ll be honest I don’t know why this is but its something my dad always says to do when topping a pizza and having been in the industry for a long time, I’m inclined to listen to him 🙂

With Dave’s pizza put to one side, I took the next ball of dough to knead and stretch into my base.  I topped it with some of the sauce and then added my ingredients.  I covered a quarter of the pizza with goats cheese, a quarter with gorgonzola, a quarter with mozzarella and a quarter with a cheddar/parmesan mix.   I then topped it all with ham and some chilli oil.

Edited - ham

I put each pizza onto one of the heated trays and put them in the oven.  I set the timer for 8 minutes and when this went off, I broke an egg into the centre of my pizza.  Trust me, don’t knock this until you have tried it. Egg on a pizza is one of life’s little food secrets that no-one should miss out on (although Dave still wont try it!).

I let the pizzas cook for another couple of minutes and then decided they needed a little longer.  I hadn’t made my bases quite as thin as the recipe suggests and I know Dave prefers his pizza slightly overdone.  I ended up cooking the pizzas for about 16 minutes in total and this was just about right for us.

Edited - DA done Edited - done2

These were absolutely amazing!  They was much less greasy than a takeaway pizza and I’m amazed at how simple it was to do.  Once I’ve used the 2 extra bases I have in the freezer, I will definitely be making some more.

Coming up next week, Challenge No. 29 – panda cupcakes (gluten free).