
So this is one I thought would be nice and easy to make – there are not many ingredients and all the recipes I found looked really simple. I will however warn you from the outset that in addition to the ingredients listed below, I found it necessary to have on hand a strong Mancunian to assist. Keep reading to find out more.
The suggestion of viennese fingers was the second one to come from my colleague Alison and they are not something I’ve ever made before. In fact, I wasn’t too sure what they were. I googled them and found a recipe which was published by previous Great British Bake Off winner, Jo Wheatley. The recipe can be found by following this link
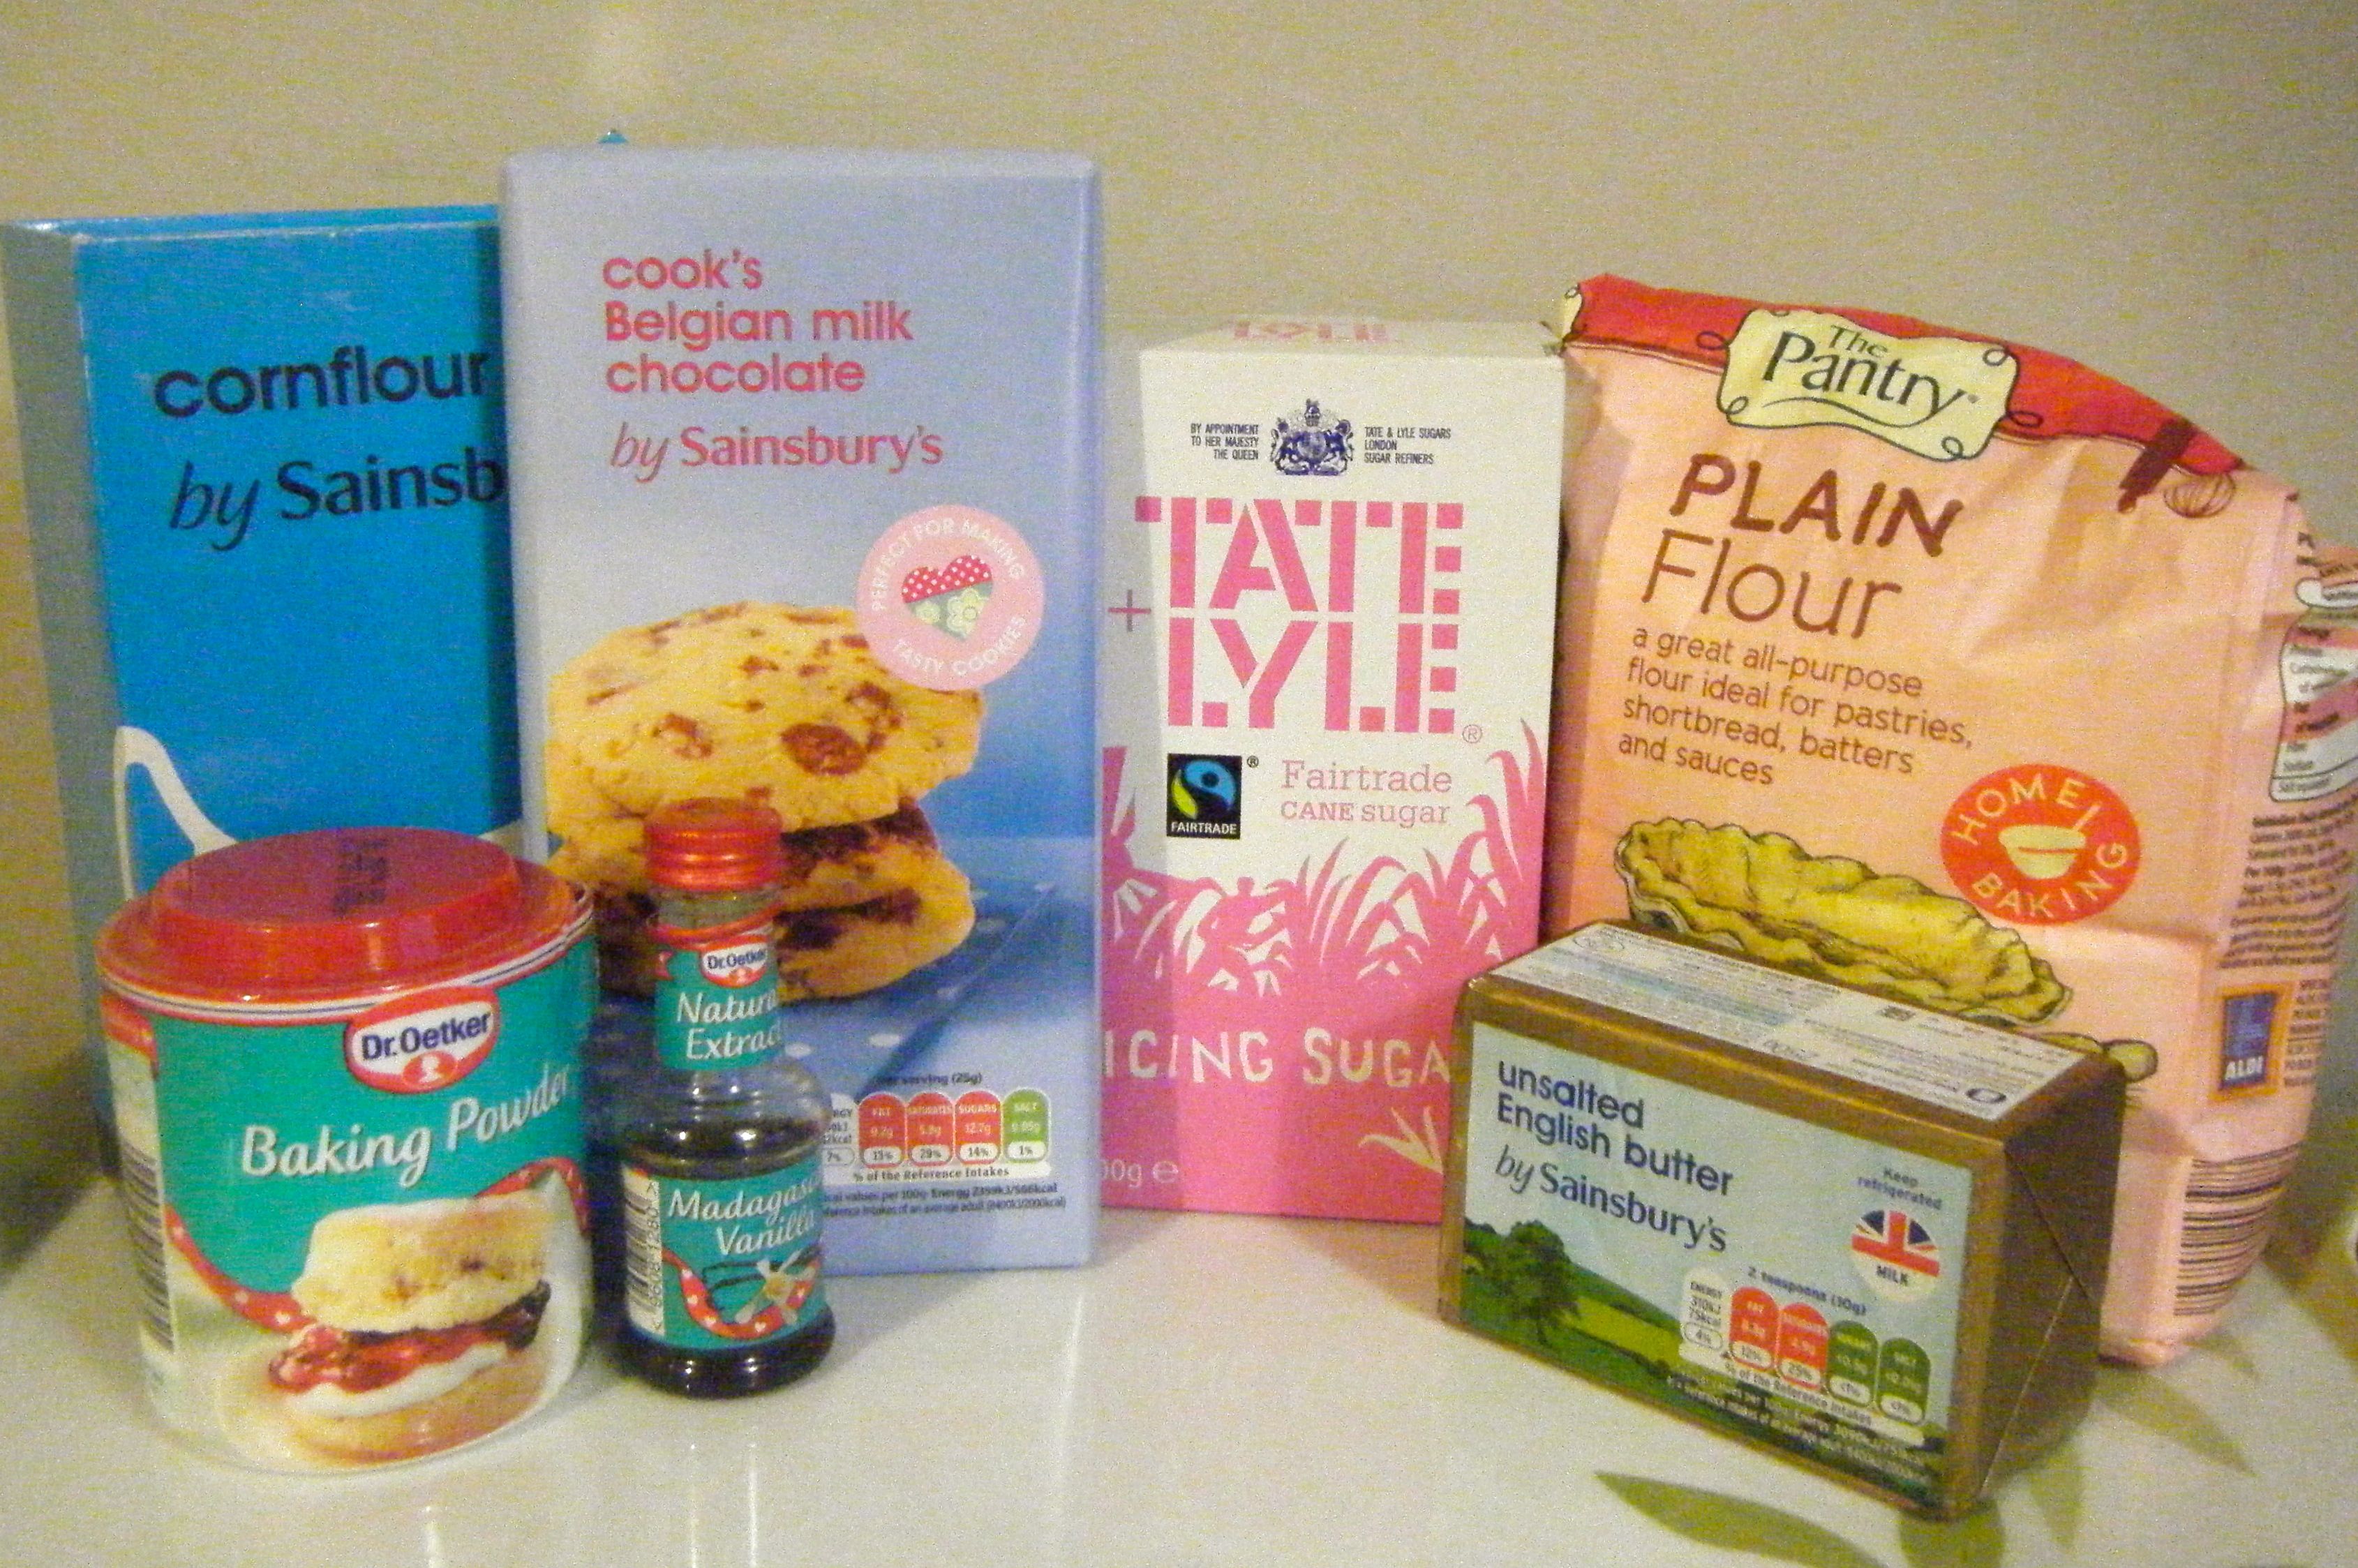
The recipe calls for the following ingredients:-
- 100g unsalted butter, softened
- 25g icing sugar
- 1tsp vanilla extract
- 100g plain flour
- 1tsp cornflour
- 1/4tsp baking powder
- 100g milk chocolate, chopped
Practical Tip: in case you missed my Chocolate Fudge Cake – to soften the butter, cut it into cubes and put it in a sandwich bag in a bowl of lukewarm water for between 5 to 10 minutes until soft. This can be a lot quicker than leaving the butter at room temperature, especially in the winter when your kitchen may not be so warm!
The recipe instructs the use of a free standing mixer, however, I don’t have one of these, so I pulled out my plastic mixing bowl and handheld mixer. With the butter softened, I beat it until light and fluffy and then added the vanilla extract.
I then measured out the remaining biscuit ingredients and sieved these into the soft butter and vanilla extract. I mixed it all together with a wooden spoon (I wasn’t sure about using my mixer but in hindsight I think I could have done) until thoroughly combined and then I put the mix into my piping bag.
Practical Tip: when spooning mixture into a piping bag, I always find it easier to put the bag into a tall glass and turn the top down.

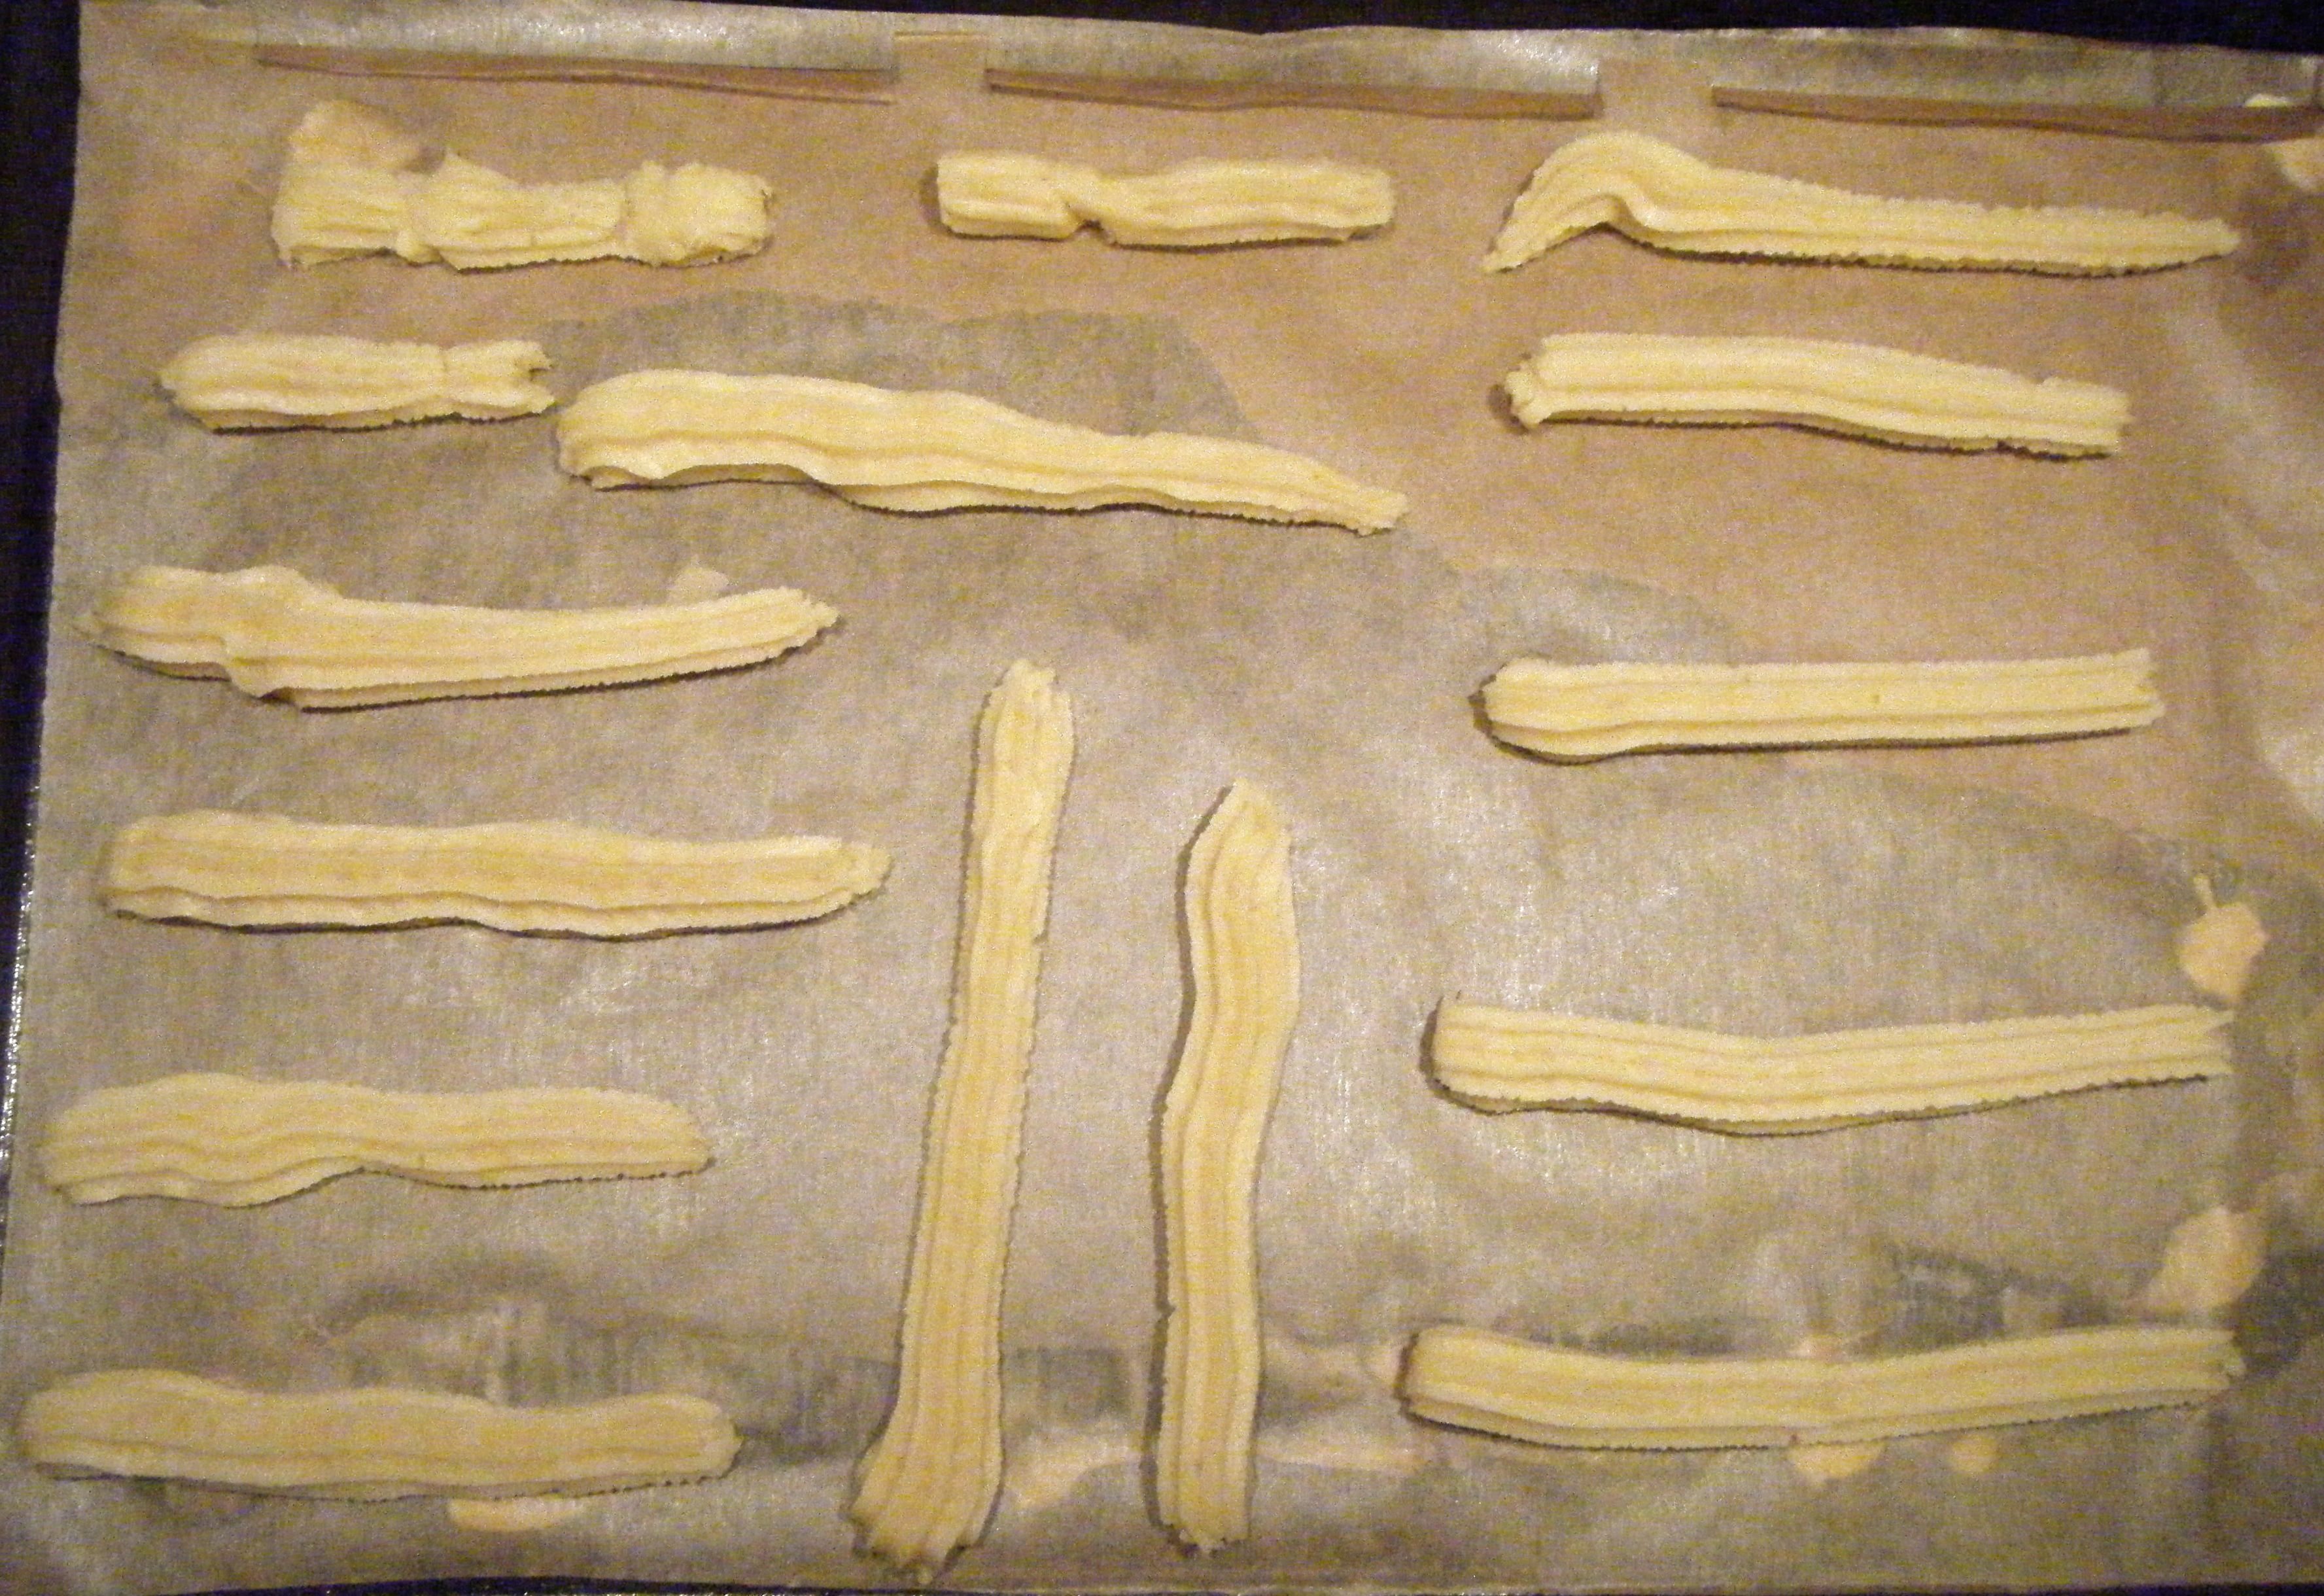
With the piping bag ready I got out my tray and lined it with baking paper. I drew 10cm lines at the top of the baking paper and cut slits so each line could be clearly seen when it was on the black tray. Ready to make my perfect 10cm viennese fingers I started to pipe my first line. Now this is where things didn’t quite go to plan!
The mixture was so tough, I could’t get enough pressure on the piping bag to push it out the nozzle. Panic time! What to do next? After a few minutes of struggle, I called Dave (my stronger half) to the rescue. He had a quick go at pushing the mix through and managed to do it. After a speedy lesson in how to use a piping bag – first time round he just squeezed the middle and a load of mixture shot to the top of the bag rather than out of the nozzle – he finished off the piping for me. Not quite perfect 10cm lines but a lot better than the three pathetic ones I managed. You can tell from the picture below which ones I pipped!
Practical Tip: if you haven’t got a strong Mancunian to hand, there may be another way. A little bit of research (post baking) showed me that a few others have had similar issues with piping the viennese finger mixture. Some of these suggested kneading the mixture in the bag or warming it in a bowl over some hot water. Be careful not to over work or heat the dough, just do it enough to make it soft enough for piping. I’ll be trying this next time and I’ll let you know how I get on.
With the fingers piped, into the oven they went. I set the timer for 10 minutes initially and then left them in for another 4 until golden brown. Once they had cooled on the tray for five minutes I transferred them to a rack to cool completely.

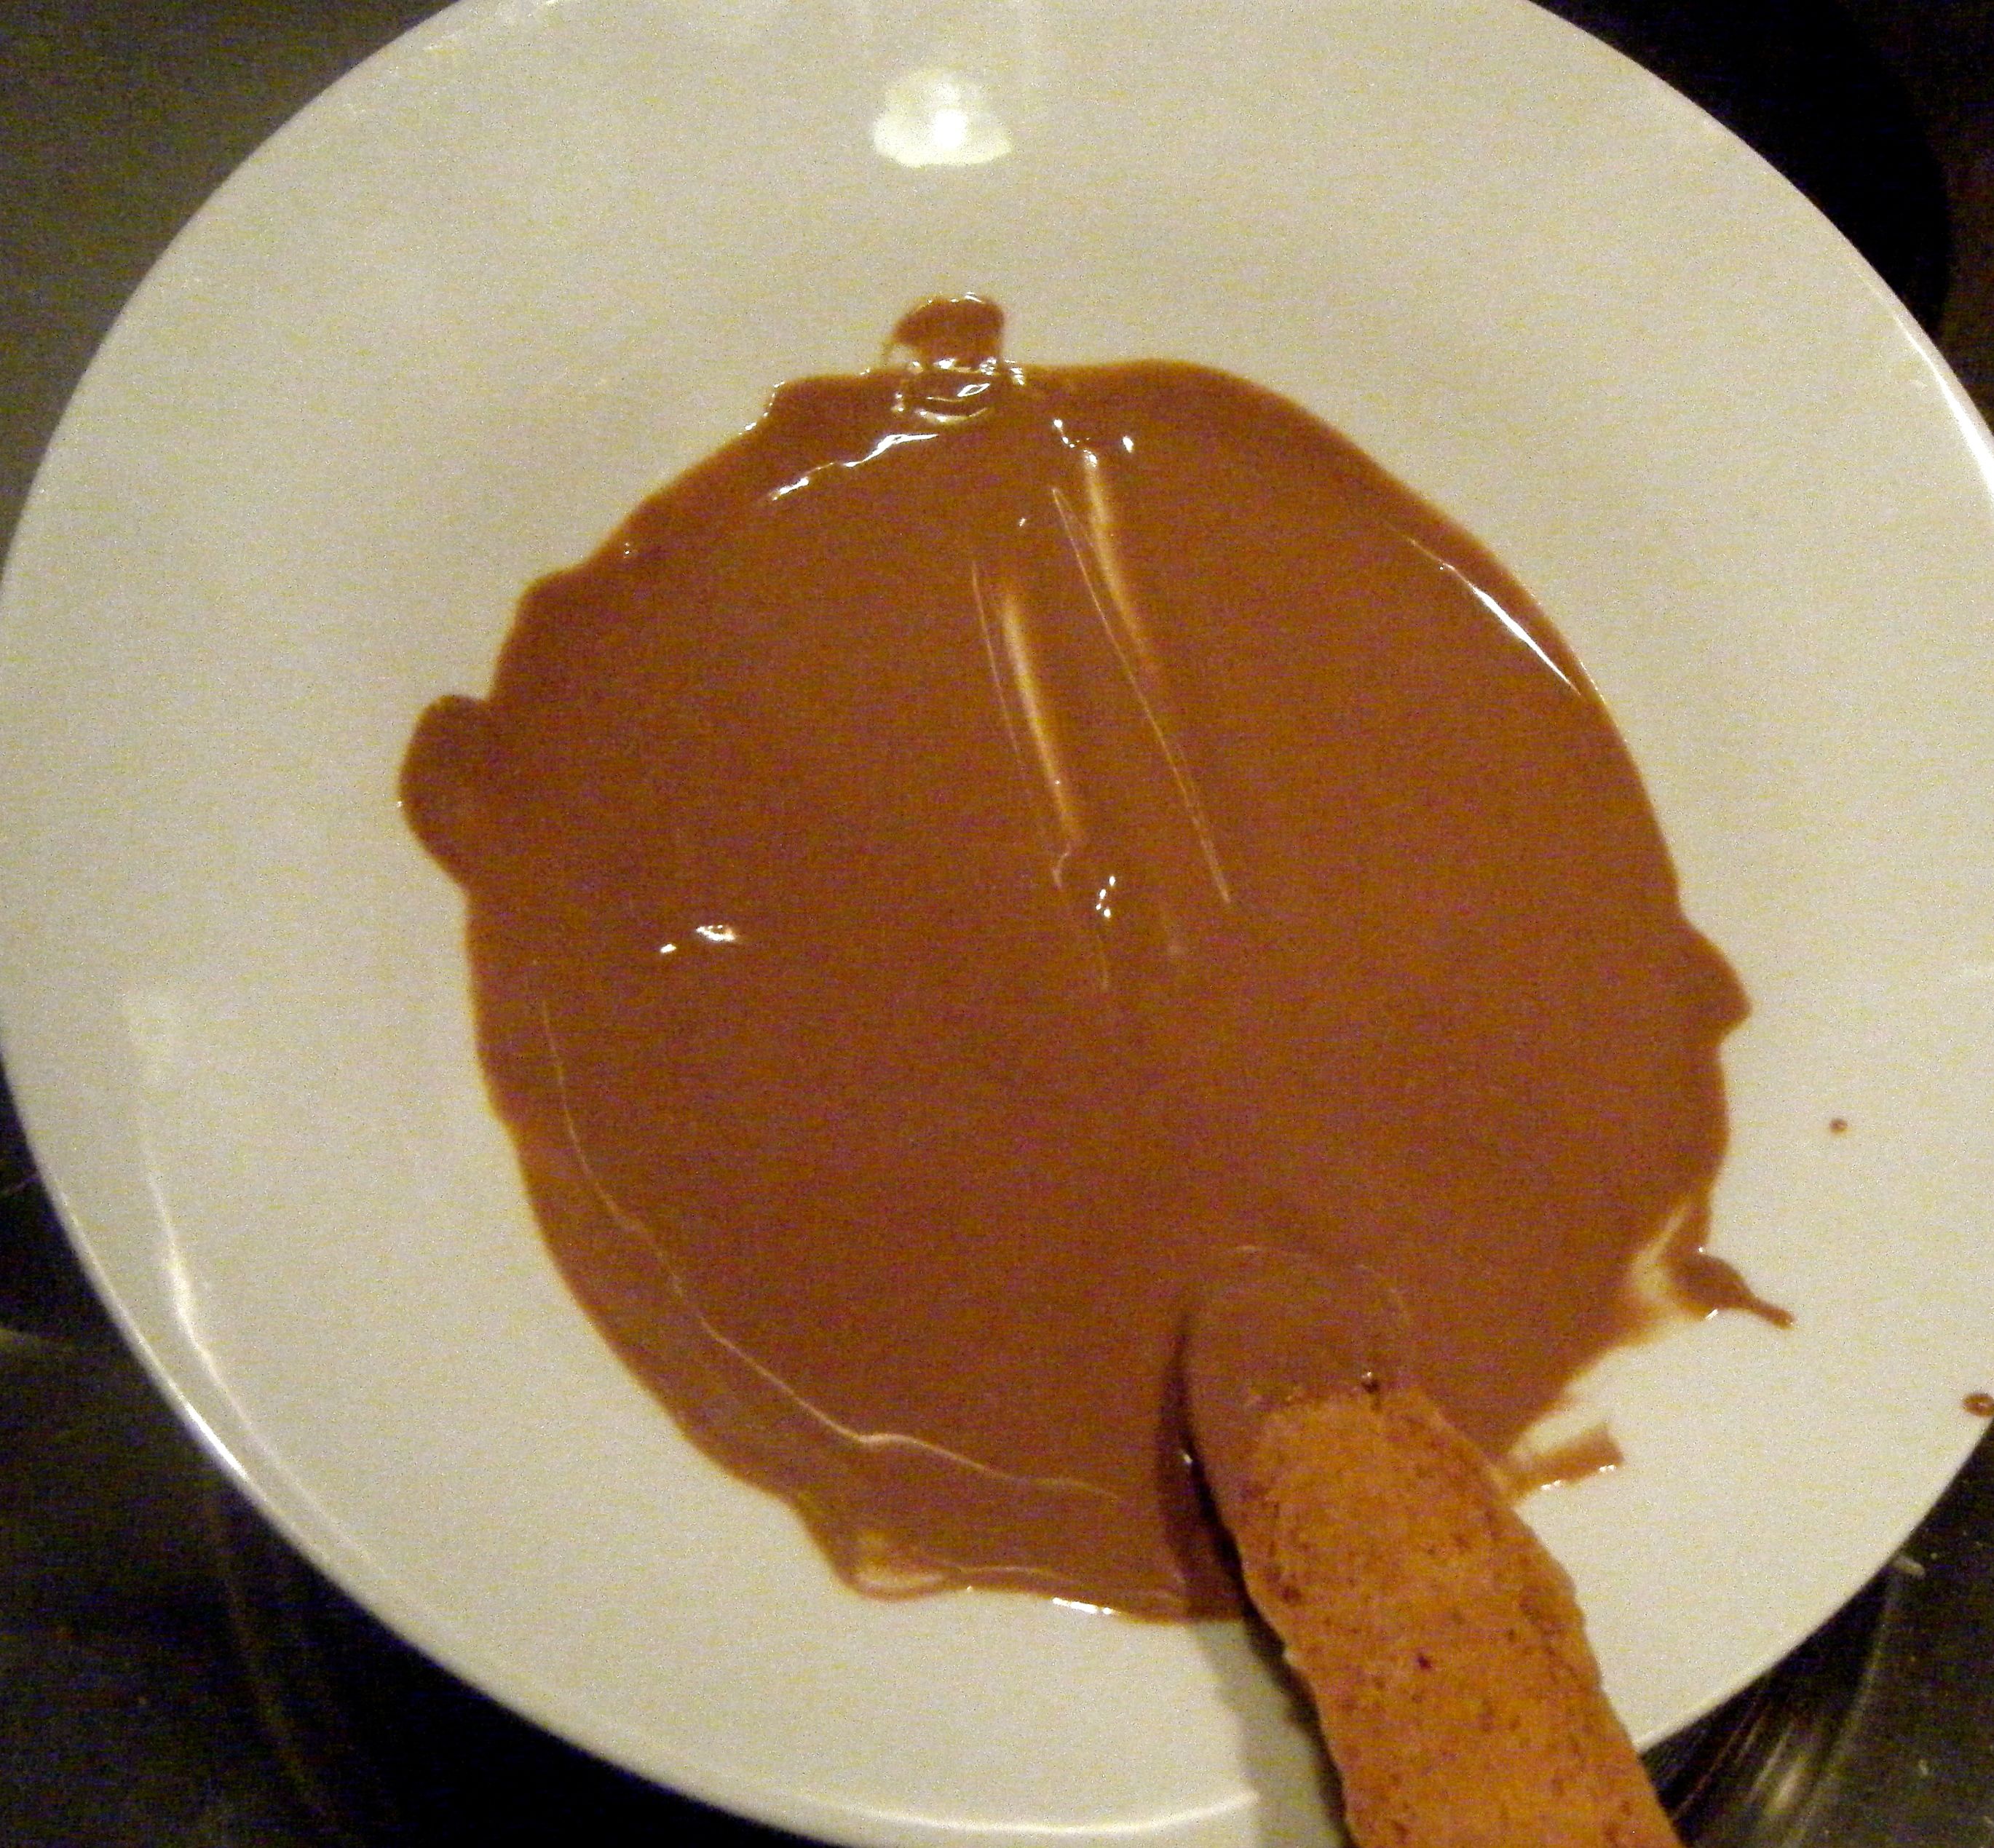
To melt the chocolate the recipe says to either use the microwave or to heat it over a pan of simmering water. I always prefer to use the pan technique as it is easier to watch and you are therefore less likely to burn the chocolate. If you use this method, just make sure the bowl with the chocolate in is not touching the water underneath.

I decided to melt half the chocolate and dip one side of the biscuits first. Once set, I then melted the other half of the chocolate and dipped the other end. It took a bit longer to do it like this but it was also probably a lot less messy!

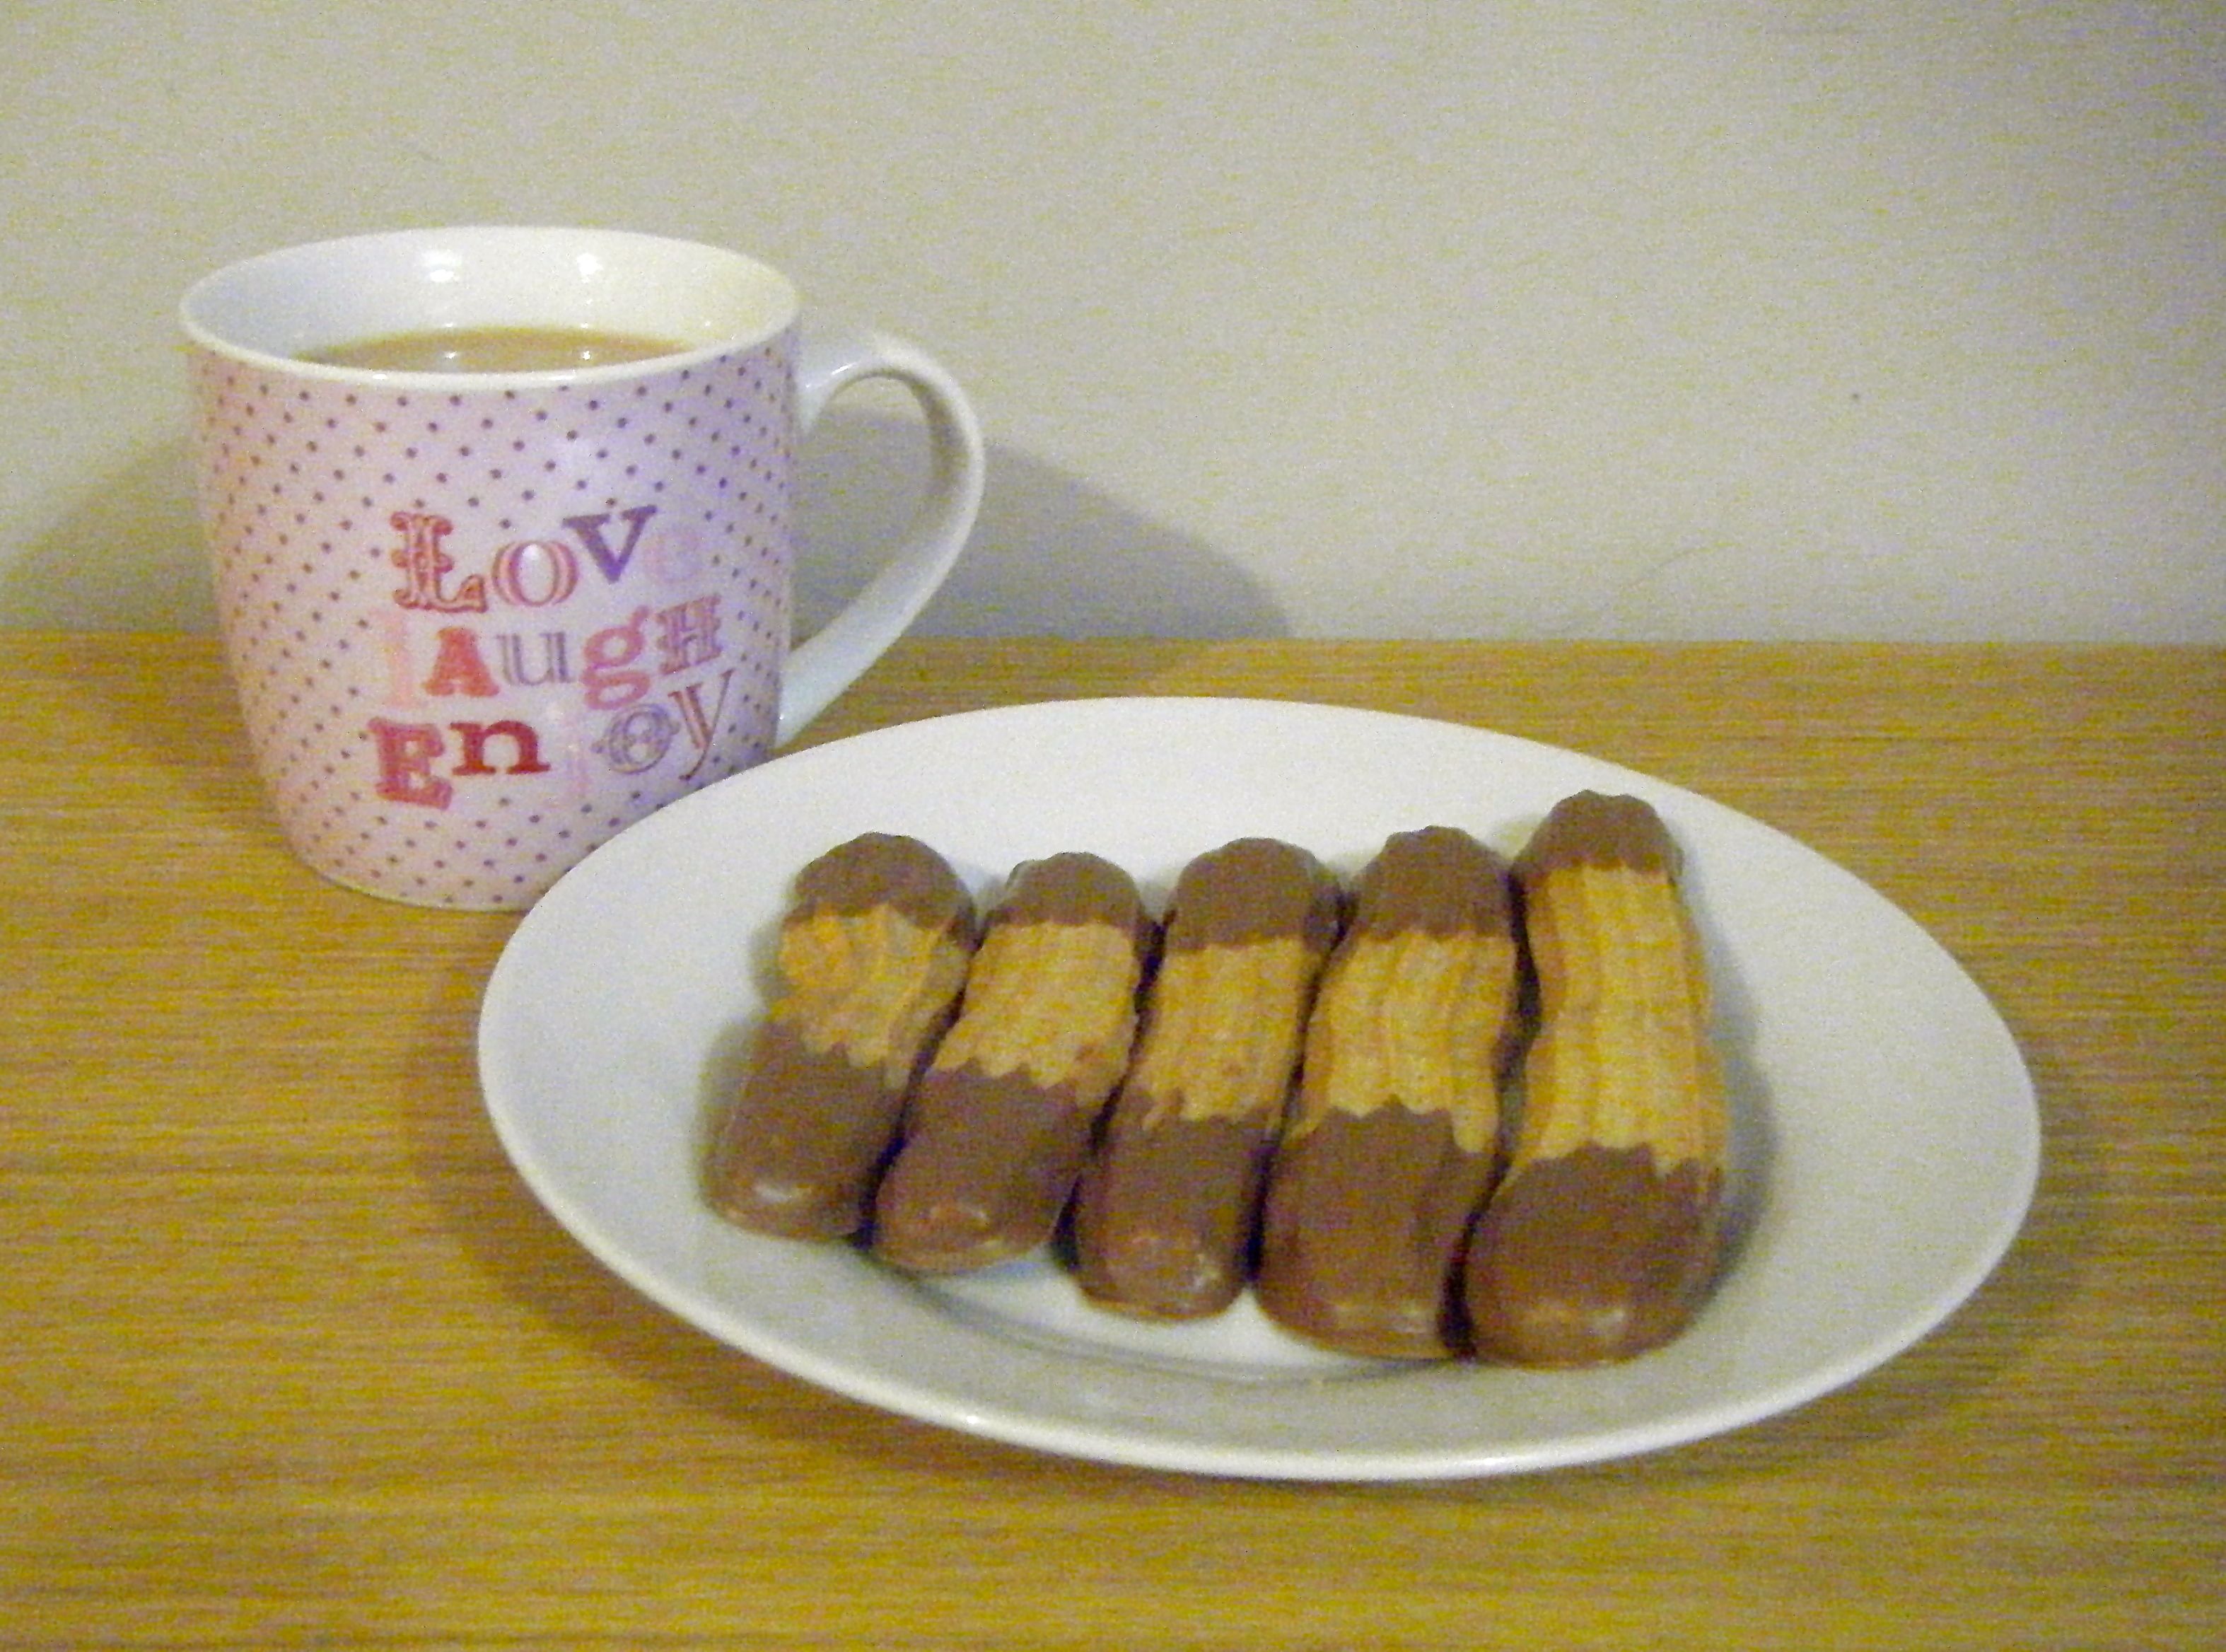
There you have it, my viennese fingers. They are definitely not as pretty as I would have liked but they tasted delicious. If you decide to give this recipe a go, be careful, the end product is extremely moorish and great will power will be required to stop you eating the whole batch 🙂
Coming up next week, Challenge No. 8 – shepherds pie

I can’t keep reading these recipies, I am gaining weight just reading the blog. Lots of fun Vanessa. Hi David
LikeLike
Aww glad you are enjoying them!! I would say there are some healthier challenges to come, but its just not true 🙂 we’re all aloud treats every now and again though x
LikeLike
Pingback: Challenge No. 13 – Candy Floss Cupcakes |