Challenge No. 44 – Potato Bomb

Okay, so I’ve been a little cheeky with this one and suggested it myself! I couldn’t help it, I saw this recipe and thought I HAVE to try these.  Mashed potato, bacon and cheese – can it get much better than this? I think not 🙂

I found the recipe on a website called SavoryStyle which is aimed at connecting food bloggers and general lovers of food.  Be sure to check it out.

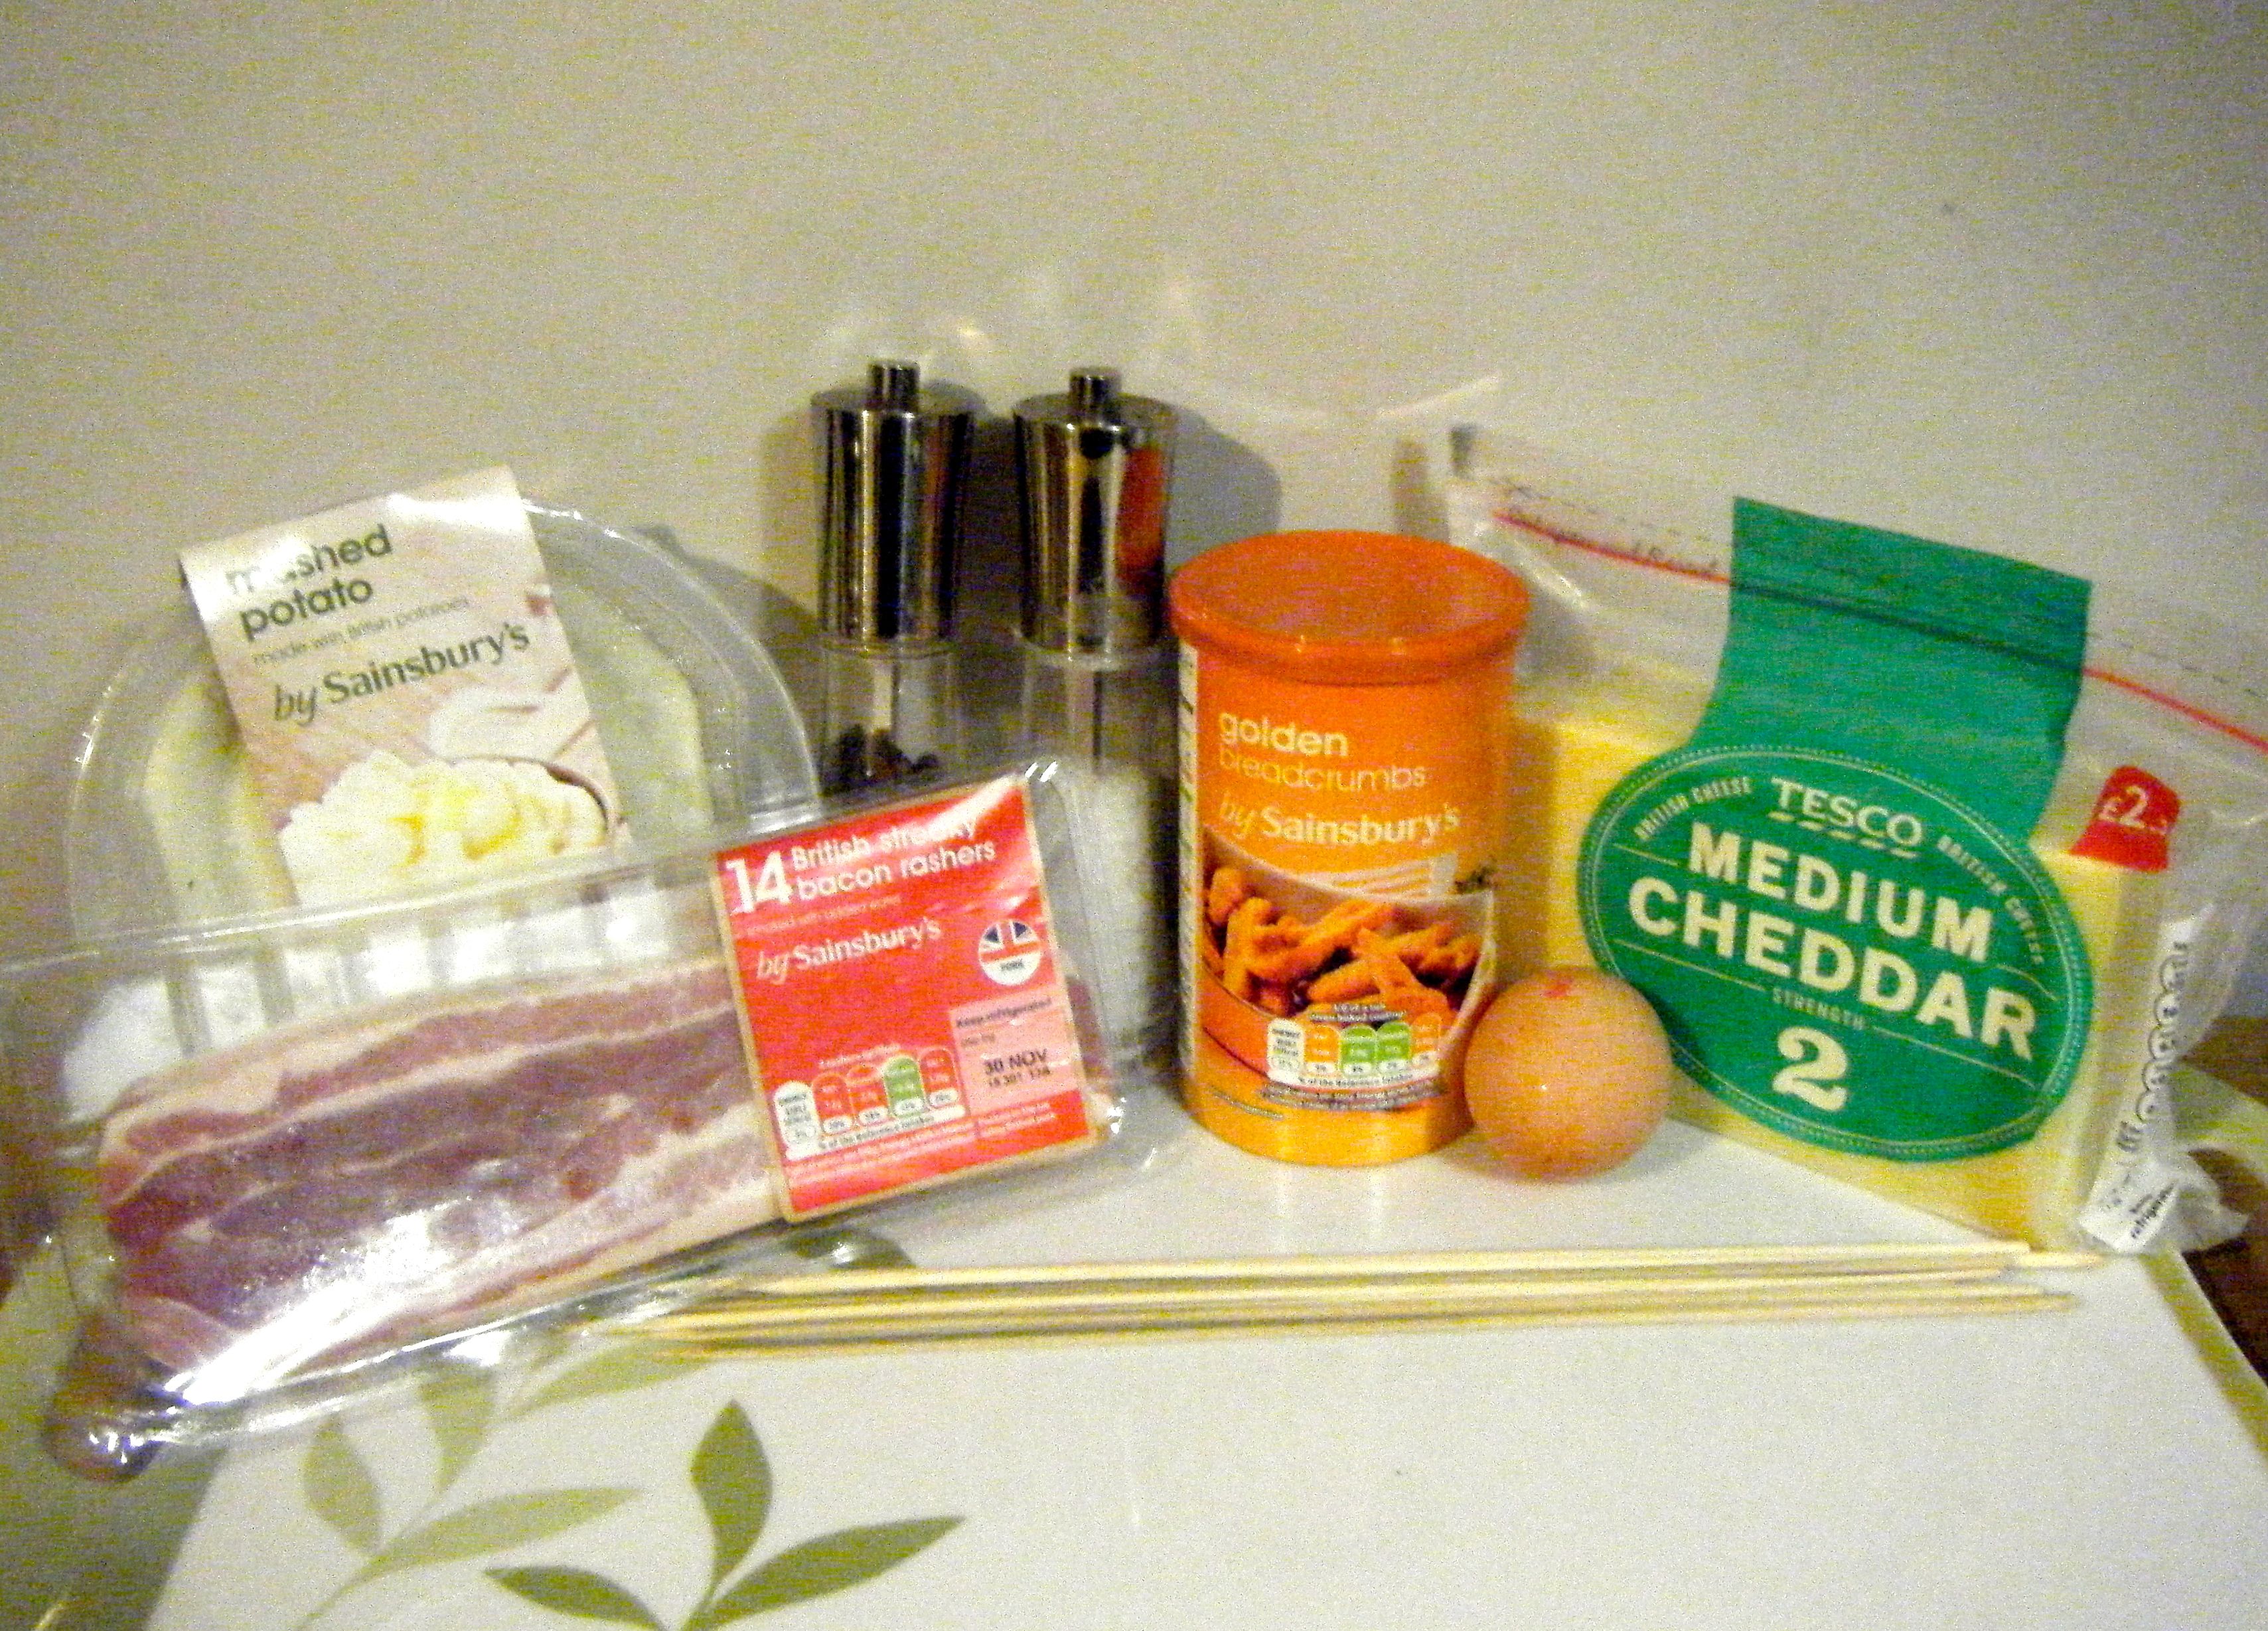
For this recipe you need:-

  • 2 cups leftover and chilled Mashed Potatoes (I used approx. 450g)
  • 1 Egg
  • Salt and Pepper to taste
  • Cheddar Cheese cut into chunks
  • 1/2 cup Dry Bread Crumbs (see my practical tip below)
  • Bacon..one slice per Bomb
  • Skewers or toothpicks
  • Oil for frying

Ed - ingredients

Dave is not a fan of mashed potato and trying to get him to eat it two nights in a row seemed a bit impossible.  So instead I used ready made mash which just needs reheating.

Ed - potato

I mixed around 450g with an egg and seasoned it with salt and pepper.

Ed - mixed potato

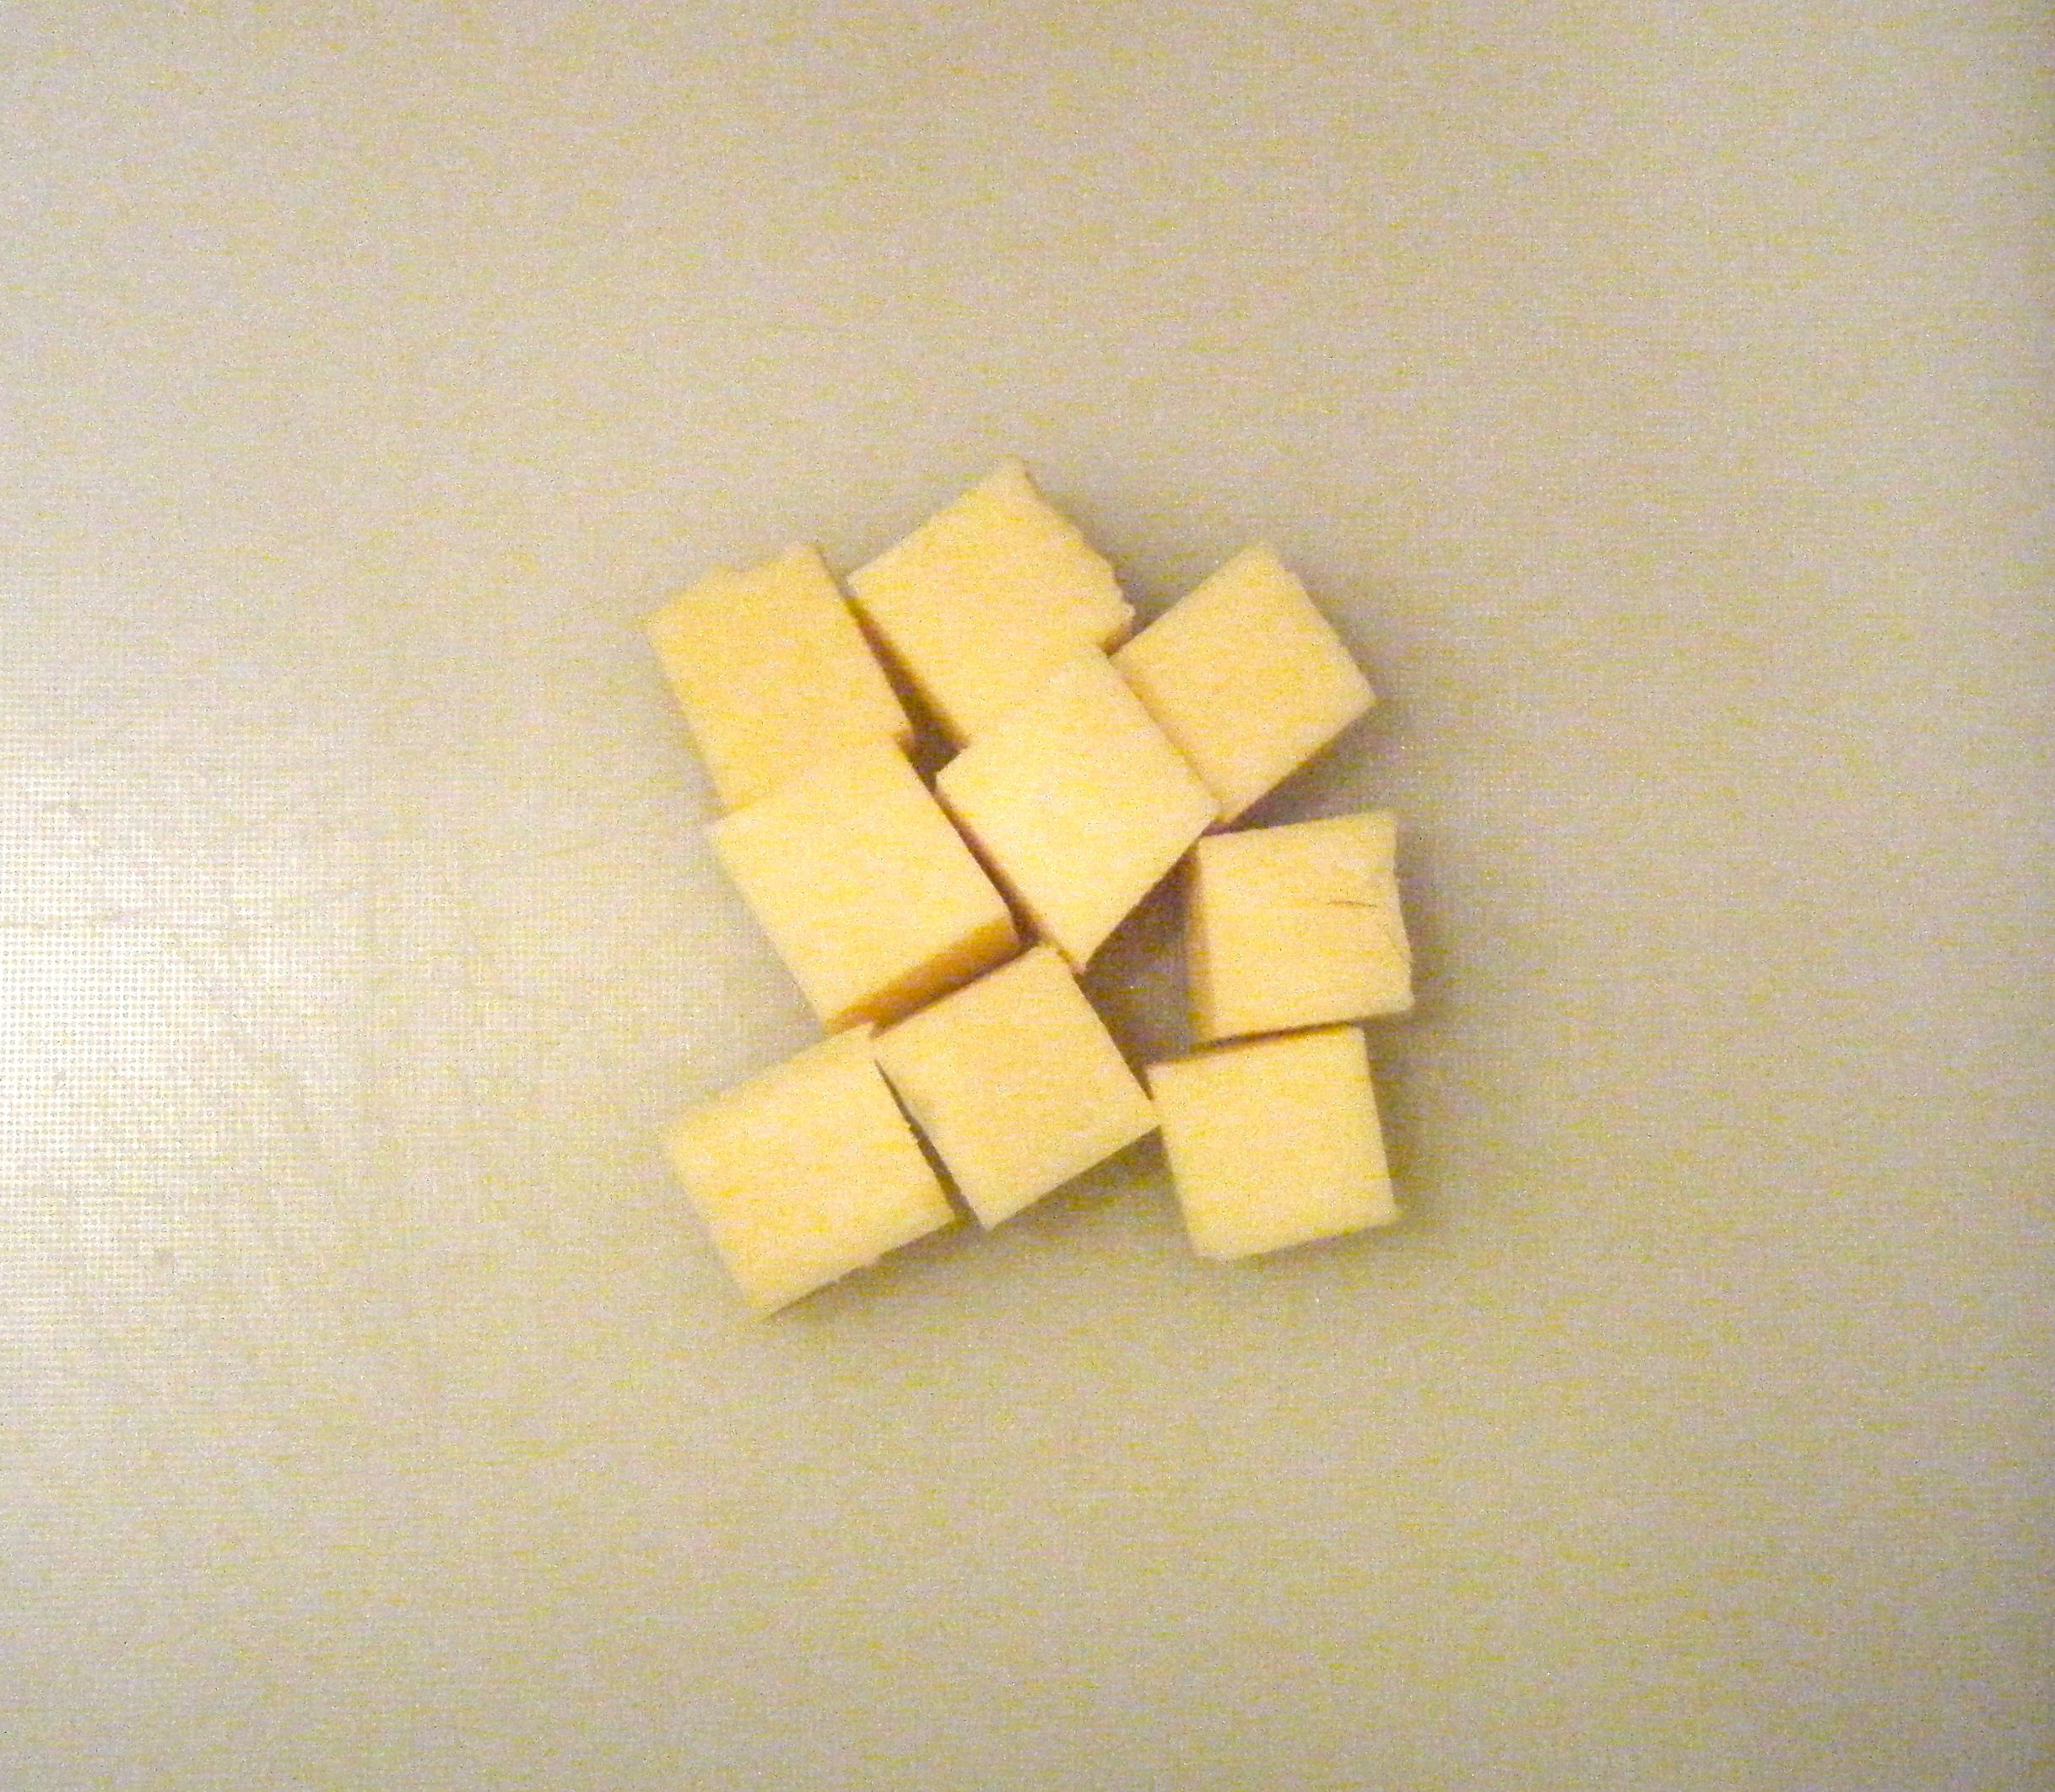
I cut the cheese into chunks.  The recipe says to cut it into one inch chunks, however, when I did this, they seemed huge! So instead, I chopped the cheese into 2cm cubes.

Ed - cheese

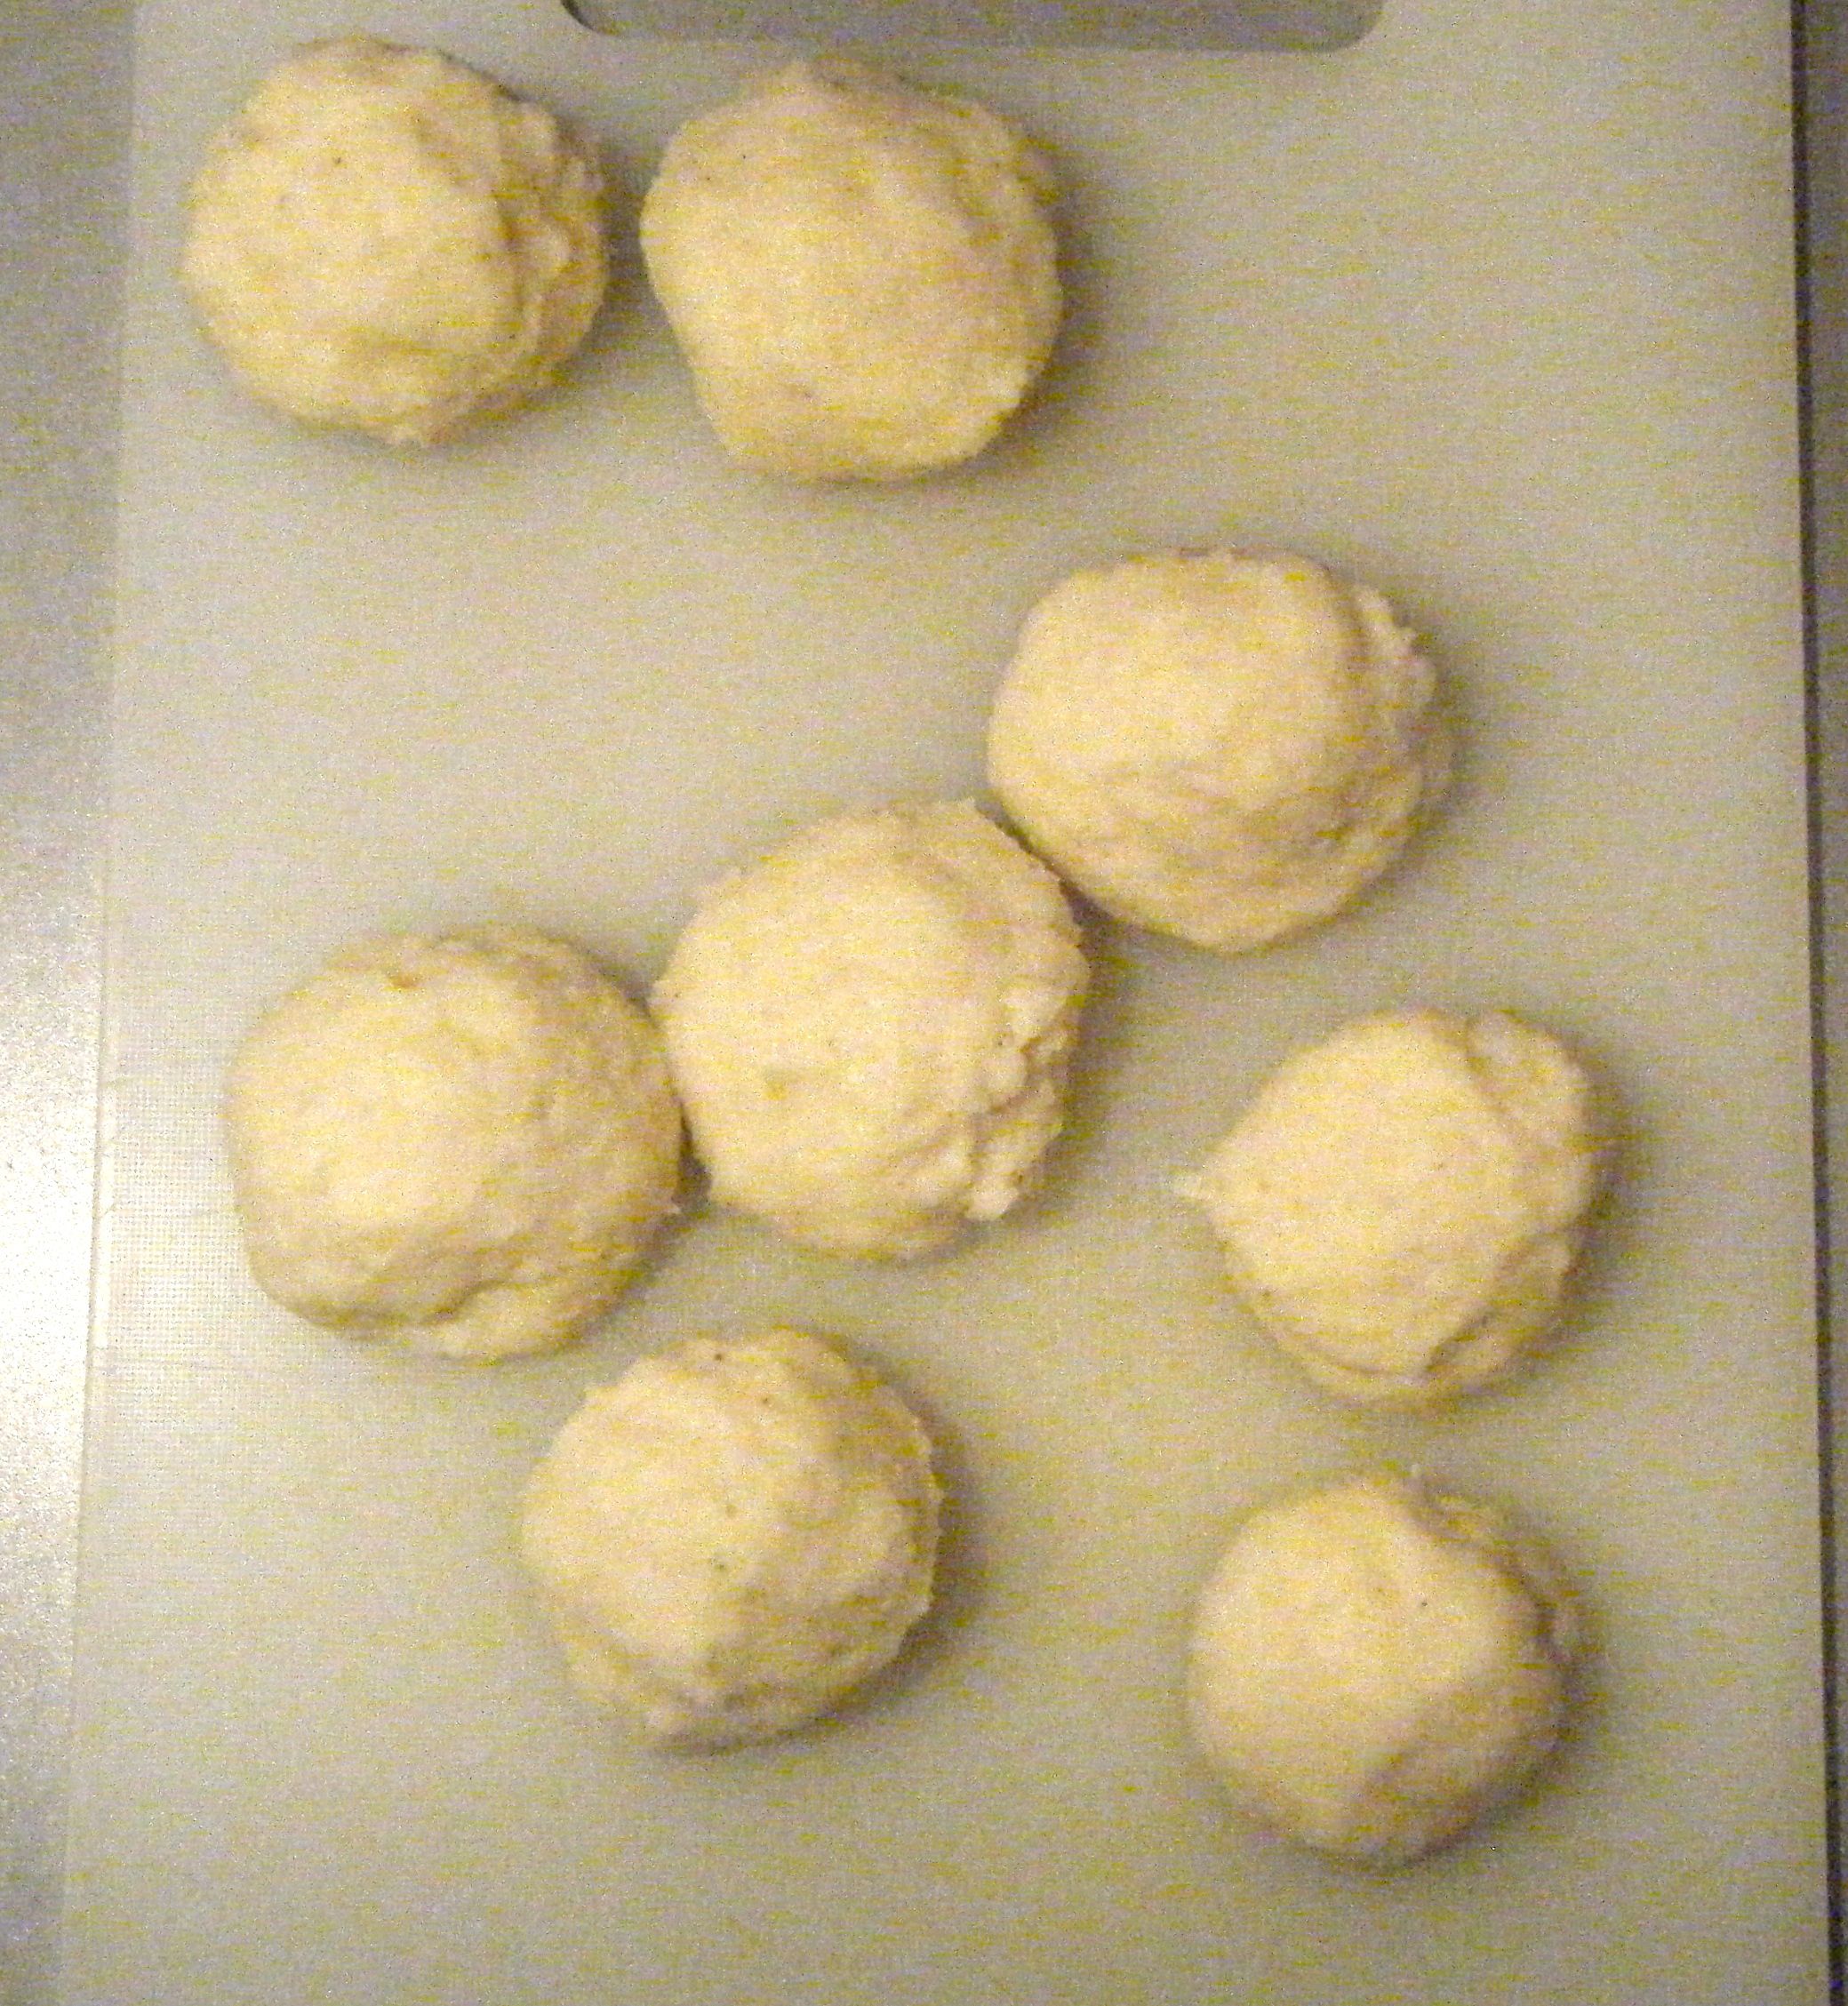
I took a tablespoon of mash potato and carefully shaped it around a chunk of cheese.  I the repeated this until all the mash was used.

Ed - balls

I then put the breadcrumbs into a bowl and I rolled the mash balls in the breadcrumbs until evenly coated.

Practical tip: don’t measure out the breadcrumbs.  Just pop some in a bowl and kept topping it up as you go.  If you measure the breadcrumbs out, you could end up wasting them as it’s unlikely you’ll need the full amount. 

Ed - breadcrumbed

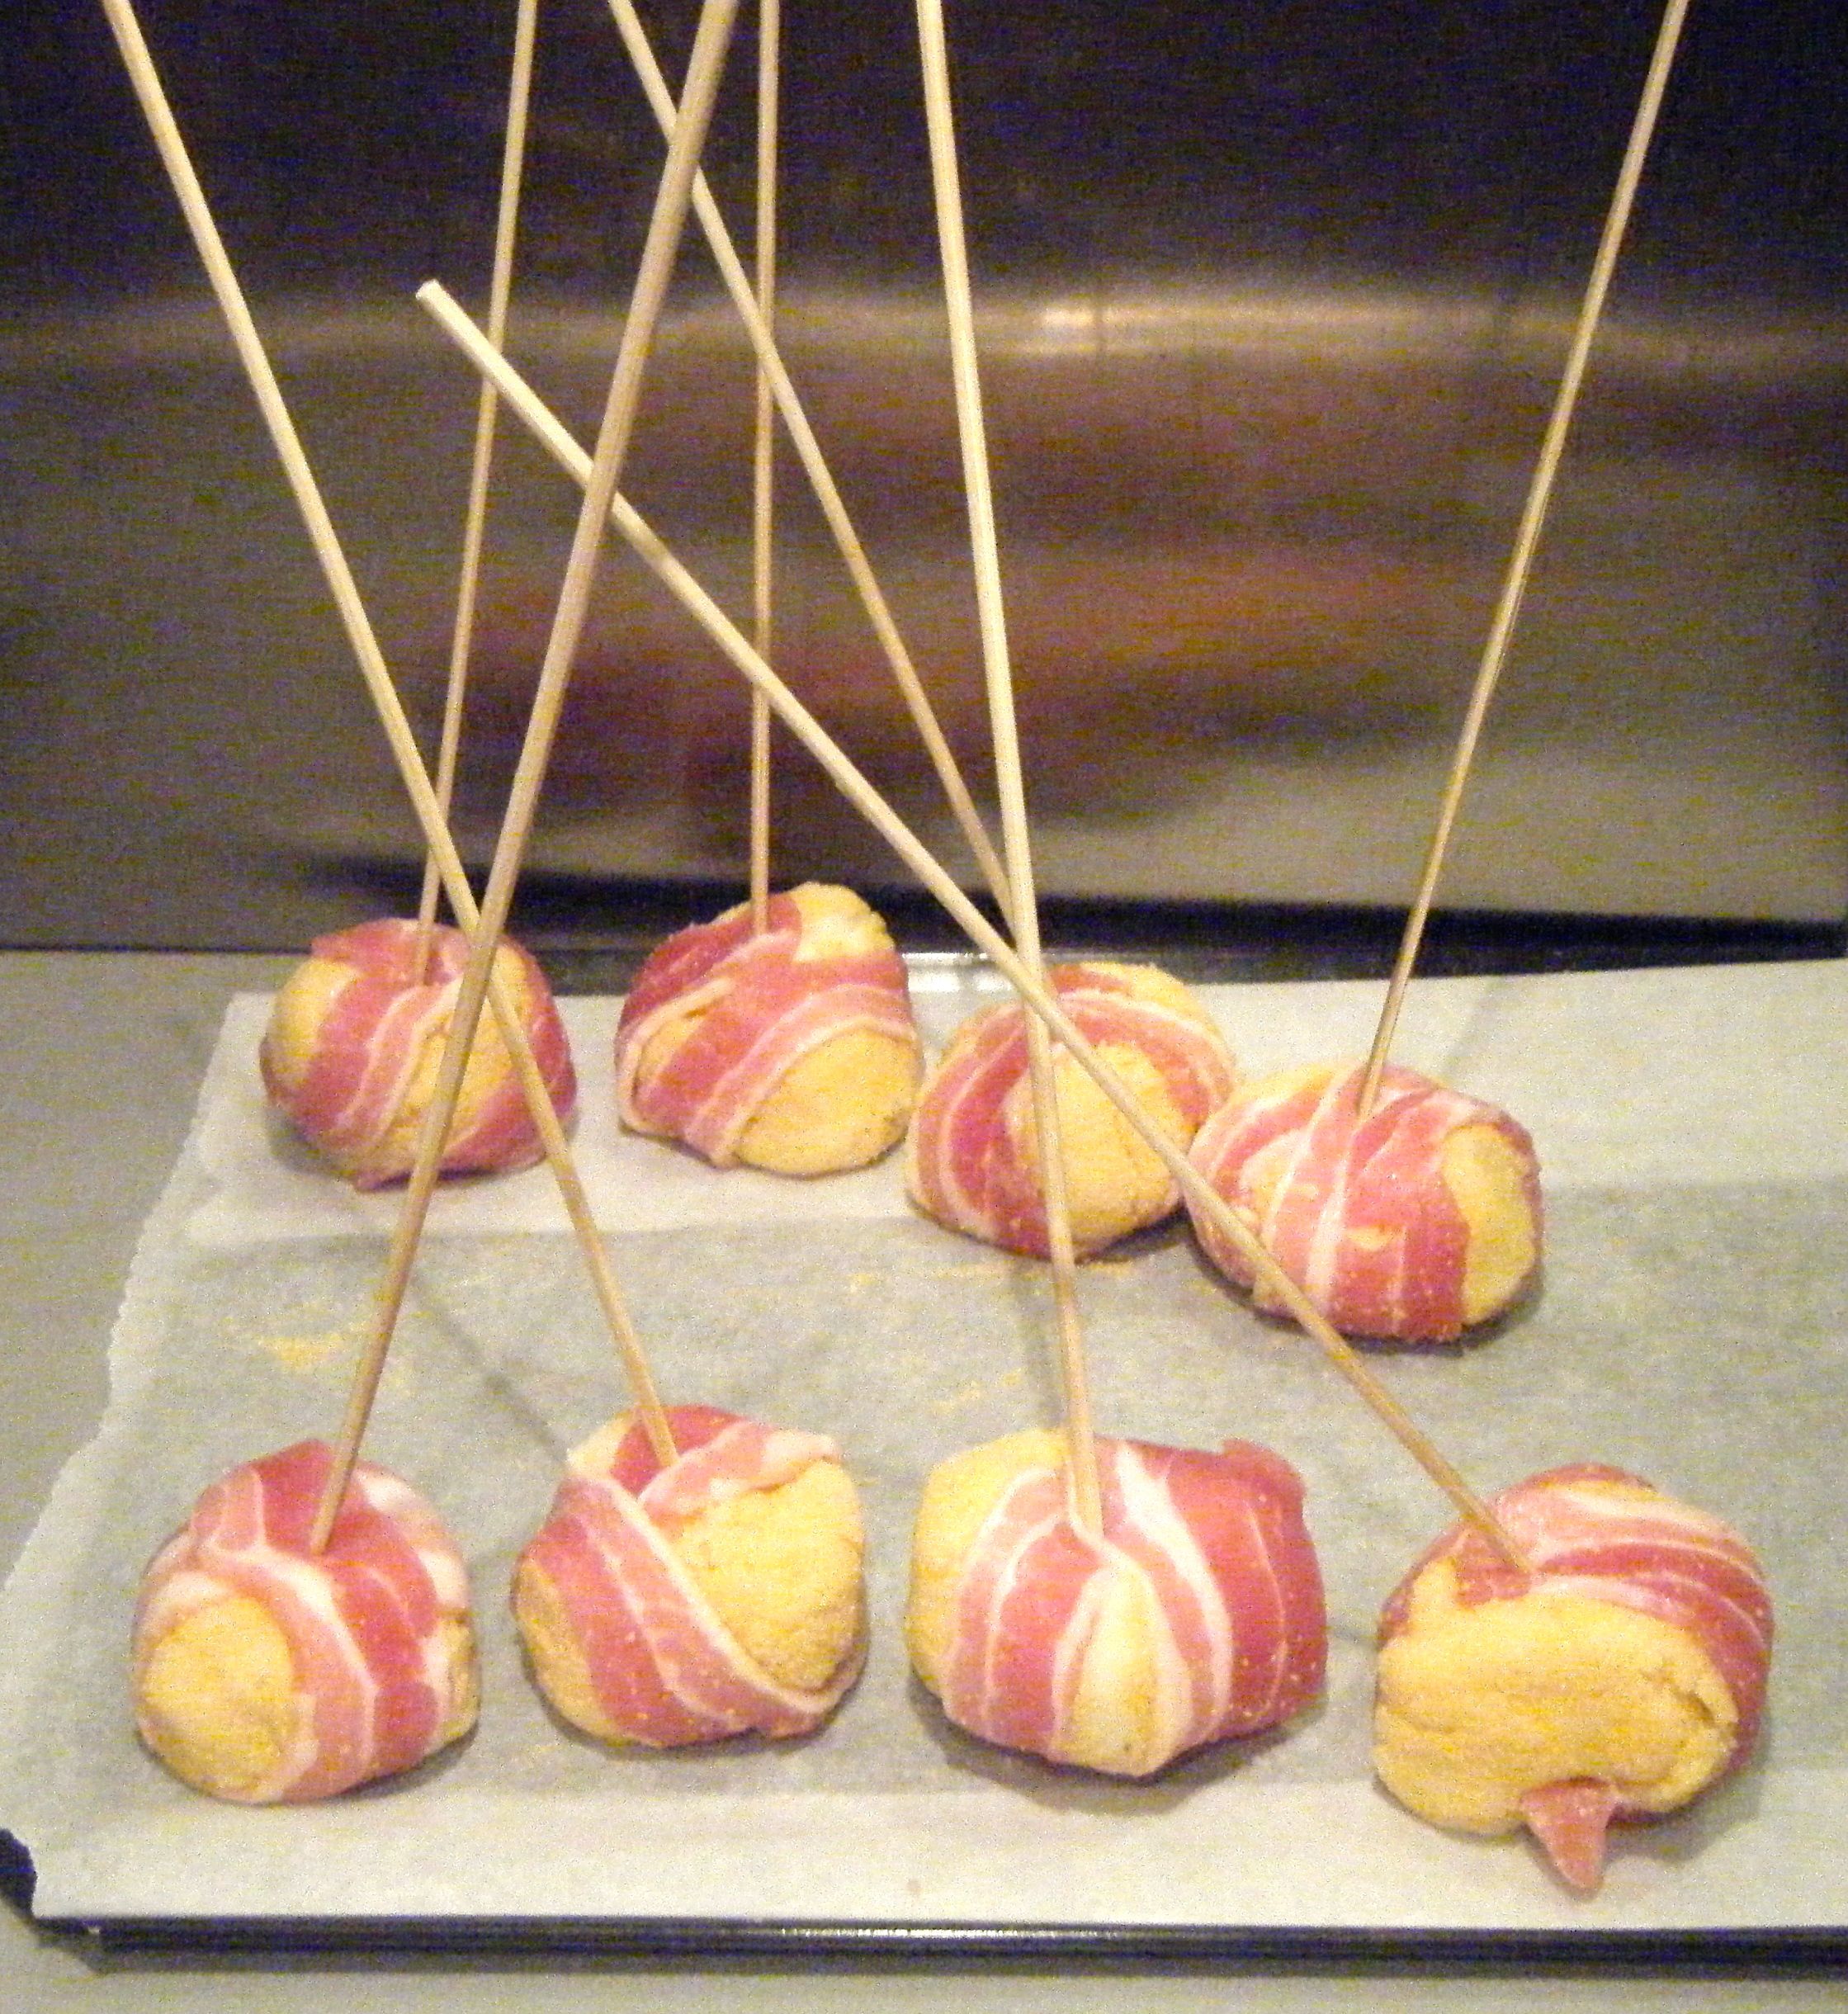
I wrapped the breadcrumbed balls in a piece of bacon and pushed a skewer through the bacon and cheese centre.

Ed - skewers

I decided to use my deep fat dryer and heated it up to 175 degree celsius.  I put the potato bombs in the frying basket and carefully lowered it into the hot oil. 

Ed - fryer

The recipe says to fry them until golden but lists the cooking time as 15 minutes.  I therefore intended to cook them for this amount of time, however, I realised part way through that this was a bit too long.  I think 10 minutes would have been better.

Anyway, after 14 minutes, I removed the potato bombs from the fryer and put them on some kitchen roll whilst I finished up the chicken escallops we were having them with.

Ed - drain

Ed - served up

These didn’t really turn out as I would have hoped.  Don’t get me wrong, they were still nice but there was no cheese left inside and they were slightly overcooked.  Next time I will leave the cheese chunks bigger and cook them for just 10 minutes.  However, you could tell these had really good potential as they tasted yummy…if slightly too crispy. 

Coming up soon, Challenge No. 45 – egg custards.

Challenge No. 42 – Lamb Boulangere

This challenge was suggested by my mum who makes the nicest lamb boulangere.  I didn’t plan this post very well and kind of decided very last minute that I would be making this one.  Unfortunately, my mum was off exploring Hamburg with some friends and I therefore couldn’t ask her for the recipe she uses.  So instead, I used this one by Tom Kerridge.

The recipe used a whole lamb shoulder, however, given that there was only Dave and I to eat it, I decided to half the recipe.  I therefore used the following ingredients:-

  • 2 medium onions, thinly sliced
  • 4 medium waxy potatoes, peeled and thinly slices
  • 1 bunch thyme, leaves picked
  • Salt and black pepper
  • 1/2 lamb shoulder
  • 1/2 garlic bulb, peeled and separated into cloves
  • 1/2 pint chicken stock

Ed - ingredients

The recipe suggests serving this dish with french beans or other green vegetables.  I decided to do honey roasted carrots and parsnips with some savoy cabbage.

I started off by thinly slicing the onions and potatoes.  I remember my mum saying, the key to this dish is to get the onions and potato sliced as thinly as possible.  She actually uses a mandolin slicer but I don’t have one of these so I just took my time!  I didn’t do too badly but it did take ages!

The recipe says to combine the onions, potato and thyme in a bowl before seasoning it with salt and pepper.  I then placed the mixture into the bottom of my roasting tin.

Ed - potato:onion

I was a little surprised by this as I had always remember my mums dish having neatly layered potato and onions.  In fact, once the dish was in the oven, I found a video of Tom Kerridge making this dish and he didn’t mix these elements together.  He simply layered them into the roasting tin.  He put a layer of onions, then a layer of potatoes and then sprinkled with thyme and salt and pepper; repeating this until he was left with a neat top layer of potatoes.   Oh well, one to remember for next time.

Anyway, with the potato/onion layer done, I placed the lamb on top with the skin-side up.  I cut small incisions in the lamb to place in the garlic cloves. I poured over the chicken stock and placed the lamb in the oven on 130 degrees celsius. 

Practical tip: push the garlic cloves as far under the skin as possible to avoid them burning in the over.

Ed - oven ready

The recipe says to cook the whole shoulder for 4 to 5 hours and I therefore adjusted the cooking time to around 2 and a half hours.

After the 2 and a half hours were I up, I tested the lamb and it wasn’t very tender.  I therefore decided to let it cook for another 15 minutes at 130 degrees and then turned the oven up to 200 degrees for a further 15 minutes.  I then covered the lamb with foil and let it rest for 20 minutes whilst I prepared the vegetables.

Ed - restingEd - cooked

The lamb still wasn’t as tender as I would have hoped but it was getting quite late so I had to serve up.

Ed - served up1

The taste was really nice but the lamb was not very tender and was really fatty.  Perhaps it was just a bad cut of meat or perhaps I shouldn’t have adjusted the cooking time.  Either way, this just didn’t live up to the one my mum makes and next time, I will definitely be asking for her recipe!

Coming up next, Challenge No. 43 – pumpkin pie.

Challenge No. 38 – Beef Bourguignon

This challenge was suggested by my lovely Dad.  Beef bourguignon is one of the classics from Julia Child’s Mastering the Art of French Cooking.  With the film Julie and Julia being the inspiration behind my blog, I thought this was a perfect suggestion.  When I searched for a recipe, I did come across Julia Child’s version, however, I ended up using this recipe by James Martin.

Before I get into this challenge, I thought I would explain why I’m a little late with this post.  Sadly Dave’s grandad passed away last Saturday, the 19 September 2015.  At the age of 83, Eric had a long life full of some wonderful adventures.  He was a big part of Dave’s life and Eric, along with Dave’s grandma helped shape him into the wonderful, caring man he is today.  I unfortunately didn’t get to meet Dorothy who passed away 10 years ago, but I have had the pleasure of knowing Eric for the last 7 years.  He was a wonderful artist who was passionate about history and politics.  Eric’s health had deteriorated over the last 12 months and he passed away peacefully in his own home.  He will be sorely missed by those who knew him but I know he will always be a part of my life through Dave.  Rest in peace Eric.   

It has been a tough period since Eric passed away and I’ve struggled to get going with this post.  I actually made the challenge a couple of weeks ago but just couldn’t find the words for my write up.  I’m therefore going to apologise in advance if this post isn’t very good.  Hopefully you will still enjoy reading about this challenge and can maybe take something away to try for yourself.

For this recipe, you will need the following:-

  • For the beef bourguignon
    • 2 tbsp plain flour
    • salt and freshly ground black pepper
    • 1 kg/2lb 4oz blade of beef, cut into large cubes
    • 2 tbsp olive oil
    • 150g/5oz pancetta, cut into small chunks
    • 2 shallots, finely chopped
    • 1 garlic clove, crushed
    • 50ml/2fl oz brandy
    • 500ml/18fl oz Burgundy, or other red wine
    • 250ml/9fl oz beef stock
    • 1 bouquet garni made up of 2 bay leaves, 2 sprigs thyme, 2 sprigs flat-leaf parsley
    • 25g/1oz butter
    • 150g/5oz peeled baby shallots (or frozen button onions)
    • 200g/7oz chestnut mushrooms
  • For the mash
    • 1kg/2lb 4oz floury potatoes, peeled and cut into chunks
    • 110g/4oz butter
    • 110ml/4fl oz full-fat milk

Edited - ingredients

When I went to get my ingredients, I had a little trouble getting ‘blade of beef’.  I ended up just getting some stewing beef and it seemed to work.

With everything ready, I started off by putting the flour in a bowl and seasoning it.  I then tossed the beef chunks in the seasoned flour and put it to one side whilst I fried the pancetta until golden-brown.

Edited - floured beefEdited - panchetta

I added the beef and fried it off until browned on all sides. Whilst the beef was browning, I sliced up the shallots and got the garlic ready to crush.  I then added these to the browned beef.

Edited - beef added Edited - shallotts

The recipe then states to add the brandy and light it.  I chickened out a little bit here.  Being in a flat with a small kitchen, I was terrified I was going to set the cupboards on fire! So I decided not to use the brandy. 

Instead, I went straight ahead and poured in the red wine and beef stock.  Once it came to a boil I added the bouquet garni and let it cook on low for two hours.

Edited - wine added

Practical tip: a bouquet garni is like a floral bouquet but made with the herbs.  Simply take the herbs and tie them together with some cooking string.

Edited - garni

When the two hours was up, I fried off the shallots before adding them to the beef along with the mushrooms. I had chopped up the shallots and chestnut mushrooms just because Dave and I prefer our vegetables a little smaller.

Edited - frying shalotts Edited - cooked

Whilst the bouguignon cooked for the final 20 minutes, I boiled the peeled and chopped potatoes until soft.  I drained them and put them back on the heat for a couple of minutes.  I added the butter and milk and mashed it all together.

And then it was time to serve up…

Edited - served up

Whilst this was really nice, to be honest, it was just a bit of a posh beef stew and I didn’t think it was as nice as the one made for Challenge No. 02, beef stew with dumplings.  Perhaps it is because I missed out the brandy or I didn’t use the right cut of meat.  Don’t get me wrong, I still polished off my plate and enjoyed the leftovers the next day, but to me, it just wasn’t quite as good as the beef stew I made earlier in the year.

Coming up next week, Challenge No. 39 – apple pie (which was meant to be windberry pie!)