Challenge No. 31 – Battenberg

On the week that Great British Bake Off returns to our TV’s, this seemed like the perfect challenge for me to make.  I’m so excited to see what’s in store for this year’s contestants and to get lots of inspiration for future bakes 🙂 We’re even having our own bake-off at work.  We each have a contestant and the week the contestant goes out the competition, you have to make a cake for the office.  I’ve got to get my thinking cap on so I can make a great cake and I’m hoping my contestant (Paul) does well! I’ll be sure to post a picture of my cake when he goes out or (hopefully) wins!

For now though, it’s back to Challenge 52 and my first attempt at battenberg.  This challenge was suggested by my colleague Dean.  Unfortunately, I messed up my planning a little bit and have made this challenge on a week when Dean is on holiday! I sent him a message to apologies and his love of battenberg is so strong that he told me my P45 was in the post! Thankfully he was only kidding but I’ve still promised to make it again for him in the near future.  Luckily it turned out to be really yummy so I’m more than happy to make some more (as it means I get to eat some too!) 🙂

For this challenge, I decided to make everything from scrap, so I spent Sunday making apricot jam, marzipan and the sponges before putting it all together to make a beautiful battenberg treat.  I used one recipe for the jam and another for the battenberg.  I then adapted the recipe from Challenge 15 Simnel Cake for the marzipan.

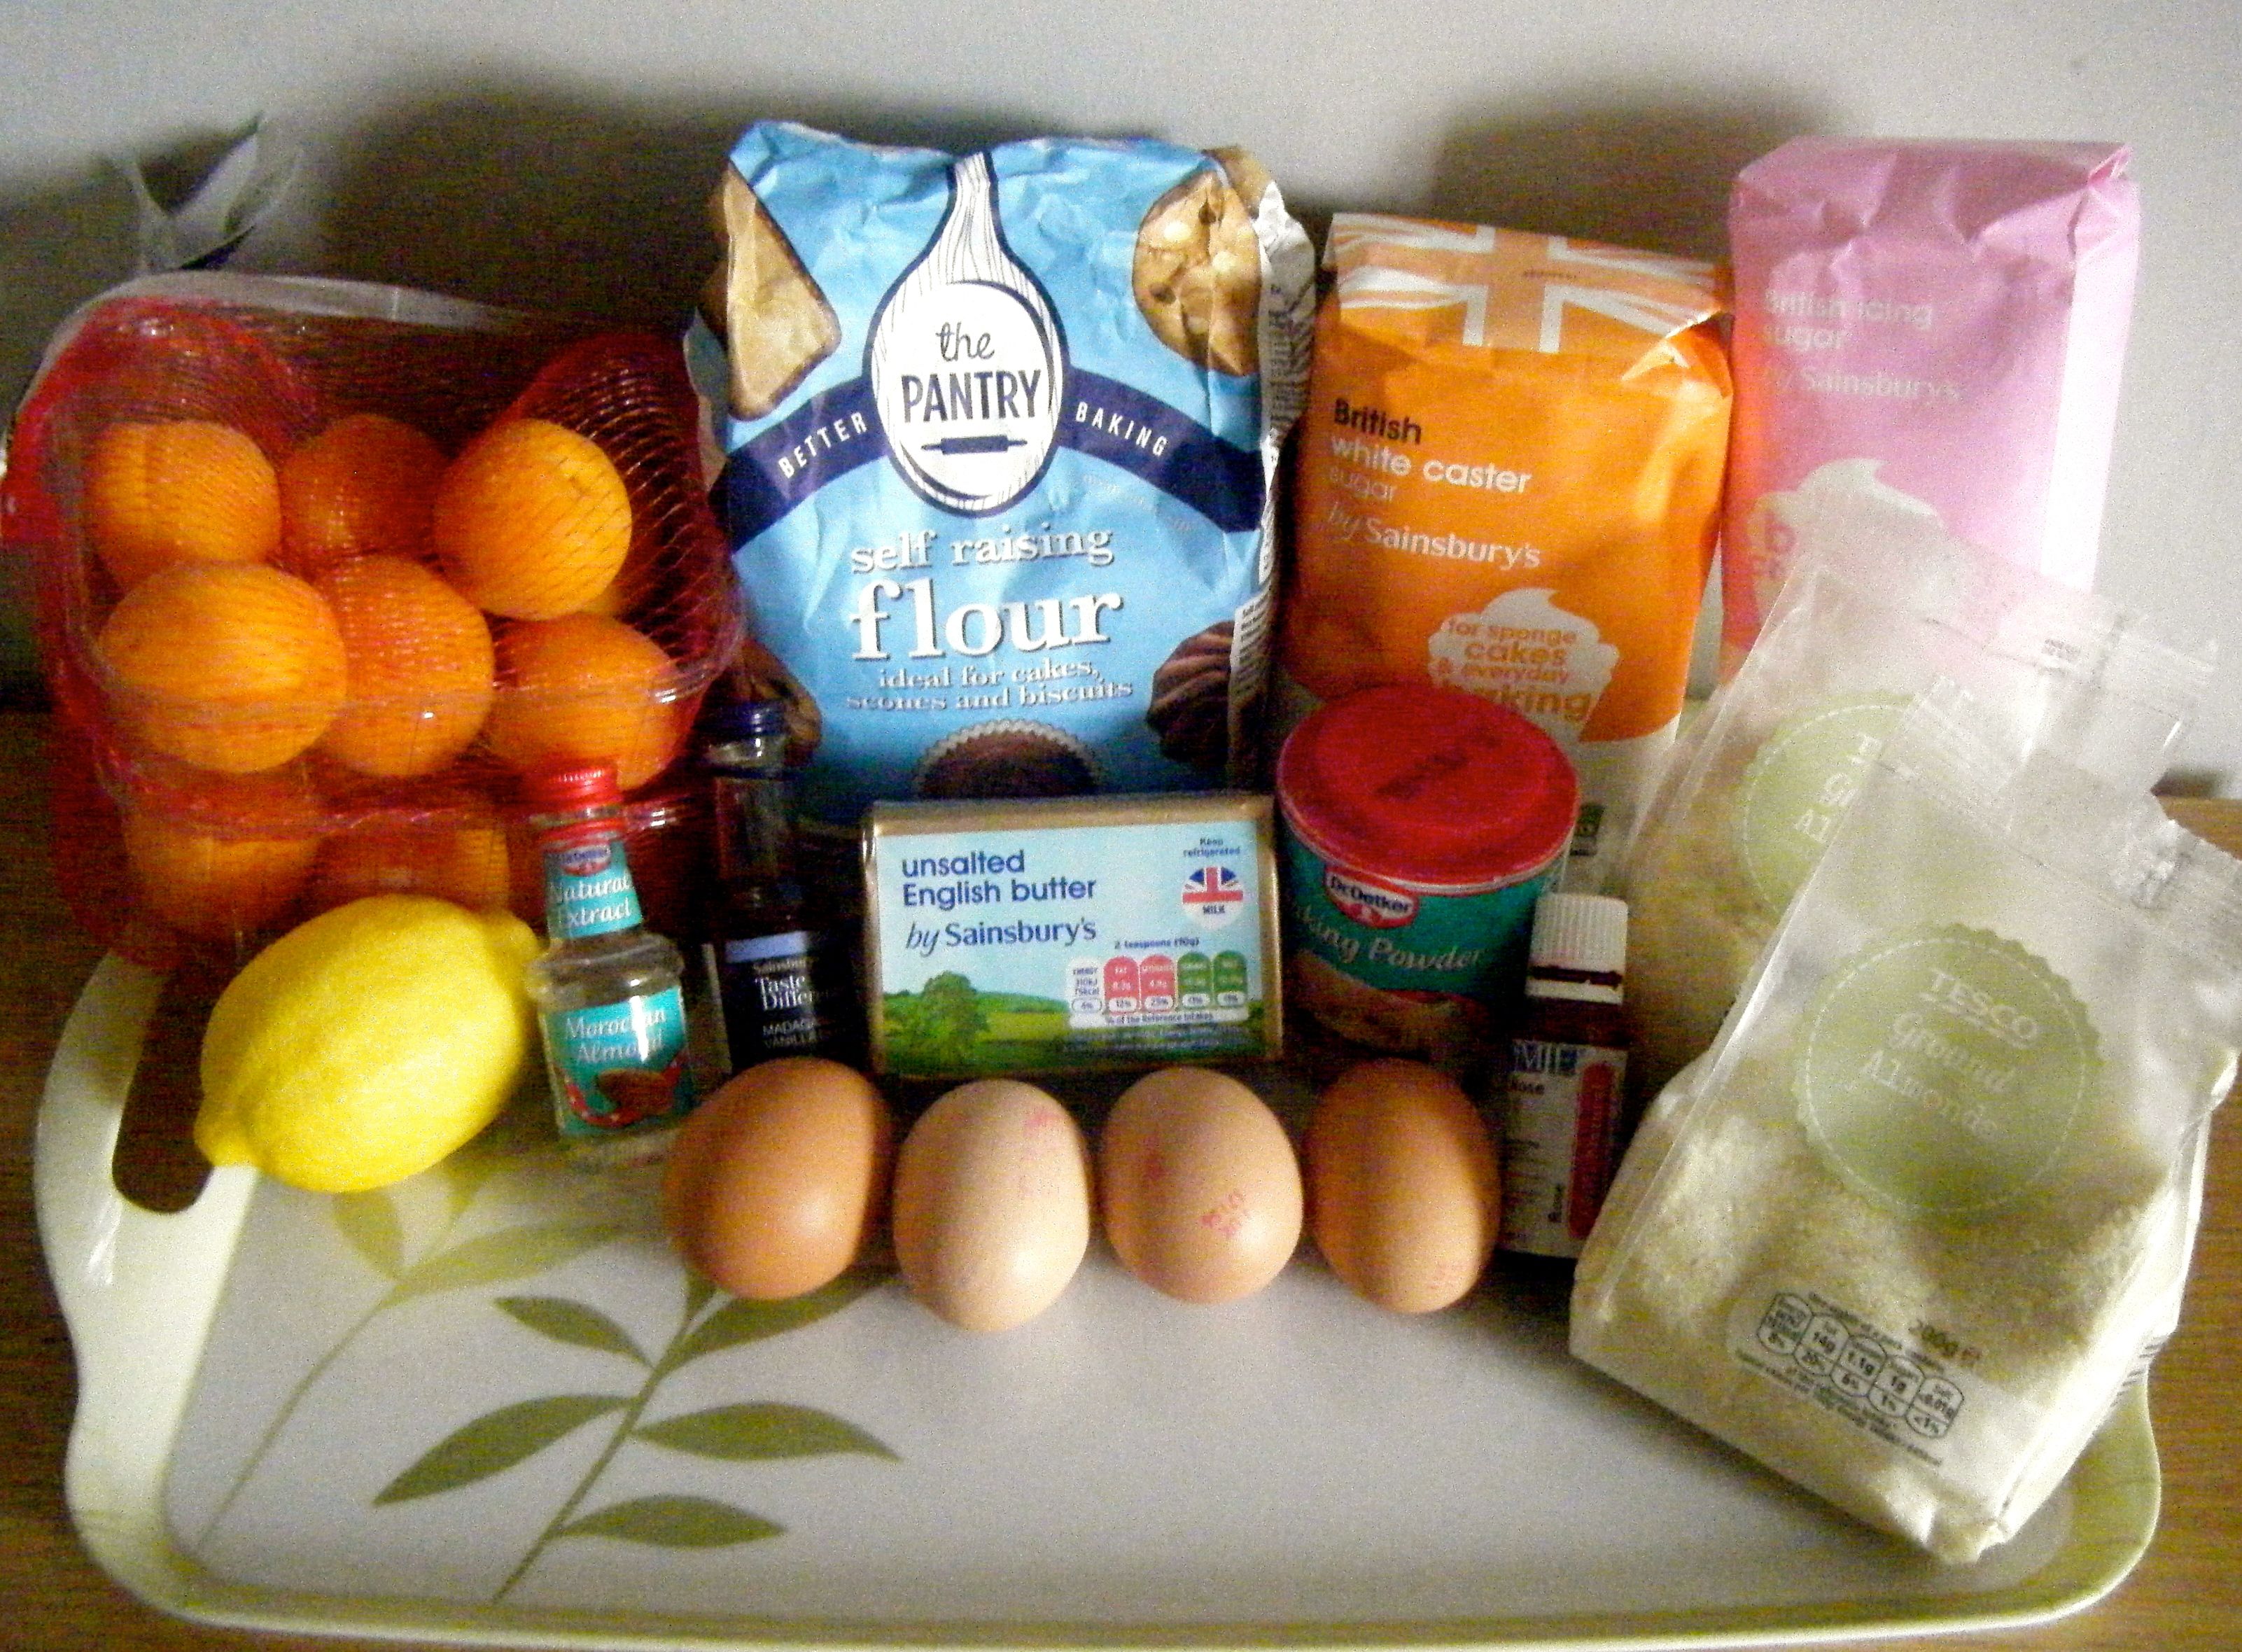
Obviously you could use shop bought jam and marzipan but if you fancy a go at making the full shebang, you’ll need the following ingredients:-

  • Jam
    • 500g apricots, halved and stoned
    • juice of half a lemon
    • 250ml water
    • 500g caster sugar
    • Small knob of butter
  • Marzipan
    • 112 g icing sugar
    • 87g caster sugar
    • 175g ground almonds
    • 1 large egg
    • 1/4 tsp almond extract
    • 1/2 tsp fresh lemon juice
  • Cake
    • 175g butter
    • 175g caster sugar
    • 175g self raising flour
    • 3 large eggs
    • 65g ground almonds
    • 3/4 tsp baking powder
    • 1/2 tsp vanilla extract
    • 1/4 tsp almond extract
    • Pink/red food colouring

Edited - ingredients

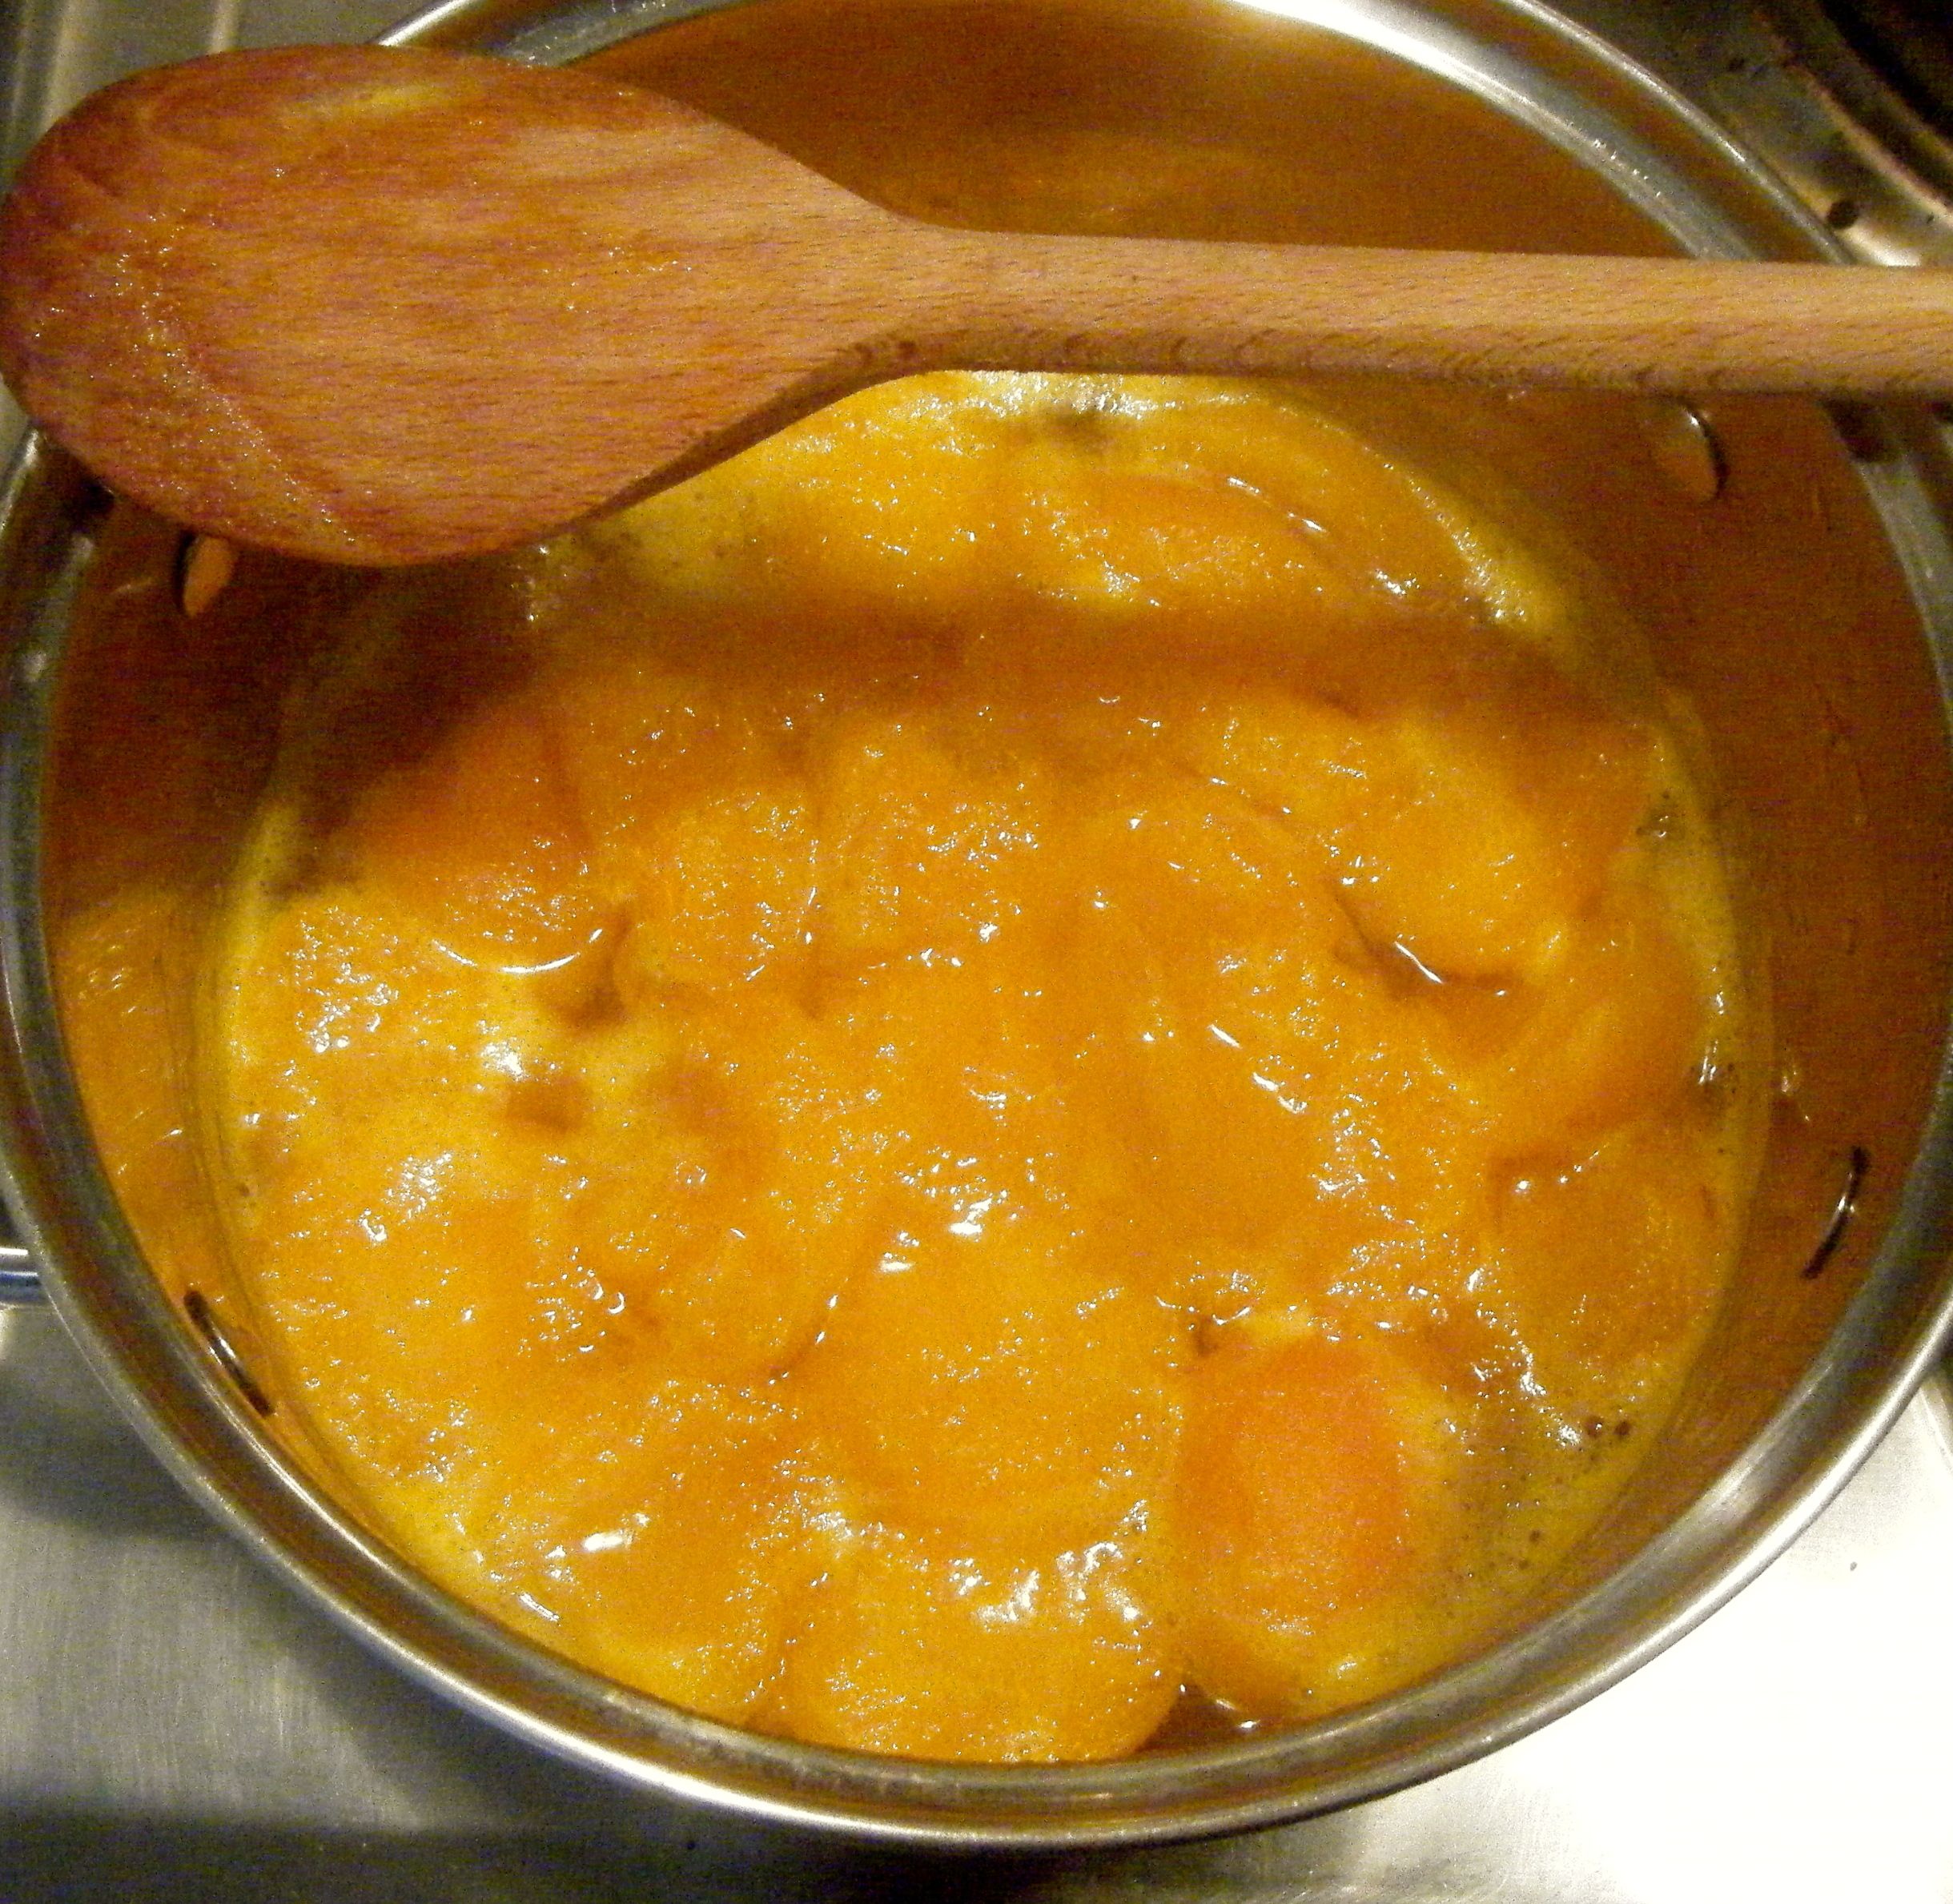
I started off by making the jam.  The recipe will make far more than you need for the battenberg (I filled one large jar and one small jar) but it tastes so yummy and will keep in the sterilised jars, it doesn’t matter.

I washed the chopped apricots and then put them in a large pan with the lemon juice and water.  I put the pan over a low heat and slowly brought the liquid up to a simmer.

Edited - chopped fruit Edited - jam pre sugar

Practical tip: when juicing a lemon, pop it in the microwave for around 30 seconds to warm it slightly as this will help release more juice. 

Once the liquid was simmering (careful not to boil it at this stage!) I set the timer for 15 minutes and waited patiently.  When the timer went off, I took the pan off the heat, poured in the caster sugar and stirred until this was fully dissolved.  I then added the butter, returned the pan to the heat and turned up the temperature slightly. 

Edited - butter in jam

Once the mixture was boiling I set the timer for another 15 minutes and put a small plate in the fridge to chill.

When the 15 minutes was up, I used a teaspoon to put a small amount of the jam on the chilled plate.  I waiting 1 minute and used my finger to push the jam.  It was still a little runny so I left the pan bubbling for another 4 minutes.  I then tested it again and decided it was practically there.  I put the jam into my sterilised, hot jars and put the lids straight on.  I also put a little jam into some tupperwear to use for the battenberg so I could keep the jars sealed for another day.

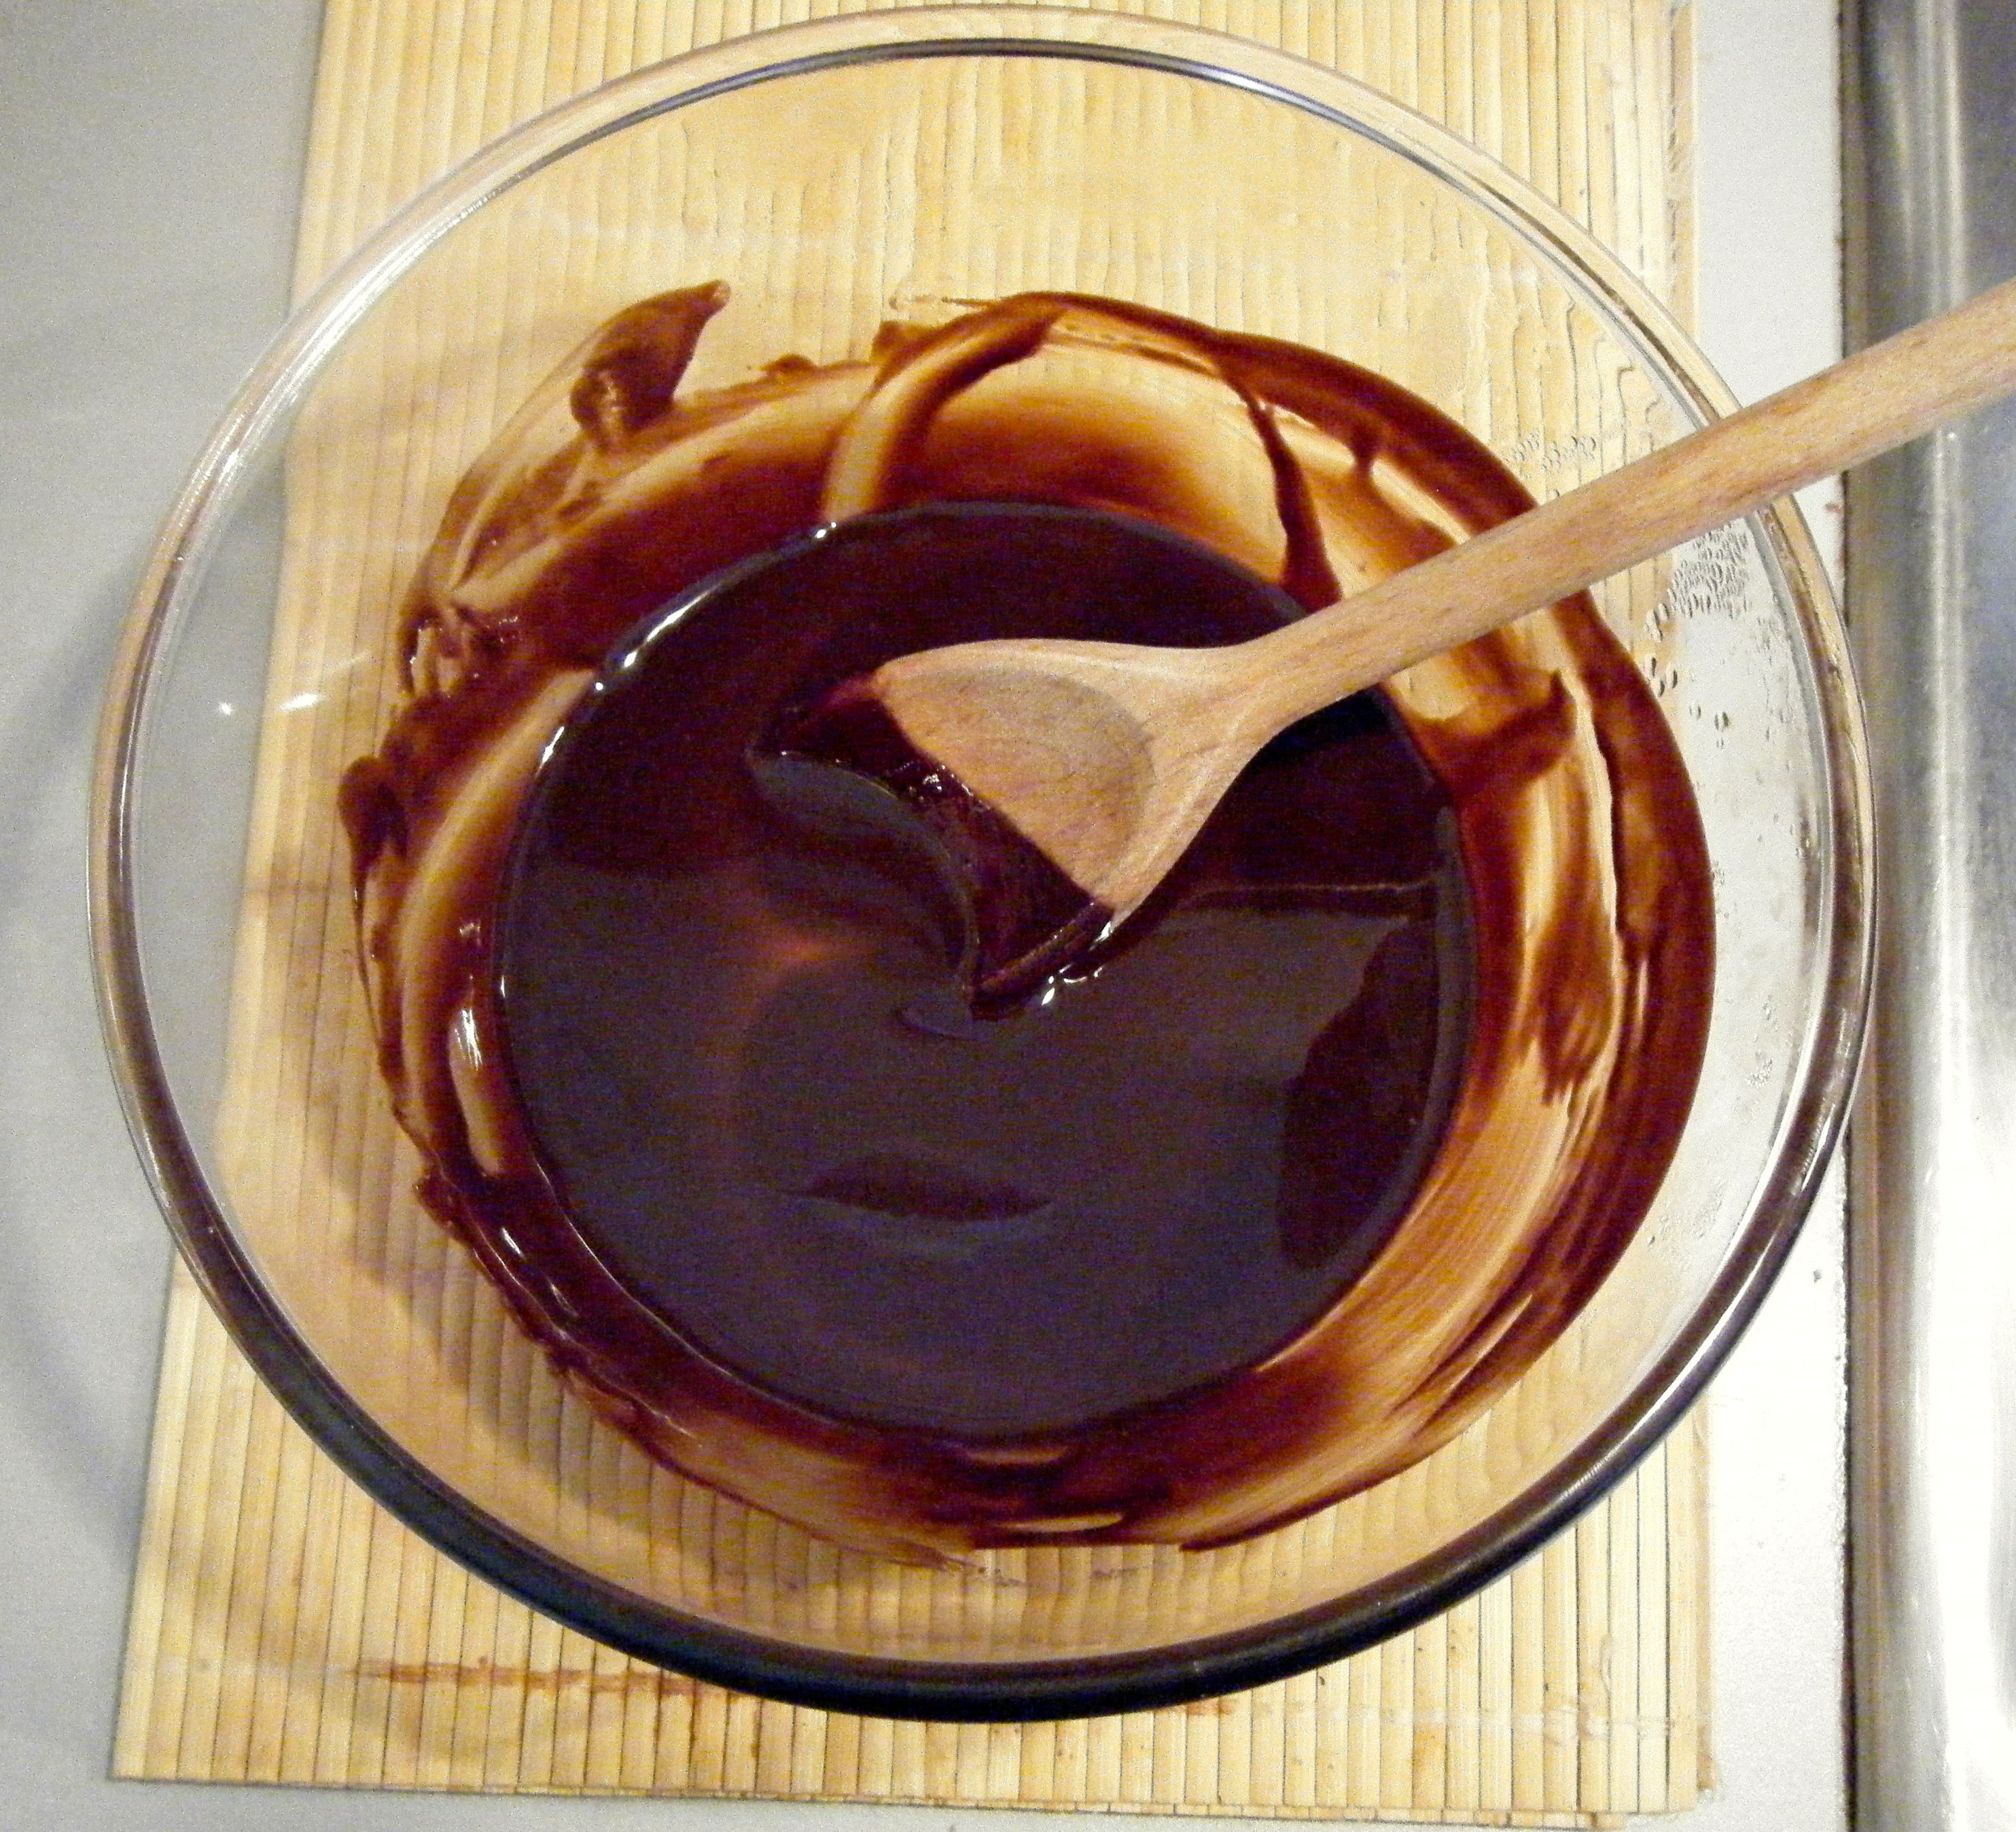
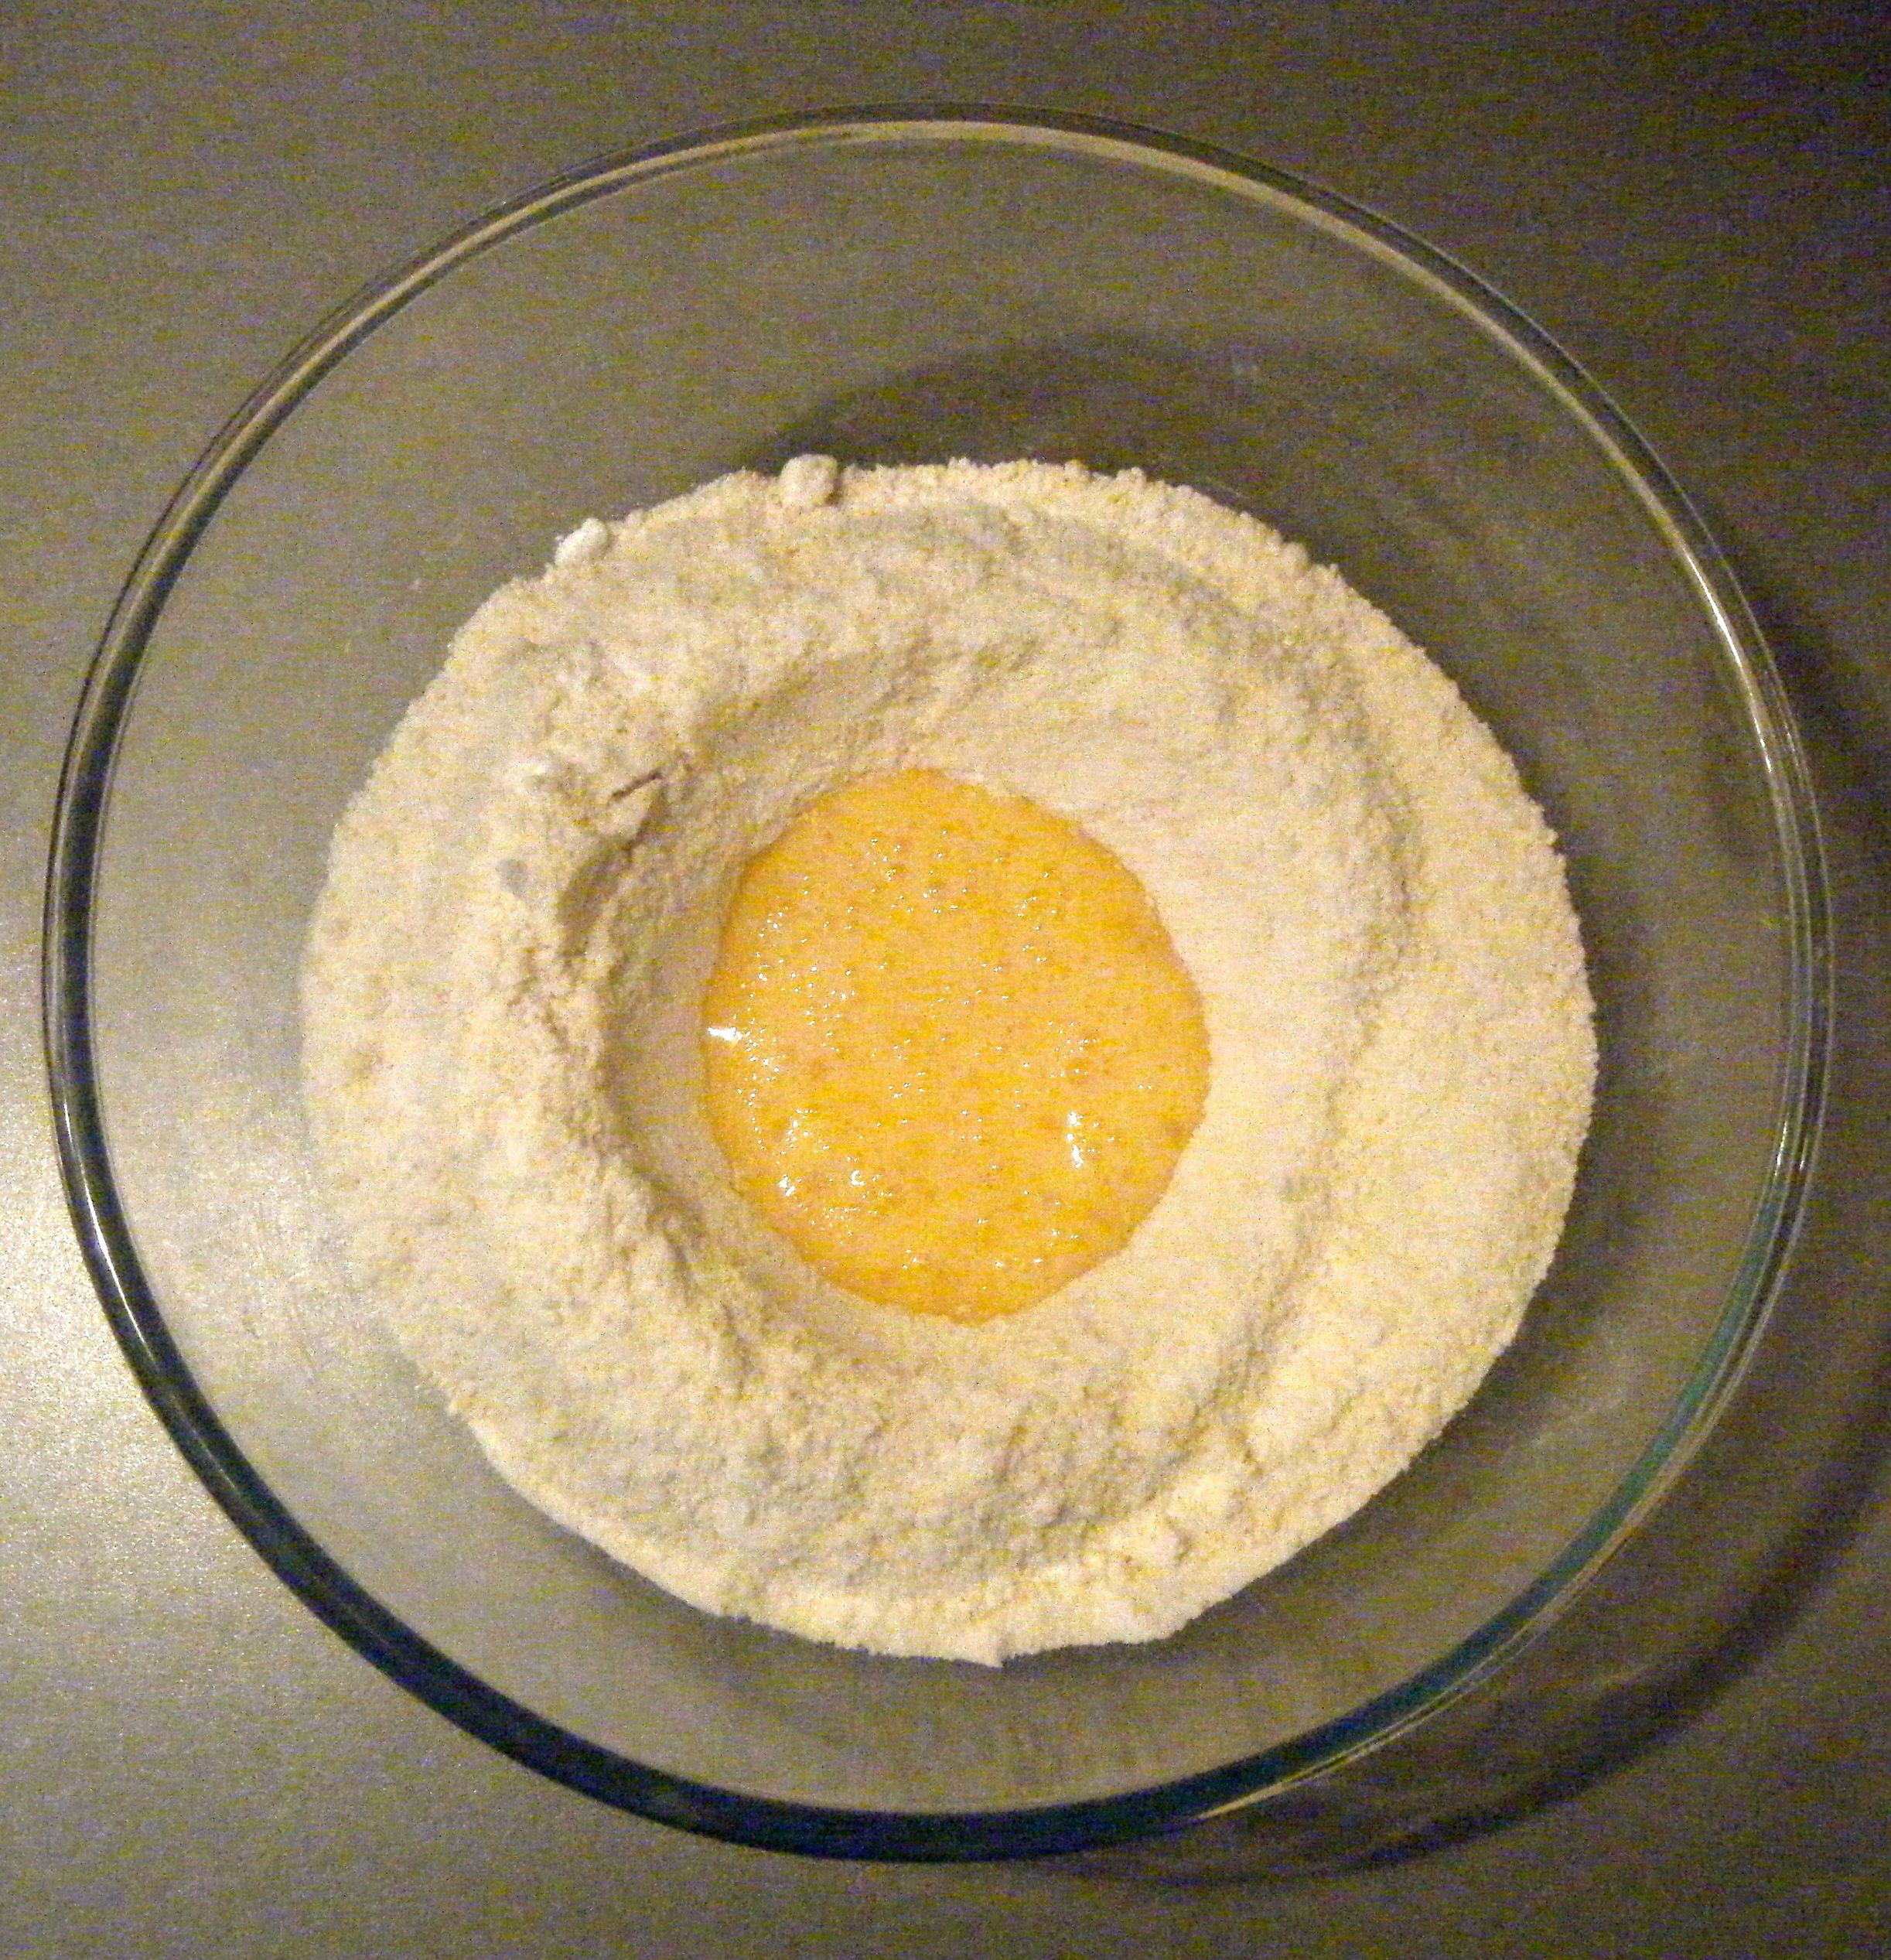
With the jam done, I got started on the marzipan.  I sifted the icing sugar into a bowl and added the caster sugar and ground almonds. I mixed it all together and then made a well in the centre.   

I put the egg, almond extract and lemon juice into a jug.  I then poured it into the well in the dry ingredients and started to bring it all together with a spoon.  It then reached the point where I needed to get my hands dirty and I finished mixing it by hand until I had a ball of paste.

Edited - marzipan

I dusted my worktop with icing sugar and kneaded the ball of marzipan until smooth.  As mentioned above, I used this marzipan recipe when I made my Simnel cake and at this point the marzipan kept sticking to the worktop.  This time round I used a little more icing sugar when I dusted the worktop and I didn’t have the problem of it sticking 🙂

I put the marzipan ball into a bowl (dusted with icing sugar) and covered it with cling film.

Edited - resting marzipan

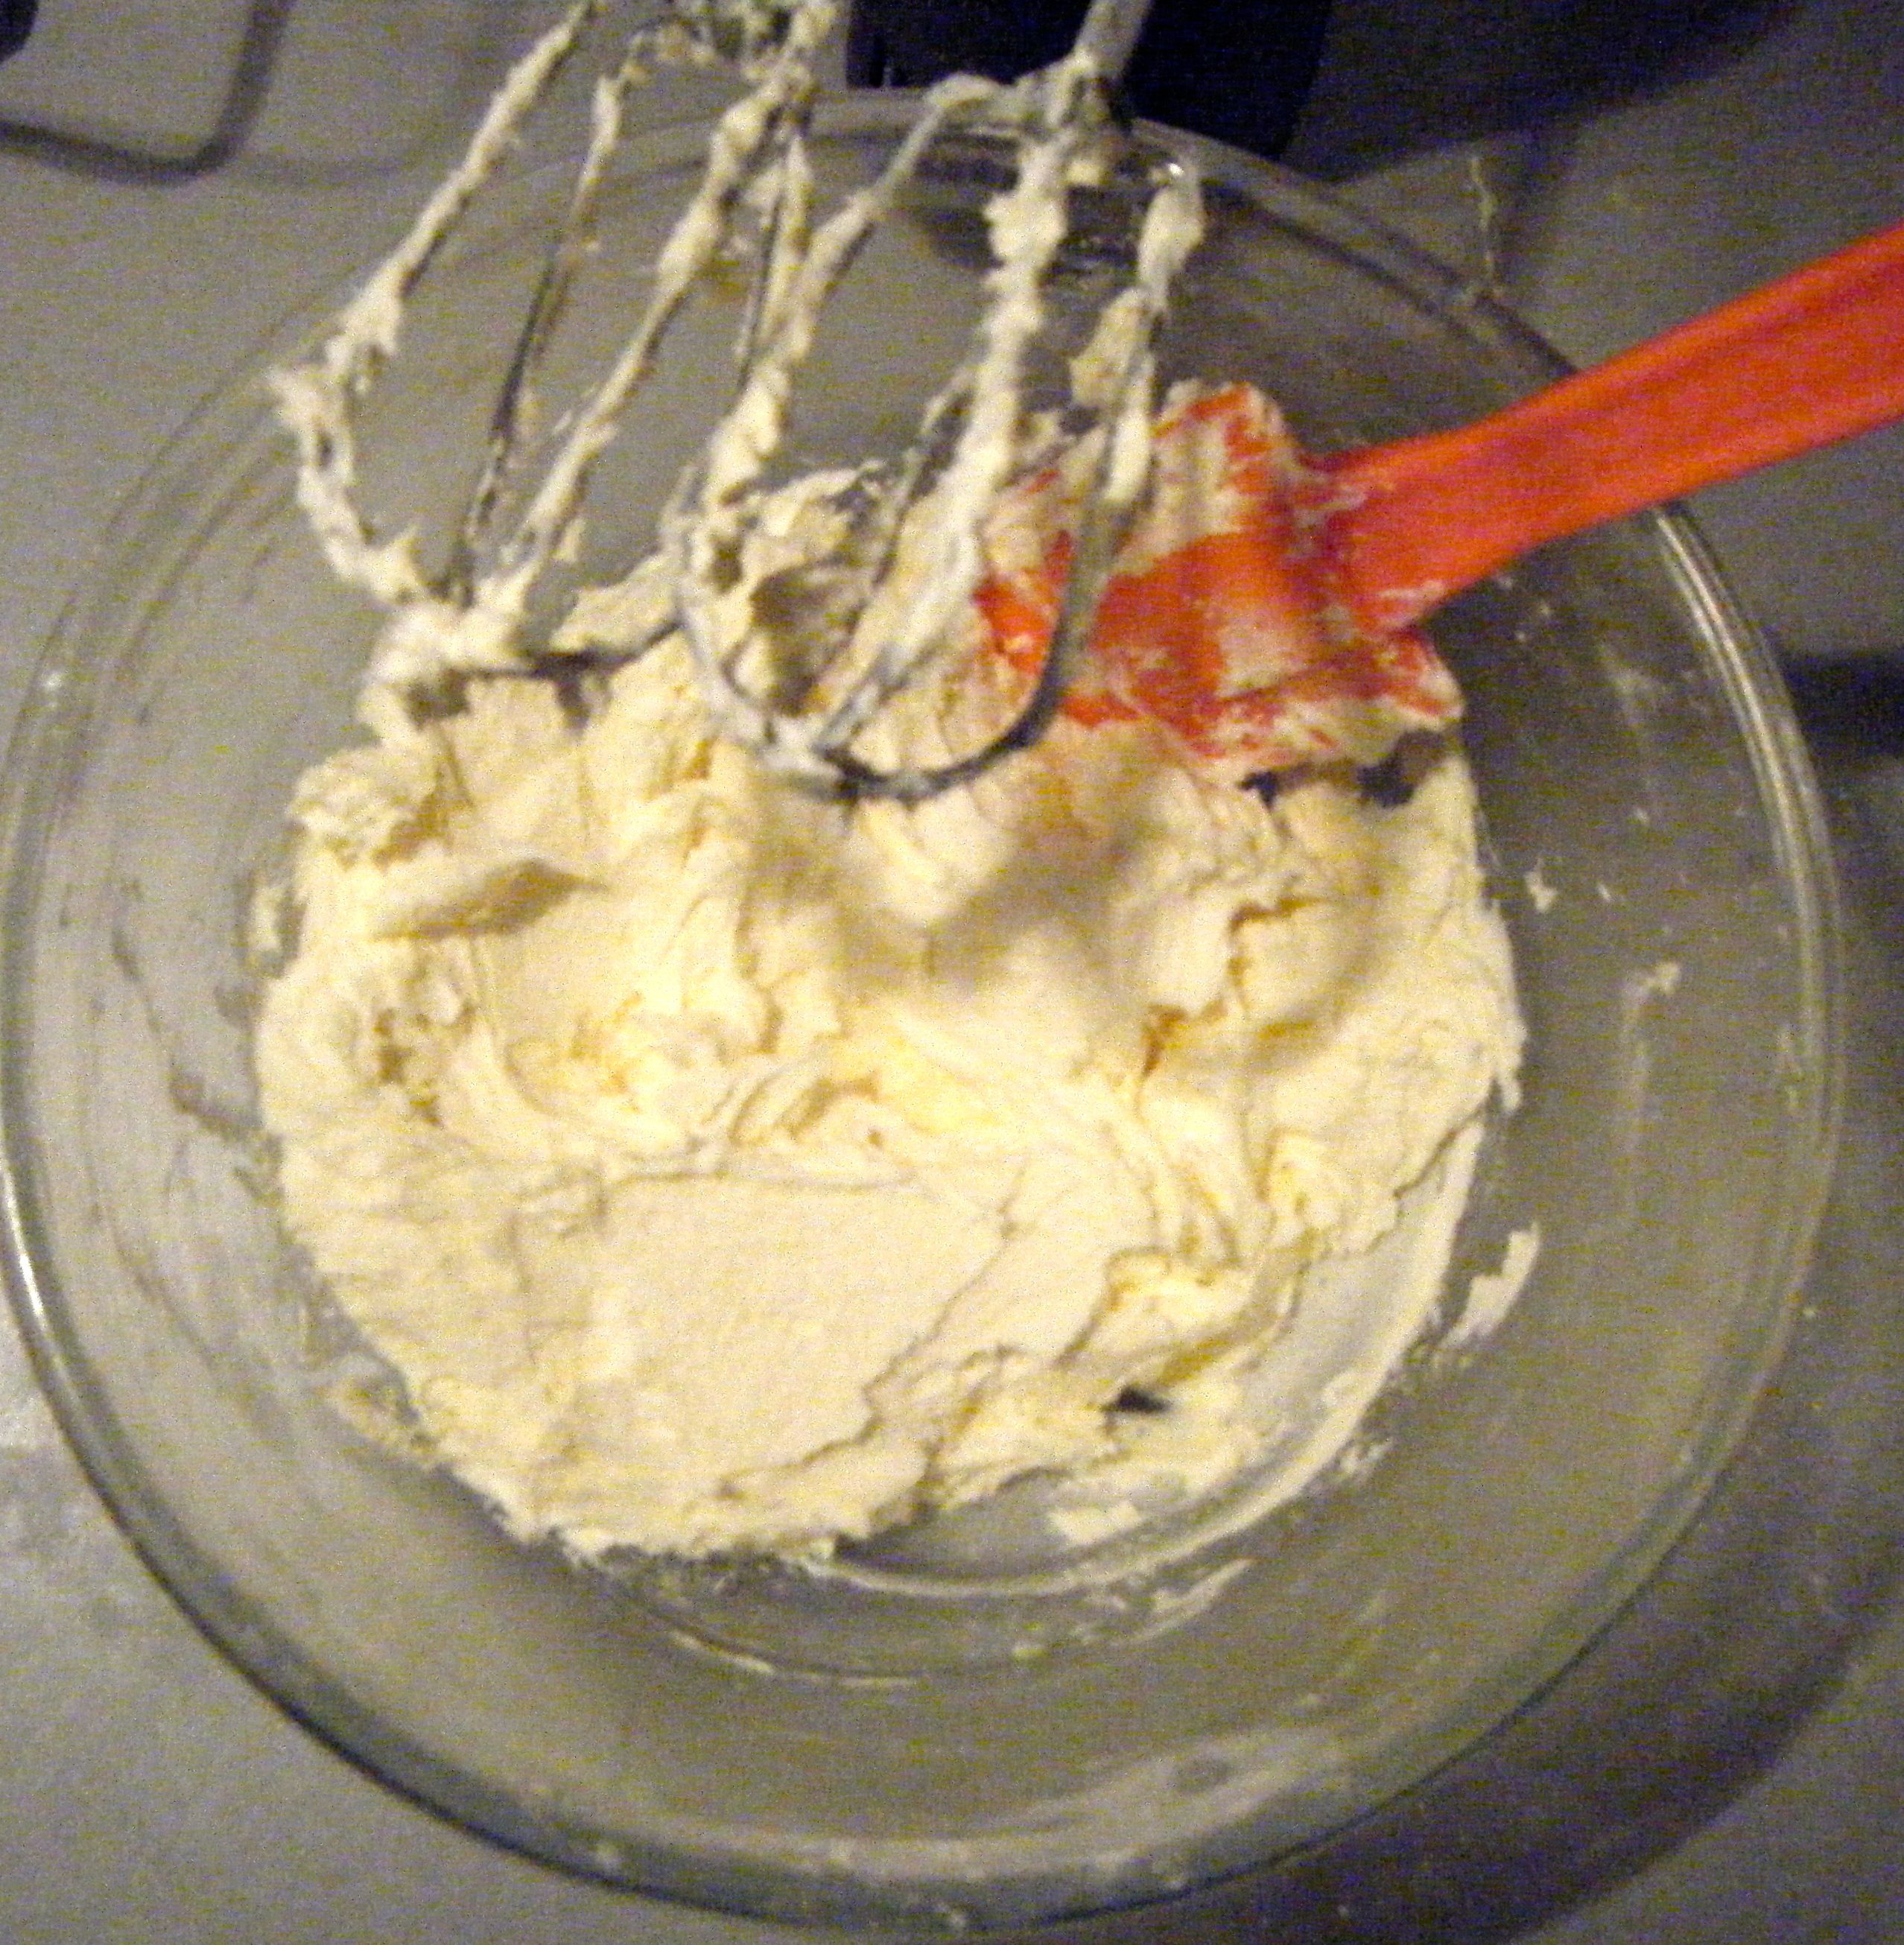
Whilst the marzipan was resting for 2 hours, I got started on the cake.  The recipe uses the all in one method. So I started by putting the caster sugar, flour, ground almonds and baking powder into my bowl.  I added the softened butter, the eggs and vanilla and almond extract.  I gave it a quick mix with a wooden spoon to start bringing it together and then finished the job with my handheld electric mixer until combined.

Edited - cake mix

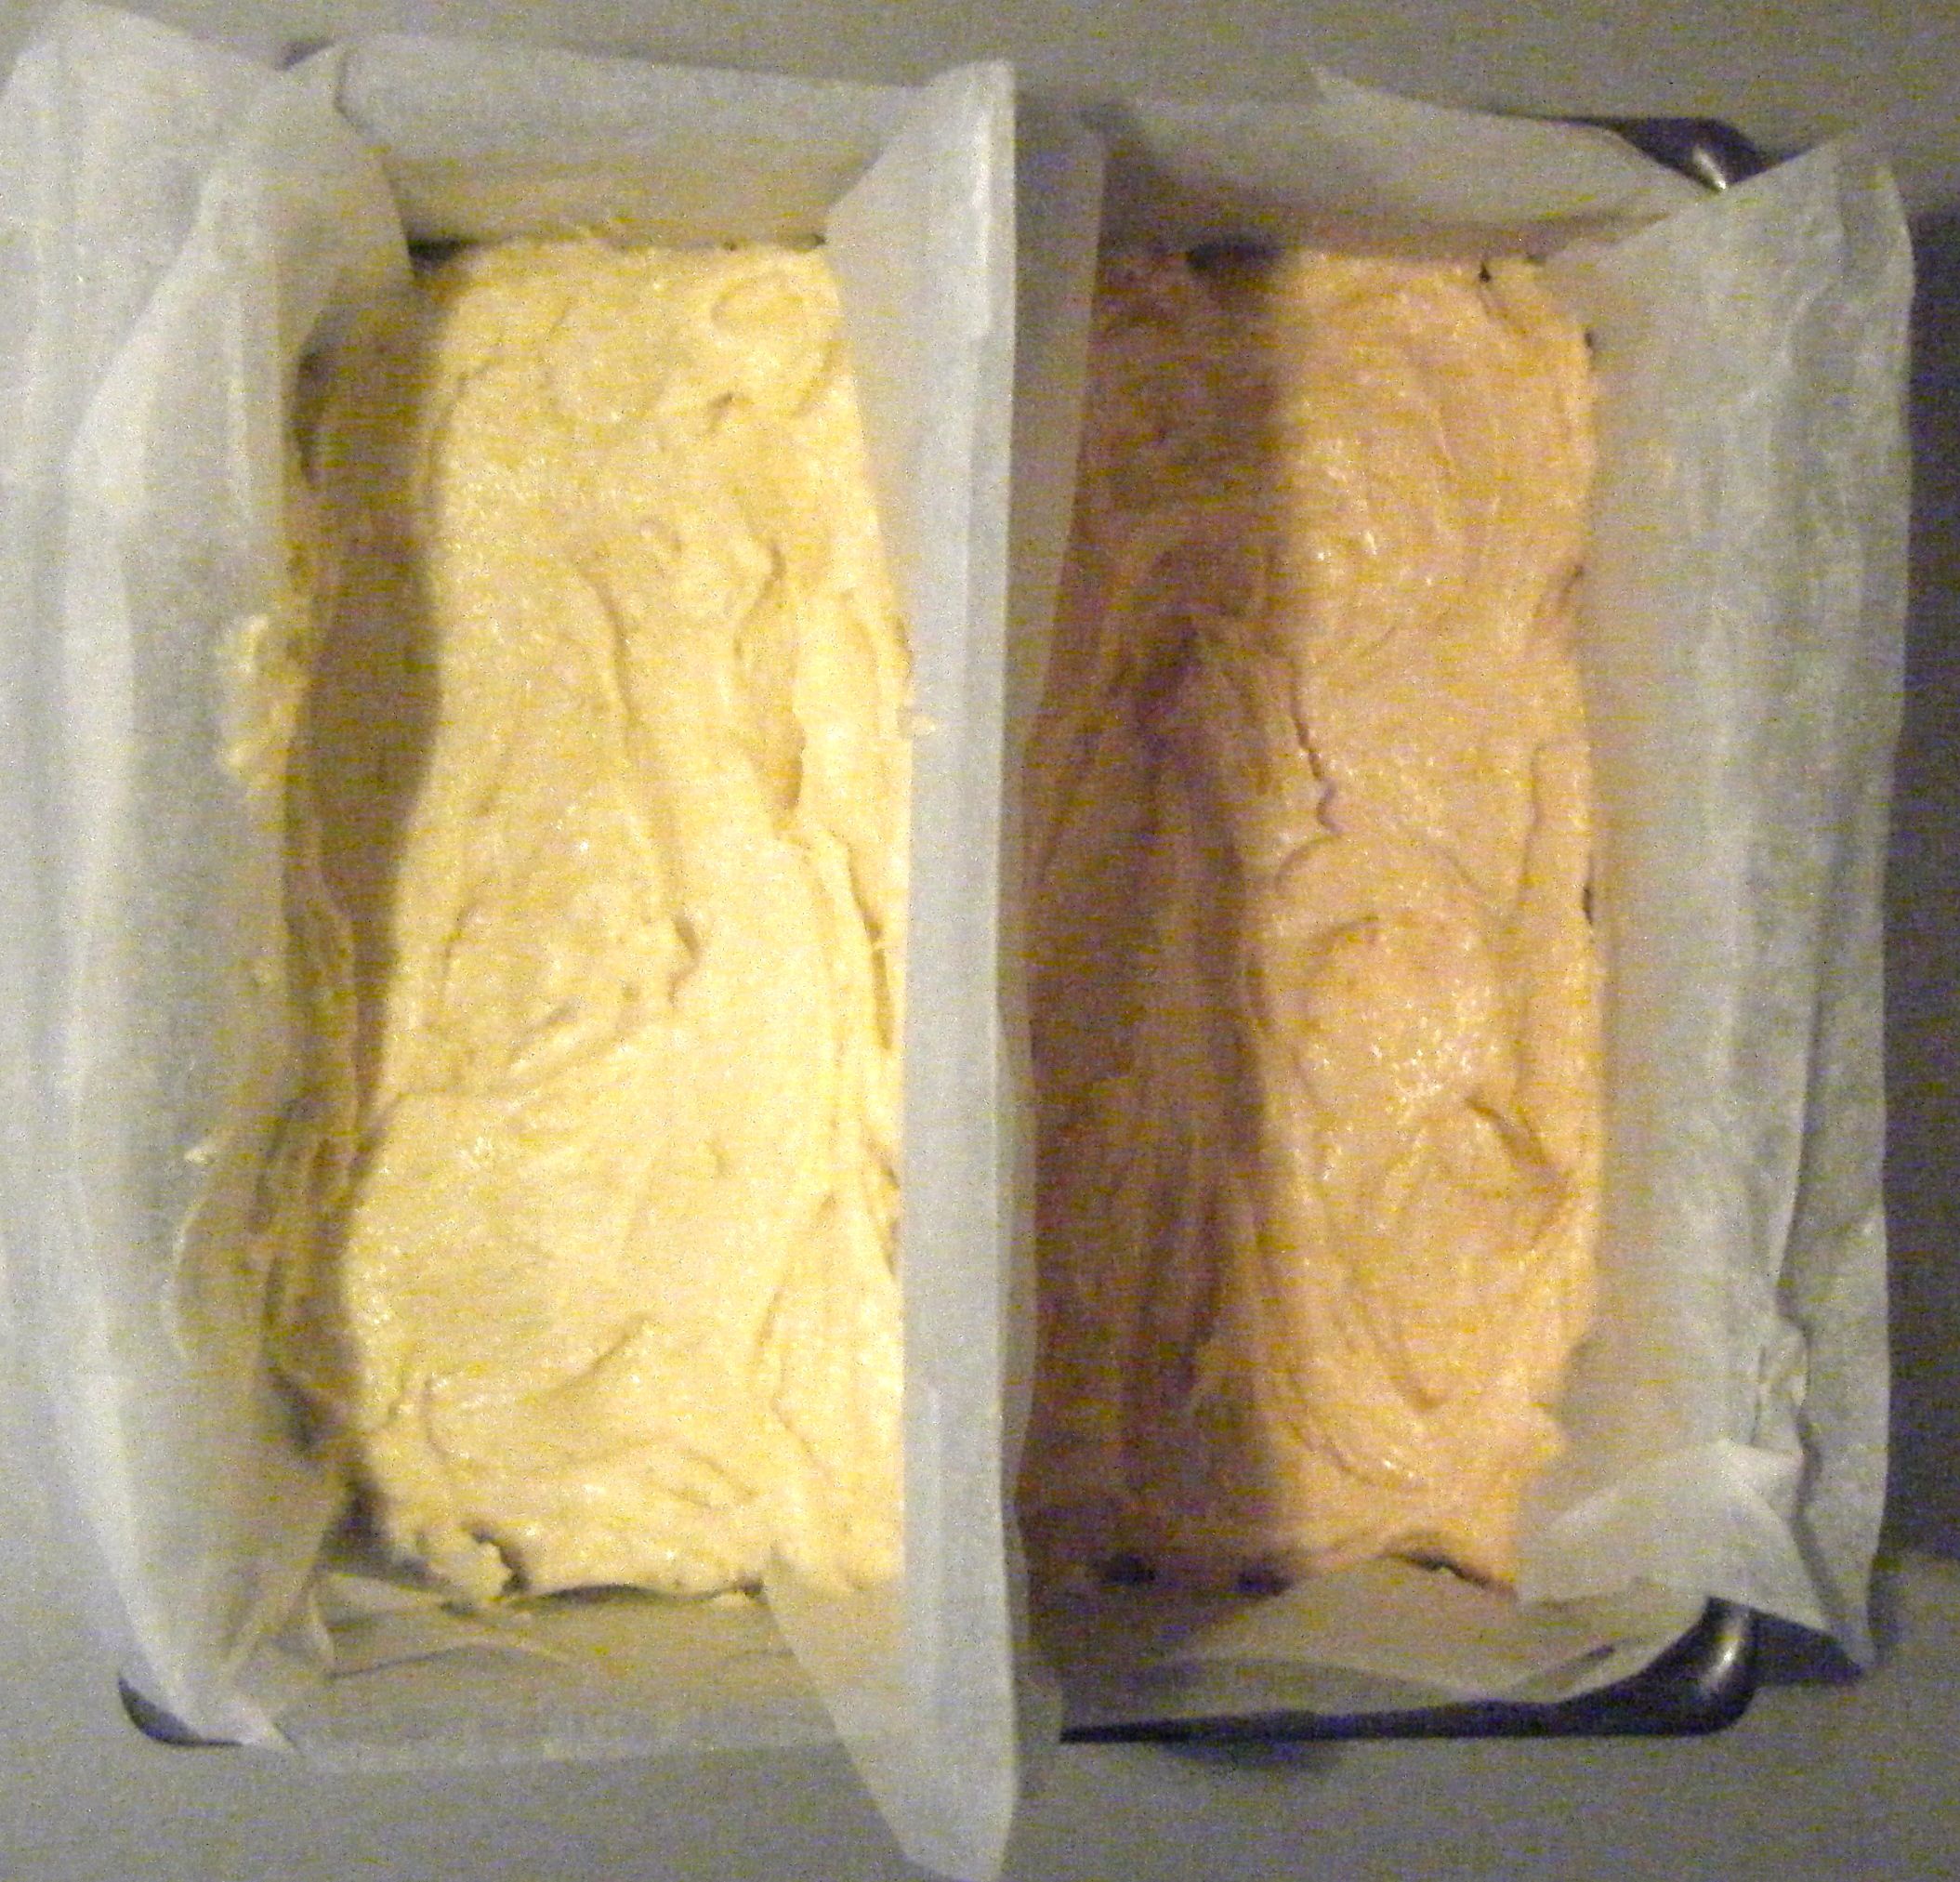
I then separated the mixture into two separate bowls; using the scales to try and make sure it was roughly even.  I added some food colouring to one of the bowls and mixed until the colour was even throughout.  In hindsight I should have added a touch more colouring as my pink cake was not very pink but its one to remember for next time.

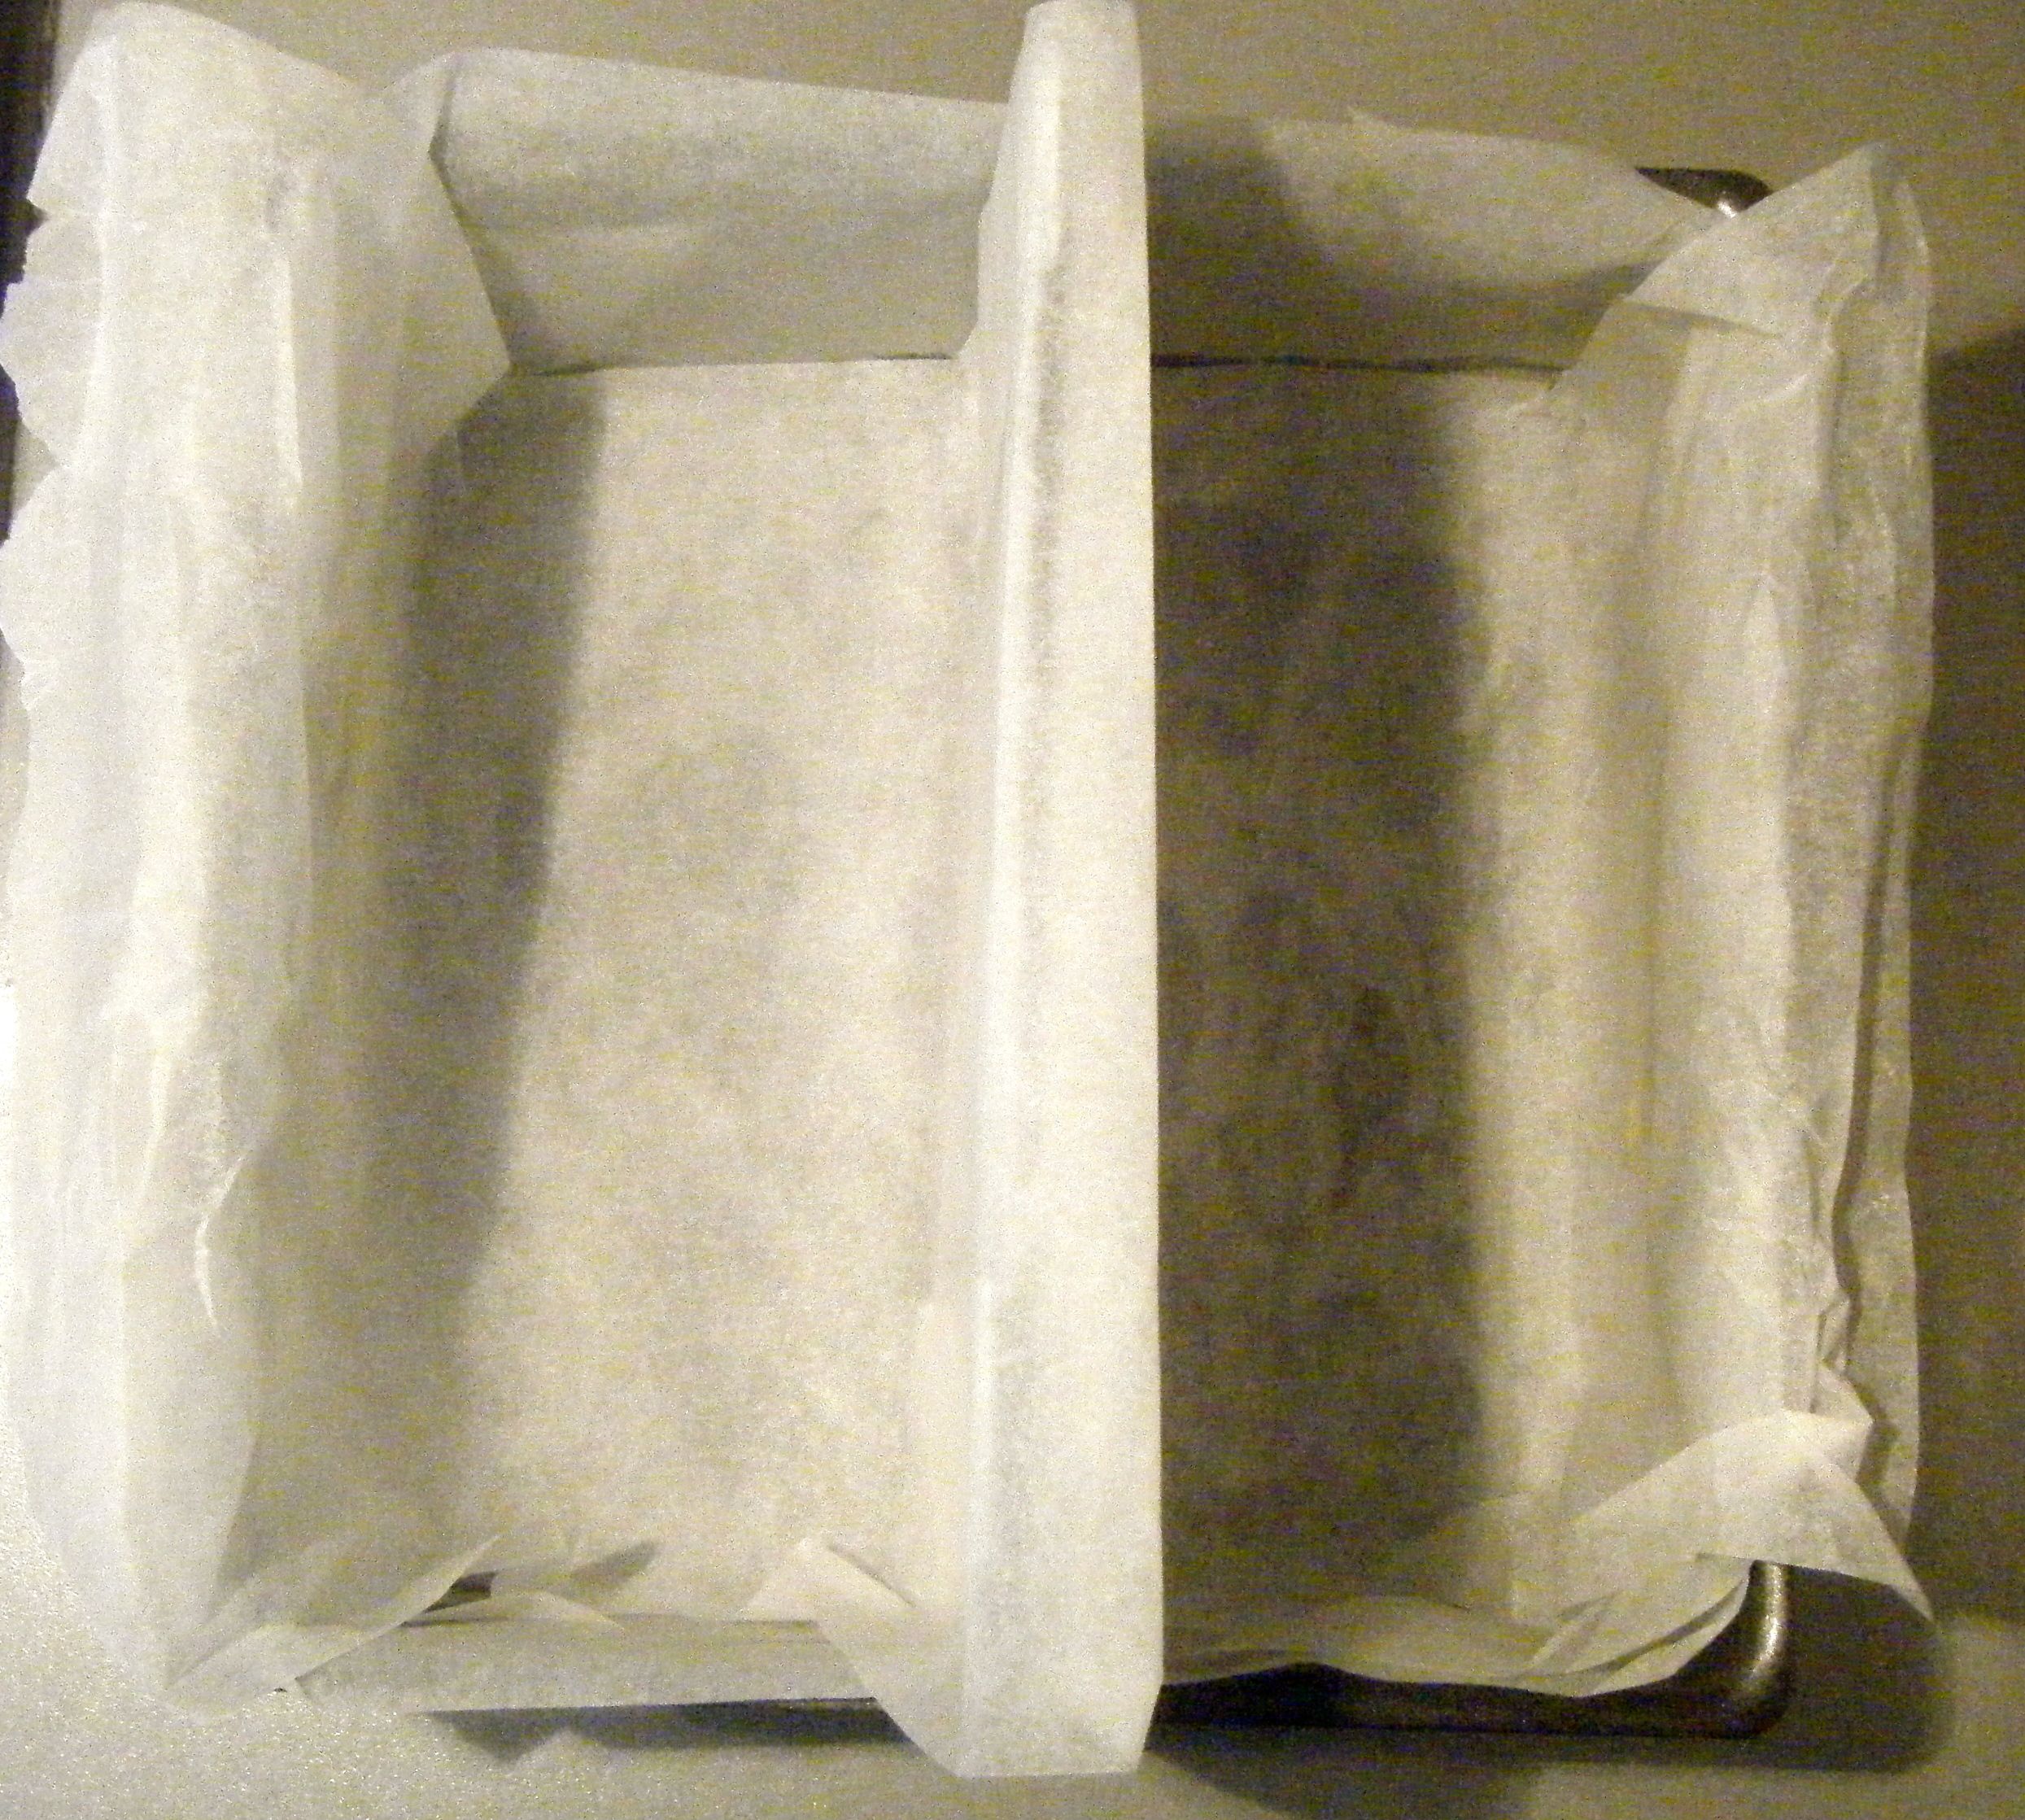
I don’t have a battenberg cake tin so I followed the recipe to separate my 20cm tin into two halves.  A bit of foil, some baking paper, some special folds and I was done.  It wasn’t as neat as I’d have liked and my sponge ended up a bit wonky but because I had to trim it down anyway, I wasn’t too worried.

Edited - tin

I put the different coloured mixtures into each side of the tin and popped it in the oven on 180 degrees celsius for 20 minutes.  I then checked the cake and left it in for approximately another 7 minutes.

Edited - ready to bake

Once the cake was cooked, I left it in the tin for 5 minutes before turning out onto a cooling rack.

Edited - cooked cake

I waited until the cake was completed cool before trimming it into 4 equal oblongs. 

Practical tip: be sure to trim off the top, bottom and sides of the cakes before cutting in half lengthways. 

I then started to roll out my marzipan.  I positioned the slices of cake together to check whether I had rolled it big enough and had to make it a little longer.

Edited - rolled marzipan

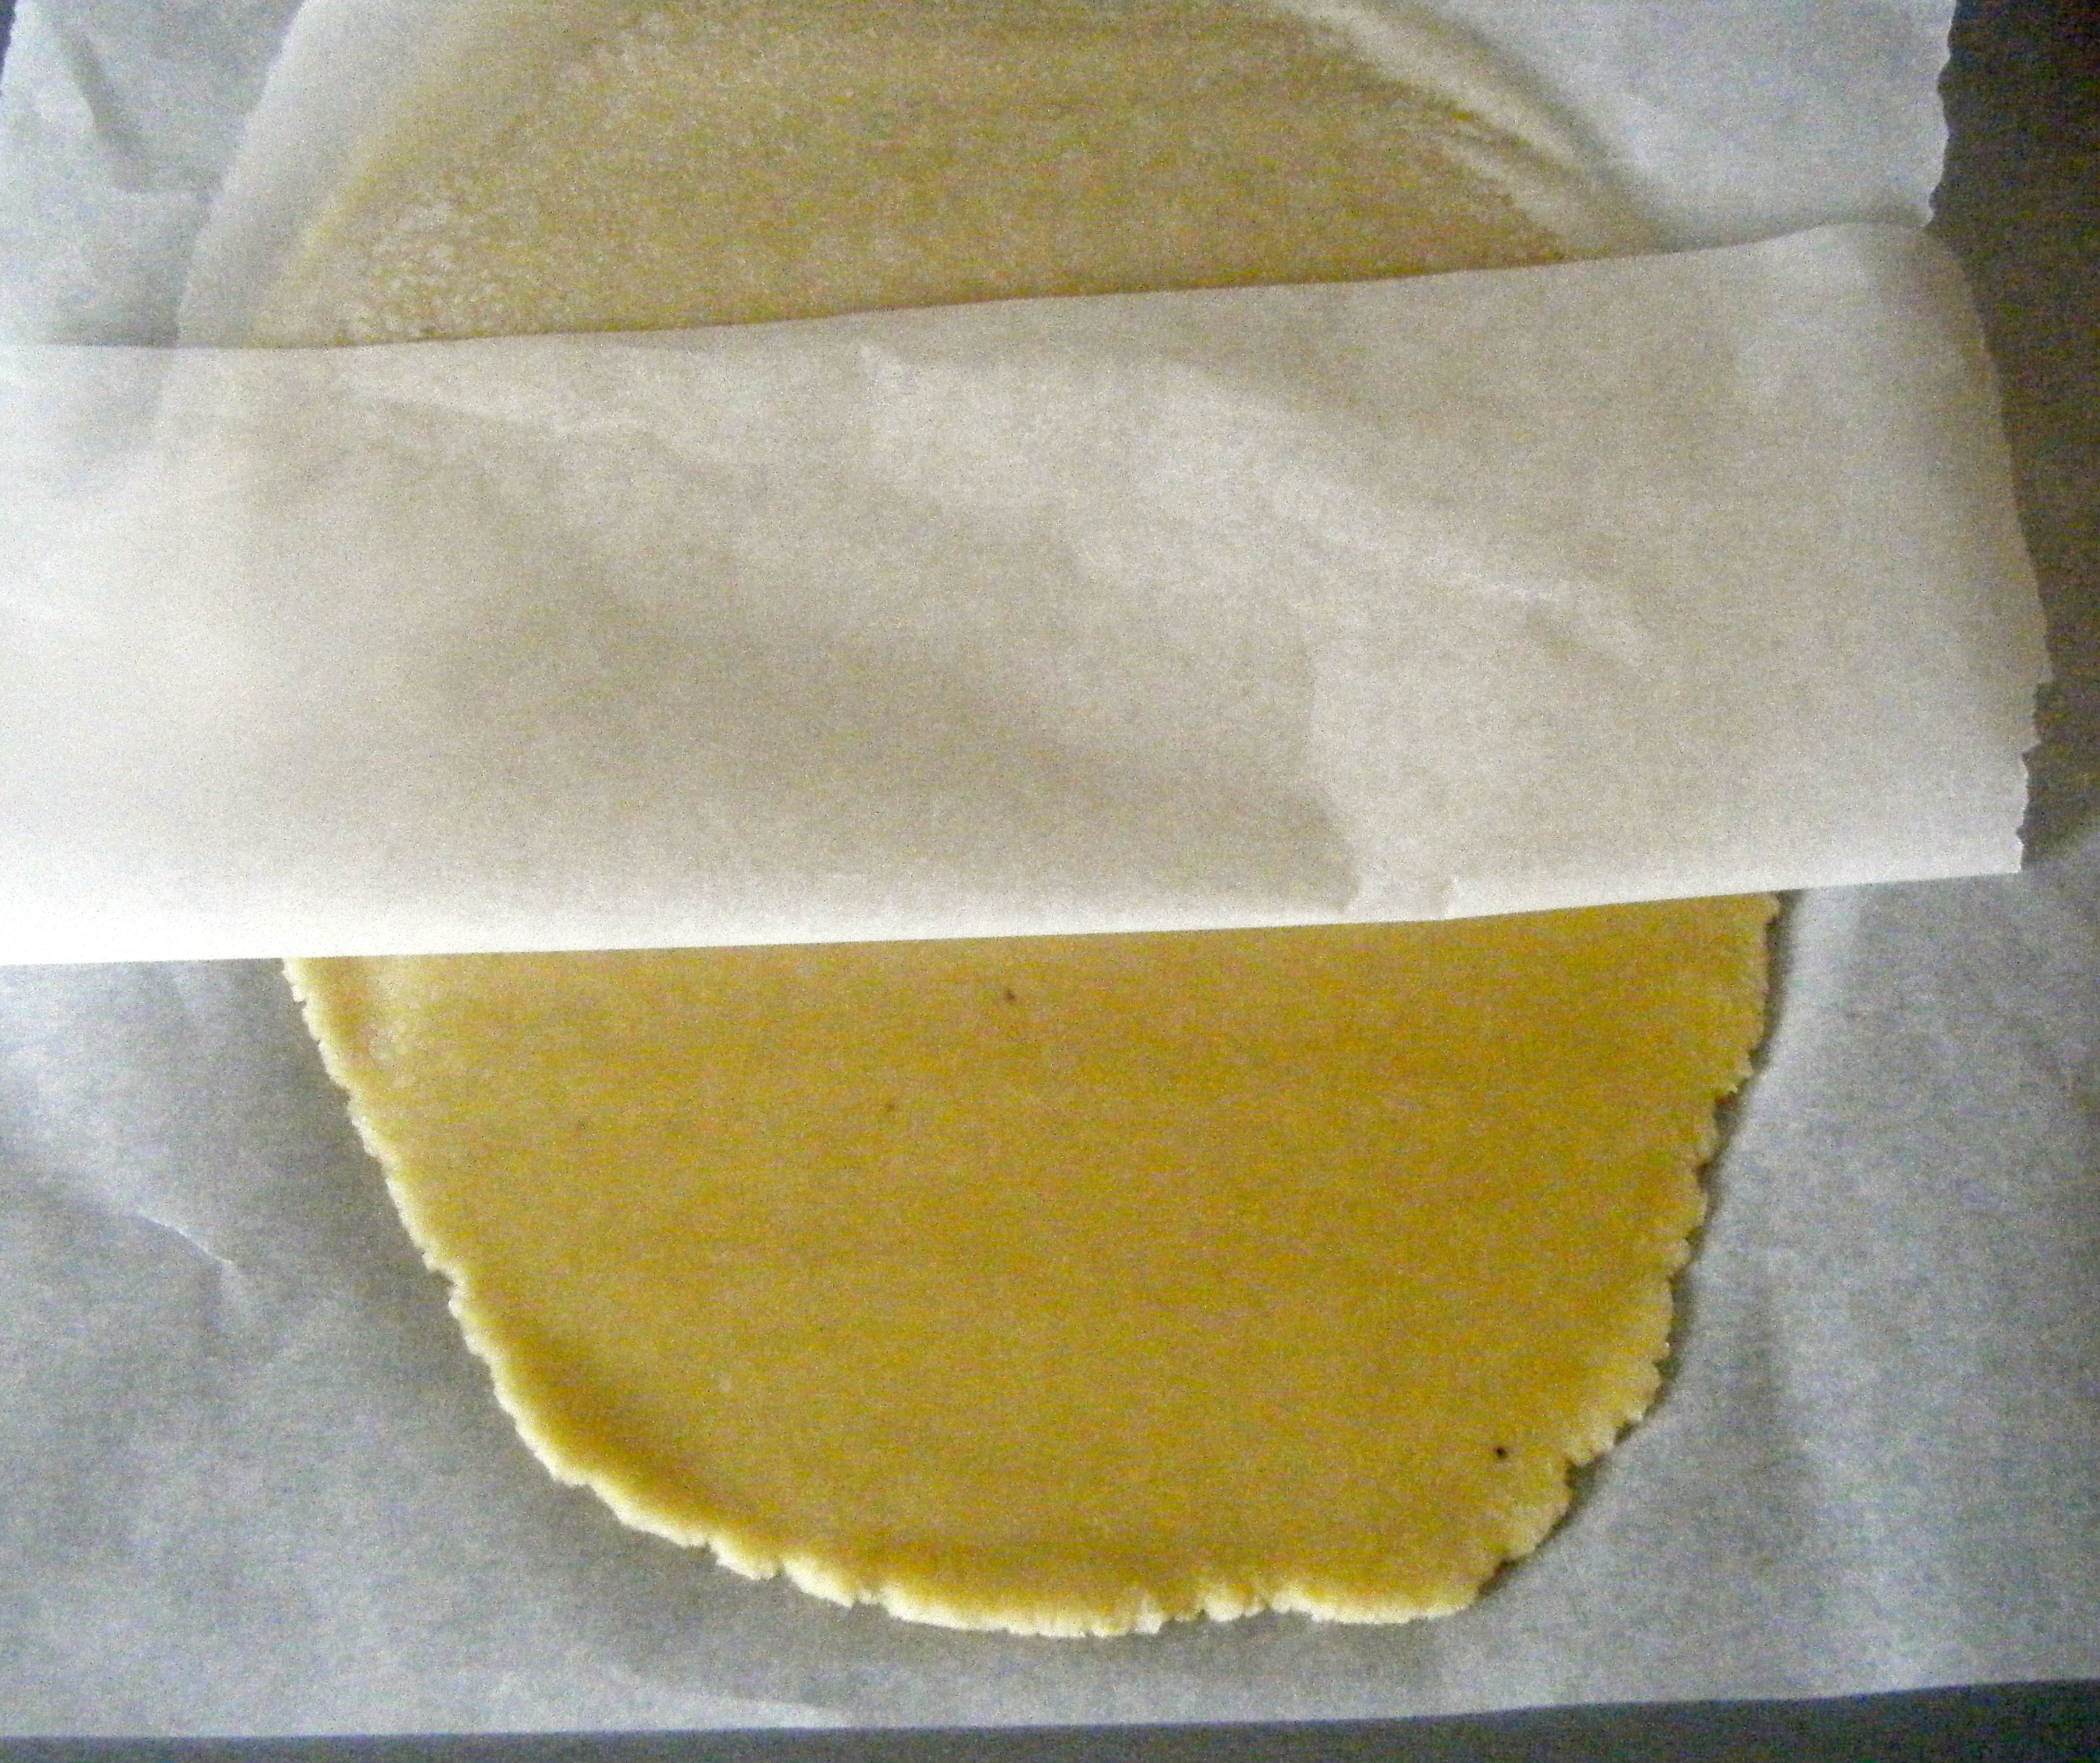
Practical tip: put the marzipan between two pieces of baking parchment to roll it out.  This stops it from sticking to the worktop or your rolling pin but also means you won’t risk ruining the texture by adding more icing sugar.

I them heated up some of my jam and started to put it all together.  The recipe says to push it through a sieve but I decided not to do this as I didn’t think it was all that necessary.  I brushed the sides of my cake slices and put them together in a chequered pattern.

Edited - jam on sponge

I put the cake onto the marzipan and rolled it over to cover.  I used my fingers to gentle press the join together.  I trimmed the edges and used the back of a knife to score a pattern into the top.

Edited - side2 Edited - done Edited - side

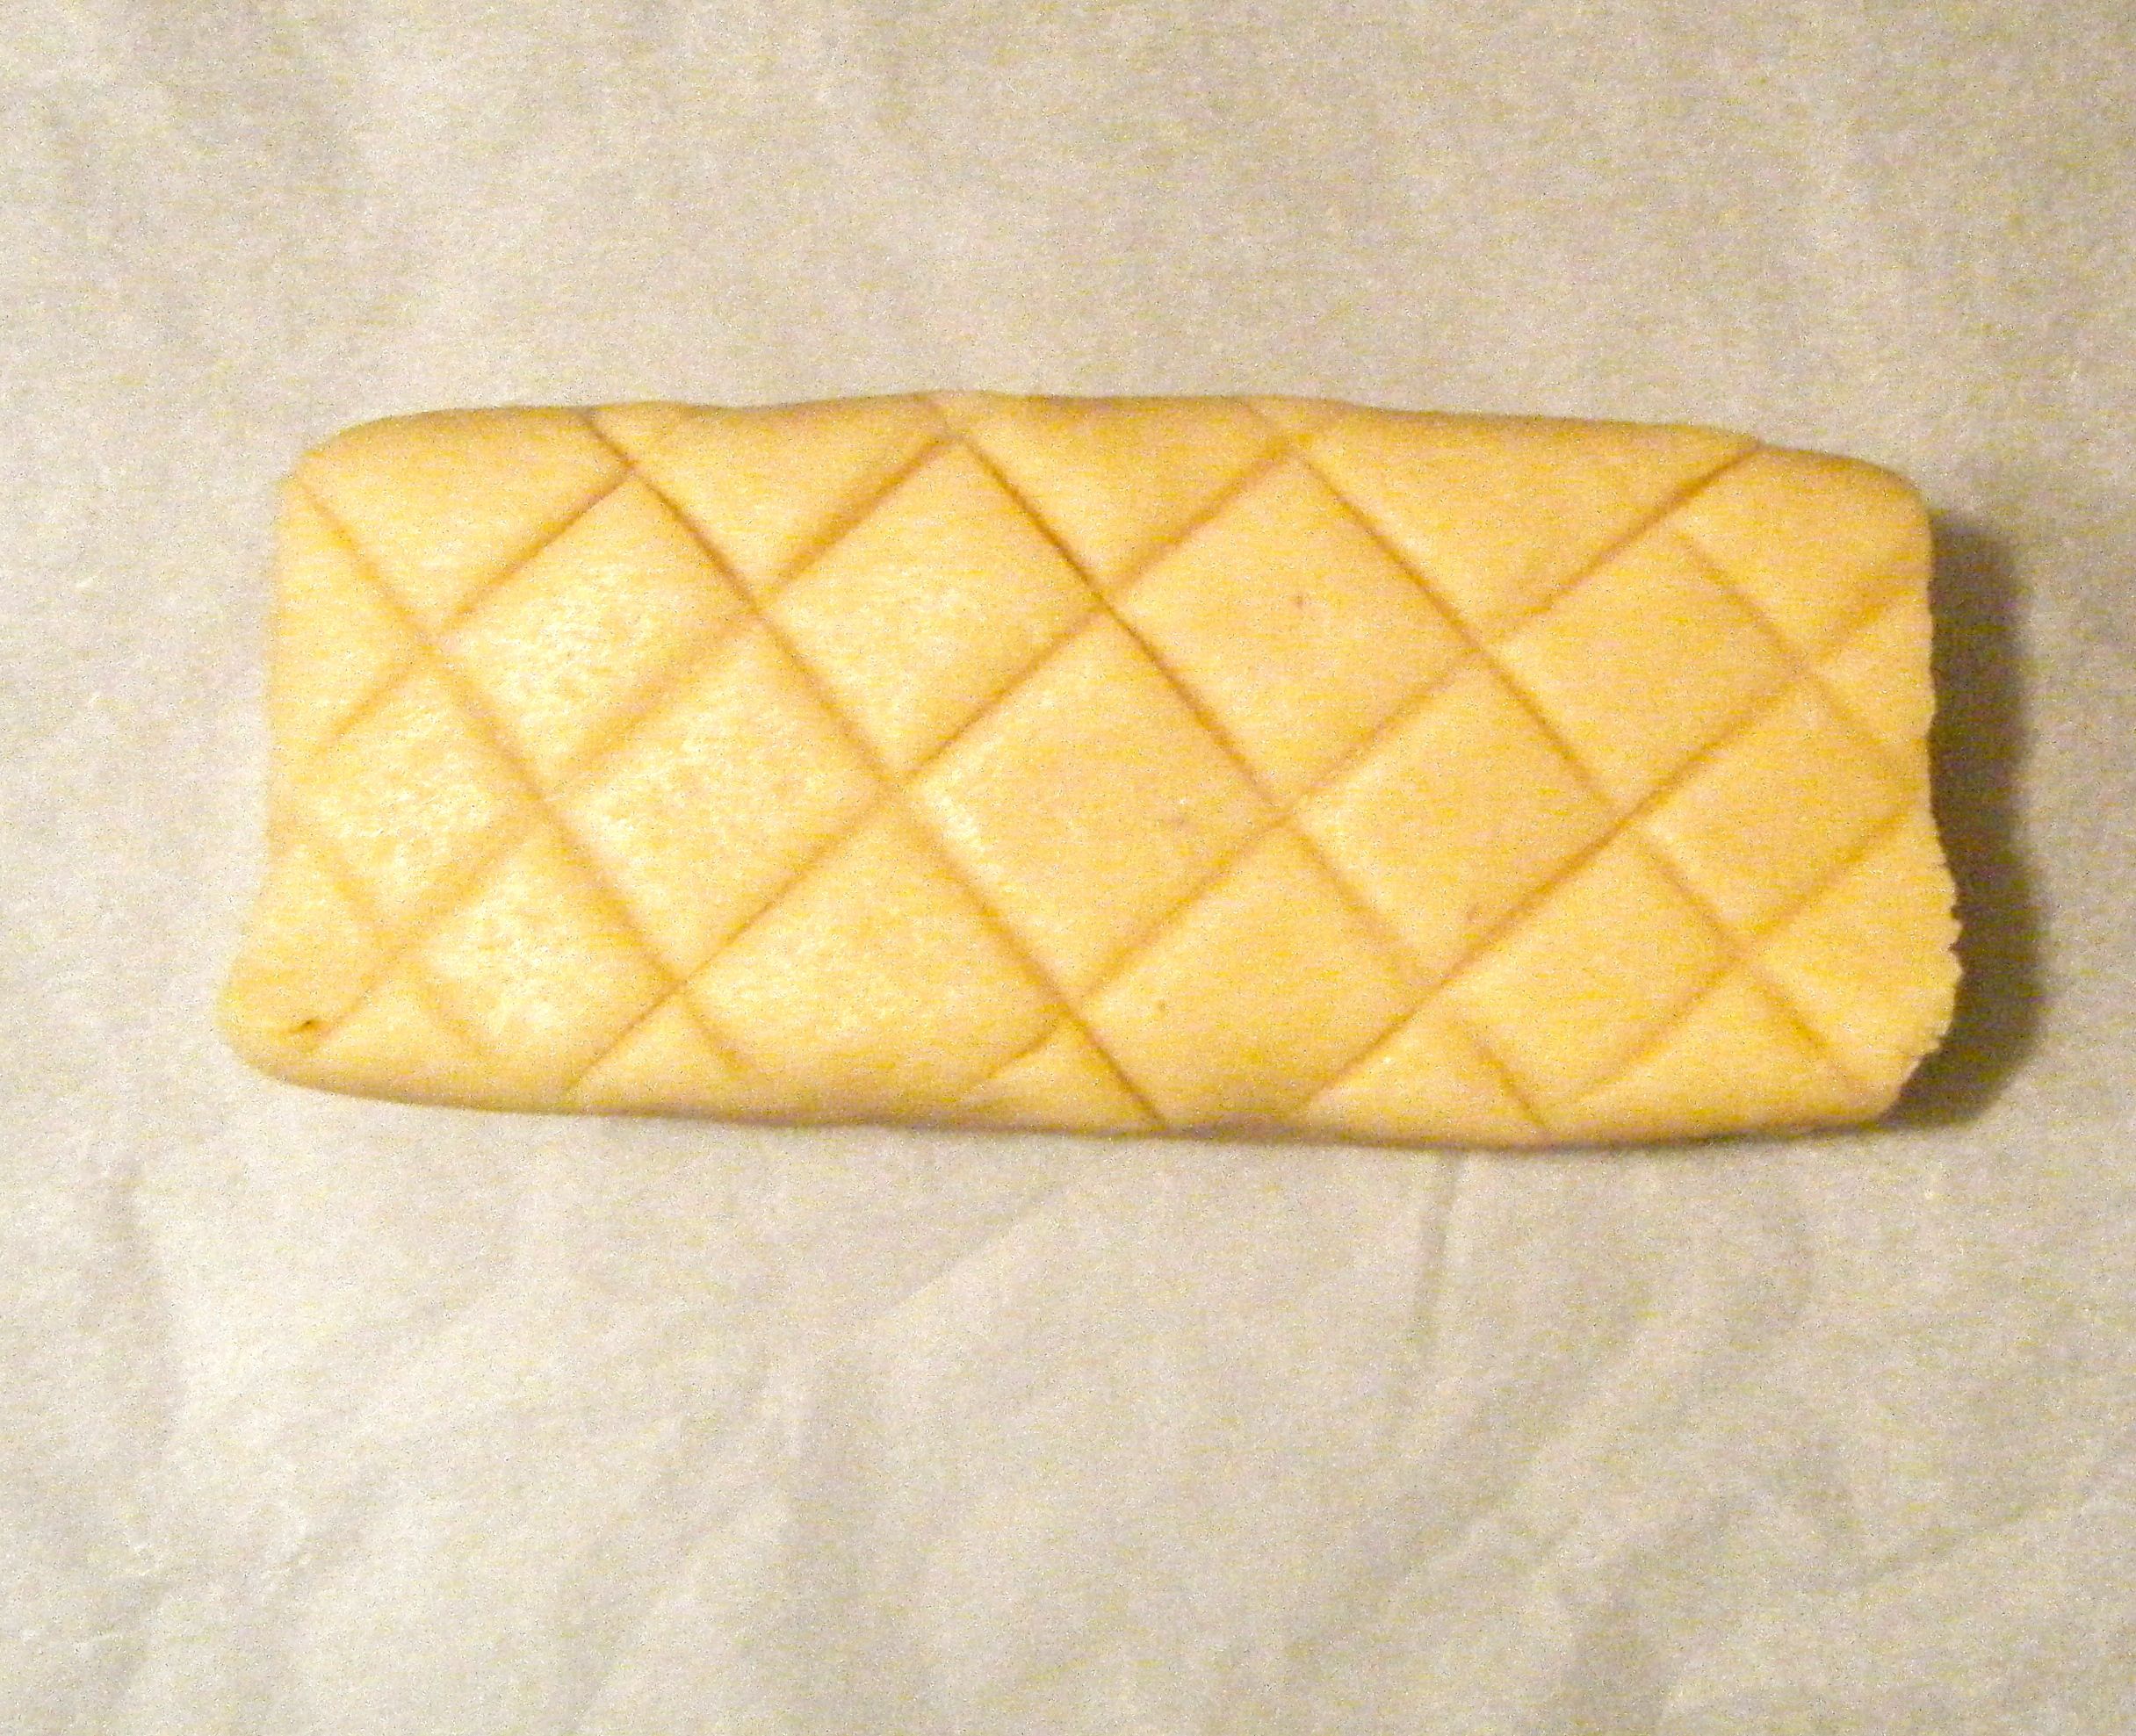
And there it is, my first ever battenberg. Oh my gosh was this delicious! I love cake, jam and marzipan…put them together and it’s like heaven on a plate.  A good cup of tea and a slice of Battenberg; definitely the best of British 🙂

Edited - slice

Coming up next week, Challenge No. 32 – leek and gruyere quiche. Hope to see you then.


Challenge No. 30 – Fig and Goats Cheese Tart

This dish was suggested by a family friend.  I’ve known Debbie ever since her daughter and I went to primary school and ballet class together.  I’ve never eaten a fig before but I love goats cheese so was quite excited to make (and eat!) this challenge.

I had a quick search online and found this recipe for fig, goats cheese and caramelised onion tarts.  The tarts are made with filo pastry sheets.   Whilst Challenge 52 is all about taking me out of my kitchen comfort zone, I decided to listen to my baking hero Mary Berry for this one.  I remember watching one of her programmes and whilst Mary Berry once made filo pastry as part of her training, she actually encourages home cooks to use shop bought ready made pastry. And who am I to ignore advice from Mary Berry? 🙂

So for this recipe, you will need the following ingredients:-

  • Filo pastry sheets
  • 1 Onion
  • 2tbsp light muscovado sugar
  • 1tbsp balsamic vinegar
  • 55g Goats’ cheese
  • 110g unsalted butter
  • 3 Figs Fresh
  • Honey for drizzling

Edited - ingredients

The recipe on the BakingMad website actually used 2tbsp of dark muscovado sugar and no balsamic vinegar.   However, when I went to get my sugar out the cupboard I realised I only had light muscavado sugar.  After a bit of research, I discovered that you can get the same caramelised effect by adding a tbsp of balsamic vinegar to 2tbsp of light muscavado sugar and this is what I did.

I started by preparing my onion.  I cut it in half and then sliced it at thinly as possible.

Edited - onions

I melted two knobs of butter in my frying pan and then added the muscavado sugar and balsamic vinegar.  Once the butter was fully melted, I added the sliced onion and fried them on a medium heat for about 20 minutes.

Edited - onions cooking Edited - onions

Whilst the onion was cooking, I prepared my muffin tin.  I greased each hole with some butter and then made some little baking parchment squares to insert into each one.  I cut the baking parchment into the following shape:-

Screen Shot 2015-07-17 at 20.51.43

Edited - prepared tin

Practical tip: these little inserts help to remove the cooked tarts without breaking the delicate pastry 🙂

I then melted the remaining butter and started to make the pastry shells.  I took my pastry sheets and decided to cut 12cm squares to line the tin.  The recipe said to cut them into 6cm squares but these looked to small.  I brushed the top of each square with melted butter, doubled it up with another square and pushed the two into a hole in the prepared tin.

Edited - pastry in the tin

I put the pastry cases into the oven on 180 degrees celsius for 5 minutes to brown them slightly. 

Edited - part cooked

With the pasty part cooked, I put a teaspoon of caramelised onion into each one and topped it with some goats cheese.  I then returned the tarts to the oven until the cheese was melted.  This actually took longer than I was expecting, probably around 7 to 10 minutes.

Edited - cheese in the tin

I sliced the figs and topped the cooked tarts with a portion each before drizzling them with a little honey.

Edited - served up

These were delicious.  They weren’t quite as small and dainty as I thought they would be (probably because I used 12cm squares of pastry) but they sure did taste nice.

Coming up next week, Challenge No. 31 – battenberg.

Challenge No. 29 – Chocolate Panda Cupcakes (Gluten Free)

This challenge wasn’t actually suggested by any friend or family for Challenge52, however, it is a bake which I owed to a friend from a couple of years ago.  Chloè absolutely loves pandas and she found some photos of panda cupcakes and sent them to me.  I offered to make them for her birthday but unfortunately life got in the way and I didn’t manage to do it.  So I added this one to Challenge52 myself as a special gift for Chloè’s birthday.

These cute mini panda cupcakes have been inspired by Bakerella.  Whilst Bakerella gives you all the tips you need to decorate the cakes, I needed to find a gluten free cake recipe for Chloè.  I did a quick search and found this recipe for a gluten free chocolate cake.

To make these gluten free chocolate panda cupcakes you will need the following ingredients:-

  • 100g unsalted butter, diced, plus extra for greasing
  • 140g best-quality dark chocolate, with 70% cocoa solids, broken into pieces
  • 6 large eggs, separated
  • 140g ground almonds
  • pinch of salt
  • 85g caster sugar
  • 150g unsalted butter
  • 300g icing sugar
  • 1tsp vanilla extract
  • Popping candy
  • Chocolate chips
  • Chocolate sprinkles
  • A black icing pen

Edited - ingredients

Bakerella uses sanding sugar which is a special type of sugar used in baking and cake decorating.  It has an extra sparkle compared to normal granulated sugar and it can be cooked and added to icing without dissolving.  I couldn’t find any sanding sugar in my local shops so I thought I would try it with popping candy as it was the closest colour to what I needed.

The cupcakes are made with petit four cases and the above quantities made 50 mini cupcakes, with leftover cake mix! So unless you are making these for a big groups of people, it might be worth reducing the quantities 🙂

I started by putting my diced butter and broken chocolate into a heatproof bowl over a pan of simmering water.  I kept string and then once the butter and chocolate were melted I took it off the heat and mixed until it was well combined. 

Edited - butter:choc Edited - melted

I let the chocolate butter mixture cool for 5 minutes and spent the time separating the eggs.

Edited - eggs

I then added the ground almonds and egg yolks to the chocolate/butter mixture.

Edited - almonds added

I added a pinch of salt to my egg whites and whisked them into soft peaks.   I then added a little of the caster sugar at a time and kept whisking until I had stiff peaks.

Edited - soft peaks Edited - stiff peaks

I added 2 large tablespoons of the eggs whites to the chocolate mixture.  Once it was combined, I gradually added all of the eggs whites, folding it in carefully until all the white was gone.  This took longer than I thought it would but I kept my patience as I didn’t want to beat the air out of the egg whites.

Edited - whites added Edited - mixed up

With the cake mixture ready, I put all my cases on a tray and used a measuring spoon to put a teaspoon of mixture into each case.

Edited - cases

I then put them in the oven for 8 minutes at 200 degrees celsius until cooked through.

Edited - cooked

Once the cakes were cool, I got started with the panda decorating.  I started by putting 150g softened butter into a bowl and whisked it with my handheld electric mixer.  As said in Challenge No. 13, it is important not to rush this stage and so I did this for about 5 minutes.

Edited - butter softened

I gradually added the icing sugar, covering the bowl with a clean tea towel and whisking between each addition until combined. I continued adding a bit at a time until all the icing sugar was incorporated and I added the vanilla extract towards the end.

Edited - buttercream

I put 1/4 of the mixture into a piping bag fitted with a No. 2 nozzle and the remainder into another piping bag fitted with a No. P6 nozzle.

Now for the fun bit, making the little panda faces.  I took each cupcake and pipped icing on top using the wide nozzle before dipping it into a bowl of popping candy (ensuring it was fully covered).  I added 2 chocolate drops for ears, 2 for eyes and one for the nose.  I then added a chocolate sprinkle for the mouth.  Finally, I used the smaller nozzle to pipe the whites of the eyes onto the chocolate drops.  Once the whites were set, I used my icing pen to add the black centres.

Edited - pandas Edited - three pandas

And there you have it, mini chocolate panda cupcakes.

I think these are just so cute! They tasted really nice too 🙂 The only problem was that my popping candy very quickly lost its pop! As I was decorating the cakes, I kept hearing the faint sound of the candy popping on the finished cupcakes.  By the time I had one the next day, there was no pop left. But this doesn’t take away from how cute they are.

Coming up next week, Challenge No. 30 – fig and goats cheese tart.