This dish was suggested by a good family friend. Elaine and her husband are very successful entrepreneurs. Running their own business has meant they don’t get to spend that much time in the kitchen. It is therefore unsurprising that Elaine suggested a one pot dish which could be put on and slow cooked until ready to be served.
Elaine’s criteria was simple…”something nice for the winter like stew and dumplings, something that you can throw into one pot in the morning and leave cooking all day so when you get home dinner is made”.
I thought this was a great idea, however, before we go any further, I must confess I am a serial worrier. My friends joke that my children will literally be wrapped in cotton wool – I don’t think I am quite this bad but I do worry. So the idea of leaving my oven on all day whilst I am not home doesn’t sit well with me. With this in mind, I thought a nice slow cooked dish which can be cooked for a cold winter sunday evening would be perfect. You can pop it in the oven, snuggle on the sofa to watch your favourite film whilst the beautiful hearty smells fill your home – perfect!
I decided I wanted to use beef as my boyfriend and I don’t often have beef in any form other than minced. I found a recipe by James Martin which looked lovely and included homemade dumplings. The recipe can be found at http://www.bbc.co.uk/food/recipes/beefstewwithdumpling_87333.
The recipe calls for the following, rather lengthy list of ingredients:-
- 2 tbsp olive oil
- 25g/1oz butter
- 750g/1lb 10oz beef stewing steak, chopped into bite-sized pieces
- 2 tbsp plain flour
- 2 garlic cloves, crushed
- 175g/6oz baby onions, peeled
- 150g/5oz celery, cut into large chunks
- 150g/5oz carrots, cut into large chunks
- 2 leeks, roughly chopped
- 200g/7oz swede, cut into large chunks
- 150ml/5fl oz red wine
- 500ml/18fl oz beef stock
- 2 fresh bay leaves
- 3 tbsp fresh thyme leaves
- 3 tbsp chopped fresh flatleaf parsley
- Worcestershire sauce, to taste
- 1 tbsp balsamic vinegar, or to taste
- salt and freshly ground black pepper
- 125g/4½oz plain flour, plus extra for dusting
- 1 tsp baking powder
- pinch salt
- 60g/2½oz suet
- water, to make a dough

Practical Tip: I couldn’t find any baby onions and so I used shallots which I peeled and chopped in half. Shallots are not the same as baby onions but they are apparently a close relative and they worked very well with this recipe.
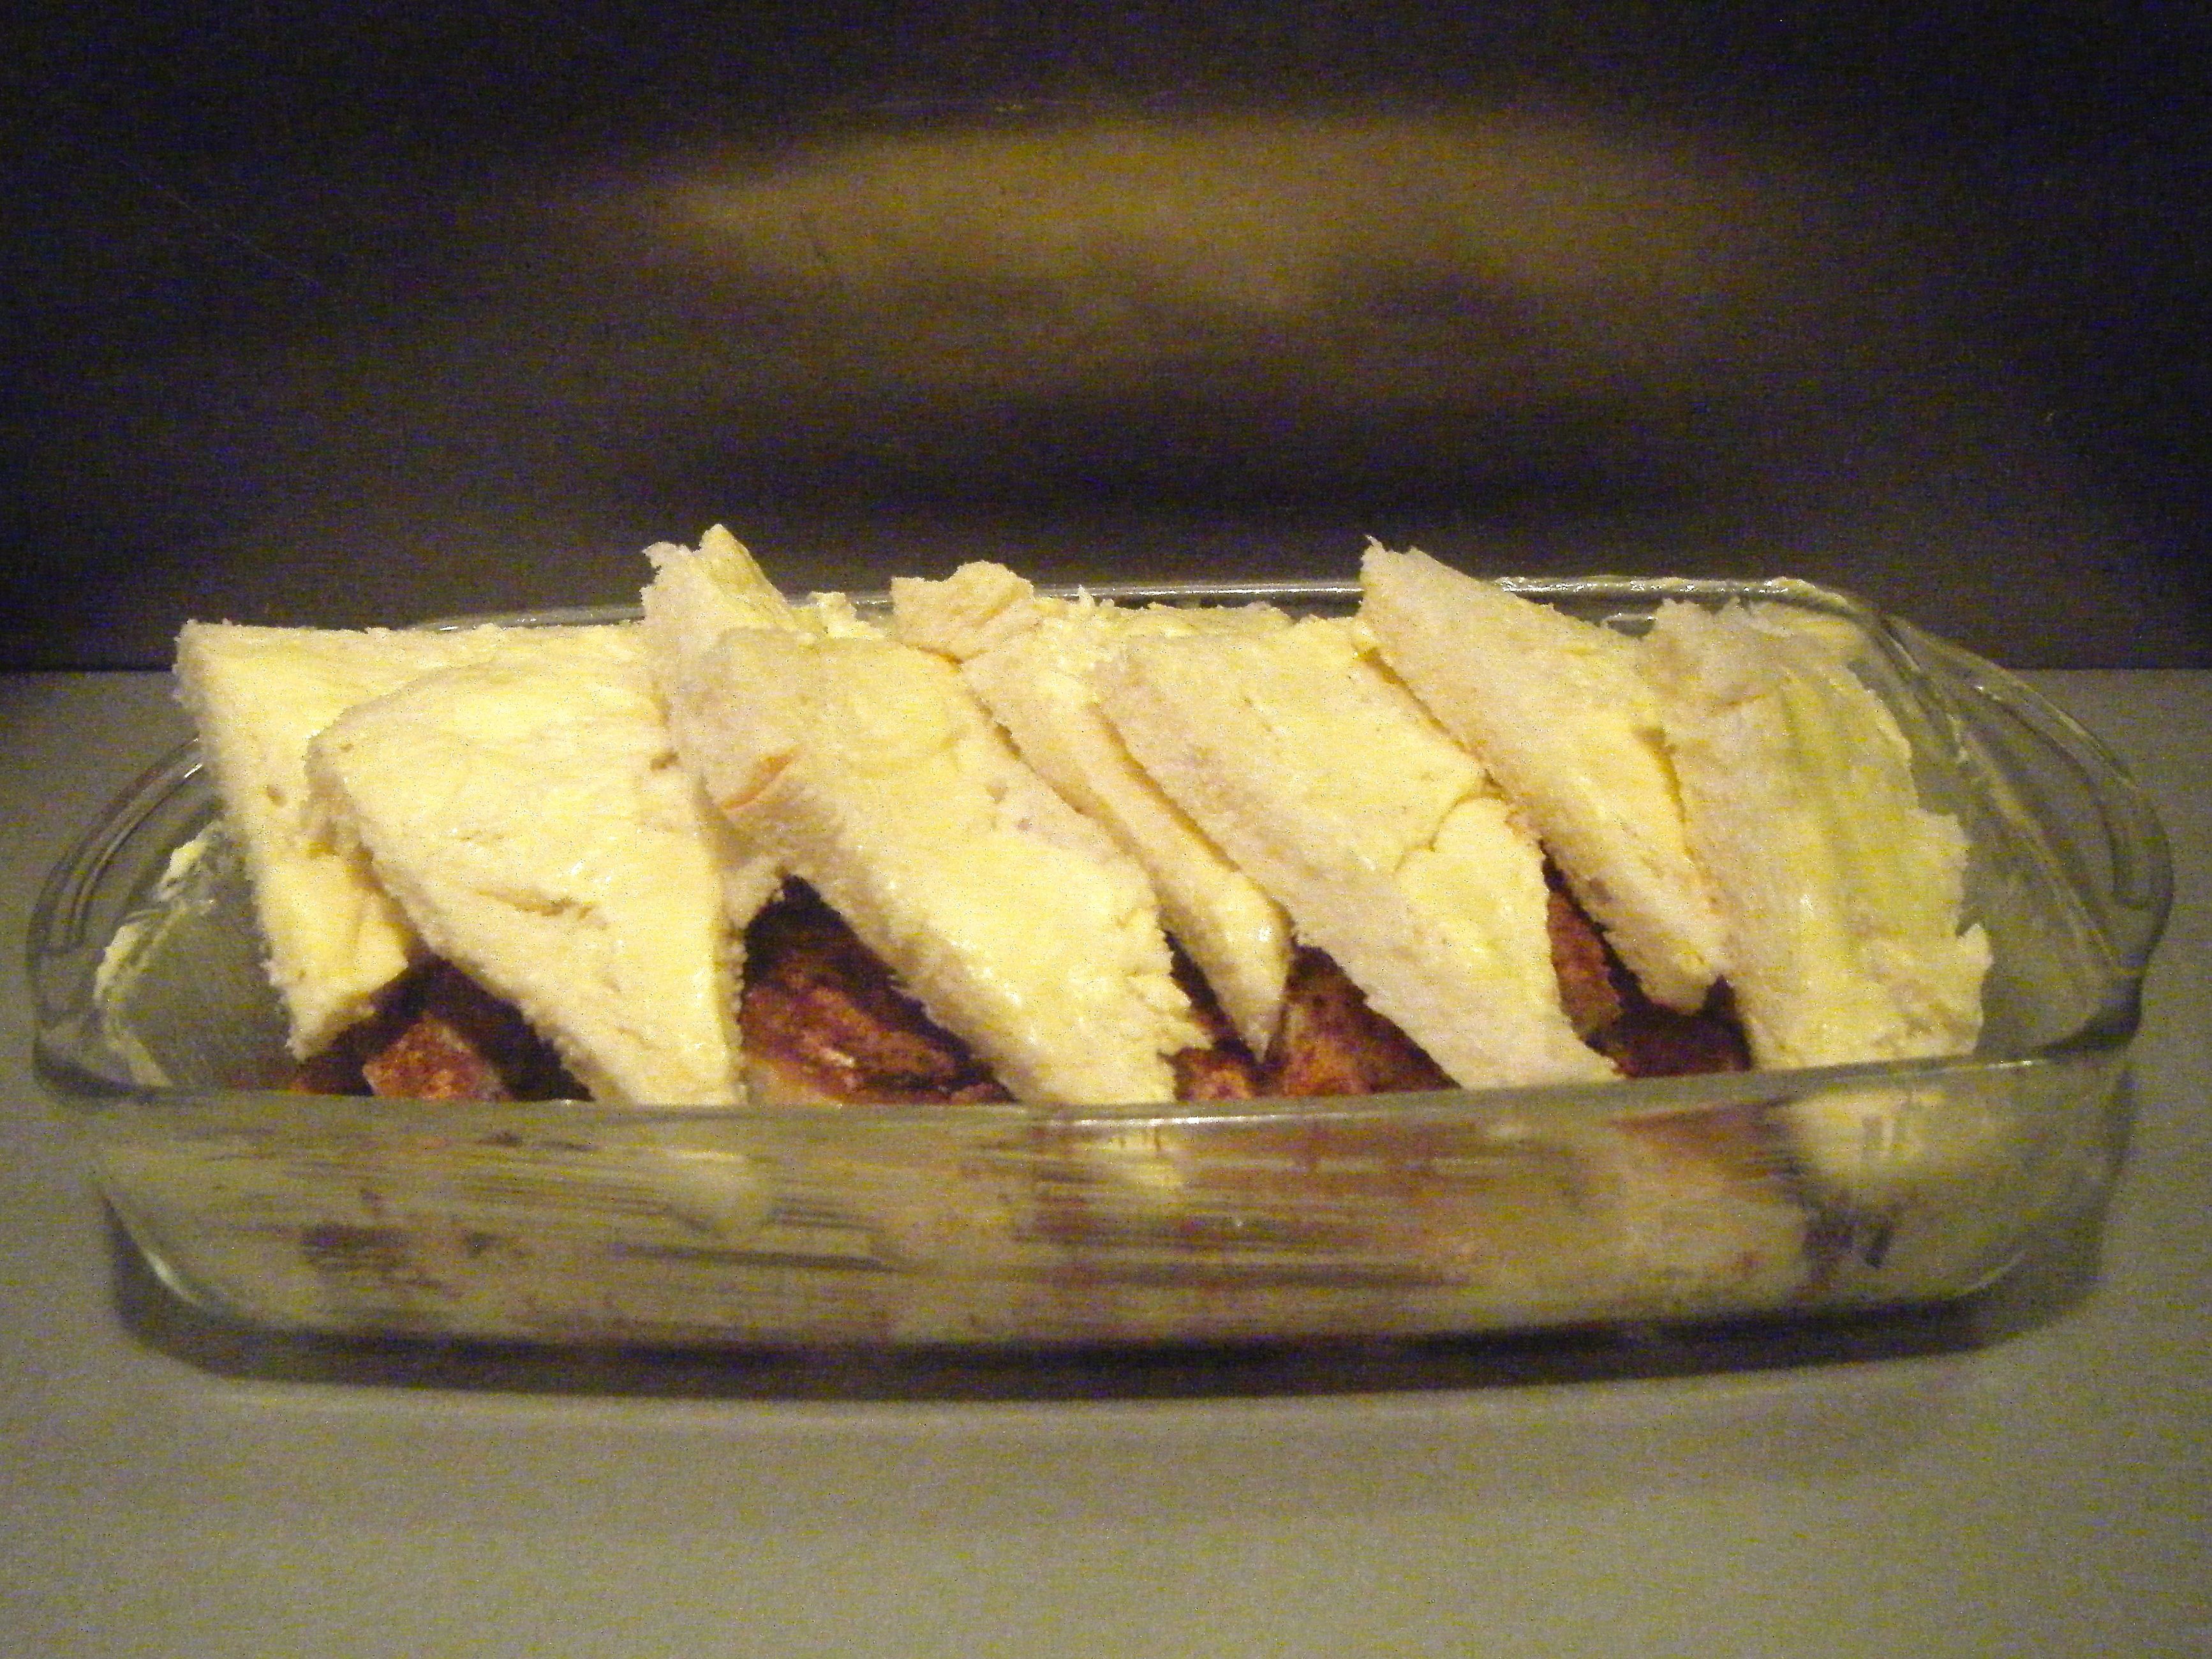
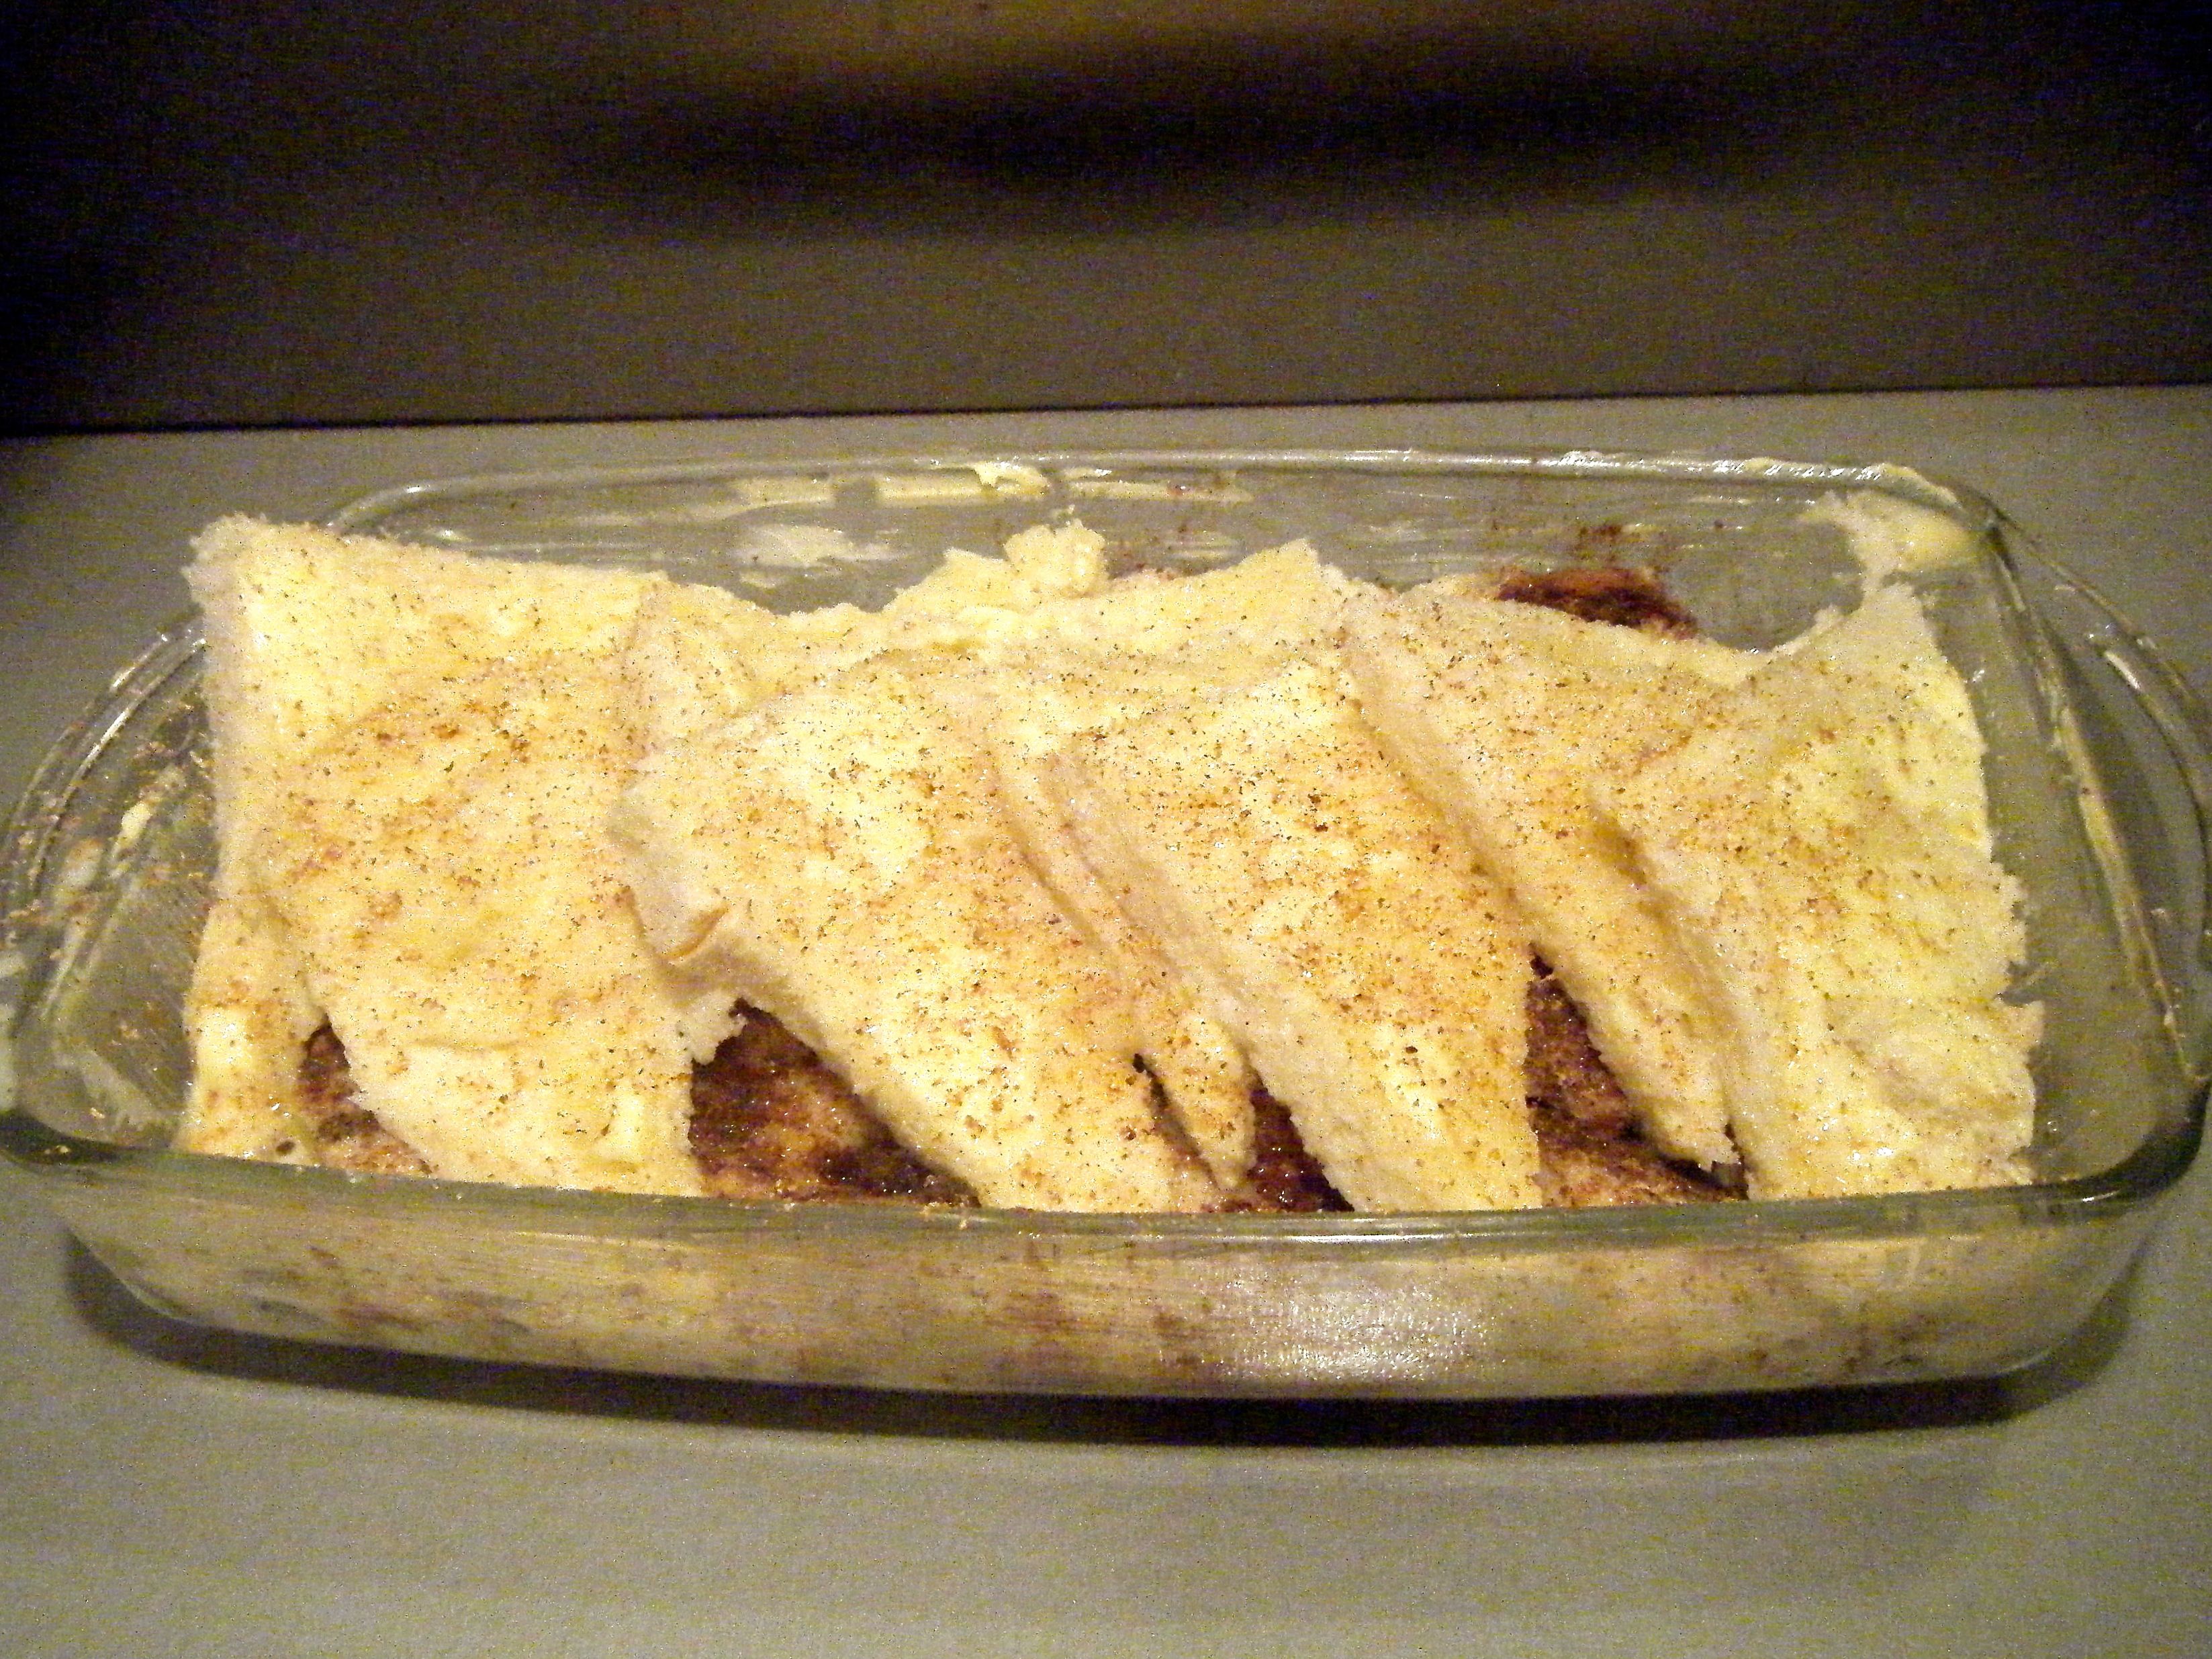
This recipe is intended to serve 4 people. Last year I attempted to make a one pot African stew and I didn’t take into account the size of my dish before I started – I actually had to get out another pan and decant half of the ingredients so I could finish the recipe using both pans!. This is something I should have thought about considering the following extract from The Great Bread and Butter Pudding Disaster:-
My first mistake was pulling out my mum’s turkey roasting dish to make it in – apparently I thought I was feeding the whole city. First lesson learnt, the size of the dish you cook in can really make a difference to how a recipe turns out. Make sure you pick the right size dish and you will be starting off well! Most recipes will give you the size or type of dish required to work with the quantities involved. You won’t always have the one they recommend and most people wont have the space or money to invest in every variant out there. Use the recipe suggestion as a guide; it is not a precise art and you can use a bit of judgement to find the most appropriate dish in your collection. Common sense comes in handy here and this is something which I certainly lacked at 14.
Having learnt my lesson (again!) I decided I would be best to halve the ingredients for this beef stew.
Practical Tip: I felt this recipe had quite a large meat to veg ratio. This was great for my boyfriend who is a true vegetable hater. However, if, like me, you love your veg, I think you could get away with using more vegetables. Instead of halving the recipe, you could use 1/2 the quantity of meat and 3/4 of the quantity for the remaining ingredients. I will be trying this next time I make the stew (despite my boyfriend’s hatred for vegetables) and popping the leftovers in the freezer for a lazy day!
Before I started cooking, I prepped. This step isn’t really necessary if you have a big kitchen but I only have a very small kitchen with limited worktop space. As such, for me, preparation is key. I started by chopping all my veg and popping it into some Tupperware. I pealed my garlic and put it in the crusher and chopped up my herbs. I then added the oil and butter to my pan, turned up the heat and once this was bubbling, I added the beef.
Practical Tip: if you don’t have a garlic crusher, just use the side of a knife to crush the garlic on a chopping board. Then roughly chop before adding it to your recipe.
With the beef browned, I added the flour and gave it a good stir. Once this had been frying for a couple of minutes, I added my vegetables and crushed my garlic directly into the pan. With my kitchen smelling more delicious by the minute, I added the remaining stew ingredients and popped the covered dish in the oven.
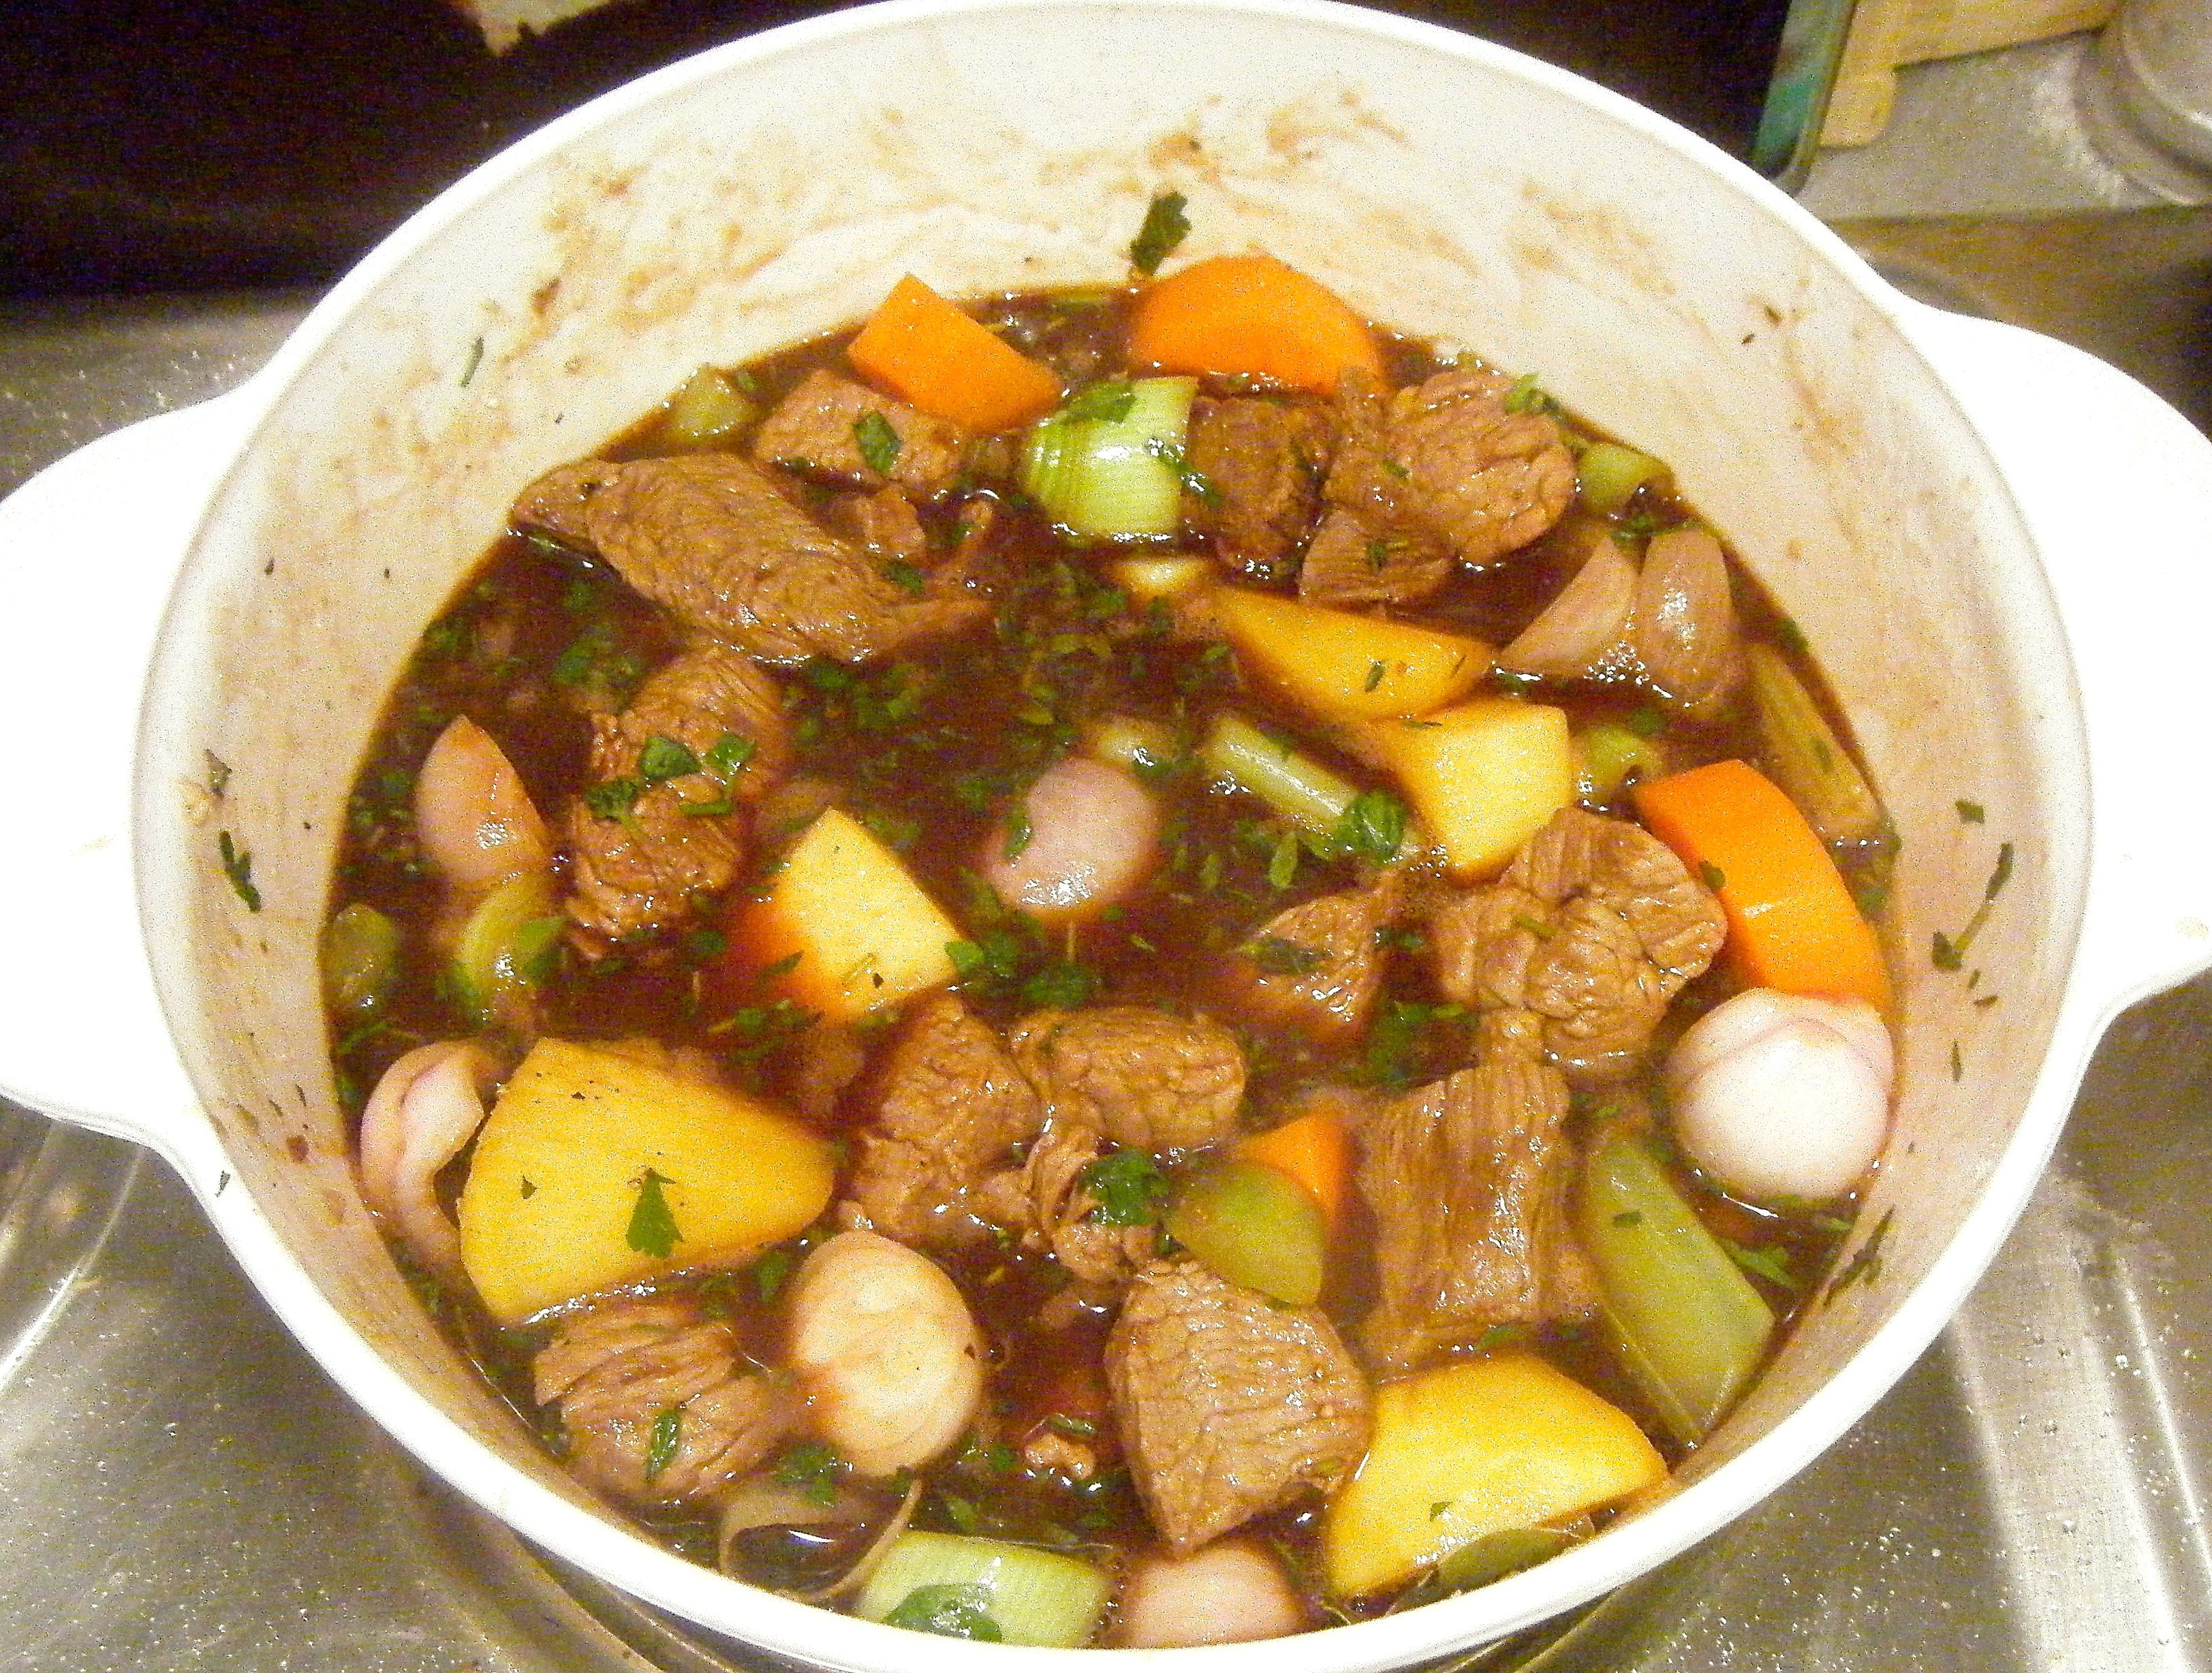
Ready for the oven!
The initial cook is for 2 hours, however, I set the time for 1hour 30 so I would have time to get the dumplings ready. I settled down on the sofa with my boyfriend and waited patiently as our dinner cooked away.
When the timer went off, I got my ingredients ready for the dumplings. The recipe calls for enough water to make a dough – I’ll be honest, I had no idea how much this would be! I decided to add a little water at a time and mix the ingredients with my hands until it felt right. Once the mixture had started to come together enough to be shaped, I decided that was enough. Don’t be scared of doing this. I’ve never made dumplings before and I had no idea what the consistency or texture should be but I went with my instincts and they turned out well. Cooking is about trial and error – if something goes wrong, just learn from it for next time. For me, this is what makes cooking so fun!
Practical Tip: before mixing the dough, get a plate and cover this with a layer of plain flour. You can then use this to flour your hands before rolling the dumplings.

Dumplings rolled and ready to go in the pan!
Once the stew had been cooking for 2 hours, I placed the rolled dumplings into the pan in the oven for the final 20 minutes. Once it was ready, I served it up. The verdict, it was delicious!
Serving Tip: serve with creamy mash potato. Make sure you come back for my potato challenge where, at the request of my dad, I will be attempting to make the “best mash potato”.

Served up with some yummy mash potato.
From reading this post, you may think that this recipe went perfectly but I cannot lie, I managed to hurt myself at the final hurdle. Once everything was ready to be served, I went to take the stew out of the oven and my oven cloth slipped off my finger, meaning I touched the oven rack without any protection. I quickly got my hand under the cold tap and then ate my dinner with my finger plunged in a mug of cold water. Luckily, my reactions were quick enough that by the next day there was only a small mark on the tip of my finger and it wasn’t at all painful.
There you have it then, the second challenge and my first injury of Challenge 52.
Coming up next week, Challenge No. 3 – eton mess! Hope to see you then 🙂