
So here we are, the first of my 52 recipes under Challenge 52 on My Gastro Adventure. I wasn’t sure what I was going to do as my first recipe and then my mum said “well of course, it has to be bread and butter pudding”. This simple statement filled me with dread!
Bread and butter pudding is one of the most quintessentially British puddings and one of my favourites. With that, you may think I would look forward to making this dish – you would however be mistaken! The source of my nerves date back to the Great Bread and Butter Pudding Disaster of 2003. To find out more, click here.
As with all of the recipes planned for Challenge 52, I carried out a quick search online and picked a recipe. Now I’m sure everyone has their own method of choosing recipes. Personally, I don’t have much of a process but I am always drawn by a pretty picture of the finished product and I like to see the ingredients listed in the order they are intended to be used. With this in mind I opted for this recipe by Griff Rhys Jones, http://www.bbc.co.uk/food/recipes/breadandbutterpuddin_85936.
The recipe calls for the following ingredients:-
- 25g/1oz butter, plus extra for greasing
- 8 thin slices bread
- 50g/2oz sultanas
- 2 tsp cinnamon powder
- 350ml/12fl oz whole milk
- 50ml/2fl oz double cream
- 2 free-range eggs
- 25g/1oz granulated sugar
- nutmeg, grated, to taste

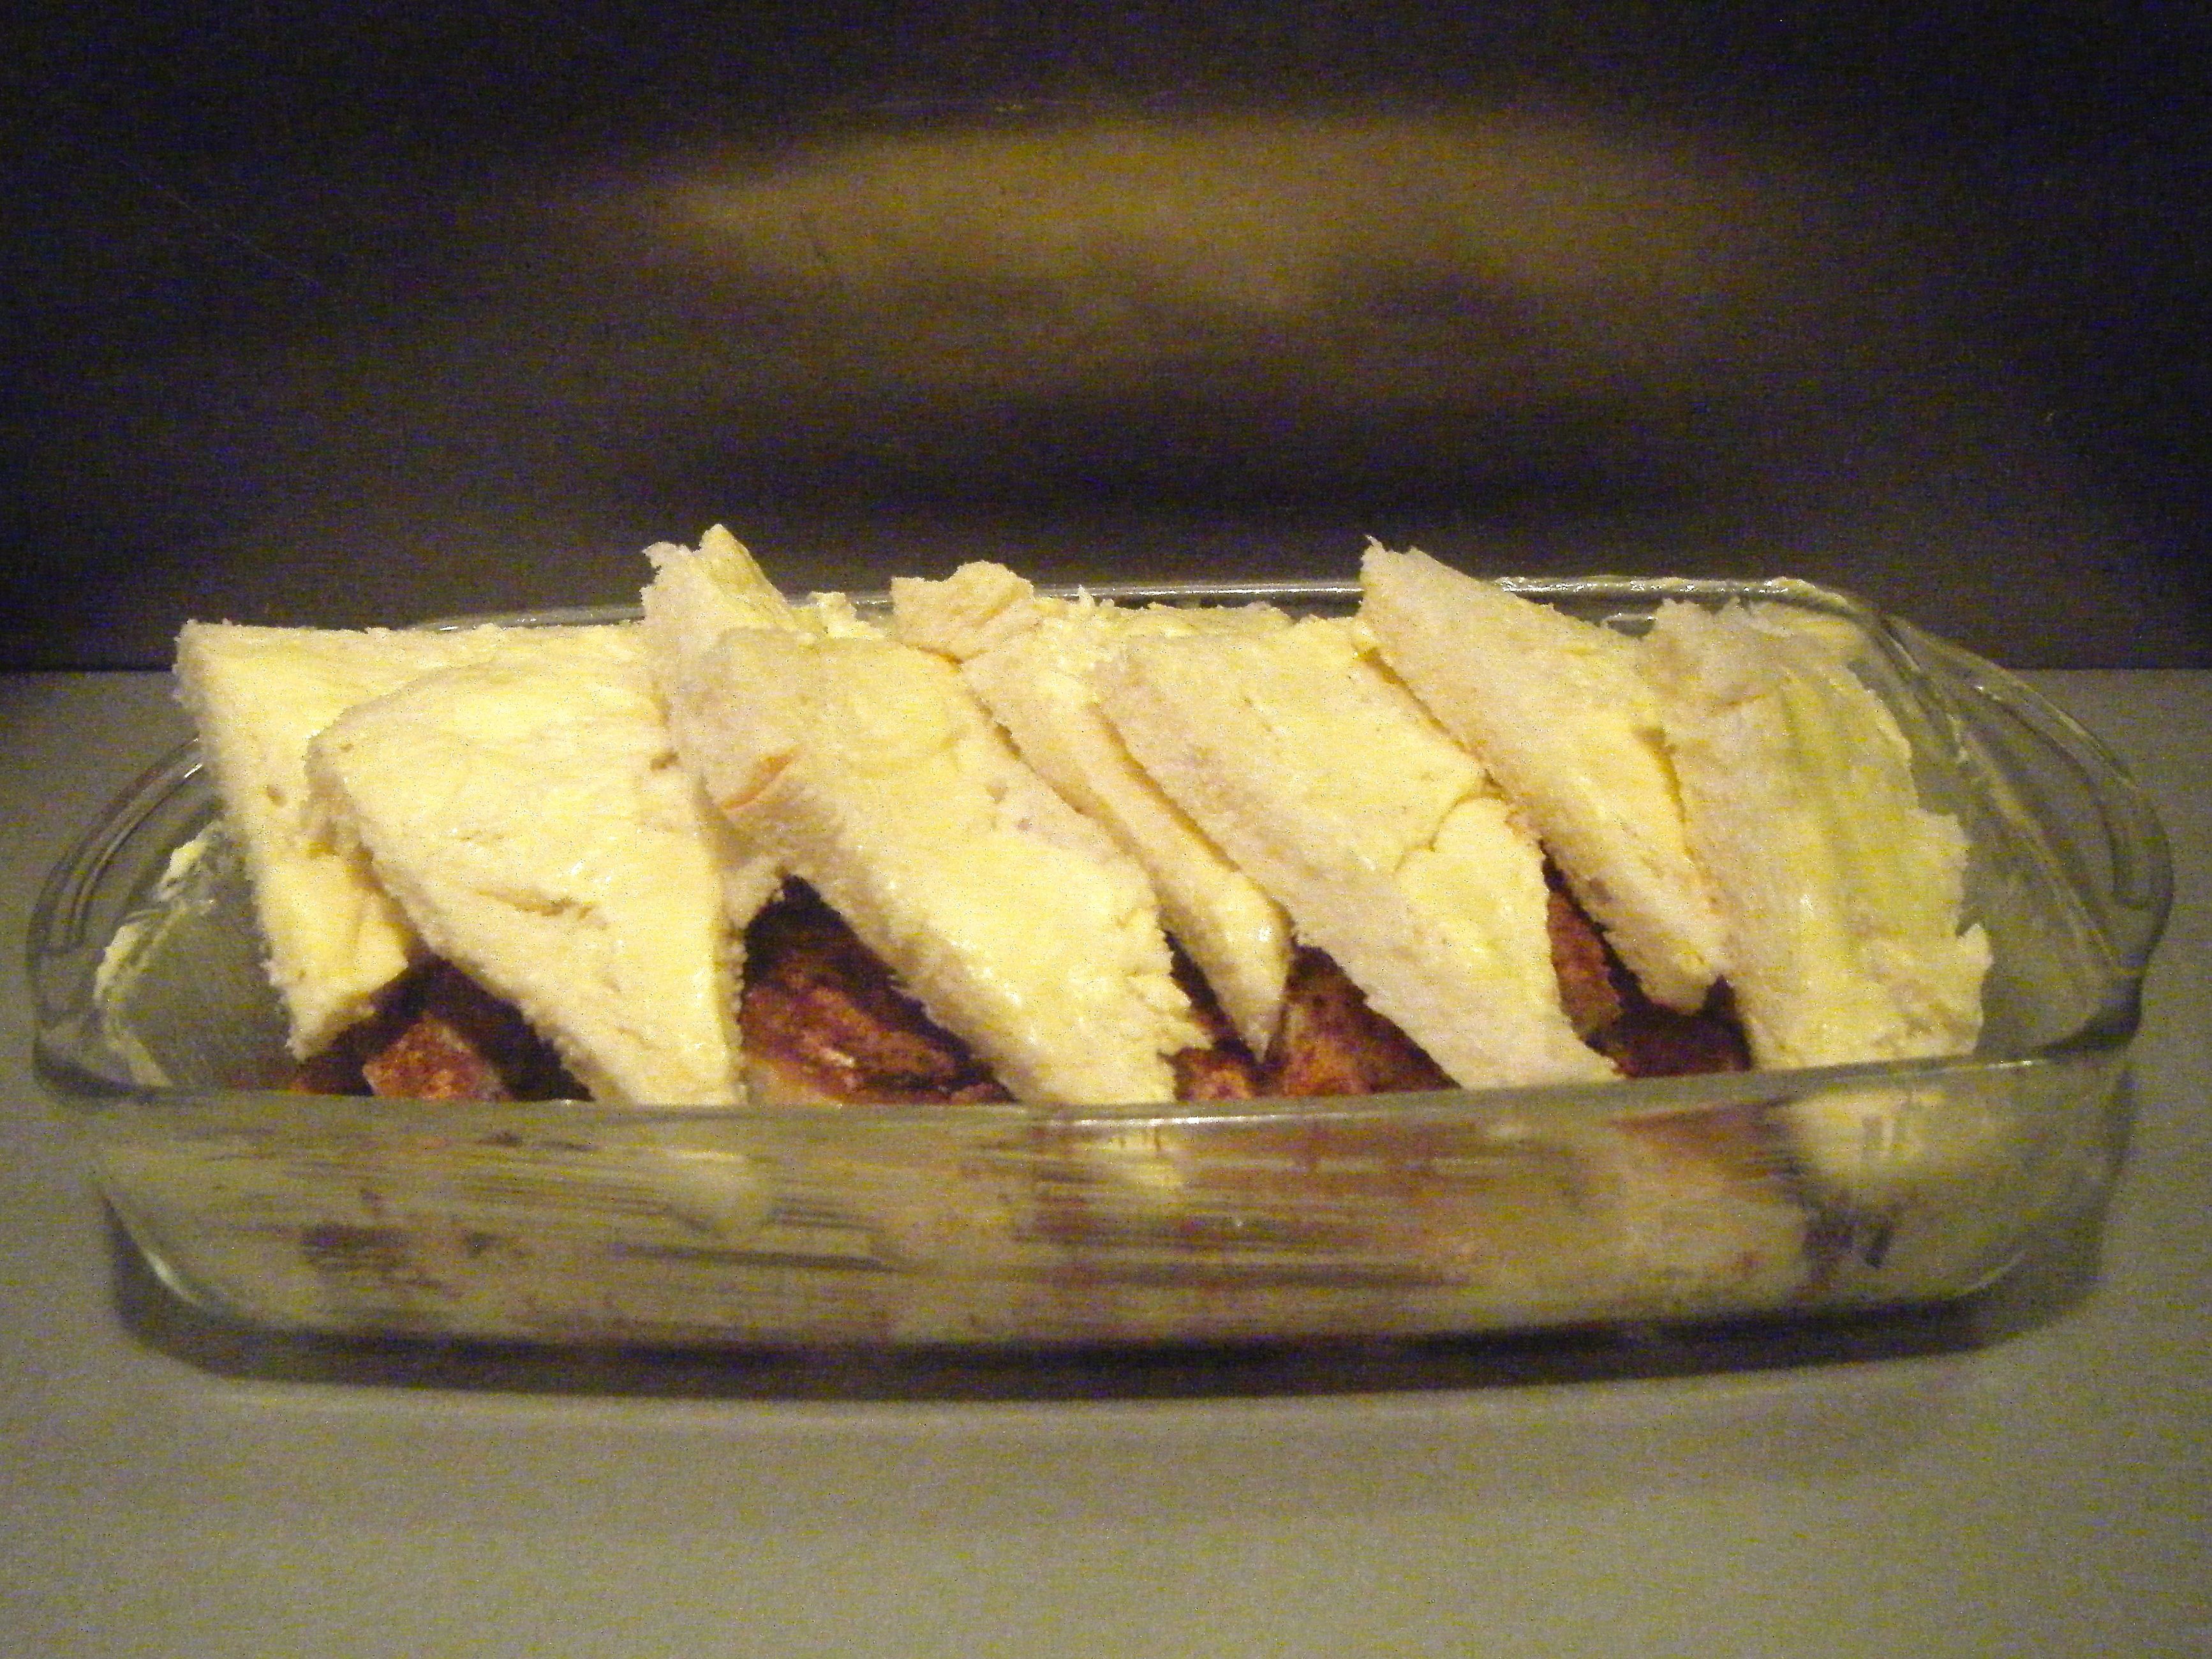
Personally, I didn’t bother measuring out the butter or counting the slices of bread. I simply began buttering and slicing my bread and then prepared my first layer. Once this was done, I counted how many slices I had used for the bottom layer (approximately 5 slices of small bread). I decided I wanted three layers and I therefore used half the sultanas and cinnamon to sprinkle on this first layer. I then continued the process until I got to my third and final layer of buttered bread.
Practical tip: I tried to make the bottom layers look pretty and in all honesty it was a waste of time. Once the pudding is cooked, you don’t see these and they all seemed to merge together. Instead, just set out the lower layers so you have a sufficient covering of bread and focus on placing your top layer to make it look appealing.
Once the layering was done, I started to get my ingredients ready for the custard. I put my milk and cream in the pan and put it over a low heat. I then hand whisked my eggs and sugar. I wasn’t sure what I was looking for here. The recipe states that they should be lightly whisked until pale. And so, I just gave it a good whisk until the sugar and eggs combined to make a runny pale liquid.
I then turned my attention to the milk and cream mixture. It was starting to steam but not yet boil or bubble. The recipe calls for the mix to be at scalding point but not boiling. Without a thermometer, I had to use my judgment here. I decided to leave it for a little longer, watching it very carefully until it was letting off a steady amount of steam.
I strained the mix into my bowl with the egg and sugar mix. I’ve never made custard before (unless you count my disastrous first attempt at bread and butter pudding in 2003) and I wasn’t sure why it needed to be strained. A little research told me that the straining process is used to remove any cooked or curdled egg from the custard. Looking at my mix, I thought, is the straining really necessary? It already looked smooth and I couldn’t see any lumps?
However, over the years I have learned a few things and my number one tip for any cooking or baking…follow the recipe! Don’t start experimenting until you’ve seen and felt how the ingredients work together and react to certain processes. Once you have a feel for the ingredients and flavours you can start to add your own touch and develop your own exciting array of recipes. And so, I strained my custard and despite looking silky smooth before straining, I was left with a sieve full of little bits of cooked egg! So in answer to the question, straining the custard is a necessary step.
Practical tip: don’t use a spoon to push the custard through your sieve. Let gravity do the work. If you push the custard through you will also push through the bits you are trying to strain out.
I poured my strained custard over the bread layers and sprinkled it with the remaining sugar as per the recipe. I then grated my nutmeg. This is something I’ve never done before and I wasn’t sure if I needed to chop the nutmeg first or whether I could grate it whole. A quick look online and I opted for grating it whole.
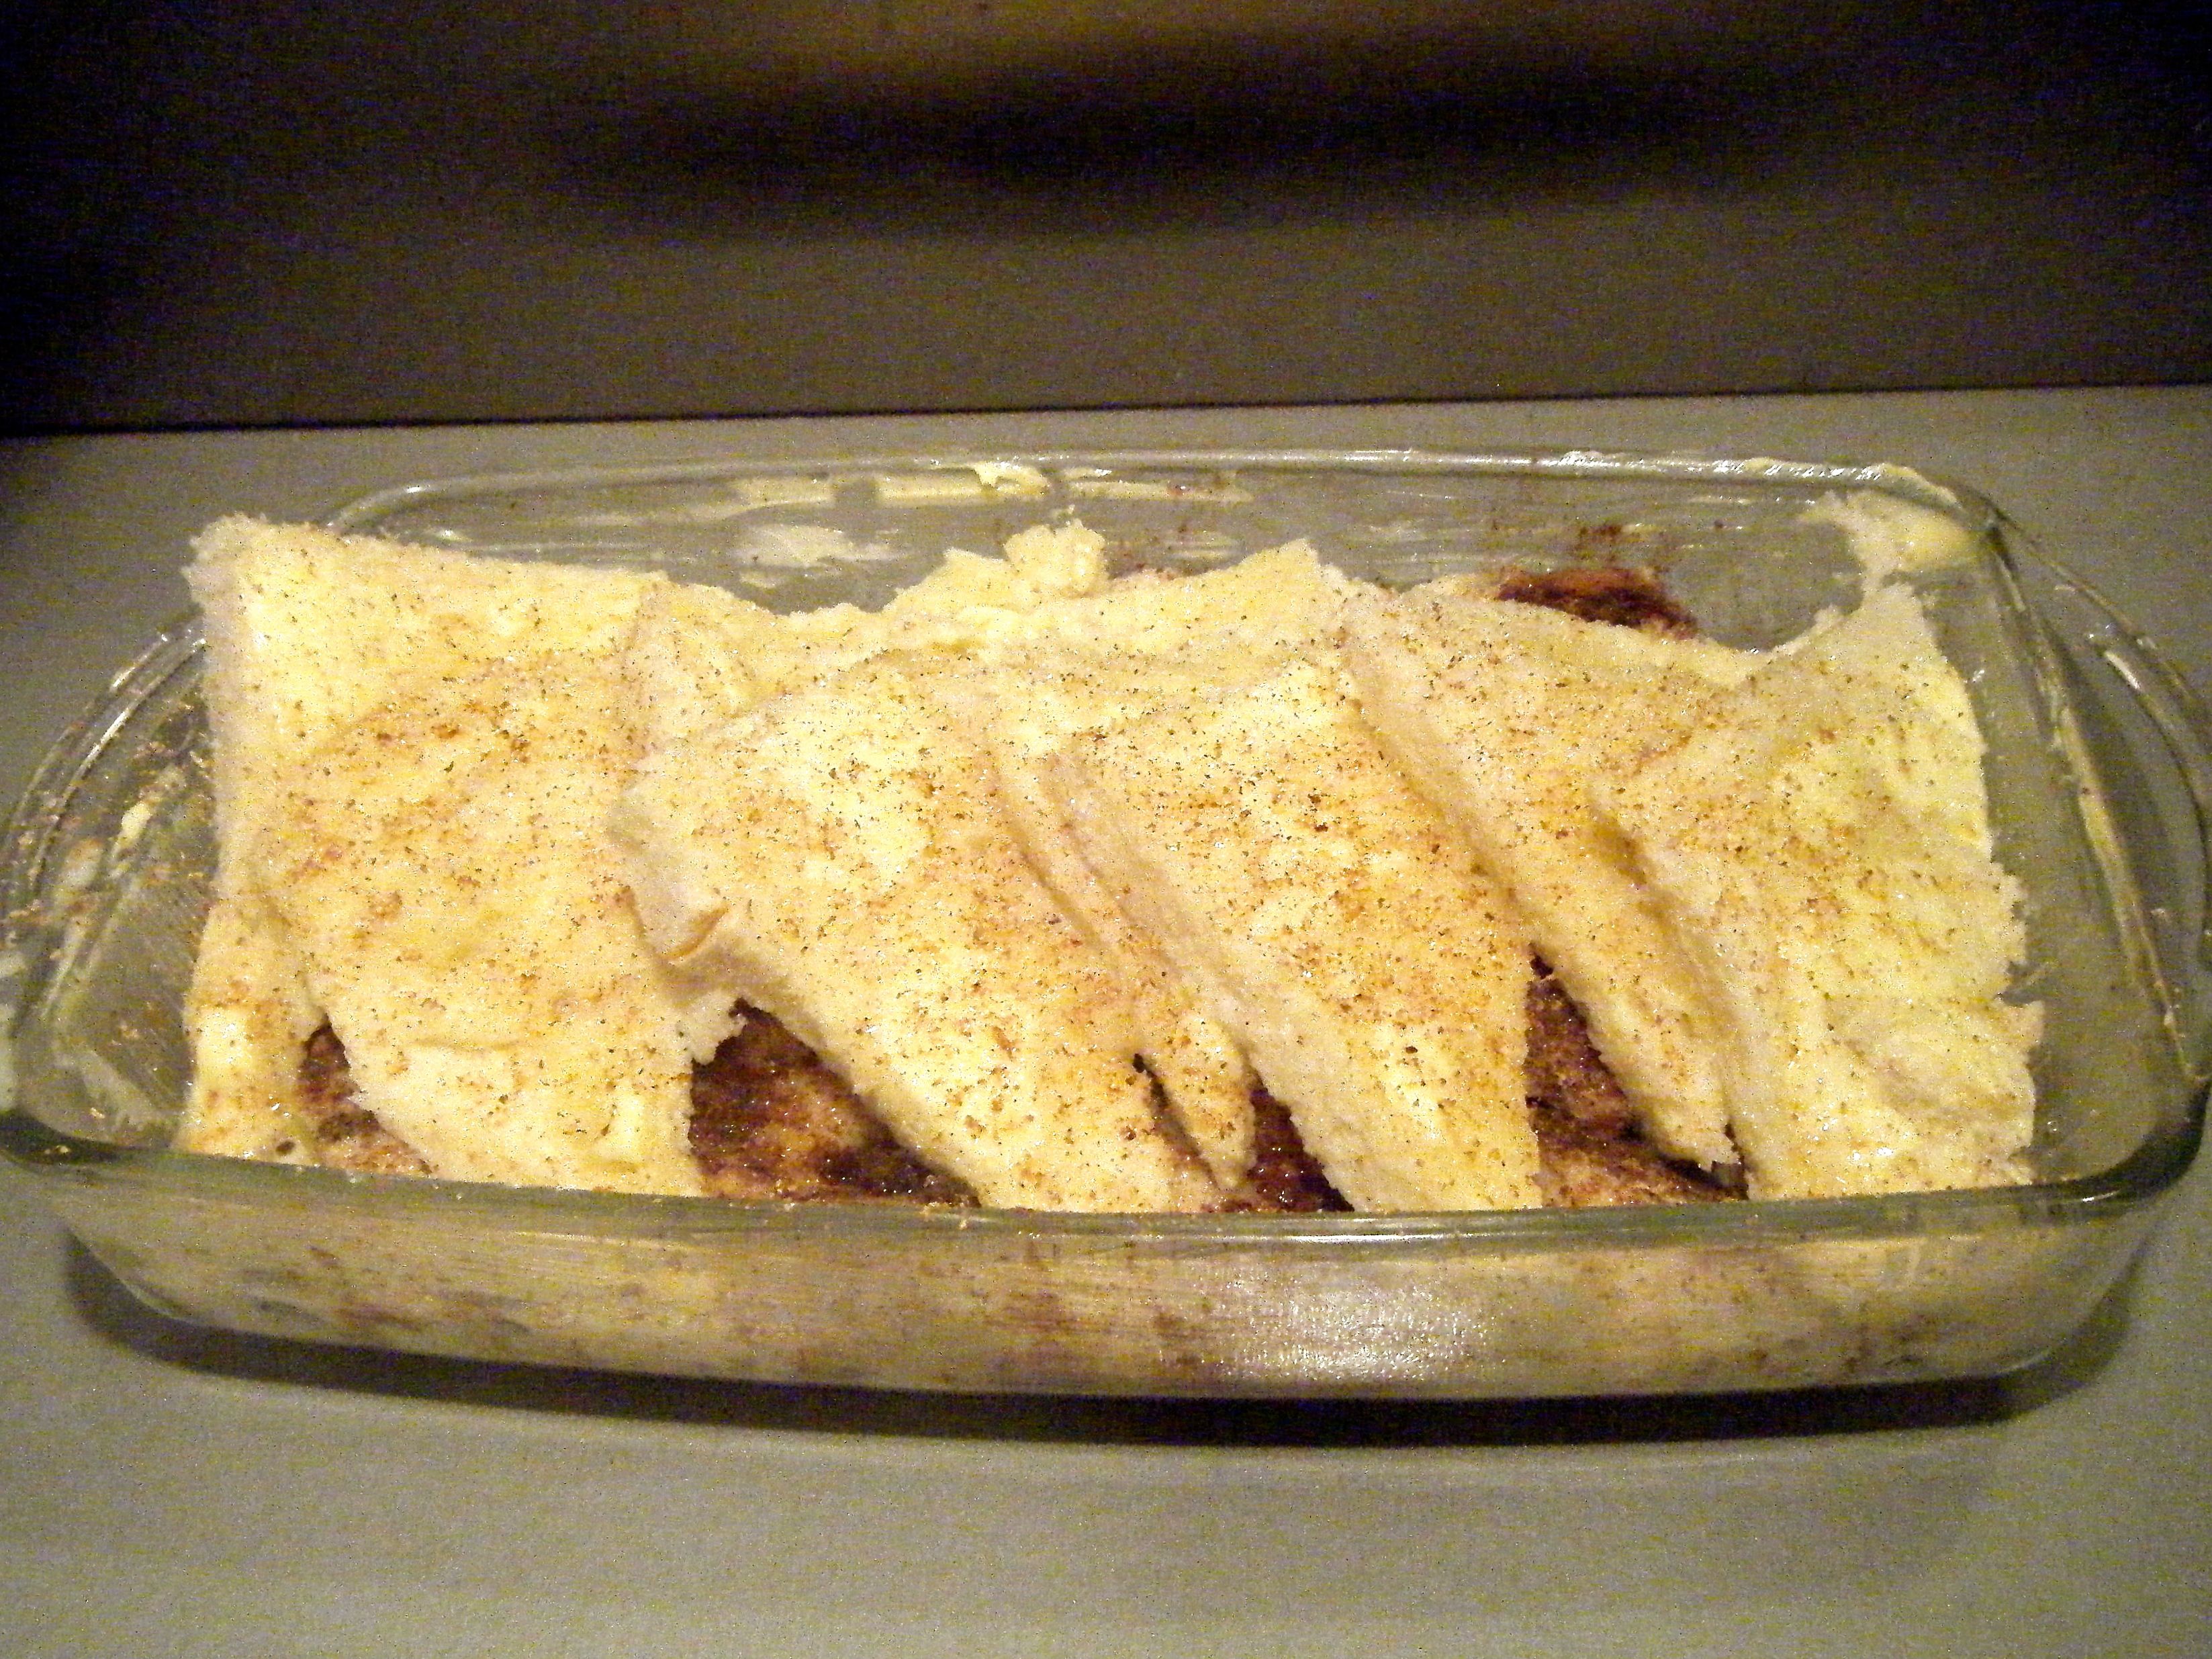
After half hour resting time, I placed my bread and butter pudding in the oven and set my timer for 30 minutes. I couldn’t sit still for the whole 30 minutes and I kept getting up to check on my pudding. I had already checked on it 5 times when the timer finally went off. It didn’t quite look set and so I put it back in the oven for another 10 minutes, checking it after 5. A couple more minutes and finally, the pudding was ready to take out the oven.
It was bubblingly hot and so I decided to wait 5 minutes before serving up. I then spooned a couple of servings into bowls for me and my boyfriend and in we tucked.
Serving tip: as the recipe referred to custard, I naively thought, I won’t need anything to serve the pudding with. In hindsight, whilst it was lovely on its own, I do think a bit of vanilla custard would have finished it off just perfectly. Luckily we had some leftovers (which i have frozen) and I plan to enjoy them with a good serving of my favourite custard.
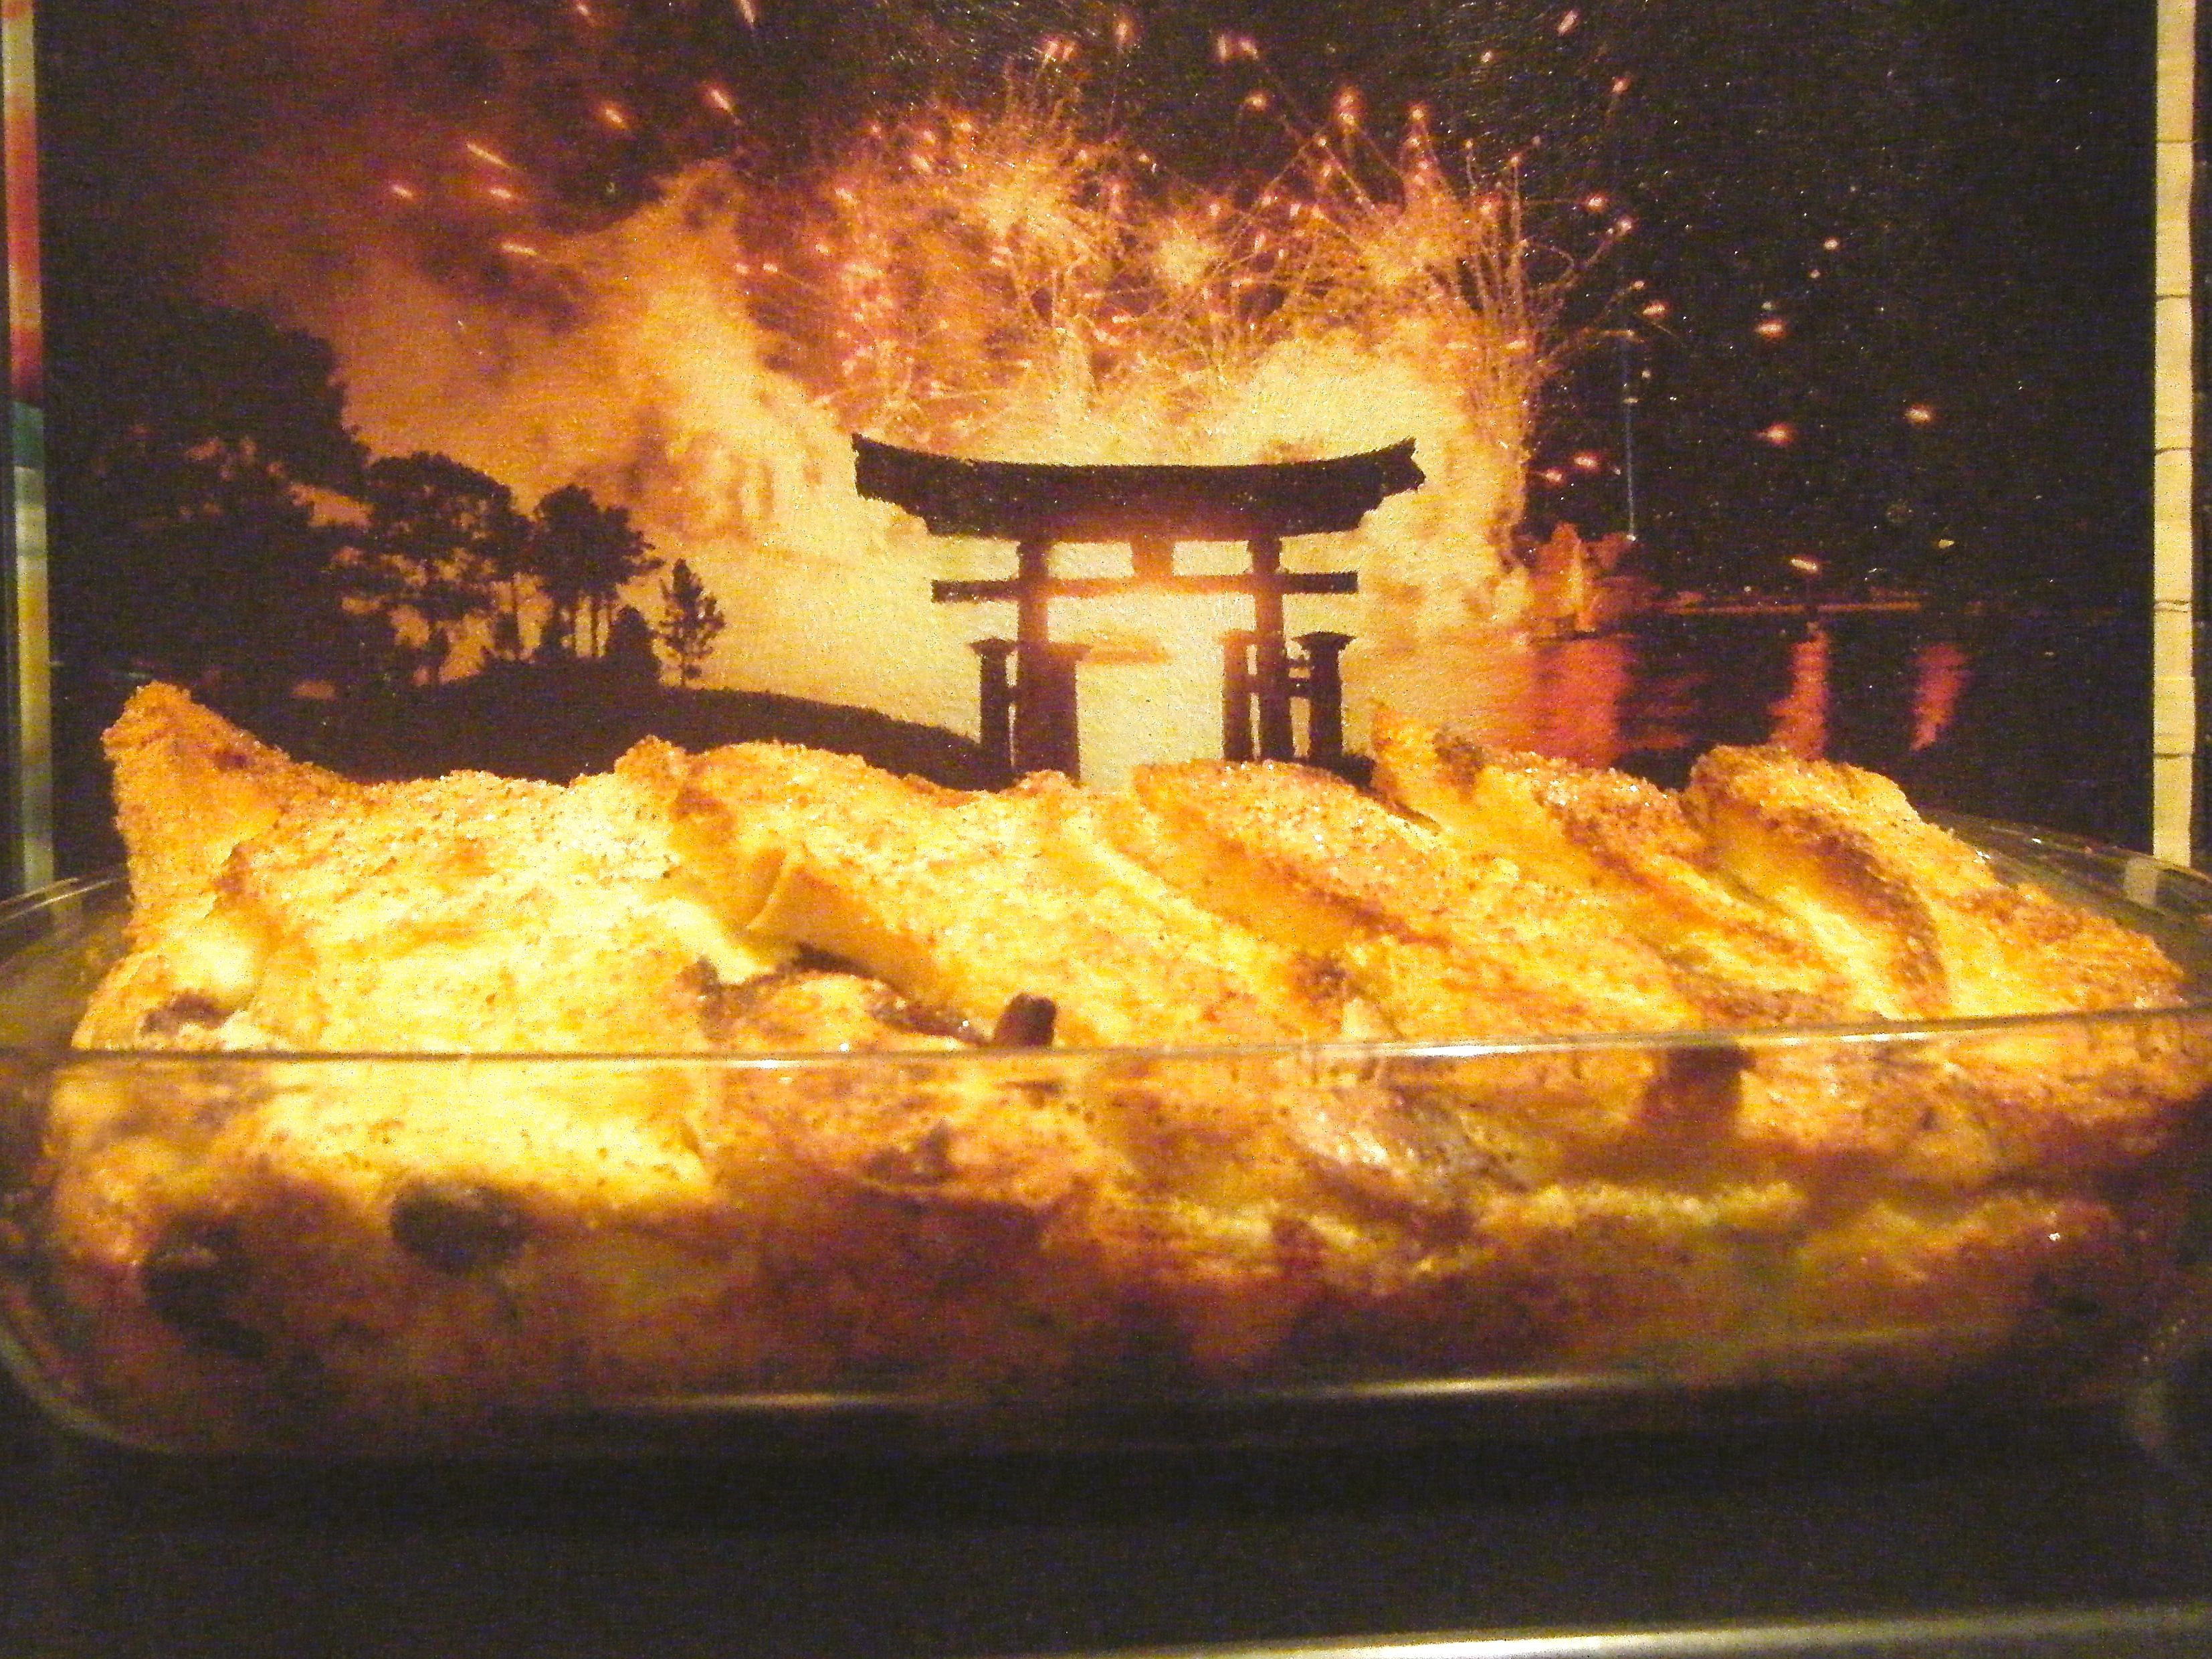

That is it then. The first of my Challenge 52 recipes was done and it was a success! The pudding looked quite appetising and even if I do say so myself, it tasted yummy. A great improvement from the disaster in 2003.
Coming up next week, Challenge No. 2 – beef stew with dumplings!
