This dish was suggested by my dad. He actually suggested either shepherd’s or cottage pie. Both these dishes are very similar and I generally don’t have a preference between the two. For those of you that don’t know the difference, mainly it is that shepherds pie is made with lamb whilst cottage pie is made with beef. I therefore opted to make shepherd’s pie as I don’t often cook lamb and it is always a nice treat when I get to have it.
I wanted to do something a little bit more with this dish and when I stumbled across a recipe by Tom Kerridge, it looked ideal. The recipe can be found here.
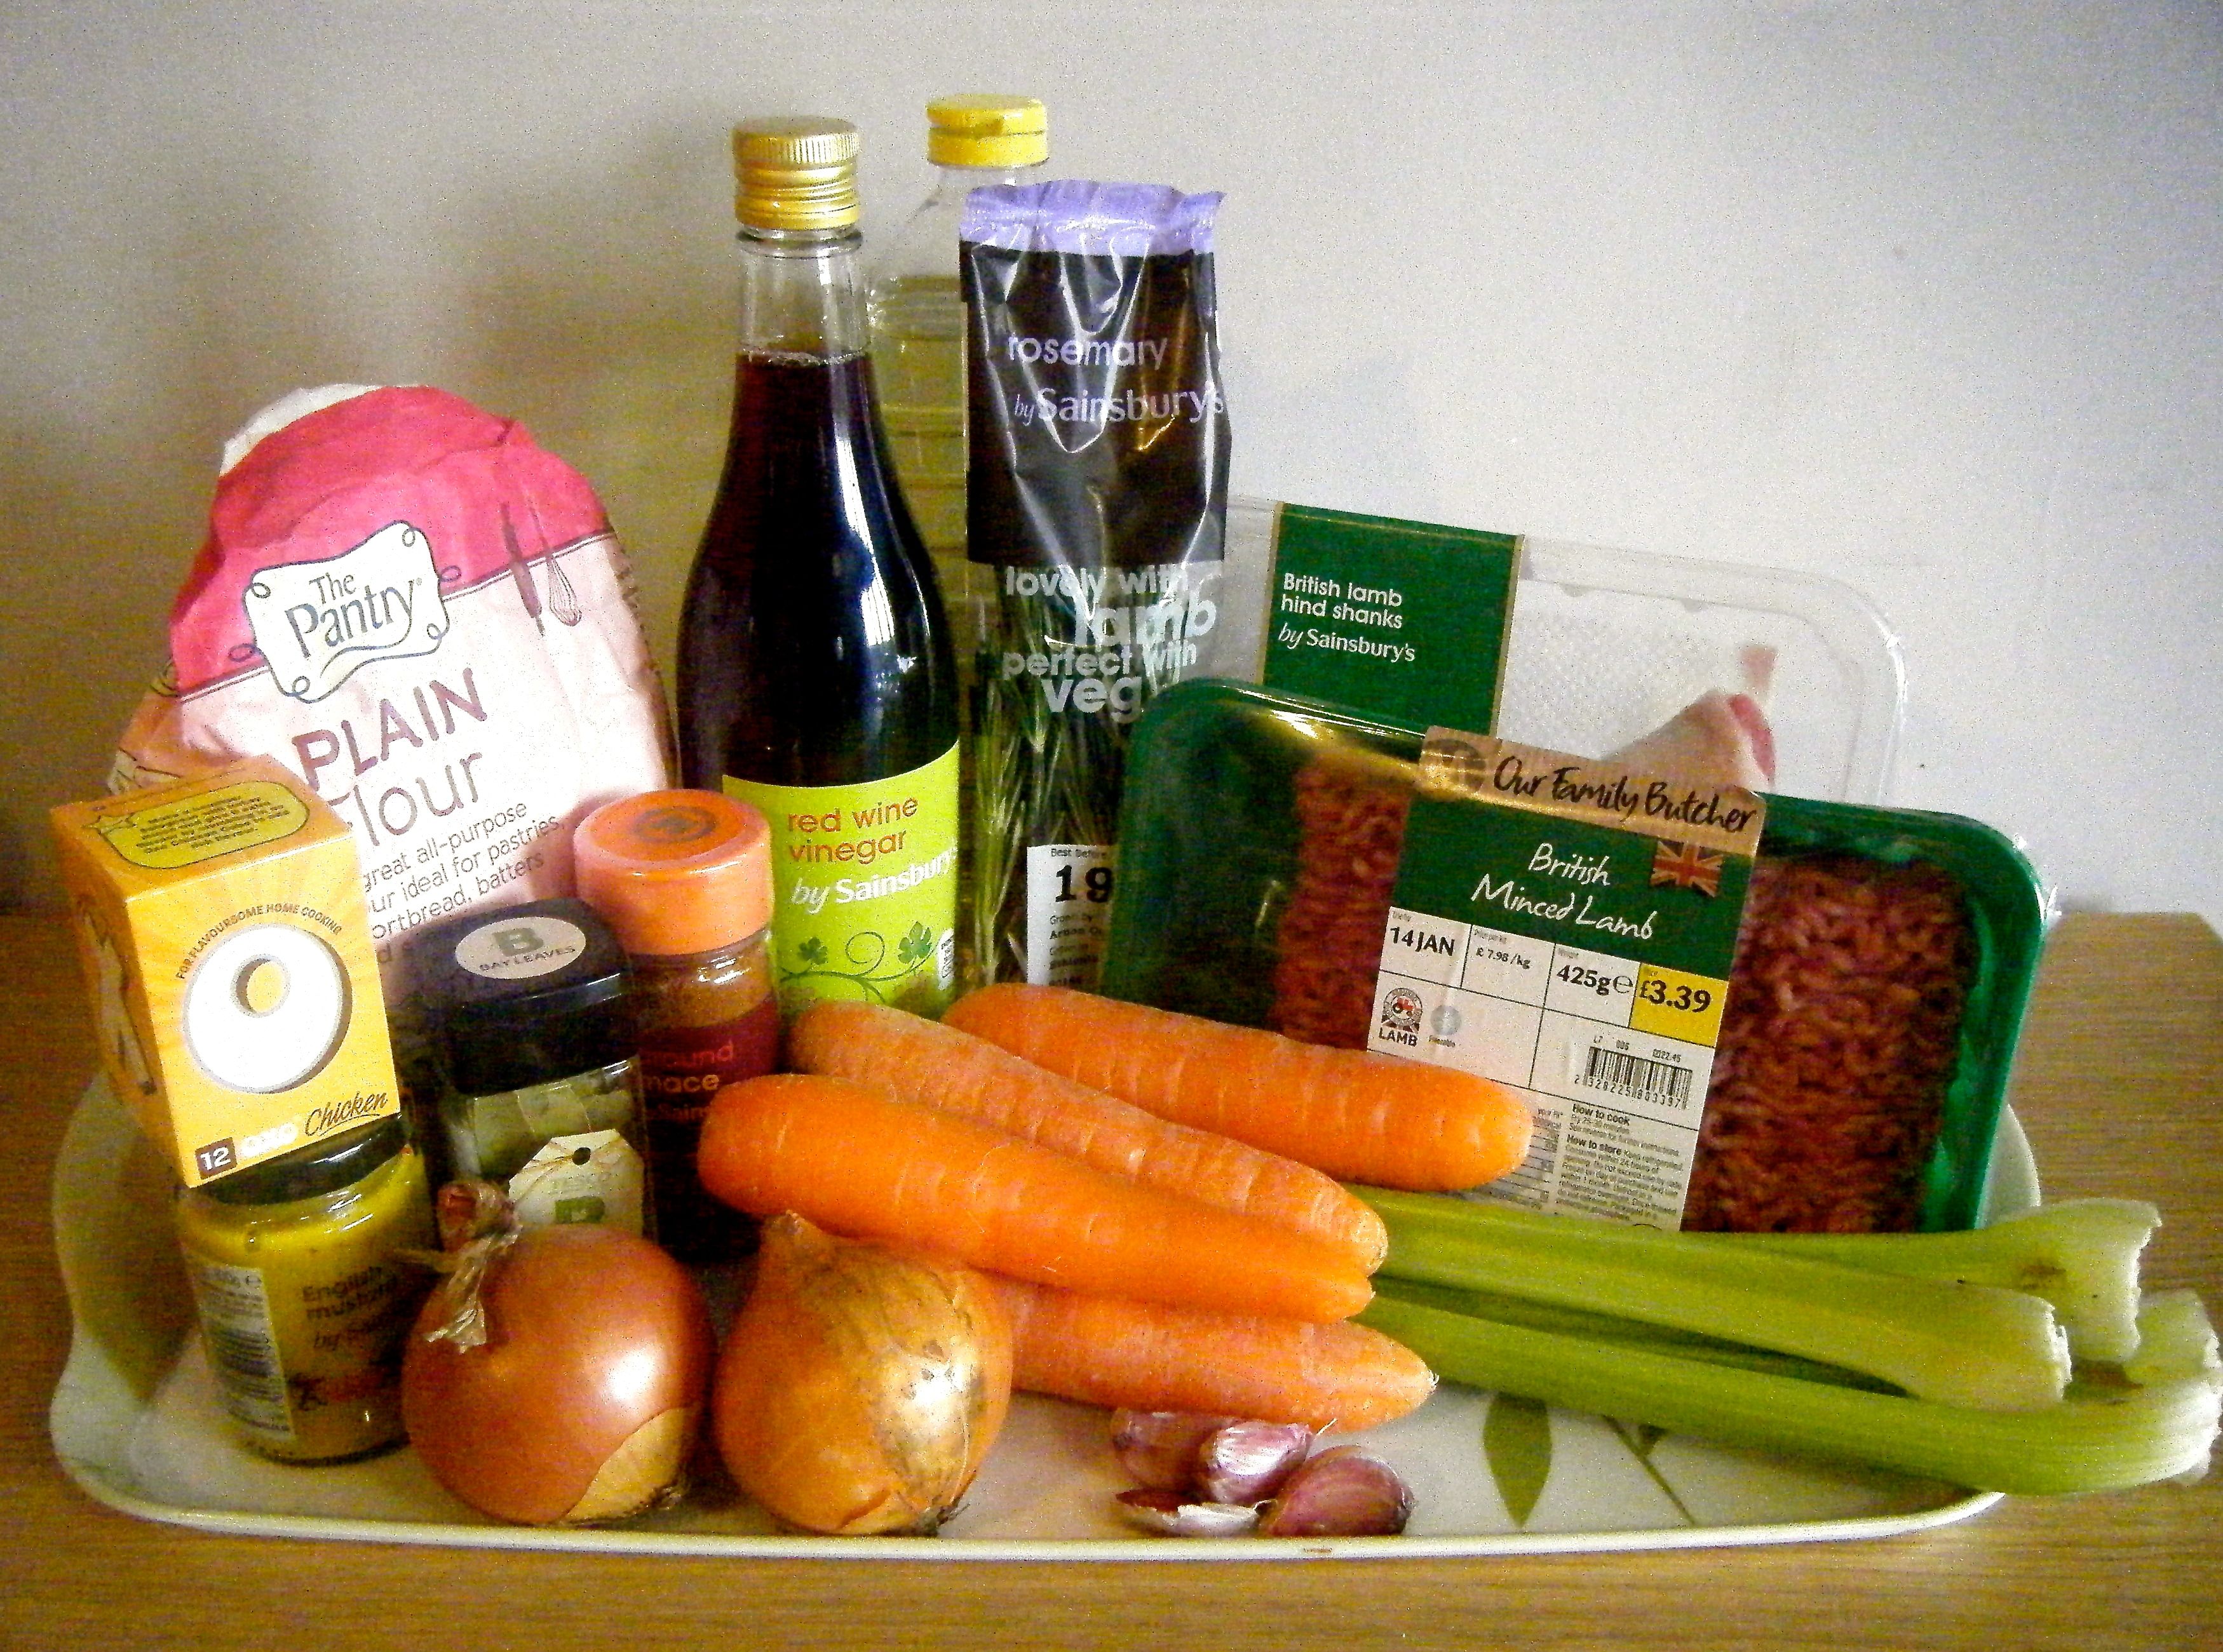
The recipe uses the following ingredients:-
- 2 lamb shanks
- 100g plain flour, for dusting (see comments below)
- Vegetable oil, for frying
- 4 sticks celery, any tough skins removed and finely diced
- 4 carrots, finely diced
- 2 onions, finely diced
- 4 cloves garlic, grated
- 4 tsp ground mace
- 3 fresh bay leaves
- 600ml brown chicken stock
- 500g lamb mince
- 4-5 sprigs of rosemary, tied together with kitchen string
- 100ml red wine vinegar
- 2 tbsp English mustard
- 1.5 kg potatoes, peeled and cut into even chunks of about 4cm
- 100ml milk
- 100g butter
- 75g grated parmesan, or 75g diced goat’s cheese
- Paprika, to dust

This recipe takes quite a long time to make with the option to rest it over night. I decided to make it on a Sunday so we could enjoy it for dinner after work on the Monday. It was ideal for a lazy Sunday where I could spend the day bobbing in and out of the kitchen.
Practical Tip: The recipe makes enough to feed 4-6 people and I therefore decided to make the ‘filling’ using the quantities listed above. However, I reduced the mashed potato topping ingredients to make enough just for me and the other half. The left over filling went into the freezer to be used another time.
The first stage of the recipe is to braise the lamb shanks. To do this I coated the lamb shanks in flour and fried them off until browned. The recipe states that you need 100g plain flour. I didn’t need anywhere near this amount and just ended up wasting a lot of the flour! I’d recommend trying approximately 25g and you can always add more if needed.

Whilst the lamb was browning, I prepared one half of the celery, carrots, onion and garlic.
Practical Tip: to finely dice onions, chop off the tunic end, chop the onion in half through the basal plate and peel (see image below to see which parts are which under these silly names!). Then place the onion half flat side down on the chopping board. Slice lines which are perpendicular to the basal plate but without slicing through the basal plate itself. Then slice the onion parallel to the basal plate and voila you will have finely diced onions.


Lines sliced perpendicular to the basal plate
Once the lamb was browned I put it to one side. I then heated my casserole dish with some oil in and added the chopped vegetables. After these had softened, I added the remaining braising ingredients along with the lamb and when it reached boiling point, I covered the dish and popped it in the oven for 3 and a half hours.

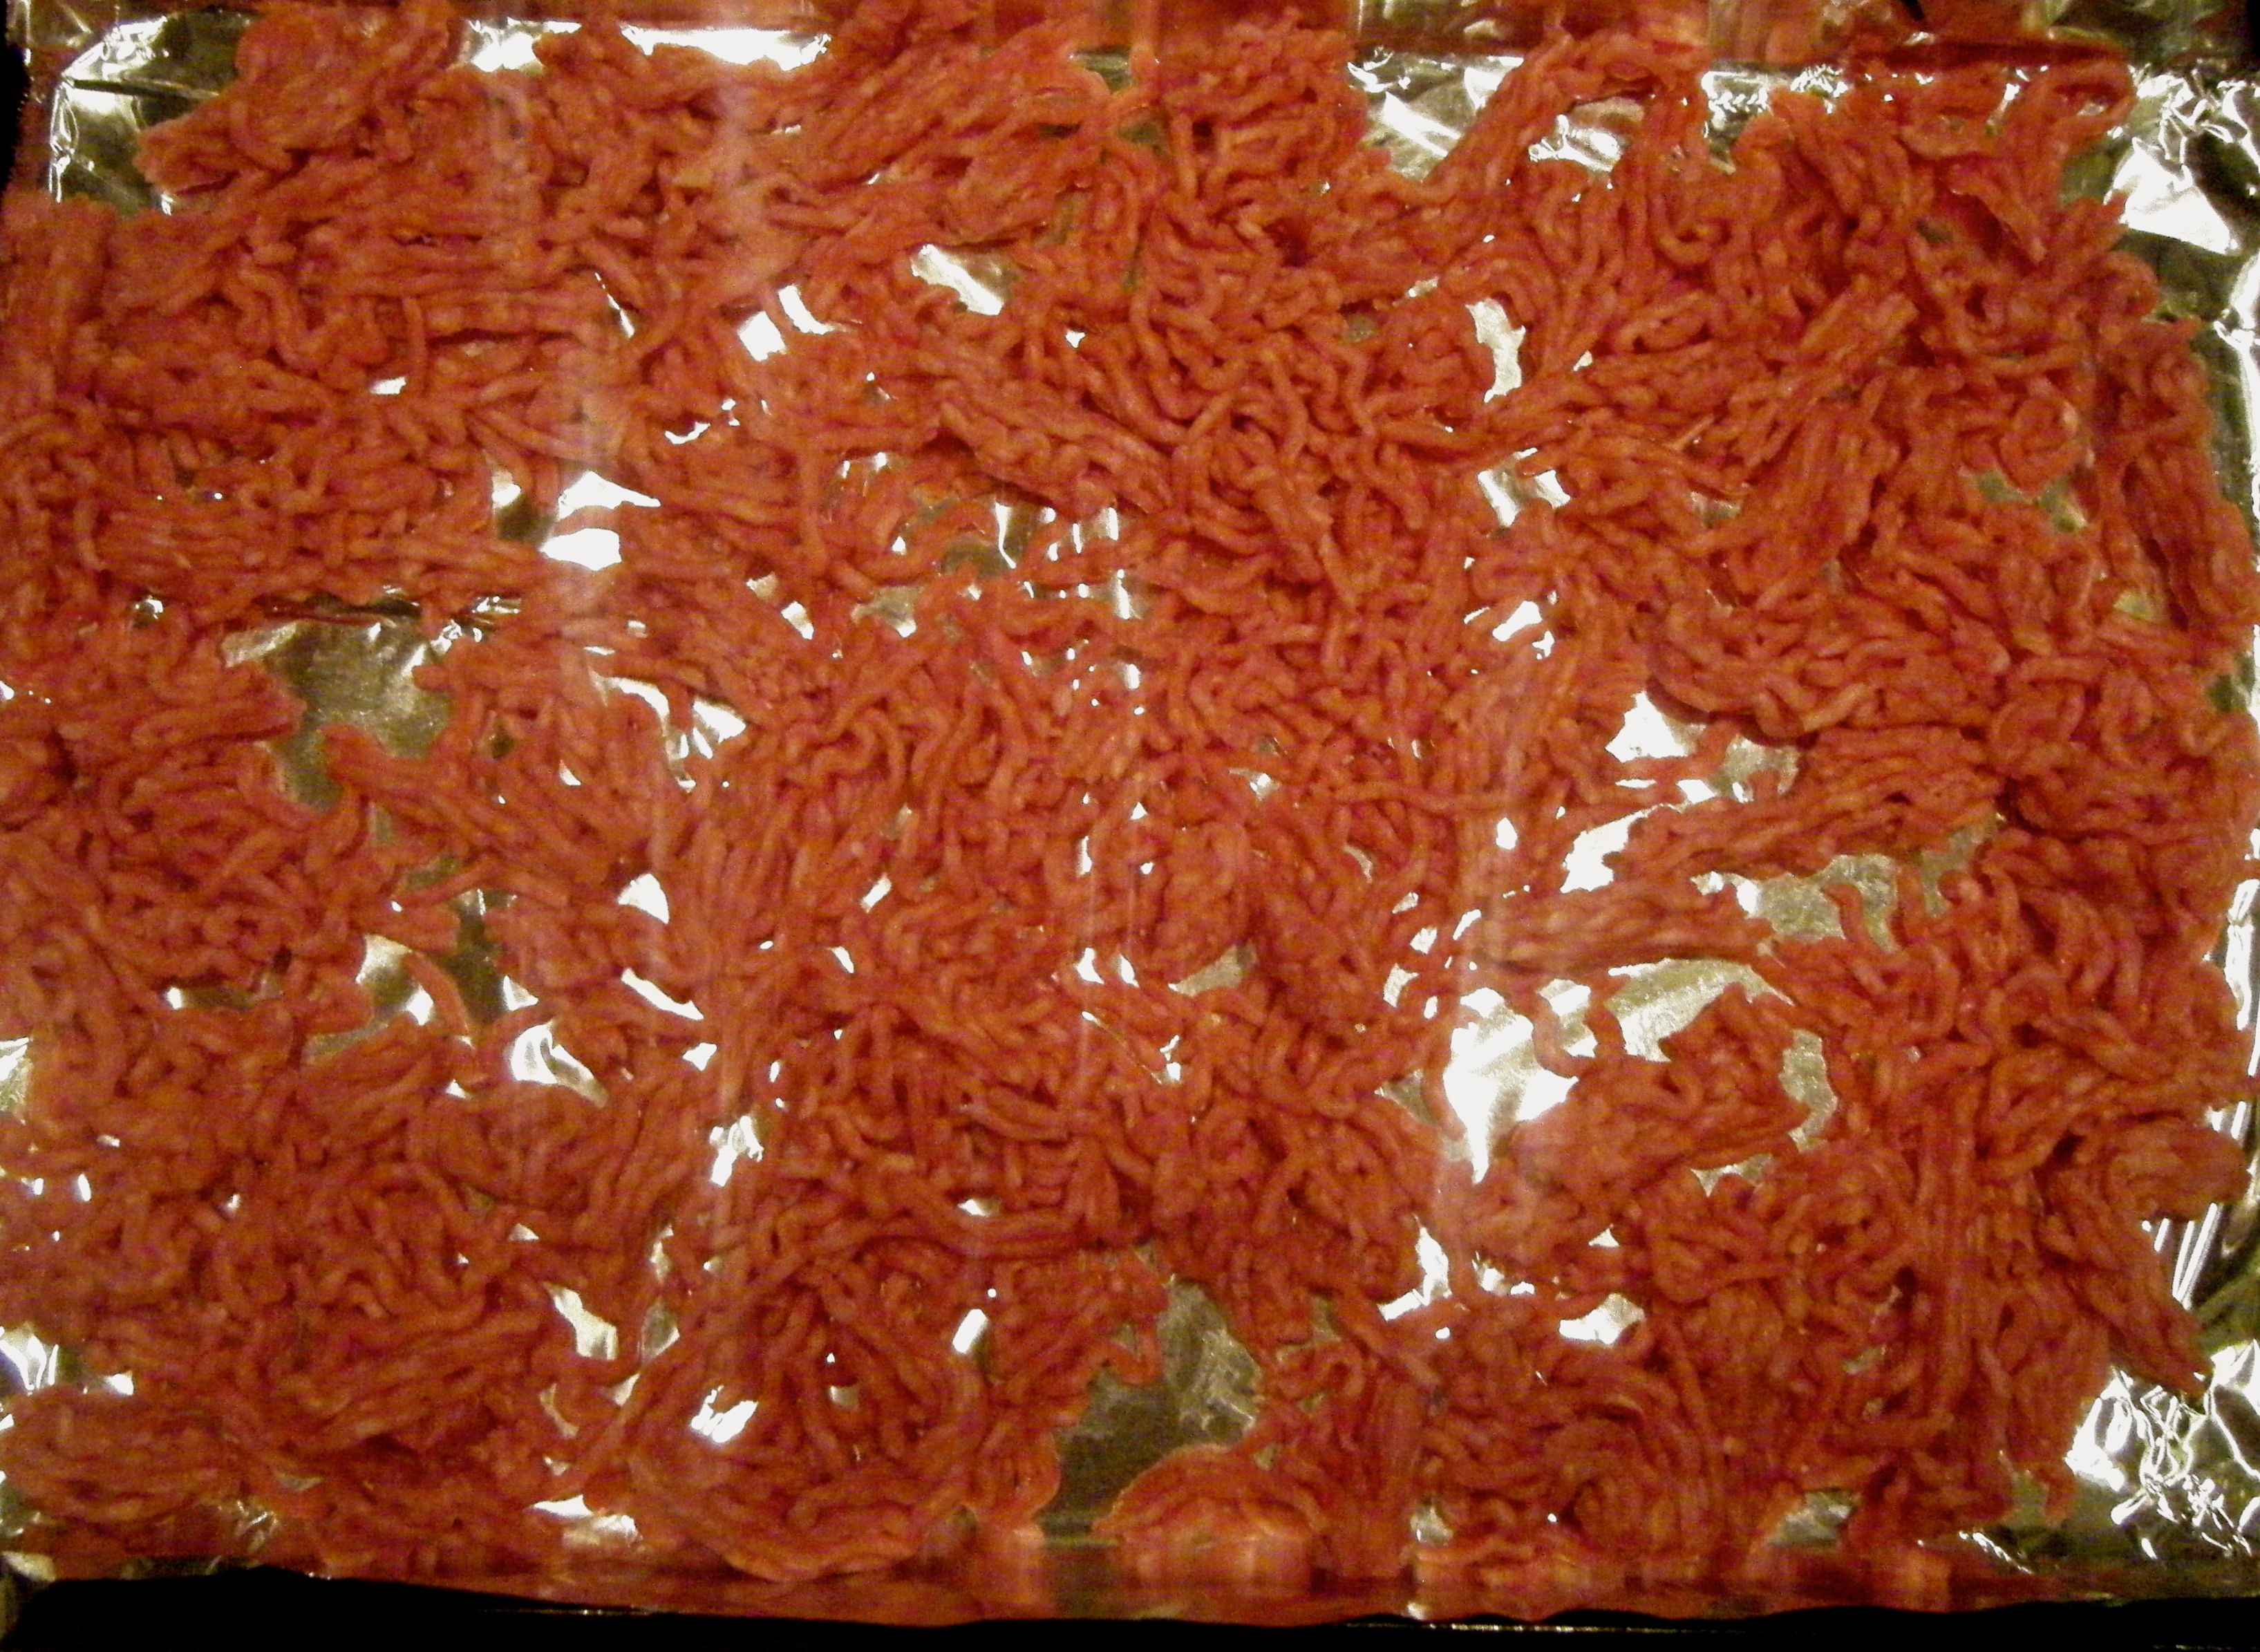
When the timer went off, I removed the dish and popped it on the side to rest for an hour. About half hour in I turned the oven to 200 degrees celsius and roasted the minced lamb for approximately 20 minutes. Once the minced lamb was nicely browned, I drained it and put this to one side.
This timed well with the end of the hour resting period for the lamb shanks. I removed them from the casserole dish, placed them on a chopping board and strained the braising liquid into a glass bowl.

Now the recipe doesn’t tell you what to do with the vegetables which are strained out of the braising liquid. Once again, I decided to give my mum a quick ring (I think this may be a reoccurring theme throughout Challenge 52!). My mum confirmed that the vegetables don’t go back into the final dish but also that you don’t necessarily have to throw them away. Mum suggested making some gravy but I decided to freeze the mix and when I next have some spare potatoes and vegetables in, I’m going to make some soup.
With my minced meat and braising liquid ready, I shredded the lamb shanks with a fork. I found that some of the skin from the lamb shank was a bit fatty and I decided to remove this and throw it away with the bones. I then added the shredded lamb to my mince ready to be used later.


By the time I had completed all the above steps, my casserole dish was cool enough to wash. I also took this opportunity to have a bit of a clean up in the kitchen. As I’ve previously said, my kitchen is tiny and I was cooking this at the same time as making a homemade bolognese so things had gone from slightly messy to full on bomb site!
With some of the washing up done, I set to work on the next stages of the shepherds pie. I prepared the second half of my vegetables and heated some oil in my casserole dish. I cooked the vegetables, added the lamb and rosemary (without the string because I didn’t have any) and then the red wine vinegar. The recipe said to simmer the mixture until the red wine vinegar had almost entirely evaporated but when I added it, it sank to the bottom of the dish and I couldn’t see it! So I just let it simmer for about 5 minutes before adding the strained braising liquid.
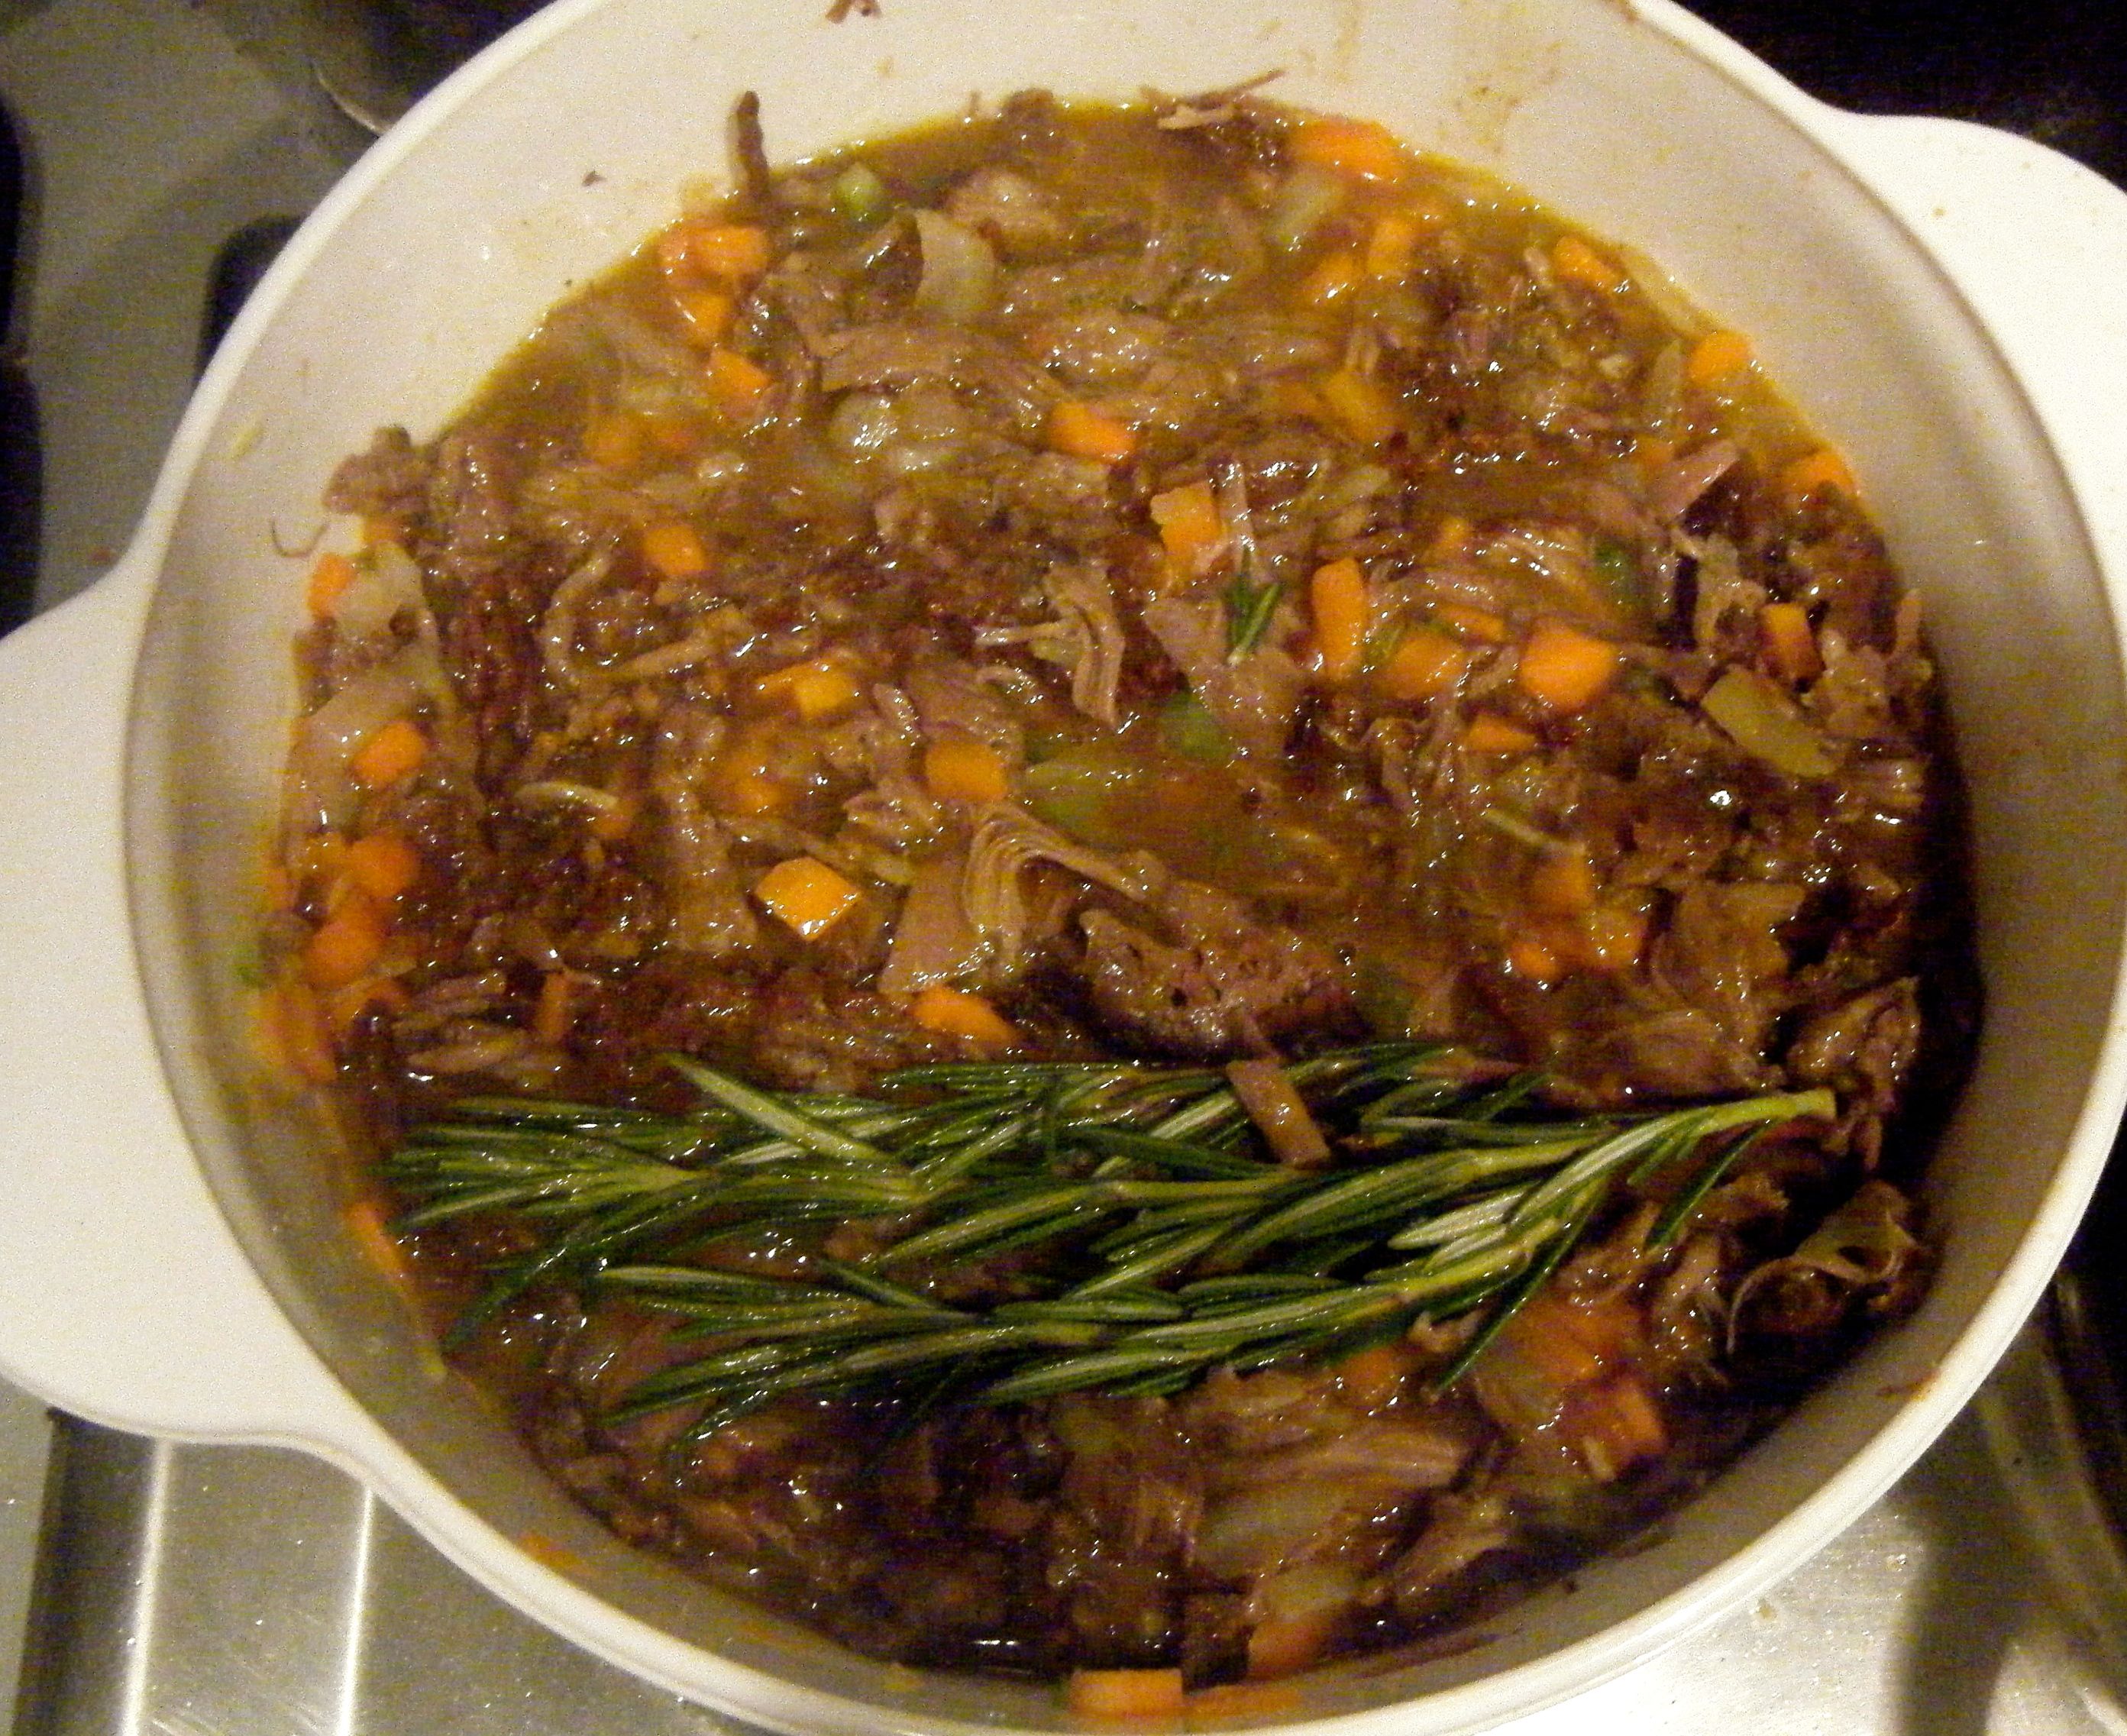
I brought the mixture to the boil and set the timer for one hour, although I kept checking on it during this time. As I neared the end of the hour, most of the liquid had gone and I made the decision not to leave it for another hour as suggested by the recipe. I added the mustard, some seasoning, gave it a good stir and left it to cool before putting it in the fridge for the night.
Practical tip: the recipe says to transfer to an oven proof dish at this stage but I decided to leave it in the casserole dish overnight. As I was only going to cook a 2 person portion (and freeze the remainder), it seemed an unnecessary step which would only result in even more washing up.
The next evening, I got home from work and pulled out my casserole dish from the fridge to let it come up to room temperature. I got my potatoes prepared and once my salted water reached boiling point in they went for around 20-25 minutes.
Whilst the potatoes were cooking I transferred my filling into my serving dish and portioned up the leftovers to go in the freezer.

Once my potatoes were done, I drained them and left then for 5 minutes to dry.
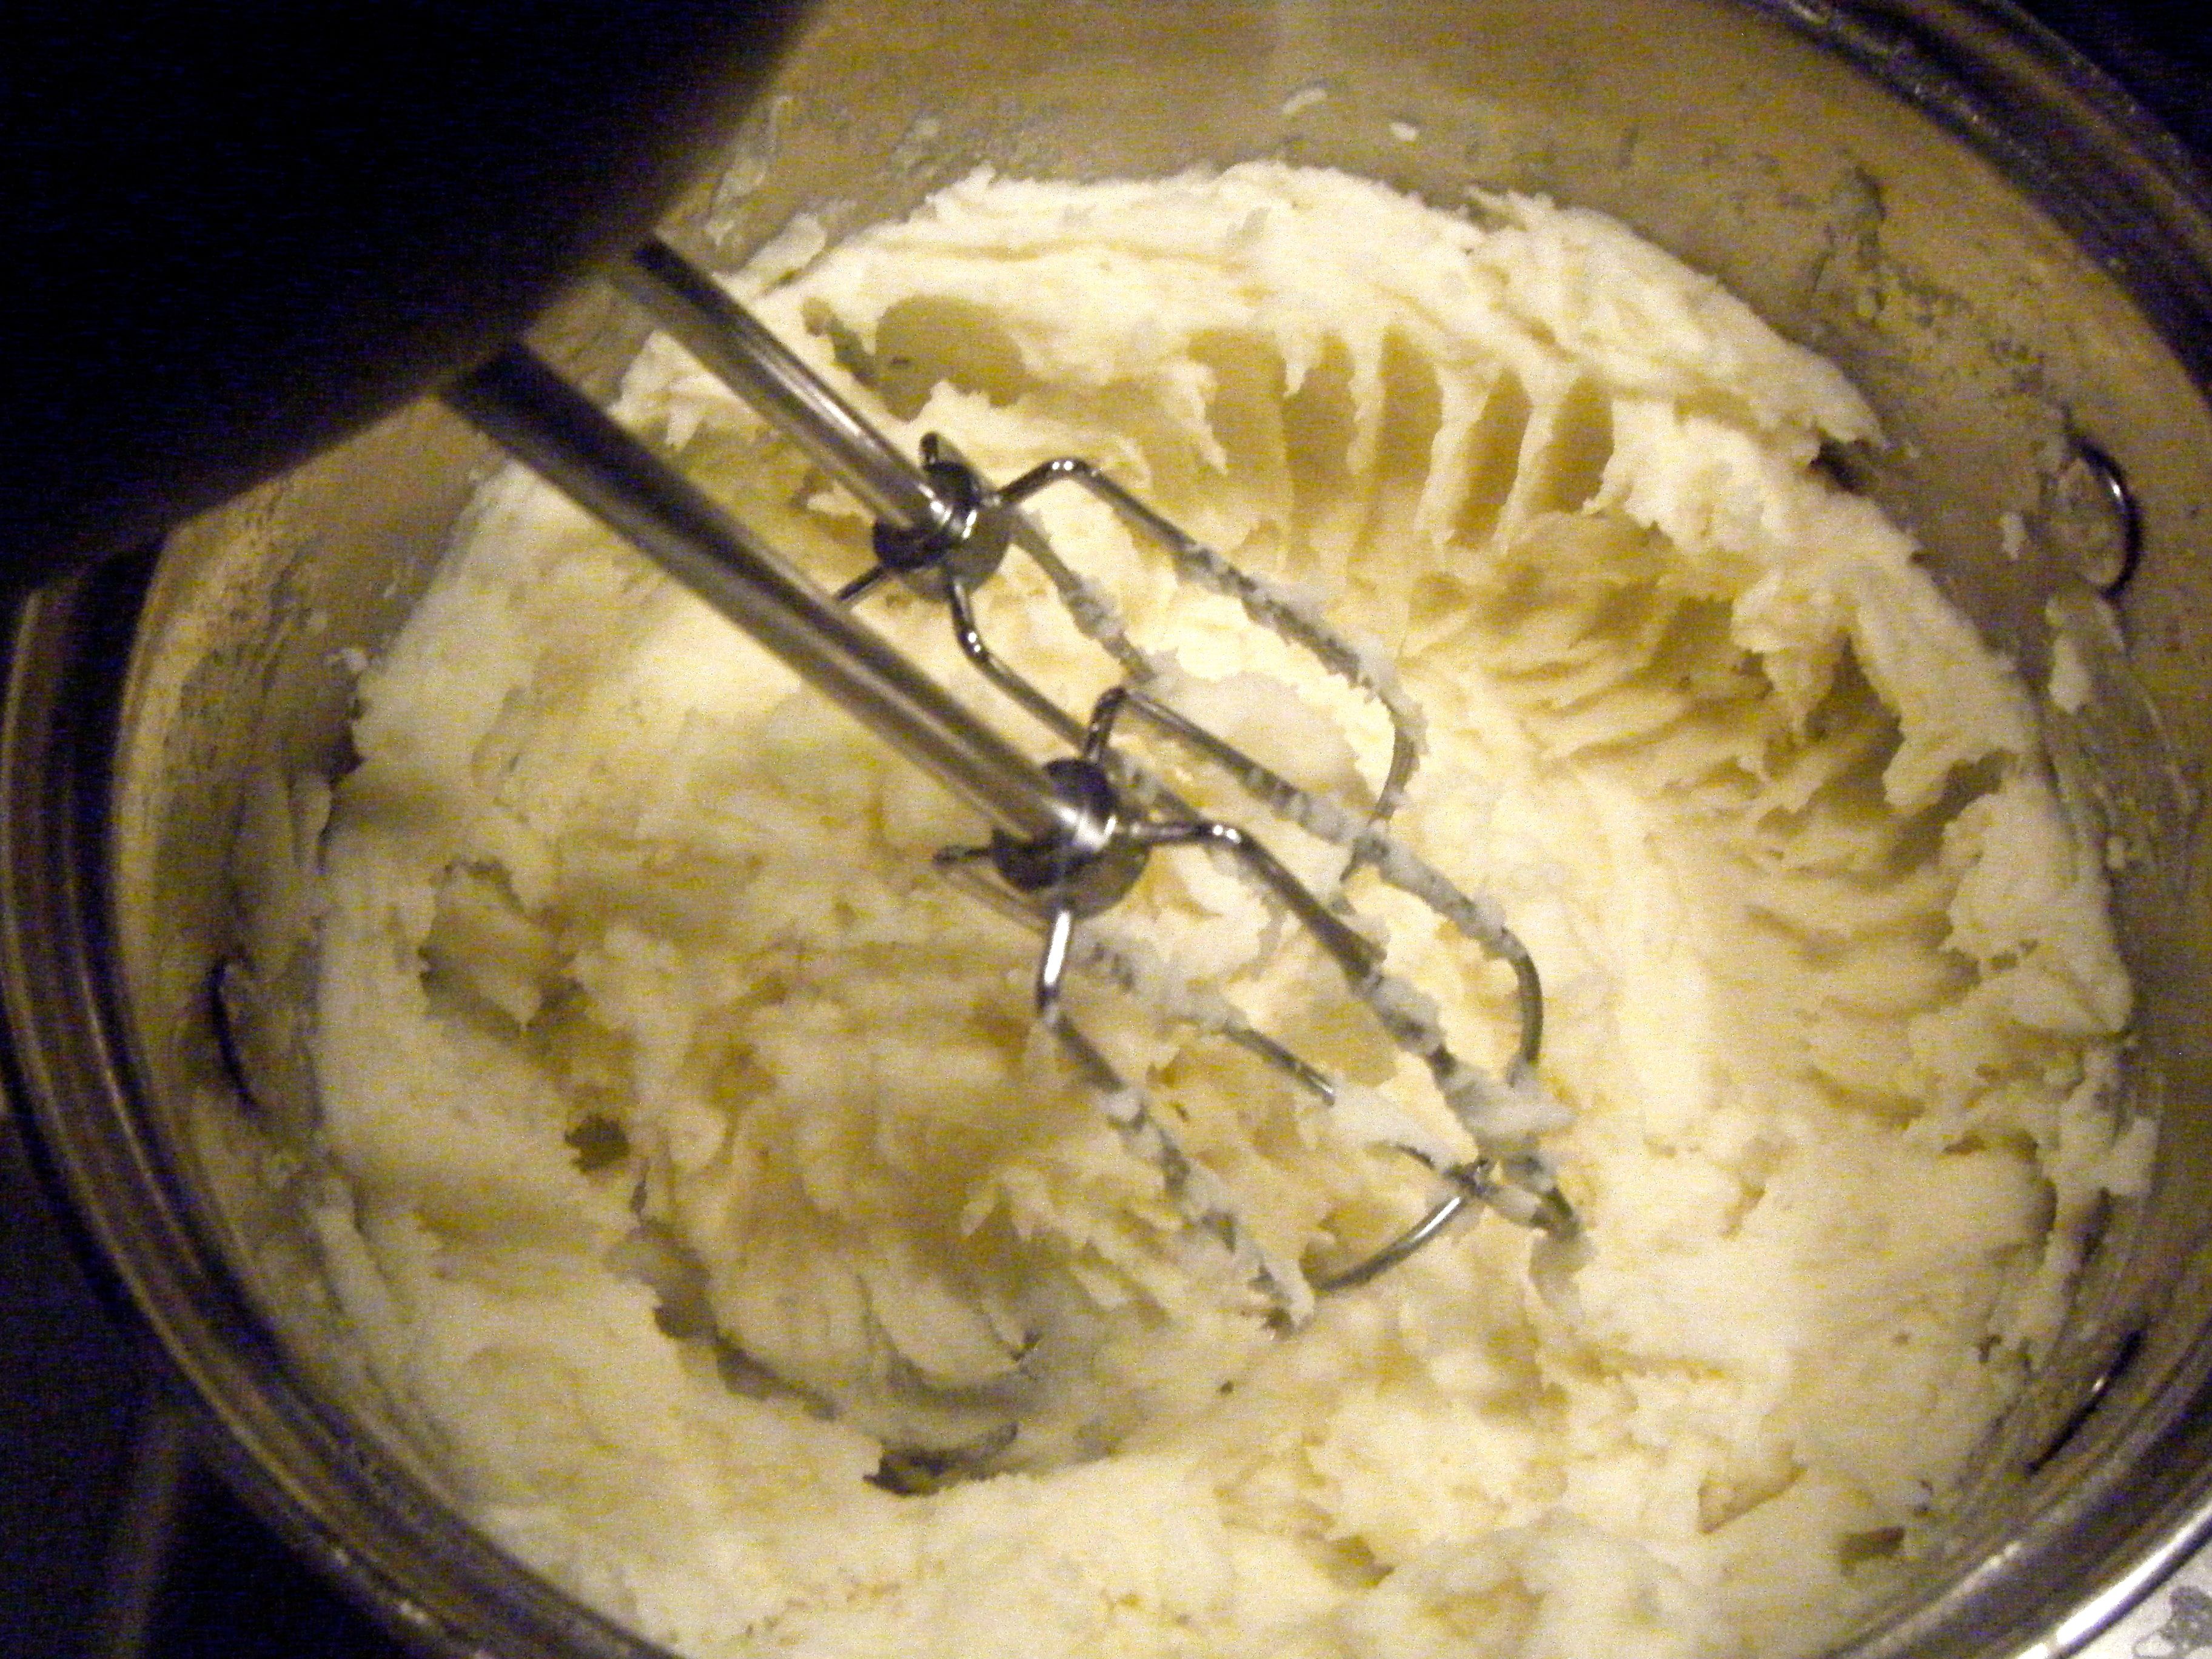
I heated my milk and butter, mashed my potatoes and then combined the two. I added in a sneaky extra step here. My boyfriend is not the biggest fan of mash potato. Apparently his gran (who unfortunately passed away before I got to meet her) set the bar very high and made the BEST mash potatoes. No matter what I have tried I’ve never managed to meet her standard! So in an attempt to get one step closer, I decided to blitz the mash with my hand mixer.
With the mash ready to go, I decided to be a bit posh and pipe it onto my filling. I had a bit more mash than necessary so I did a few blobs on top of the lined piping. However, this all seemed a bit unnecessary as when I added the parmesan and paprika, you could no longer see the piping! Still it was good fun 🙂

I popped the finished product into the oven for the final 30 minutes of cooking and then we tucked in.

It was absolutely delicious and so rich in flavour. The mash potato was even a success 🙂
I will admit this recipe involves a lot of effort but it is so worth it. The skills involved aren’t very advanced its just takes a bit of time. However, by making the full batch of filling and freezing the leftovers, I now have a couple of really easy midweek dinners that I can just top with mash and pop in the oven.
Coming up next week, Challenge No. 09 – gluten free date, banana and rum loaf (made without rum but with Disaronno!). Hope to see you then.