Challenge No. 42 – Lamb Boulangere

This challenge was suggested by my mum who makes the nicest lamb boulangere.  I didn’t plan this post very well and kind of decided very last minute that I would be making this one.  Unfortunately, my mum was off exploring Hamburg with some friends and I therefore couldn’t ask her for the recipe she uses.  So instead, I used this one by Tom Kerridge.

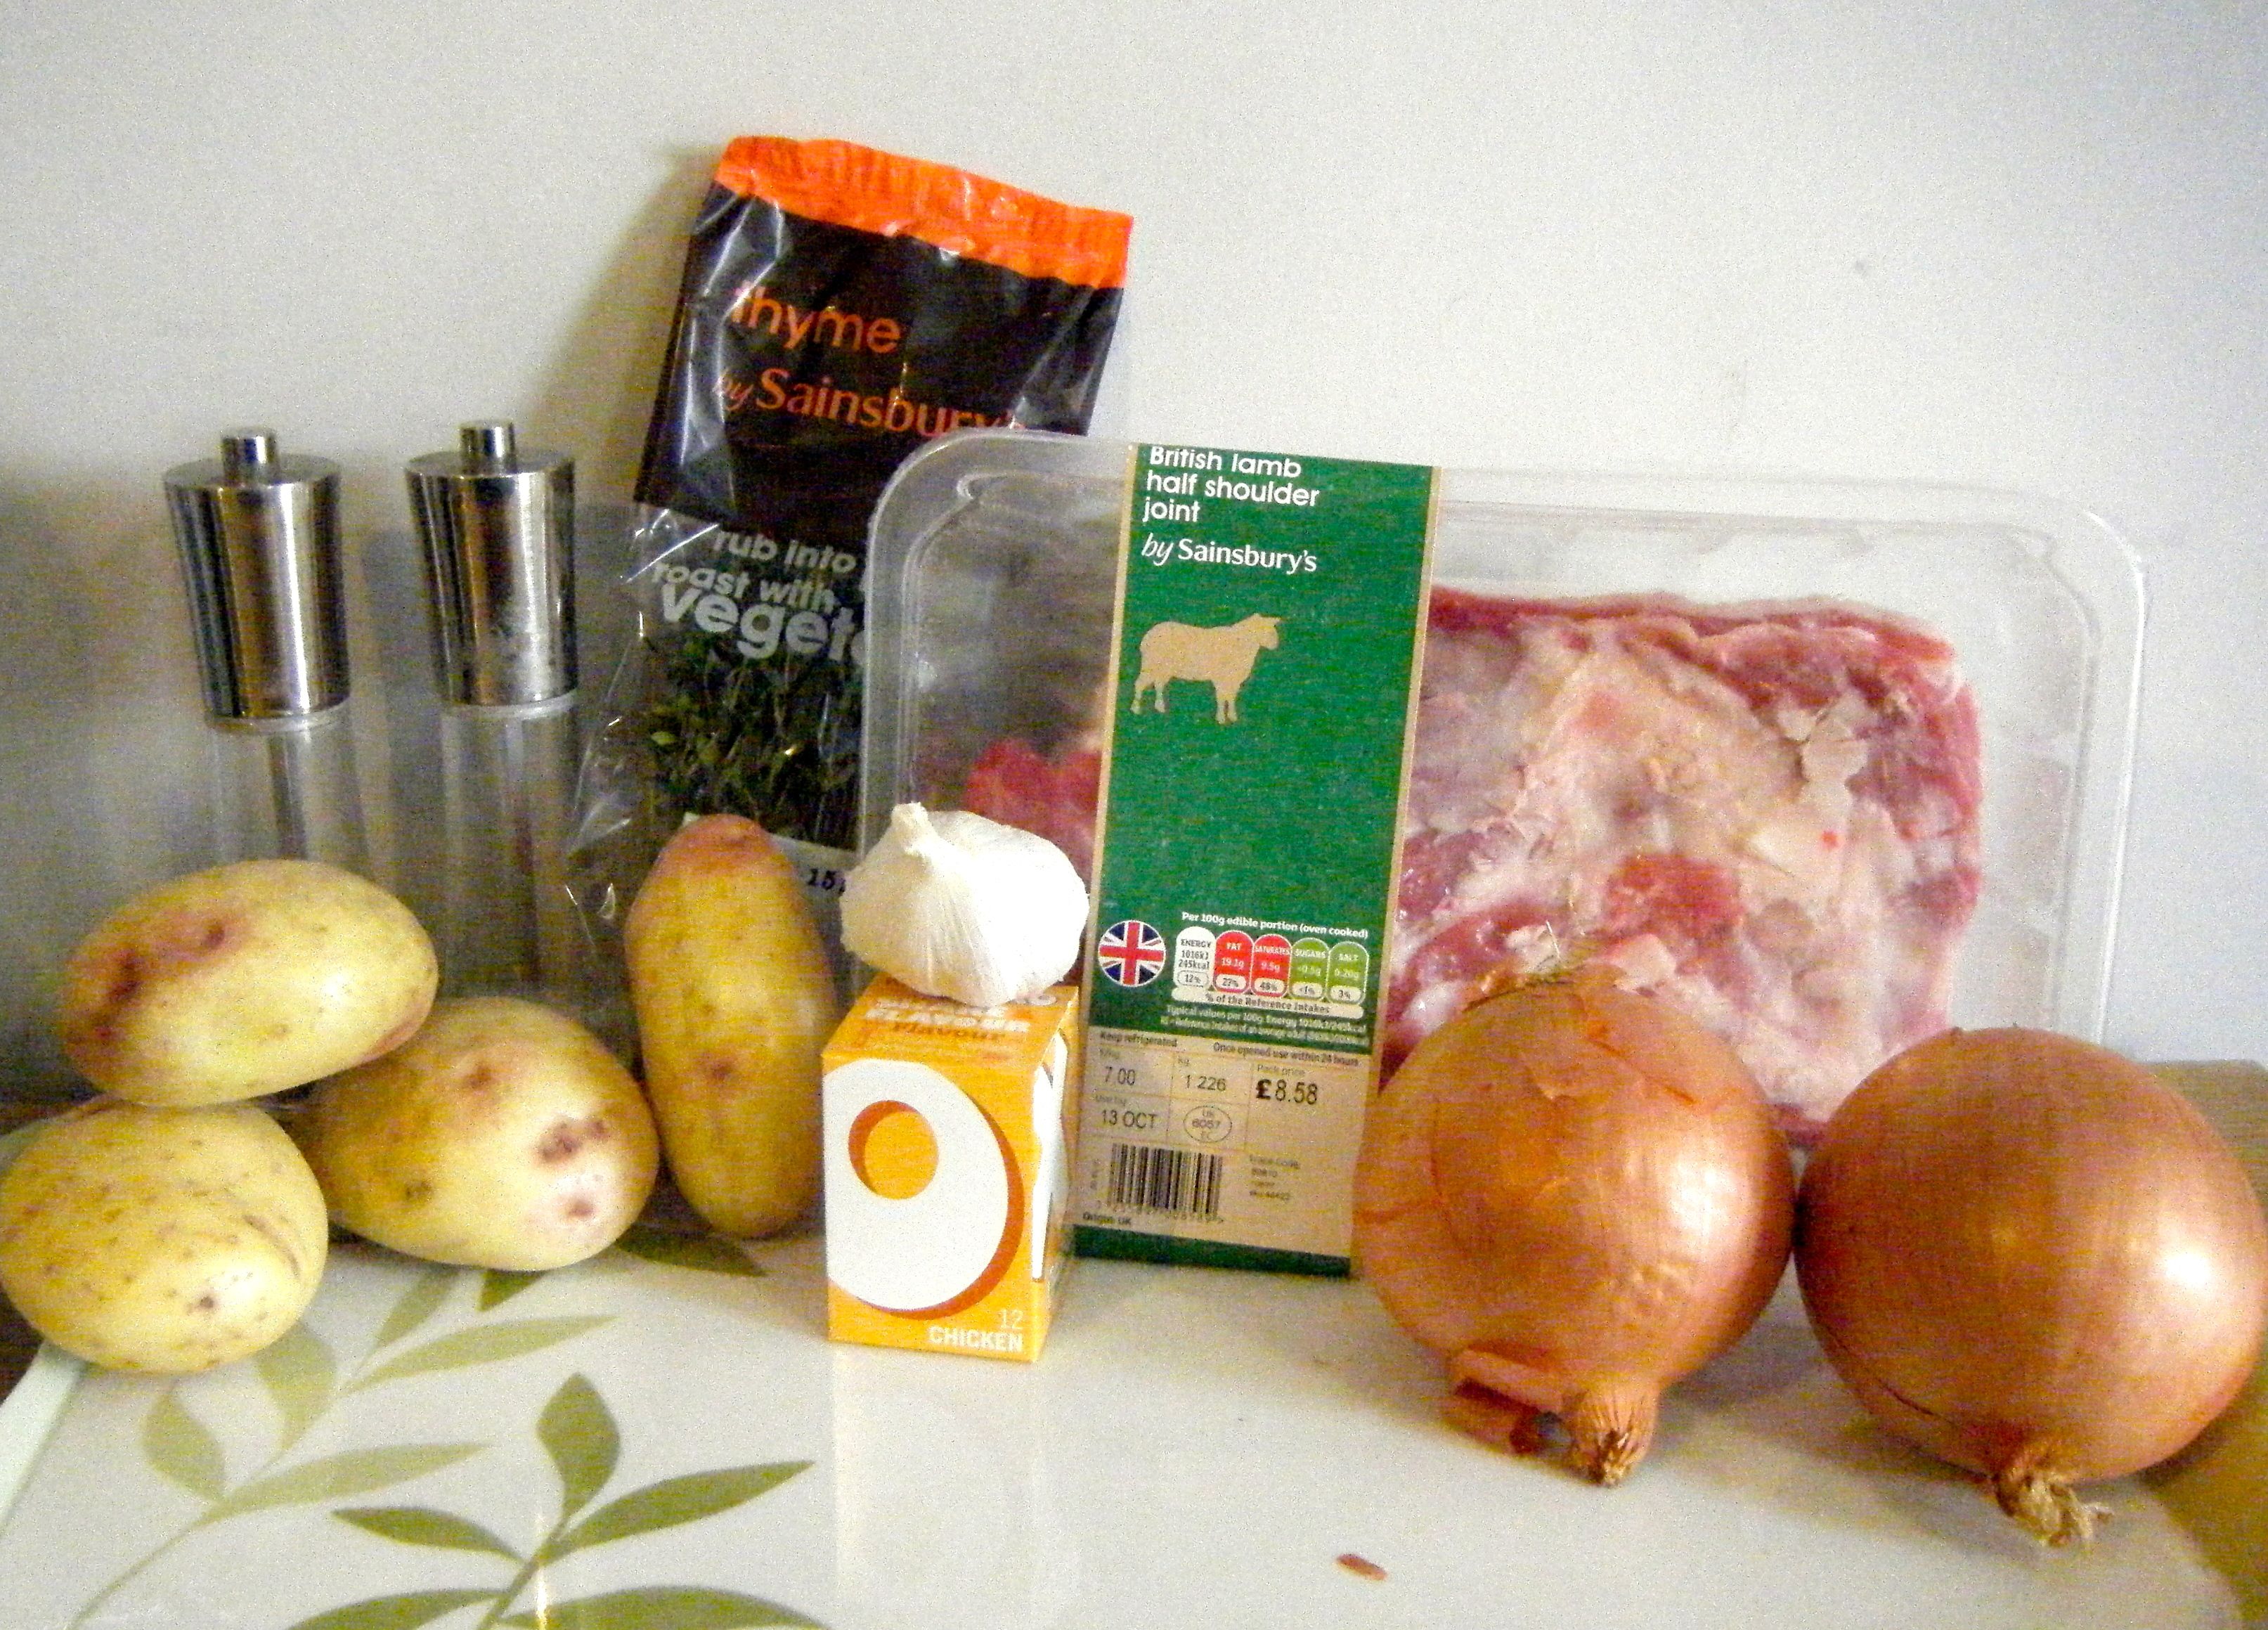
The recipe used a whole lamb shoulder, however, given that there was only Dave and I to eat it, I decided to half the recipe.  I therefore used the following ingredients:-

  • 2 medium onions, thinly sliced
  • 4 medium waxy potatoes, peeled and thinly slices
  • 1 bunch thyme, leaves picked
  • Salt and black pepper
  • 1/2 lamb shoulder
  • 1/2 garlic bulb, peeled and separated into cloves
  • 1/2 pint chicken stock

Ed - ingredients

The recipe suggests serving this dish with french beans or other green vegetables.  I decided to do honey roasted carrots and parsnips with some savoy cabbage.

I started off by thinly slicing the onions and potatoes.  I remember my mum saying, the key to this dish is to get the onions and potato sliced as thinly as possible.  She actually uses a mandolin slicer but I don’t have one of these so I just took my time!  I didn’t do too badly but it did take ages!

The recipe says to combine the onions, potato and thyme in a bowl before seasoning it with salt and pepper.  I then placed the mixture into the bottom of my roasting tin.

Ed - potato:onion

I was a little surprised by this as I had always remember my mums dish having neatly layered potato and onions.  In fact, once the dish was in the oven, I found a video of Tom Kerridge making this dish and he didn’t mix these elements together.  He simply layered them into the roasting tin.  He put a layer of onions, then a layer of potatoes and then sprinkled with thyme and salt and pepper; repeating this until he was left with a neat top layer of potatoes.   Oh well, one to remember for next time.

Anyway, with the potato/onion layer done, I placed the lamb on top with the skin-side up.  I cut small incisions in the lamb to place in the garlic cloves. I poured over the chicken stock and placed the lamb in the oven on 130 degrees celsius. 

Practical tip: push the garlic cloves as far under the skin as possible to avoid them burning in the over.

Ed - oven ready

The recipe says to cook the whole shoulder for 4 to 5 hours and I therefore adjusted the cooking time to around 2 and a half hours.

After the 2 and a half hours were I up, I tested the lamb and it wasn’t very tender.  I therefore decided to let it cook for another 15 minutes at 130 degrees and then turned the oven up to 200 degrees for a further 15 minutes.  I then covered the lamb with foil and let it rest for 20 minutes whilst I prepared the vegetables.

Ed - restingEd - cooked

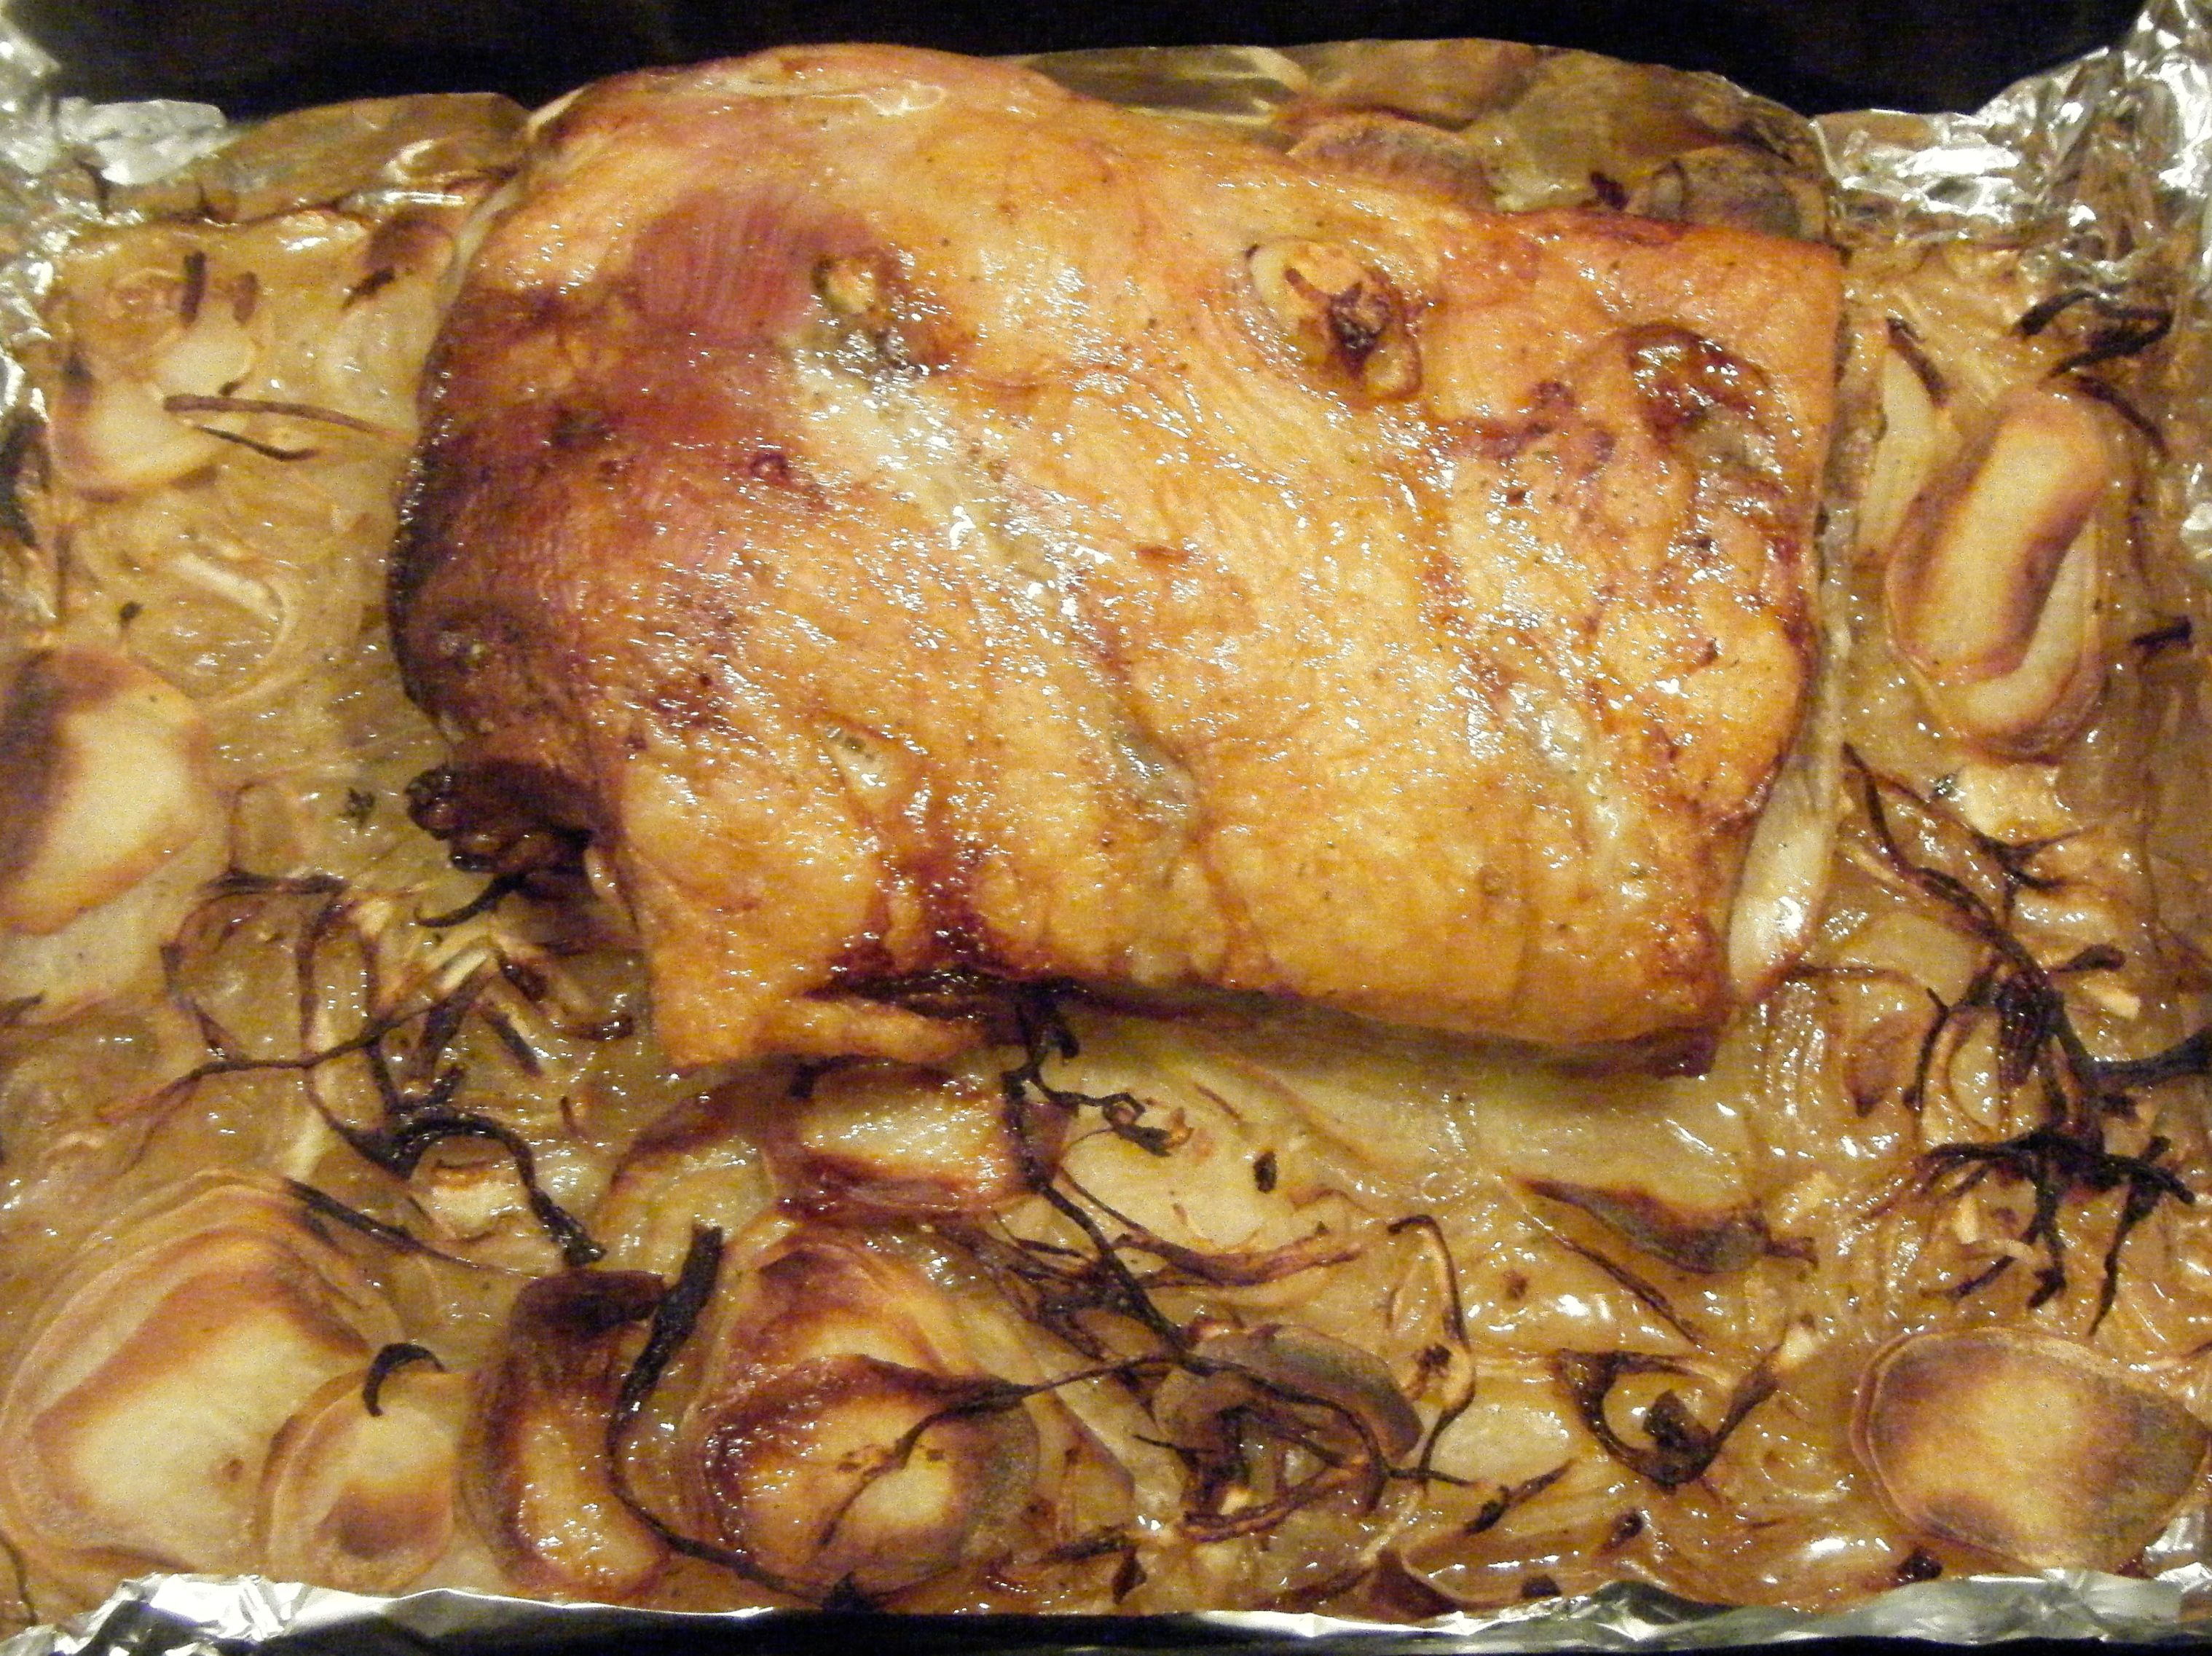
The lamb still wasn’t as tender as I would have hoped but it was getting quite late so I had to serve up.

Ed - served up1

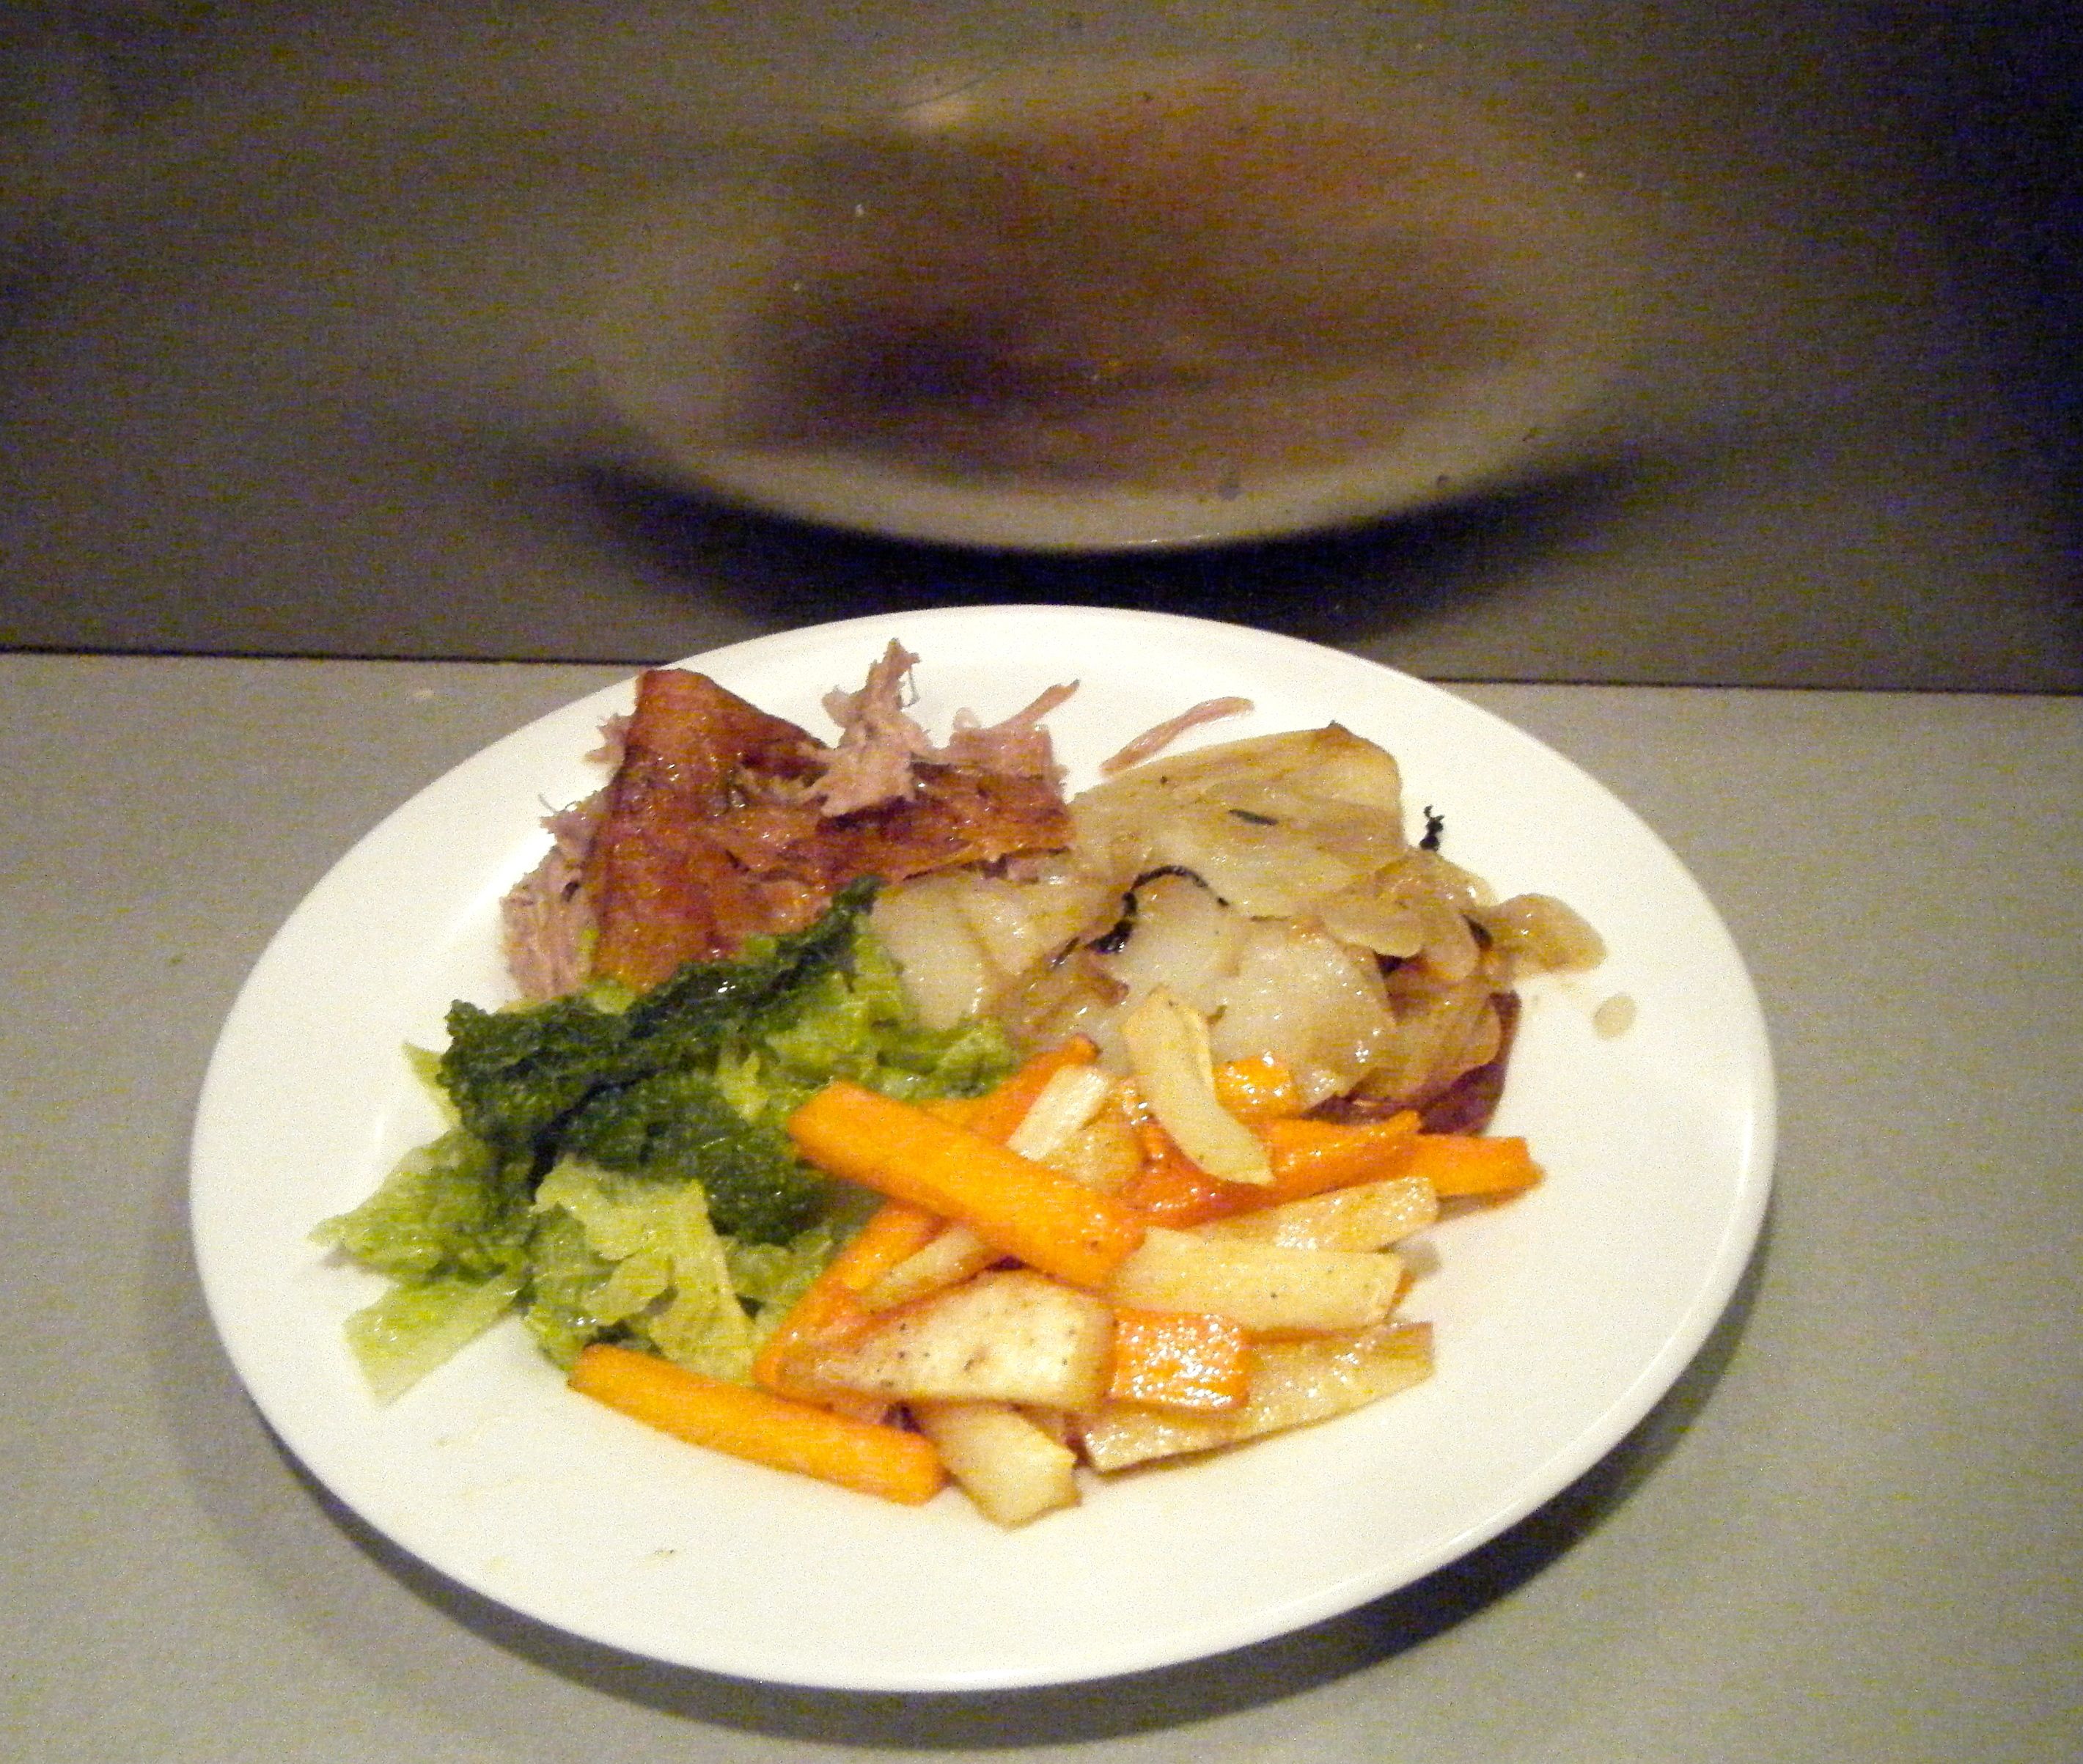
The taste was really nice but the lamb was not very tender and was really fatty.  Perhaps it was just a bad cut of meat or perhaps I shouldn’t have adjusted the cooking time.  Either way, this just didn’t live up to the one my mum makes and next time, I will definitely be asking for her recipe!

Coming up next, Challenge No. 43 – pumpkin pie.

Challenge No. 41 – Zebra Cake

This challenge was suggested by one of the members of Rochdale Triathlon Swim Club (which I haven’t been to for a few months now!).  When I was going, Sarah was always in the fast lane and I’m not quite good enough to move up to that lane.  Maybe one day 🙂  Whilst Sarah and I never got to swim together, we often had a good chat before and after the swim sessions.  Sarah also loves baking and suggested I make a zebra cake for Challenge 52.

After a quick bit of research, I settled on a recipe by Lorraine Pascale.  This uses a little bit of orange zest to flavour the chocolate sponge and I thought it would be delicious – I was right!

For this recipe you’ll need the following:-

  • 250ml sunflower (or other flavourless) oil, plus extra for greasing
  • 250g caster sugar
  • 100ml semi-skimmed milk
  • 4 medium eggs (at room temperature)
  • A few drops of vanilla extract
  • 300g self-raising flour
  • 1 tsp baking powder
  • 25g cocoa powder
  • 1 orange

Ed - ingredients

The recipe uses a 23cm round cake tin, however, I only had a 20cm one and I just went ahead and used this.  I just had to adjust the cooking times slightly as it was a deeper cake than it would have been in the 23cm tin.

I started by lining the base of my tin with baking parchment.  I removed the base and used it to trace a circle on the baking parchment.  I then brushed the tin and base with some olive oil, pushed in the parchment and then gave it a once over with the already oiled brush.

I then put the oil, sugar, milk, eggs and vanilla extract into a bowl.  By the time I had got all the ingredients in, the sugar had started to crystallised, having soaked up the wet ingredients.  However, it soon started to break down as I have it a good stir with a wooden spoon.  The recipe recommends against using an electric whisk as you don’t want too many air bubbles in the mixture.

Ed - wet ingredients

Anyway, once the ingredients has mixed together to form a smooth wet liquid, I measured out 400ml into a jug and poured it into another bowl.  I wondered whether it needed to be half the mixture but when I measured the remainder there was only 300ml.  I therefore took 50ml back from the larger amount so I had 350ml in each bowl.  I then reread the recipe and doubted myself so I decided to switch it back to 400ml and 300ml. 

Edited - split mix

I then sifted 175g of self raising flour and 1/2 tsp of baking powder into the 400ml portion.  I have it a good mix with the wooden spoon until it was well combined.

Ed - white mix

I put this mixture to one side and got started on the chocolate one.  I sifted 125g of self raiding flour, 1/2 tsp of baking powder and 25g cocoa powder into the bowl with 300ml of mixture.  I mixed it all together and then stirred through the orange zest.

Ed - orange in choc

Practical tip: zest the orange directly over the bowl to get the best flavour and not lose out on any of the orange goodness!

With the two mixtures ready, I got my pan and four tablespoons.  I used two tablespoons for each bowl…one to measure the mixture and one to scoop it off the other.  I then put one tablespoon of white mixture into the pan and then added a tablespoon of the chocolate mixture.  I kept alternating the mixtures until it was nearly all used and the mixture reached the edges of the tin.   

Ed - start Ed - choc

I wasn’t very good at keeping my ‘dollops’ in the centre of the tin and soon enough, I was working more to one side of the tin.  When I realised this was happening, I tried to avoid putting the mixture directly in the centre of the last ‘dollop’ and gradually worked it back towards the centre.

Ed - in tin
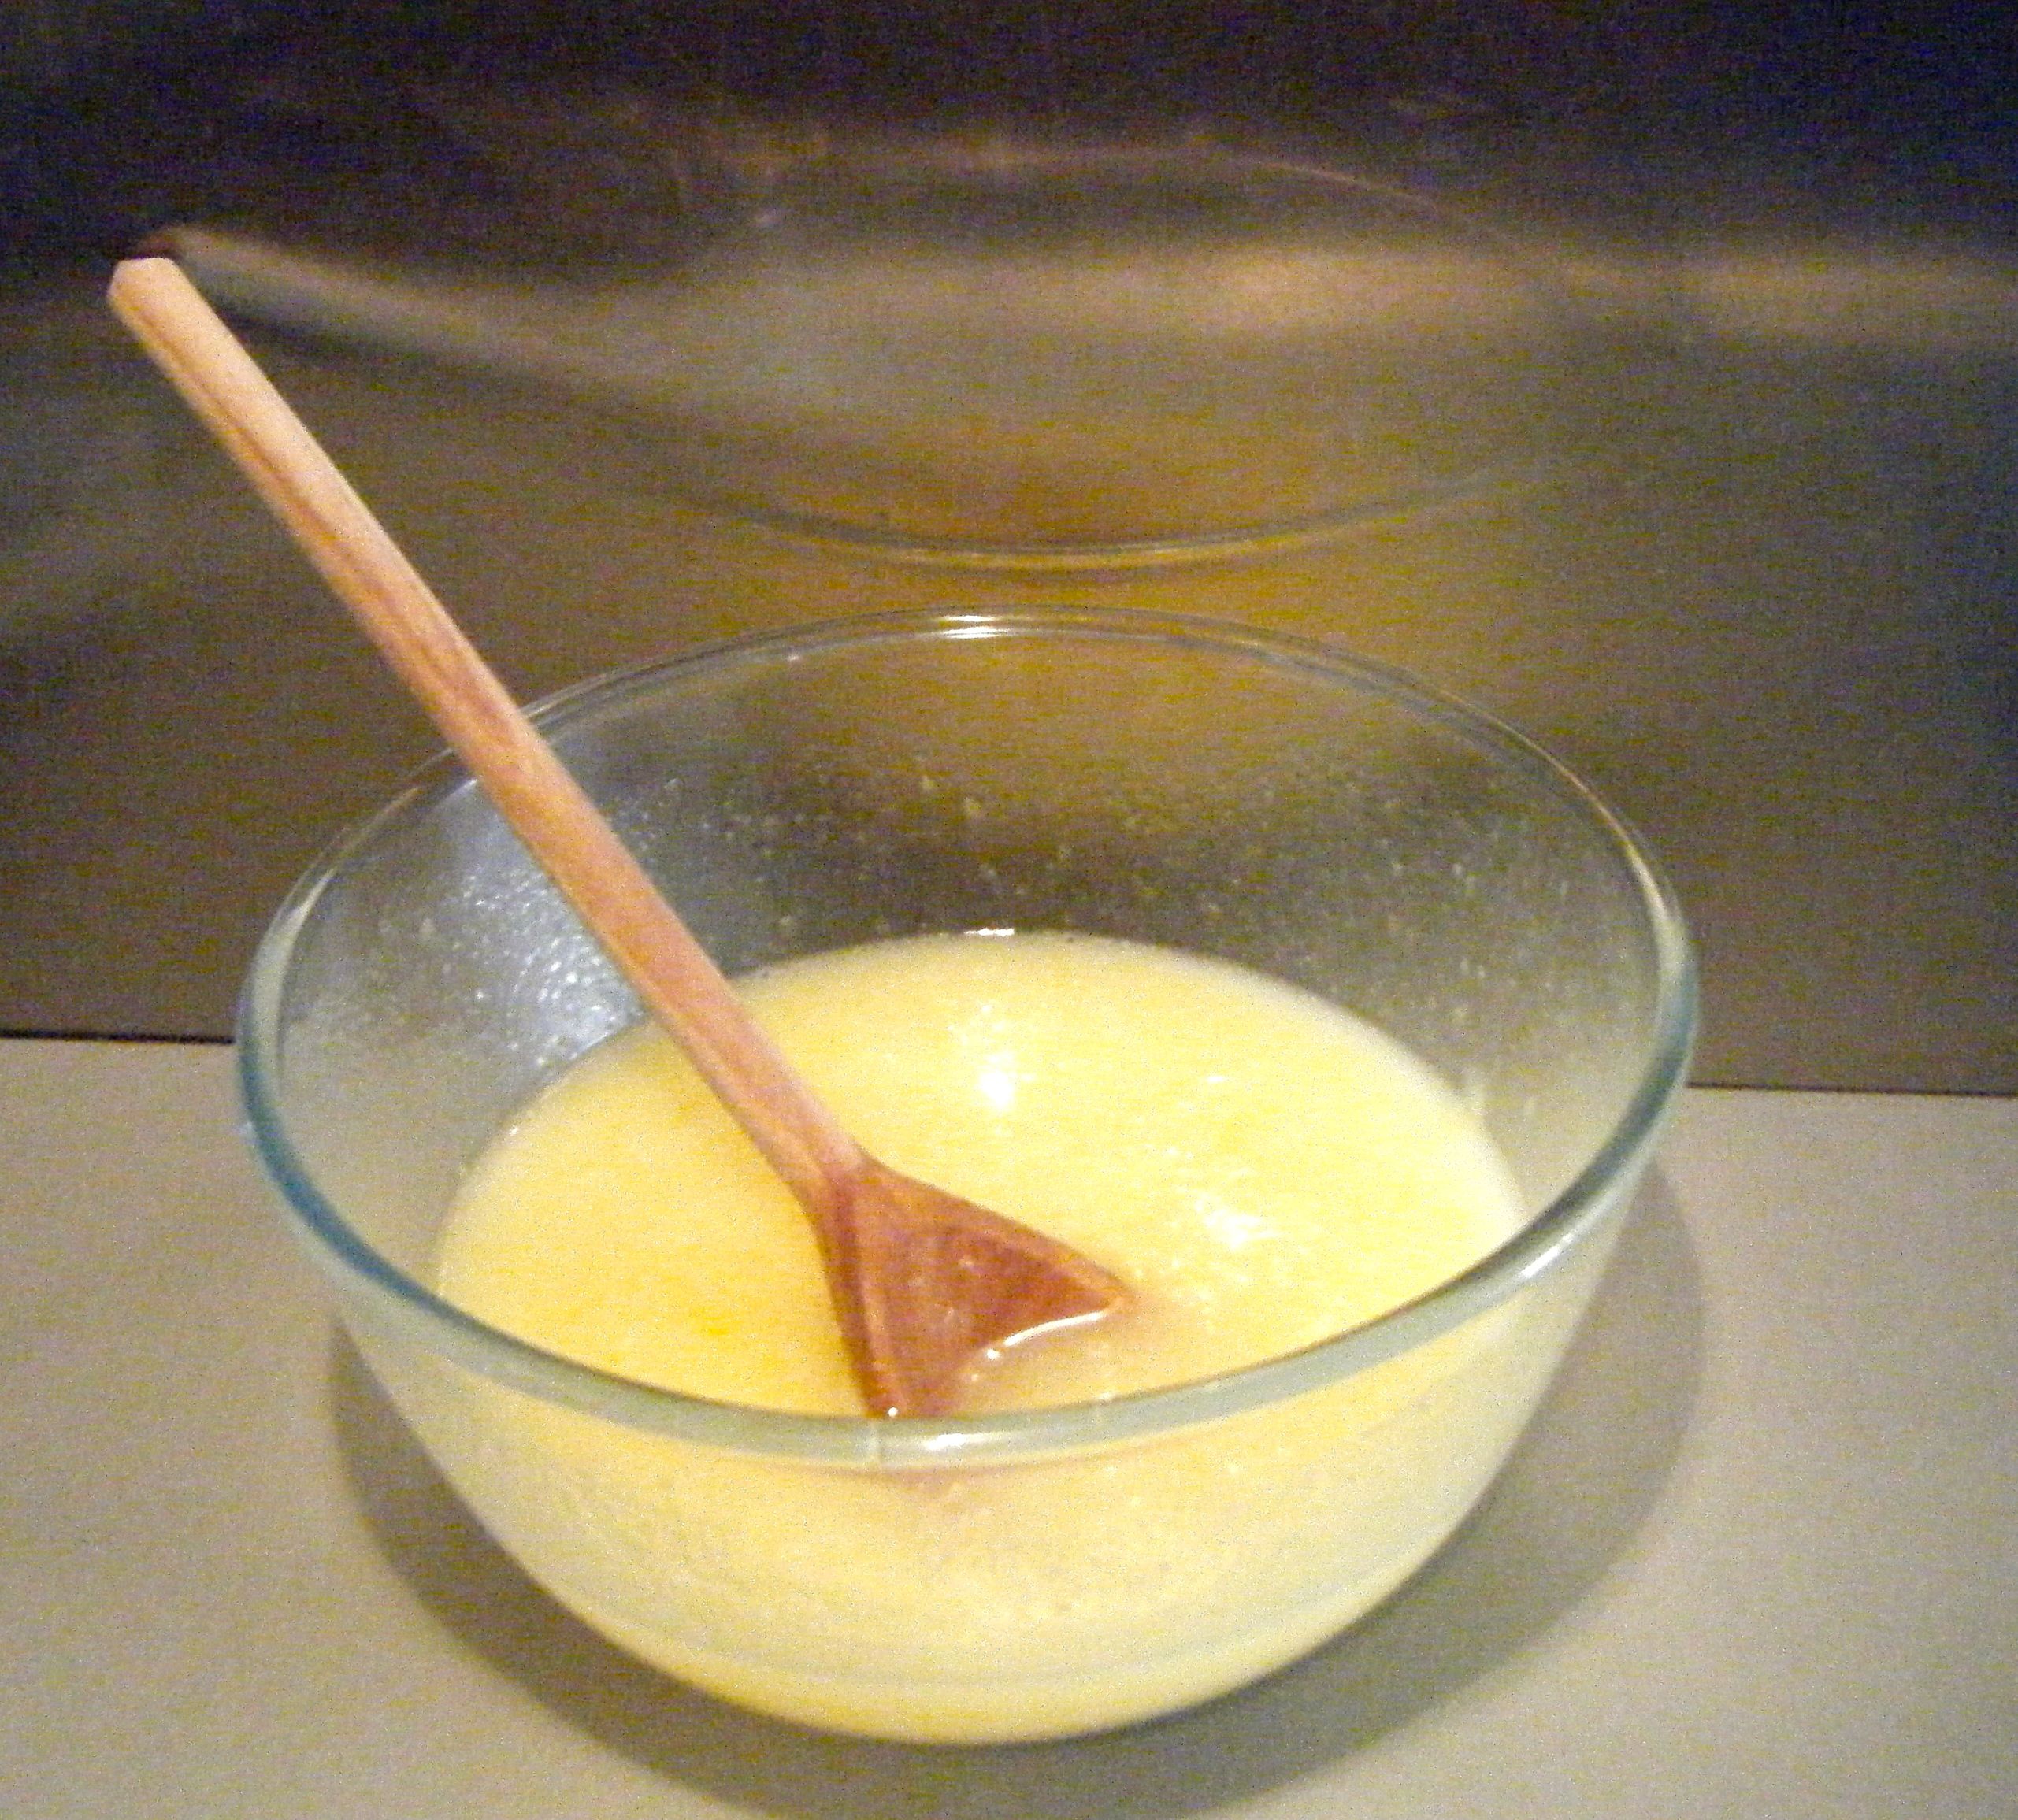
I then put the tin in the oven on 180 degree celsius for 25 minutes.  I rotated the tin half way through cooking.  After the 25 minutes was up, I reset the timer for another 5 minutes and continued to do so until the cake was cooked.  In total I think I cooked the cake for around 48 to 53 minutes (I lost track slightly but I think it was one of these!).

Practical tip: in case you missed my earlier cake challenges, to test whether a cakes is cooked, gently press the top with your finger; if it is done it will be springy to touch and bounce back into place.  You can also take a tooth pick (or cake tester if you have one) and slide it into the centre the cake; if the cake is done the tester will come out clean.  If unsure, test a few different parts of the cake to make sure its done!  If you think it’s not quite done return the cakes to the oven but keep an eye on them – 1 minute may be all they need but that 1 minute can make all the difference!

Ed - cooling tin

I left the cake to cool in the tin for 10 minutes and then put it on a cooking rack with the parchment still on the bottom.  Once it was cool, I cut a slice for me and Dave to share.

Ed - done  Ed - centre

Ed - slice

Well, what can I say about this cake…it was gorgeous!  It was so moist and full of flavour.  The chocolate orange flavour was soooo good and I would encourage everyone to have a go at this cake.  Not only does it look pretty and skilful, it tastes amazing. 

Even Dave, who isn’t generally the biggest fan of normal sponge cake, went back for a second, larger helping! 🙂

Coming up next week, Challenge No. 42 – Lamb boulangere.

Challenge No. 40 – Tomato Soup

This challenge was suggested by my lovely mum, who as it turns out got to be in Manchester to try this one!  I have made tomato soup before, however, I don’t remember it being particularly nice and I’ve always stuck to my tinned favourite.  Nevertheless, for the purposes of Challenge 52, I went back on the hunt for a lovely cream of tomato soup recipe.

I eventually settled on a recipe posted by Lacey on her blog, A Sweet Pea Chef.   Be sure to go and check out this blog…there are some really yummy looking recipes!

So for this recipe, you will need:-

  • 2 tbsp. olive oil
  • 1 red onion, diced
  • 2 carrots, diced
  • 3 cloves garlic, minced
  • 5 vine-ripened tomatoes, diced
  • 1 tbsp. tomato paste
  • 8 fresh basil leaves
  • 3 cups chicken stock
  • 2 tsp. salt, plus more to taste
  • ¼ tsp. freshly ground black pepper, plus more to taste
  • ¾ cup milk 

Ed -ingredients

Those of you who have been following my blog for a while, may remember that I try to stay clear of ‘cups’ recipes!  Well after discussing this with some friends who were visiting from Canada, Linda very kindly bought me a couple of gifts…

Ed - cups

Amazing!  I can now measure in cups ☺

Anyway, on with the recipe.  I started by peeling and then dicing my onions and carrots before adding them to the hot oil in my GIANT saucepan. 

Ed - chopped veg

Whilst the onions and carrots were cooking, I roughly diced up the tomatoes and got my stock ready.  I cheated and used instant stock but I have added this to my post Challenge 52 list of things to try – homemade stock! So watch this space for a post about how I get on.

*It would have been good to have a picture of my chopped up tomatoes here, however, apparently I forgot to take one!  You would have thought that by Challenge No. 40, I would have the hang of this but evidently not.  Whoops! You’ll just have to use your imagination*

Once the vegetables had been cooking for around 10 minutes, I added the crushed garlic.  I let this cook for around a minute and then I added the tomatoes, tomato paste, basil and chicken stock.  I seasoned it with salt and pepper, mixing it all up before letting it come up to a boil.  I then reduced the heat and left it to simmer uncovered for 30 minutes.

Ed - all in the pan

Time to blend it all together into a nice smooth soup.  I decided to use my handheld electric blender and did it in 2 batches in a jug.  The recipe then says to pour it back into the pan to reheat, however, I added in a little extra step here.  I don’t like soup with too much texture and it wasn’t quite going smooth enough with the blender.  So I decided to strain the blended soup through a sieve before returning it to the pan.  It worked a treat!

Ed - blending Ed - sieve

I added my milk but then portioned the soup up to reheat the next day.  We’d already been naughty and eaten left over Chinese food for dinner 🙂

So the next night, when my mum was visiting, I put two portions of the soup into a pan and heated it up over a medium to low heat.  The other two portions have gone into the freezer for another day. 

Ed - served up1

This soup was delicious!  Mum and I both agreed that the sieve hadn’t got rid of all the ‘grainy’ texture but it was close enough and we thoroughly enjoyed this lovely smooth and rich tomato soup.  Dave (who had KFC whilst we ate this!), tried a spoonful and said it was great…and that is coming from someone who doesn’t really like soup. So Lacey can now a third ‘tomato soup’ convert to her list!

Coming up next week, Challenge No. 41 – Zebra Cake.  Hope to see you then.