Challenge No. 12 – Fish and Chips

This dish was suggested by my boyfriend, Dave.  When Dave first met my parents (more than a whooping 6 years ago!), every time we went out for dinner he ended up ordering fish and chips.  After about 6 months, my mum actually had to ask if he ate anything else! He does of course, but there is no denying he really enjoys a bit of traditional fish and chips.

I’ve only ever cooked fish by poaching smoked haddock in the oven to have with a mushroom risotto.  I don’t know why but I have always been a bit reluctant to try new things with fish.  I’m happy to try different things when someone else is cooking but I’ve been nervous about cooking it myself.  This couldn’t stop me now – the whole point of Challenge 52 is to take me out of comfort zone and so I embraced the challenge here.

I did a quick search and found a really nice looking fish recipe by The Hairy Bikers.  You can find the recipe here. For the chips, I have been trying a few new methods in recent weeks and below I have described the method I used this time.

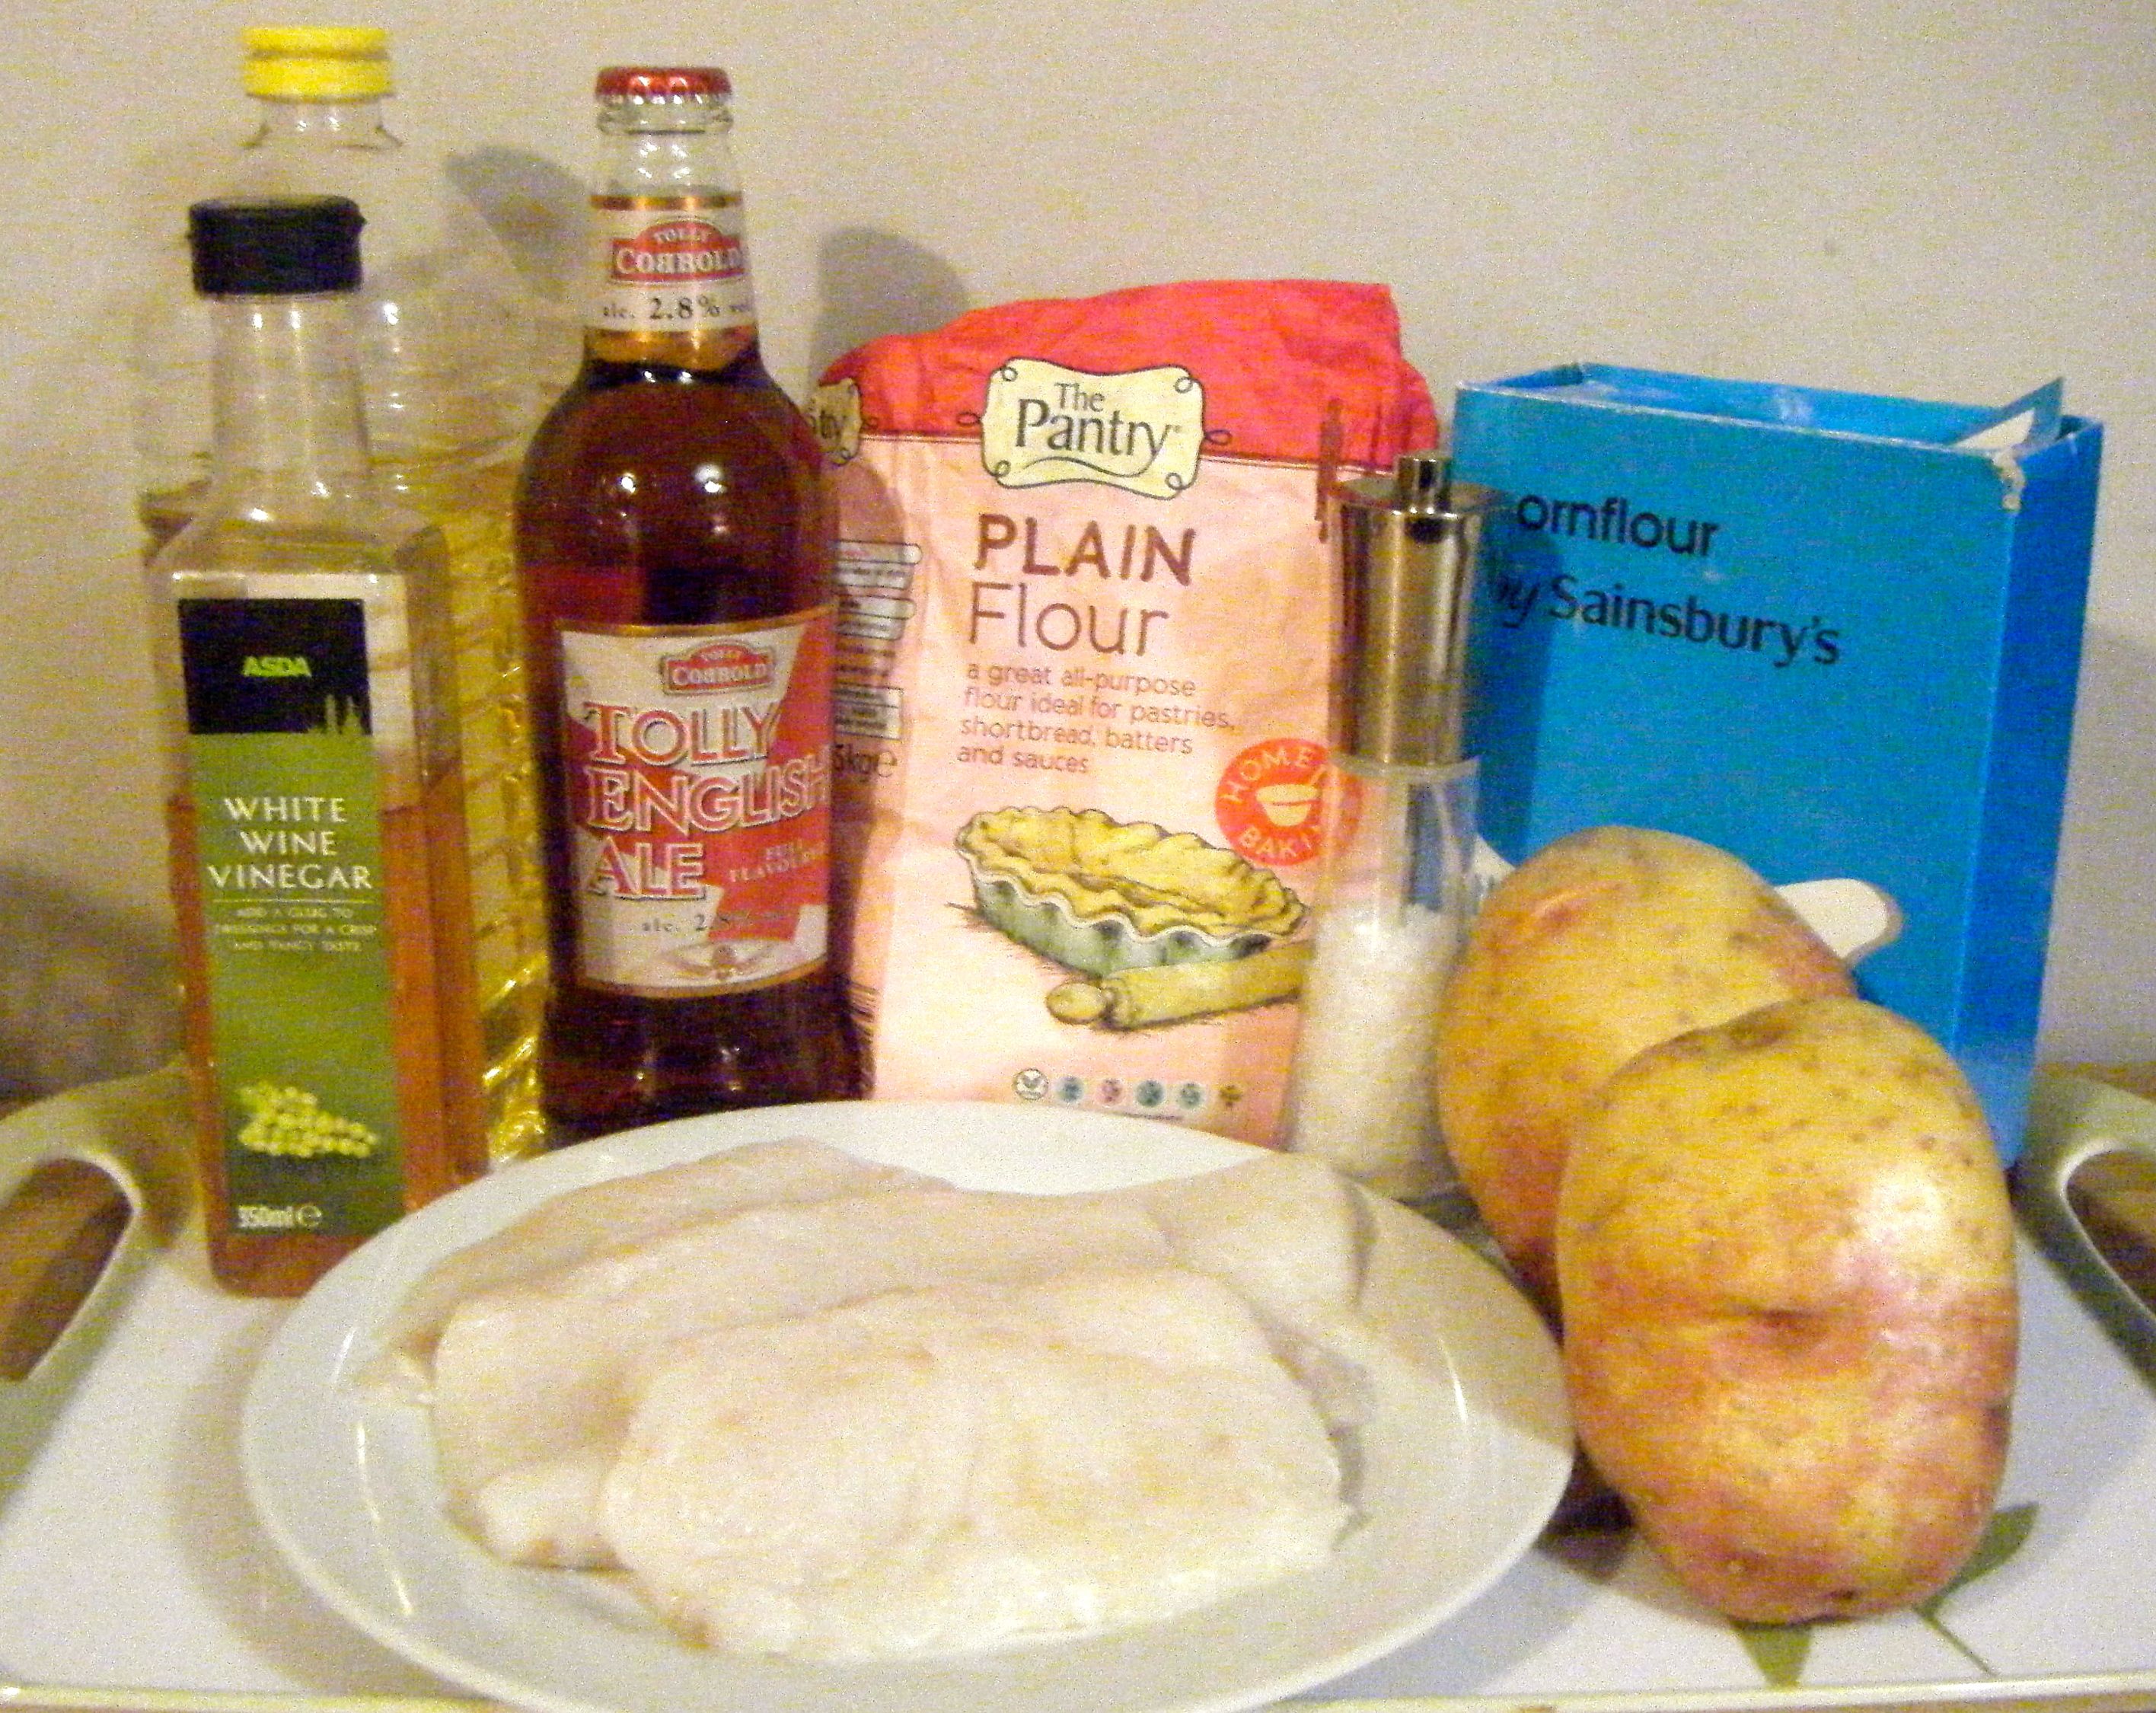
The dish requires the following ingredients:-

  • For the batter
    • 75g/2½oz cornflour
    • 200g/7¼oz plain flour
    • 1 tsp fine sea salt
    • 330ml/11½fl oz real ale
    • 2 tbsp white wine vinegar
  • For the fish
    • sunflower oil, for deep frying
    • 4 tbsp plain flour
    • ½ tsp fine sea salt
    • 4 x 200g/7¼oz thick white fish fillets, such as haddock or whiting*
  • For the chips
    • 2 medium to large potatoes
    • Salt
    • sunflower oil, for deep frying

*I let Dave decide which type of fish he wanted and there wasn’t even a contest – it had to be cod. I had tried suggesting we have a different type of fish to help with sustainability and the problem of over-fishing the more common types, but nope, Dave said it had to be cod.

Edited - ingredients

I started by preparing my chips.  I’ve recently tried using the multi-cook approach to chips and this involves blanching them in water, cooking them in the fryer on a low temperature and then once cooled finishing them off in the fryer on a high temperature.

I peeled and chopped the potatoes.  I tried my best to keep them evenly sized but I’ve not quite got the hang of this and to be honest, I think they look more rustic with a bit of variation 🙂

Edited - chips cut

Once they were chopped I washed them in cold water to remove as much of the starch as possible.  I then popped them in a pan of salted water which I bought to the boil and I cooked them until they were soft but still holding their shape, this took around 8 minutes.  I then drained and put the potatoes onto some kitchen roll to remove as much of the water as possible.

Edited - blanching Edited - blanched

I heated up my deep fat fryer to 140 degrees celsius and cooked the chips for another 8 minutes.  I then put them on a tray lined with kitchen paper to drain and cool down.

Practical tip: because of the various stages involved, you can blanch and initially fry the chips and then leave them to one side to cool whilst you get everything else done. 

Edited - chips fry 1

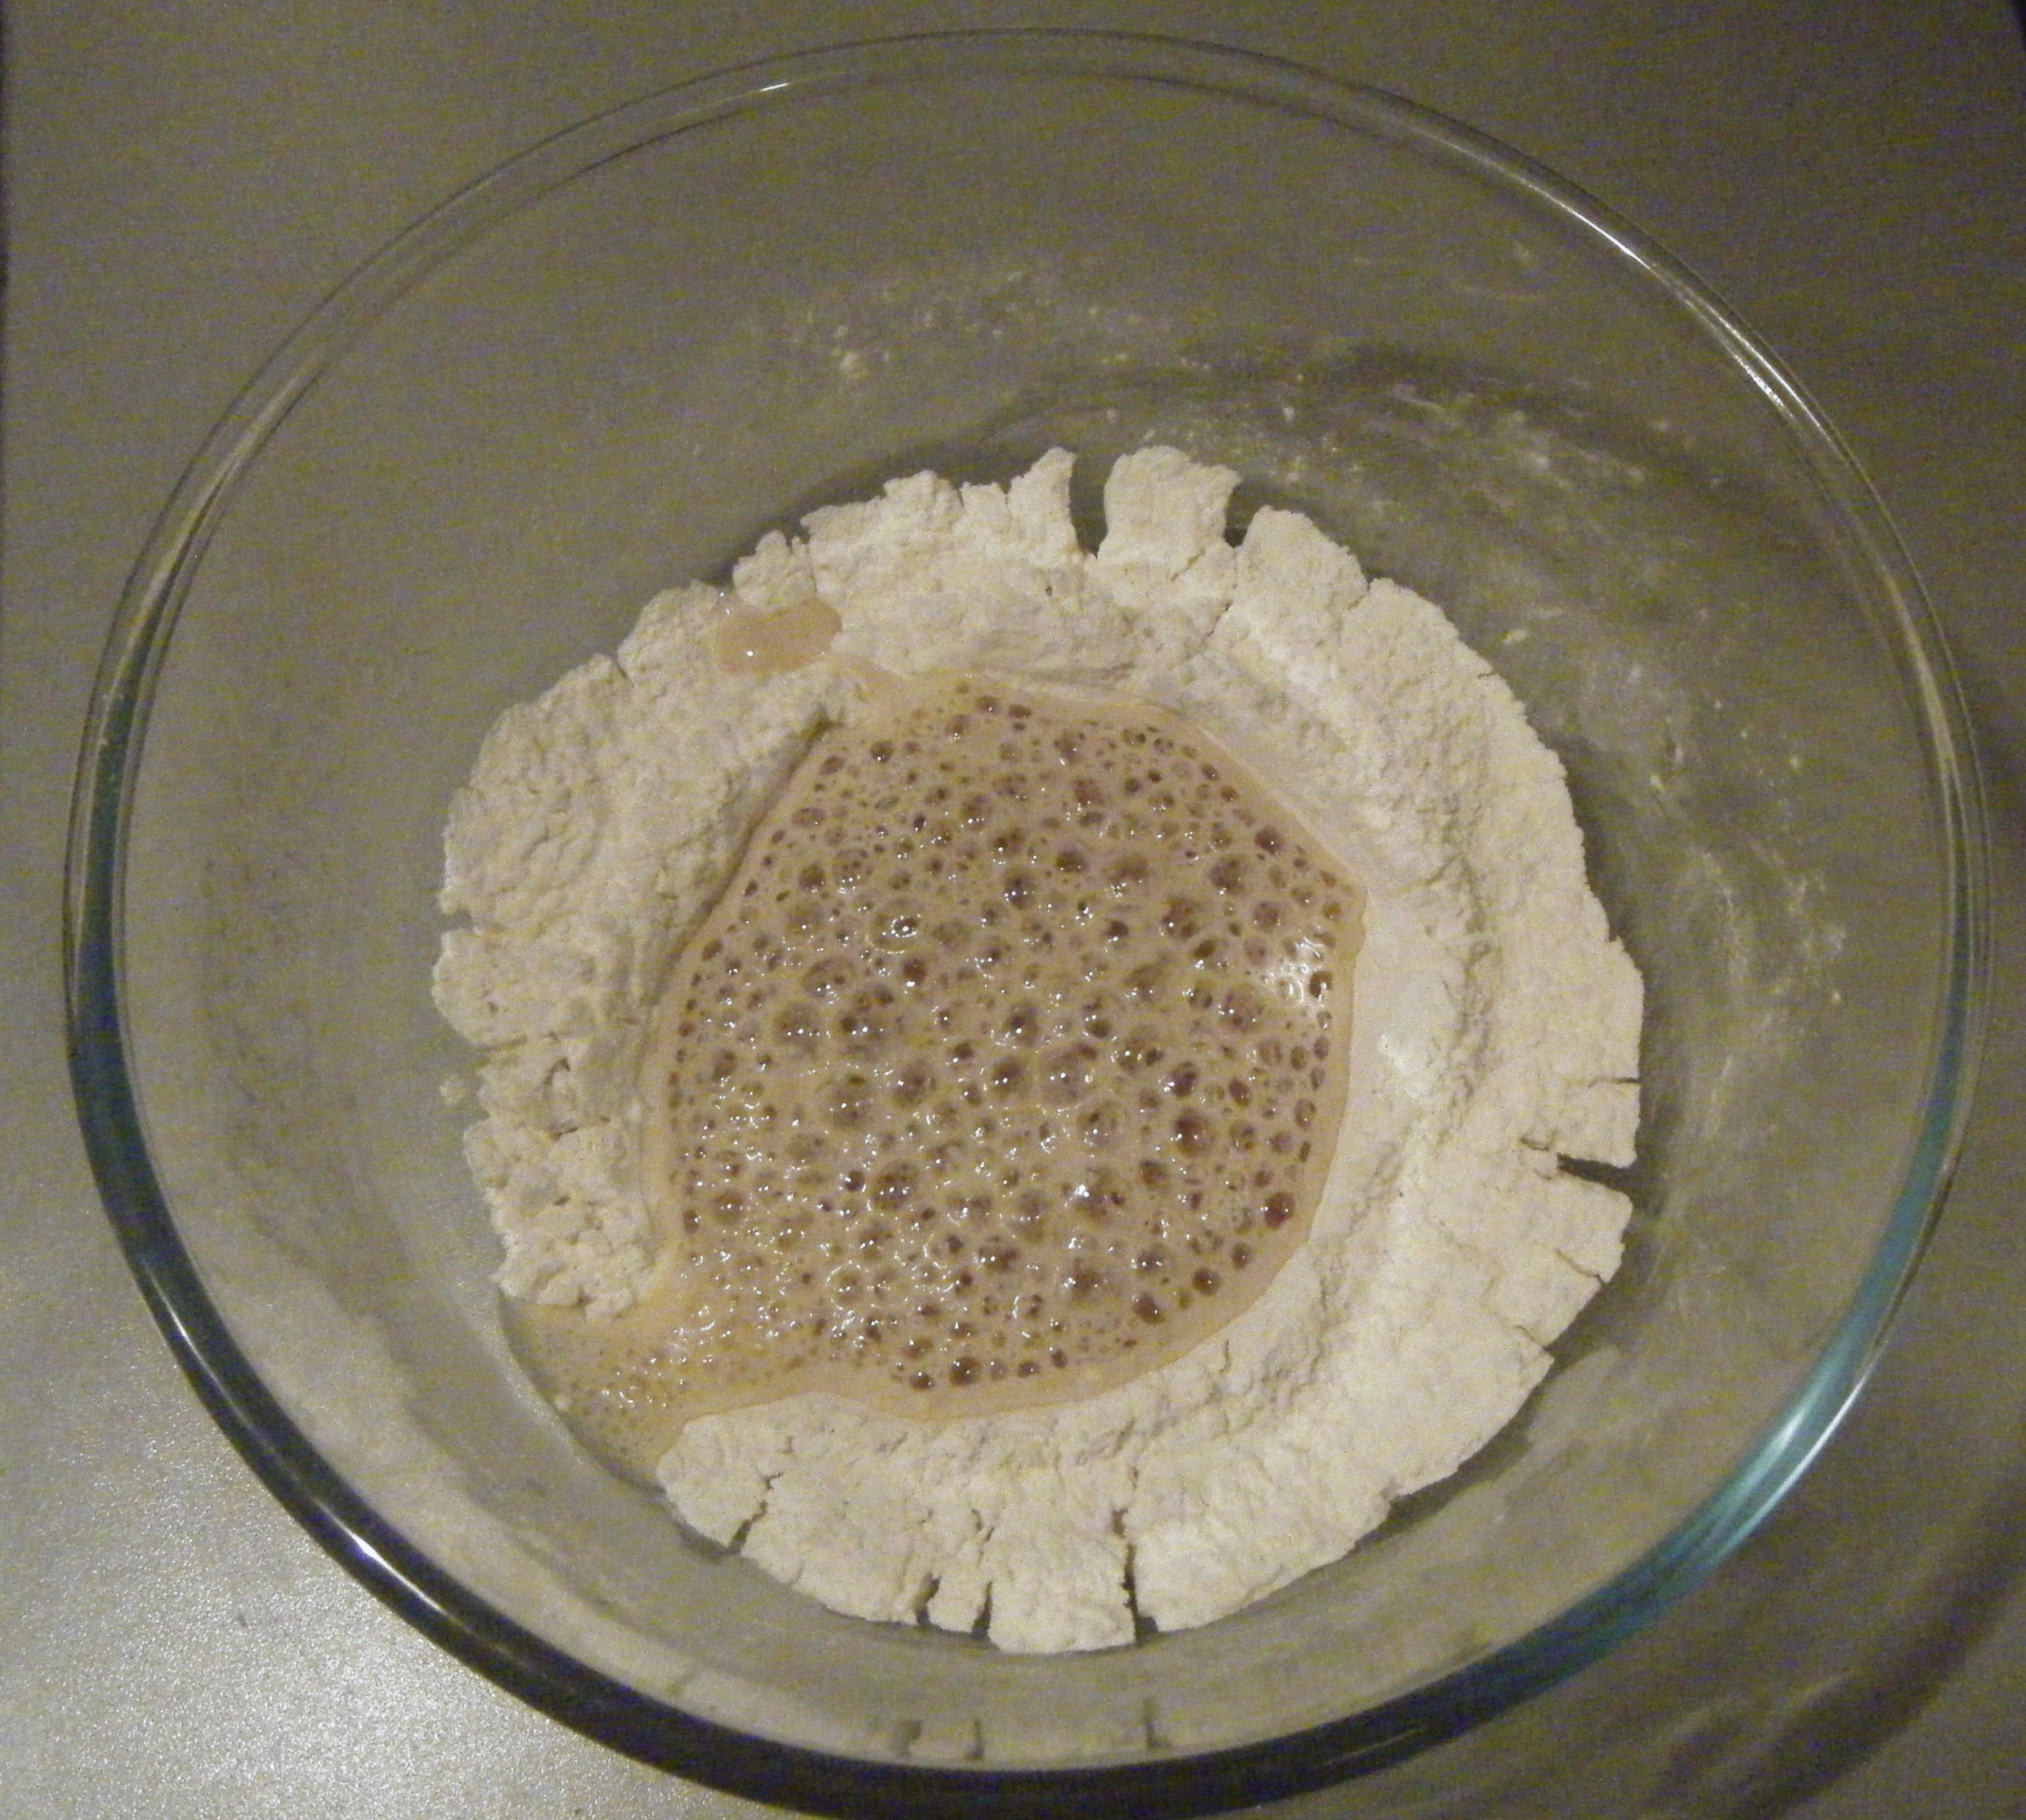
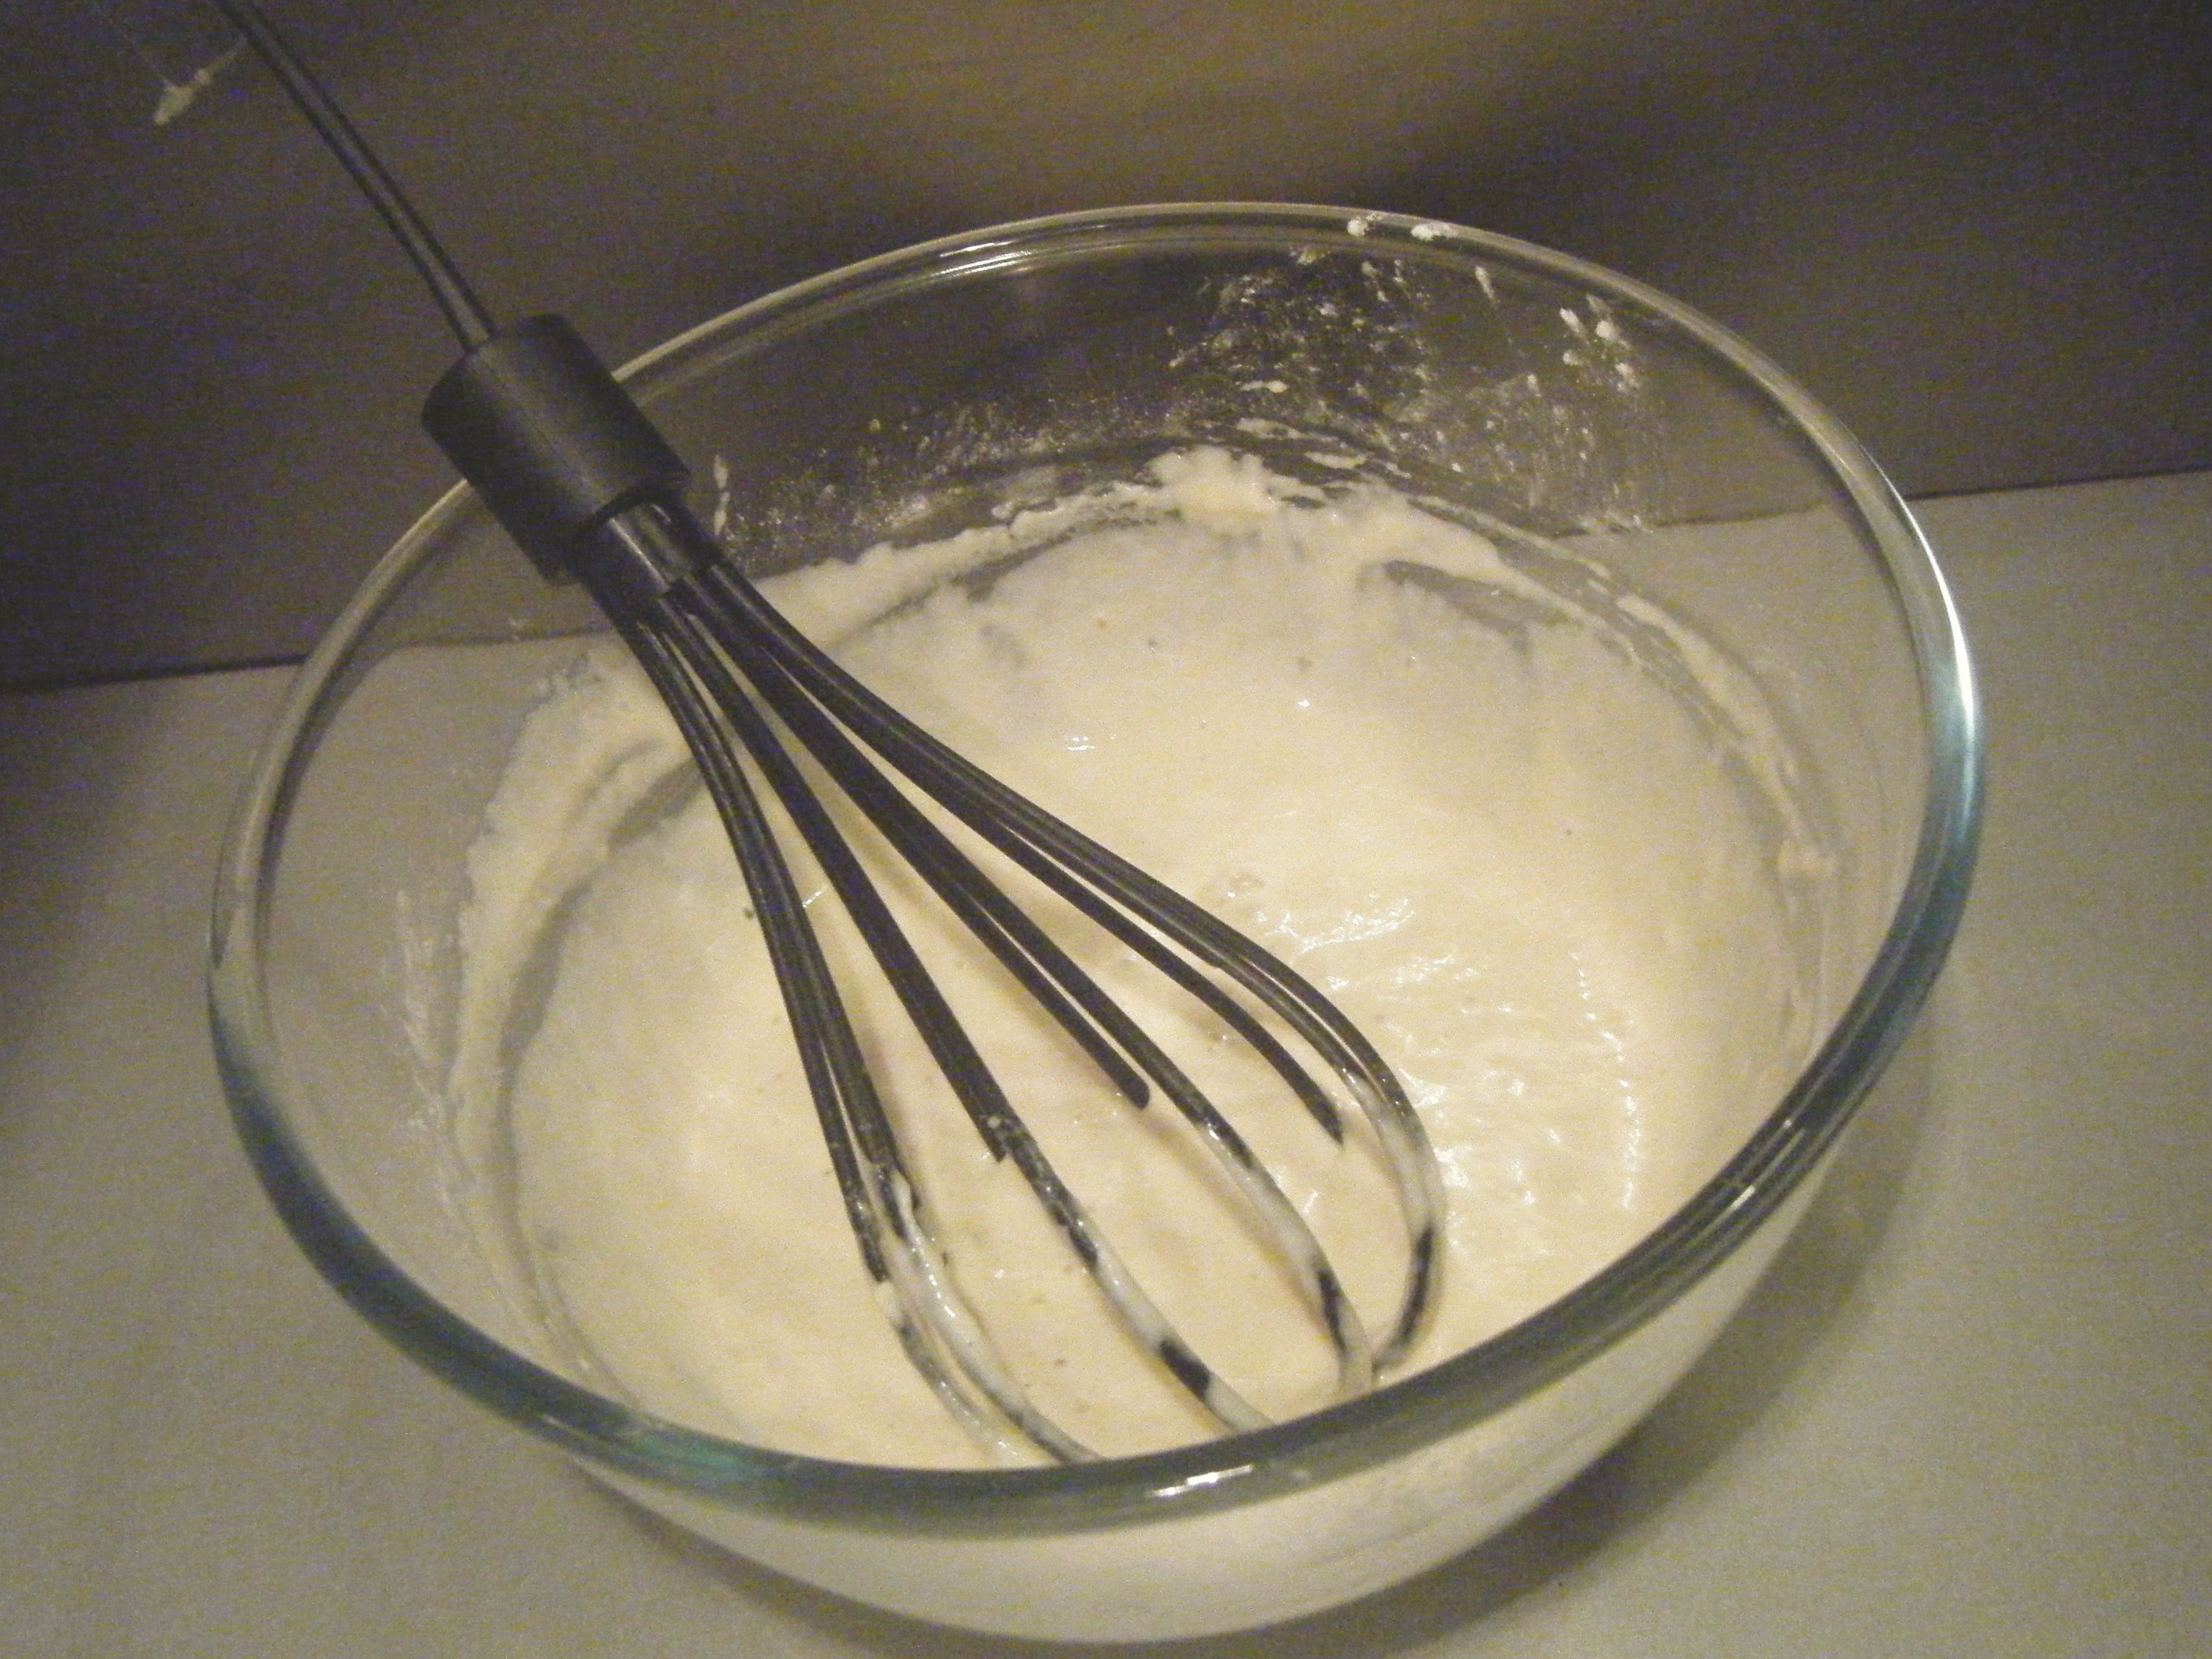
Whilst the chips were cooling I got on with the fish.  I prepared my batter by mixing the cornflour, plain flour and salt in a bowl.  I made a well and then poured in the ale and vinegar.  The recipe specially instructs to beat the mix with a large metal whisk.  I don’t know why it has to be a metal whisk but I don’t have one of these – mine is plastic! So I simply beat it with my plastic whisk until I had a smooth batter and this seemed to work well enough.

Edited - dry and wet Edited - batter

With the batter ready, I turned up the temperature on my fryer to give it time to reach the required 180 degrees celsius.  I then moved onto the next stage of the recipe – putting the flour and salt in the food bag to coat the fish.  Uh-oh, I had ran out of food bags! I’m going to blame Dave and say he used the last one without telling me 😉  Anyway, without any food bags available, I decided to use a plastic bowl and simply covered it with cling film to toss the fish.  It definitely wasn’t as good as using a food bag but it got the job done.

Edited - floured fish

So everything was ready to go! I dipped my floured fish in the batter and popped it into the fryer.  The recipe itself says to lower the fish into the oil using tongs and Dave’s mum confirmed I shouldn’t use a basket. I therefore didn’t use the frying basket (or tongs as mine are plastic!) and just carefully dropped the fish straight into the oil.  Once in the oil, I prodded the fish with a metal spatula (borrowed from Dave’s mum as again, mine is plastic) and it floated to the top of the oil and bobbed away in the bubbling oil.  I made sure to turn the fish a couple of times and the batter was soon a lovely golden brown.   

Edited - fish cooking

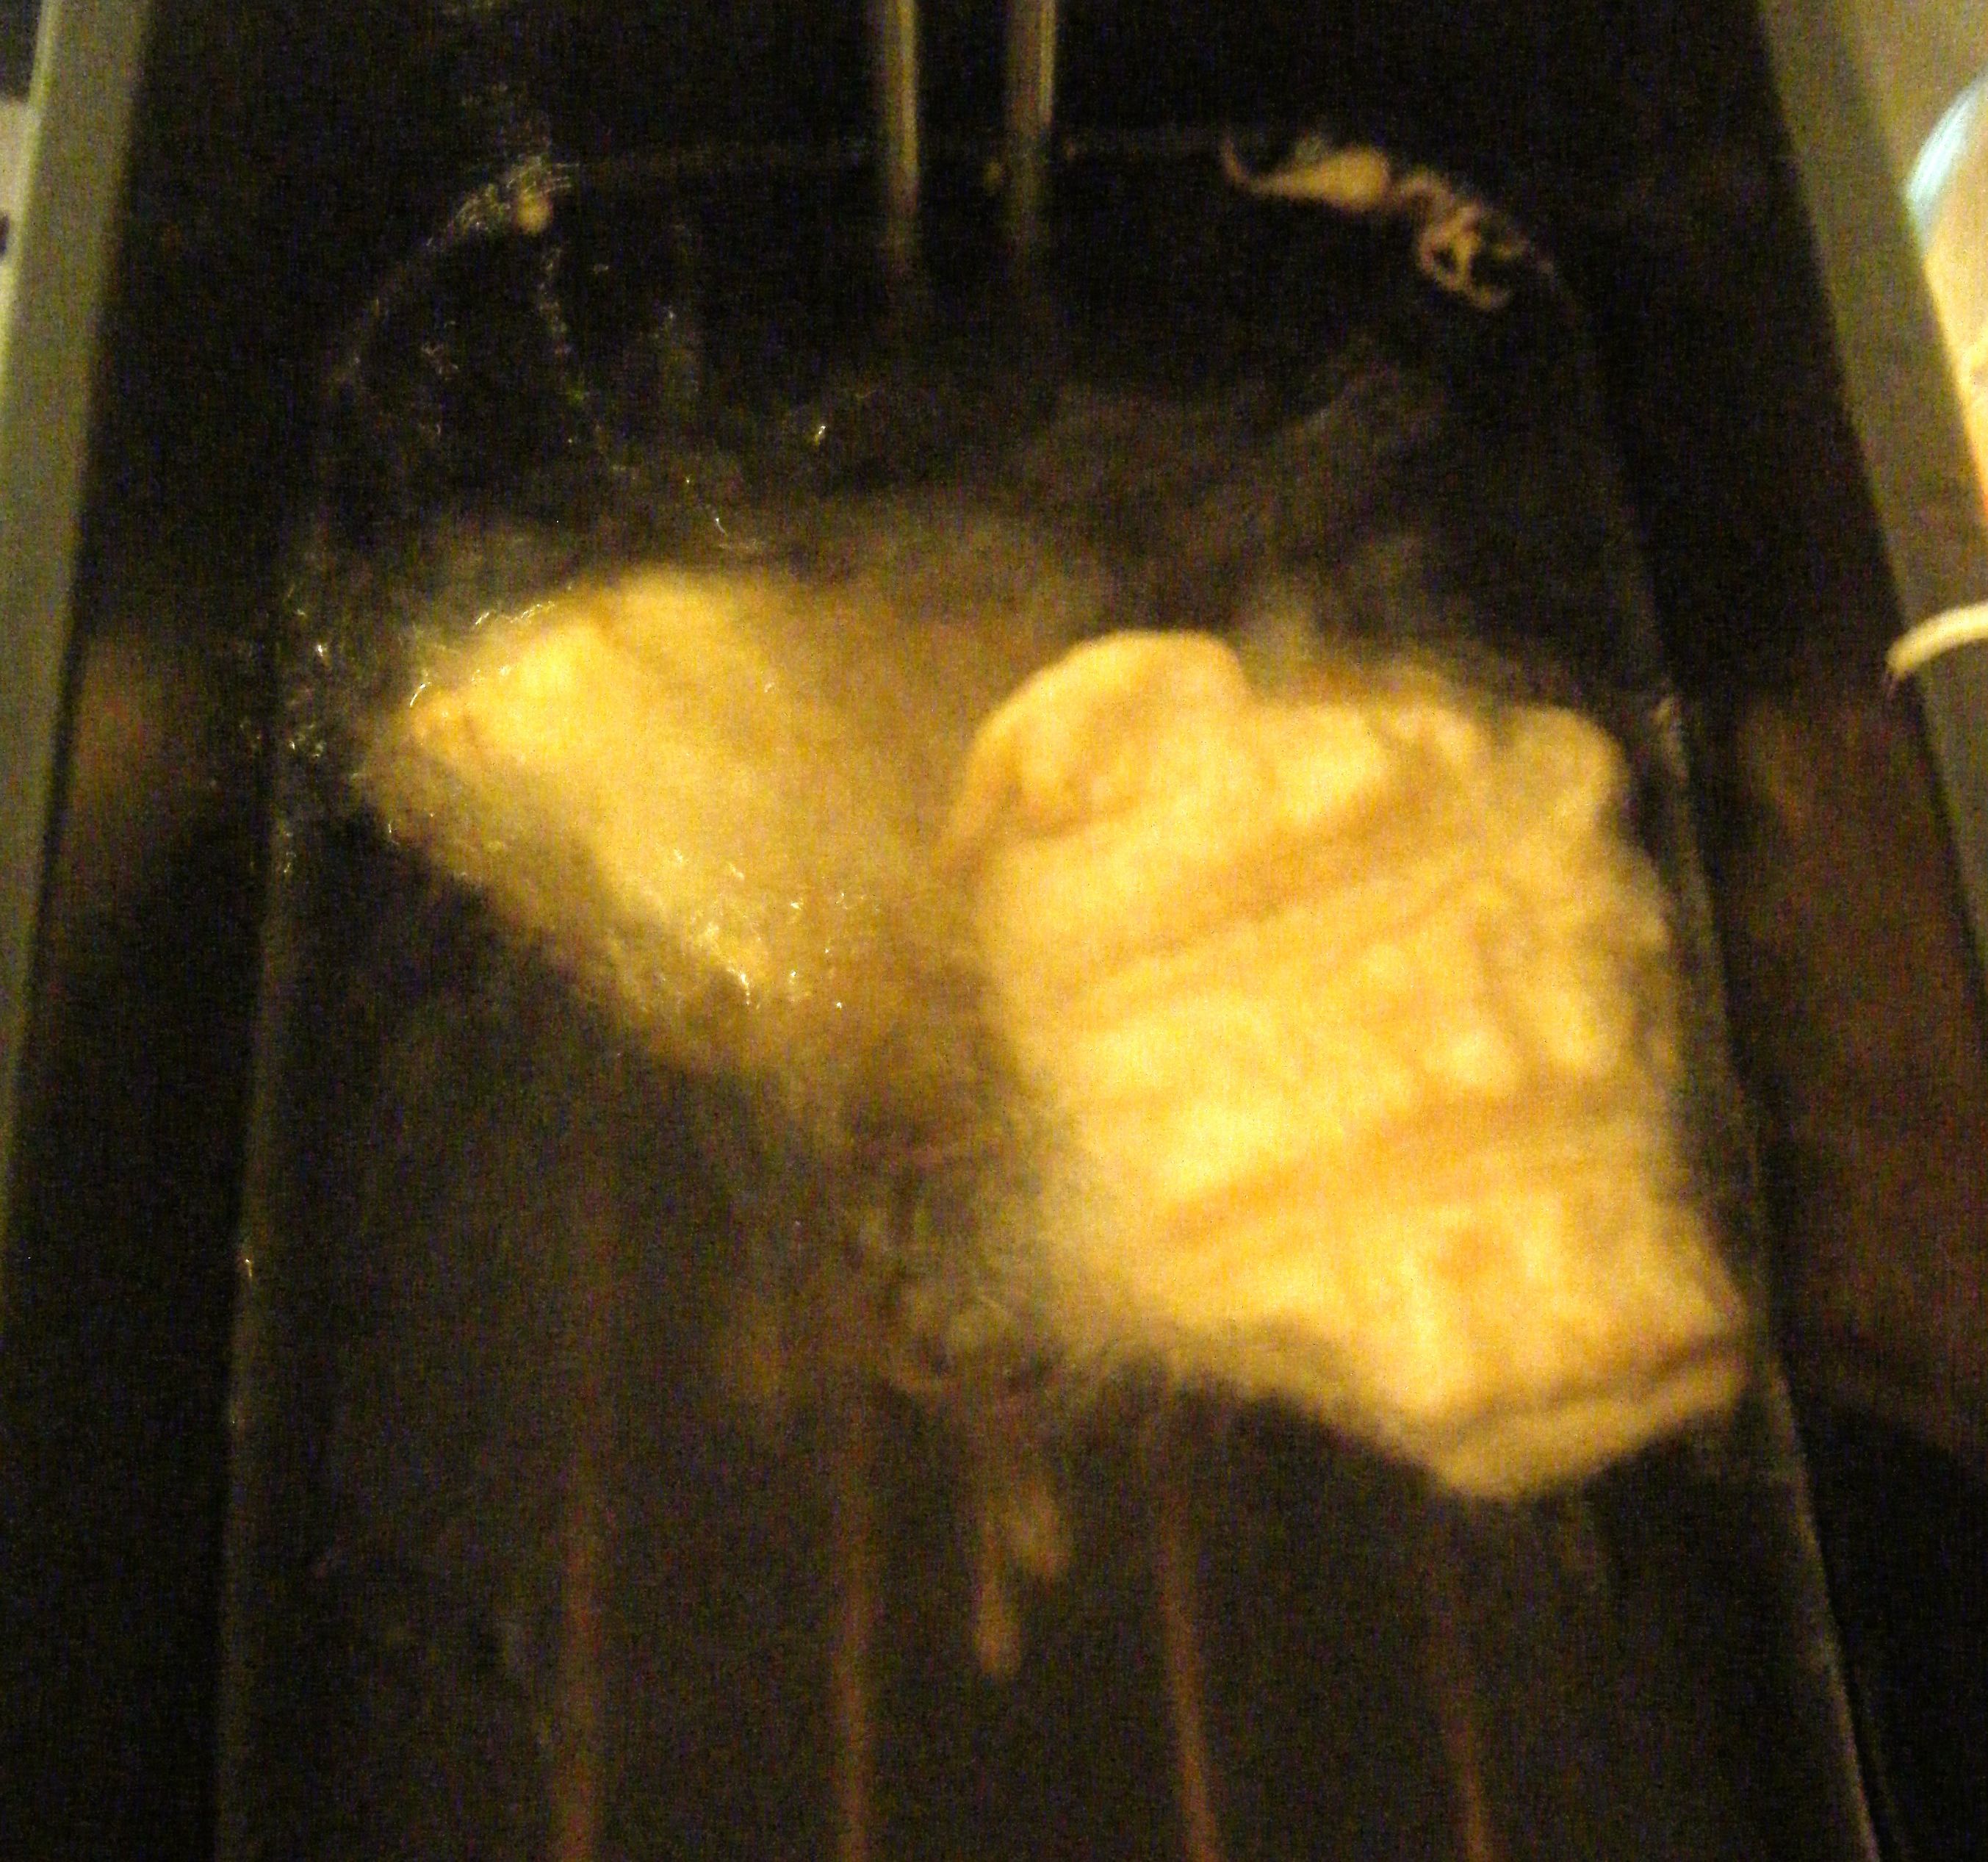
I did try to take a better photo of the fish in the oil but it spat at me and the hot oil just missed my eye so this is as good as you’re going to get on the photo front!

I decided to fry my fish in two batches and just put the first lot in the oven whilst the second ones cooked.

With the fish done, I turned the fryer up to 190 degrees celsius and popped my chips back into the oil for around 4 minutes.  I drained them on some kitchen roll, tossed them in salt and served up.

Edited - served up 2

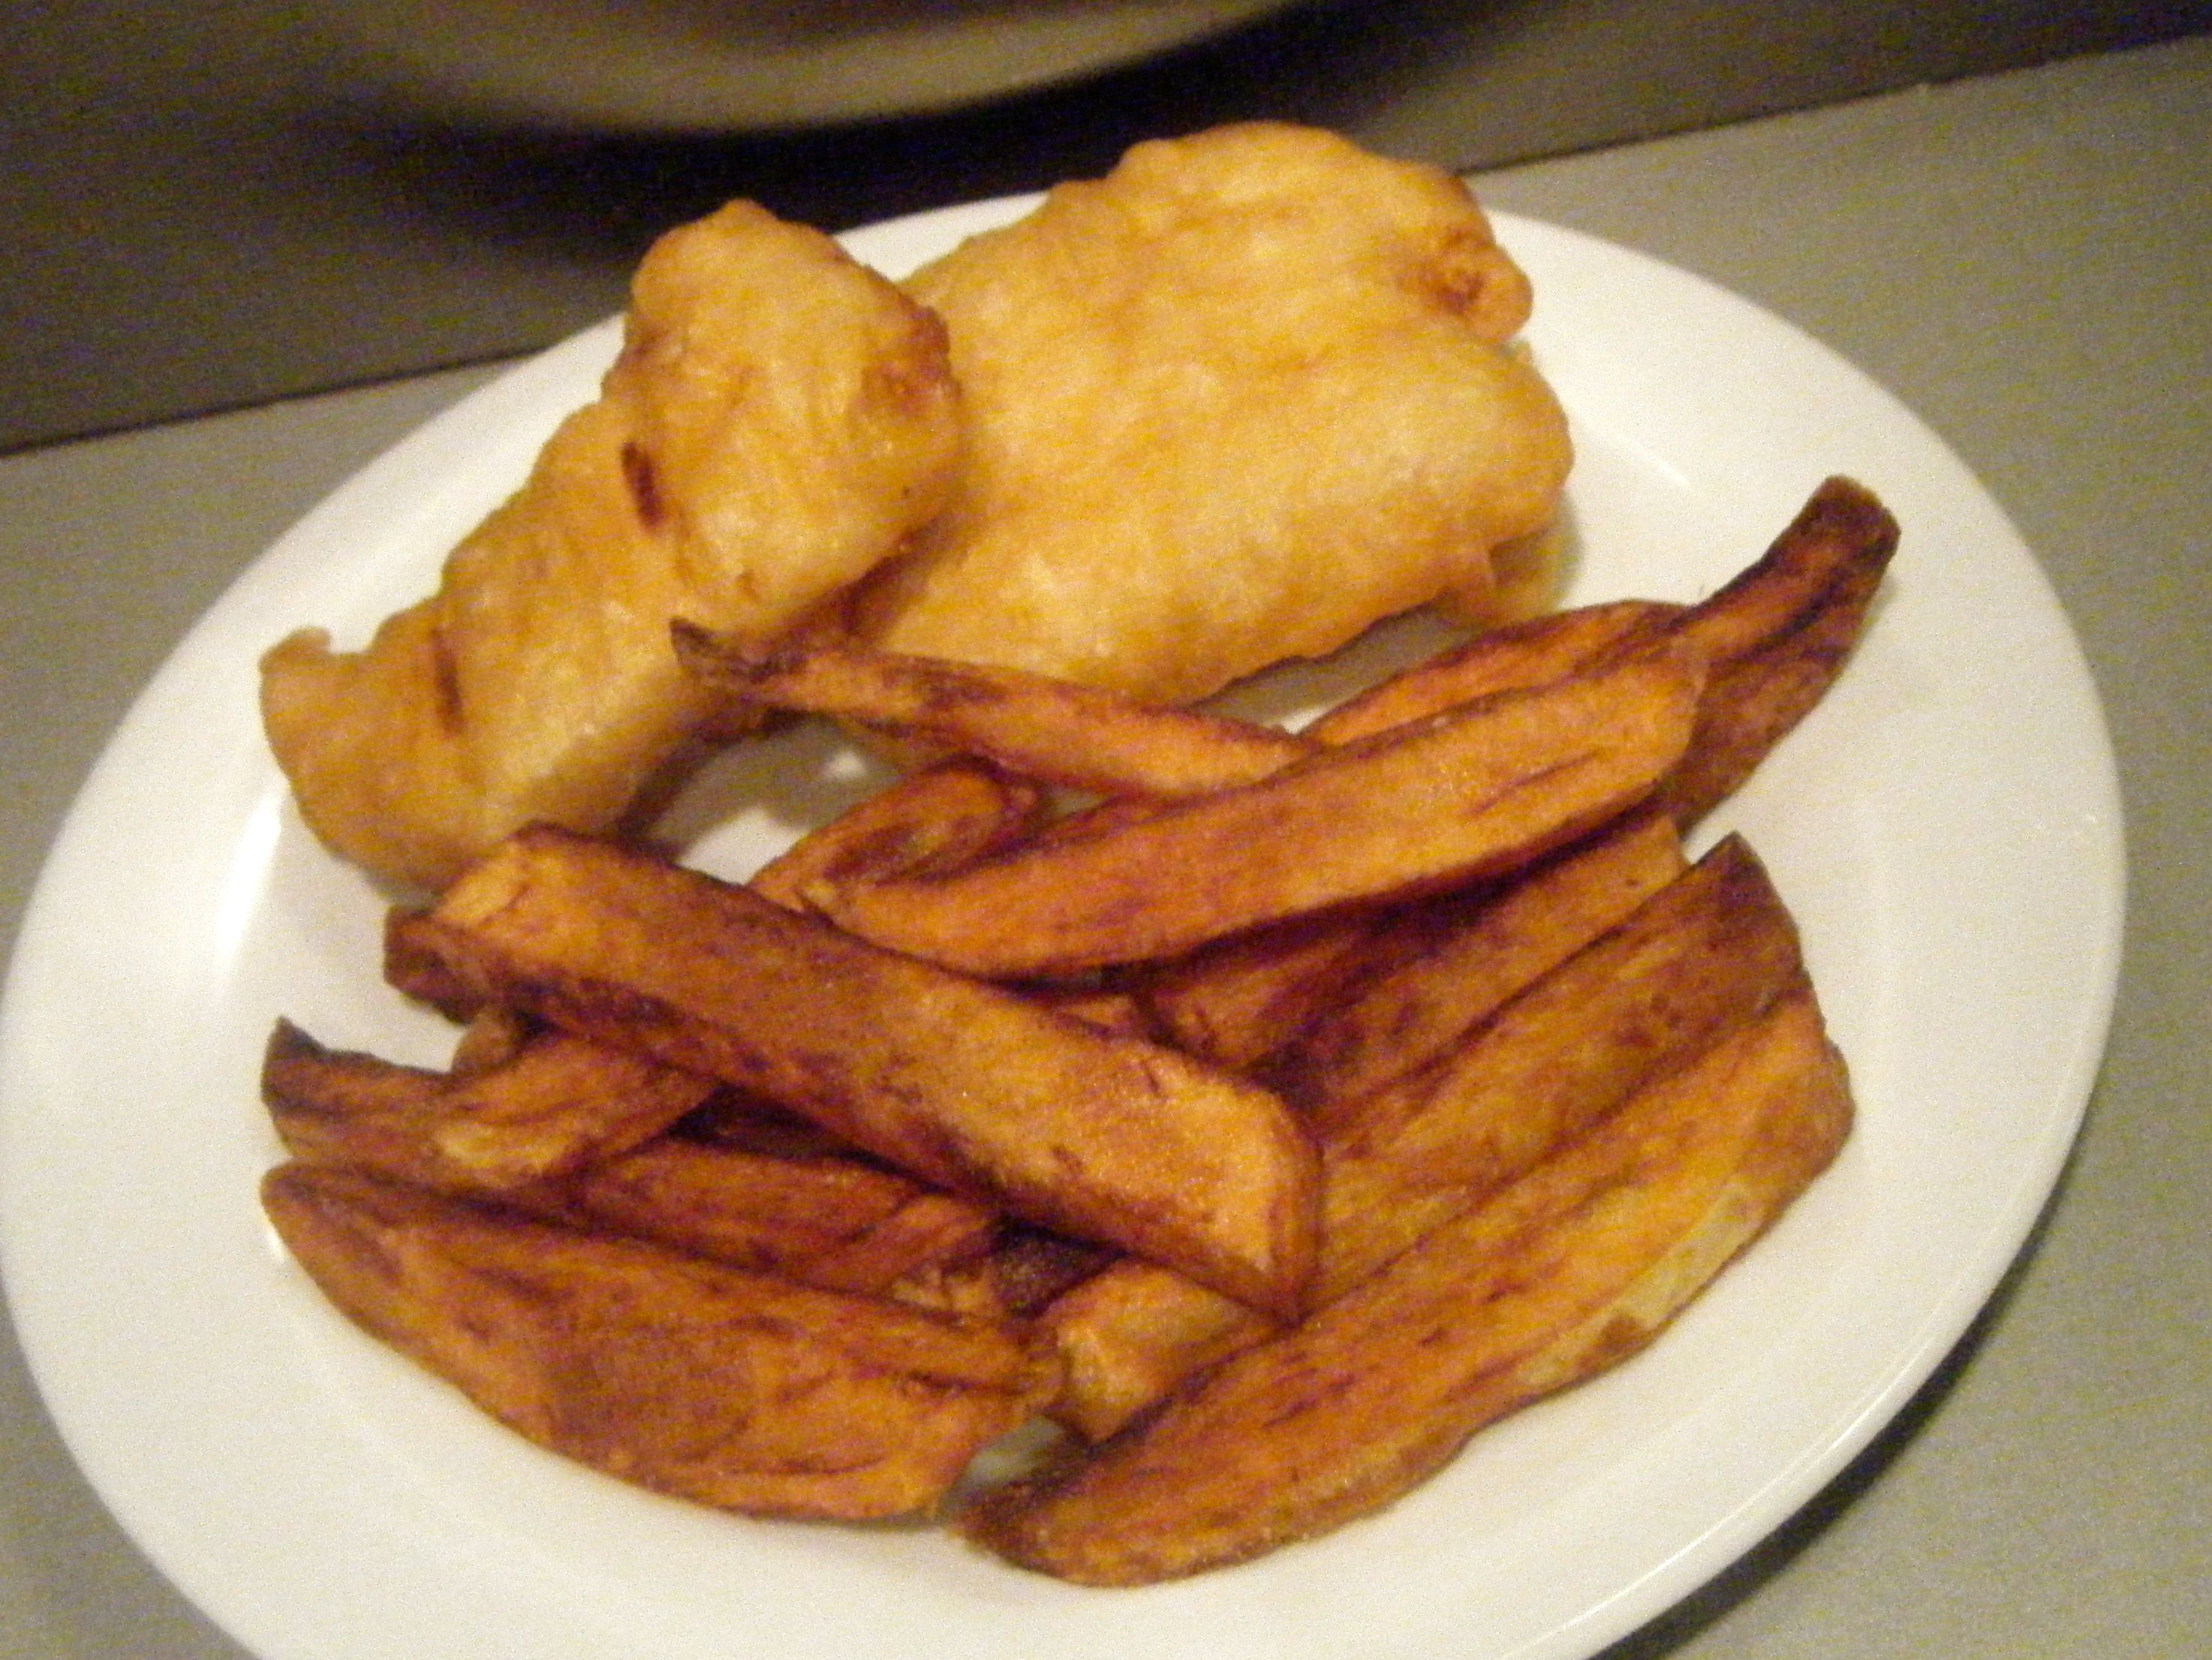
The final dish was yummy, chips, fish and all.  The batter was nice a crispy and the fish was perfectly cooked. The chips were one of the best I’ve done so far, still not quite how I like them but definitely getting there. 

Overall, our fish and chips were lovely and I’m sure Dave will soon be pestering me to make it again.

Coming up next week, Challenge No. 13 – candy floss cupcakes.

Challenge No. 11 – Chocolate Ganache & Cherry Tart

This dish was suggested by an old family friend, Rachel, who has as big a love for food as me.  Rachel asked me to make dark chocolate ganache tart with black cherries.  I made this challenge with morello cherries – I’m not sure whether they are technically “black cherries” but the overall product is close enough to Rachel’s request.  I was quite happy that someone suggested something like this.  I’ve not spent much time making pastry but I did buy a tart tin last year which, thus far, has only been used to make the sponge base for a giant Jaffa cake.  Finally, I had a good excuse to have a go with pastry and to use my tin, which by the way my boyfriend thought was a wasted purchase! The tin has now been used twice in about 10 months so it is definitely a worthwhile purchase…right? 😉

Anyway, on with the recipe.  I spent quite a lot of time searching for a recipe for this challenge and still didn’t manage to find one which ticked all the boxes.  So I kind of improvised and use this recipe for the main tart but was a little creative with the cherry part.

To main recipe requires the following ingredients:-

  • For the pastry
    • 250g/9oz plain flour, plus extra for dusting
    • pinch salt
    • 125g/4½oz cold butter
    • 3 free-range egg yolks
    • 125g/4½oz caster sugar
  • For the filling
    • 400ml/14fl oz double cream
    • few drops vanilla extract
    • 100g/3½oz caster sugar
    • 400g/14oz dark chocolate, approx 70 per cent cocoa solids
    • 50g/2oz butter
  • For the sauce
    • 250ml/9fl oz single cream
    • 1 vanilla pod, split lengthways
    • 100g/3½oz white chocolate, chopped
    • raspberries and fresh mint sprigs, to serve

And then you’ll also need the following:-

  • 350g frozen cherries
  • 3tbsp sugar
  • 1.5 tbsp cherry juice

Edited - ingredients

I started by preparing my cherries because I wanted these to have plenty of time to cool down.  I took out 12 of the best looking cherries and put these to one side.  I popped the rest of the cherries, the sugar and juice into my saucepan and bought it to the boil.  I let it simmer away for about 10 minutes and then removed it from the heat.  I left the cherry mix in the saucepan to cool completely.

I then got started on the pastry case.  I put the flour, salt and the chilled butter into my food processor and pulsed it until I had a breadcrumb looking result.  If you don’t have a food processor you can rub the butter and flour together by hand.

Practical tip: if doing this first stage by hand, make sure your hands are cold.  Warm hands will begin to melt the butter and the mix will become too wet.  If, like me, your hands are prone to being warm, run them under a cold tap for a while and dry them thoroughly before you get started.  Repeat this cooling process periodically to make sure your hands don’t warm up too much.

Edited - Breadcrumb

With my breadcrumb mix ready, I added the caster sugar and egg yolks to my processor.  I then tried to pulse this until a dough formed but there was too much mix for my processor.  I decided to tip it out into a bowl and bought it together by hand, being careful not to overwork the dough.  I covered it with cling film and popped it in the fridge for 30 minutes.

Edited - dough ready for the fridge

When the pastry dough was nearly ready, I prepared my tart tin. The recipe doesn’t tell you what you need to do here and I wasn’t too certain if I actually needed to do anything.  A quick google confirmed I should grease the tin.  I just used a bit of butter and my fingers to make sure the base and sides were greased properly.

Once the 30 minutes were up, I floured my worktop ready to roll out the pastry.  I used quite a lot of flour because the last time I made pastry, it got stuck! I also floured my rolling pin and got started.

Practical tip: when rolling out pastry (or fondant, or pretty much anything you want to roll), always roll from the middle up and middle down.  If you roll from top to bottom you’ll end up with a really fat bottom, whereas rolling from the middle helps to keep an even thickness all the way through.

Once my pastry was the right size, I rolled one side onto my rolling pin, picked up the pastry and laid it into my greased tin.  Turns out, I was a bit overzealous about how big I needed to roll out and I had quite a lot of offcuts! Something to practice for next time 🙂  Anyway, I trimmed away the excess, put the baking paper and rice in place and popped it into the oven for 15 minutes.

Edited - lined tin Edited - bp and rice

When the timer went off, I removed the rice and baking paper and returned it to the oven for 5 minutes.  My edges had browned more than the middle and I think this is because I cut the baking paper too small.  By the time I had added the chocolate filling this didn’t matter but next time, I will try avoid this by leaving the baking paper a bit bigger so the edges aren’t as exposed.

After the final bit of cooking time was over, I took the pastry out of the oven and left it in the tin for 5 minutes to cool.  I removed the pastry from the tin and put it onto a rack to cool completely.

Edited - cooked base

I then got started on the chocolate mix.  I added the double cream, sugar and vanilla extract to a pan and bought this to the boil.  Whilst it was heating, I put the dark chocolate and butter into a large bowl.  When the cream was nice and hot (be carefully not to burn it!), I poured it over the chocolate and butter.  It only took a few seconds to start melting and after a little use of my hand-held whisk I had a lovely smooth rich looking ganache.

Edited - butter and chocEdited - Chocolate genache

At this point, we come back to the improvisation and the, by now, forgotten cherries.  I drained the cherries from the liquid and placed them into the base of my tart. I then poured my chocolate ganache over the top and levelled it off with a spatula.  I also did a little fancy pattern work with a fork, just because I could 🙂 Finally, I placed my 12 reserved cherries around the outside (this is a neat little way to control portion sizes, 1 cherry per slice).

Edited - cherry lined base Edited - top

I let the ganache cool for around 15 minutes and then put the tart into the fridge for 2 hours. 

With the chocolate set, I got started on the final element – the white chocolate cream sauce.  I put half the single cream into a pan with the vanilla pod to warm through.  Once warm (but not hot) I removed it from the heat, took out the vanilla pod and added the white chocolate.  When the chocolate had melted completed, I added the remaining cream.

I drizzled a bit of the white chocolate cream over my tart and served up.

Edited - sliced Edited - slice

Two words to describe this dish – chocolatey goodness!!  It was very rich which meant you didn’t need a big portion but it was oh so good (meaning I wanted a big portion!). 

Personally I thought the white chocolate cream, whilst yummy, was a little unnecessary.  Perhaps this is because I wasn’t serving the tart as a dessert but more of a sweet snack.  It also ended up running into the chocolate and not looking as pretty I had hoped.  Next time, I think I will just melt some white chocolate to drizzle over the top and, if served as a dessert, I’ll have it with some normal cream.    

Just one final thought on this challenge.  More cherries!  I love cherries and I think this could have done with a few more so when I make it again, I’ll probably double the amount.

Coming up next week, Challenge No. 12 – fish and chips. 

Challenge No. 10 – Currywurst

This recipe was suggested by my friend Jenni and is a fast food dish originating from Germany. I’ve never tried currywurst and was at first a little apprehensive.  I had flashbacks to a show and tell presentation whilst at primary school where I took in another common German dish, sauerkraut.  I have absolutely no idea why I was presenting this, of all things, but I do remember I did not like it one bit!  And so, when Jenni suggested currywurst, I immediately googled it to make sure it wasn’t related in any way to sauerkraut.  Thank goodness it wasn’t.  It is basically a german sausage smothered in a curried tomato sauce and it is often served with chips and/or a crunchy bread roll.

I set of in search of a suitable recipe and decided to use this one.  The recipe calls for the following ingredients:-

  • 2 Tbsp canola oil
  • 1 large onion, chopped
  • 2 Tbsp curry powder
  • 1 Tbsp paprika powder
  • 15 oz can tomato sauce
  • ½ cup (100g) sugar
  • ¼ cup (60ml) red wine vinegar
  • salt to taste
  • 2 bratwurst sausages
  • dinner rolls for serving

Those of you who have been following my posts will know that I always include a photo of the ingredients.  I started this recipe in the same way as all the others, by setting out my ingredients ready for their photo.  However, in doing this, I realised I had made a mistake with my prep!

Before I went shopping for the ingredients, I read through and mentally crossed off anything I already had in the cupboard, which included the curry powder.  However, when I went to get out my curry powder, I realised I had got it wrong! In my head I had thought of the chilli powder sat in the cupboard and mistakenly checked of one of the most vital ingredient! Face-palm moment – who thinks they can made currywurst without the curry?!  Anyway, after a quick emergency trip to the supermarket at 8.30 on a Saturday night, I was all ready to go.

Edited - ingredients

I started by chopping the onions and popping them in the saucepan to soften. 

Practical tip: don’t worry about chopping the onions too small – they get taken out of the sauce before you serve up and are merely there to add flavour.

Edited - onions in pan

Once the onions were soft, I added the curry powder and paprika.  I let this cook for around a minute and then added the remaining ingredients.  Personally, I didn’t add any salt as I didn’t think it needed it but obviously this comes down to personal preference.

Edited - onion and powders Edited - bubbling sauce

I then let the sauce simmer away for around 20 minutes and got started on the bratwurst.  I opted to cook 3 bratwursts for 2 of us and this worked out to be the perfect serving size.  I heated a little oil in my frying pan and put the sausages in.

I turned the sausages regularly trying to brown all sides.

 Edited - sausage panEdited - cooked sausage

With everything nearly done, I pushed the sauce through my sieve to remove all the lumpy bits of onions and was left with a lovely silky smooth sauce.  I popped this back in the pan and on the heat until ready to serve.

I cut up the sausages and spooned the sauce over the top.  I was a bit reserved with the sauce at first and ended up going back for more because it was just so delicious.  I served up with some slices of crunchy baguette and some yummy curly fries. 

Edited - served up

The verdict – currywurst is absolutely delicious! Whilst we were eating it my boyfriend revealed he was really not looking forward to having this but was surprised at how nice it was.  We did however both agree it was a little sweet and if we have it again (which we will do!), I will put a little less sugar in and probably a little more curry powder. 

One of the best things about this dish was it’s simplicity.  Whilst I cooked it on a Saturday night, it would be a really good mid-week treat and is definitely one I will be doing again!

Coming up next week, Challenge No. 11 – chocolate ganache & cherry tart. 🙂 Hope to see you then.