Challenge No. 14 – Moussaka

This recipe was suggested by my friend Kate.  I’ve never made moussaka before and I’ve only eaten it a handful of times, without really knowing what was in it.  When Kate suggested this recipe, she delighted in telling me that her dad makes the BEST moussaka. So I knew I had a challenge ahead and a tall order to live up to.

Before we get started, My Gastro Adventure has hit a little milestone this week and the website has now had over 1,000 views and reached a total of 31 subscribed follows!! I therefore wanted to say a massive thank you to everyone who has viewed the site, liked the posts and opted to follow the blog 🙂

Also, for those of you who are following the blog by e-mail, you may have received a strange “Test” post update earlier this week – this was my attempt to set up My Gastro Adventure on bloglovin, which I finally successfully managed to do.  Sorry if it caused you any confusion and thank you again for choosing to follow me on my adventures!

Anyway, on with the moussaka. I did some searching and found this recipe by Antony Worrall Thompson.

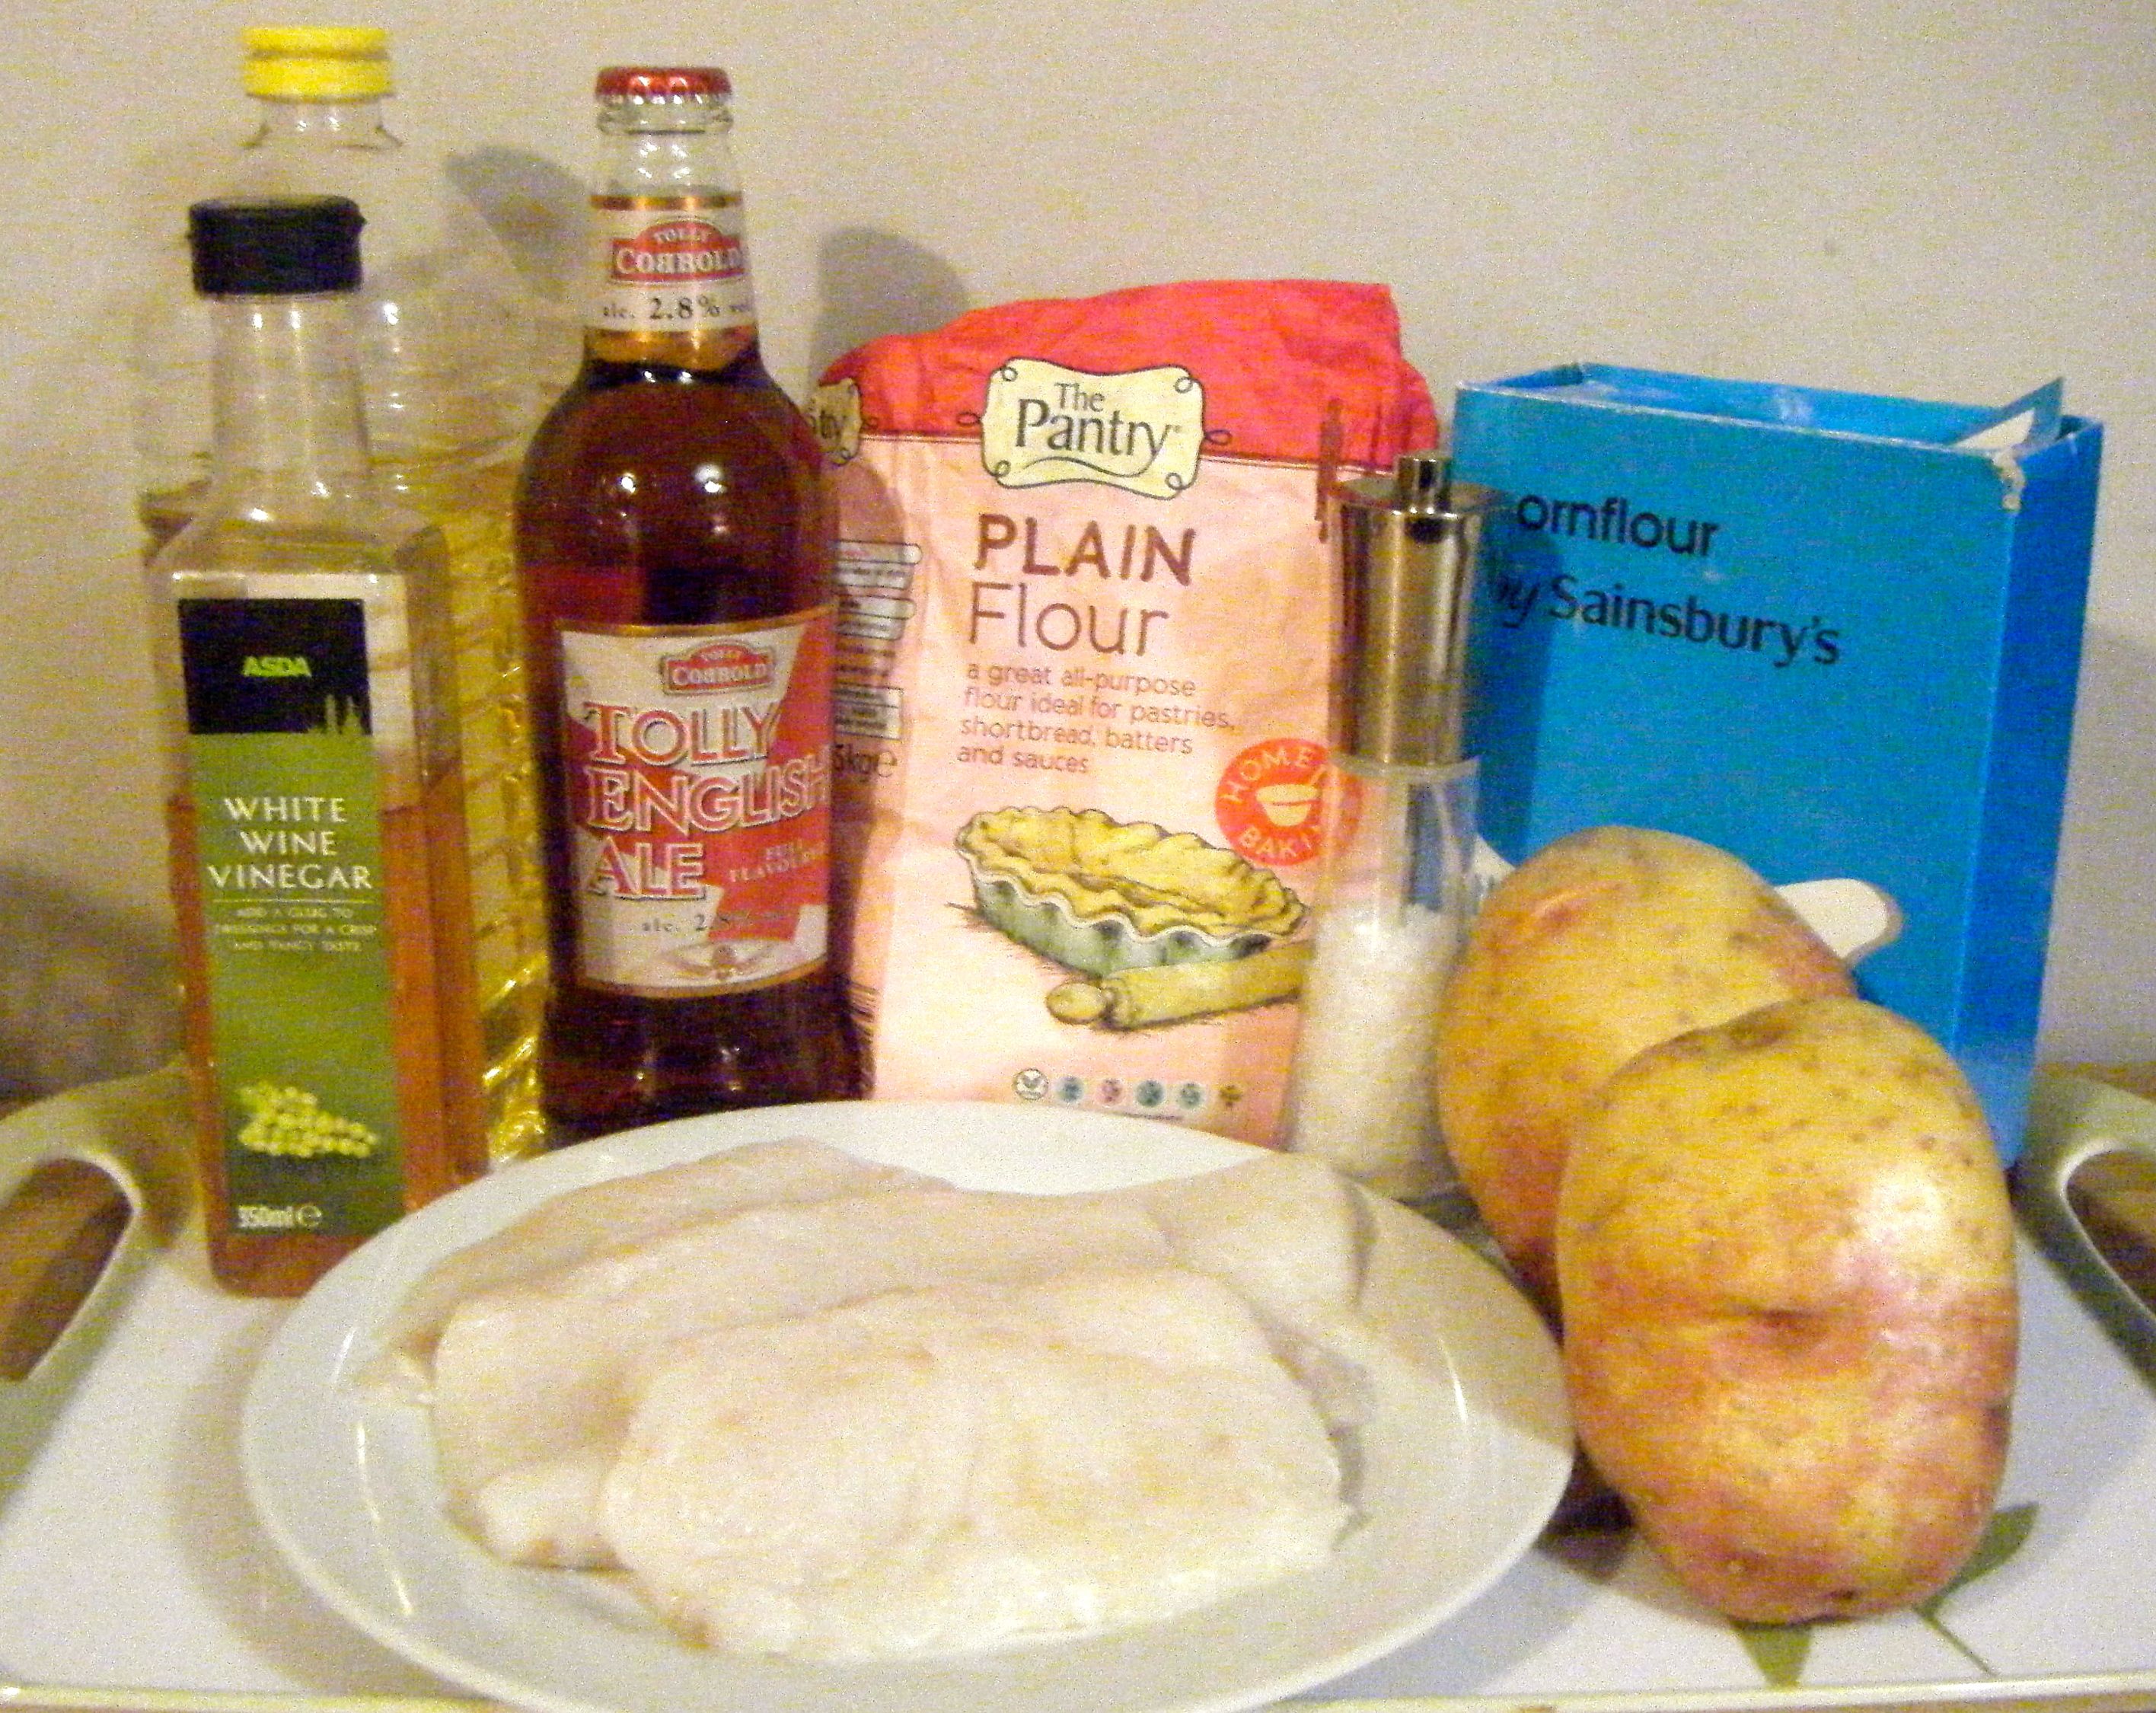
The recipe calls for the following ingredients:-

  • For the filling
    • 75ml/6fl oz olive oil
    • 1 large onion, finely chopped
    • 675g/1½lb lamb mince
    • 3 cloves garlic, chopped
    • 1.25ml/¼tsp cinnamon
    • 1.25ml/¼tsp allspice
    • 2 x 400g/14oz tin of chopped tomatoes
    • 1 tbsp fresh oregano, chopped*
    • 2 bay leaves
    • 1 tsp fresh, soft thyme leaves
    • 175ml/6fl oz white wine
    • 4 medium aubergines, cut into 1cm/½in slices
    • Salt and freshly ground black pepper
    • Plain flour, for dusting
  • For the topping
    • 85g/3oz unsalted butter
    • 85g/3oz plain flour
    • 900ml/1½pt milk
    • 85g/3oz parmesan, grated
    • 115g/4oz gruyère, grated
    • 2 free-range egg yolks
    • 1 free-range egg

Edited - ingredients

*I couldn’t get hold of fresh oregano so I just used dried oregano (1tsp dried is the equivalent of 1tbs fresh).

I started by chopping my onion finely and added it to my casserole dish with the heated oil. The recipe says to cook the onion for about 10 minutes until soft and then to brown the lamb in a separate frying pan.  I however didn’t wait for the onion to finish softening and popped about half of the lamb into my frying pan to get started whilst the onions cooked.

Edited - browed lamb

When the first half of the lamb was browned, I added it to the softened onions, along with the garlic. I used a wooden spoon to try and break the mince down as much as possible.  I then set about browning the second half of my lamb.

Now those eagled eyed amongst you may have noticed something strange about my ingredients picture above.  I didn’t notice it myself until I opened the second pack of lamb to brown and when I added it to my pan it looked a bit odd. I double checked the packaging…yep, it was beef! Whoops! I clearly should have checked the pack a bit more carefully in the supermarket. Anyway, I’d previously read you can make moussaka with lamb, beef or even a beef/pork mix so I just carried on with the lamb/beef combination 🙂

Next, I added the cinnamon, allspice, chopped tomatoes, oregano, bay leaves and thyme into the casserole dish.  I then added the remainder of the browned meat, deglazed the frying pan with the wine and added this to the casserole dish.  I reduced the heat and left it to simmer for 1 hour.

Edited - Casserole dish

Practical tip: don’t measure your spices out over the pot of onion/garlic/mince.  Perhaps an unnecessary tip but one I’m including out of an experience with this challenge. I tried to measure out the 1/4 tsp of cinnamon over the casserole dish, however, the cinnamon wasn’t coming out and then suddenly the powder shifted, filled the measuring spoon and (quite) a bit extra went straight into the pan.  Luckily, it wasn’t too much extra so as to affect the flavour but it was a close shave!  Lesson learned 🙂

I then set about slicing the aubergines.  I didn’t know whether I needed to peel the vegetable first – this may be a simple thing which most people would know but I’ve never cooked with aubergines before and so I wasn’t too sure.  I did a quick search and found another moussaka recipe which specifically stated to leave the skin on and so I decided to do this.

Edited - aubergine slices

I put the aubergines slices into a colander and sprinkled salt on them – I don’t actually have a colander and I just used the top parts of my steaming pans!  I gave the aubergines a good toss to make sure all slices had come into contact with the salt and then I popped the ‘colander’ on top of a plate, leaving them for 30 minutes.

Edited - salted slices

Practical tip: don’t skip the salting stage.  This is done to take away the bitterness of the aubergine.  The salt draws out some of the liquid from the sliced aubergine and when you lift the colander at the end there will be quite a lot of brown liquid on the plate.  This is an important step and should not be missed.

Now I was making this on Saturday afternoon with plenty of time before Kate and her boyfriend were due to arrive for dinner. One of the great things about the recipe is that it can be made ahead of time! This meant, I wasn’t too stretched for time and so instead of getting straight on with the béchamel sauce, I had a quick tidy up of the kitchen.

With a few of the pots washed and the sides cleared, I cracked on with the sauce.  I was a bit nervous about this bit.  I’ve tried to make béchamel sauce before and it just ended up tasting of flour. It was absolutely disgusting! This time round I was making it for guests and it is such a key part of the moussaka I was really hoping things would go to plan.

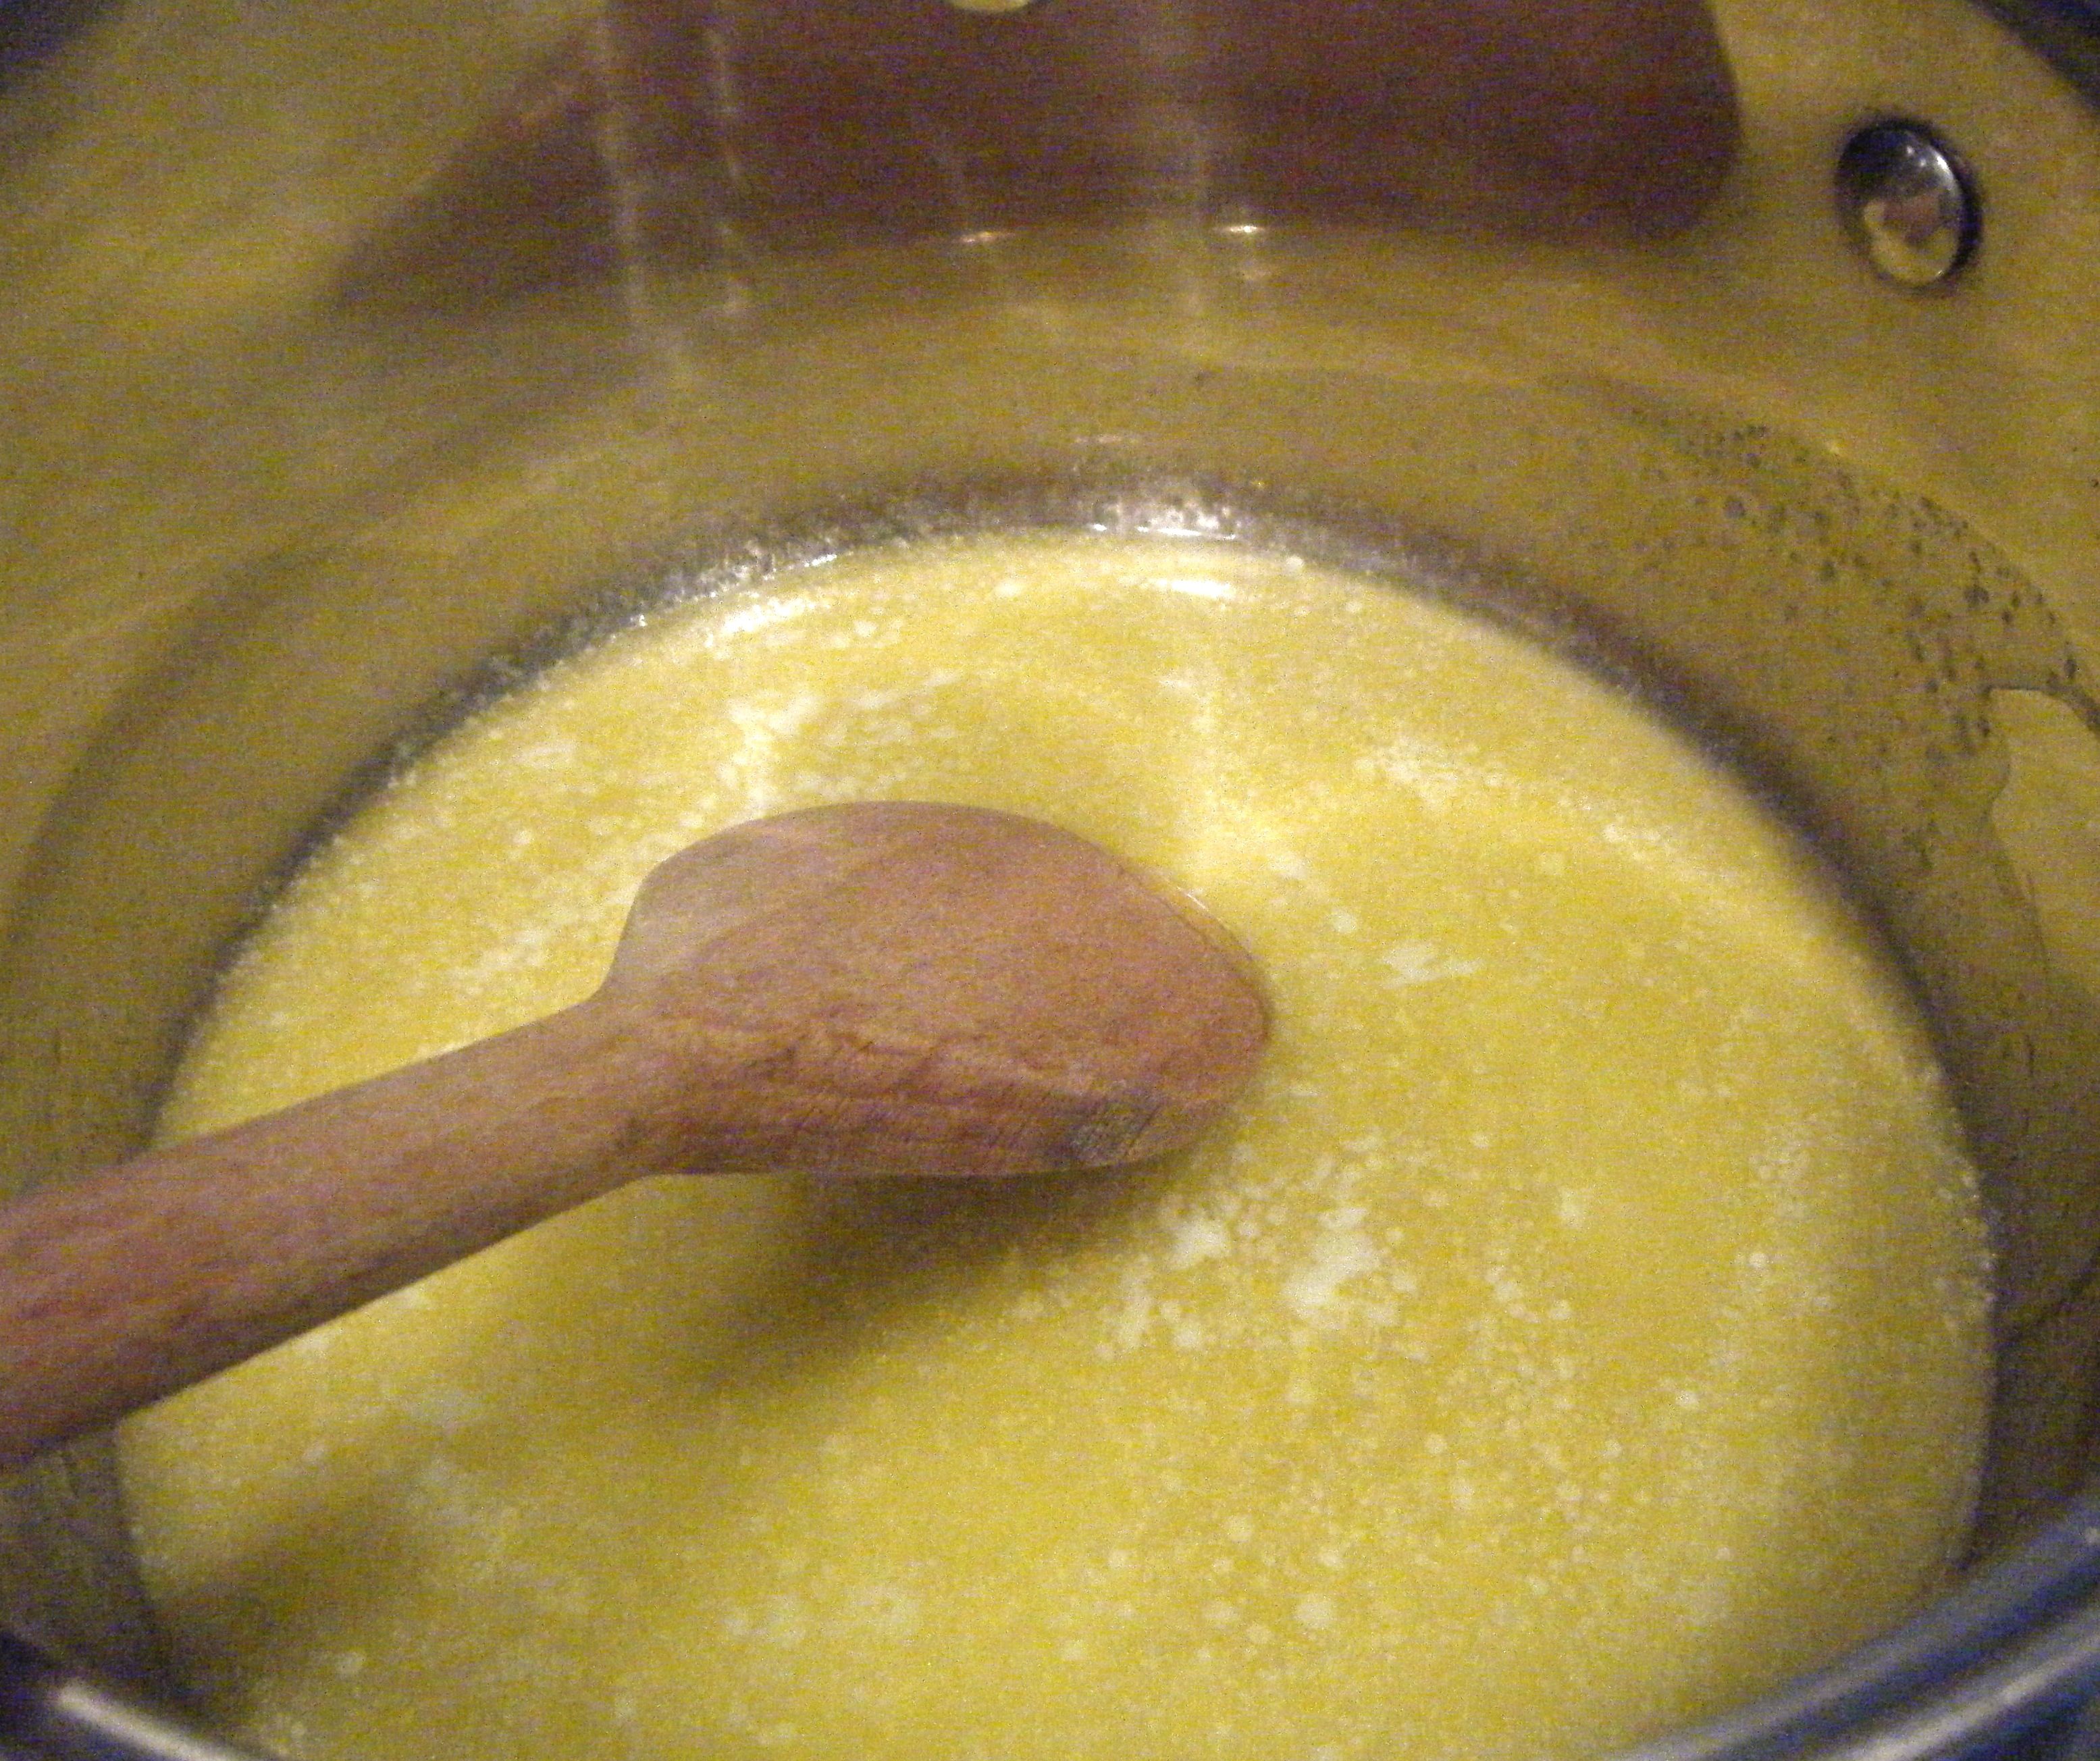
I melted the butter in my saucepan and then added the flour, giving it a good mix.  I left it on the heat for a minute.  I’ve read somewhere that you have to cook off the flour when making sauces and I think this may have been part of the problem last time.

Edited - butter in pan Edited - flour and butter mixed

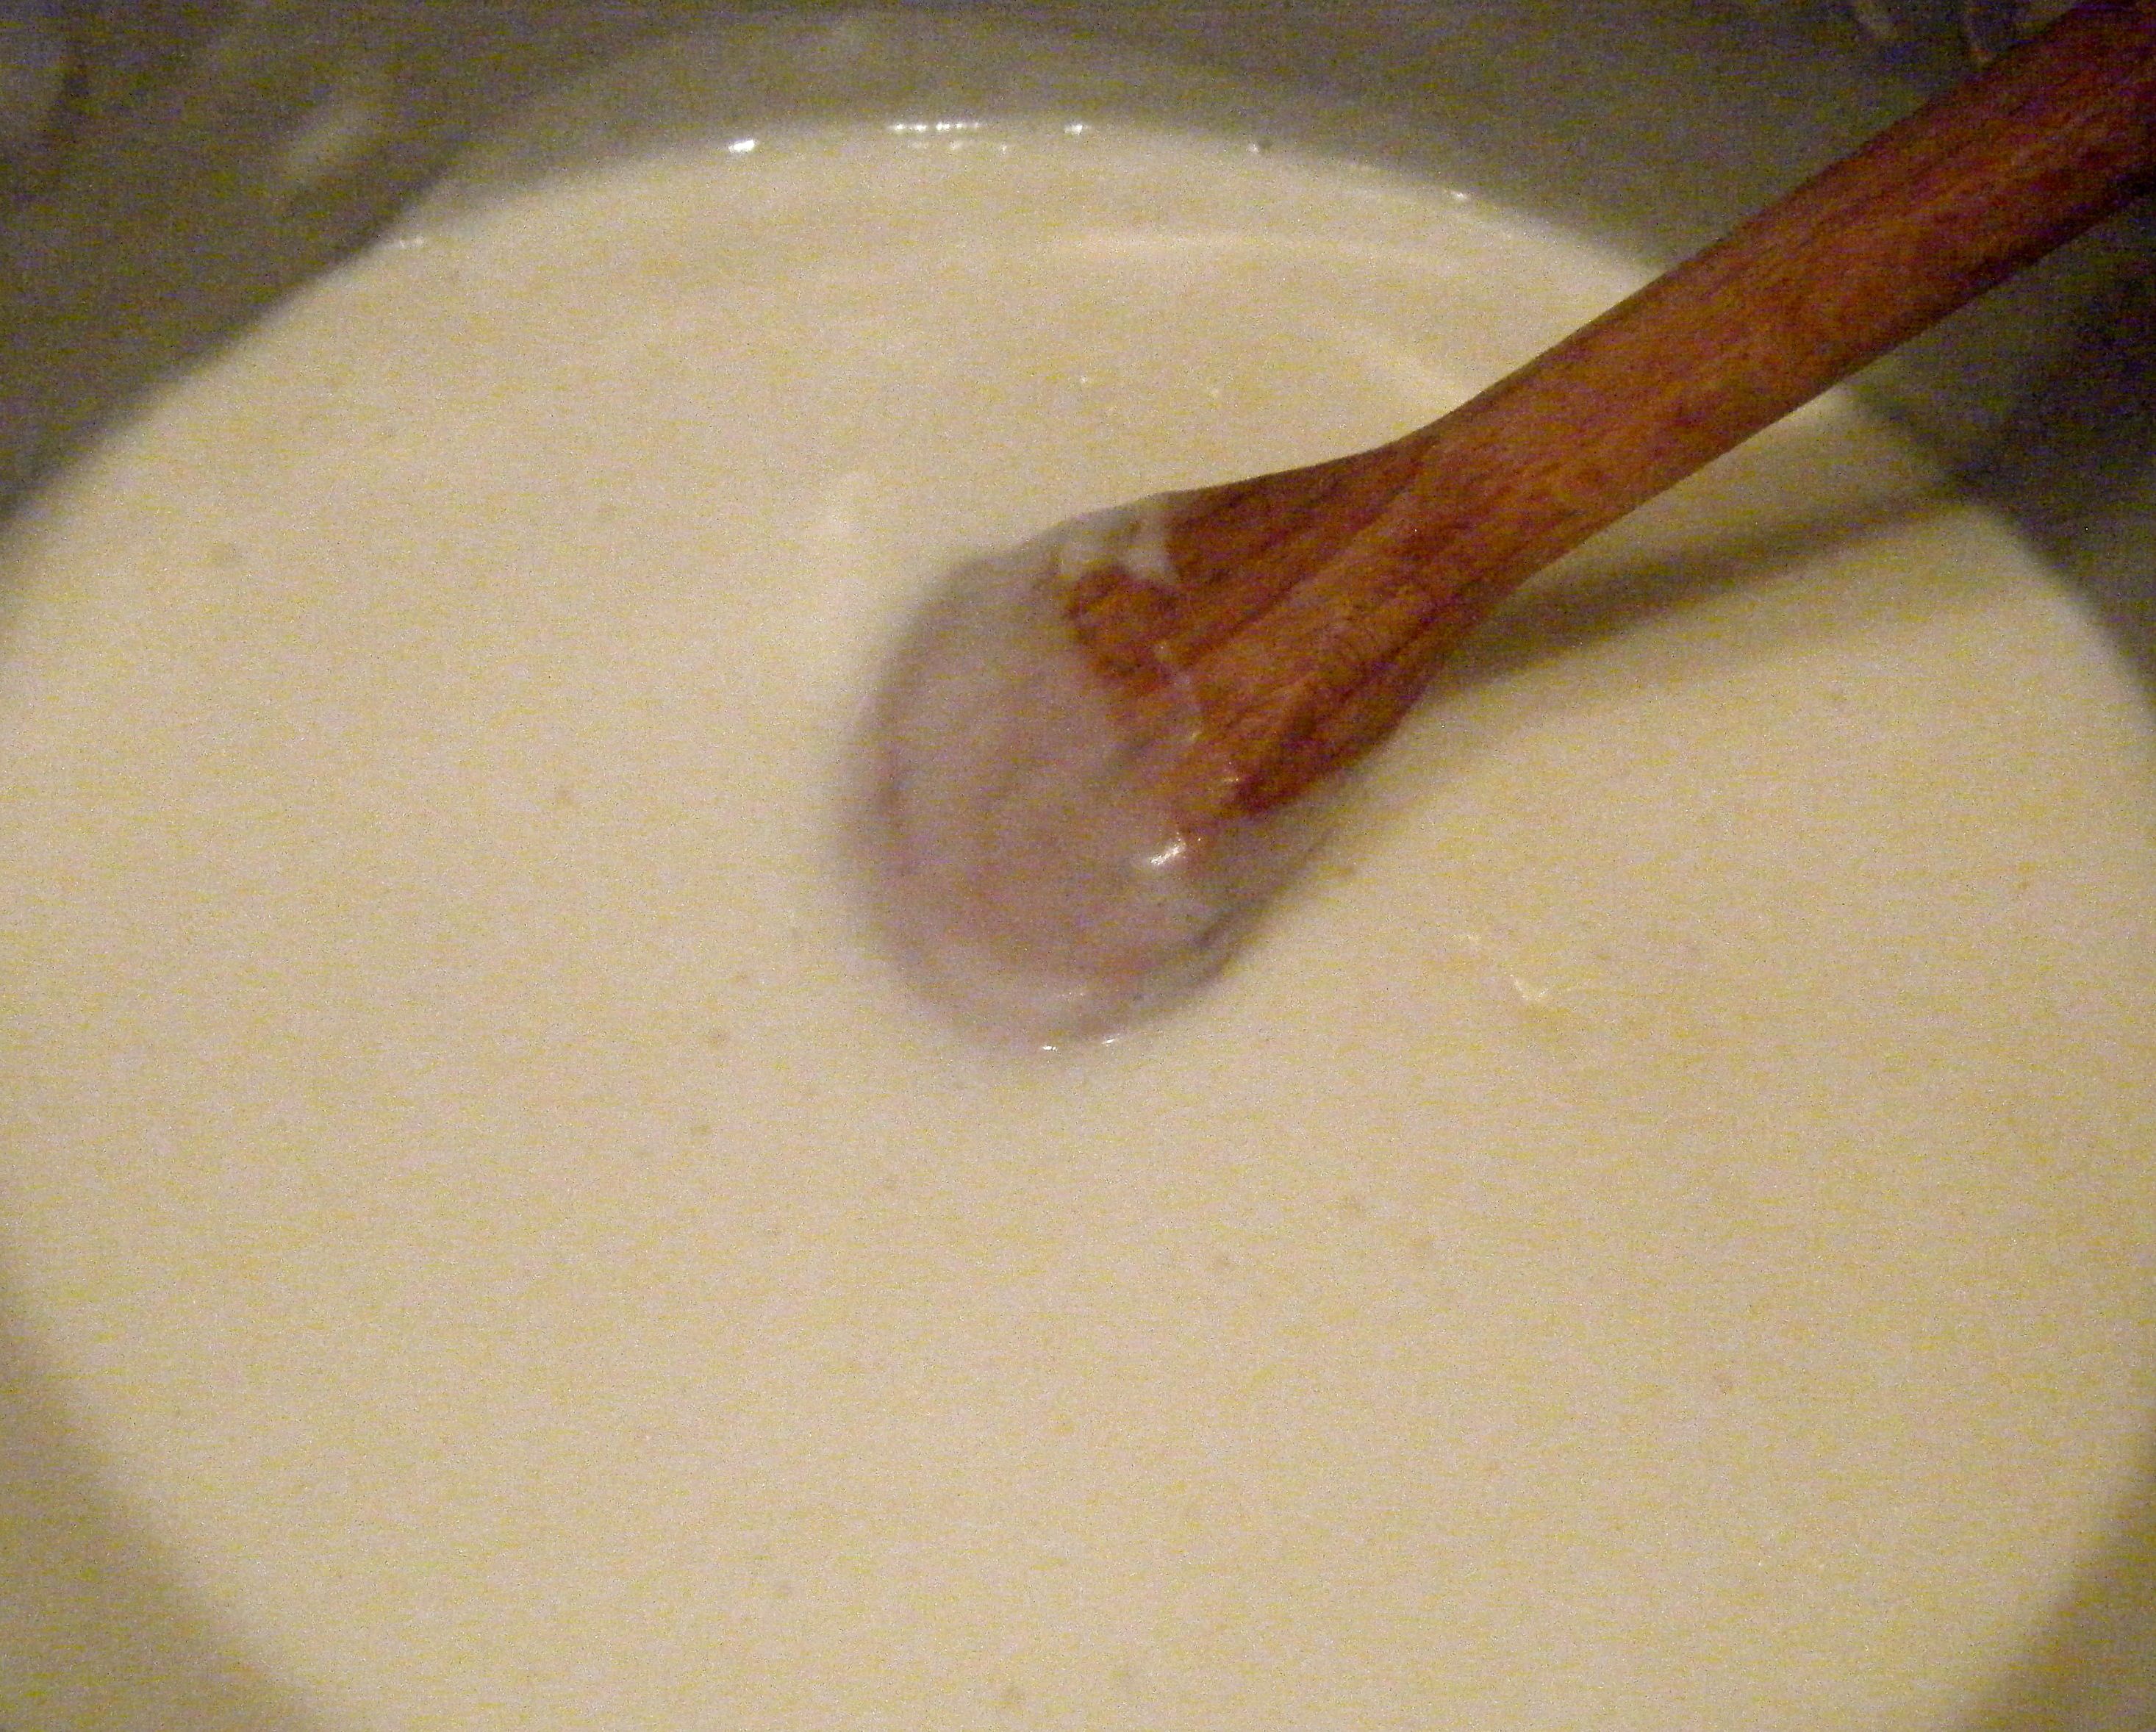
I then took the pan off the heat and started adding the milk a little at a time, giving it a good stir in between each addition.  Once all the milk was added, I put the pan back on the heat and kept stirring, waiting for the mixture to thicken.  This is when I realised I probably should have started the sauce a bit sooner! It took about 30 or 40 minutes before it had thickened properly.  Talk about an achy arm with all that stirring!

Edited - thickened sauce

In between all the stirring of the yet to thicken sauce, I removed the casserole dish from the heat and rinsed my aubergine slices.  I put them on some kitchen roll to dry and carried on stirring the béchamel sauce.

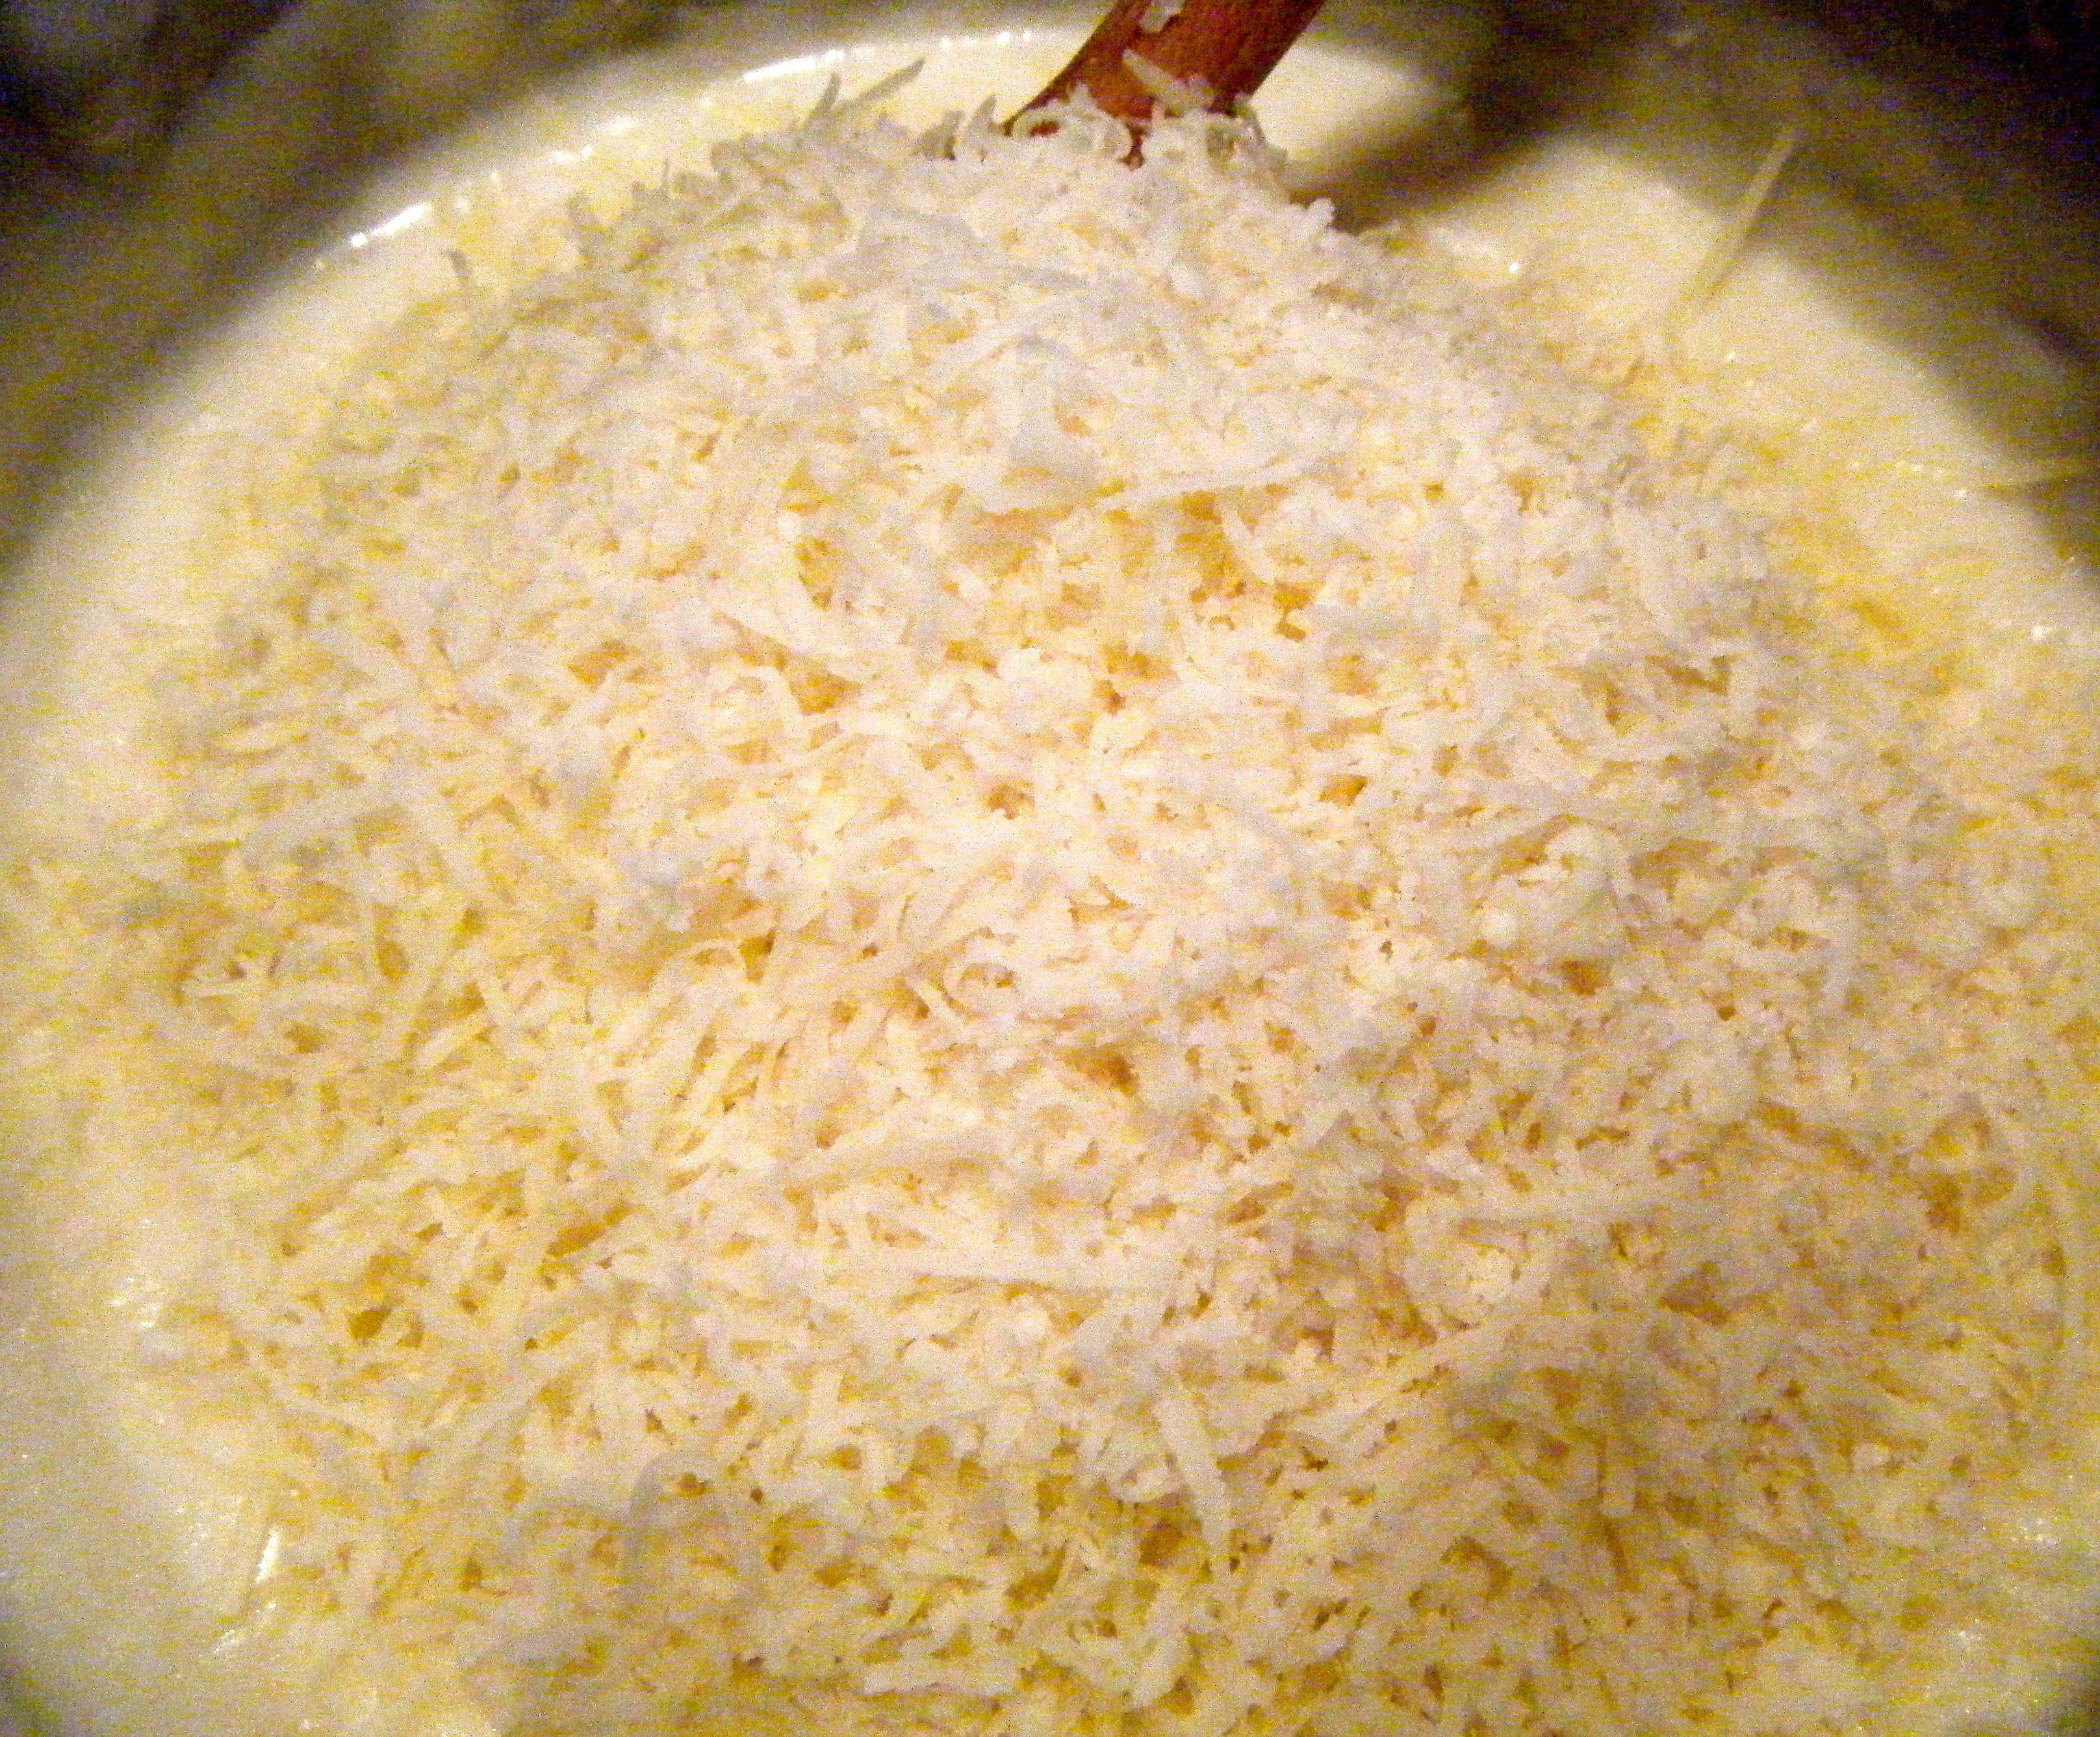
Once it was finally thickened, I let the sauce simmer for 7 minutes and then removed it from the heat.  I added 55g each of the gruyere and parmesan cheese and seasoned the sauce with a bit of salt and pepper.

Edited - cheese to sauce

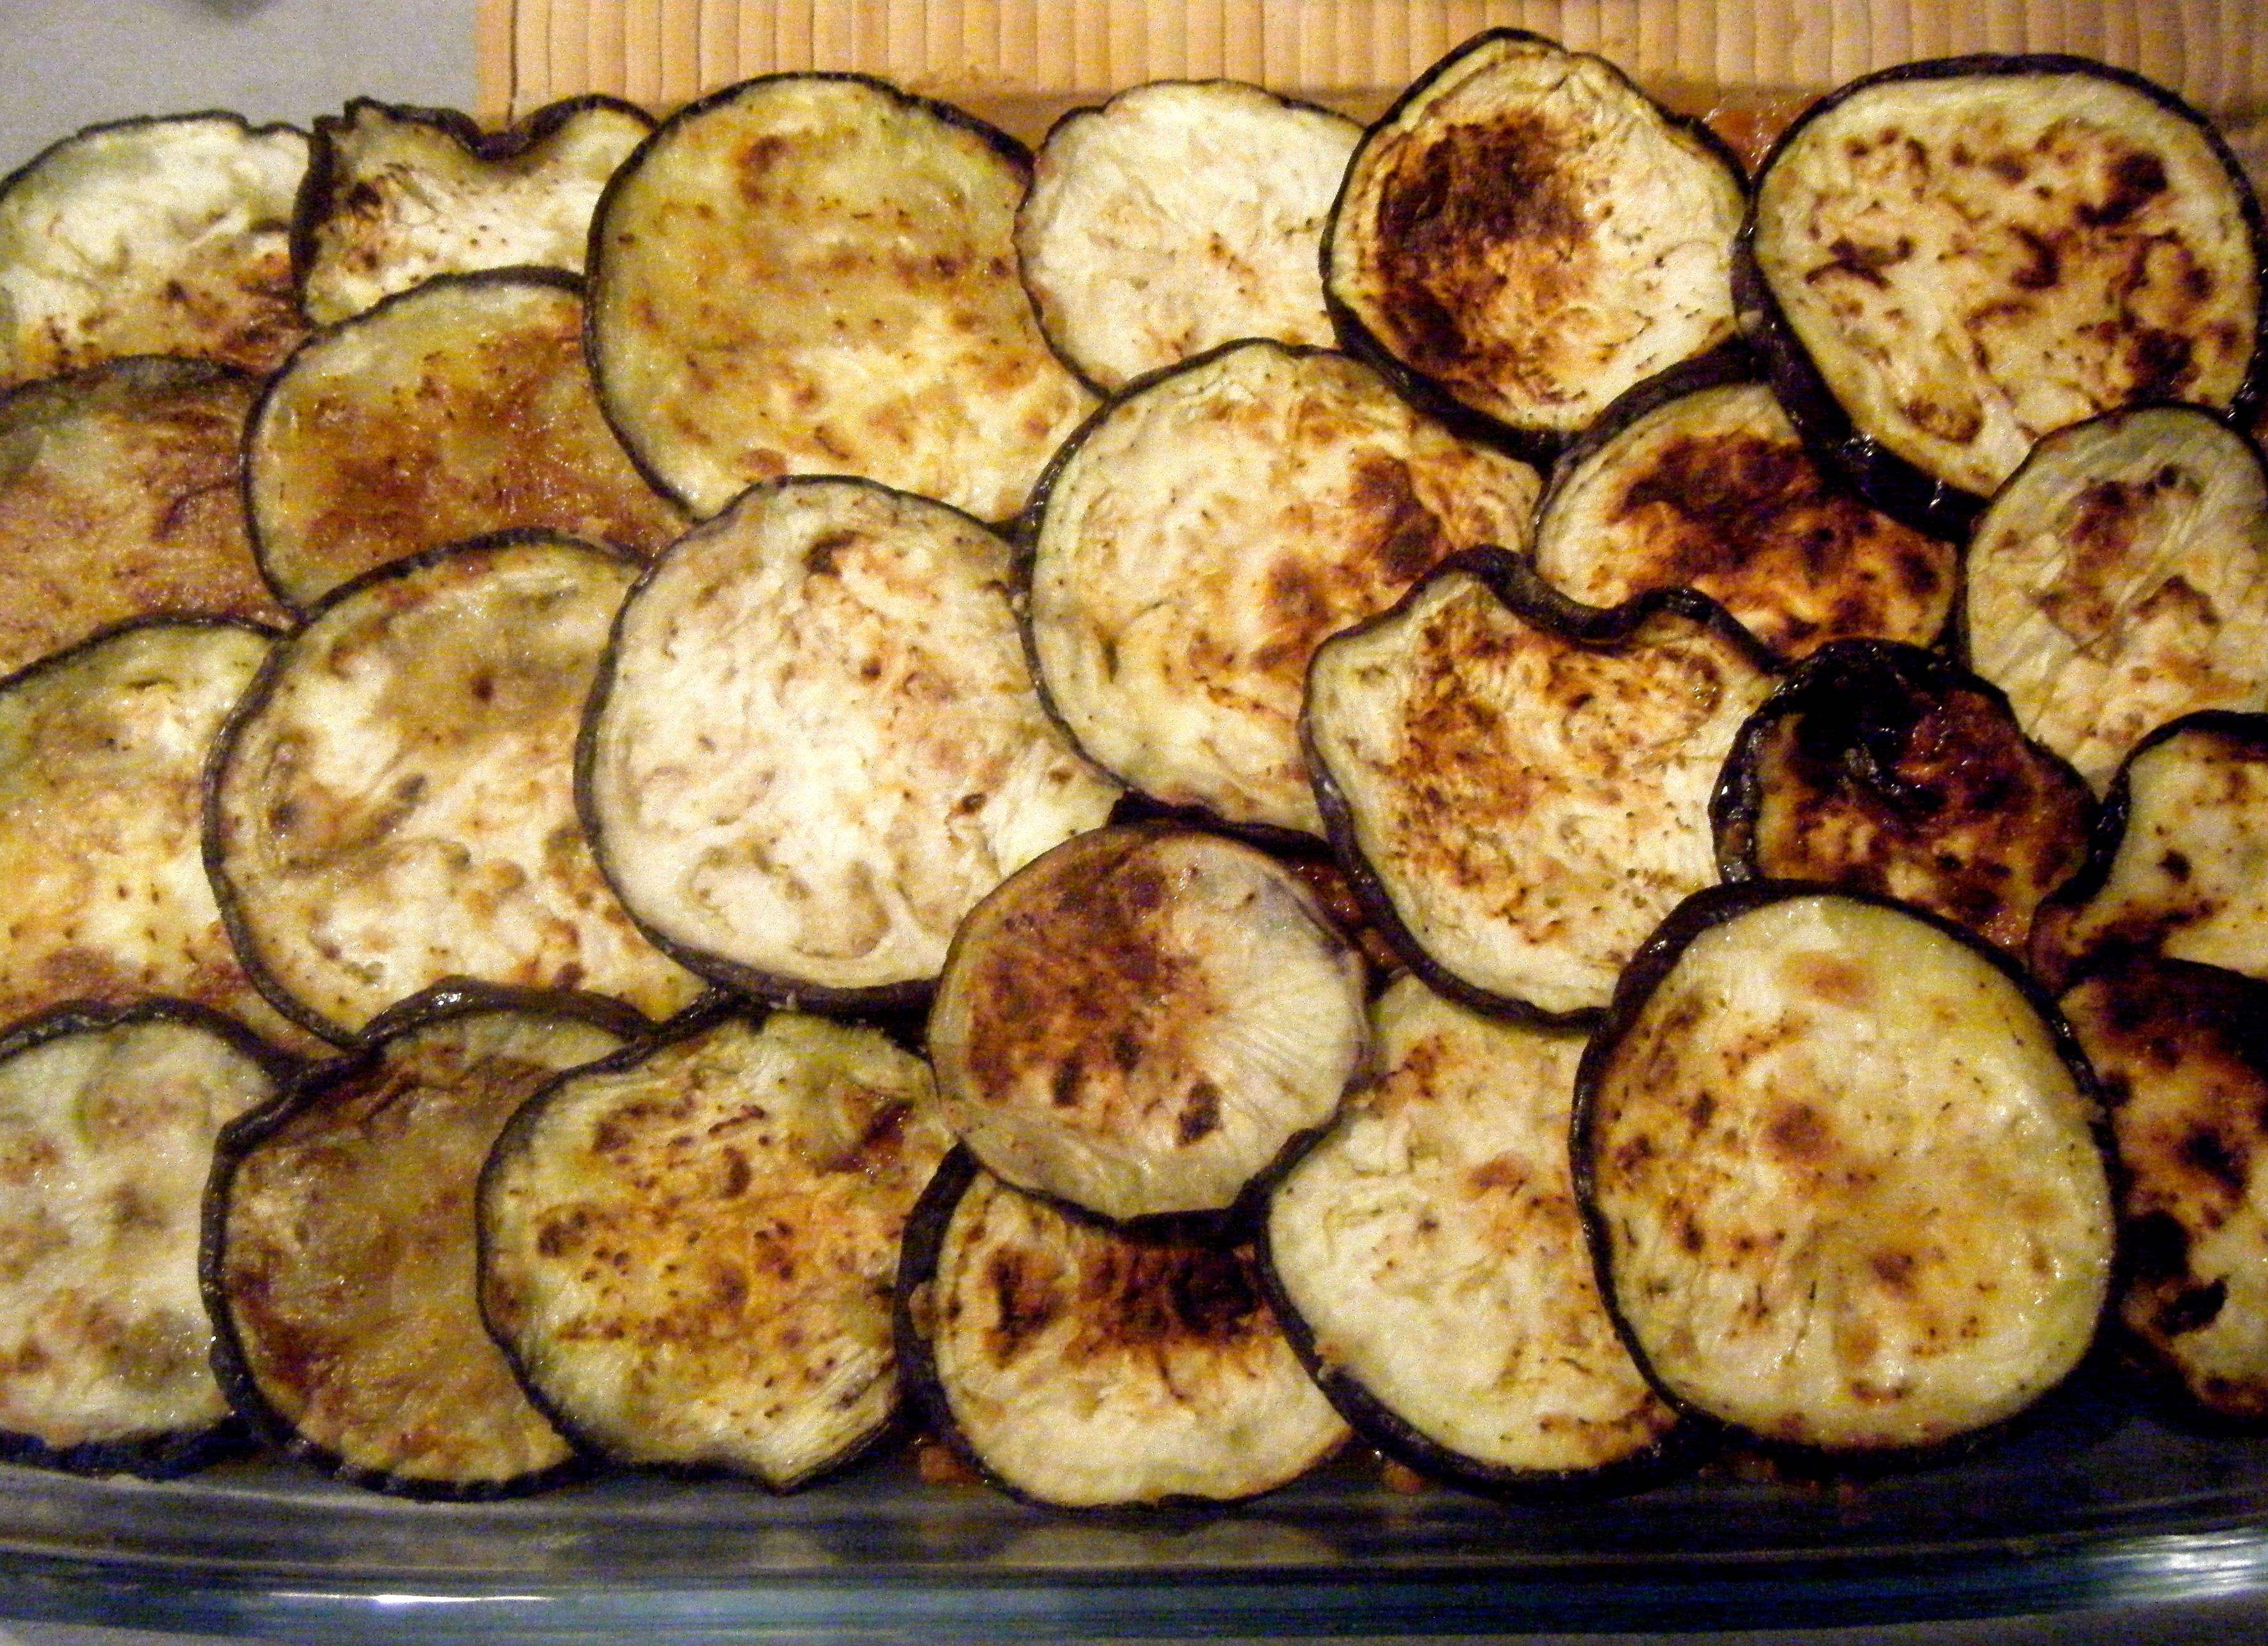
The next step was to brown the aubergines.  I patted the slices dry, coated them in flour (by shaking them in a sandwich bag) and then fried them in batches.  This seemed to take forever to do.  It was only about 8 minutes per batch but because there were so many slices, it took ages.

Edited - browned aubergines

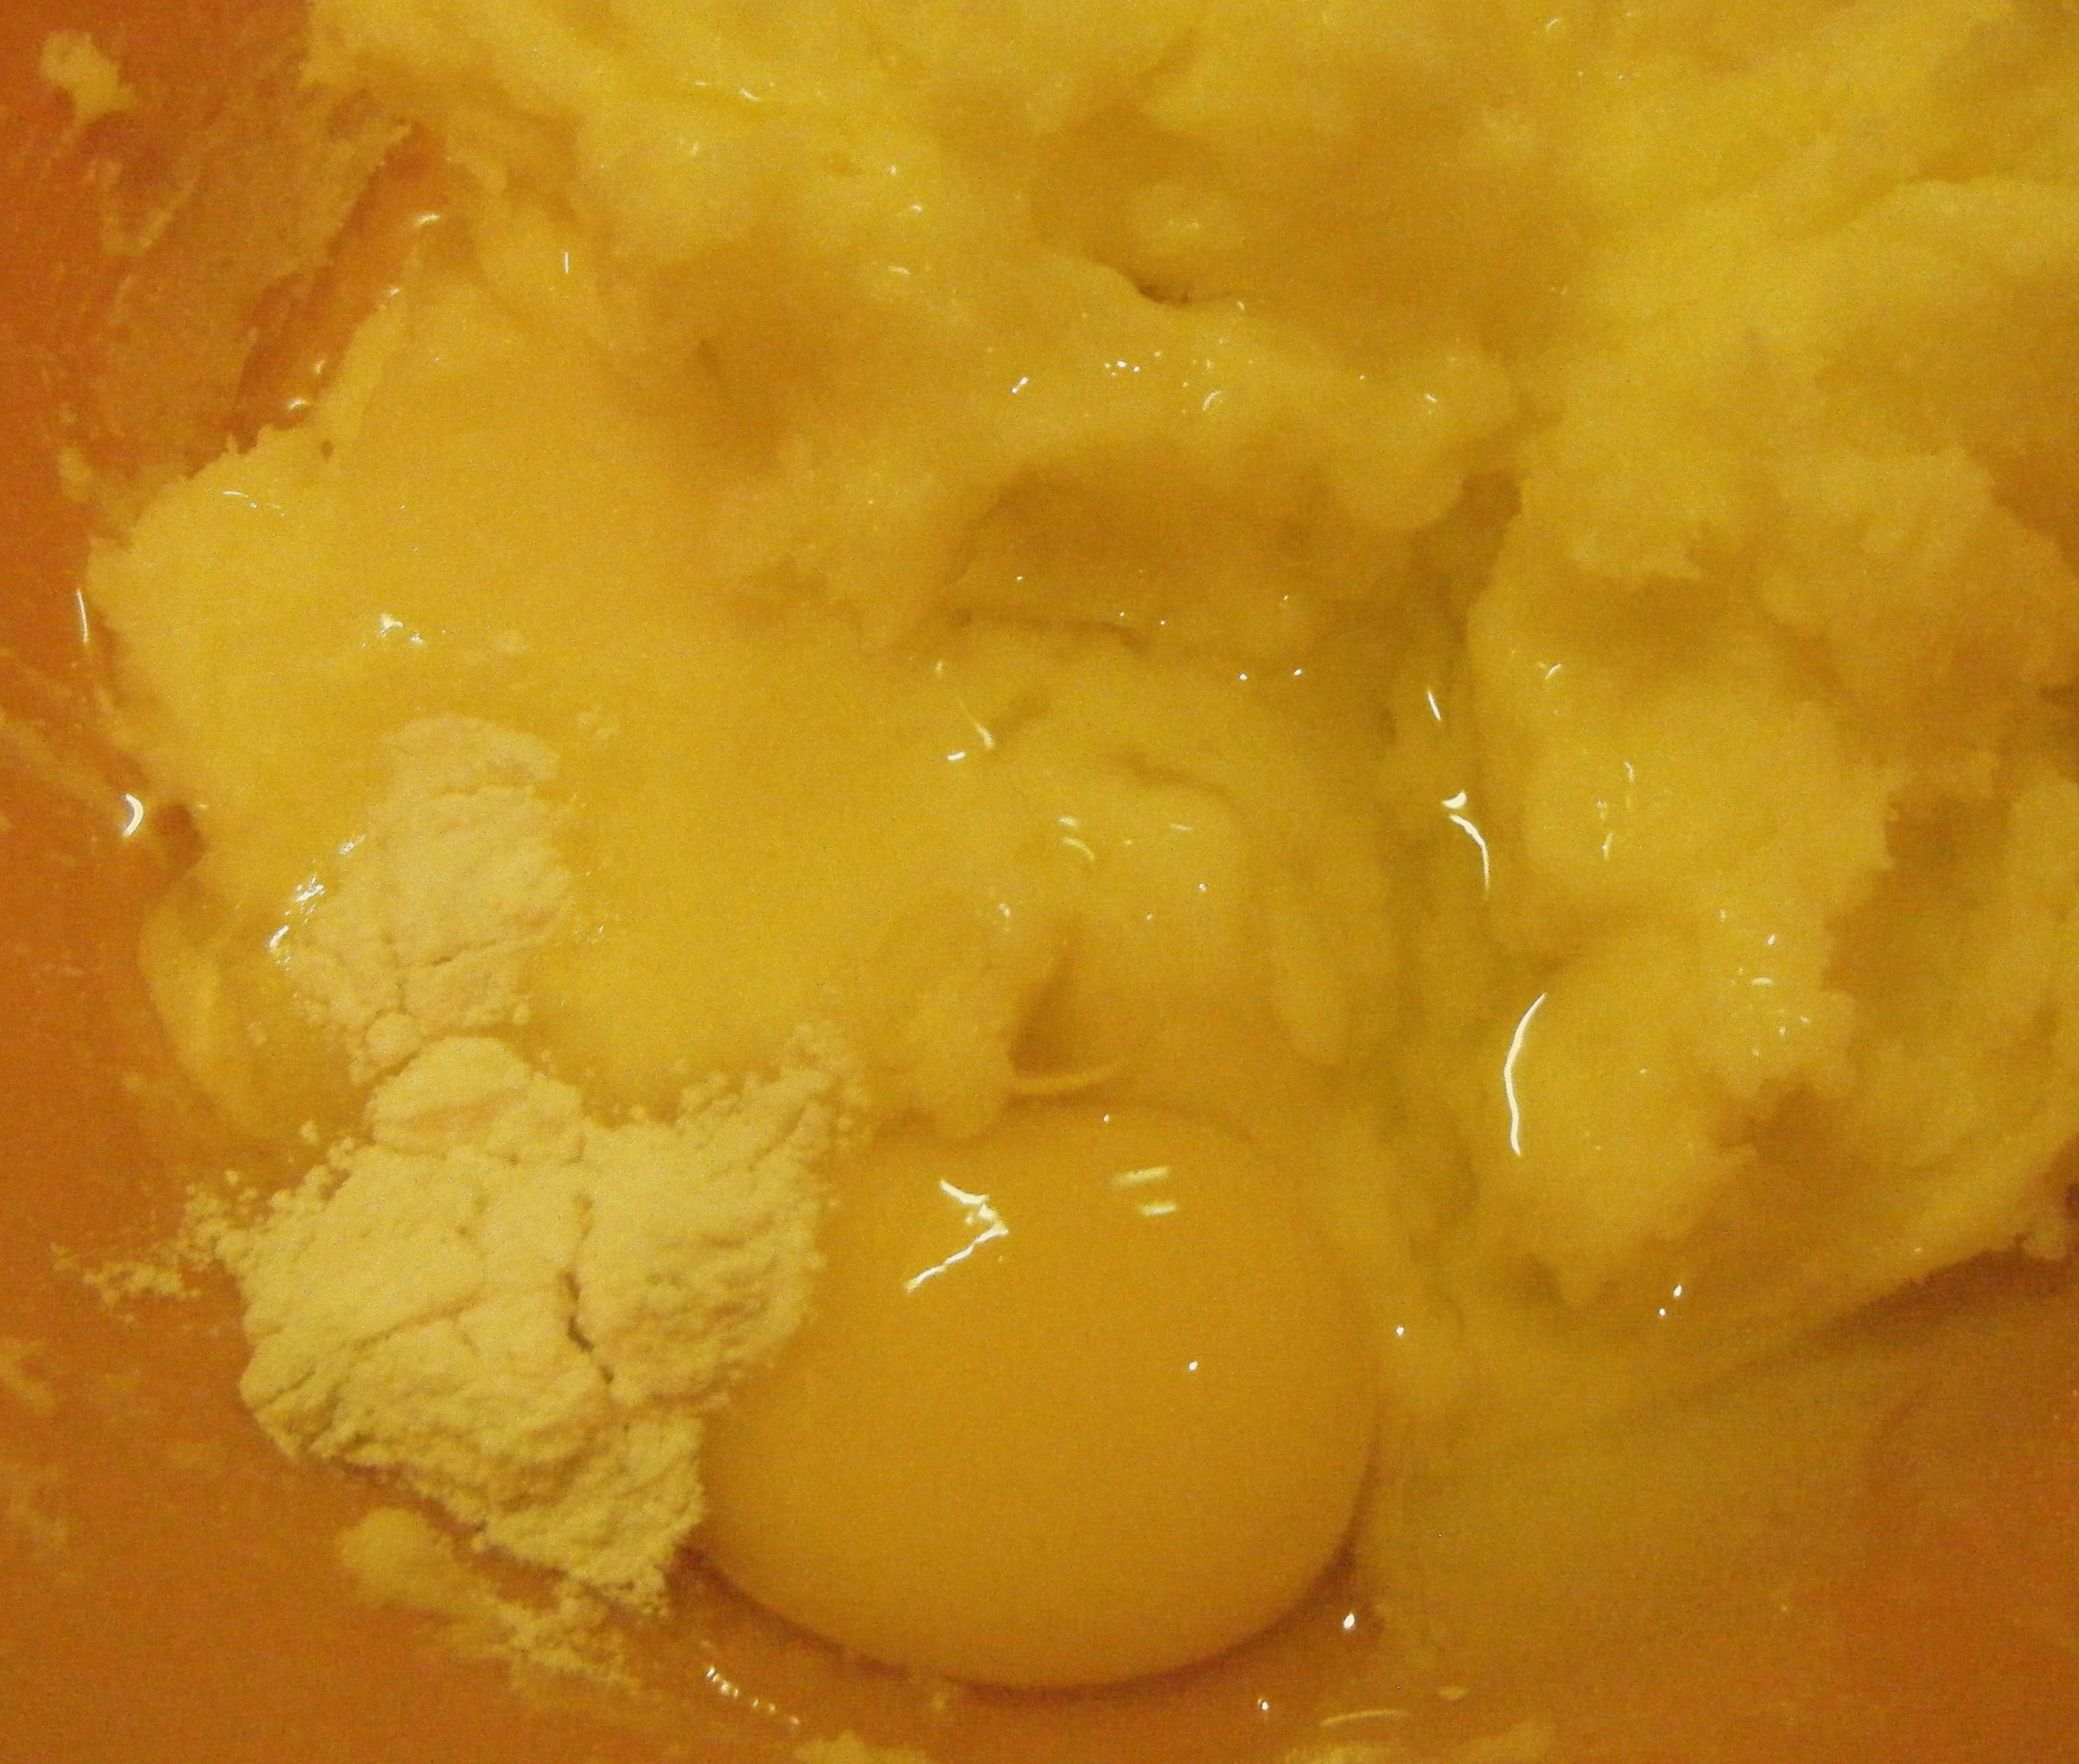
Once the aubergines were all cooked, I added the egg to the cooled béchamel sauce and finally I had all the component parts of the moussaka ready. 

It was time to start layering up.  First, I put 1/3 of the mince mixture into my dish and before topping with the aubergines, I cracked some pepper on top.  I hadn’t seasoned the mince whilst cooking and when I tasted it, I thought it could do with some black pepper.  I then covered the mince with a layer of the aubergines.

Edited - mince layer Edited - aubergine layer

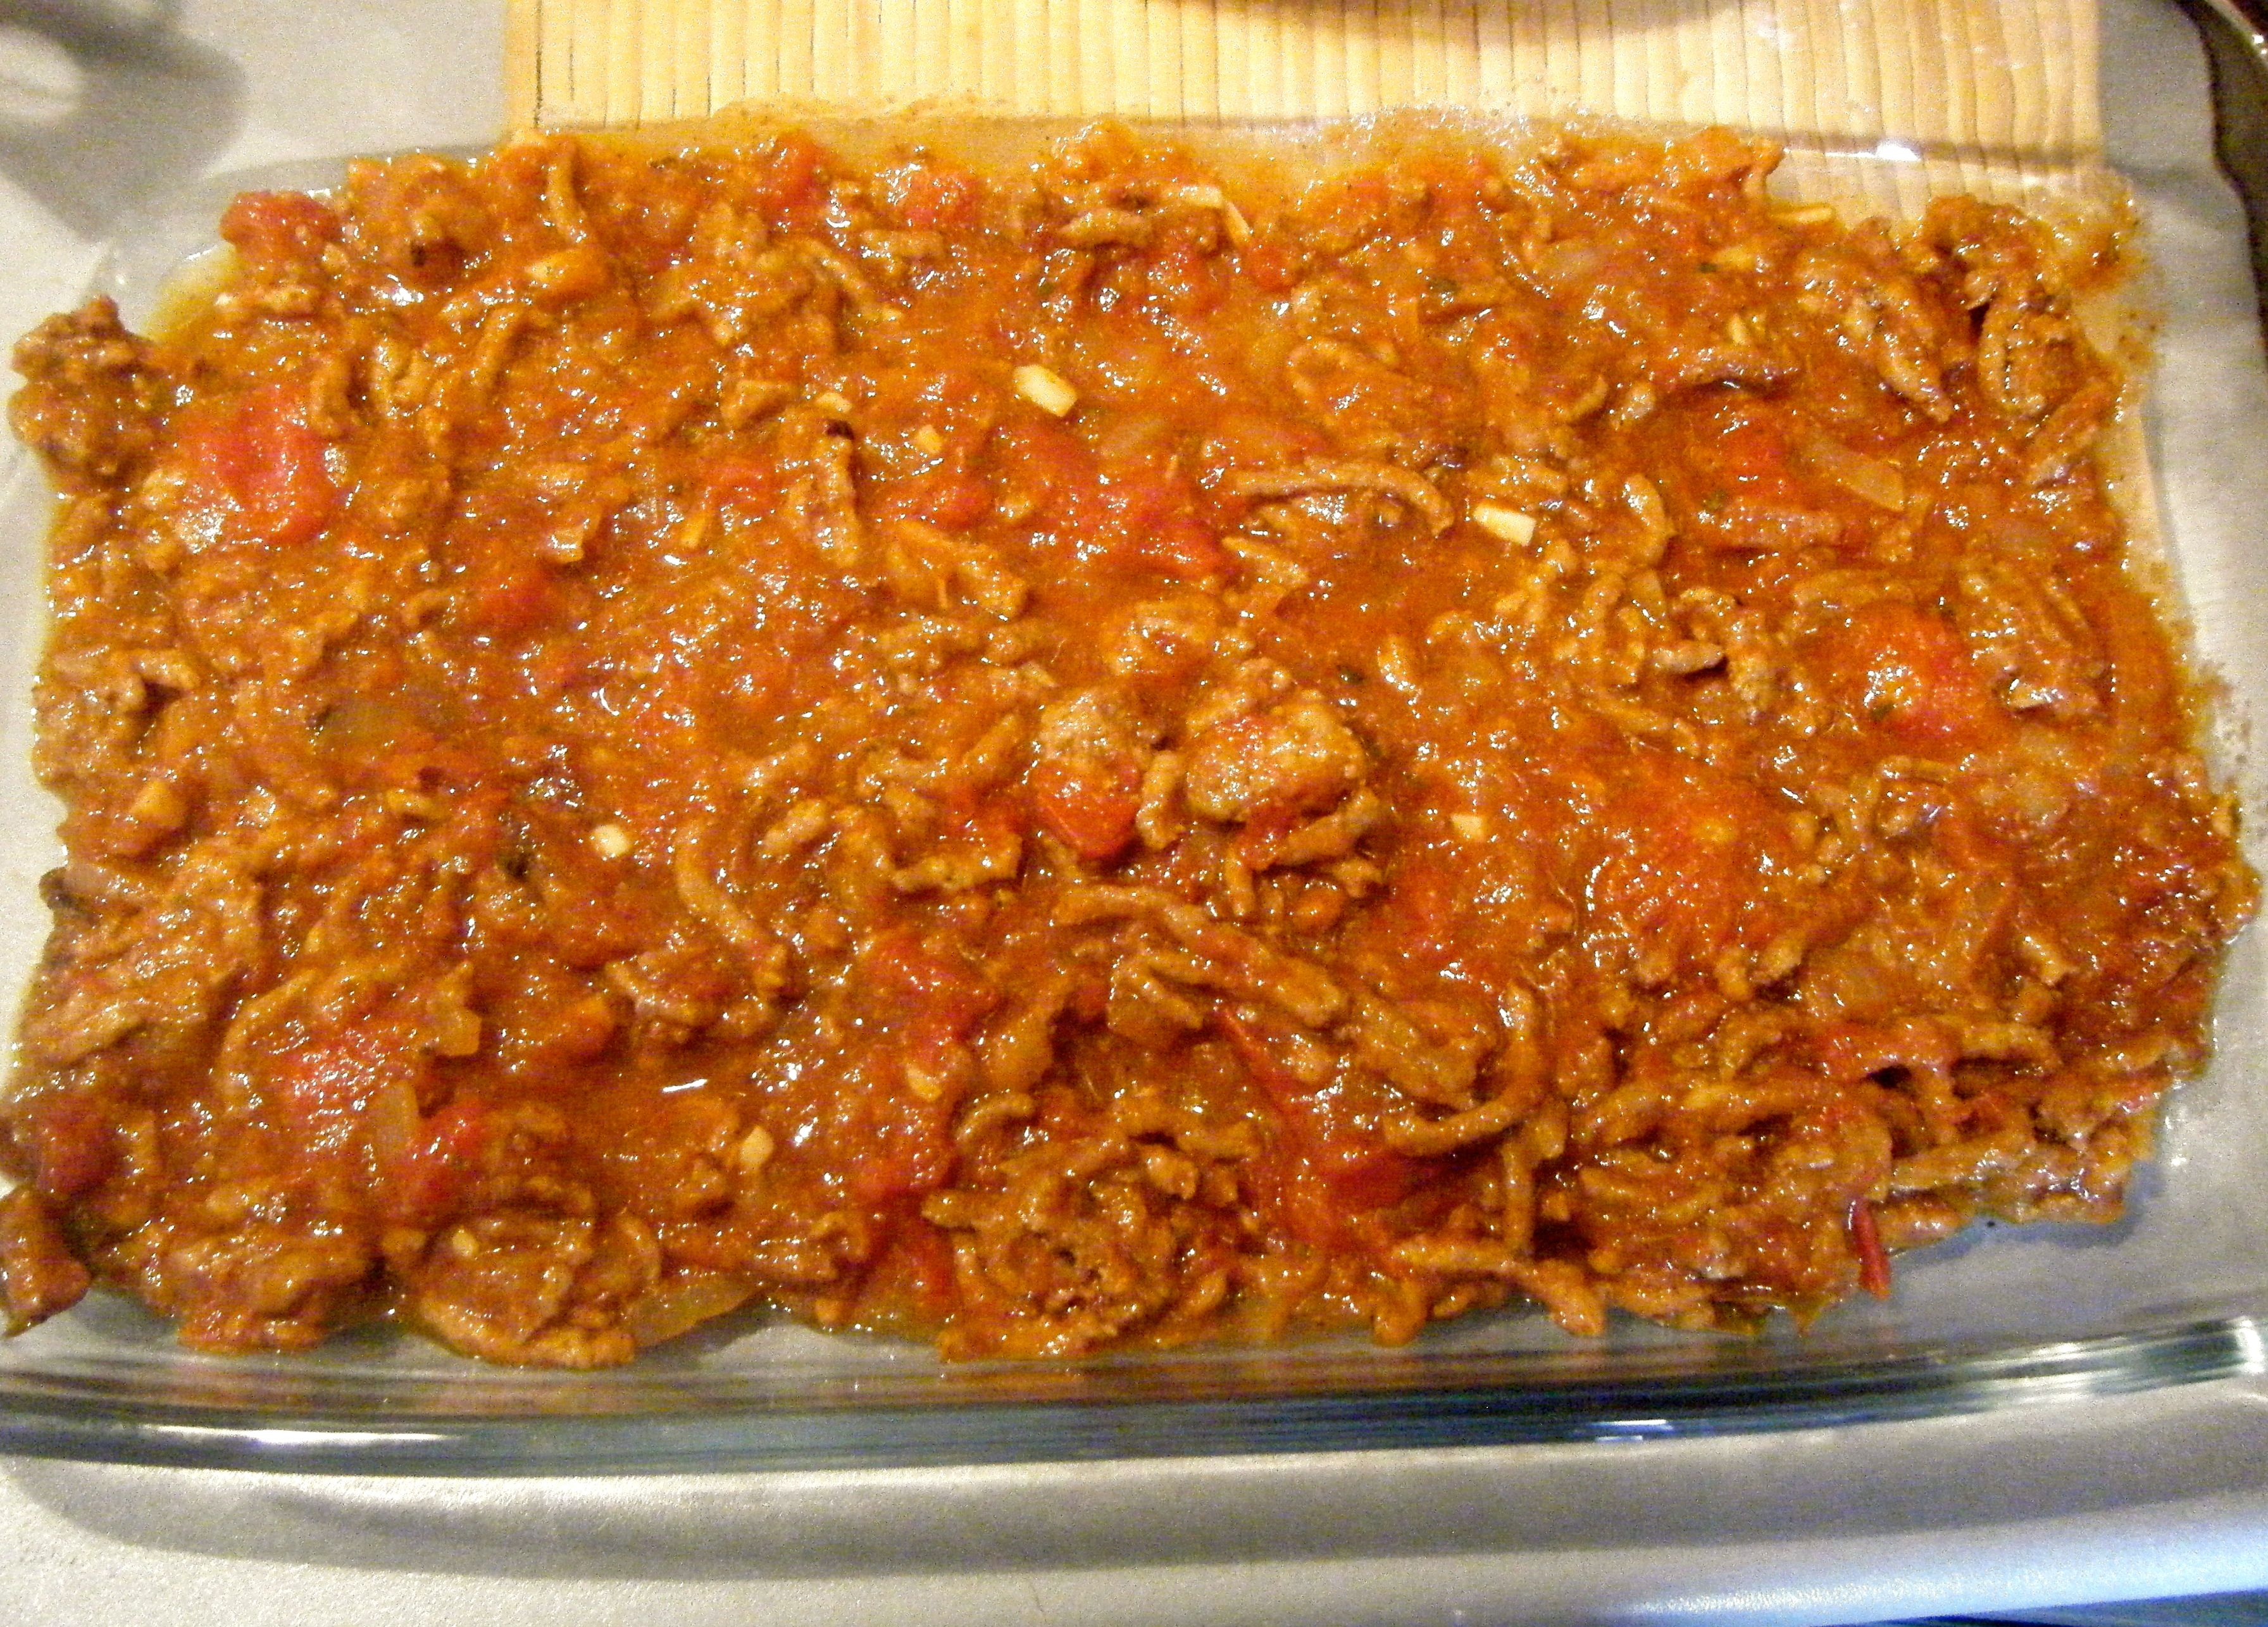
I added the next layer of mince, some more aubergines and then the final layer of mince.  I topped it all off with the béchamel sauce and the left over grated cheese.  I didn’t actually use the full amount of gruyere, only because there was so much and it just didn’t seem necessary. I used all the parmesan and about 40g of gruyere.  

Edited - oven ready

I put the dish to one side whilst I got started on pudding – make sure you come back again soon to read about my passionfruit cream profiteroles and hot chocolate fudge sauce.

Anyway, Kate and her boyfriend arrived just as it was time to put the moussaka in the oven for 60 minutes.  We had some warm pitta bread with humous and fried halloumi to start whilst the main event cooked away in the oven.

When the timer went off, I took the moussaka out the oven and patiently waited for 5 minutes just like the recipe said.  I then served up and we all tucked in with some crusty bread and a Greek salad (cucumber, tomato, olives, red onion and feta, drizzled in Greek olive oil).

Edited - cookedEdited - served up

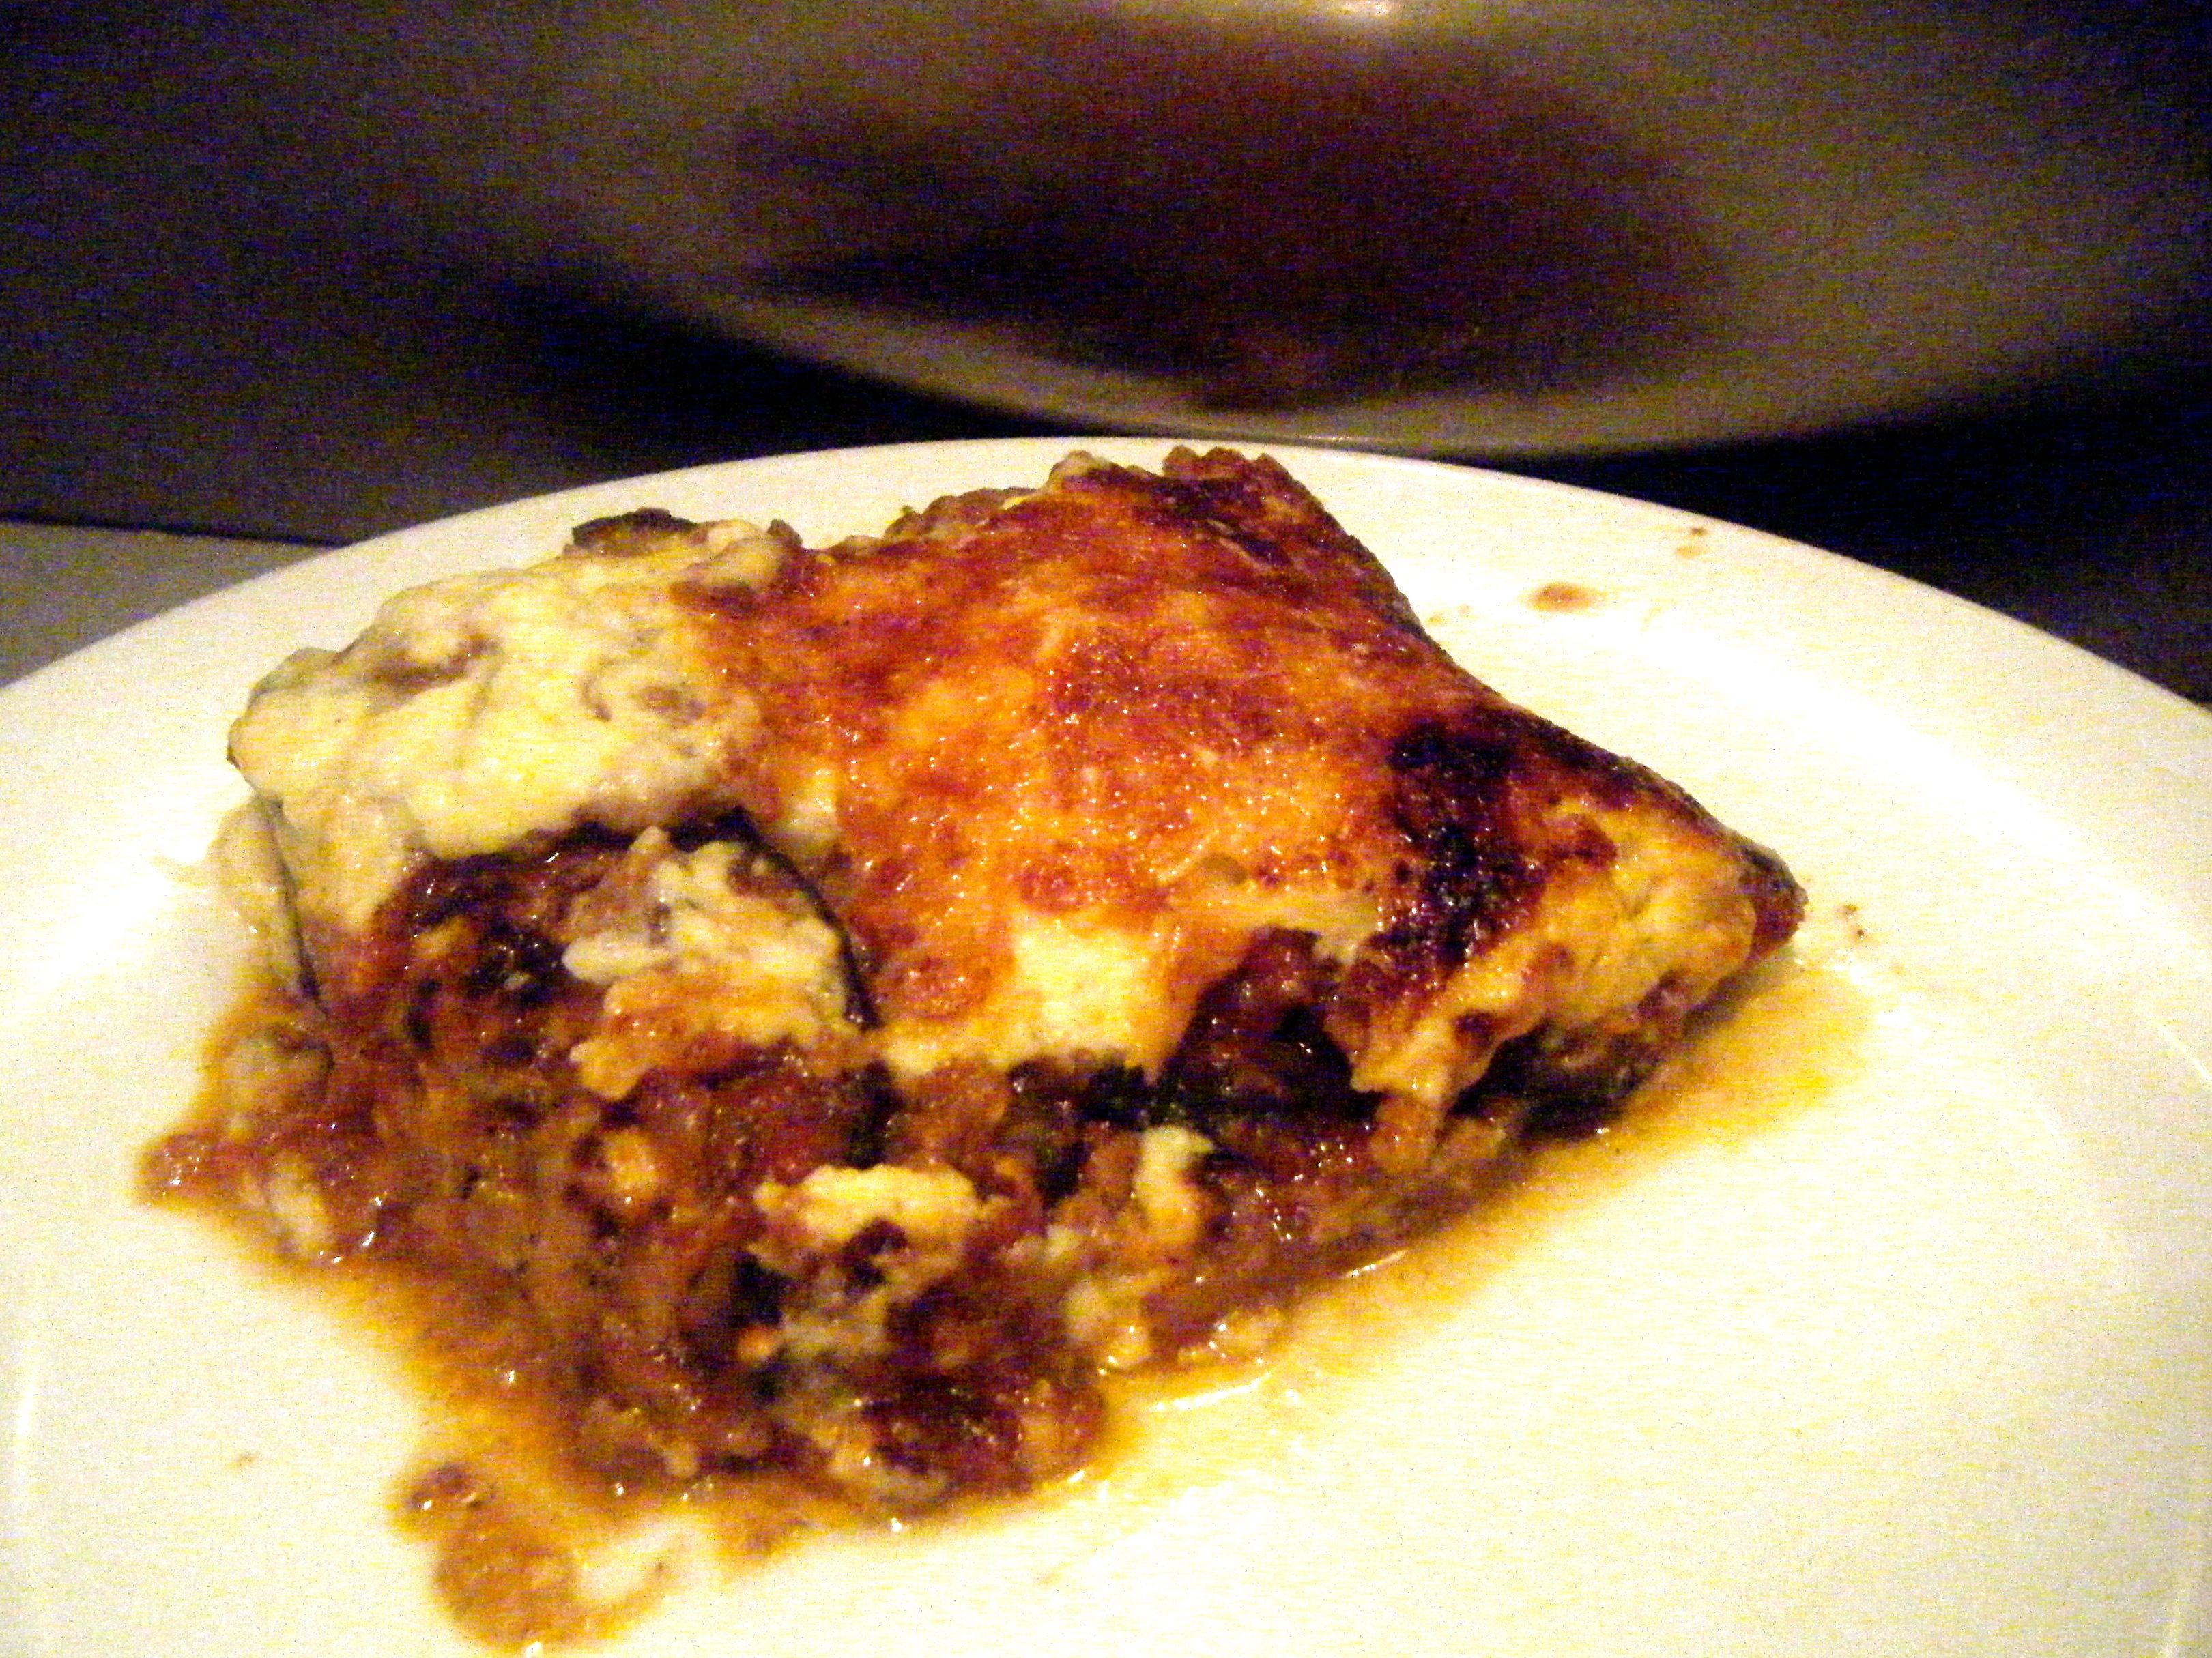
So, with such a high standard set by Kate’s dad, I had a lot to live up to. Whilst everyone agreed it was nice (even Dave who ate round the aubergines!), when I asked Kate and her boyfriend for their verdicts the answer was “it’s good…but the problem is Kate’s dad makes the BEST moussaka”.  So I didn’t quite hit the bar that Kate’s dad set but still it was very enjoyable. 

The best bit for me was the fact that the béchamel sauce worked! It was the right texture and tasted yummy 🙂 I did however feel the dish took quite a long time to make because of all the messing around with the aubergines! I’ve read another recipe which recommends simply baking the aubergine slices for around 25 minutes at 180 degrees celcius.  I’m definitely going to try this next time rather than frying them. 

Overall, I was pleased with how this challenge turned out and will be adding moussaka to my recipe arsenal for the future.

Coming up next week, an Easter treat for Challenge No. 15 – simnel cake! Hope to see you then.

Challenge No. 13 – Candy Floss Cupcakes

See that lovely drawing at the top of the page, the one of the blonde girl holding the cupcake? Well, that was designed by my amazing friend Nic and is his representation of me 🙂 This next recipe was suggested by Nic who, as you can tell, is very creative.  If you want to see some of his other incredible work, check out his Facebook page here. Unsurprisingly, Nic’s creative mind didn’t just suggest any old regular cupcake, nope, he suggested a candy floss cupcake!

I did a quick Google search and found lots of inspiration.  One of my favourites was Harry Potter themed from bakingdom. Nic is a huge Harry Potter fan and so when I found this blog, I thought the idea was just perfect.  Whilst all the websites I found included a recipe, I decided to use my own cupcake recipe and just adapted it in line with what I had read for incorporating candy floss. 

So, to make my version of the candy floss cupcakes, you will need the following:-

  • For the cake
    • 175g softened butter/margarine
    • 175g sugar
    • 1 tsp baking powder
    • 175g self raising flour
    • 3 eggs
    • A drop of vanilla essence
    • 250g candy floss
  • For the topping
    • 550g icing sugar
    • 275g softened butter
    • Milk
    • A few drops of pink food colouring
    • A few drops of green food colouring
    • 250g cotton candy
    • 2 tsp of cream
    • Popping candy (I used chocolate covered because that’s all I could find)

This recipe makes 18 cupcakes. 

Edited - ingredients

First things first, I turned the oven on and gave it plenty of time to reach the required temperature, 180 degrees celsius. 

I started the cake mix by beating my softened butter with a fork until it was light and fluffy.  I then added the caster sugar and continued to beat until completely incorporated. 

 Edited - fluffy butter Edited - sugar and butter

P.S. I made these at my mum’s and she only had an orange mixing bowl which isn’t great for photo’s!  So please excuse the orange tinge on some of the photographs in this post!

Anyway, next up I combined my flour and baking powder in a jug and set this to one side.  I added my eggs one at a time to the butter/sugar mix.

Practical tip: each time you add an egg, put in about 1tsp of the flour and then mix together.  The flour helps to stop the mixture curdling.  

Edited - egg adding

Once all the eggs were added, I sifted in the flour and baking powder and mixed until well combined.  I then added a few drops of vanilla extract and gave it another stir. 

Time for the fun bit.  I took my candy floss and tried to break it up a bit with my fingers.  This was very messy as it kept sticking to me but it definitely helped get a nice even spread throughout the cupcake mix.  Once it was broken up, I stirred it into the cupcake batter. 

Edited - candyfloss Edited - batter and candy floss

I then put about 1 and a half teaspoons of mixture into each cupcake case.  Now, I’m a bit of a perfectionist and when I make cupcakes, I take things one step further and weigh each filled case to make sure they are equal.  As said above, I made these cupcakes at my mum’s house and it turns out her scales aren’t quite as accurate as mine, however, each cupcake case was either 35g or 40g with the mix in. It may seem like a bit of an OCD step but it helps get perfectly even sized and baked cakes 🙂

Edited - cupcakes oven ready

With the cakes (just about) equal size, I put them in the oven and set the time for 10 minutes.  When the timer went off, I rotated the trays to help make sure they had an even bake and popped them back in for another 8 minutes.  I then checked the cakes to see if they were done. 

Practical tip: in case you missed Challenge No. 5, to test whether the cakes are cooked, gently press the top of one of the cakes with your finger; if it is done it will be springy to touch and bounce back into place.  You can also take a tooth pick (or cake tester if you have one) and slide it into the centre of one of the cakes; if the cake is done the tester will come out clean.  If you think it’s not quite done return the cakes to the oven but keep an eye on them – 1 minute may be all they need but that 1 minute can make all the difference!

Edited - fresh out the oven

I let the cakes cool on the tray for a few minutes and then transferred them to a cooling rack.  

Edited - coolingThis is where my night changed plans, I had a yummy takeaway Chinese and a few glasses of wine with Dave and my parents.  I then went out to visit some friends for the evening and somehow ended up consuming quite a lot of vodka (I blame my friend Kev!).  Suffice to say, I was a little worse for wear on the Saturday morning.  However, after a trip to see some 12 day old lambs at a local farm and a quick nap, I was (just about!) ready to finish decorating my cakes.

I started by whisking the butter (using a handheld electric whisk) until nice and smooth.  Don’t rush this step – it is one of the most important stages to get the right consistency to be able to pipe your buttercream.  I always try to whisk the butter for a good 5 minutes. 

With the butter whisked, it was time to start adding the icing sugar.  I added a bit at a time, covered the bowl with a clean tea towel and then whisked until combined. I continued adding a bit at a time until all the icing sugar was incorporated.  As I got towards the end, I added a little milk to keep the buttercream from being too stiff. I then split the buttercream between 2 bowls.

In my slightly hungover state, I forgot to take any pictures of the above stages! I realised on the next bit and got the camera back out again.

Next up, I tried to combine the leftover candy floss with the cream.  This is done so it can be added to the buttercream without making the buttercream lumpy.  I however did this wrong 😦 I’d read that you should melt the candy floss with the cream but I didn’t read any more than this.  When I read the word ‘melt’ I instantly thought of heat.  So I put my cream into a small saucepan over a low heat and added the candy floss.  All than happened is that it started to caramelise and went horribly sticky and extra lumpy! I decided to throw it away and leave the candy floss out of the buttercream.

Edited - candyfloss cream

😦 It just didn’t work!

I was making the buttercream at about 2.30pm and that night, when lying in bed at about 1.30am it dawned on me, I didn’t need the heat! The cream alone would ‘melt’ the candy floss and then the liquid could be added to the buttercream.  Lesson learnt for next time and for any of you who may read this and want to give it a go.

Anyway, having given up on the candy floss flavouring, I added a few drops of pink food colouring to one half of the buttercream and gave it a mix with a wooden spoon.  I then took the cupcakes which were in the green cases and used the back of a teaspoon to add a small covering of the buttercream.  I got a handful of the chocolate covered popping candy and sprinkled it on top of the cupcakes. 

Edited - popping candy

I then put the remaining pink buttercream into a piping bag fitted with a wilton 2D nozzle and piped swirls onto the top of each one.

My brother wanted to help with the piping.  I let him do one and he actually did quite a good job! :)

My brother wanted to help with the piping. I let him do one and he actually did quite a good job! 🙂

Practical tip: if you missed Challenge No. 7 – when spooning mixture into a piping bag, I always find it easier to put the bag into a tall glass and turn the top down.

Edited - piping glass

I then added the green food colouring to the other half of the buttercream and repeated the above steps with the cupcakes in the pink cases.

The final stage was an extra special touch, inspired by the bakingdom blog.  I had created Honeydukes signs using cake-pop sticks, wrapped in purple ribbon and cling film and topped with homemade signs.  It was a little time consuming but the finished product for my Harry Potter loving friend was well worth it.

Edited - cupcakes finished

These cupcakes were a success with all who tried them.  The popping candy could have been a bit more ‘poppy’ and I was disappointed I messed up the cotton candy for the buttercream but overall I was happy with this bake.  The candy floss added a nice speckled effect to the cakes and they tasted yummy.

Edited - inside cupcakeComing up next week, Challenge No. 14 – moussaka.

Challenge No. 12 – Fish and Chips

This dish was suggested by my boyfriend, Dave.  When Dave first met my parents (more than a whooping 6 years ago!), every time we went out for dinner he ended up ordering fish and chips.  After about 6 months, my mum actually had to ask if he ate anything else! He does of course, but there is no denying he really enjoys a bit of traditional fish and chips.

I’ve only ever cooked fish by poaching smoked haddock in the oven to have with a mushroom risotto.  I don’t know why but I have always been a bit reluctant to try new things with fish.  I’m happy to try different things when someone else is cooking but I’ve been nervous about cooking it myself.  This couldn’t stop me now – the whole point of Challenge 52 is to take me out of comfort zone and so I embraced the challenge here.

I did a quick search and found a really nice looking fish recipe by The Hairy Bikers.  You can find the recipe here. For the chips, I have been trying a few new methods in recent weeks and below I have described the method I used this time.

The dish requires the following ingredients:-

  • For the batter
    • 75g/2½oz cornflour
    • 200g/7¼oz plain flour
    • 1 tsp fine sea salt
    • 330ml/11½fl oz real ale
    • 2 tbsp white wine vinegar
  • For the fish
    • sunflower oil, for deep frying
    • 4 tbsp plain flour
    • ½ tsp fine sea salt
    • 4 x 200g/7¼oz thick white fish fillets, such as haddock or whiting*
  • For the chips
    • 2 medium to large potatoes
    • Salt
    • sunflower oil, for deep frying

*I let Dave decide which type of fish he wanted and there wasn’t even a contest – it had to be cod. I had tried suggesting we have a different type of fish to help with sustainability and the problem of over-fishing the more common types, but nope, Dave said it had to be cod.

Edited - ingredients

I started by preparing my chips.  I’ve recently tried using the multi-cook approach to chips and this involves blanching them in water, cooking them in the fryer on a low temperature and then once cooled finishing them off in the fryer on a high temperature.

I peeled and chopped the potatoes.  I tried my best to keep them evenly sized but I’ve not quite got the hang of this and to be honest, I think they look more rustic with a bit of variation 🙂

Edited - chips cut

Once they were chopped I washed them in cold water to remove as much of the starch as possible.  I then popped them in a pan of salted water which I bought to the boil and I cooked them until they were soft but still holding their shape, this took around 8 minutes.  I then drained and put the potatoes onto some kitchen roll to remove as much of the water as possible.

Edited - blanching Edited - blanched

I heated up my deep fat fryer to 140 degrees celsius and cooked the chips for another 8 minutes.  I then put them on a tray lined with kitchen paper to drain and cool down.

Practical tip: because of the various stages involved, you can blanch and initially fry the chips and then leave them to one side to cool whilst you get everything else done. 

Edited - chips fry 1

Whilst the chips were cooling I got on with the fish.  I prepared my batter by mixing the cornflour, plain flour and salt in a bowl.  I made a well and then poured in the ale and vinegar.  The recipe specially instructs to beat the mix with a large metal whisk.  I don’t know why it has to be a metal whisk but I don’t have one of these – mine is plastic! So I simply beat it with my plastic whisk until I had a smooth batter and this seemed to work well enough.

Edited - dry and wet Edited - batter

With the batter ready, I turned up the temperature on my fryer to give it time to reach the required 180 degrees celsius.  I then moved onto the next stage of the recipe – putting the flour and salt in the food bag to coat the fish.  Uh-oh, I had ran out of food bags! I’m going to blame Dave and say he used the last one without telling me 😉  Anyway, without any food bags available, I decided to use a plastic bowl and simply covered it with cling film to toss the fish.  It definitely wasn’t as good as using a food bag but it got the job done.

Edited - floured fish

So everything was ready to go! I dipped my floured fish in the batter and popped it into the fryer.  The recipe itself says to lower the fish into the oil using tongs and Dave’s mum confirmed I shouldn’t use a basket. I therefore didn’t use the frying basket (or tongs as mine are plastic!) and just carefully dropped the fish straight into the oil.  Once in the oil, I prodded the fish with a metal spatula (borrowed from Dave’s mum as again, mine is plastic) and it floated to the top of the oil and bobbed away in the bubbling oil.  I made sure to turn the fish a couple of times and the batter was soon a lovely golden brown.   

Edited - fish cooking

I did try to take a better photo of the fish in the oil but it spat at me and the hot oil just missed my eye so this is as good as you’re going to get on the photo front!

I decided to fry my fish in two batches and just put the first lot in the oven whilst the second ones cooked.

With the fish done, I turned the fryer up to 190 degrees celsius and popped my chips back into the oil for around 4 minutes.  I drained them on some kitchen roll, tossed them in salt and served up.

Edited - served up 2

The final dish was yummy, chips, fish and all.  The batter was nice a crispy and the fish was perfectly cooked. The chips were one of the best I’ve done so far, still not quite how I like them but definitely getting there. 

Overall, our fish and chips were lovely and I’m sure Dave will soon be pestering me to make it again.

Coming up next week, Challenge No. 13 – candy floss cupcakes.