Challenge No. 32 – Leek and Gruyere Quiche

My friend Rachel suggested this challenge for Challenge 52.  I’ve already made two other of Rachel’s suggestions in Challenge No. 20 (Gammon) and Challenge No. 11 (Chocolate Ganache & Cherry Tart).  Rachel decided to challenge me to another pastry dish but this time a savoury leek and gruyere quiche. 

I had a quick search online for a recipe and most of the ones I found used cups as a measurement.  Those of you who have been following MyGastroAdventure from the beginning will have learned that I don’t like recipes in cups! However, I struggled to find a recipe I liked to look of, with the right ingredients, and the right types of measurements.  So in the end I settled for a conversion of this recipe for a bacon, leek and gruyere quiche.  Also quite a nice touch that the recipe bio makes reference to the inspiration for my blog, Julia & Julia 🙂

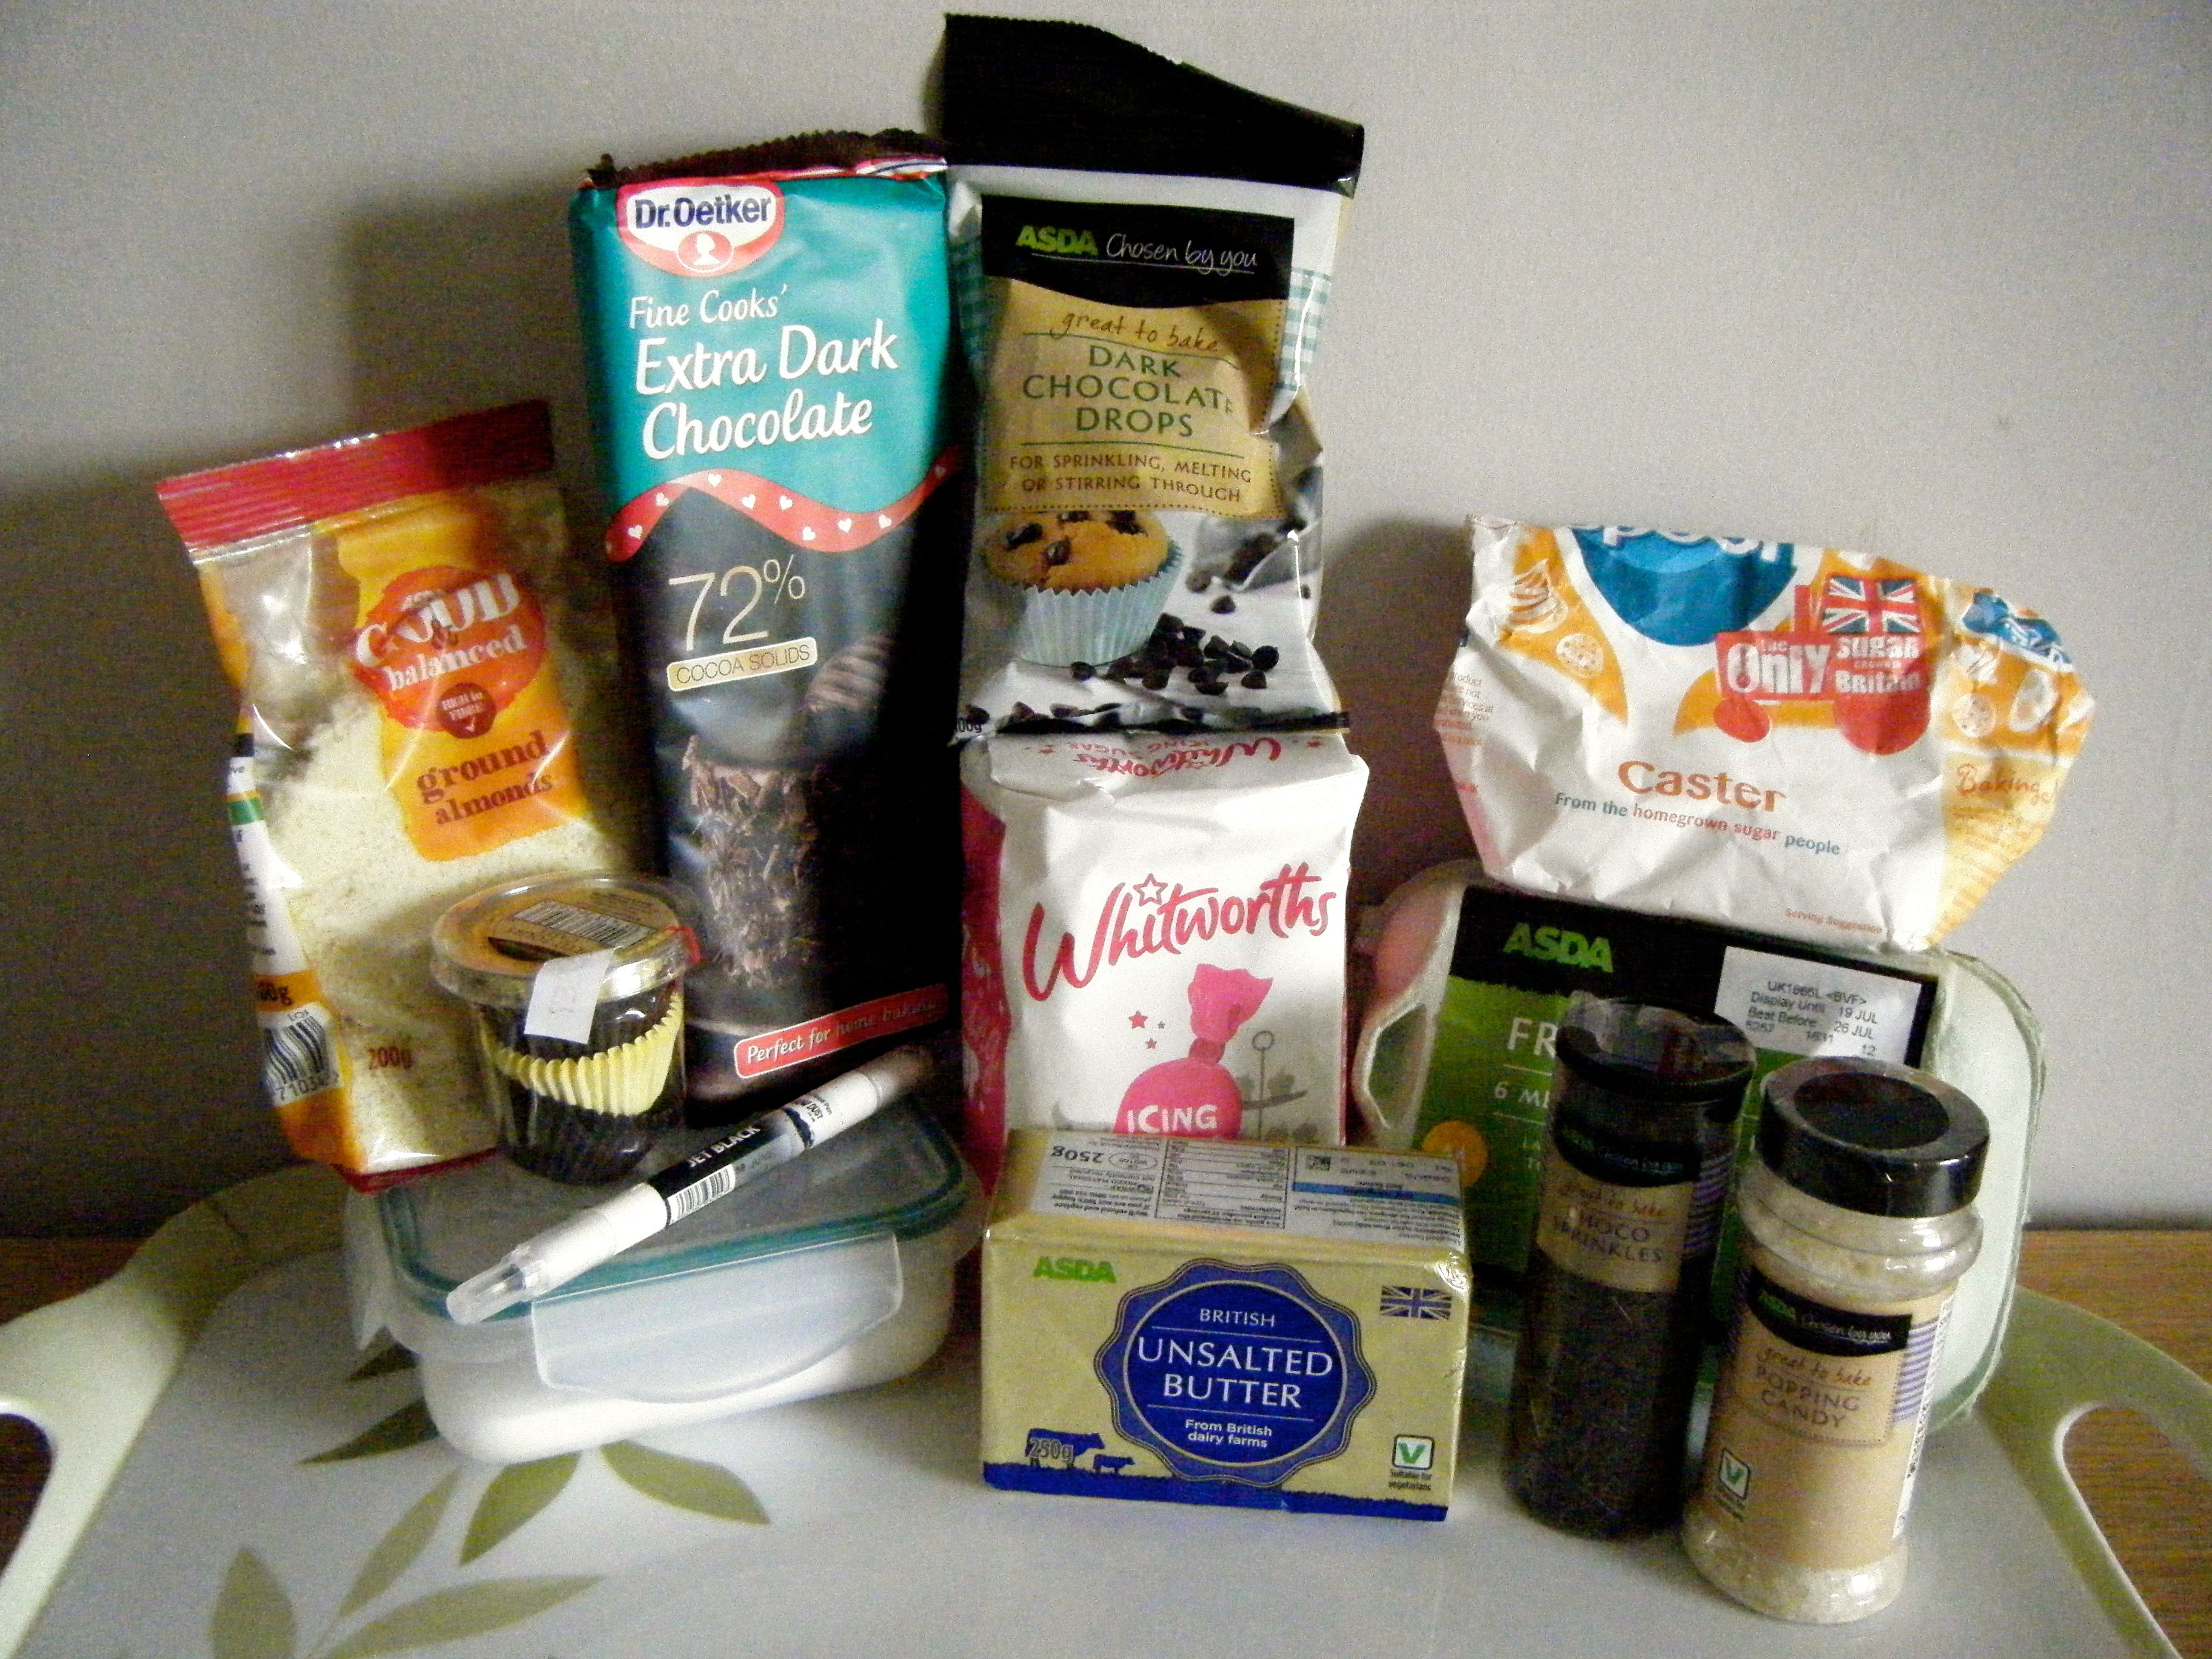
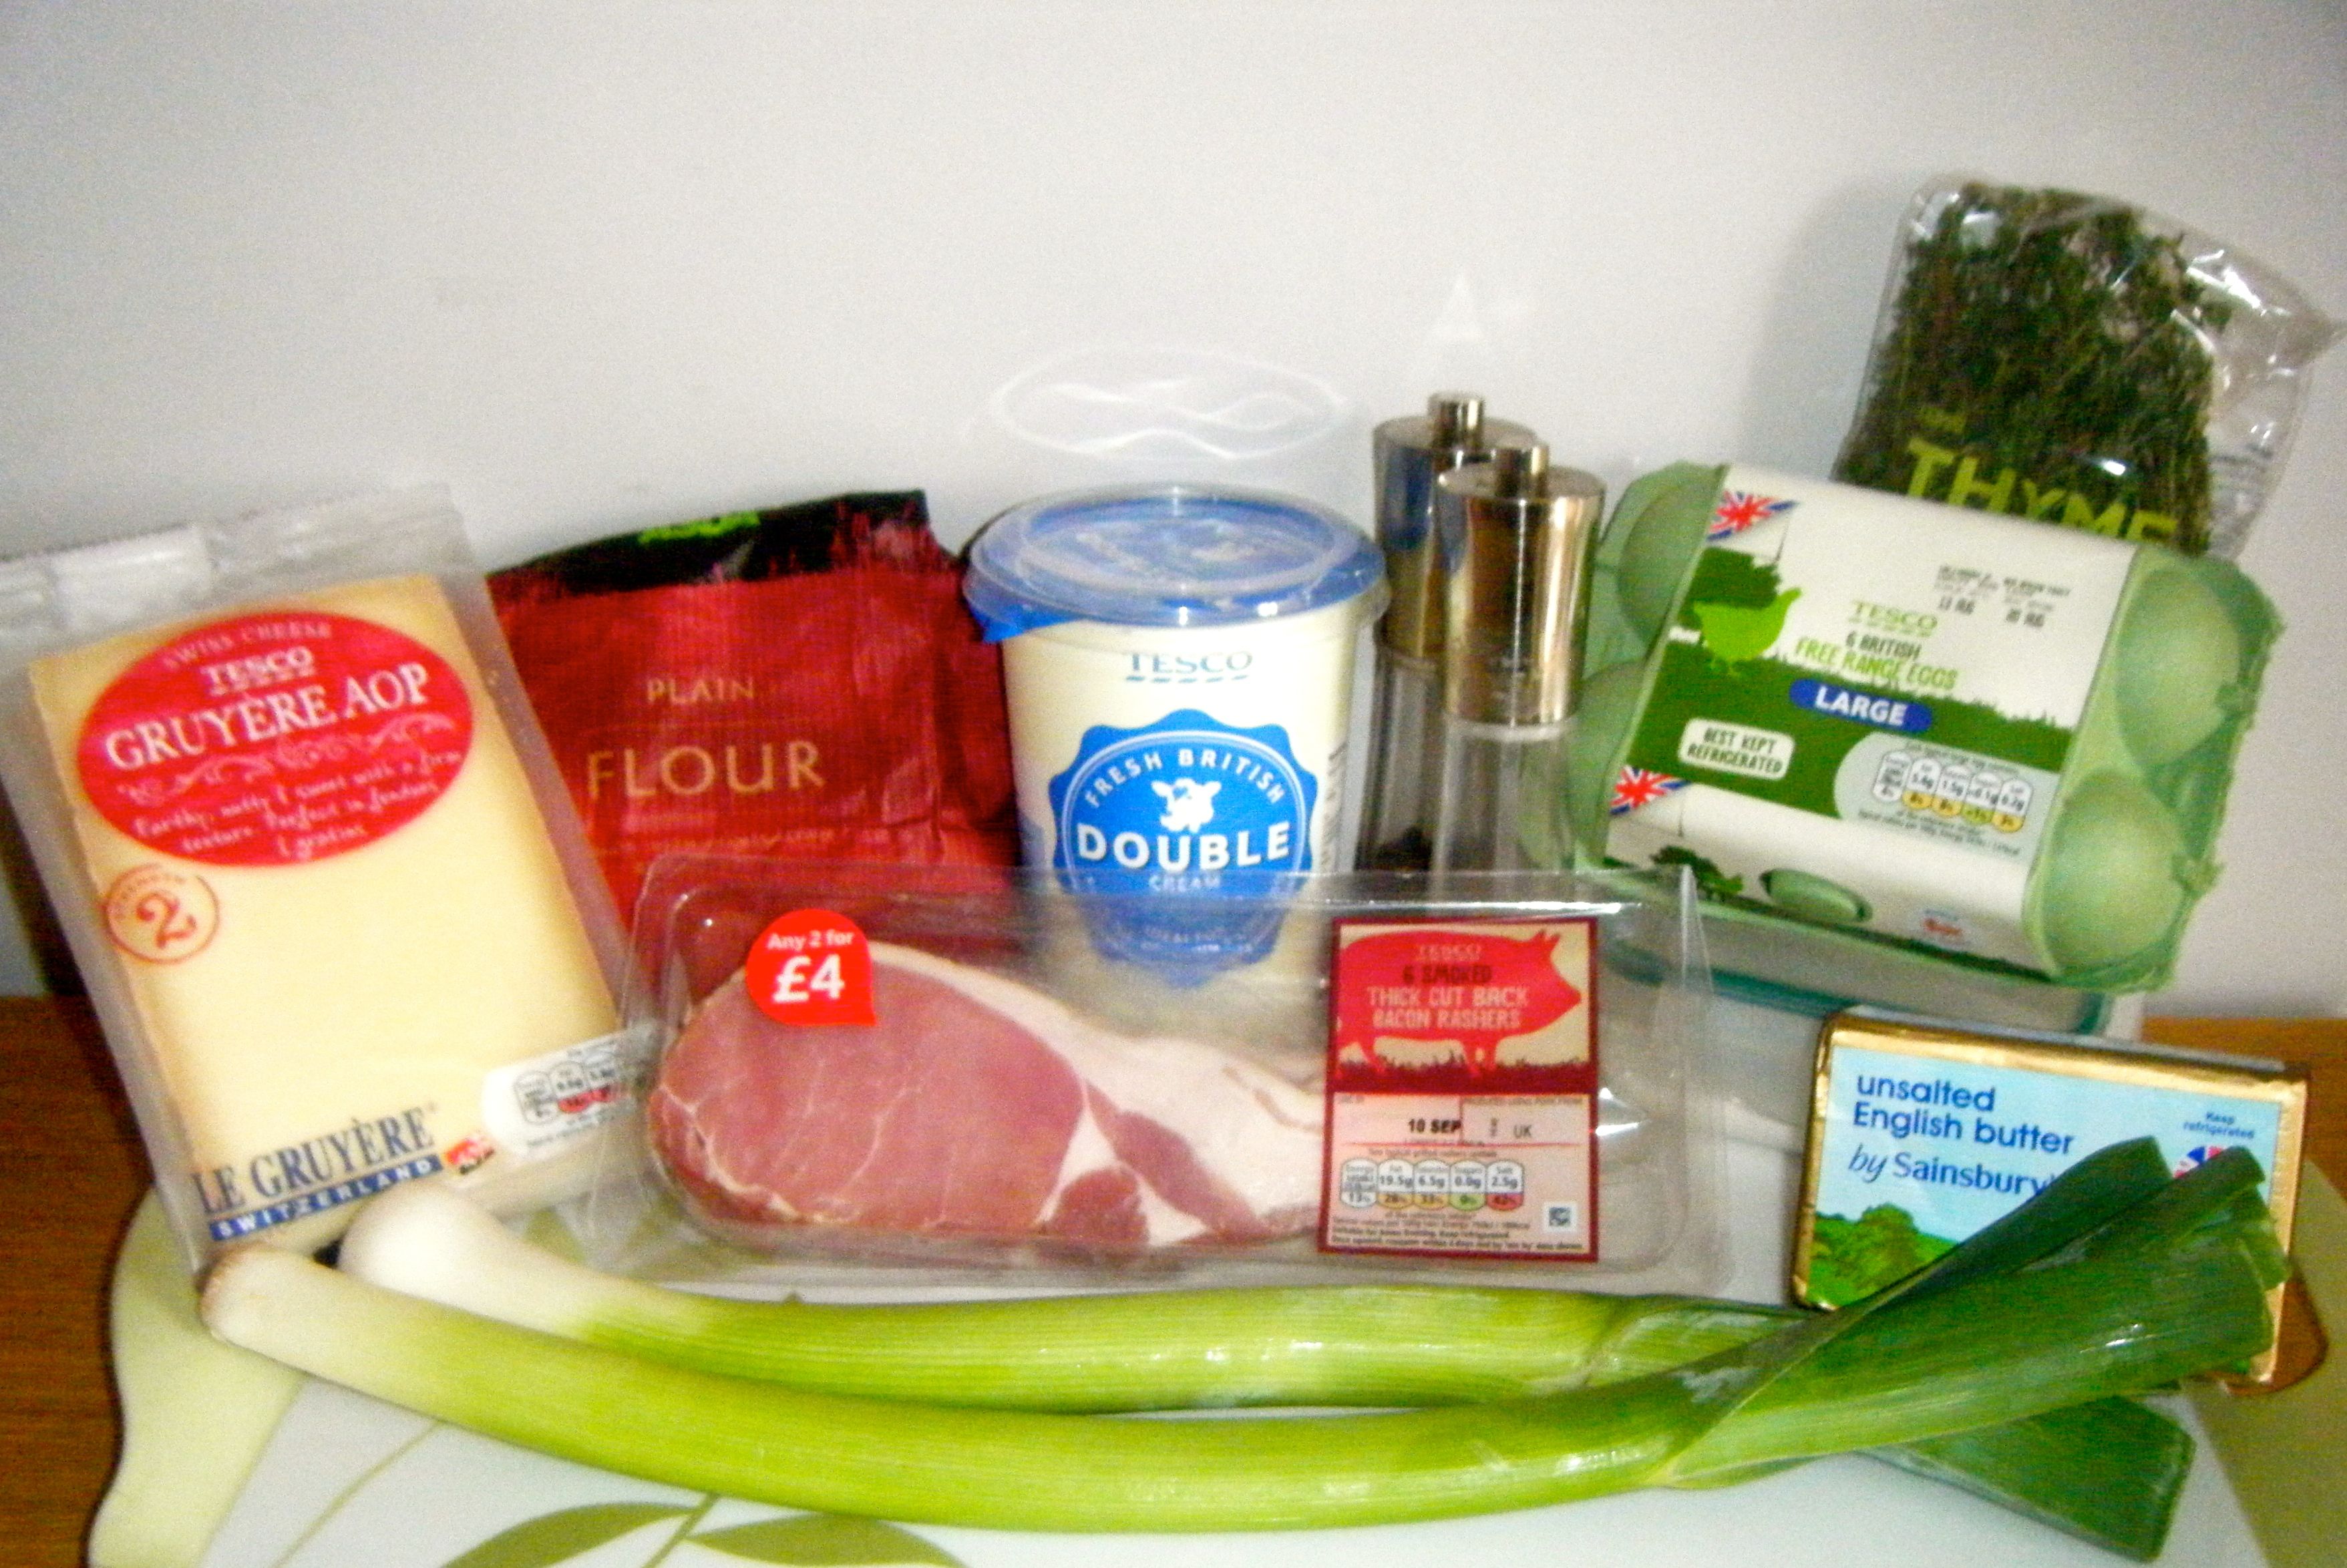
The recipe makes two quiches, however, Dave doesn’t like quiche so I thought it would be best to make just one and take it into work for my colleagues.  To make the quiche, you will need the following ingredients:-

  • Crust
    • 160g plain flour, plus more for dusting
    • 1/4 tsp salt
    • 140g unsalted butter, cubed
    • 1/2 large egg yolk*
    • 52ml ice water
  • Filling
    • 226g thickly sliced bacon, cut into squares
    • 2 medium leeks, white and tender green parts only, thinly sliced
    • 1/2 tsp chopped thyme leaves
    • Salt and pepper
    • 114g Gruyère cheese, grated
    • 2 large eggs
    • 1 large egg yolks
    • 427ml double cream

*I know! I know! 1/2 an egg yolk is not easy but that’s what half the recipe meant.  All I did was put my yolk in a small jug and then used a teaspoon to take out approximately half.

Edited - ingredients

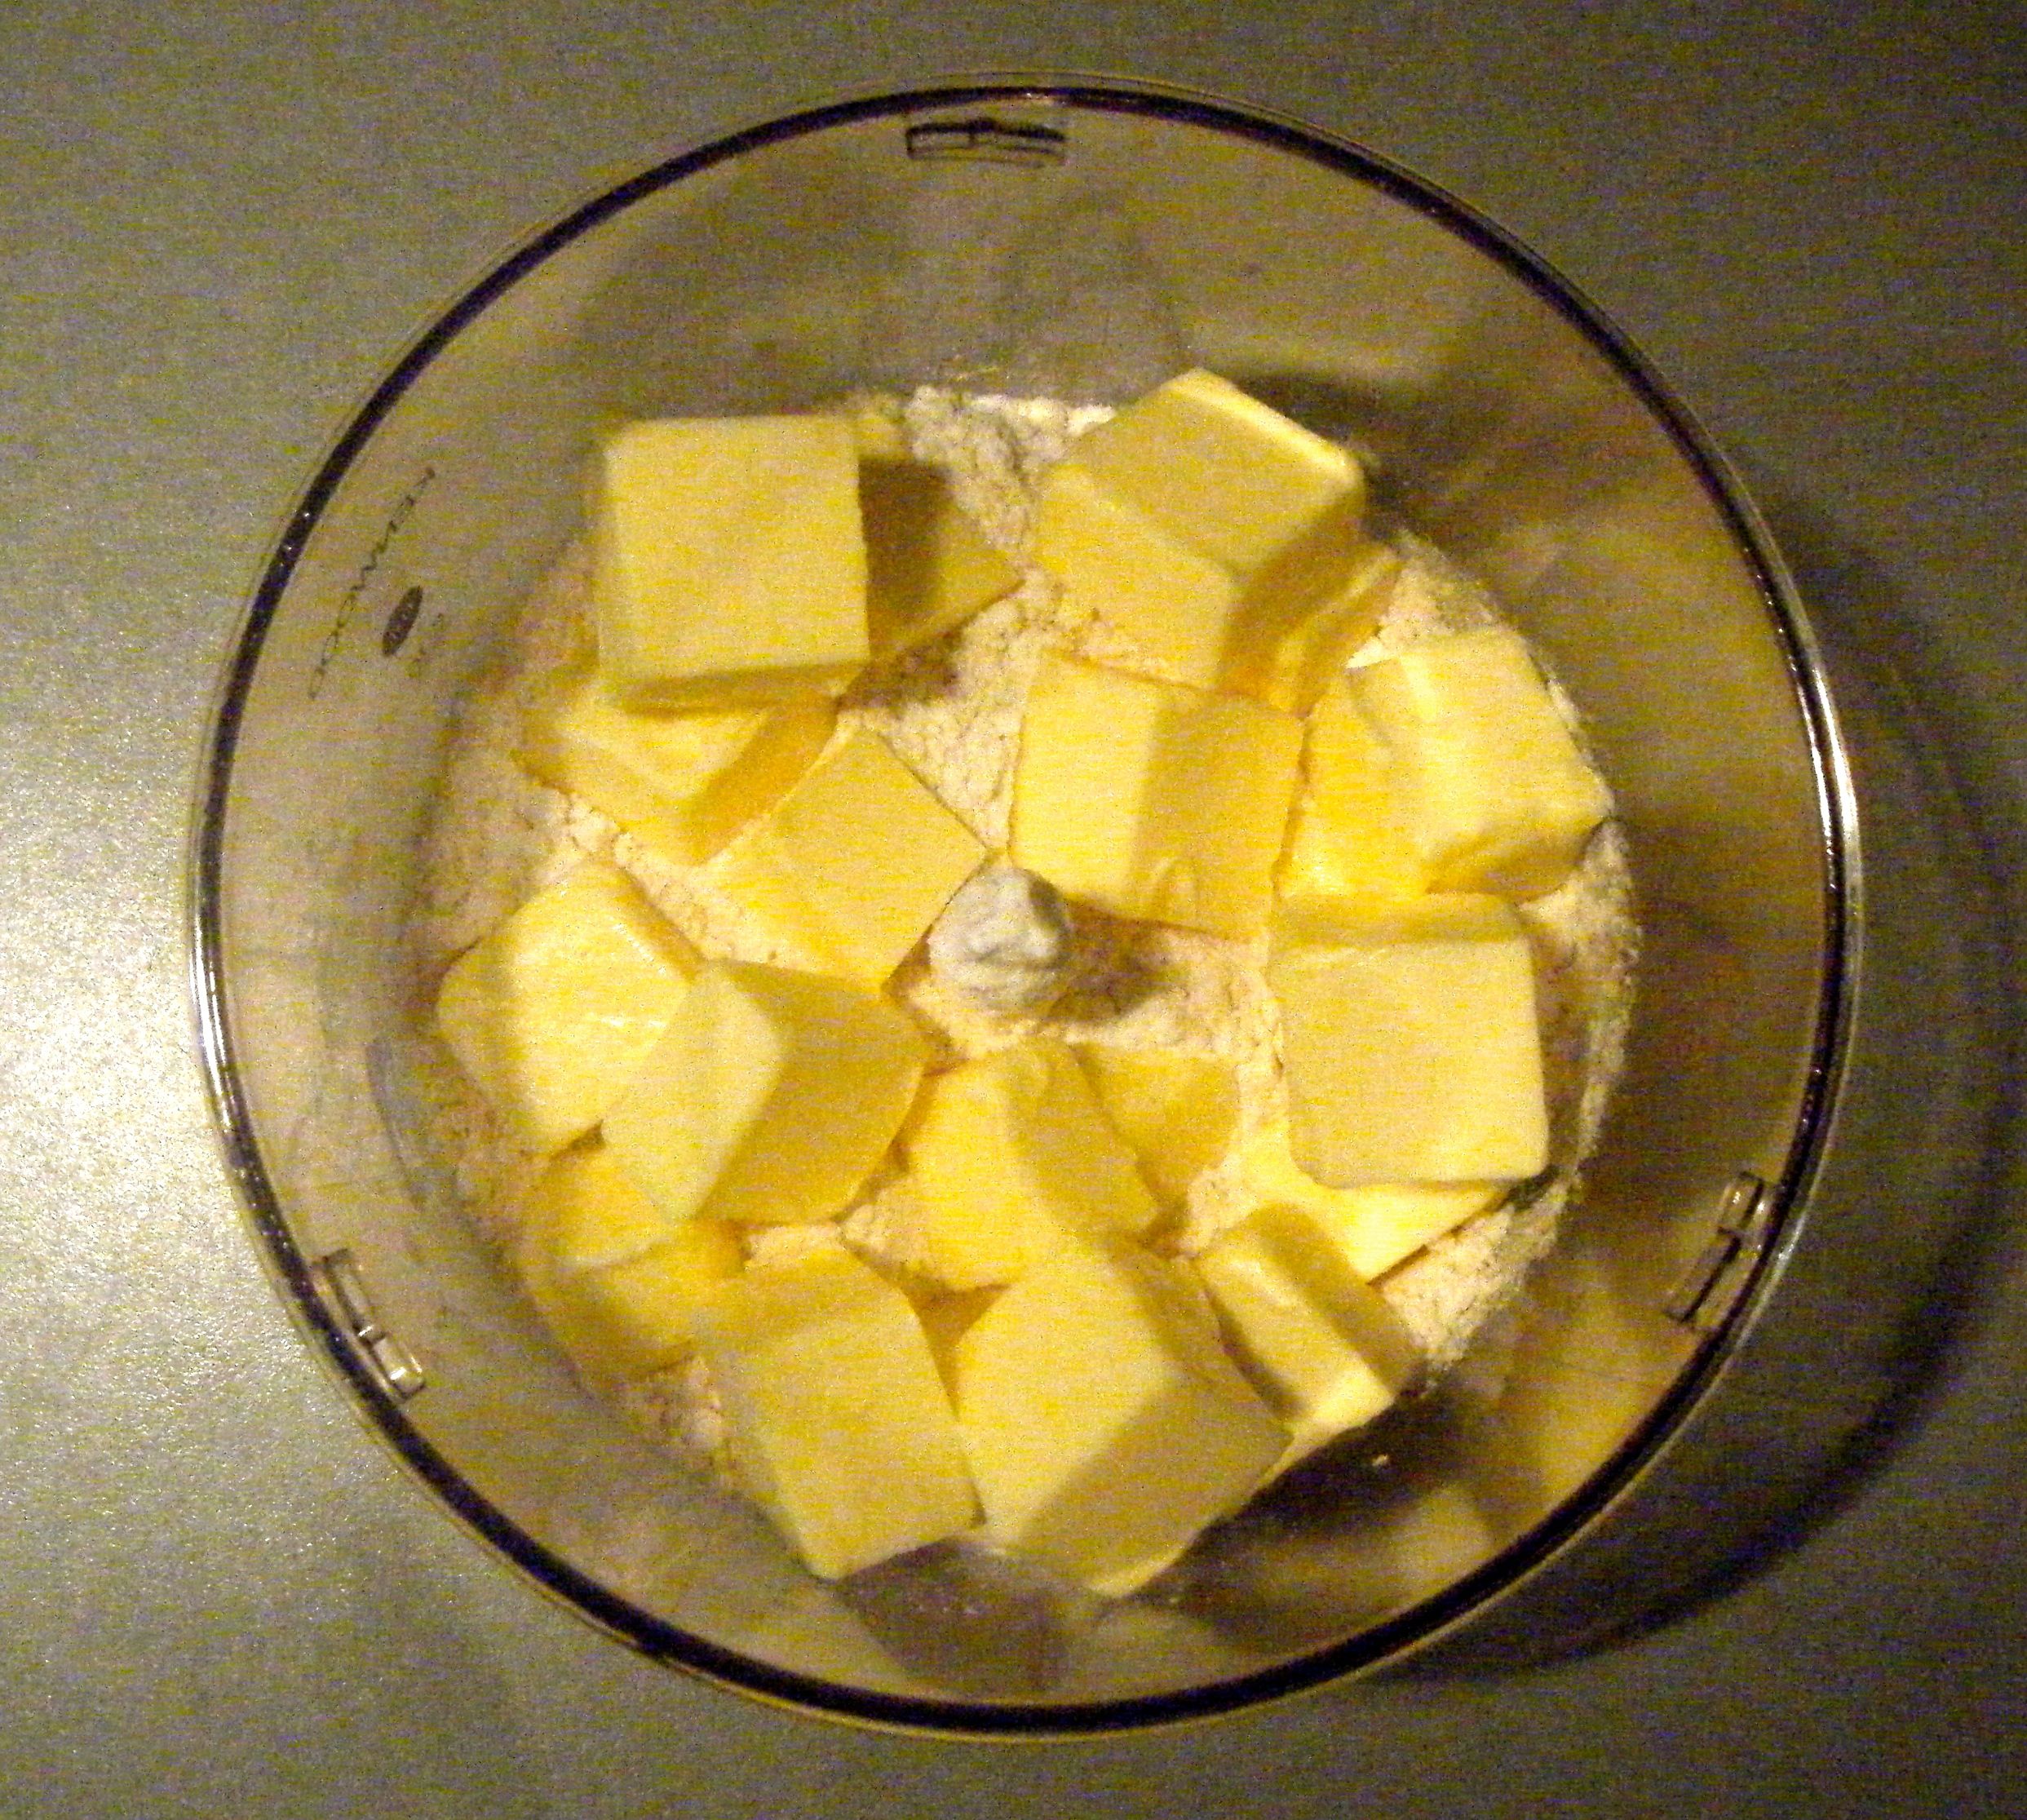
I started by putting my flour, salt and chilled butter into my food processor.  I blitzed it together until it resembled breadcrumbs.

Edited - butter and flour Edited - breadcrumbs

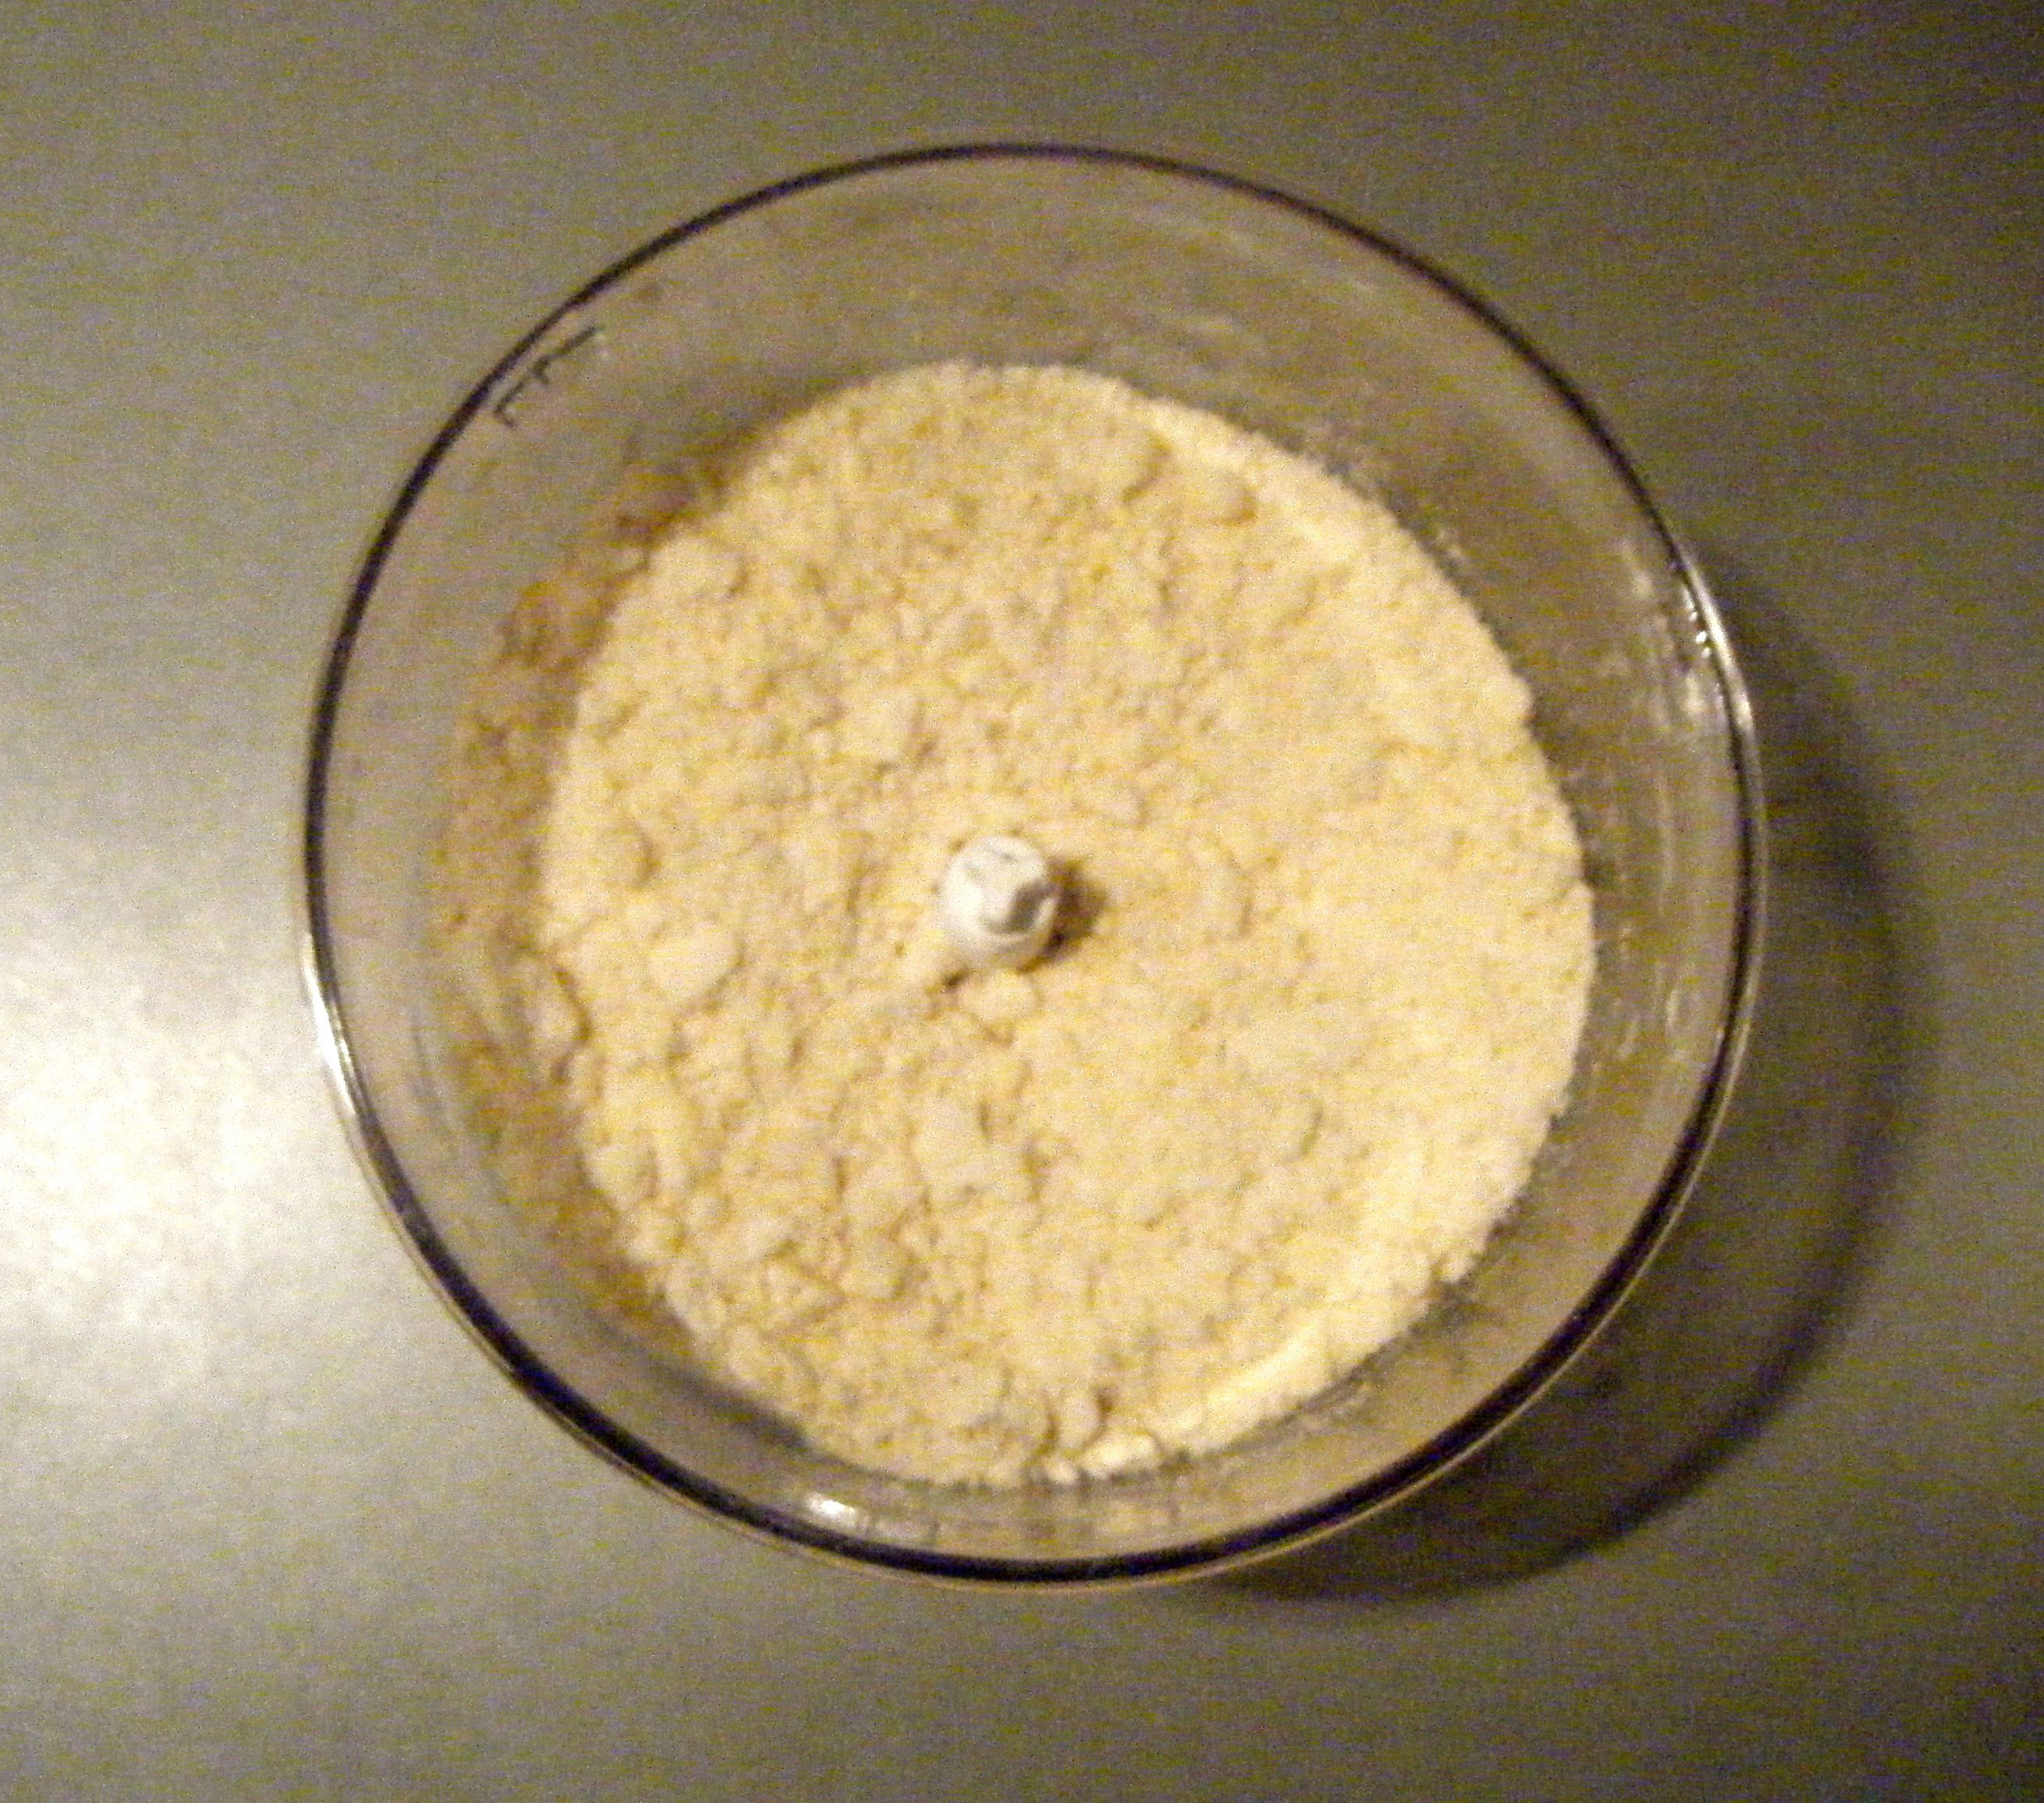
I then added the egg yolk and water and pulsed until the mixture started to come together.  It was then time to get my hands dirty.  I floured my worktop and tipped the dough out to work together with my hands. 

Edited - unworked dough

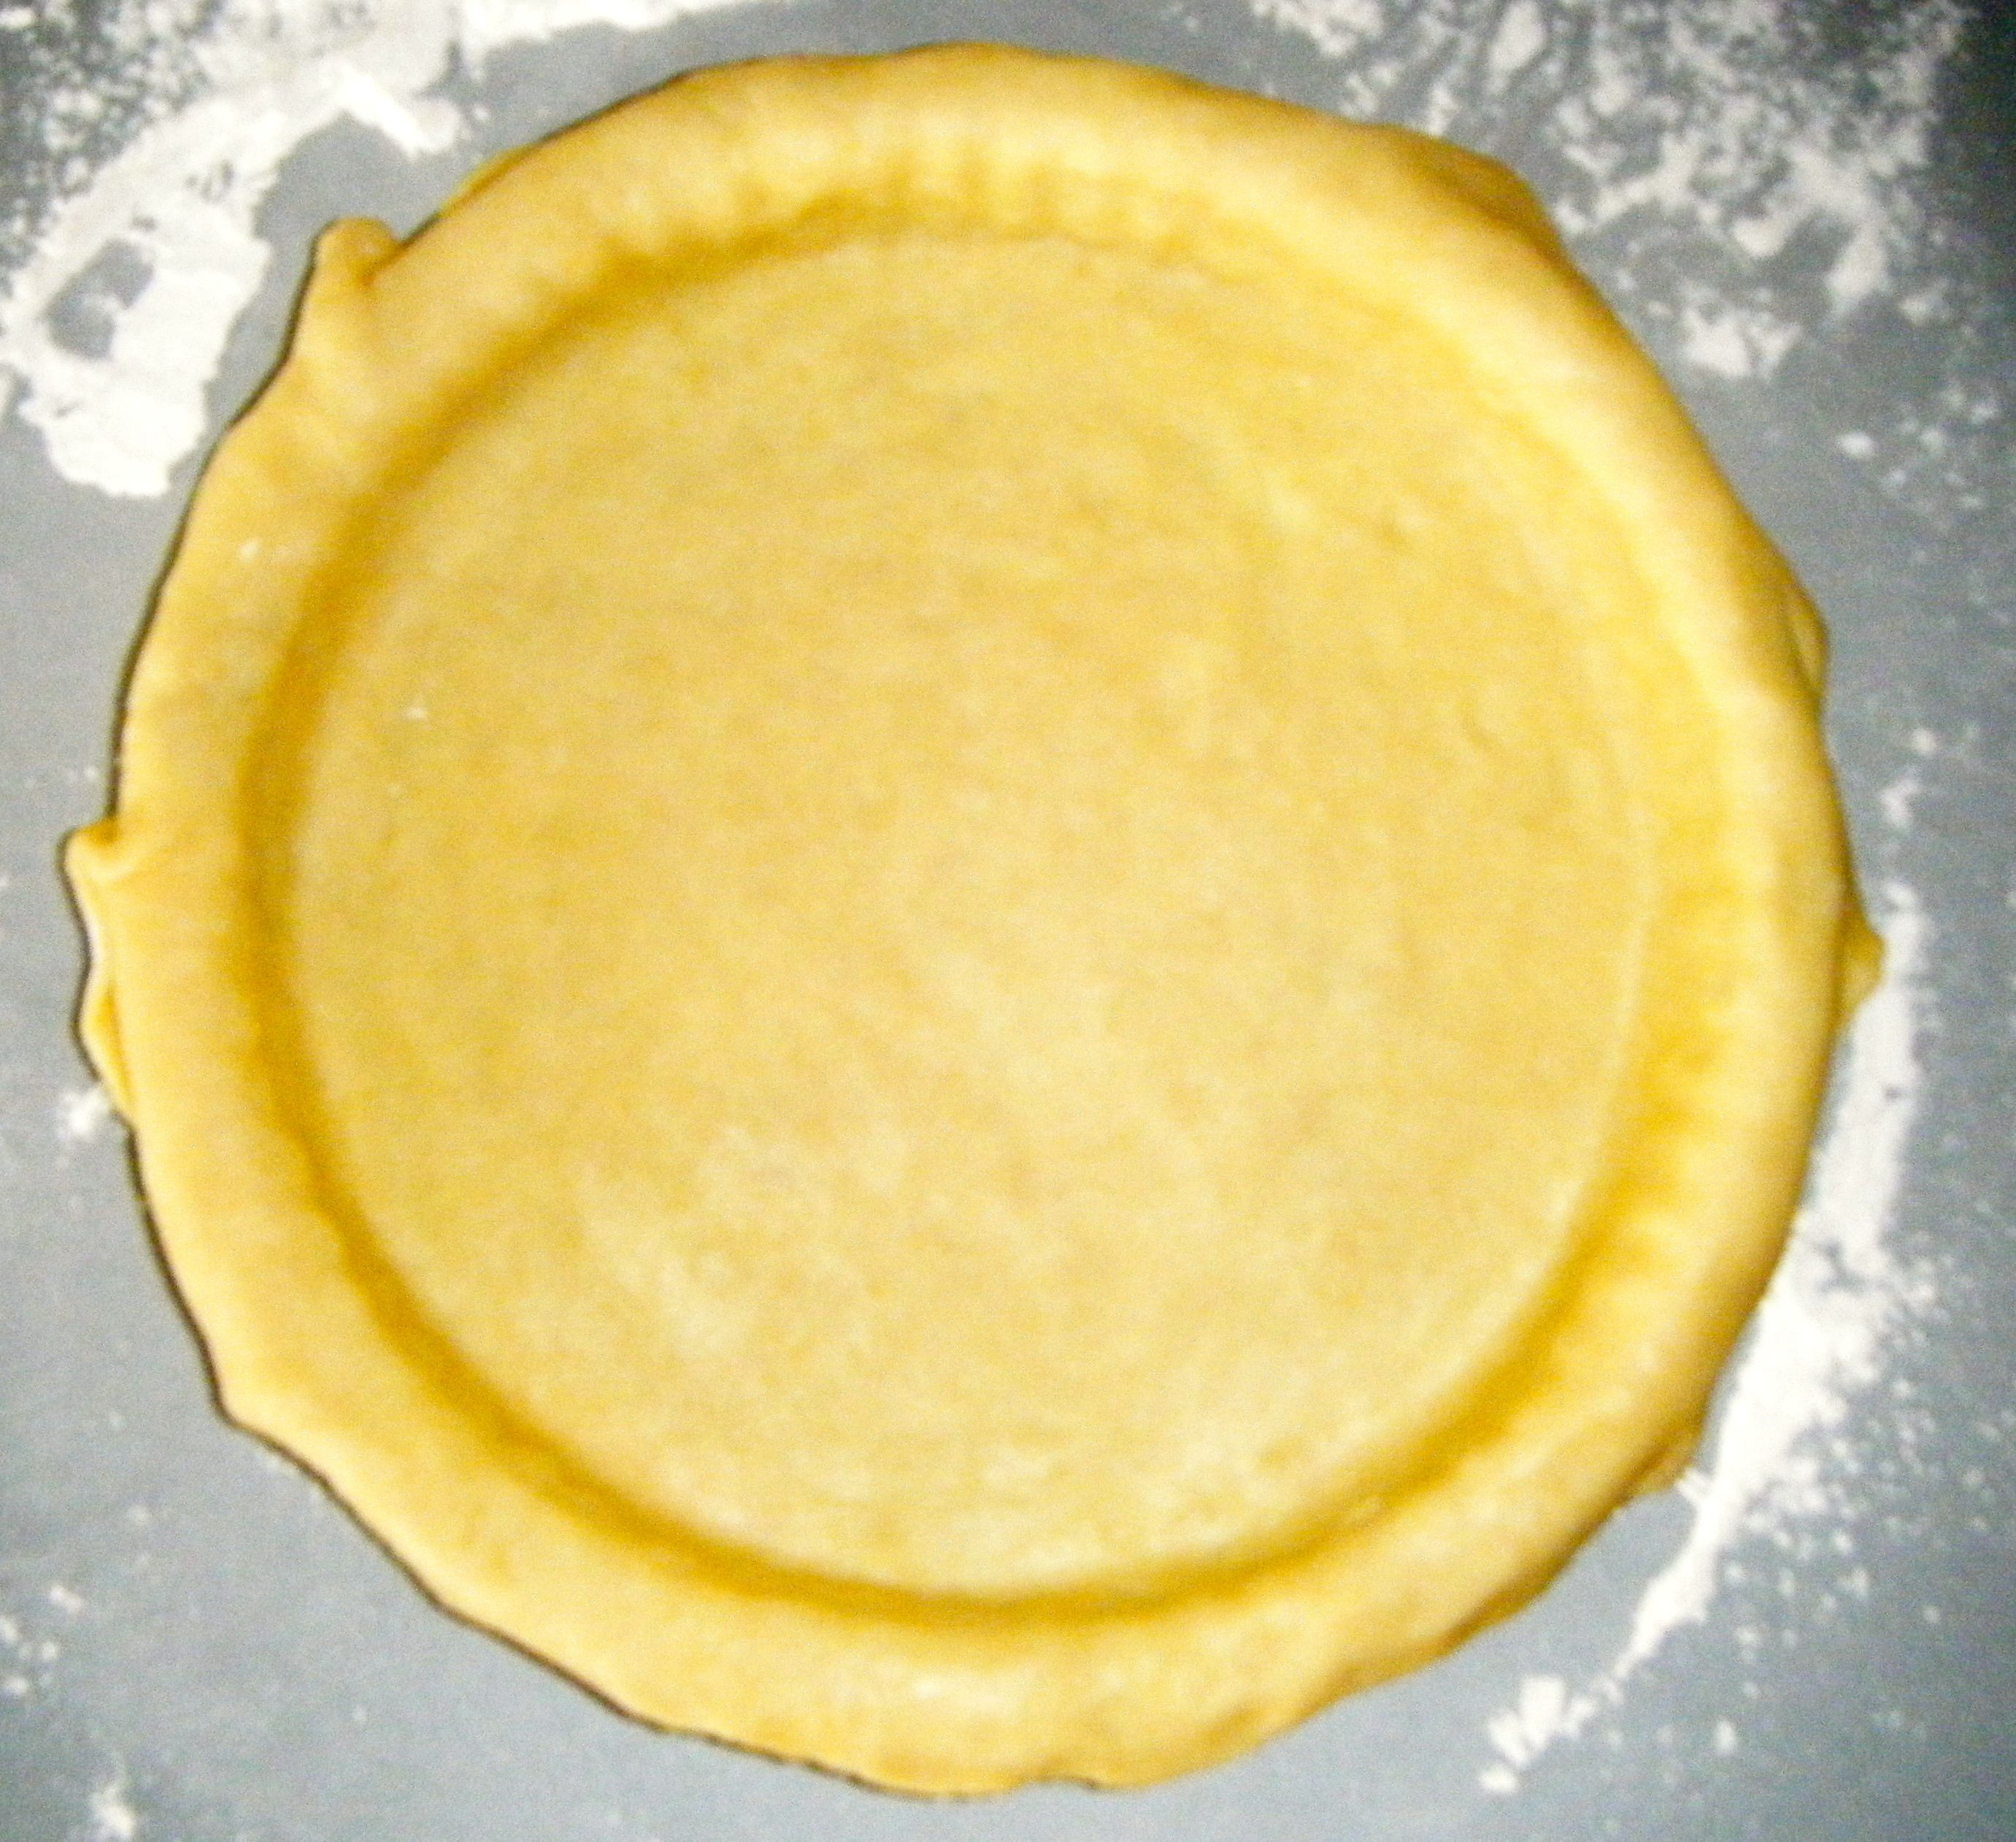
I kneaded it together until smooth, shaped it into a disk and then wrapped it in cling film to chill in the fridge for 20 minutes.  I realised after 10 minutes that my fridge wasn’t particularly cold so I turned it down slightly and given that it was a hot evening, I decided to leave the pastry dough for a total of 30 minutes.

Edited - smooth ball

After the 30 minutes were up, I floured my worktop again, floured my rolling pin and started rolling the dough until it was slightly bigger than the base of my tin.

Edited - rolled out

I greased the tin with a little butter and carefully lifted the pastry in.  Now when I made the ganache tart, my research indicated that the tin should be greased.  However, when I finished with this bake, I thought the base was a bit soft and I wondered if this was because of the extra butter used to grease the tin (as well as a bit of overspill on the filling!).  I’ve done a bit more research and its indicated that when using a shortcrust, you don’t need to grease the tin as there is enough butter in the pastry itself.  Next time, I’ll give this a try and see what happens.

Anyway, with my pastry in the tin, I trimmed and neatened up the edges.  I then set about putting in my baking rice (I don’t have beads so just use rice which I keep in a separate bit of tupperware in my baking cupboard).  The recipe says to line the pastry with foil, however, I remember watching a Celebrity Great British Bake Off where one of the contestants used foil and it stuck to the pastry.  So to avoid a potential disaster, I stuck to what I knew and used baking paper.

Edited - lined tin Edited - trimmed Edited - rice

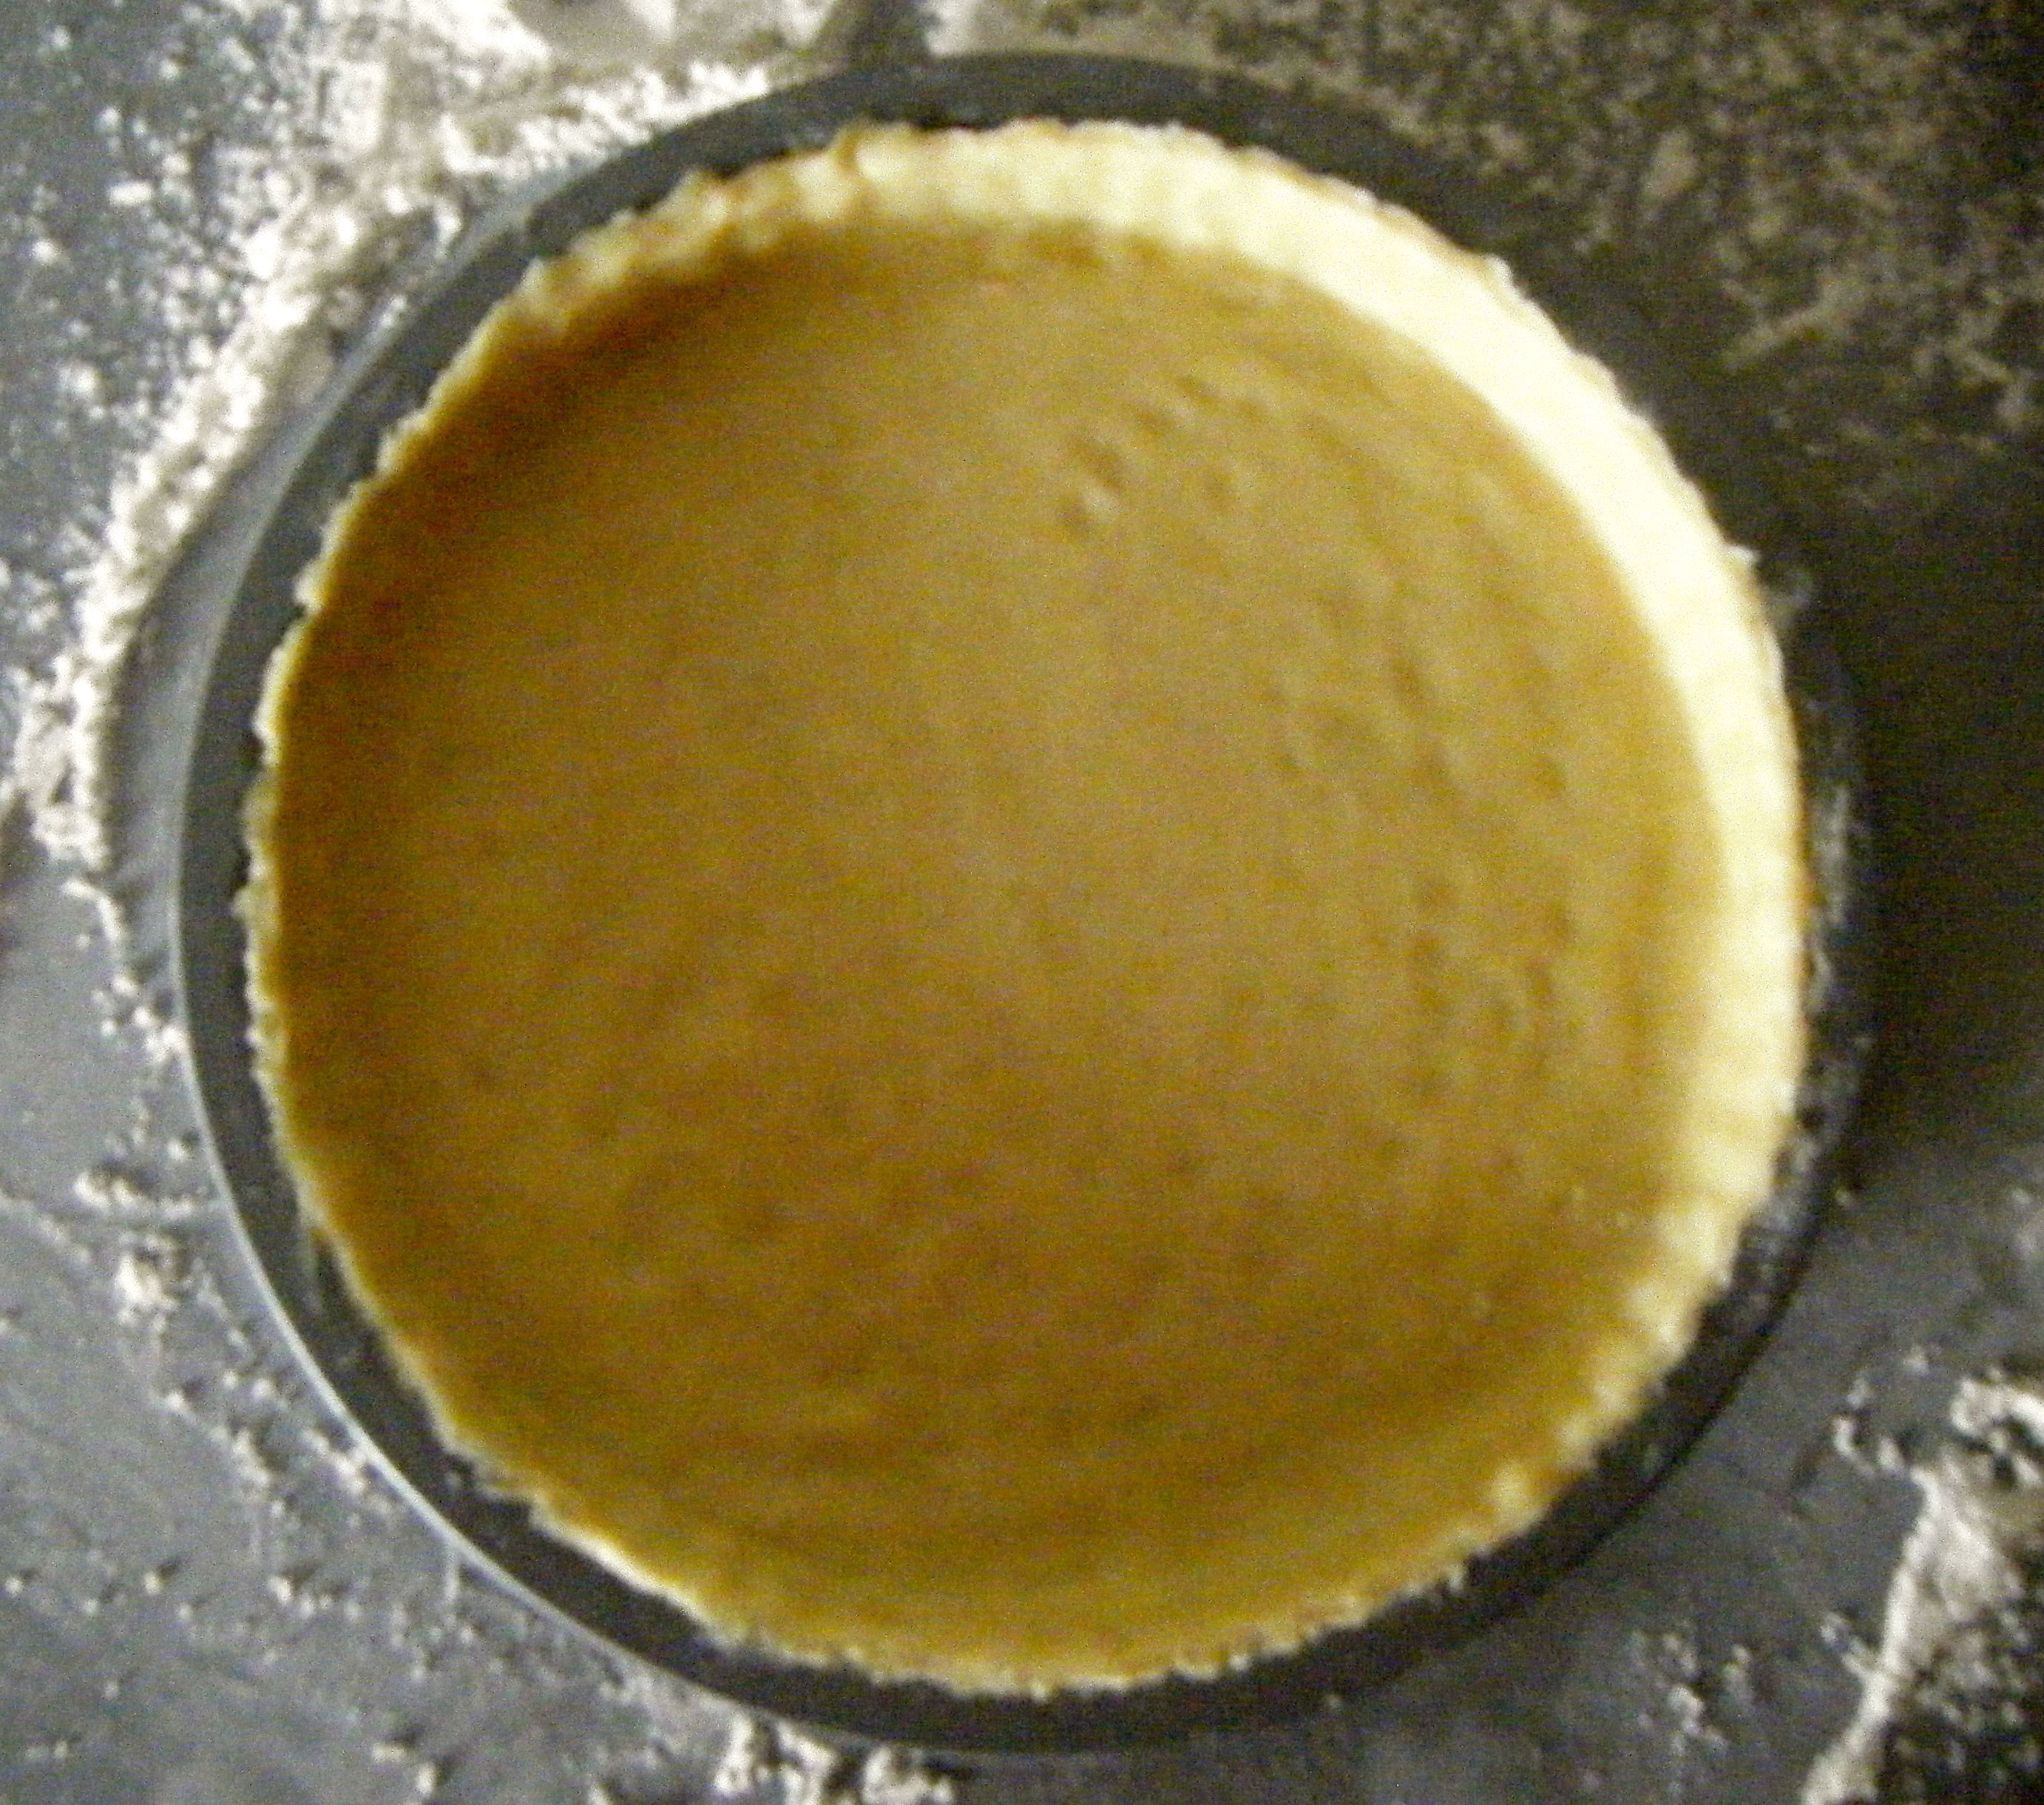
I then popped the tin into the oven on 190 degrees celsius for 30 minutes.  When the timer went off, I removed the rice and baking paper and popped the tin back in the oven for another 15 minutes.

Whilst the pastry was finishing up in the oven, I got started on the filling.  I heated up my frying pan and then added the bacon slices to cook over a medium heat.  I kept string until they were cooked through.

Edited - bacon

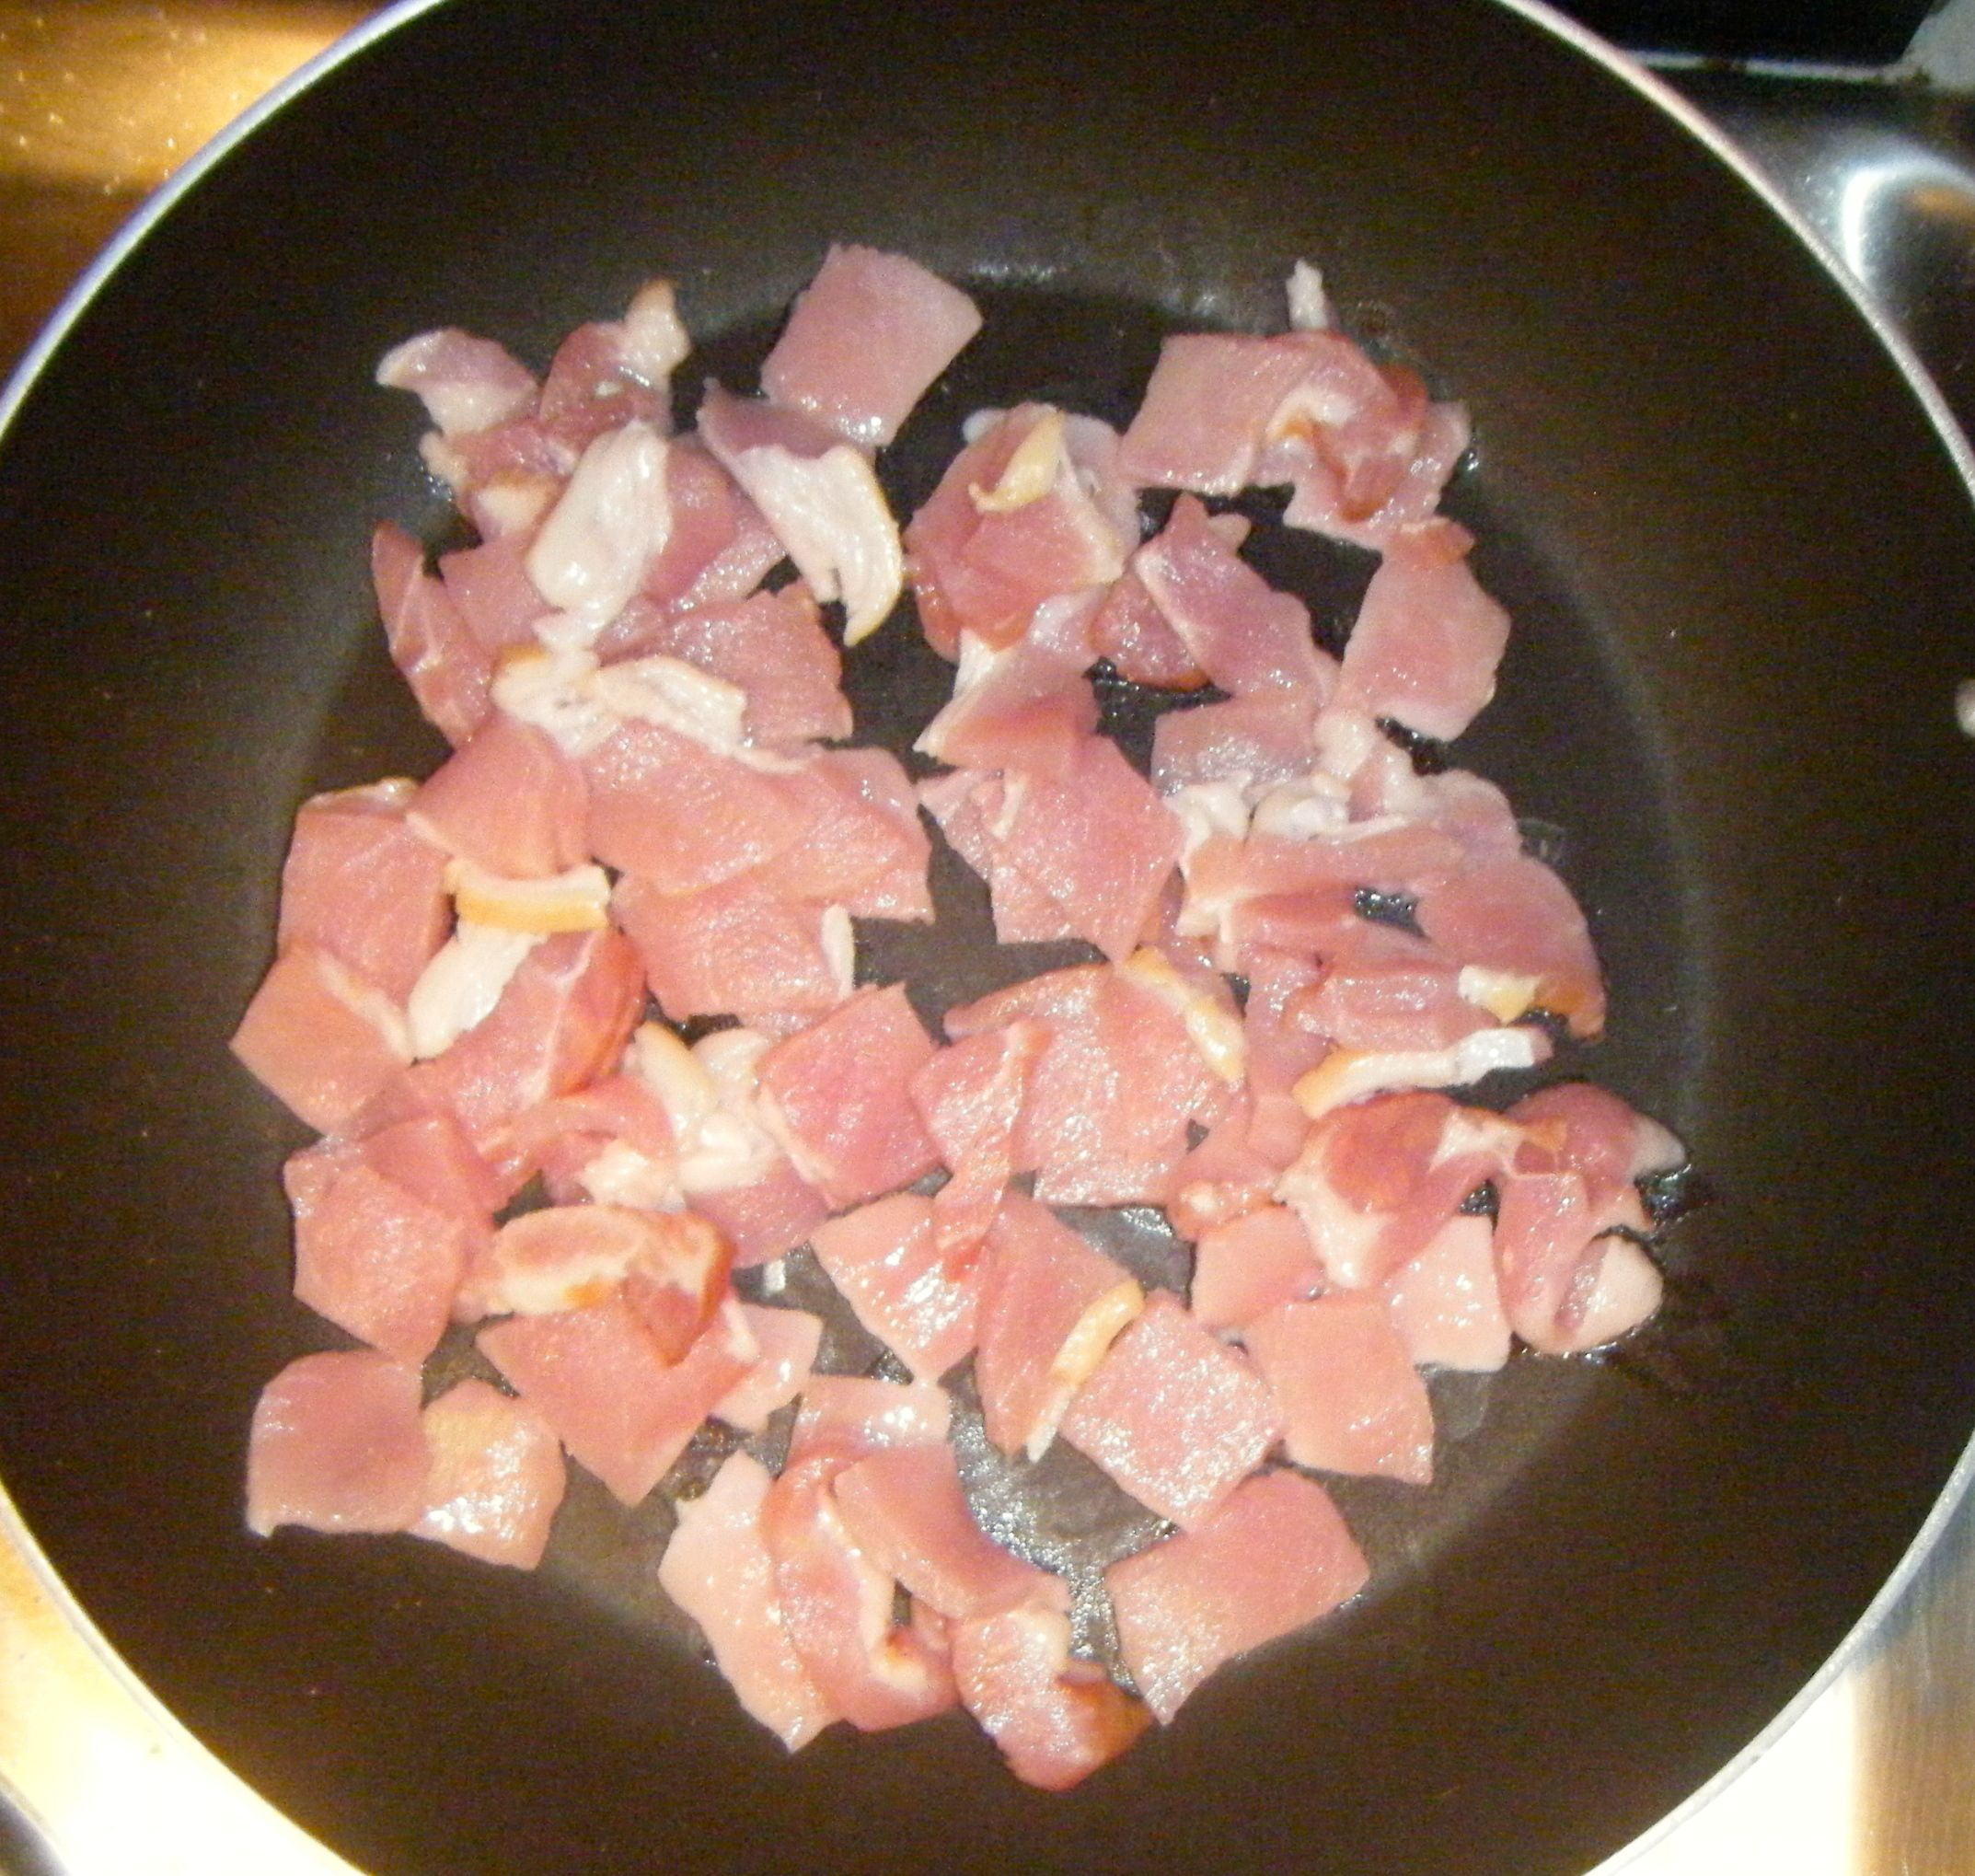
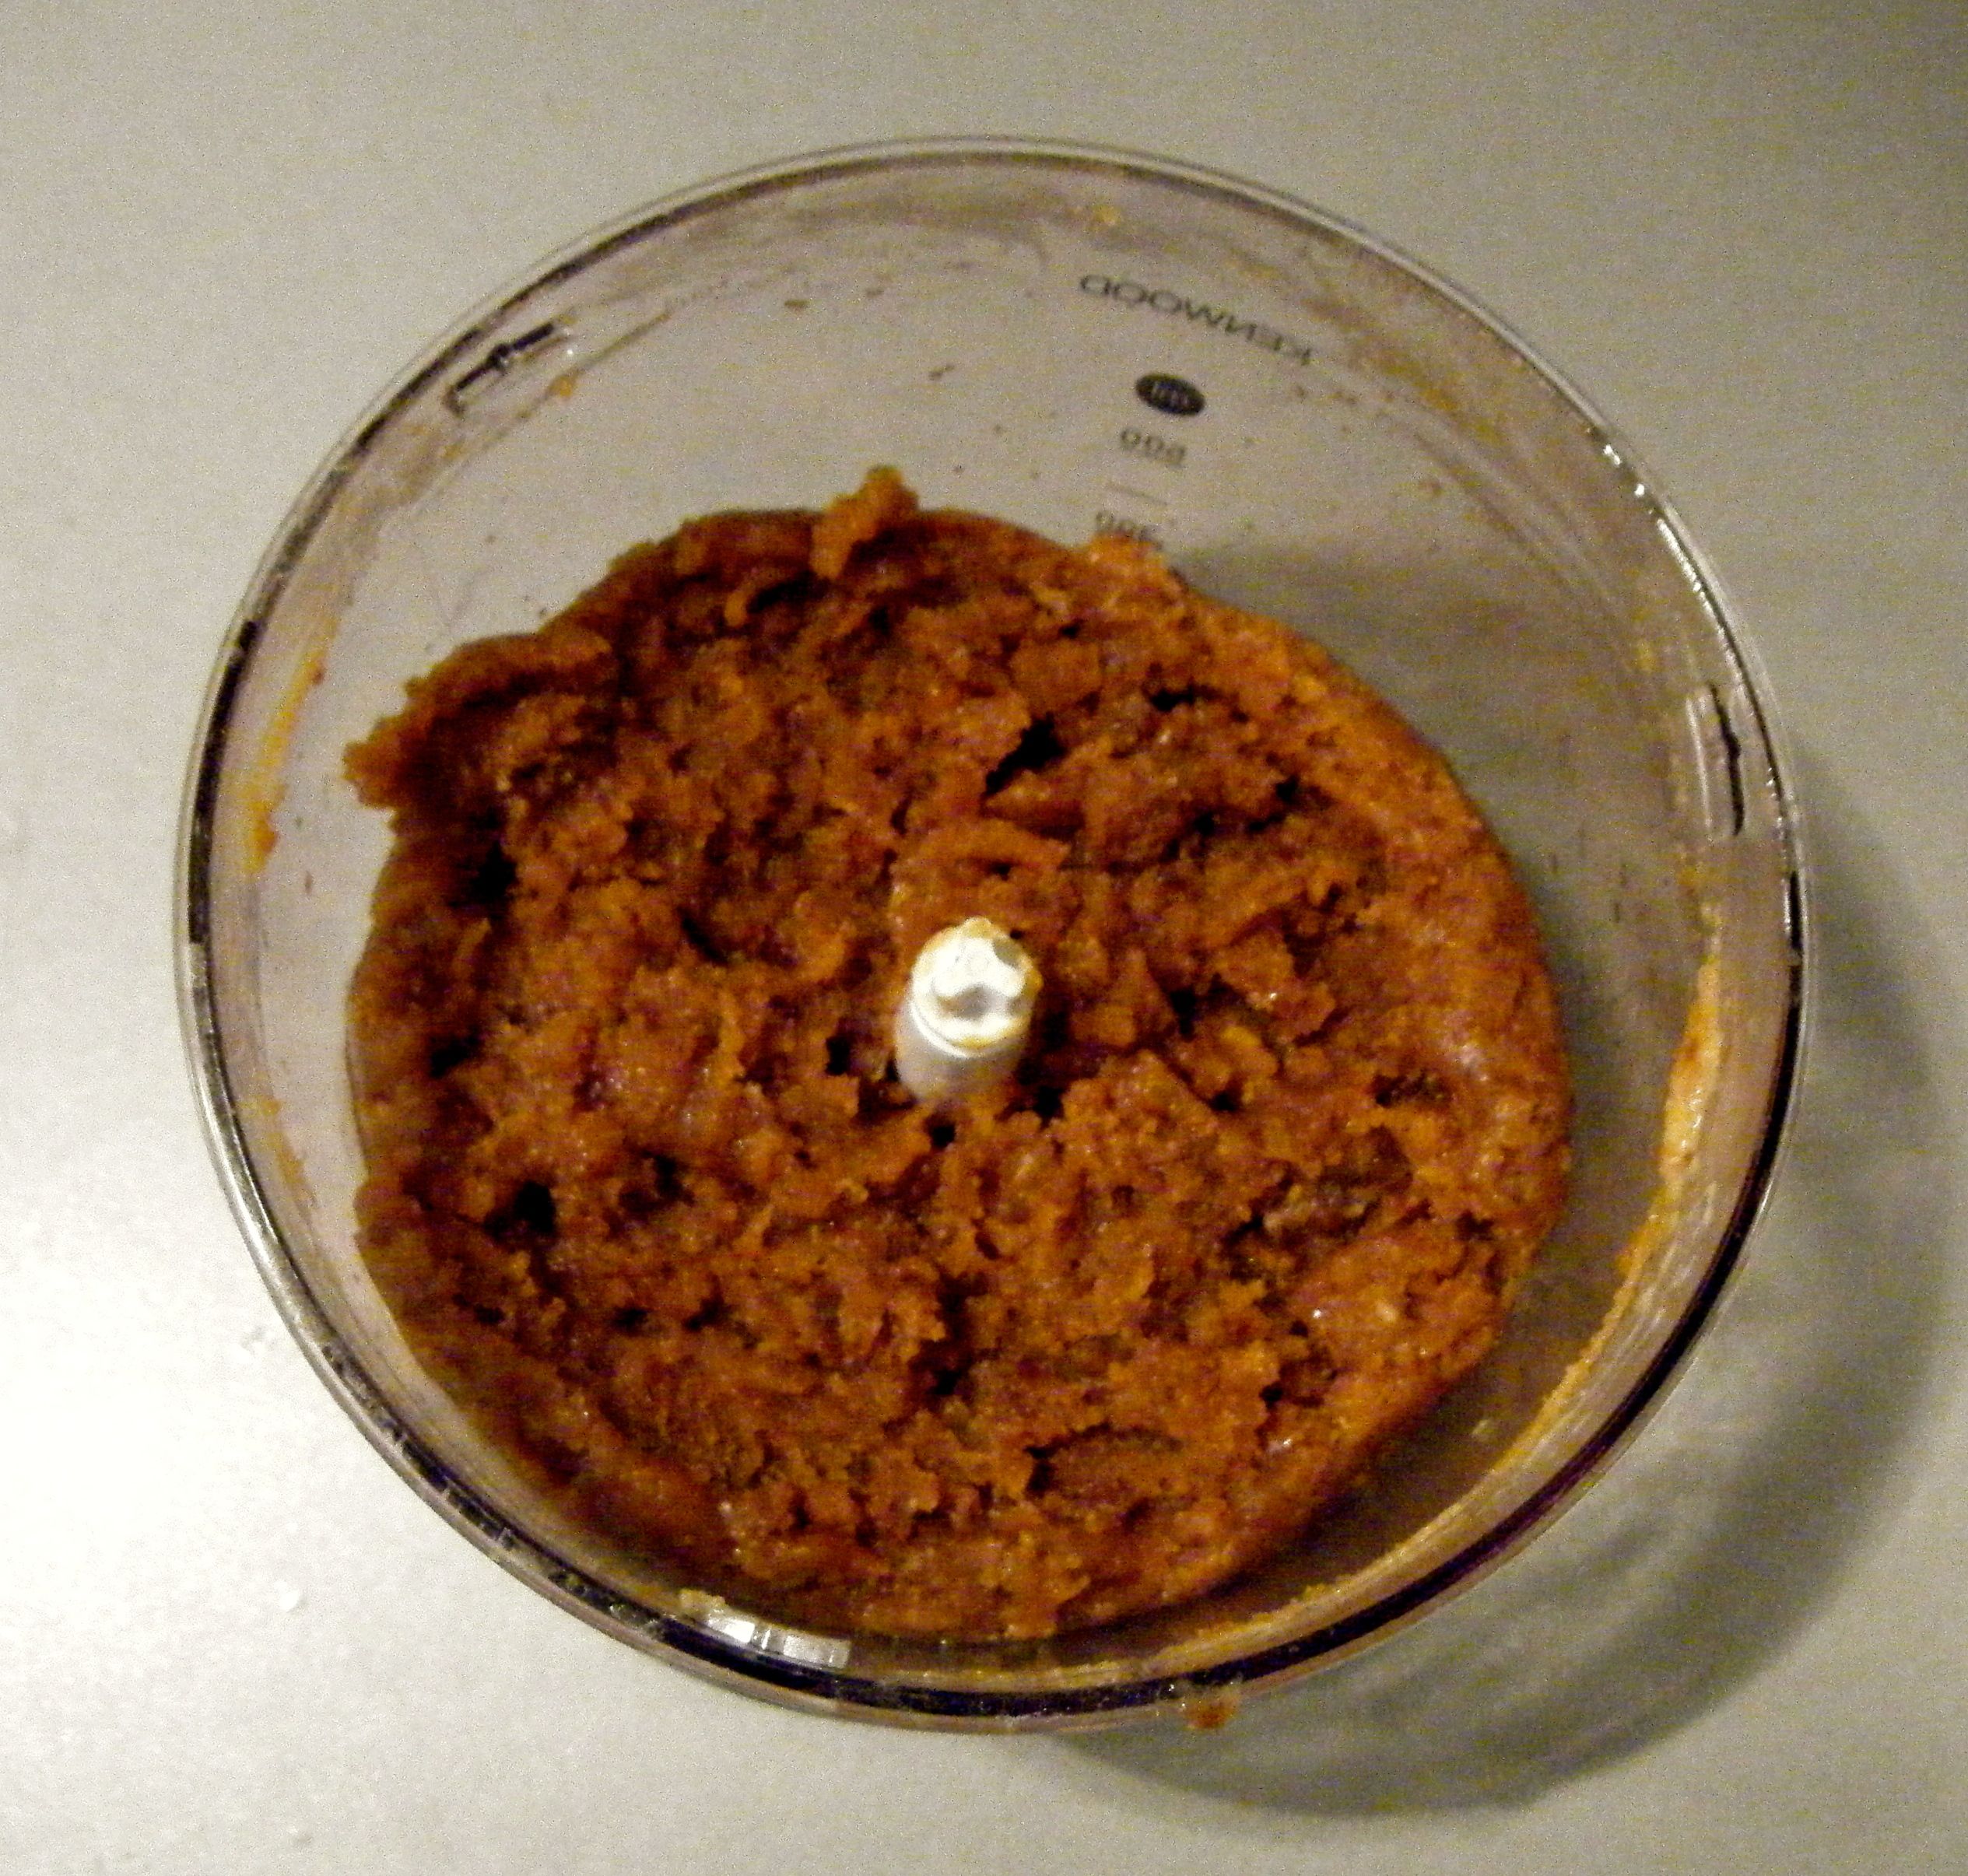
Now this next bit, I deviated from the recipe slightly! It wasn’t on purpose, I just misread it.  The recipe said to “drain the bacon, leaving 1 tablespoon of the fat in the pan”.  I read this to mean, drain off the fat, leaving the bacon and 1 tablespoon of fat in the pan.  What it actually meant was to take the bacon out of of the pan.  Anyway, I’d added my leek and thyme to the bacon, seasoned it with salt and pepper and let it cook for around 5 minutes until softened.  Once it was cooked, I popped the leek and bacon mixture into a bowl to cool.

Edited - leek and bacon

When the pastry was cooked, I put the tin onto a baking tray and left everything to cool whilst I made mine and Dave’s dinner.

Edited - cooked pastry

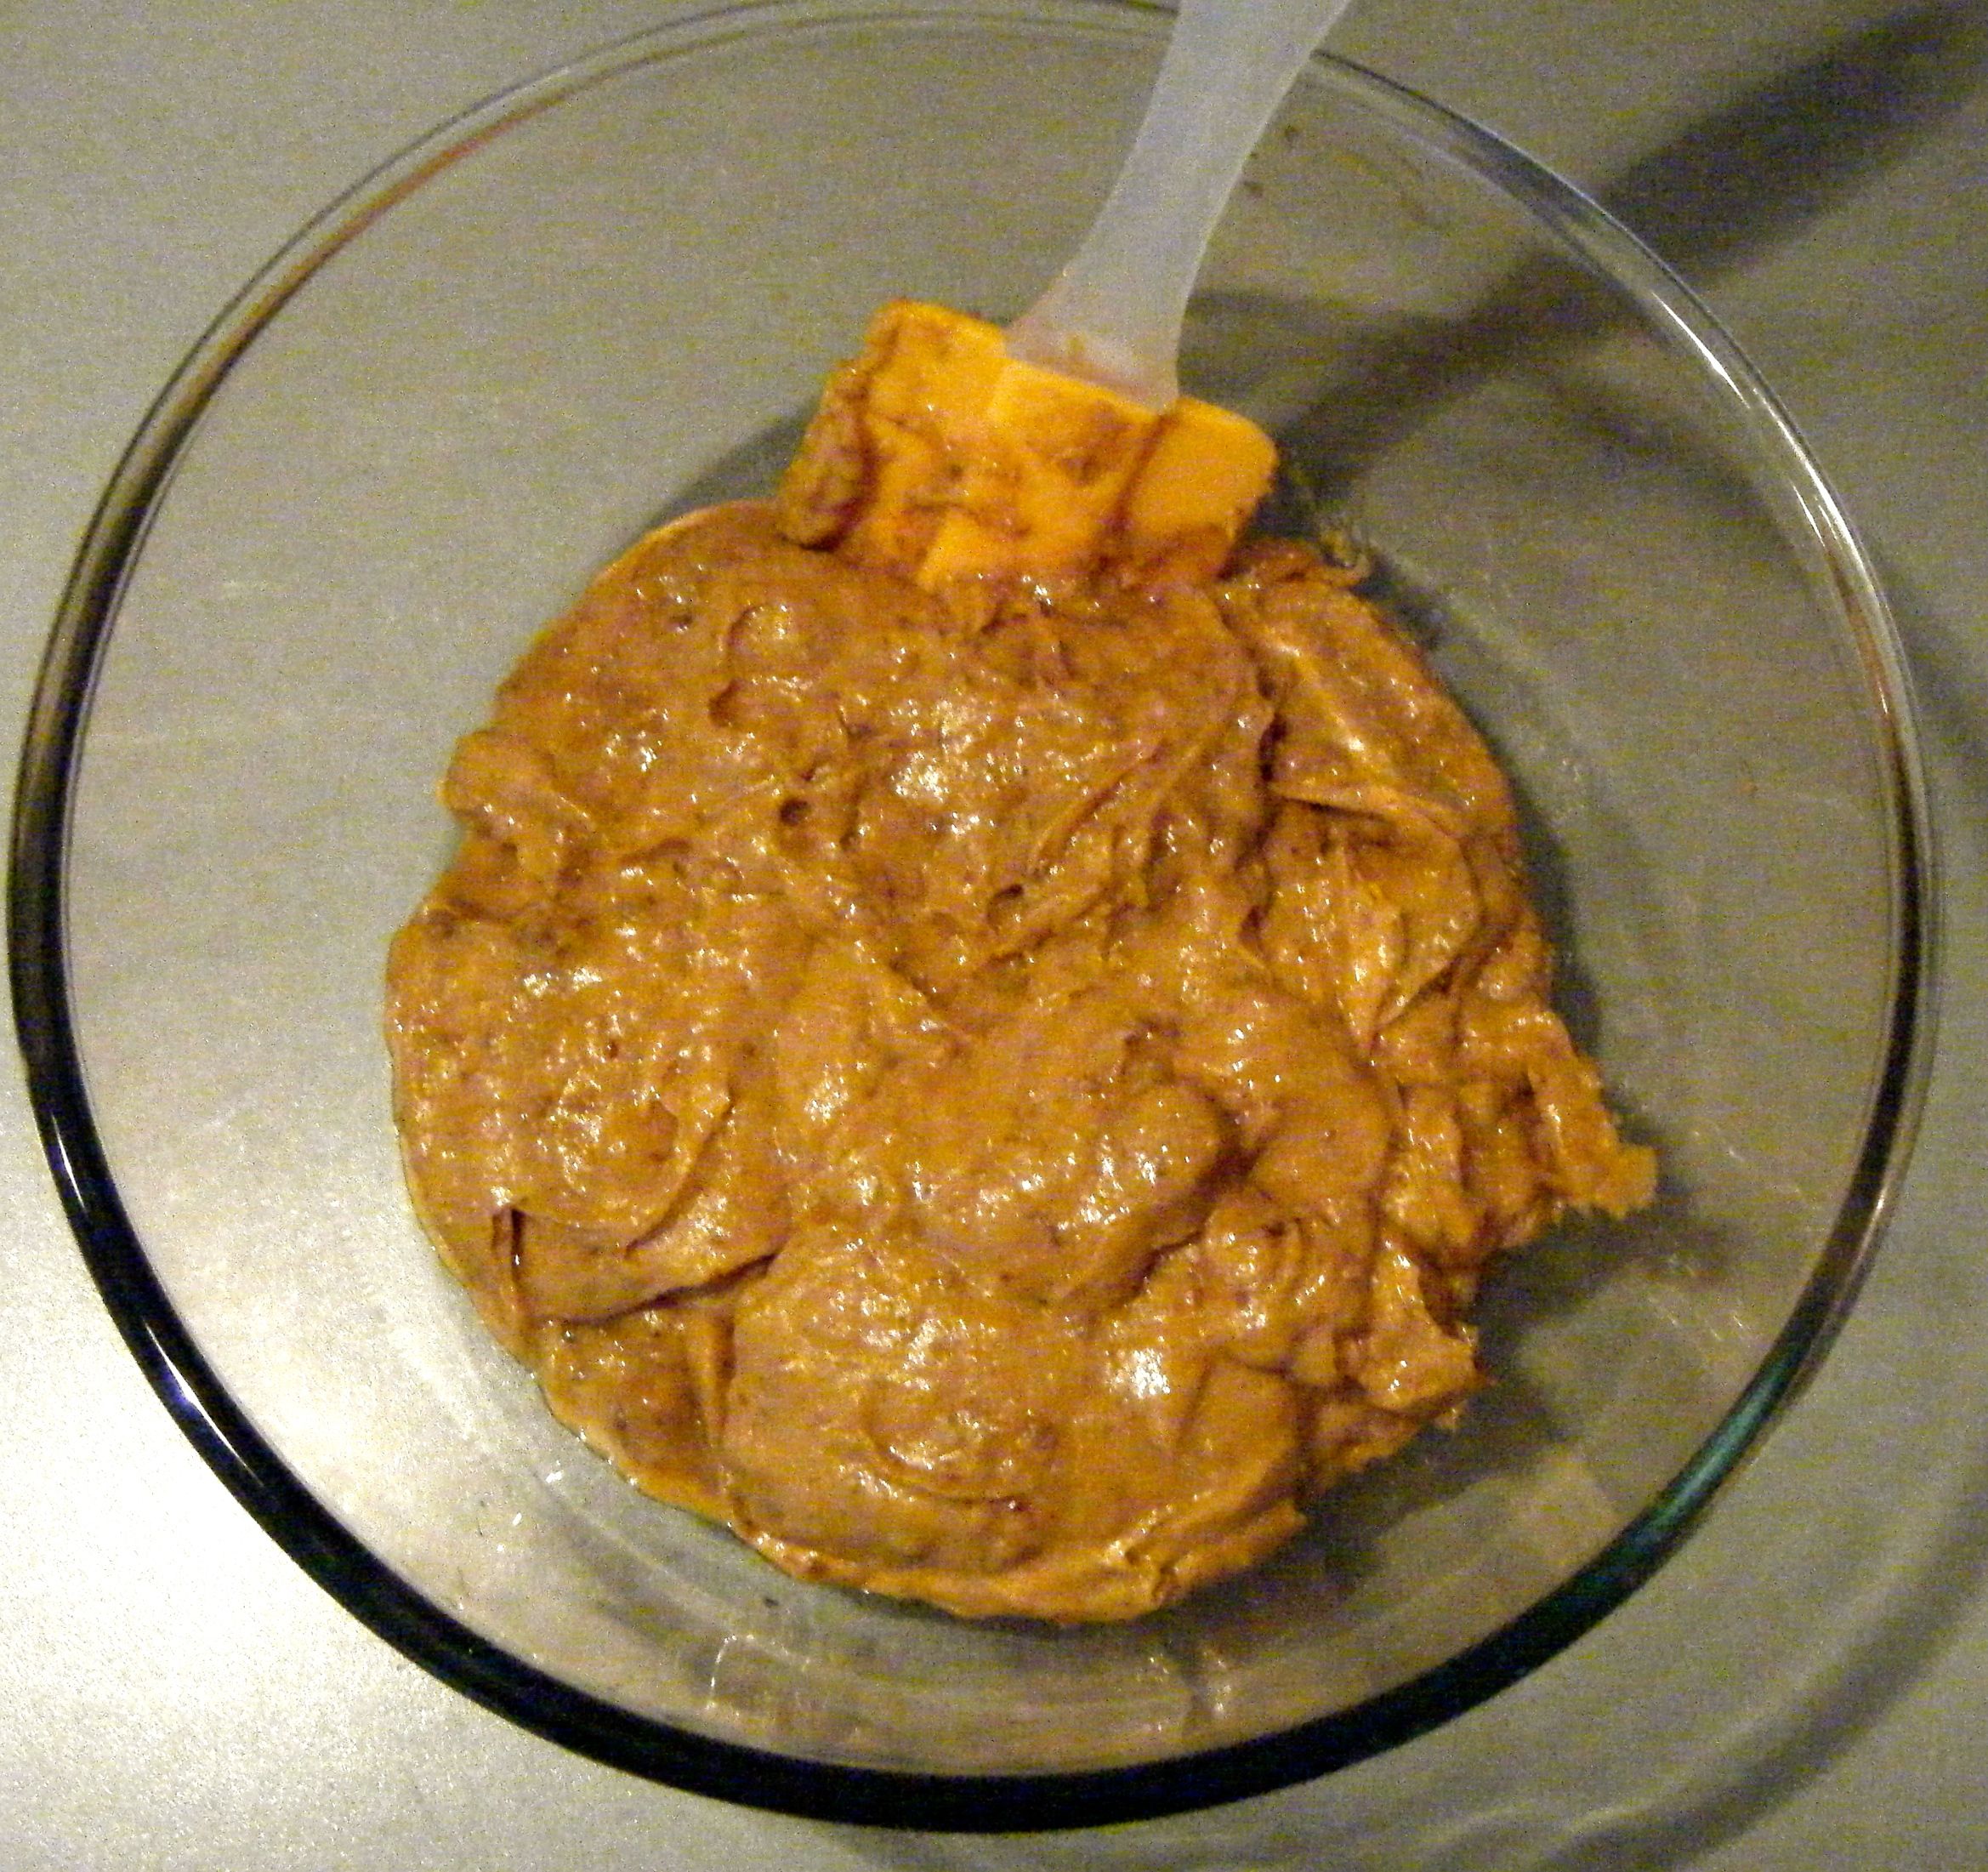
After we were fed and watered, I carried on with the quiche.  I added the grated cheese to the leek and bacon, mixed it all together and then put it in the pastry case. It was very full!!! So I decided to pull out some of the leek slices, leaving the yummy bacon and cheese.  I’m not sure it really made any difference but I felt like I had at least done something 🙂

Edited - filling in

I then poured the cream into a jug, added the eggs and egg white before whisking with a balloon whisk.  I didn’t really know what I was doing here so I just whisked it until everything was well combined.  I transferred the mixture into a jug and carefully poured it over the quiche filling.

Practial tip: don’t overfill the pastry case.  If the mixture spills over the edge, you’ll end up with a soggy bottom.

So, in light of the tip above, at this point, I kept repeating to myself “don’t overfill it! don’t overfill it!”  and what did I do? Yep, I overfilled it 😦  I actually only used half of the cream and egg mixture too!

Edited - oven ready

Anyway, I popped the (overfilled) quiche into the oven on 190 degrees celsius for 30 minutes to cook through.  I took the quiche out of the oven and popped it onto a cooking rack for 15 minutes. I then removed the ring, leaving the quiche on the base of the tin. I wasn’t sure whether I should remove the base as well but because the filling had spilled over, I thought it best to leave the quiche on a sturdy base.

Edited - ready

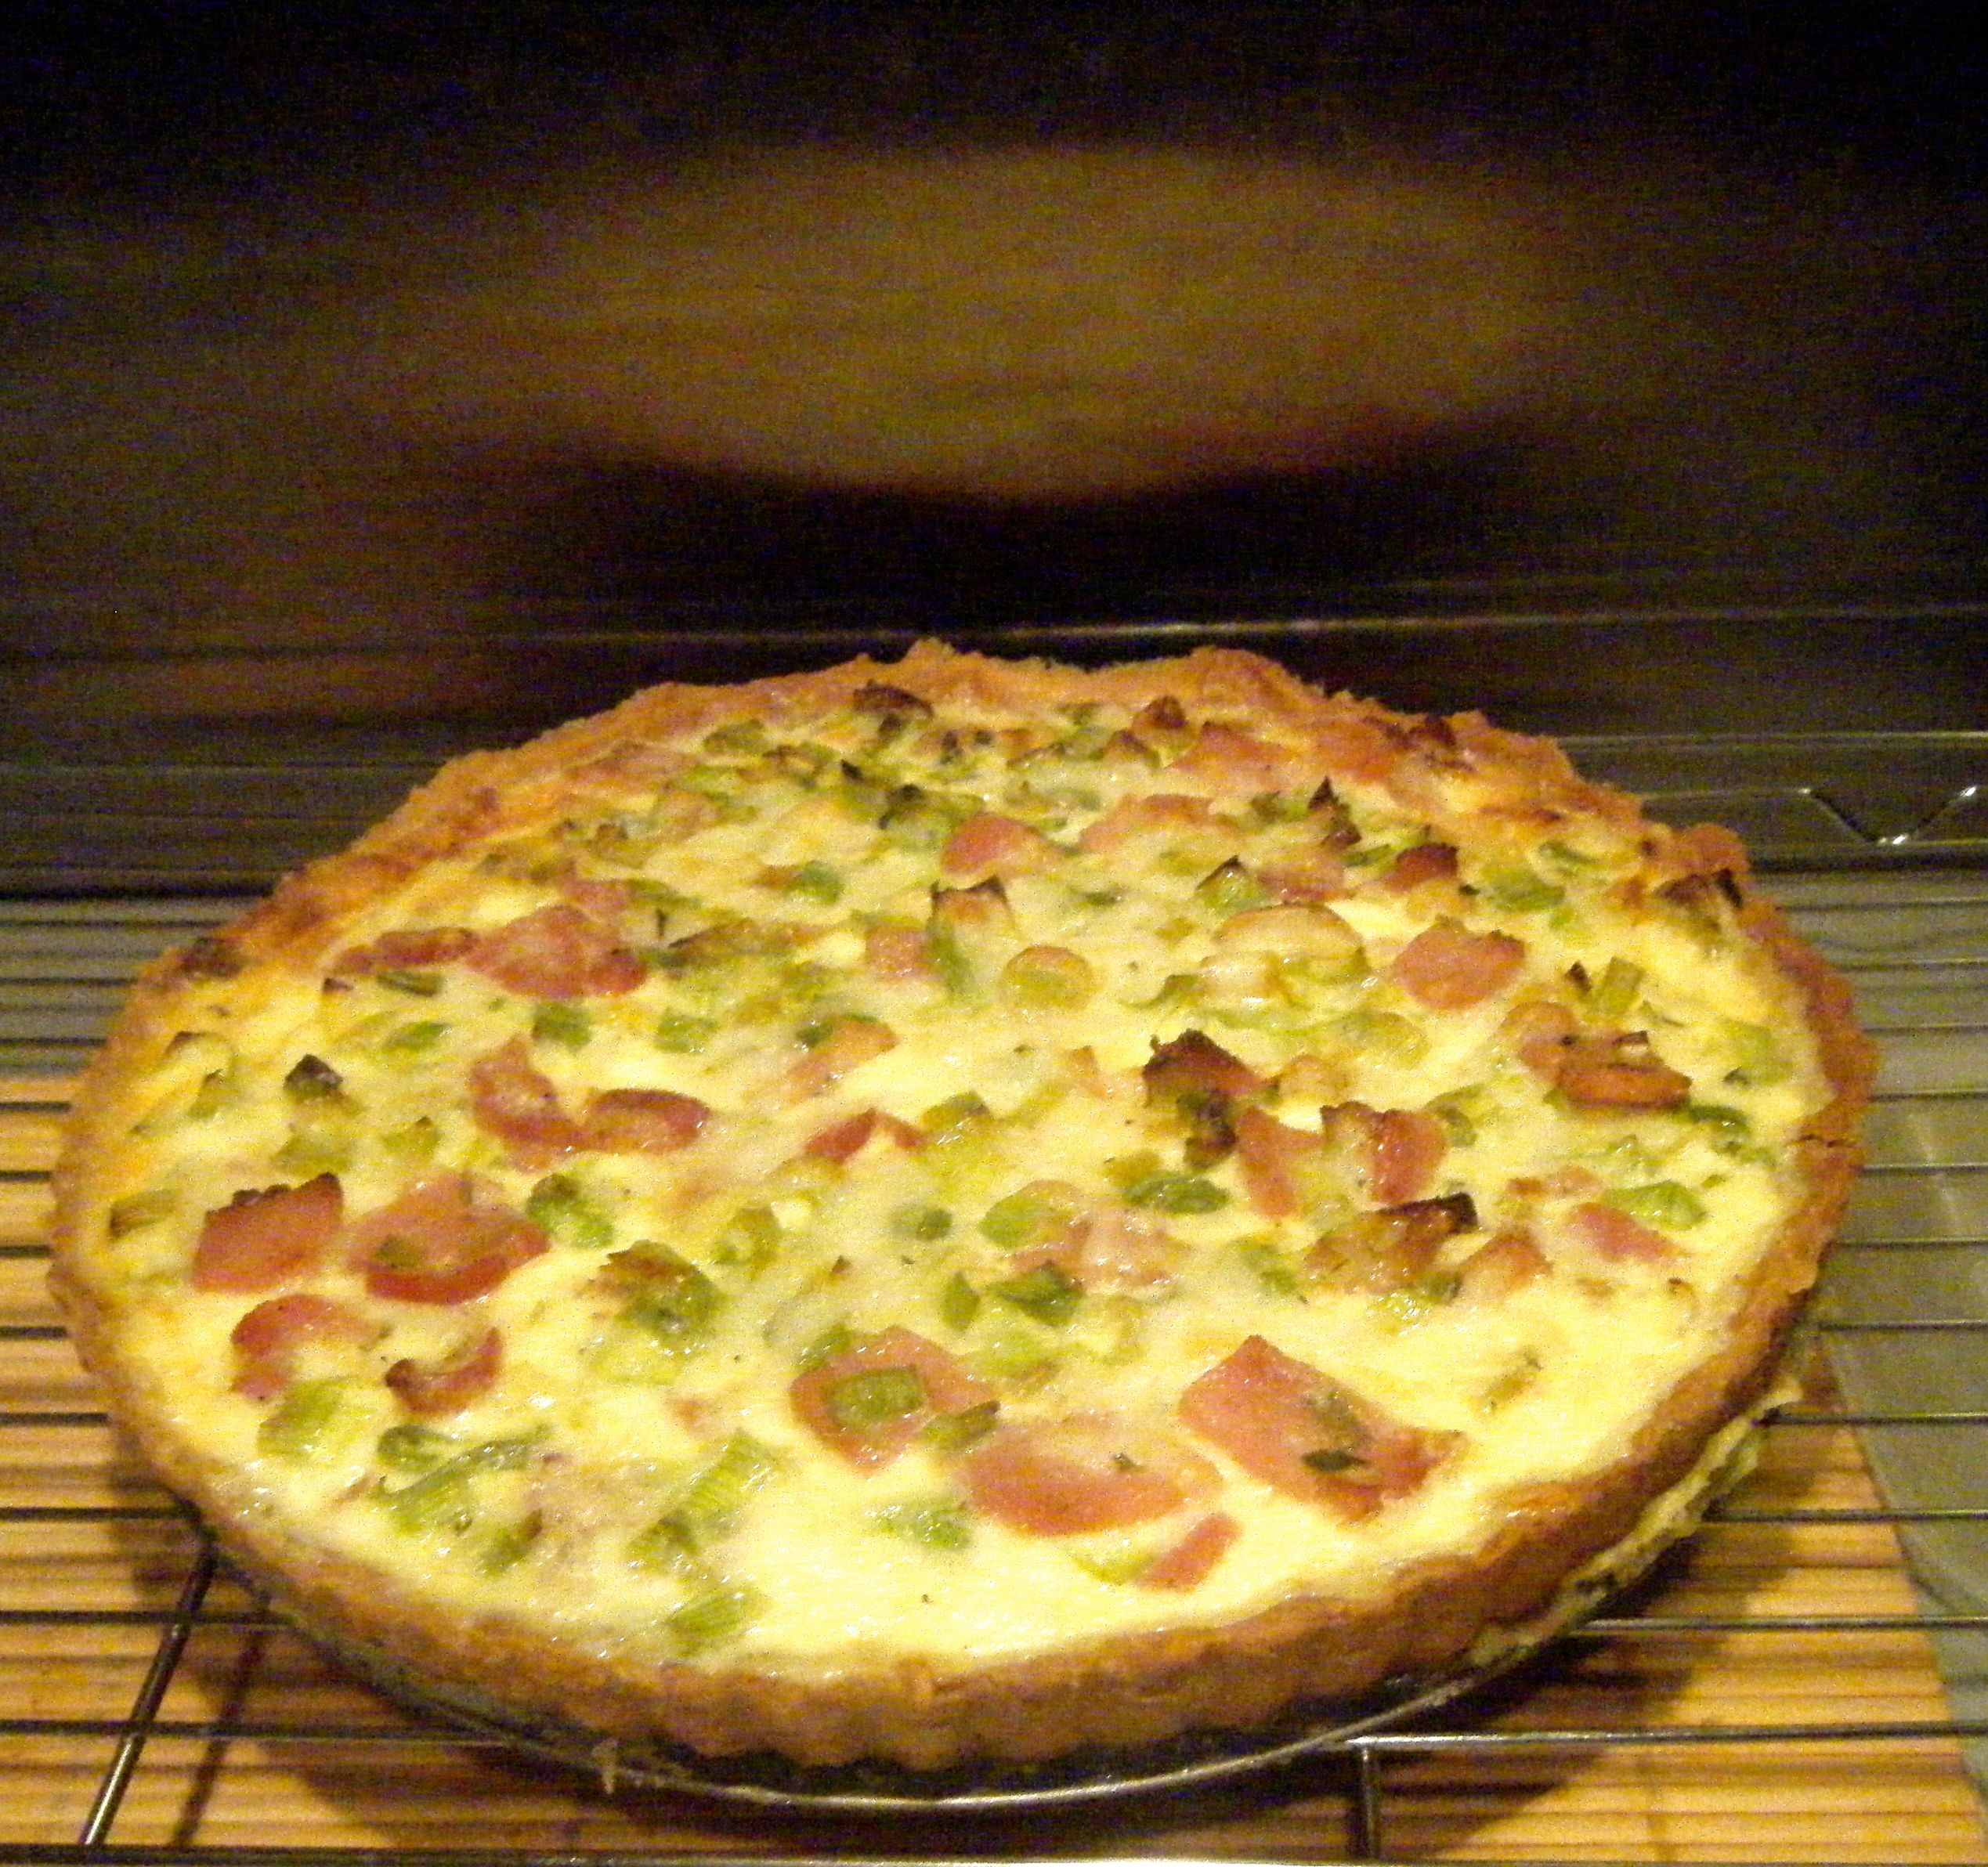
Once cooled enough, I popped the quiche in the fridge overnight before chopping it up to take to work the next day.

Edited - slice

Edited - served up
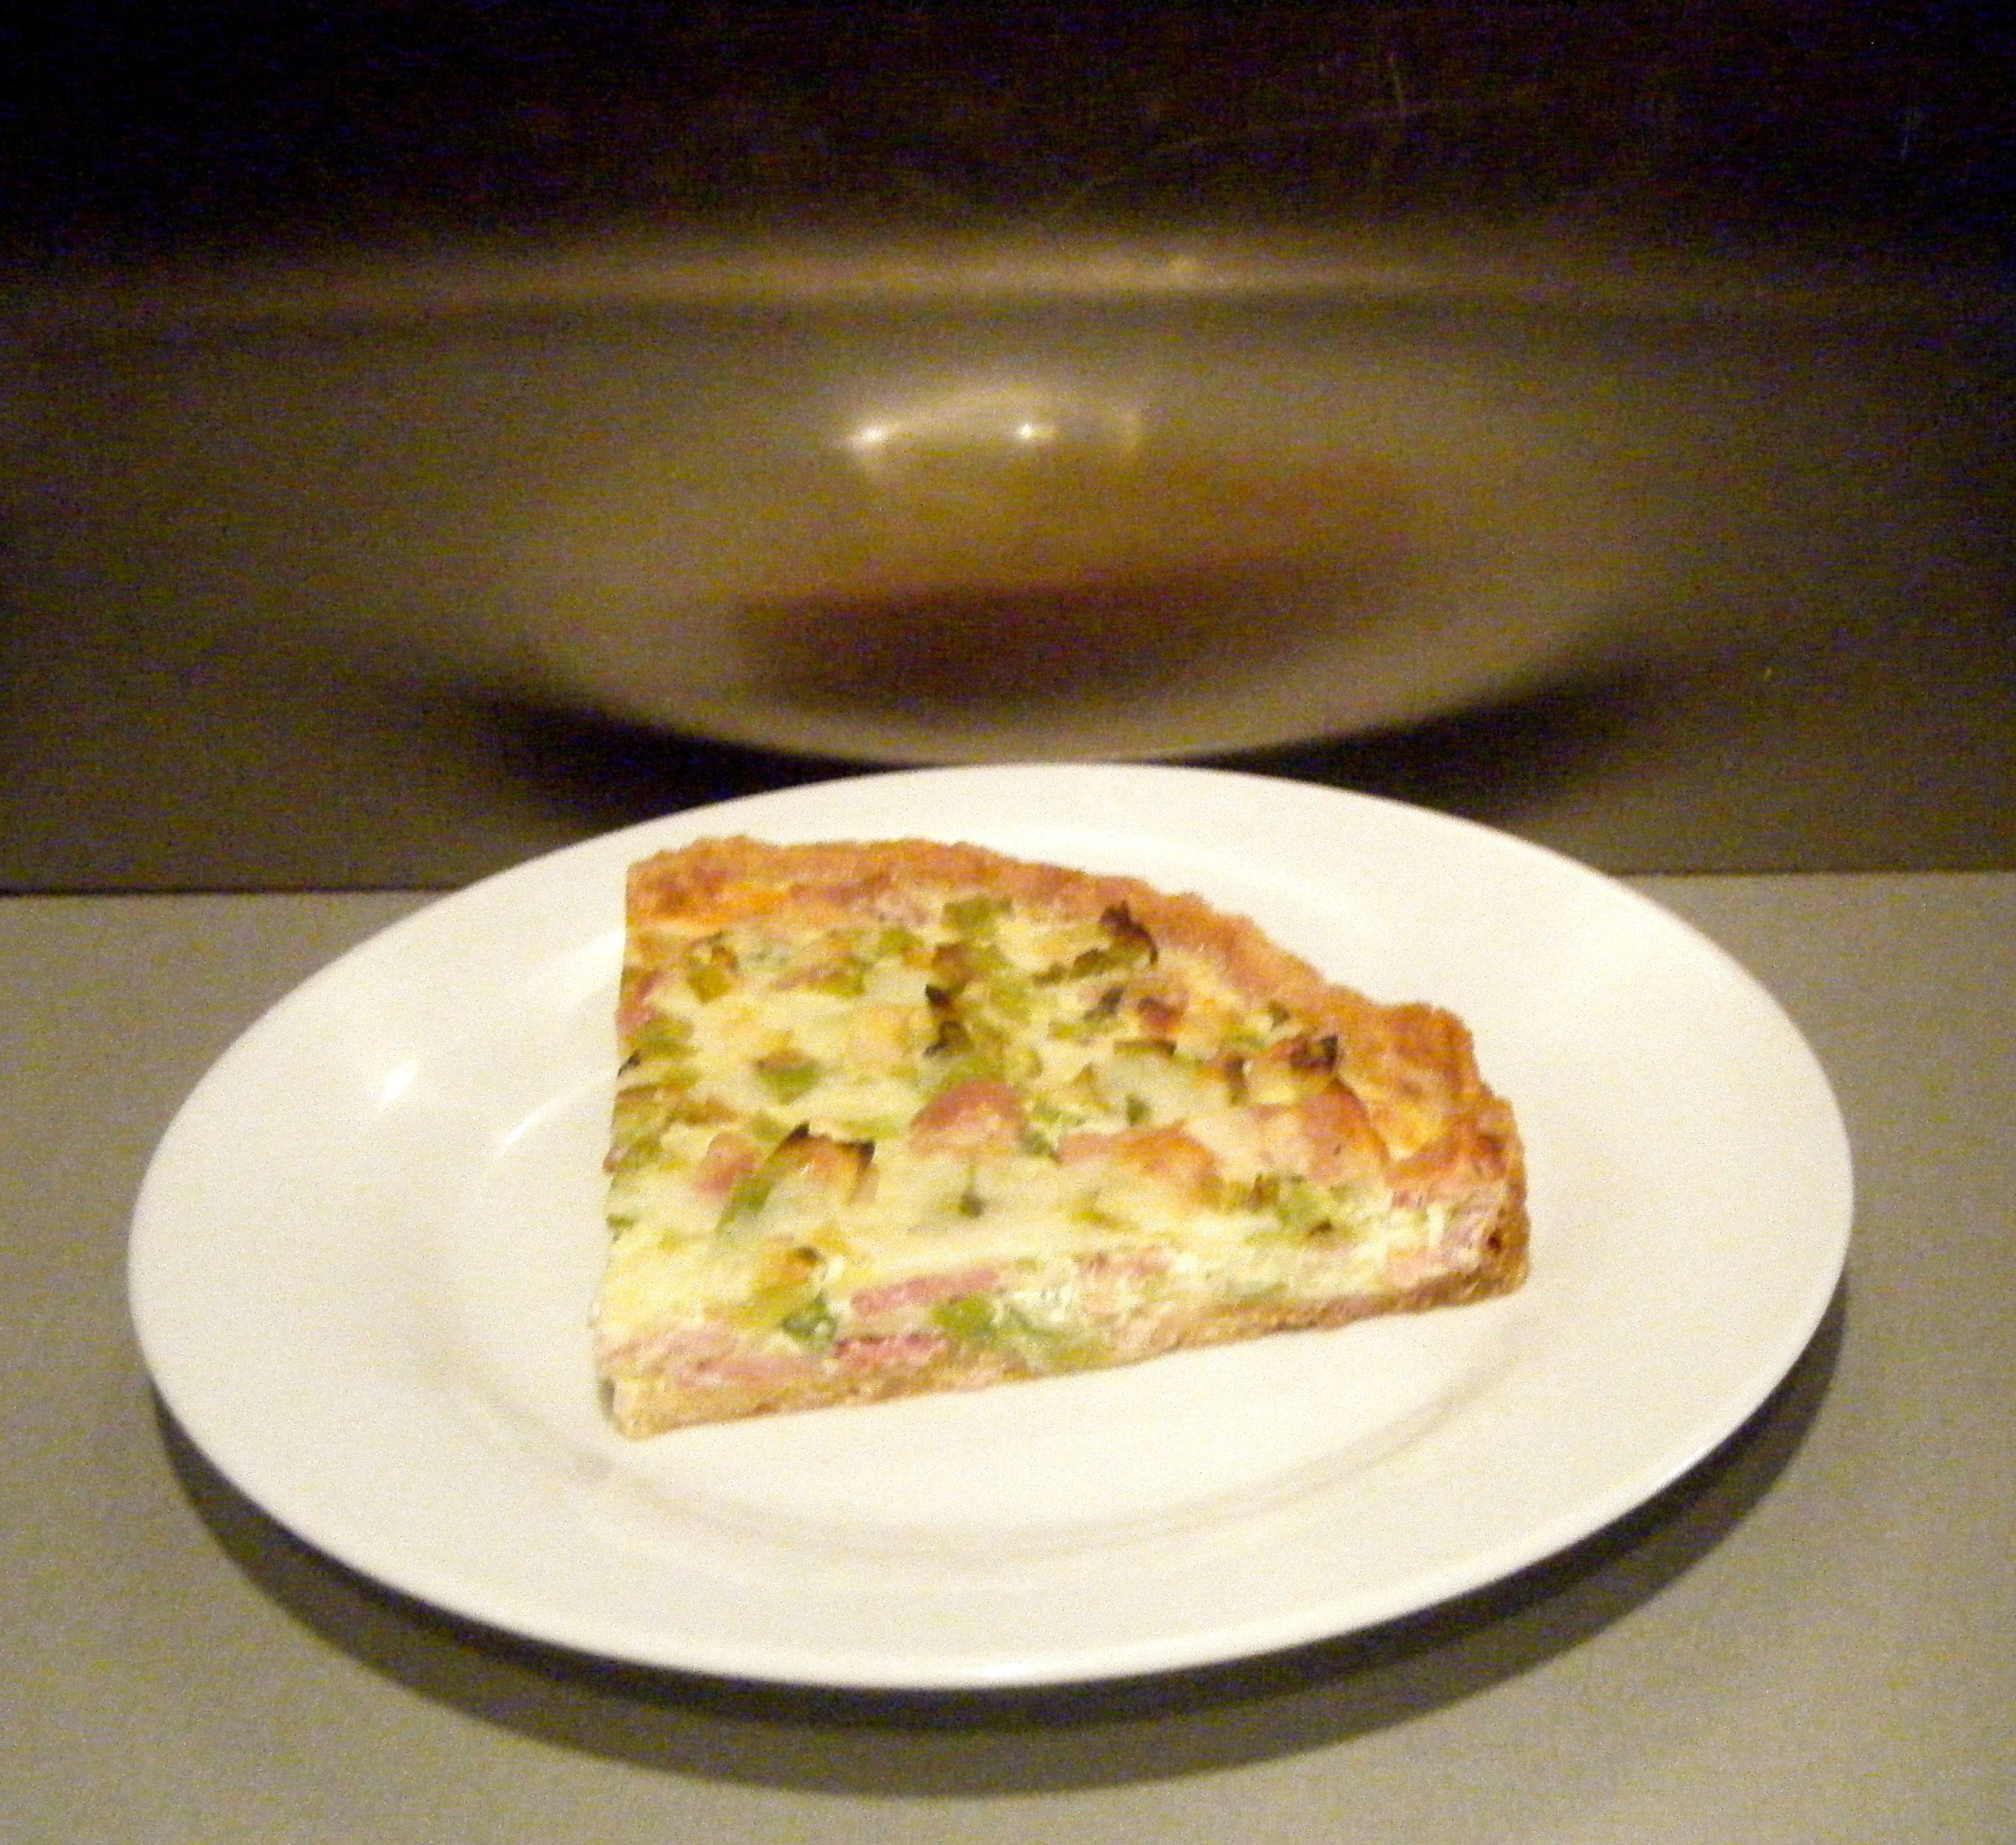
Everyone said the quiche was very nice.  Despite my warnings of the notorious soggy bottom (Mary Berry would not have been happy), they all said it was good and that the bottom wasn’t that soggy.  One person even described it as crisp! I have to admit the base wasn’t as soggy as I thought it would be but there was clear room for improvement, in my mind at least.  Although, perhaps I am my own worst critic.

Despite the questionable base, I have to admit this quiche was yummy! I definitely want to make it again and see if I can perfect the base and filling ratios.

Coming up next week, Challenge No. 33 – custard slices.

Challenge No. 29 – Chocolate Panda Cupcakes (Gluten Free)

This challenge wasn’t actually suggested by any friend or family for Challenge52, however, it is a bake which I owed to a friend from a couple of years ago.  Chloè absolutely loves pandas and she found some photos of panda cupcakes and sent them to me.  I offered to make them for her birthday but unfortunately life got in the way and I didn’t manage to do it.  So I added this one to Challenge52 myself as a special gift for Chloè’s birthday.

These cute mini panda cupcakes have been inspired by Bakerella.  Whilst Bakerella gives you all the tips you need to decorate the cakes, I needed to find a gluten free cake recipe for Chloè.  I did a quick search and found this recipe for a gluten free chocolate cake.

To make these gluten free chocolate panda cupcakes you will need the following ingredients:-

  • 100g unsalted butter, diced, plus extra for greasing
  • 140g best-quality dark chocolate, with 70% cocoa solids, broken into pieces
  • 6 large eggs, separated
  • 140g ground almonds
  • pinch of salt
  • 85g caster sugar
  • 150g unsalted butter
  • 300g icing sugar
  • 1tsp vanilla extract
  • Popping candy
  • Chocolate chips
  • Chocolate sprinkles
  • A black icing pen

Edited - ingredients

Bakerella uses sanding sugar which is a special type of sugar used in baking and cake decorating.  It has an extra sparkle compared to normal granulated sugar and it can be cooked and added to icing without dissolving.  I couldn’t find any sanding sugar in my local shops so I thought I would try it with popping candy as it was the closest colour to what I needed.

The cupcakes are made with petit four cases and the above quantities made 50 mini cupcakes, with leftover cake mix! So unless you are making these for a big groups of people, it might be worth reducing the quantities 🙂

I started by putting my diced butter and broken chocolate into a heatproof bowl over a pan of simmering water.  I kept string and then once the butter and chocolate were melted I took it off the heat and mixed until it was well combined. 

Edited - butter:choc Edited - melted

I let the chocolate butter mixture cool for 5 minutes and spent the time separating the eggs.

Edited - eggs

I then added the ground almonds and egg yolks to the chocolate/butter mixture.

Edited - almonds added

I added a pinch of salt to my egg whites and whisked them into soft peaks.   I then added a little of the caster sugar at a time and kept whisking until I had stiff peaks.

Edited - soft peaks Edited - stiff peaks

I added 2 large tablespoons of the eggs whites to the chocolate mixture.  Once it was combined, I gradually added all of the eggs whites, folding it in carefully until all the white was gone.  This took longer than I thought it would but I kept my patience as I didn’t want to beat the air out of the egg whites.

Edited - whites added Edited - mixed up

With the cake mixture ready, I put all my cases on a tray and used a measuring spoon to put a teaspoon of mixture into each case.

Edited - cases

I then put them in the oven for 8 minutes at 200 degrees celsius until cooked through.

Edited - cooked

Once the cakes were cool, I got started with the panda decorating.  I started by putting 150g softened butter into a bowl and whisked it with my handheld electric mixer.  As said in Challenge No. 13, it is important not to rush this stage and so I did this for about 5 minutes.

Edited - butter softened

I gradually added the icing sugar, covering the bowl with a clean tea towel and whisking between each addition until combined. I continued adding a bit at a time until all the icing sugar was incorporated and I added the vanilla extract towards the end.

Edited - buttercream

I put 1/4 of the mixture into a piping bag fitted with a No. 2 nozzle and the remainder into another piping bag fitted with a No. P6 nozzle.

Now for the fun bit, making the little panda faces.  I took each cupcake and pipped icing on top using the wide nozzle before dipping it into a bowl of popping candy (ensuring it was fully covered).  I added 2 chocolate drops for ears, 2 for eyes and one for the nose.  I then added a chocolate sprinkle for the mouth.  Finally, I used the smaller nozzle to pipe the whites of the eyes onto the chocolate drops.  Once the whites were set, I used my icing pen to add the black centres.

Edited - pandas Edited - three pandas

And there you have it, mini chocolate panda cupcakes.

I think these are just so cute! They tasted really nice too 🙂 The only problem was that my popping candy very quickly lost its pop! As I was decorating the cakes, I kept hearing the faint sound of the candy popping on the finished cupcakes.  By the time I had one the next day, there was no pop left. But this doesn’t take away from how cute they are.

Coming up next week, Challenge No. 30 – fig and goats cheese tart.

Challenge No. 25 – Sweet Potato Brownie (Gluten Free)

This challenge was due to be posted last Thursday, however, on Wednesday evening I received the terrible news that my brother’s soon to be father-in-law had been killed in a motorcycle accident.    Dave was a wonderful man who was so full of life and laughter.  It is a heartbreaking loss for his family but also all those who knew and experienced Dave (it has been said that you didn’t just know Dave, you experienced him!).  Sadly Dave died as a result of a car driver pulling out in front of him, the type of accident bikers cannot account for.  His family have already tried to increase awareness for other bikers and so I start this post with my condolences and love to the Cook family but also a message to all those who use the roads – please be aware of motorbike riders, look twice maybe even three time before pulling out.  That final check could stop another family having to go through this painful experience.   Rest in peace Dave, you will be sadly missed by all those who had the pleasure of knowing you.

And so, through teary eyes, I continue with this post…

This challenge was suggested by my friend Danny and it was a bit of a tricky one for me.  Sweet potatoes have soared in popularity in the UK recently and a quick search online revealed lots of recipes for sweet potato brownies.  However, Danny specifically requested the brownies be gluten free.  Trying to find a simple recipe for gluten free sweet potato brownies was more difficult.  All the ones I found used ‘cups’ for the ingredients measurements (which I never use!) and also gluten free flour.  I wanted to avoid using a gluten free flour and so I searched until I found a recipe which used other ingredients.   

Eventually I found this recipe by Lindsay on The Lean Green Bean blog (be sure to check it out)!  I’ve converted the recipe away from ‘cups’ and to make these delicious sweet potato brownies, you will need the following ingredients:-

  • 175 g chopped, pitted dates
  • 130g cooked sweet potato, mashed
  • 190g  nut butter (I used peanut butter)
  • 2 eggs
  • 63g applesauce
  • 40g unsweetened cocoa powder
  • ½ tsp bicarbonate of soda
  • 100g dark chocolate chips

Edited - ingredients

I started off by cooking the sweet potato.  I’ve made sweet potato fries before, but I wasn’t sure of the best (and quickest) way to cook the sweet potato for mashing purposes.  I did a bit of research and decided to use the microwave.  I simply pricked the potato with a fork and popped it in the microwave on high for 8 minutes (turning it over half way through).  After cutting the potato open, I realised this wasn’t quite long enough to cook it all the way through.  However, the outside bits were soft enough to give me 130g of mashed potato.

Whilst the potato was in the microwave, I added my dates and peanut butter to a food mixer.  I then added the mashed sweet potato and blitzed it until smooth.  This actually took quite a while because the mix was so thick.  I was slightly worried the motor on my mixer was going to blow, it definitely got very hot but managed to survive the challenge!

Edited- step 1

Once the mixture was smooth, I added the eggs and applesauce and blended the mixture until it was combined.

Edited - step 2

I then decided to tip the mixture into a large bowl before adding the final ingredients.  This is mainly because my mixer is small but also the motor was really hot after working such a thick mixture so a rest was clearly needed!  Once the mixture was in the bowl, I sifted in the cocoa powder and bicarbonate of soda. 

Edite - in the bowl

I tried mixing this together with a spatula but it was so thick, the tip came off the handle! So I switched to a nice sturdy wooden spoon and it came together nicely.

Edited - step 3

Finally, I added the chocolate chips before spooning the mixture into my dish (9×9 inch pan) which I had lined with baking paper.

Edited - in the pan

I popped the dish into my pre-heated oven on 190 degrees celsius.  I checked the bake after 15 minutes and re-set the timer for another 5 minutes.  I then checked it again and decided to give it another 3 minutes.  When I inserted my skewer it wasn’t coming out completely clean but the coating was melted chocolate rather than uncooked batter so I decided it was done.

I left the brownie to cool in the tin for 10 minutes before popping it onto a cooling rack to cool completely.   I then chopped it up into squares and packed the brownies up to take round to my friend’s for the evening.

Edited - cooling Edited - chopped up

Dave and I spent the evening with our friends Matt and Helen, where we enjoyed a beautifully cooked lasagne and a homemade victoria sponge cake made with lemon curd and a coconut topping – all courtesy of Helen. 

Helen is a keen baker, a celiac and a chocaholic making her the perfect taster for my gluten free brownies.  The verdict – a success. 

We all enjoyed these little chocolate treats; even Dave who had turned his nose up at the idea of potato in a brownie (he didn’t believe me when I tried to tell him all brownies have potato in! hehe).  The peanut butter added a really nice flavour to the brownies and I will definitely be making these again!

Edited - served up 2

Coming up next, Challenge No. 26 – chilli con carne.