Homemade Jam (Strawberry)

This one isn’t strictly part of Challenge 52 but it will come in useful for the next challenge.  Be sure to check back in later this week to read more about my attempt at eton mess made with this delicious homemade strawberry jam.

I made my own jam for the first time last year.  I started with strawberry jam and this came out perfectly.  However, when I tried to make apricot jam (to glaze my christmas cake) it ended up a little runny.  I’m therefore definitely not an experienced jam maker but I’m a great believer that practice makes perfect.  With this in mind, here is a little guide to making your own strawberry jam so you can start practicing 🙂

Ingredients:-

  • 260g jam sugar
  • 260g strawberries (washed, hulled and dried)
  • 1/4 lemon (juice only)

First things first, I’ve used concentrated lemon juice each time I have made jam.  When a recipe calls for the juice of 1 lemon, this can be replaced with 2 tbsp of lemon concentrate.  So for this recipe you need 1/2 tbsp lemon concentrate or the juice of a 1/4 of a lemon, whichever is easiest for you.

Edits - Jam Ingredients

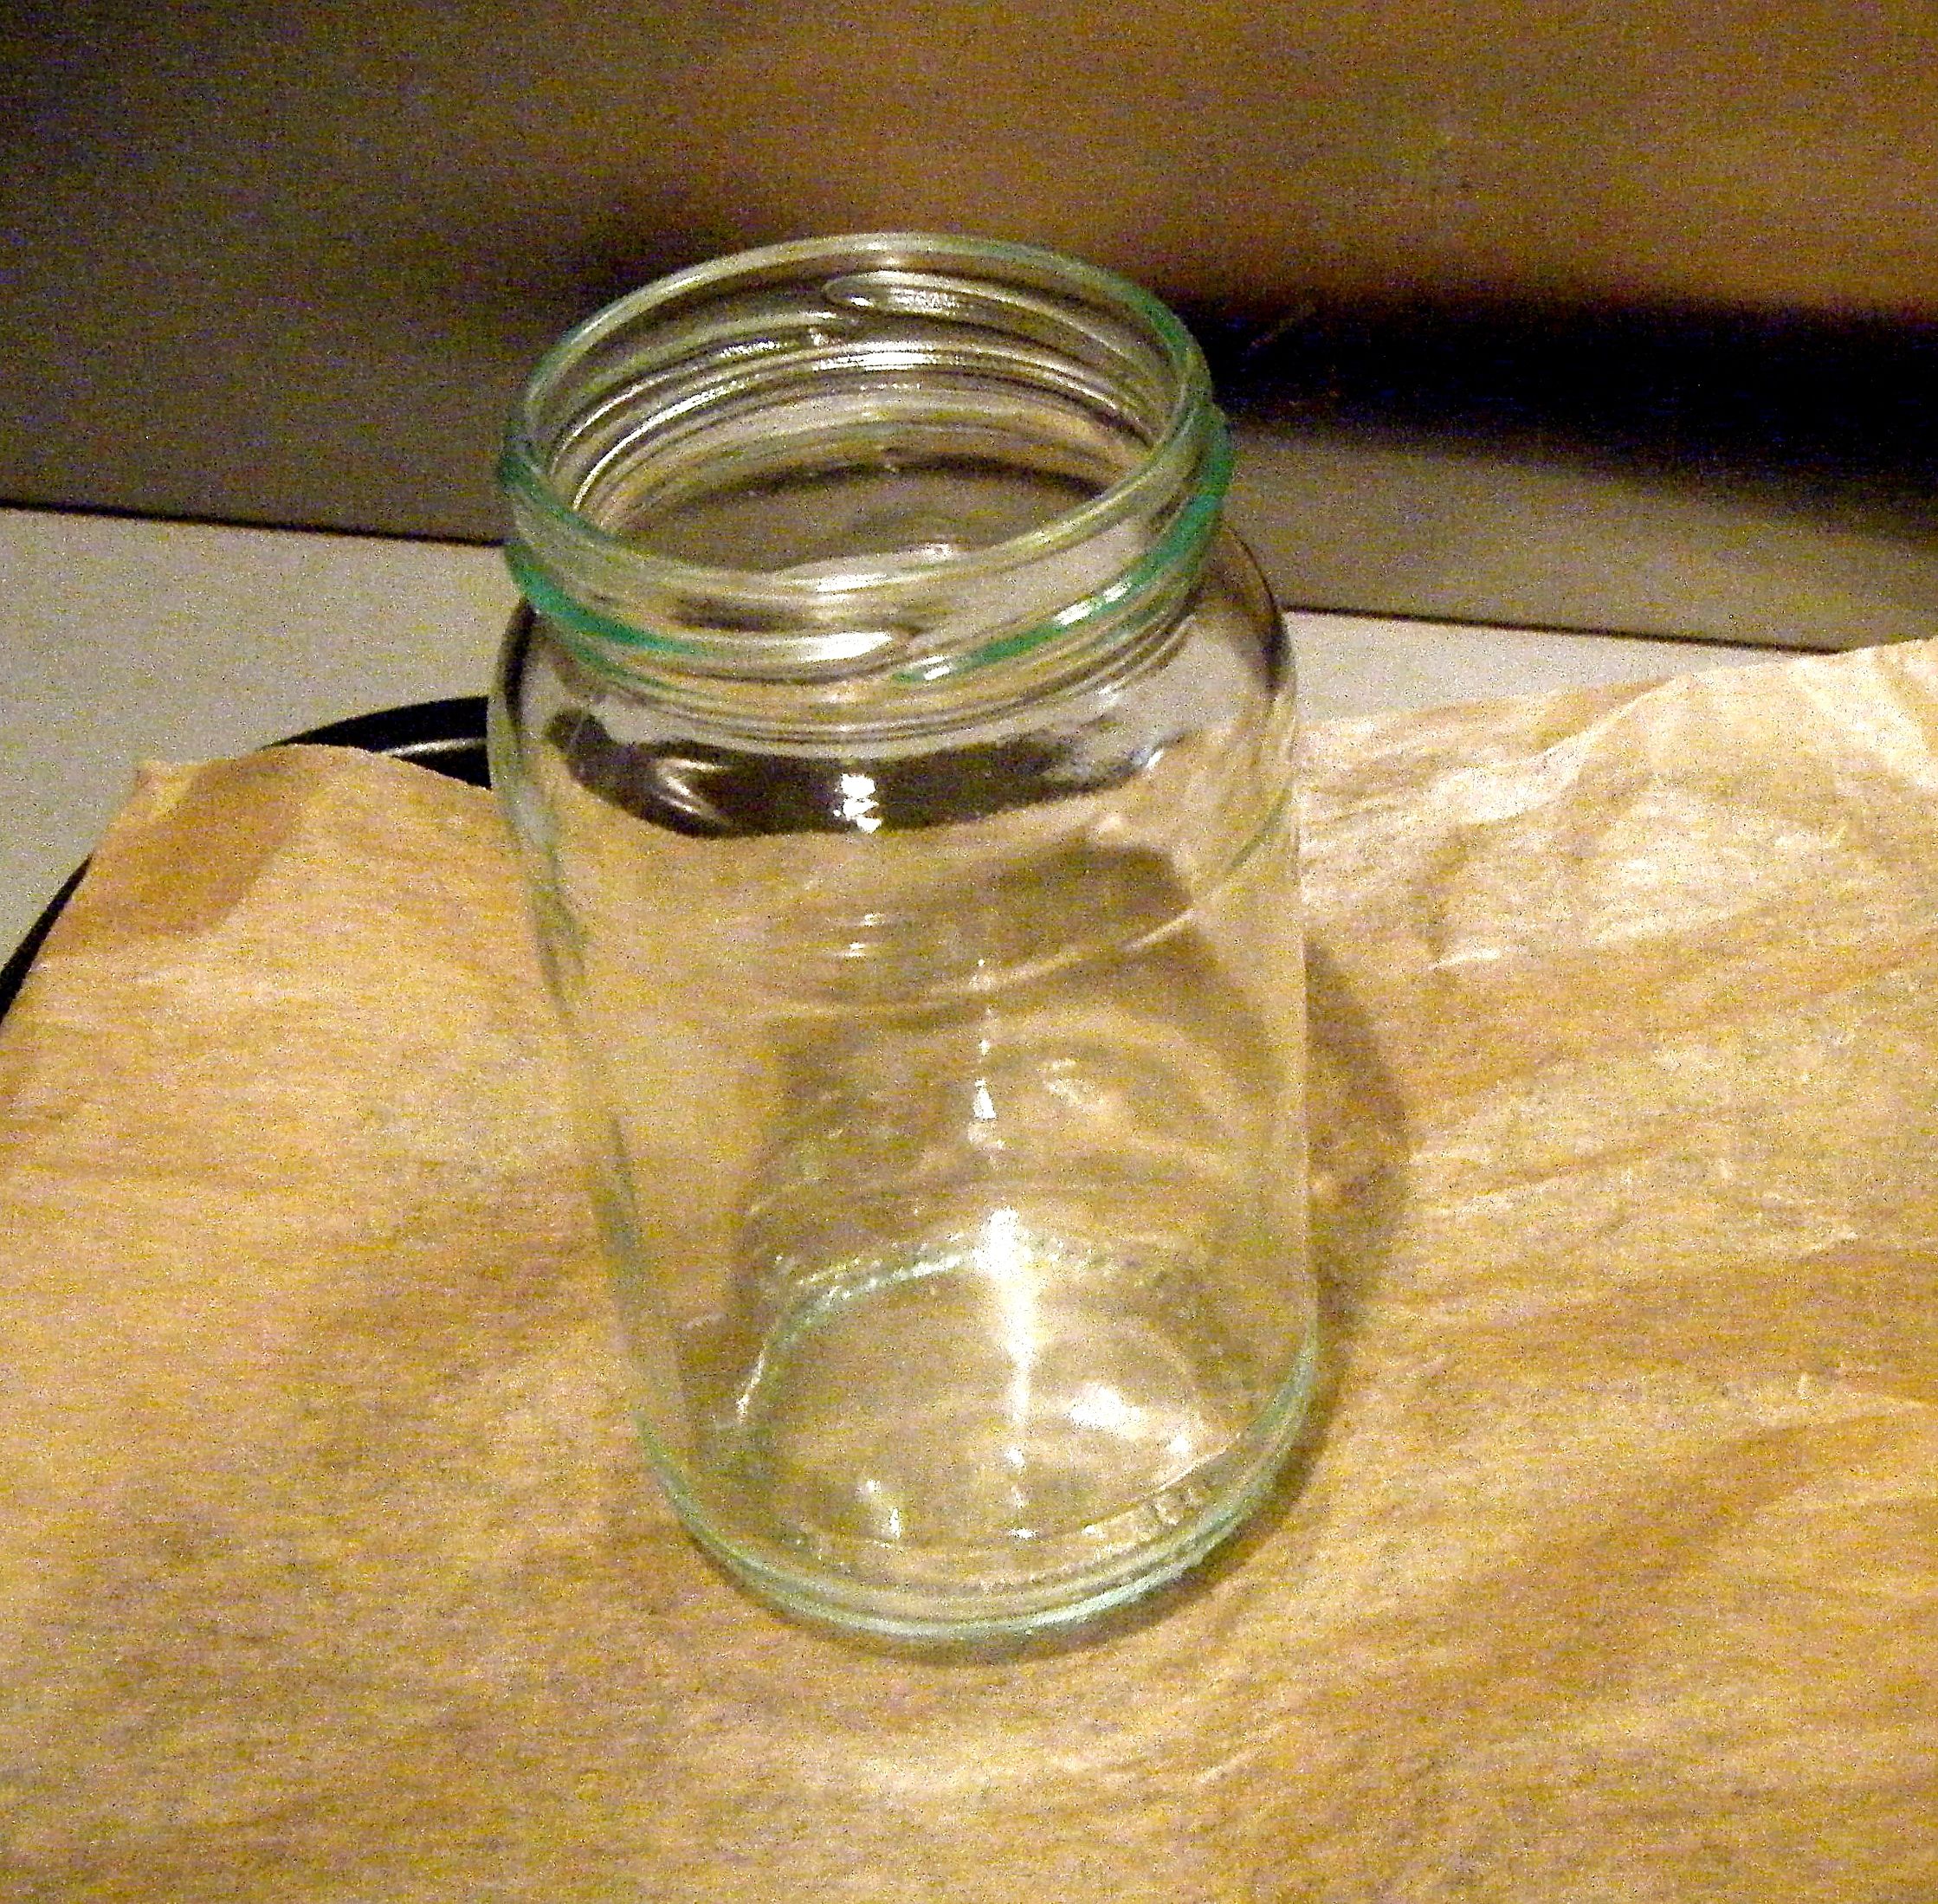
This recipe makes enough to just about fill a 411g jam jar – I use leftover jars from shop bought jams/curds.  Your jar will need to be sterilised before you fill it and to do this, you can follow this easy guide:-

  1. Wash the jar in warm water (with washing up liquid).
  2. Rinse thoroughly.
  3. Place on a baking tray lined with baking paper.
  4. Pop into the over (120C – 140C) for around 10 minutes until dry.
  5. The lid can be left in very hot/boiling water before drying it thoroughly.
  6. Fill and seal the jar whilst it is still warm.

Edited - jar in water Edited - Jar and tray

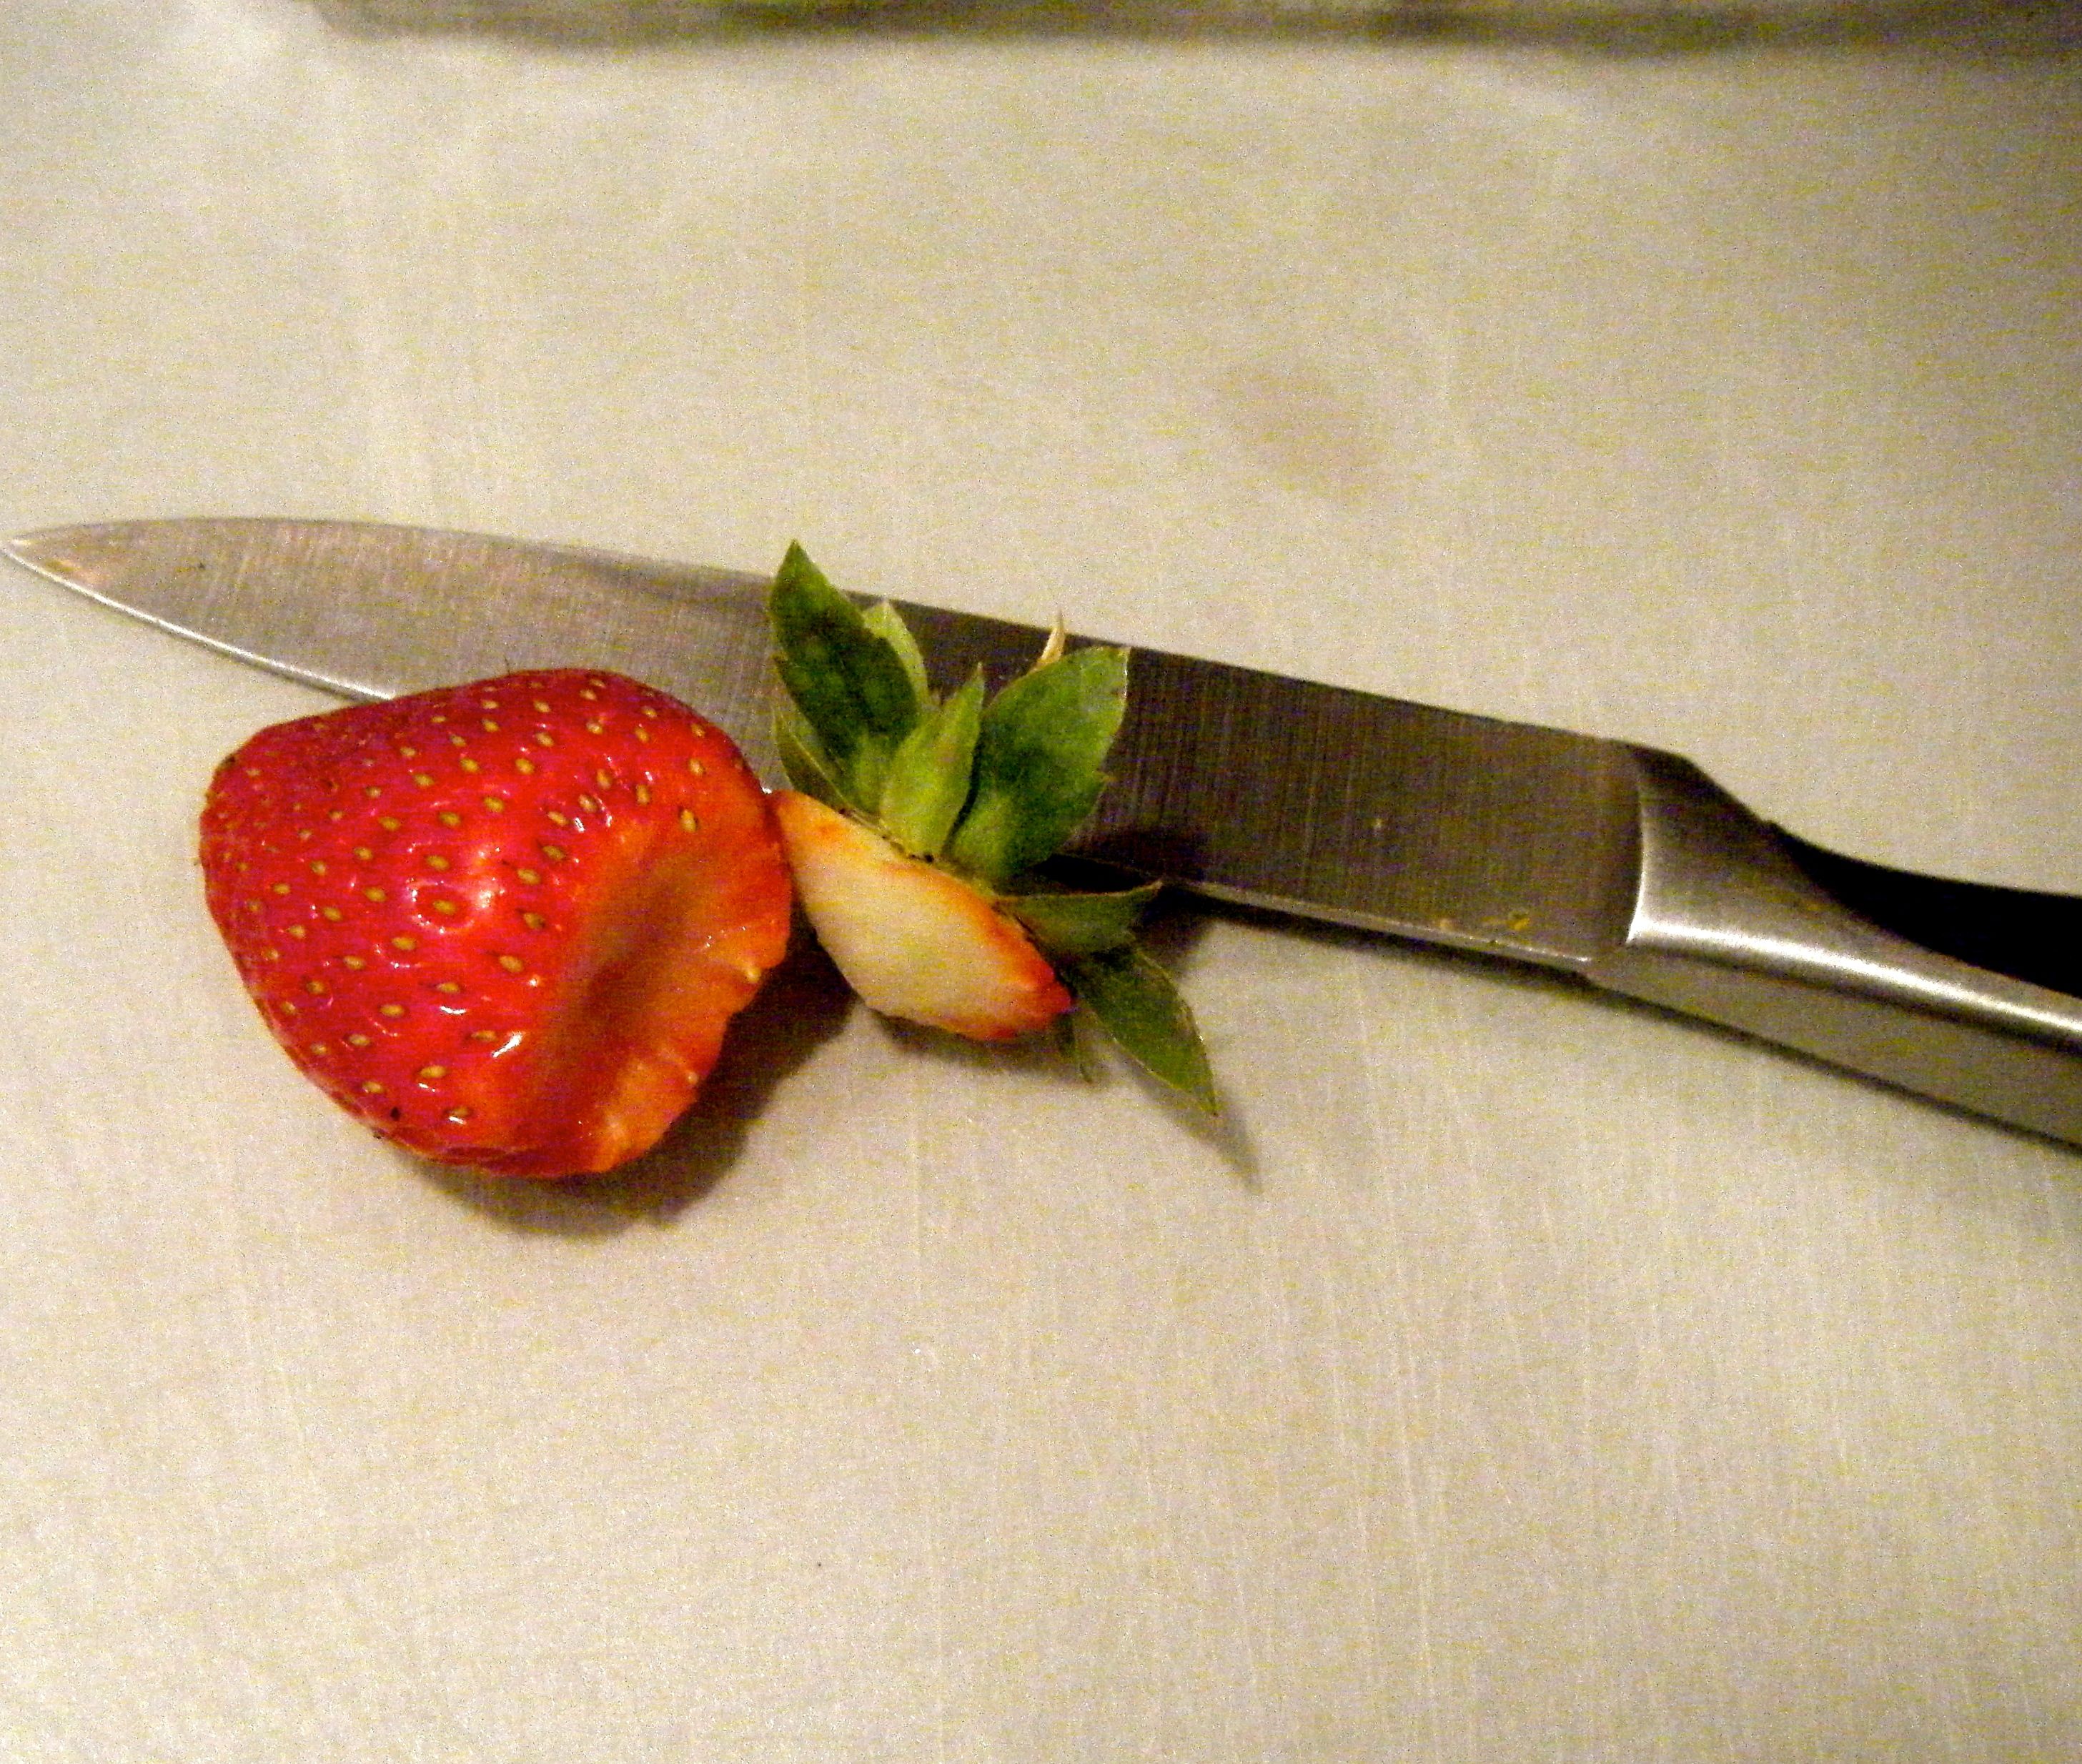
So time to make your jam.  Personally, I don’t like my jam to have too many lumps so I always half or quarter each strawberry to make sure they aren’t too big.  Pop the chopped strawberries into your pan with the lemon juice and warm gently for a few minutes.  You’ll have to use a bit of judgment here, you don’t want to cook the strawberries, you just want to soften them.  Not all recipes call for this step so I don’t think it is strictly necessary but it was in the one I first used so I still do this.

 Jam - Hulled StrawberryEdited - Chooped Strawberries

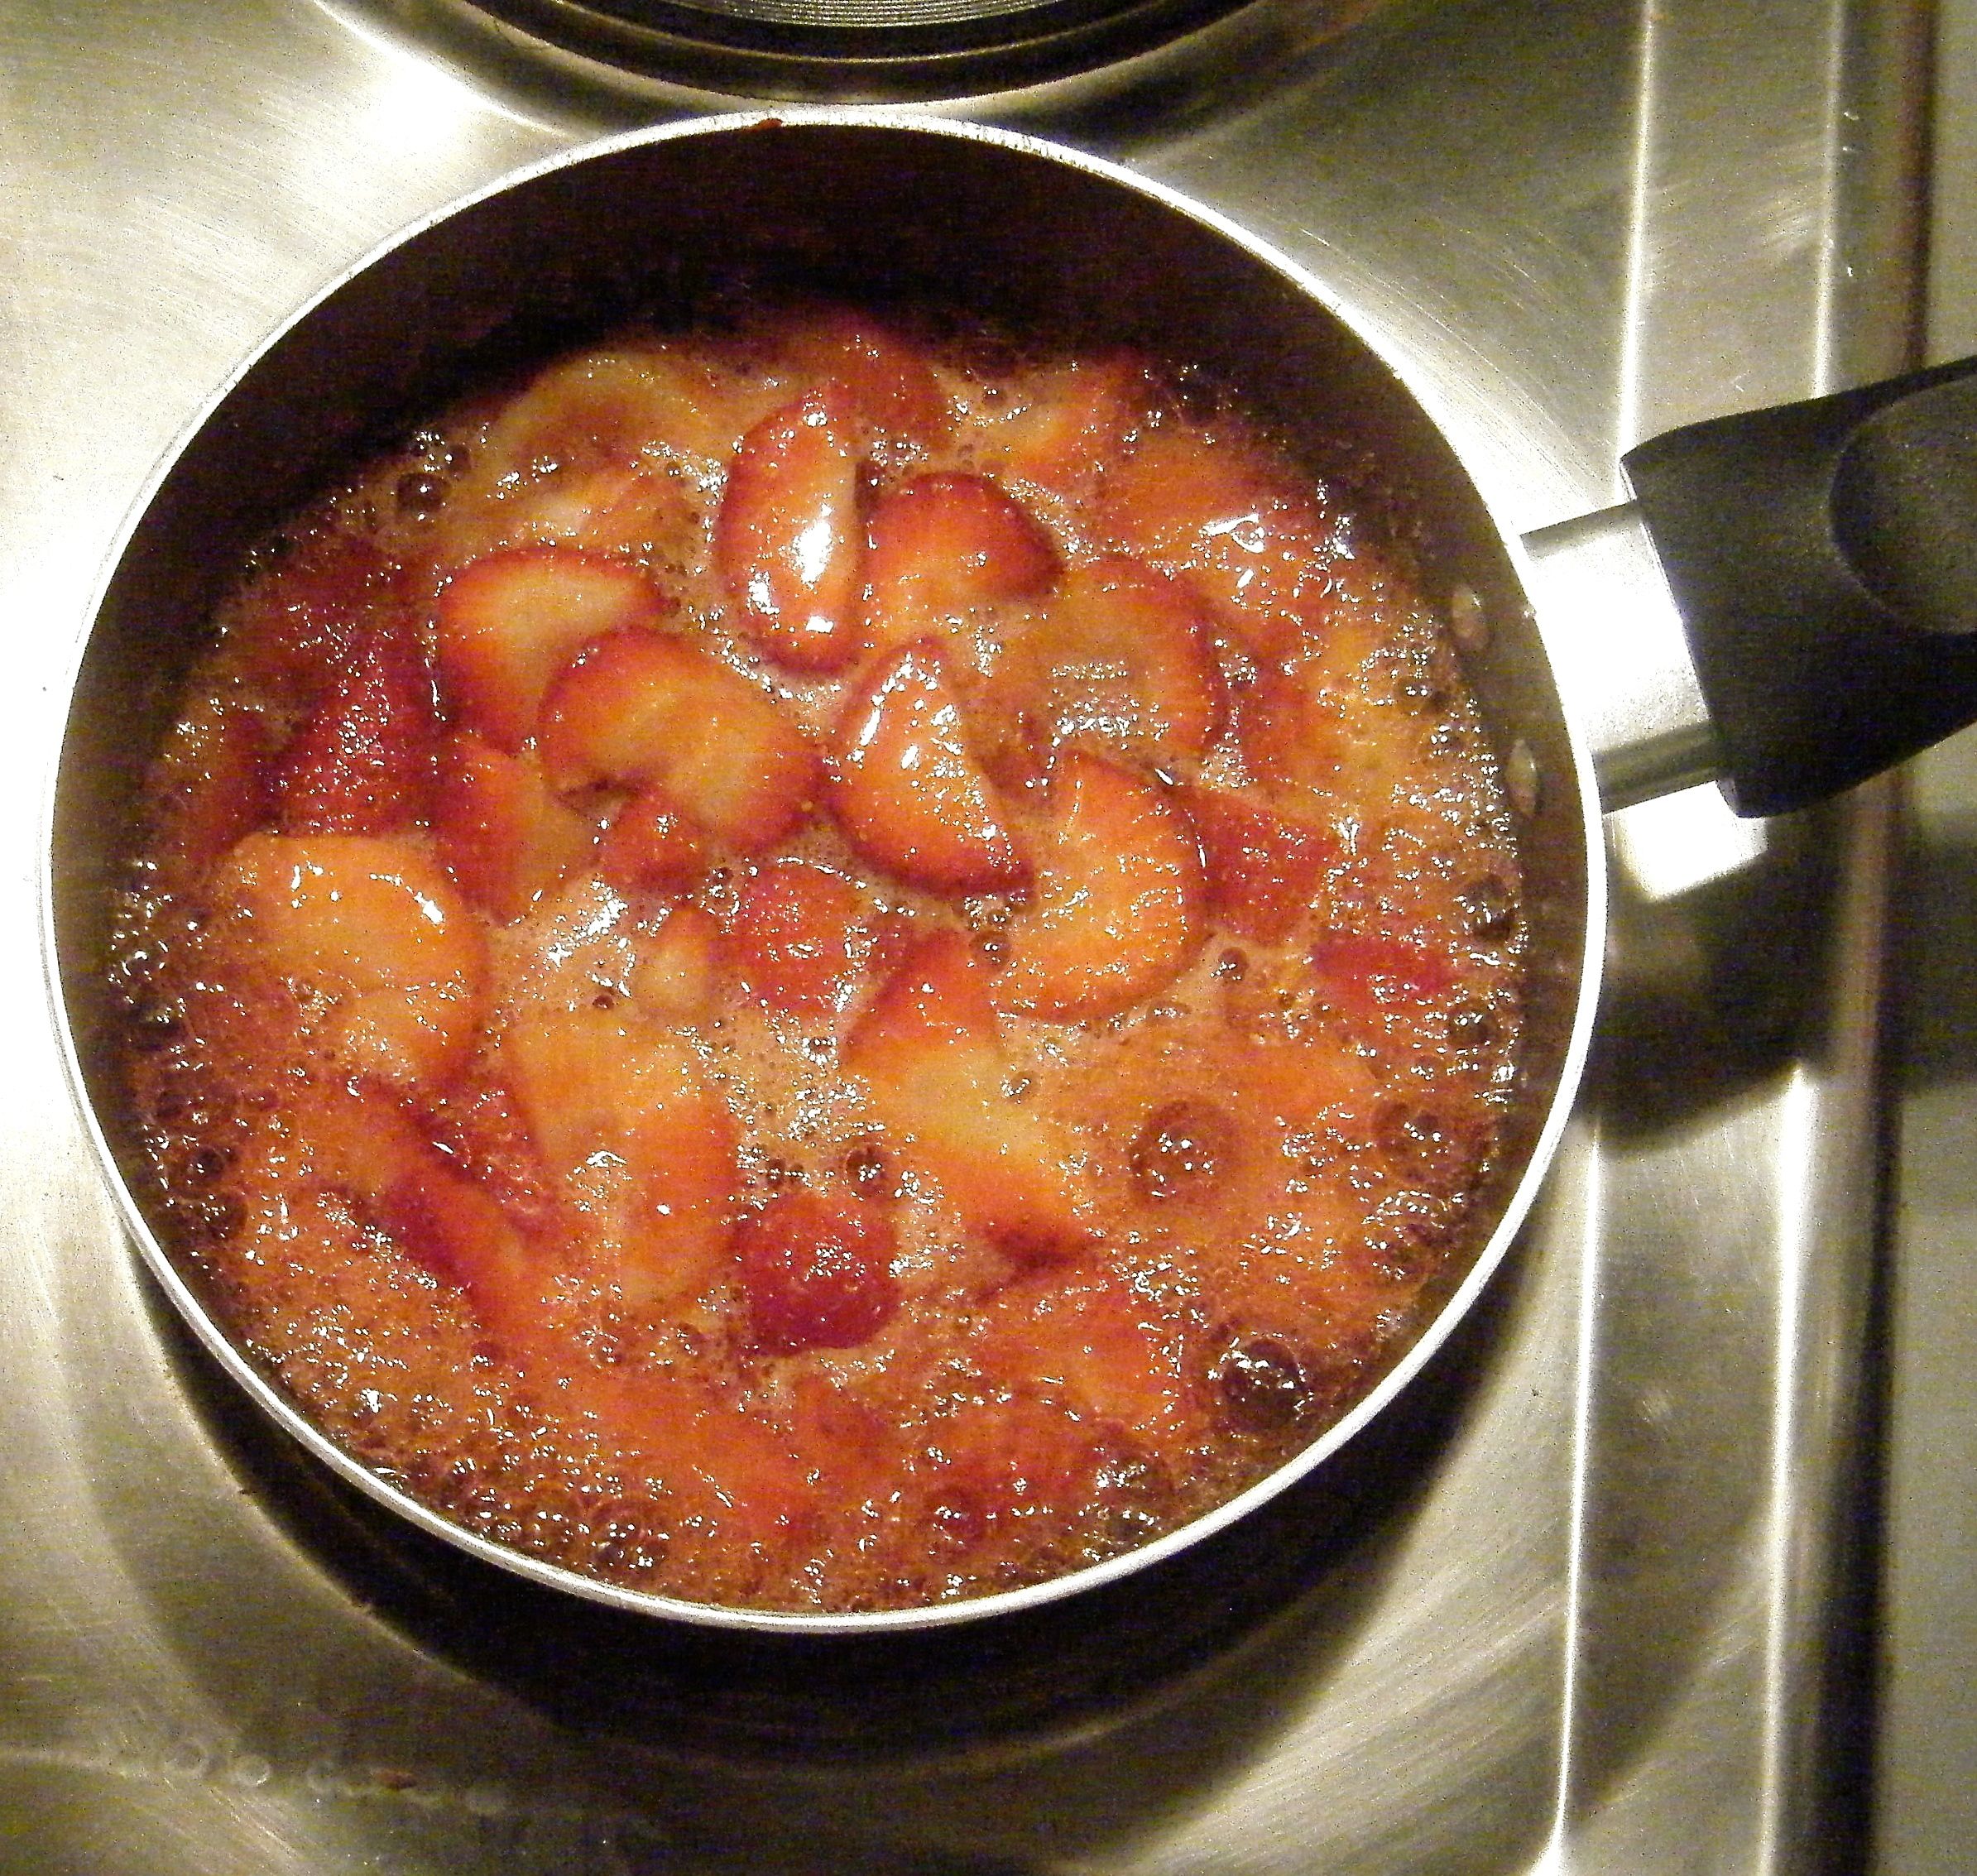
Once the strawberries have softened add the sugar and stir together.  Keeping the pan over a low heat, stirring occasionally, until the sugar has dissolved and the liquid runs ‘clear’.  Now, those of you who see the obvious will know that strawberries are red.  If you put strawberries into a clear liquid, what happens? The liquid turns red.  First time I made jam and the instructions referred to the liquid being clear, I actually said to my other half, “but the liquid is red?”.  So I made the (perhaps obvious) assumption that ‘clear’ means until the sugar granules have fully dissolved. 

Edite - fruit and sugar

Once the granules have dissolved turn up the heat slightly.  Bring the mix to boiling point and let it boil steadily for around 6 minutes or until it reaches setting point. 

 Edit - boiling jam
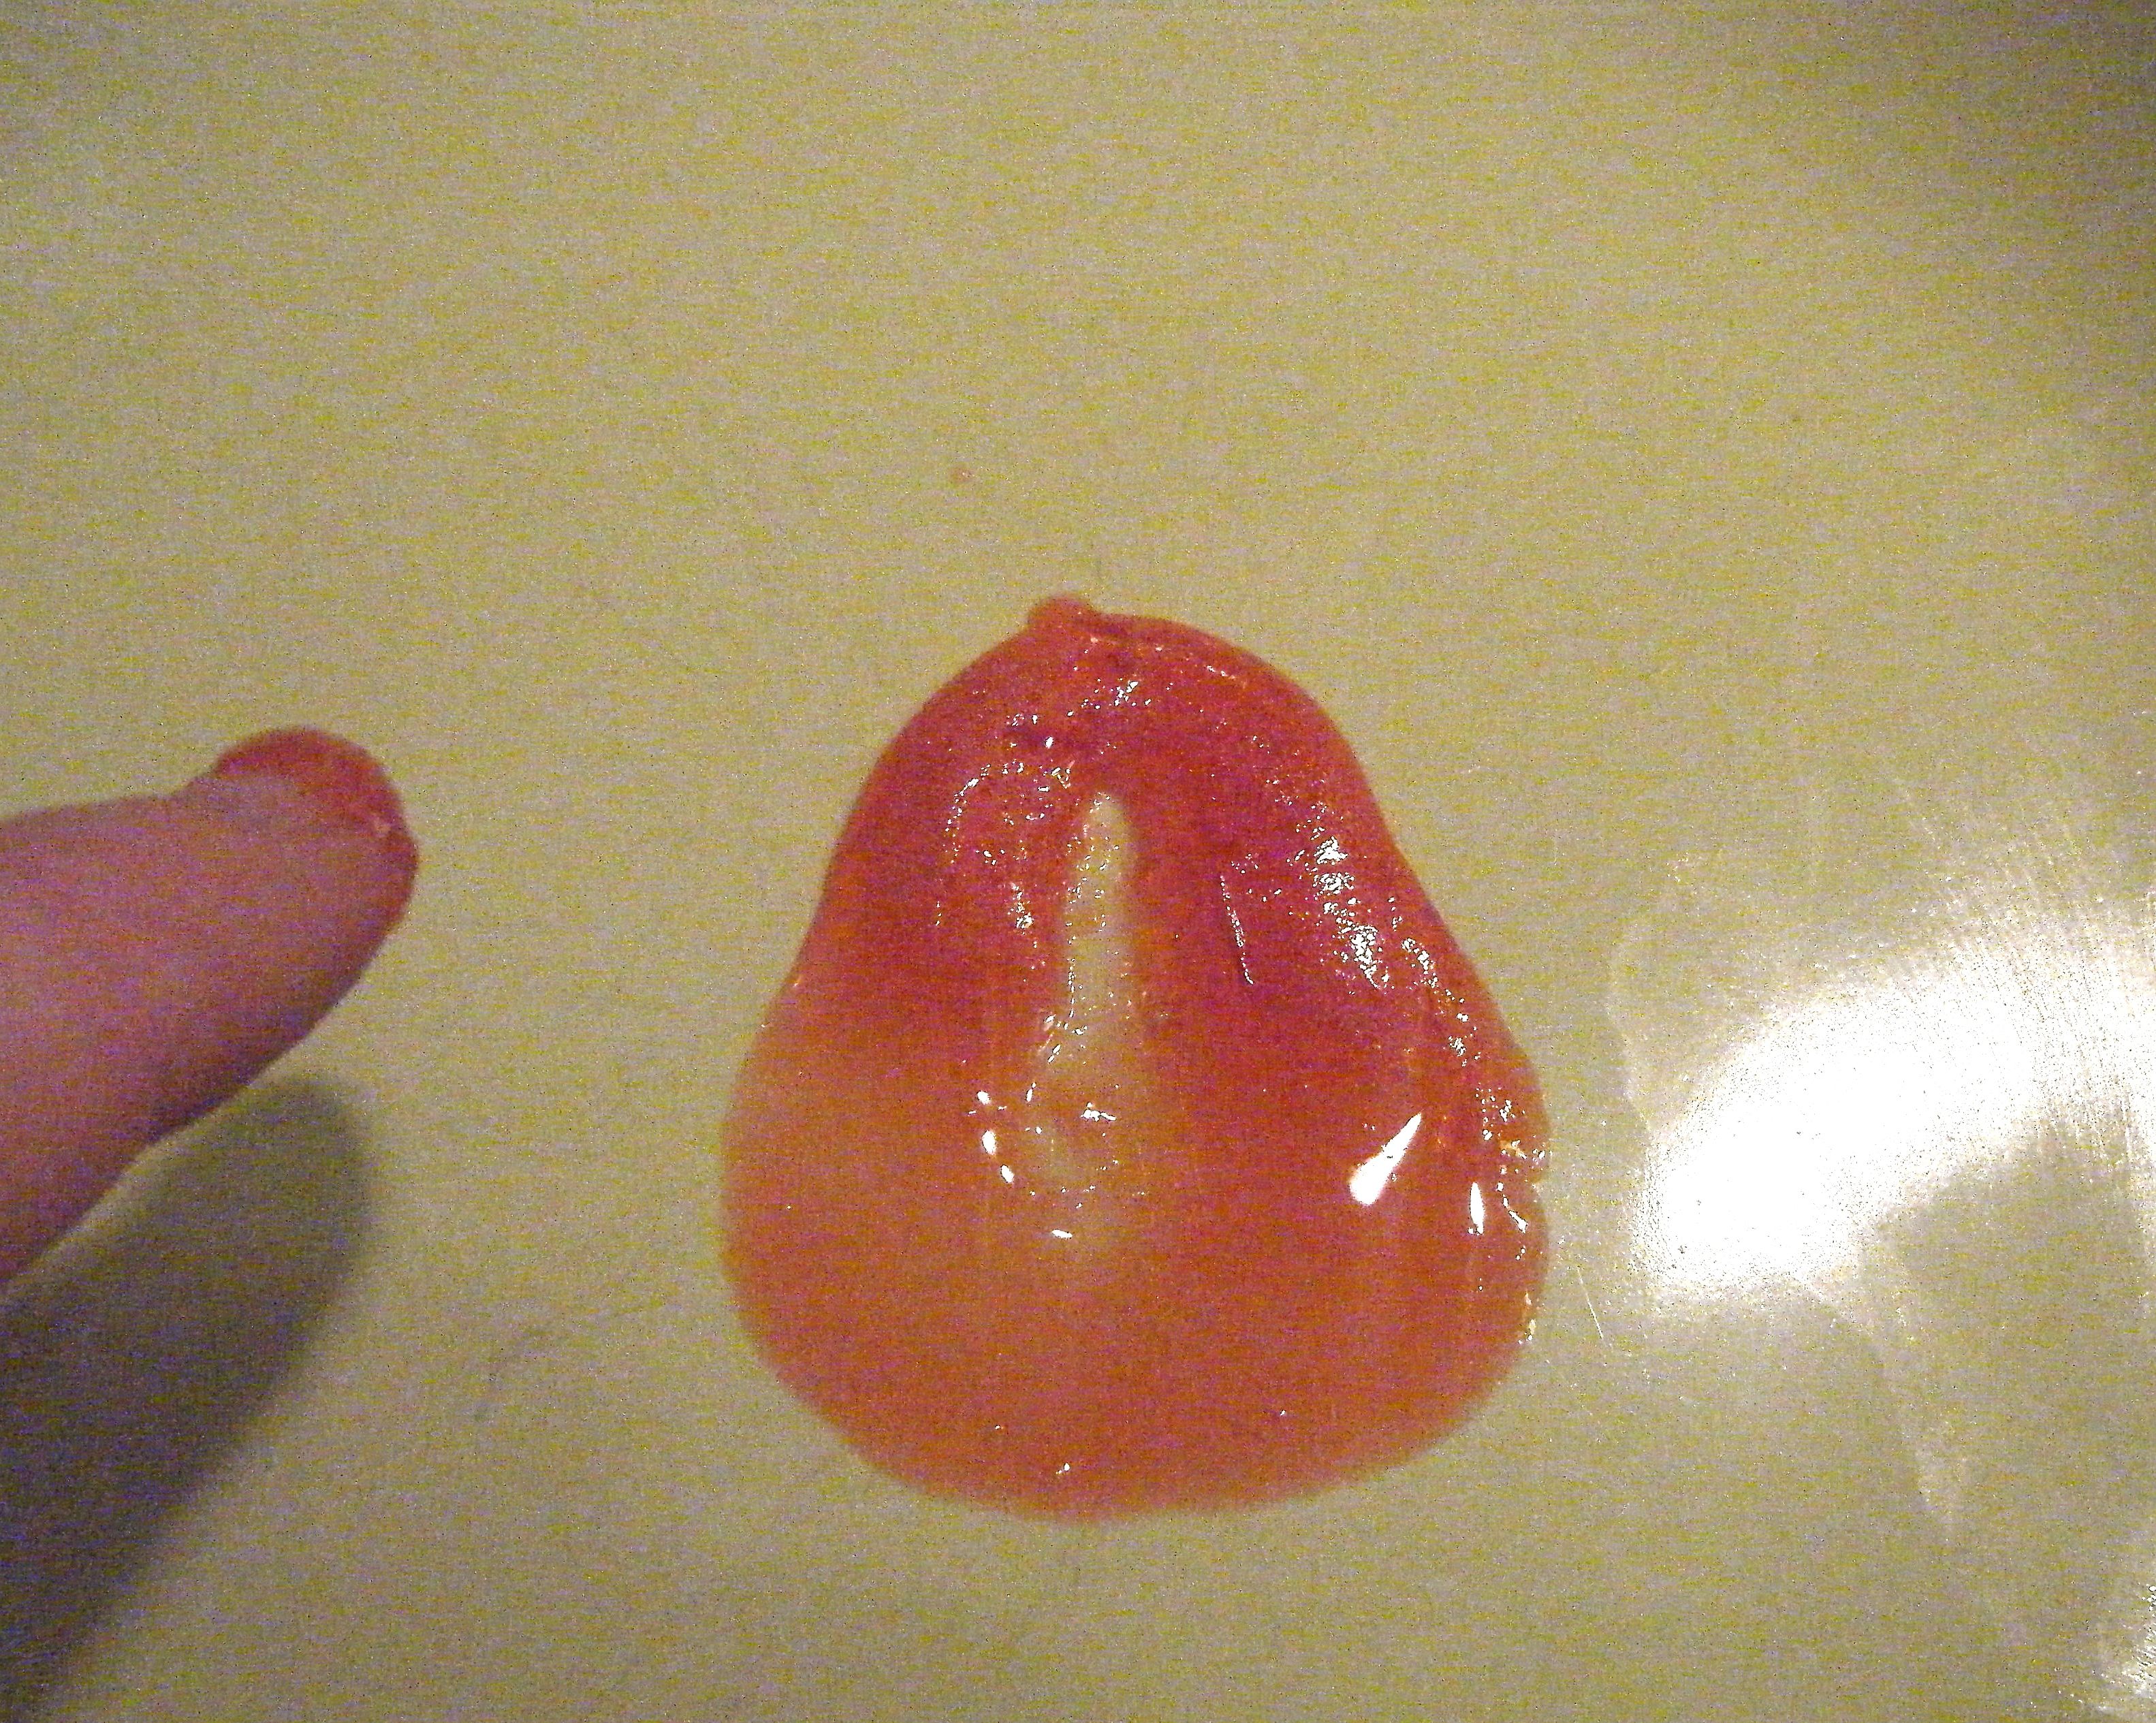
To test the setting point, take a teaspoon and spoon a small amount of the jam onto a plate.  Leave this for about a minute and then, using your finger, push the jam slightly.  If the jam crinkles and separates without flooding back, you’re there.

Edit - jam plate Edited - jam finger

Let the jam cool for about 10 minutes before putting it into your sterilised jar and sealing it.

Edited - jam topEdited - sealed jarThere you have it, homemade strawberry jam.  It may not turn out right first time or every time but practice will get you (and me) there one day 🙂 Enjoy!

Challenge No. 1 – Bread & Butter Pudding

So here we are, the first of my 52 recipes under Challenge 52 on My Gastro Adventure.  I wasn’t sure what I was going to do as my first recipe and then my mum said “well of course, it has to be bread and butter pudding”.  This simple statement filled me with dread!

Bread and butter pudding is one of the most quintessentially British puddings and one of my favourites.  With that, you may think I would look forward to making this dish – you would however be mistaken! The source of my nerves date back to the Great Bread and Butter Pudding Disaster of 2003. To find out more, click here

As with all of the recipes planned for Challenge 52, I carried out a quick search online and picked a recipe.  Now I’m sure everyone has their own method of choosing recipes.  Personally, I don’t have much of a process but I am always drawn by a pretty picture of the finished product and I like to see the ingredients listed in the order they are intended to be used.  With this in mind I opted for this recipe by Griff Rhys Jones, http://www.bbc.co.uk/food/recipes/breadandbutterpuddin_85936.

The recipe calls for the following ingredients:-

  • 25g/1oz butter, plus extra for greasing
  • 8 thin slices bread
  • 50g/2oz sultanas
  • 2 tsp cinnamon powder
  • 350ml/12fl oz whole milk
  • 50ml/2fl oz double cream
  • 2 free-range eggs
  • 25g/1oz granulated sugar
  • nutmeg, grated, to taste

Edited Ingredients

Personally, I didn’t bother measuring out the butter or counting the slices of bread. I simply began buttering and slicing my bread and then prepared my first layer.  Once this was done, I counted how many slices I had used for the bottom layer (approximately 5 slices of small bread).  I decided I wanted three layers and I therefore used half the sultanas and cinnamon to sprinkle on this first layer.  I then continued the process until I got to my third and final layer of buttered bread. 

Practical tip: I tried to make the bottom layers look pretty and in all honesty it was a waste of time. Once the pudding is cooked, you don’t see these and they all seemed to merge together.  Instead, just set out the lower layers so you have a sufficient covering of bread and focus on placing your top layer to make it look appealing.

Edited Layering

Once the layering was done, I started to get my ingredients ready for the custard.  I put my milk and cream in the pan and put it over a low heat.  I then hand whisked my eggs and sugar.  I wasn’t sure what I was looking for here.  The recipe states that they should be lightly whisked until pale.  And so, I just gave it a good whisk until the sugar and eggs combined to make a runny pale liquid. 

I then turned my attention to the milk and cream mixture.  It was starting to steam but not yet boil or bubble.  The recipe calls for the mix to be at scalding point but not boiling.  Without a thermometer, I had to use my judgment here.  I decided to leave it for a little longer, watching it very carefully until it was letting off a steady amount of steam.

I strained the mix into my bowl with the egg and sugar mix.  I’ve never made custard before (unless you count my disastrous first attempt at bread and butter pudding in 2003) and I wasn’t sure why it needed to be strained.  A little research told me that the straining process is used to remove any cooked or curdled egg from the custard.  Looking at my mix, I thought, is the straining really necessary? It already looked smooth and I couldn’t see any lumps?

However, over the years I have learned a few things and my number one tip for any cooking or baking…follow the recipe! Don’t start experimenting until you’ve seen and felt how the ingredients work together and react to certain processes. Once you have a feel for the ingredients and flavours you can start to add your own touch and develop your own exciting array of recipes.  And so, I strained my custard and despite looking silky smooth before straining, I was left with a sieve full of little bits of cooked egg!  So in answer to the question, straining the custard is a necessary step.

Practical tip: don’t use a spoon to push the custard through your sieve.  Let gravity do the work.  If you push the custard through you will also push through the bits you are trying to strain out.

I poured my strained custard over the bread layers and sprinkled it with the remaining sugar as per the recipe.  I then grated my nutmeg.  This is something I’ve never done before and I wasn’t sure if I needed to chop the nutmeg first or whether I could grate it whole.  A quick look online and I opted for grating it whole. 

Edited oven ready

After half hour resting time, I placed my bread and butter pudding in the oven and set my timer for 30 minutes.  I couldn’t sit still for the whole 30 minutes and I kept getting up to check on my pudding.  I had already checked on it 5 times when the timer finally went off.  It didn’t quite look set and so I put it back in the oven for another 10 minutes, checking it after 5.  A couple more minutes and finally, the pudding was ready to take out the oven.

It was bubblingly hot and so I decided to wait 5 minutes before serving up.  I then spooned a couple of servings into bowls for me and my boyfriend and in we tucked.

Serving tip: as the recipe referred to custard, I naively thought, I won’t need anything to serve the pudding with.  In hindsight, whilst it was lovely on its own, I do think a bit of vanilla custard would have finished it off just perfectly.  Luckily we had some leftovers (which i have frozen) and I plan to enjoy them with a good serving of my favourite custard.

Edited cooked side Edited cooked top

That is it then. The first of my Challenge 52 recipes was done and it was a success! The pudding looked quite appetising and even if I do say so myself, it tasted yummy.  A great improvement from the disaster in 2003.

Coming up next week, Challenge No. 2 – beef stew with dumplings!