Challenge No. 11 – Chocolate Ganache & Cherry Tart

This dish was suggested by an old family friend, Rachel, who has as big a love for food as me.  Rachel asked me to make dark chocolate ganache tart with black cherries.  I made this challenge with morello cherries – I’m not sure whether they are technically “black cherries” but the overall product is close enough to Rachel’s request.  I was quite happy that someone suggested something like this.  I’ve not spent much time making pastry but I did buy a tart tin last year which, thus far, has only been used to make the sponge base for a giant Jaffa cake.  Finally, I had a good excuse to have a go with pastry and to use my tin, which by the way my boyfriend thought was a wasted purchase! The tin has now been used twice in about 10 months so it is definitely a worthwhile purchase…right? 😉

Anyway, on with the recipe.  I spent quite a lot of time searching for a recipe for this challenge and still didn’t manage to find one which ticked all the boxes.  So I kind of improvised and use this recipe for the main tart but was a little creative with the cherry part.

To main recipe requires the following ingredients:-

  • For the pastry
    • 250g/9oz plain flour, plus extra for dusting
    • pinch salt
    • 125g/4½oz cold butter
    • 3 free-range egg yolks
    • 125g/4½oz caster sugar
  • For the filling
    • 400ml/14fl oz double cream
    • few drops vanilla extract
    • 100g/3½oz caster sugar
    • 400g/14oz dark chocolate, approx 70 per cent cocoa solids
    • 50g/2oz butter
  • For the sauce
    • 250ml/9fl oz single cream
    • 1 vanilla pod, split lengthways
    • 100g/3½oz white chocolate, chopped
    • raspberries and fresh mint sprigs, to serve

And then you’ll also need the following:-

  • 350g frozen cherries
  • 3tbsp sugar
  • 1.5 tbsp cherry juice

Edited - ingredients

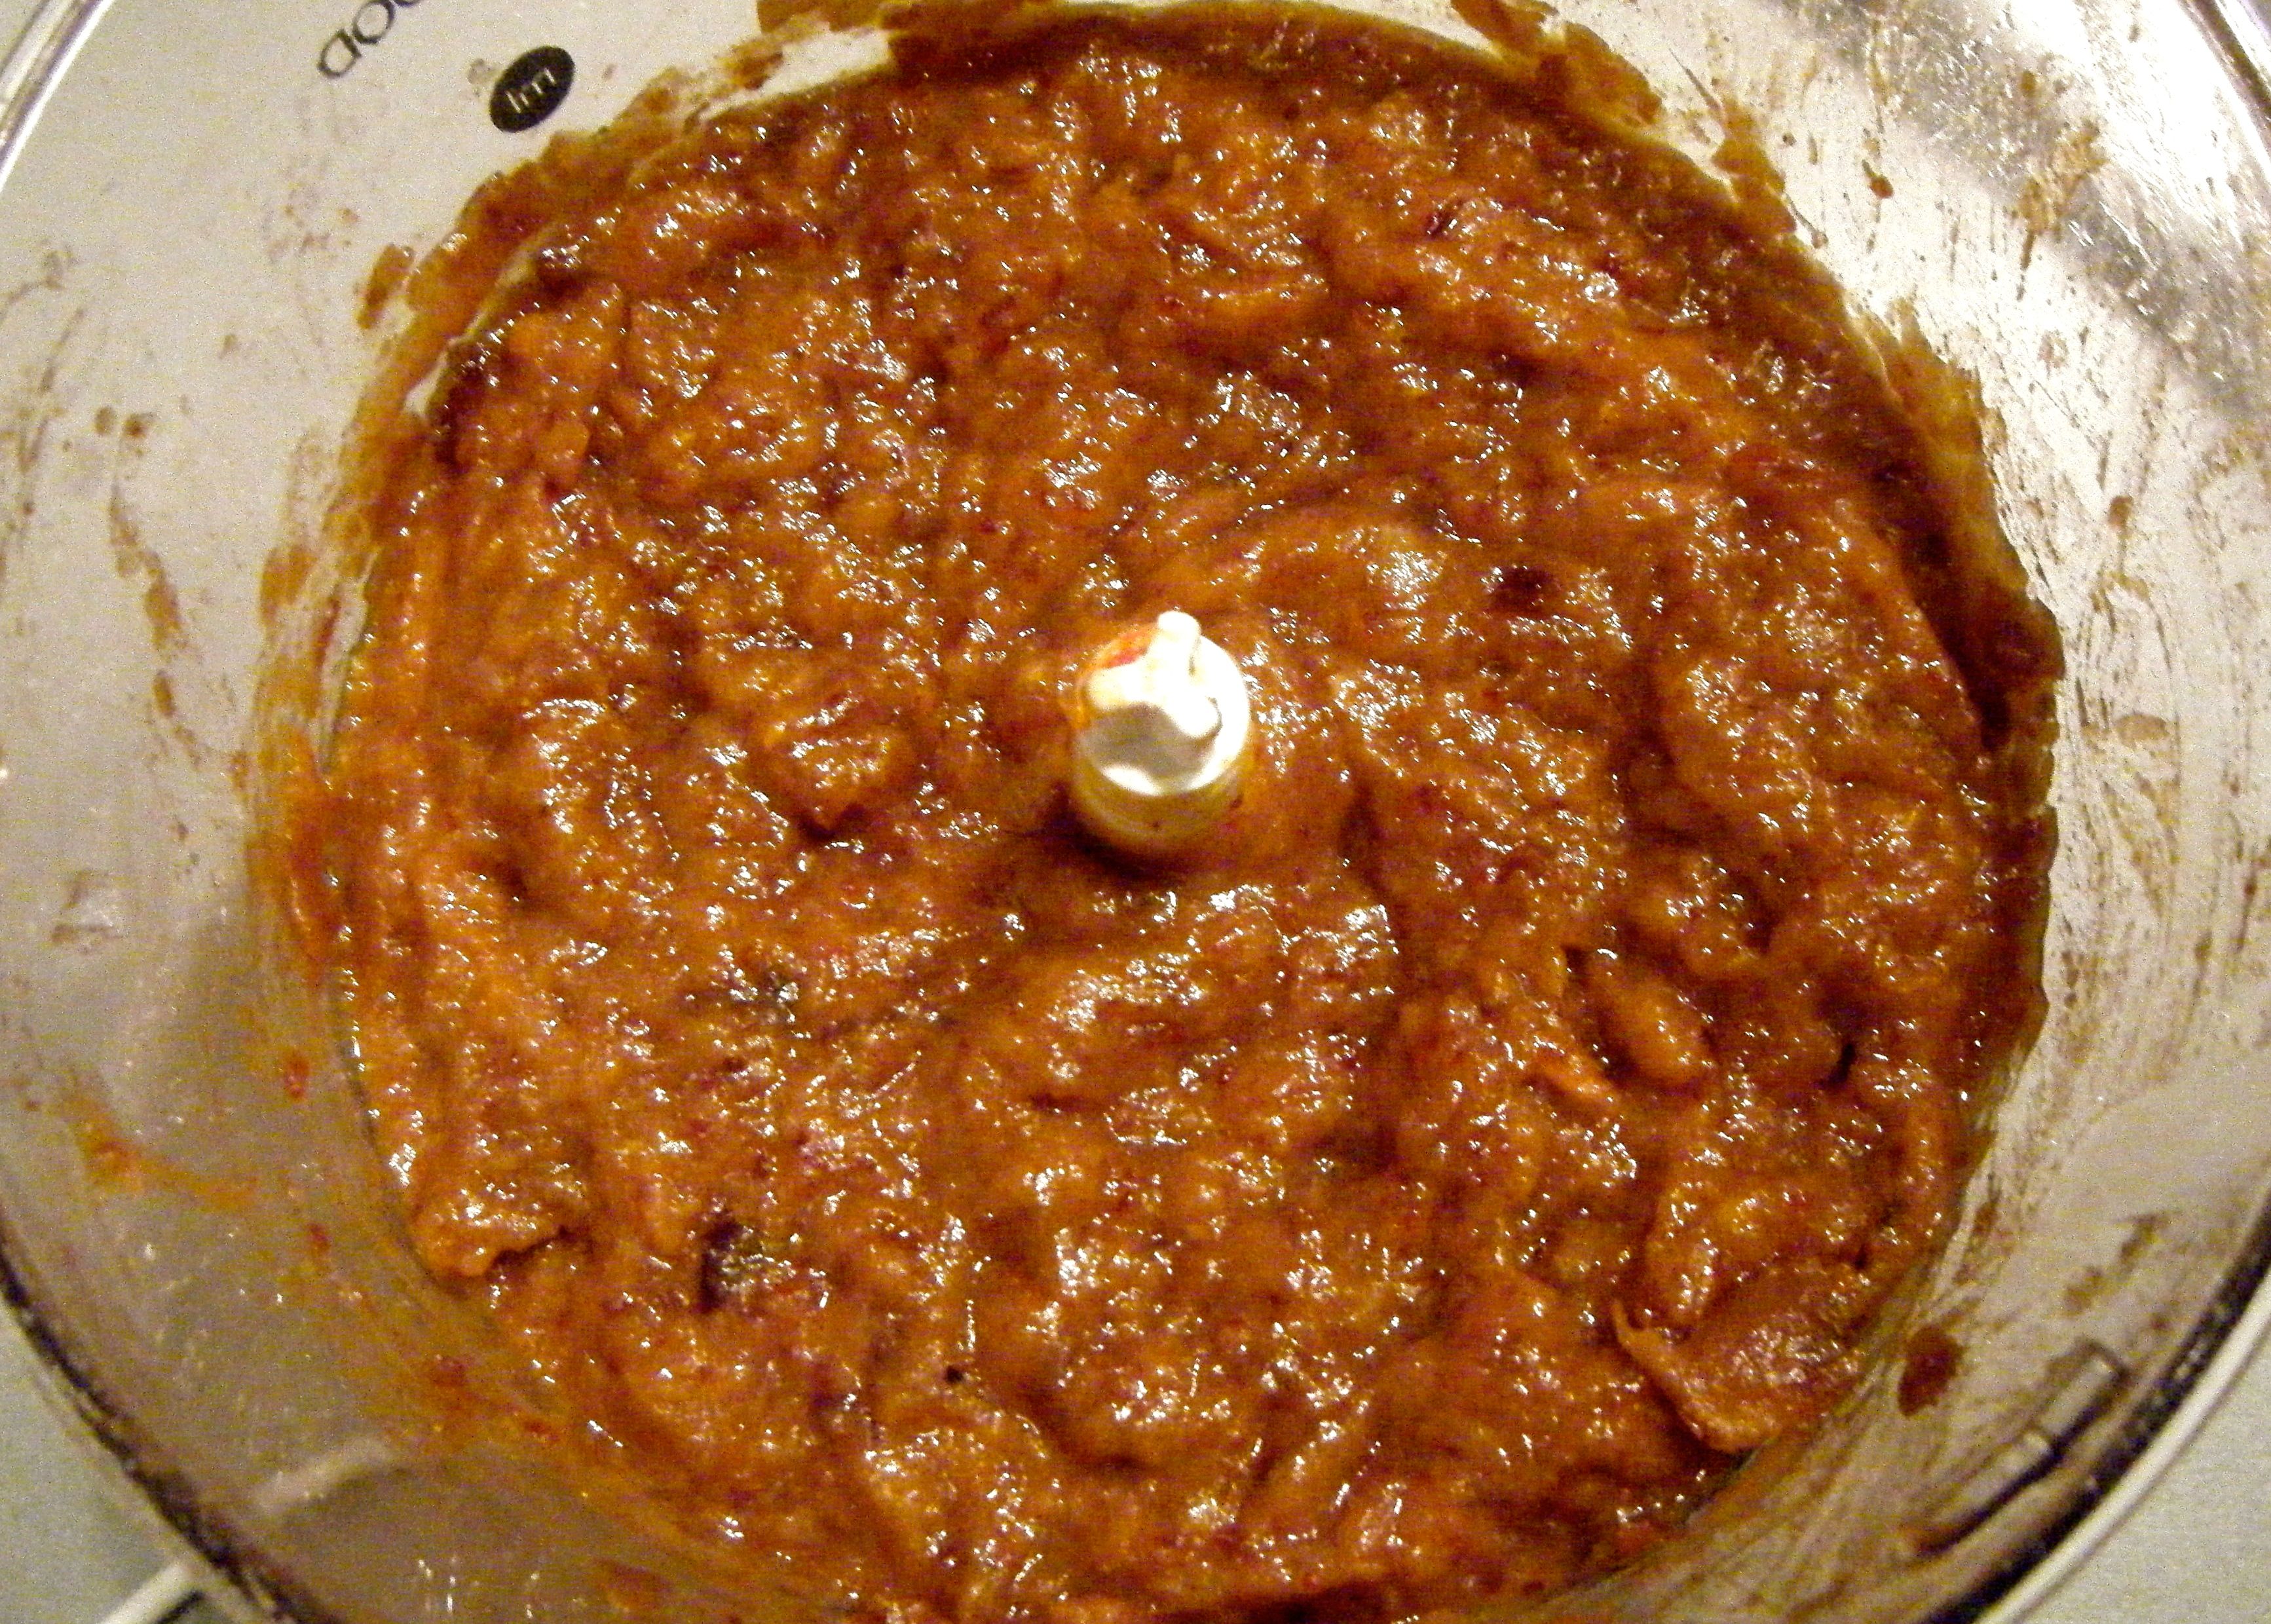
I started by preparing my cherries because I wanted these to have plenty of time to cool down.  I took out 12 of the best looking cherries and put these to one side.  I popped the rest of the cherries, the sugar and juice into my saucepan and bought it to the boil.  I let it simmer away for about 10 minutes and then removed it from the heat.  I left the cherry mix in the saucepan to cool completely.

I then got started on the pastry case.  I put the flour, salt and the chilled butter into my food processor and pulsed it until I had a breadcrumb looking result.  If you don’t have a food processor you can rub the butter and flour together by hand.

Practical tip: if doing this first stage by hand, make sure your hands are cold.  Warm hands will begin to melt the butter and the mix will become too wet.  If, like me, your hands are prone to being warm, run them under a cold tap for a while and dry them thoroughly before you get started.  Repeat this cooling process periodically to make sure your hands don’t warm up too much.

Edited - Breadcrumb

With my breadcrumb mix ready, I added the caster sugar and egg yolks to my processor.  I then tried to pulse this until a dough formed but there was too much mix for my processor.  I decided to tip it out into a bowl and bought it together by hand, being careful not to overwork the dough.  I covered it with cling film and popped it in the fridge for 30 minutes.

Edited - dough ready for the fridge

When the pastry dough was nearly ready, I prepared my tart tin. The recipe doesn’t tell you what you need to do here and I wasn’t too certain if I actually needed to do anything.  A quick google confirmed I should grease the tin.  I just used a bit of butter and my fingers to make sure the base and sides were greased properly.

Once the 30 minutes were up, I floured my worktop ready to roll out the pastry.  I used quite a lot of flour because the last time I made pastry, it got stuck! I also floured my rolling pin and got started.

Practical tip: when rolling out pastry (or fondant, or pretty much anything you want to roll), always roll from the middle up and middle down.  If you roll from top to bottom you’ll end up with a really fat bottom, whereas rolling from the middle helps to keep an even thickness all the way through.

Once my pastry was the right size, I rolled one side onto my rolling pin, picked up the pastry and laid it into my greased tin.  Turns out, I was a bit overzealous about how big I needed to roll out and I had quite a lot of offcuts! Something to practice for next time 🙂  Anyway, I trimmed away the excess, put the baking paper and rice in place and popped it into the oven for 15 minutes.

Edited - lined tin Edited - bp and rice

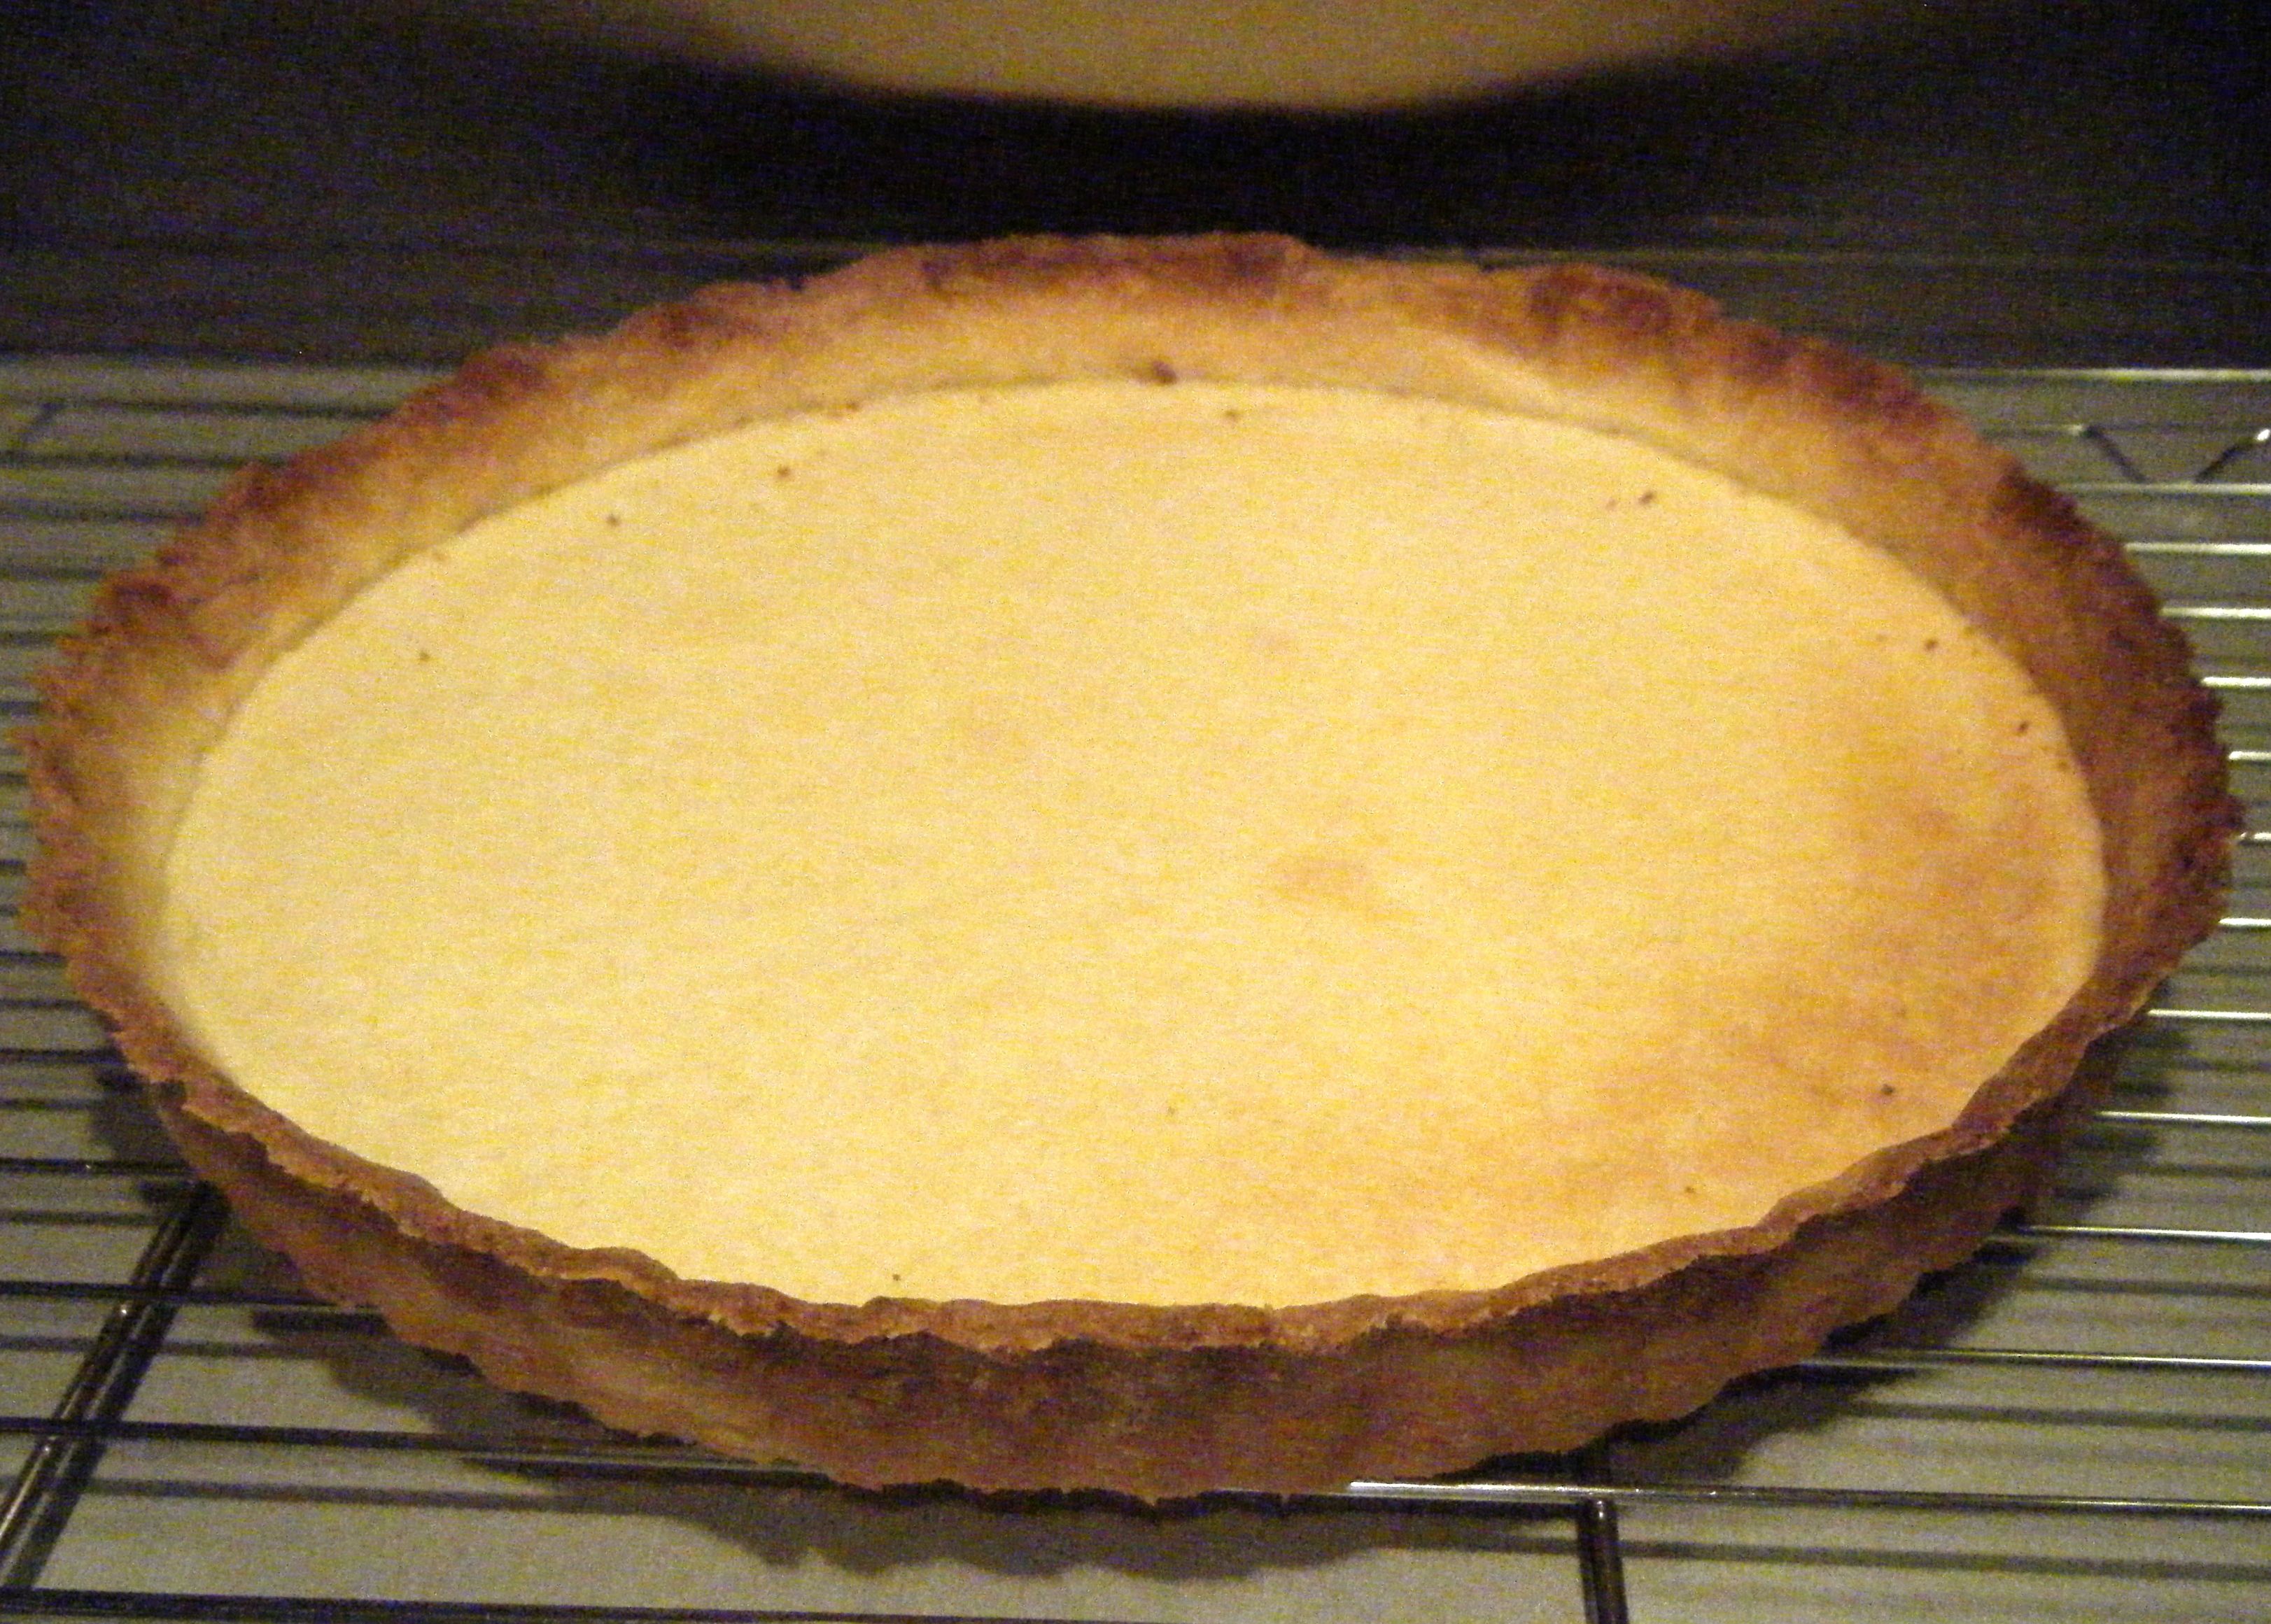
When the timer went off, I removed the rice and baking paper and returned it to the oven for 5 minutes.  My edges had browned more than the middle and I think this is because I cut the baking paper too small.  By the time I had added the chocolate filling this didn’t matter but next time, I will try avoid this by leaving the baking paper a bit bigger so the edges aren’t as exposed.

After the final bit of cooking time was over, I took the pastry out of the oven and left it in the tin for 5 minutes to cool.  I removed the pastry from the tin and put it onto a rack to cool completely.

Edited - cooked base

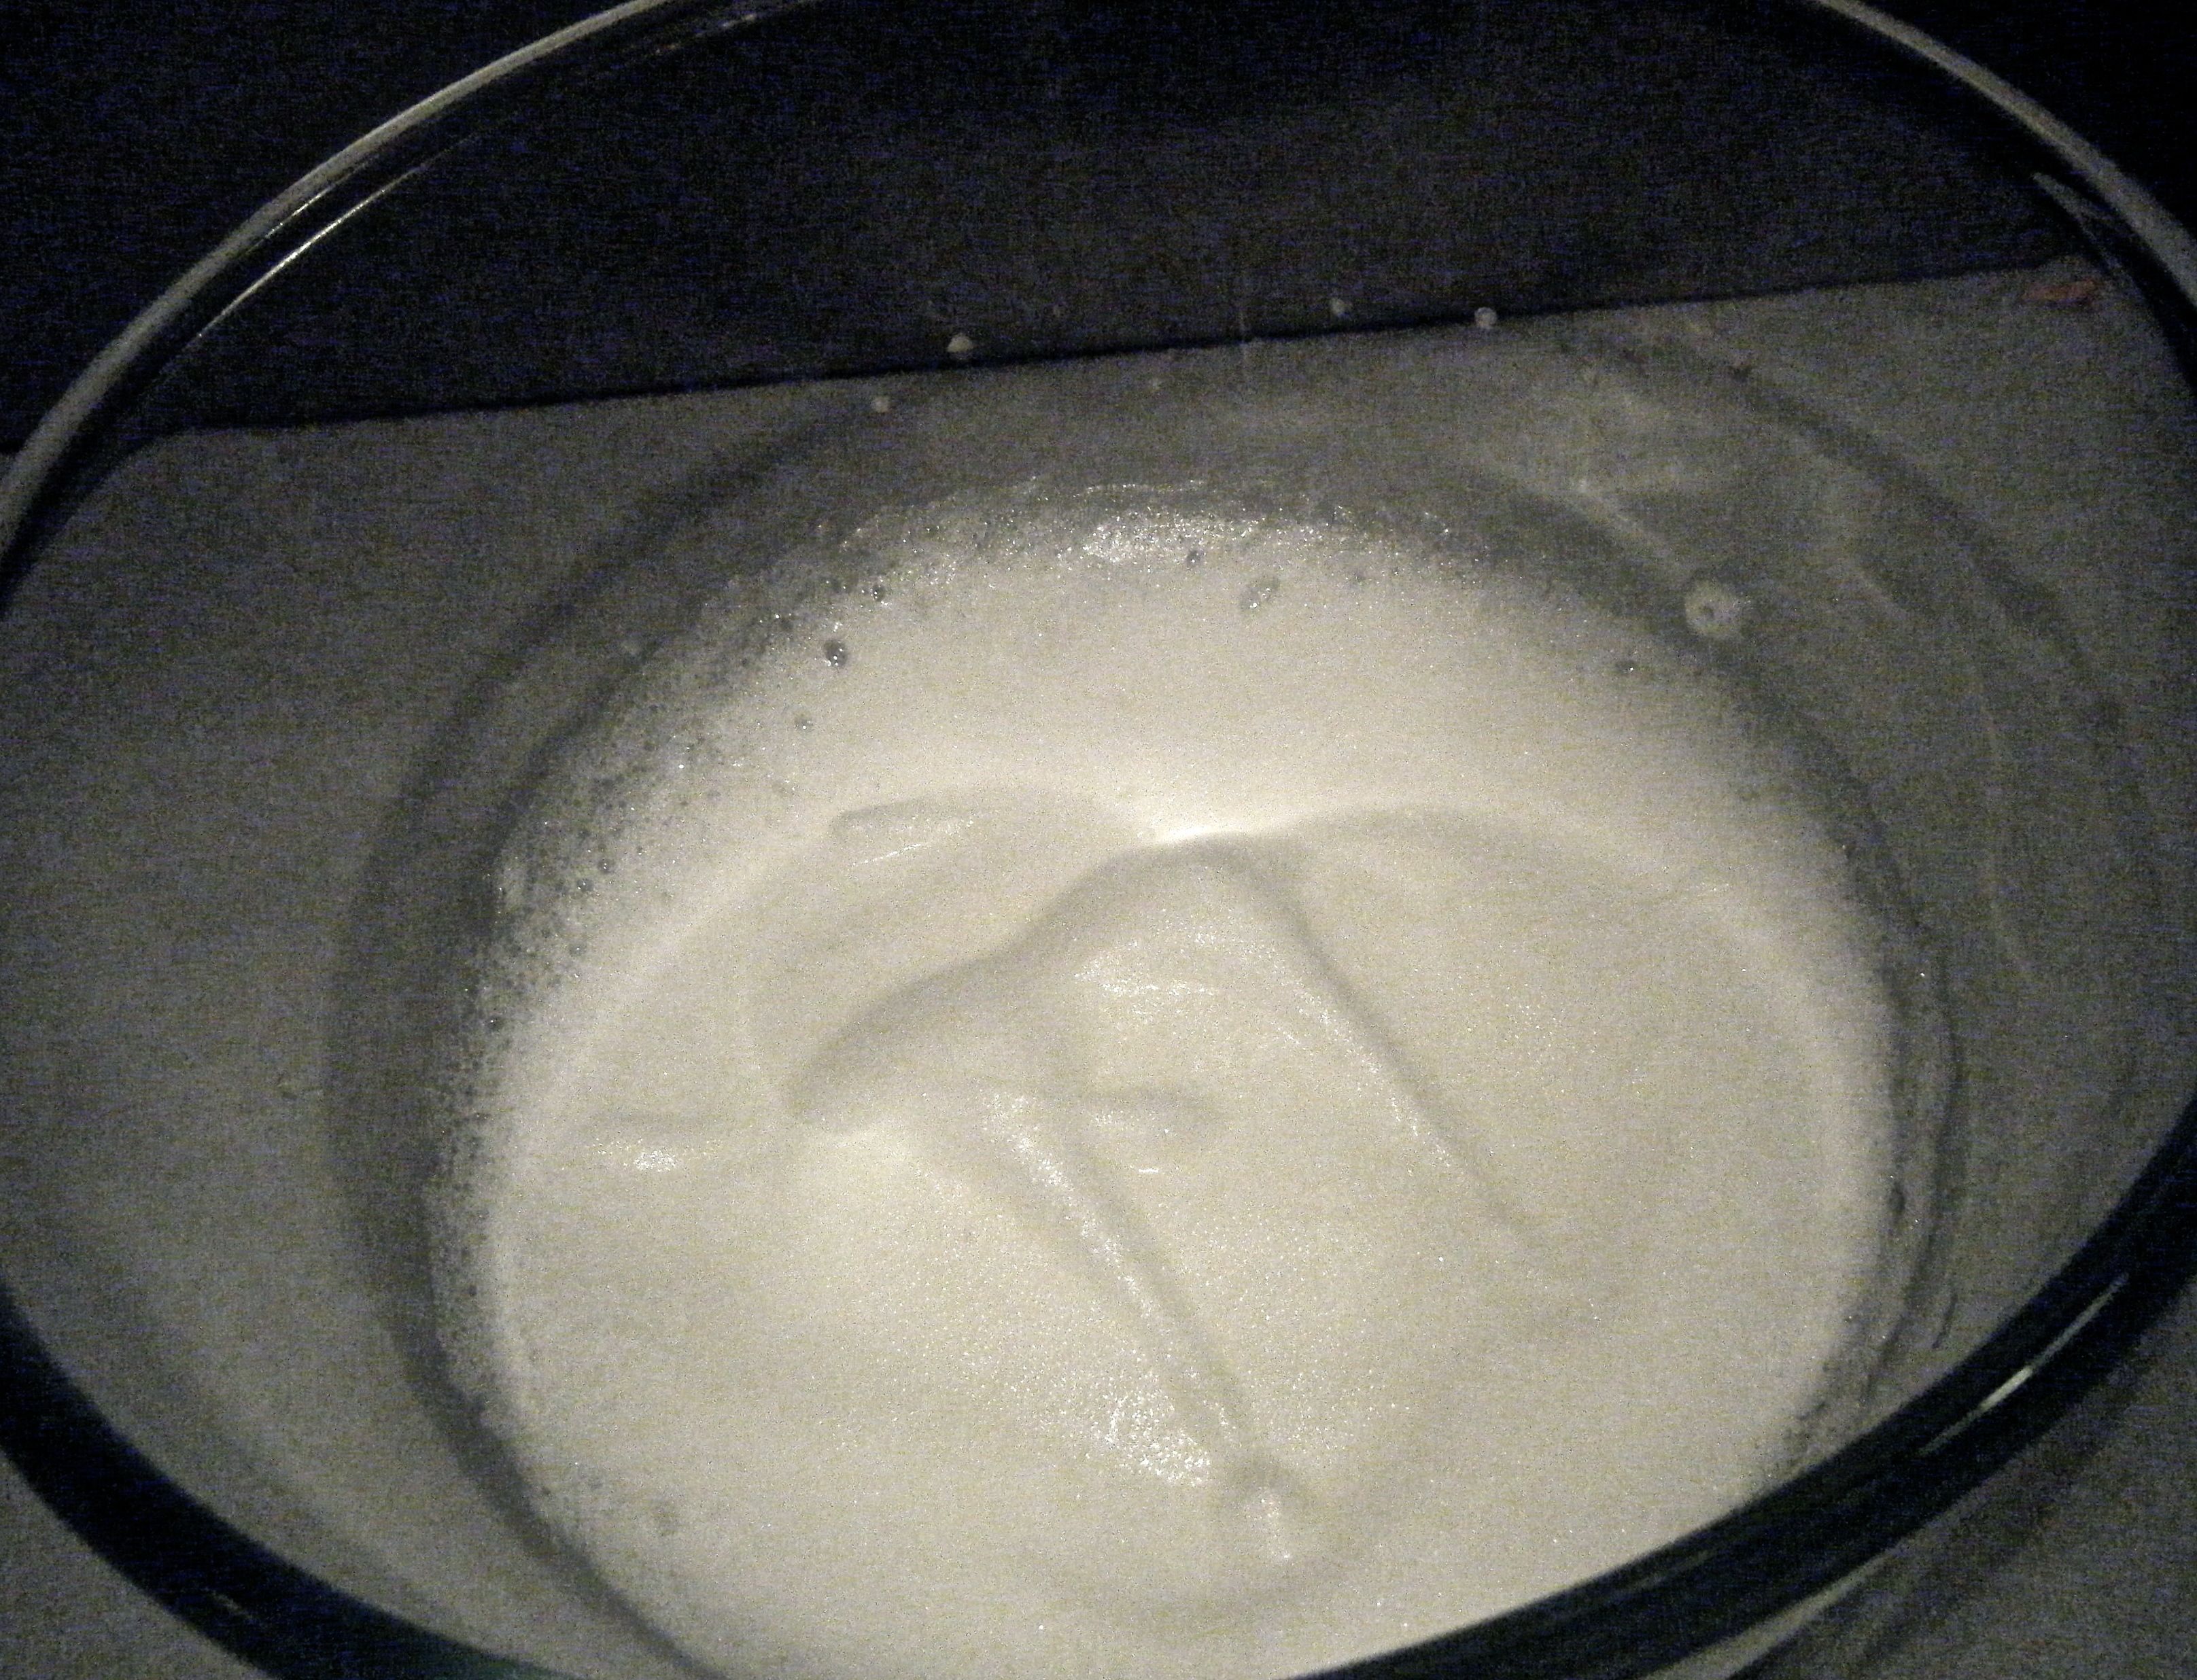
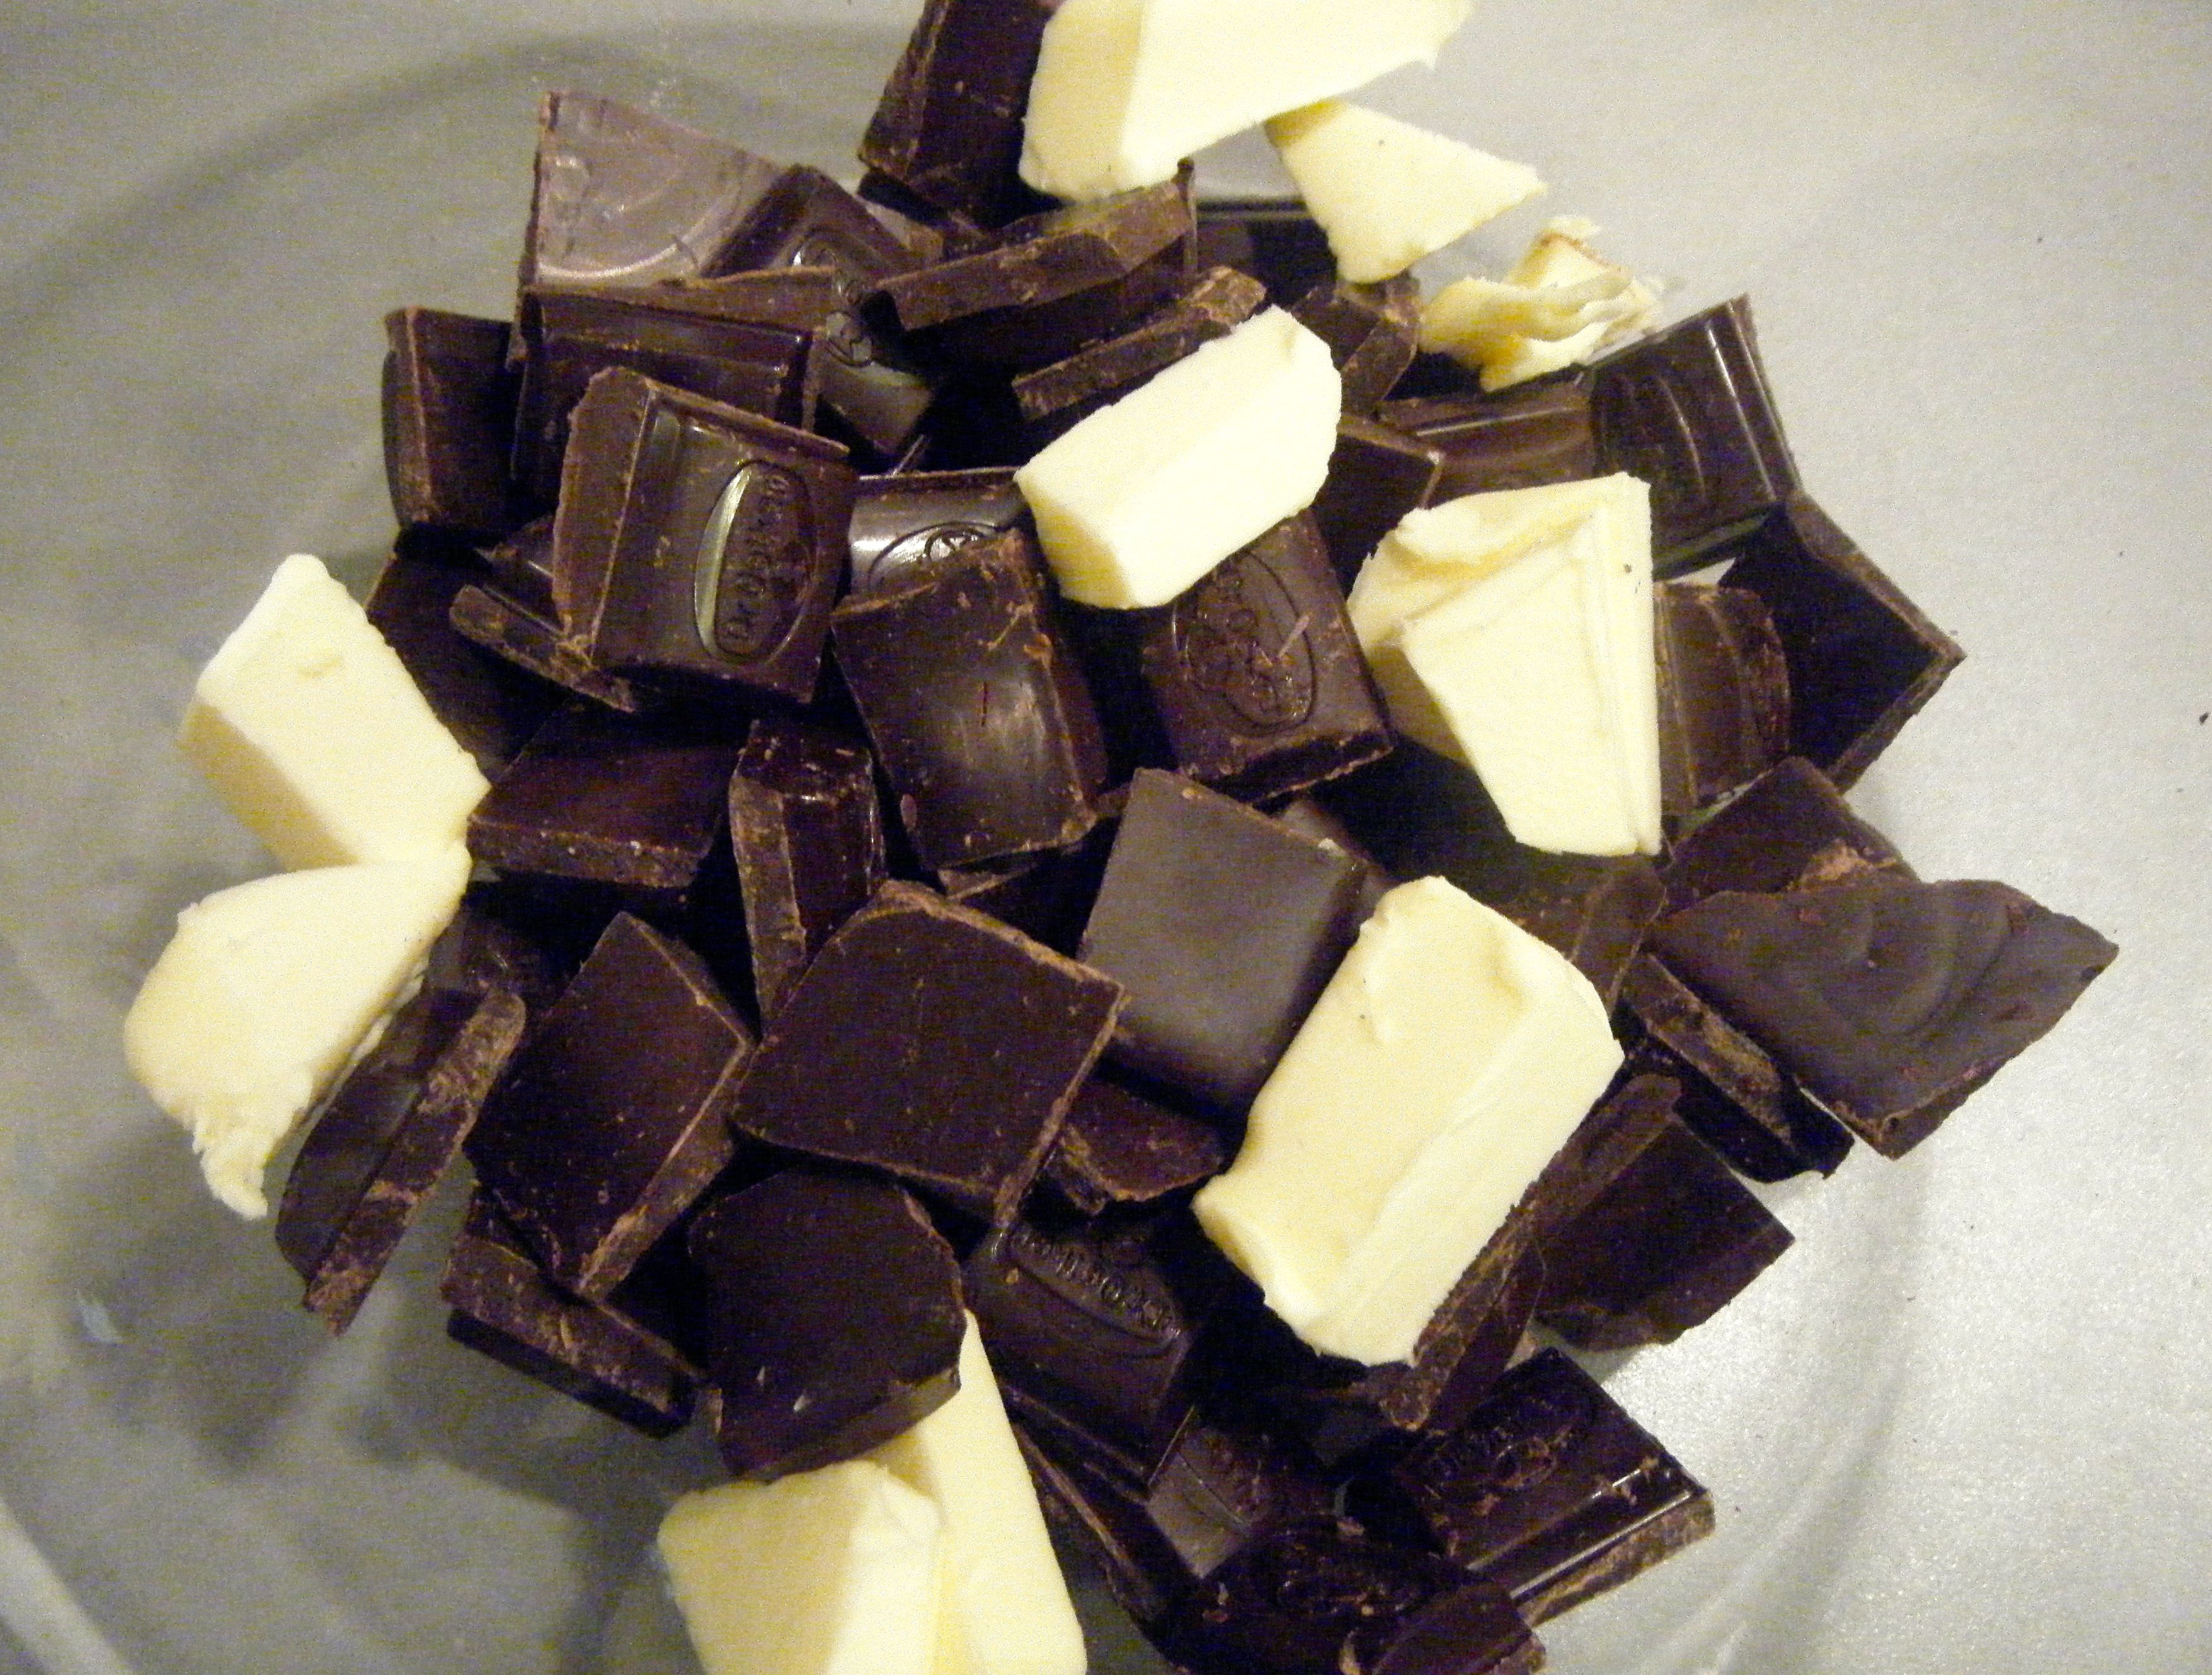
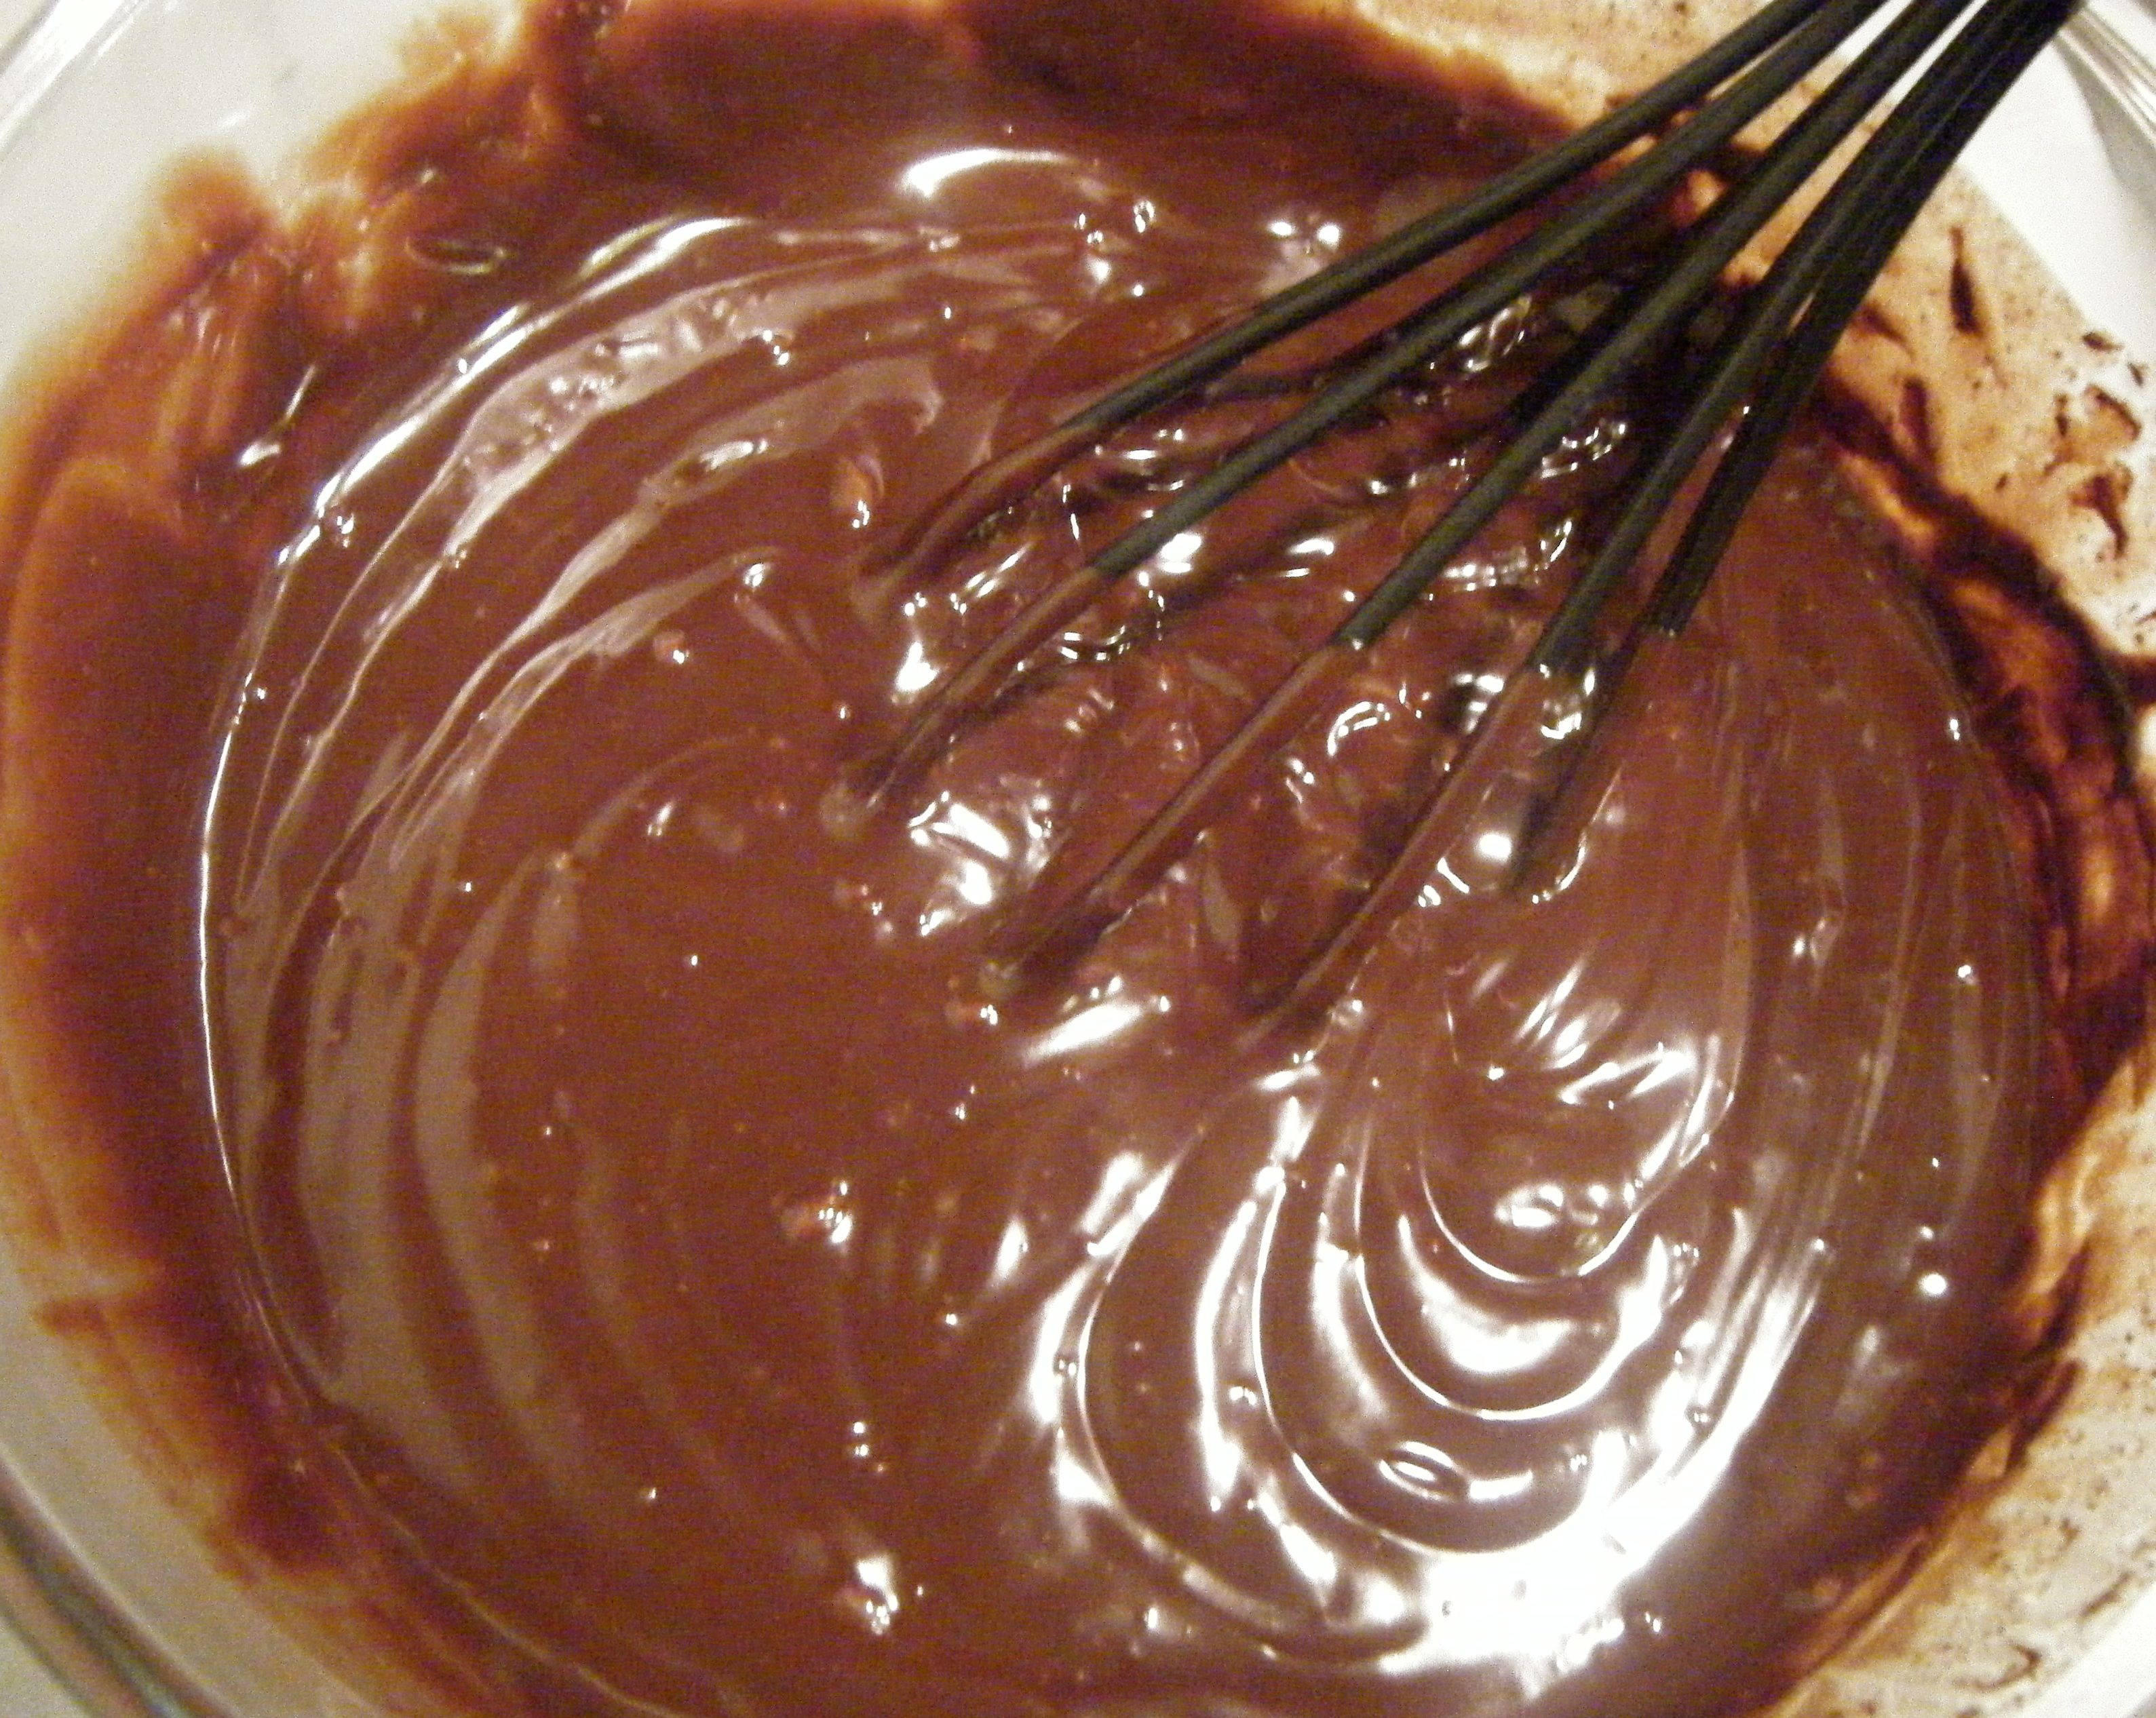
I then got started on the chocolate mix.  I added the double cream, sugar and vanilla extract to a pan and bought this to the boil.  Whilst it was heating, I put the dark chocolate and butter into a large bowl.  When the cream was nice and hot (be carefully not to burn it!), I poured it over the chocolate and butter.  It only took a few seconds to start melting and after a little use of my hand-held whisk I had a lovely smooth rich looking ganache.

Edited - butter and chocEdited - Chocolate genache

At this point, we come back to the improvisation and the, by now, forgotten cherries.  I drained the cherries from the liquid and placed them into the base of my tart. I then poured my chocolate ganache over the top and levelled it off with a spatula.  I also did a little fancy pattern work with a fork, just because I could 🙂 Finally, I placed my 12 reserved cherries around the outside (this is a neat little way to control portion sizes, 1 cherry per slice).

Edited - cherry lined base Edited - top

I let the ganache cool for around 15 minutes and then put the tart into the fridge for 2 hours. 

With the chocolate set, I got started on the final element – the white chocolate cream sauce.  I put half the single cream into a pan with the vanilla pod to warm through.  Once warm (but not hot) I removed it from the heat, took out the vanilla pod and added the white chocolate.  When the chocolate had melted completed, I added the remaining cream.

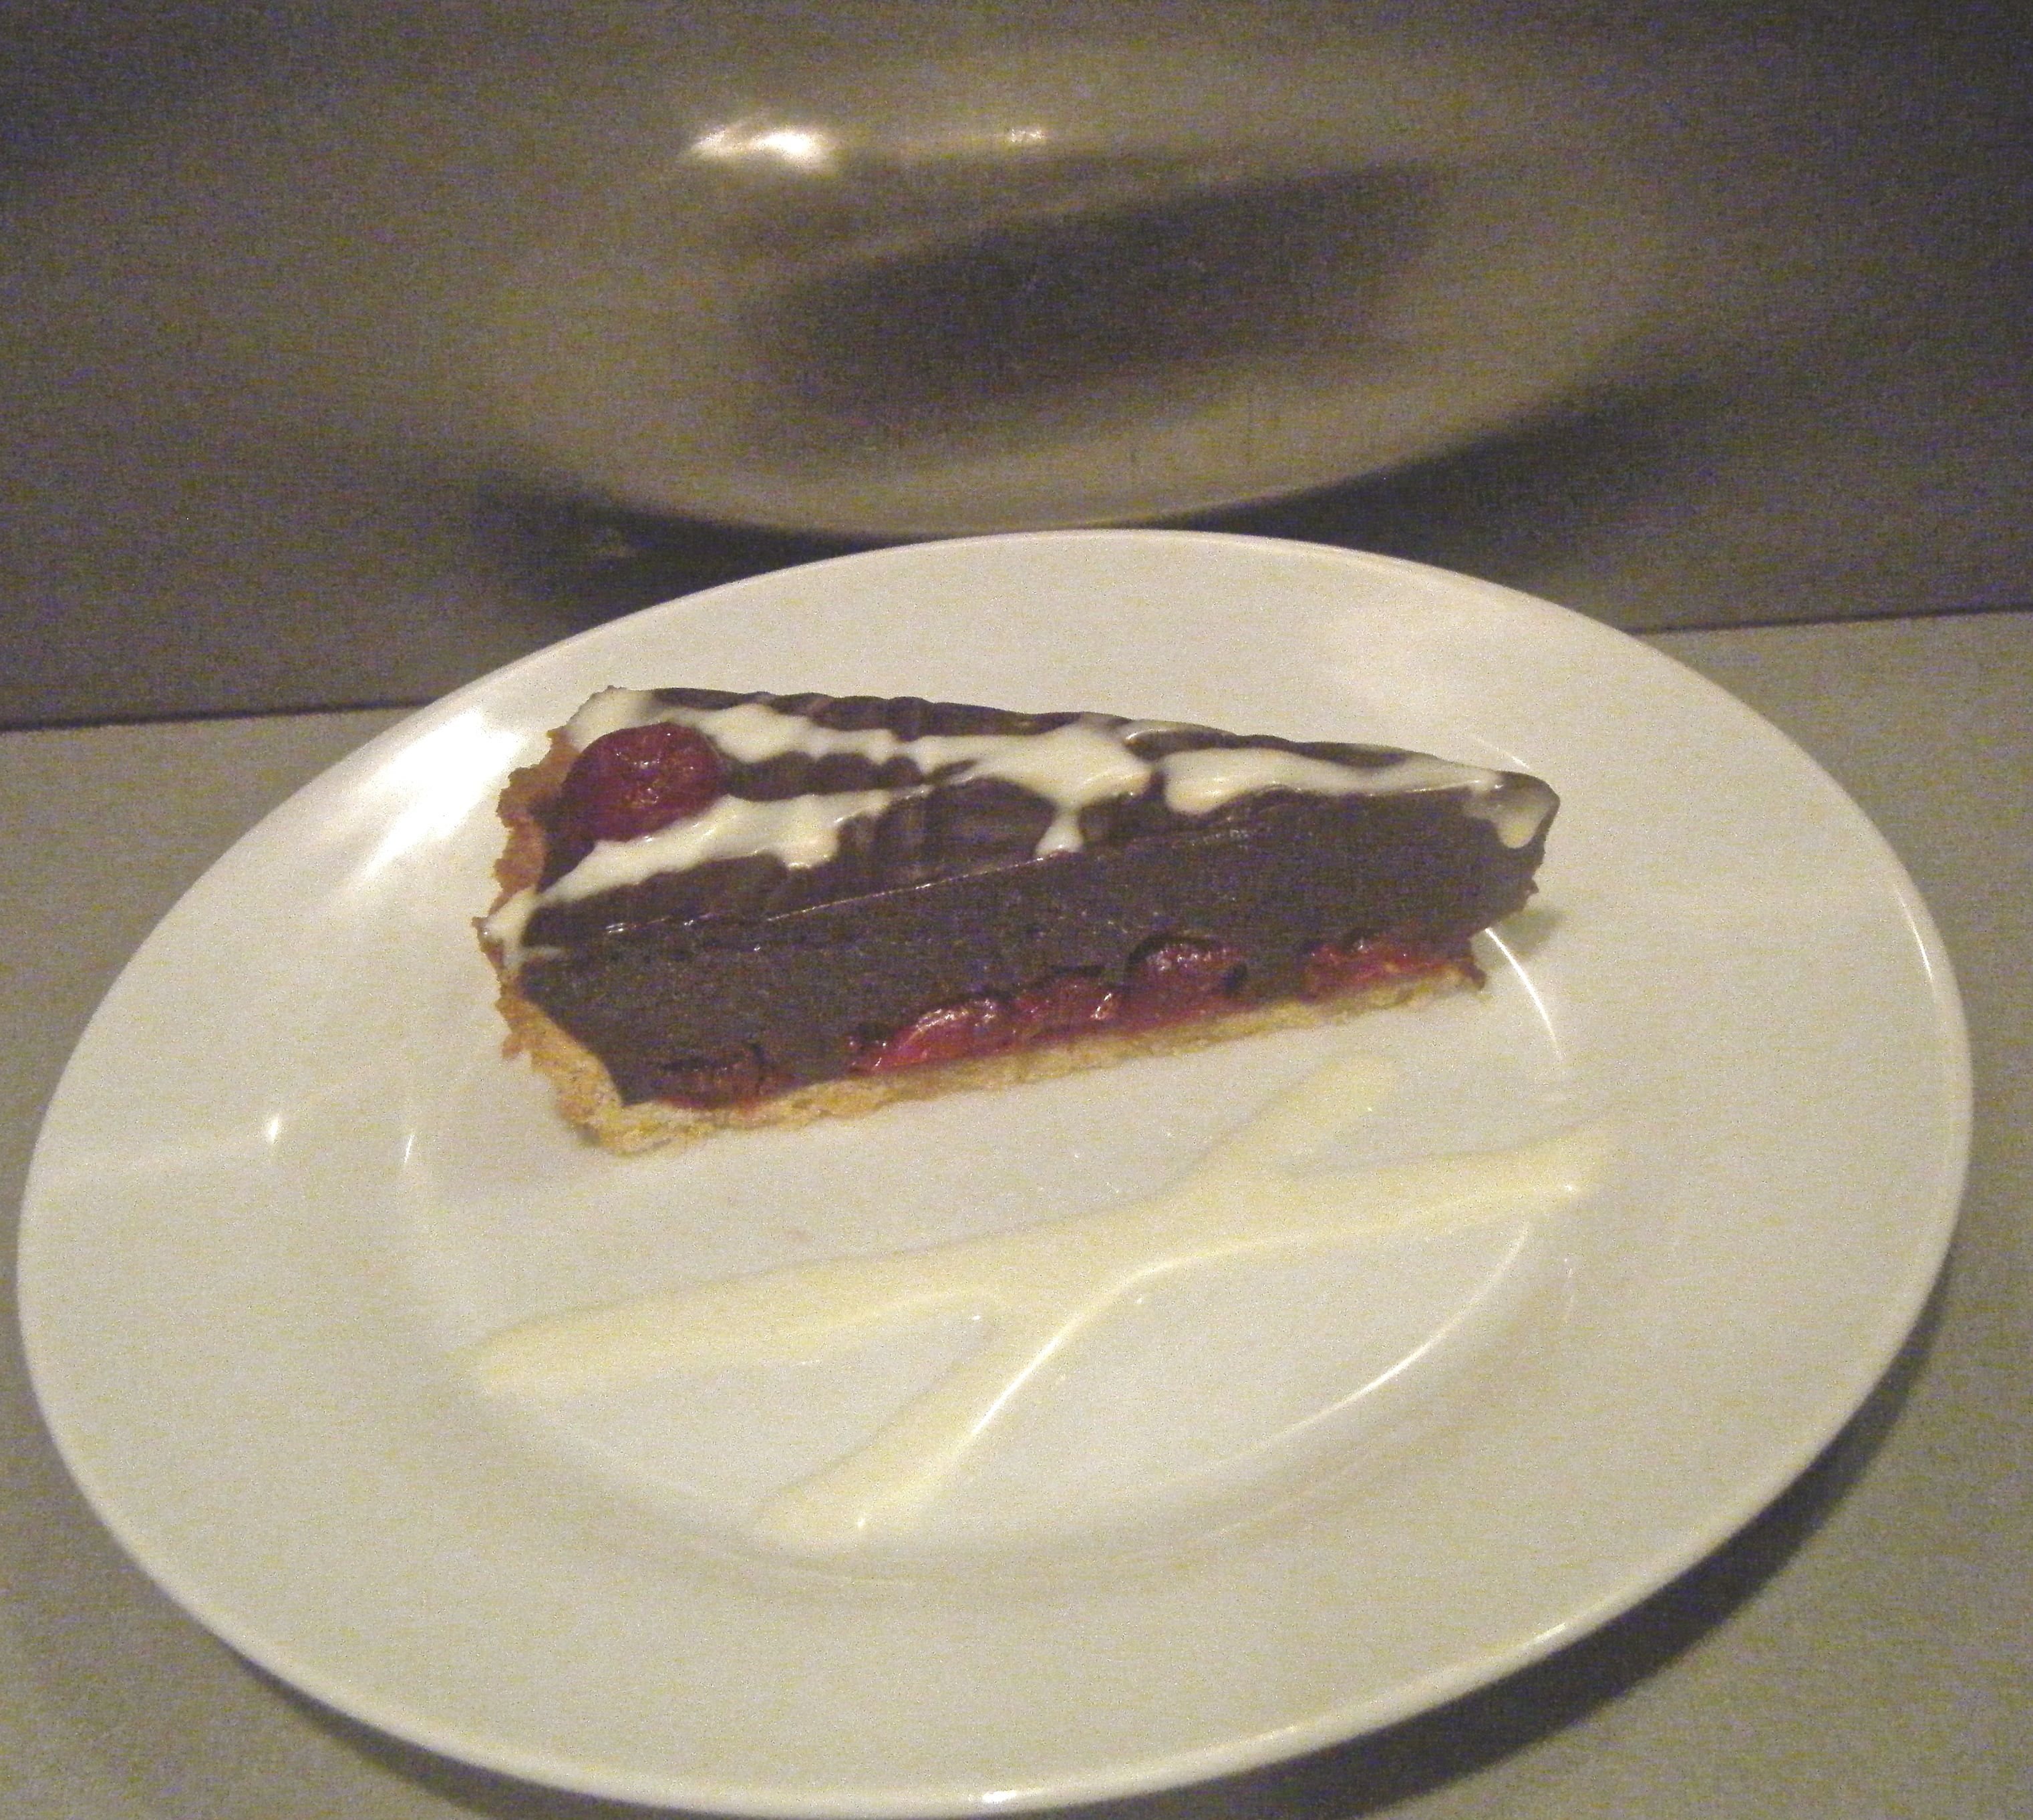
I drizzled a bit of the white chocolate cream over my tart and served up.

Edited - sliced Edited - slice

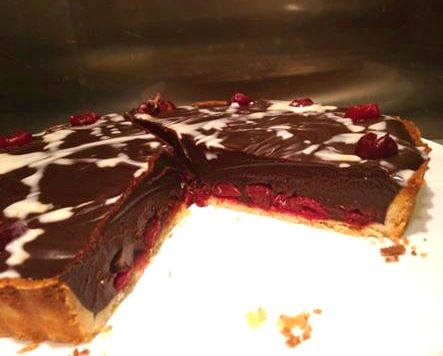
Two words to describe this dish – chocolatey goodness!!  It was very rich which meant you didn’t need a big portion but it was oh so good (meaning I wanted a big portion!). 

Personally I thought the white chocolate cream, whilst yummy, was a little unnecessary.  Perhaps this is because I wasn’t serving the tart as a dessert but more of a sweet snack.  It also ended up running into the chocolate and not looking as pretty I had hoped.  Next time, I think I will just melt some white chocolate to drizzle over the top and, if served as a dessert, I’ll have it with some normal cream.    

Just one final thought on this challenge.  More cherries!  I love cherries and I think this could have done with a few more so when I make it again, I’ll probably double the amount.

Coming up next week, Challenge No. 12 – fish and chips. 

Challenge No. 10 – Currywurst

This recipe was suggested by my friend Jenni and is a fast food dish originating from Germany. I’ve never tried currywurst and was at first a little apprehensive.  I had flashbacks to a show and tell presentation whilst at primary school where I took in another common German dish, sauerkraut.  I have absolutely no idea why I was presenting this, of all things, but I do remember I did not like it one bit!  And so, when Jenni suggested currywurst, I immediately googled it to make sure it wasn’t related in any way to sauerkraut.  Thank goodness it wasn’t.  It is basically a german sausage smothered in a curried tomato sauce and it is often served with chips and/or a crunchy bread roll.

I set of in search of a suitable recipe and decided to use this one.  The recipe calls for the following ingredients:-

  • 2 Tbsp canola oil
  • 1 large onion, chopped
  • 2 Tbsp curry powder
  • 1 Tbsp paprika powder
  • 15 oz can tomato sauce
  • ½ cup (100g) sugar
  • ¼ cup (60ml) red wine vinegar
  • salt to taste
  • 2 bratwurst sausages
  • dinner rolls for serving

Those of you who have been following my posts will know that I always include a photo of the ingredients.  I started this recipe in the same way as all the others, by setting out my ingredients ready for their photo.  However, in doing this, I realised I had made a mistake with my prep!

Before I went shopping for the ingredients, I read through and mentally crossed off anything I already had in the cupboard, which included the curry powder.  However, when I went to get out my curry powder, I realised I had got it wrong! In my head I had thought of the chilli powder sat in the cupboard and mistakenly checked of one of the most vital ingredient! Face-palm moment – who thinks they can made currywurst without the curry?!  Anyway, after a quick emergency trip to the supermarket at 8.30 on a Saturday night, I was all ready to go.

Edited - ingredients

I started by chopping the onions and popping them in the saucepan to soften. 

Practical tip: don’t worry about chopping the onions too small – they get taken out of the sauce before you serve up and are merely there to add flavour.

Edited - onions in pan

Once the onions were soft, I added the curry powder and paprika.  I let this cook for around a minute and then added the remaining ingredients.  Personally, I didn’t add any salt as I didn’t think it needed it but obviously this comes down to personal preference.

Edited - onion and powders Edited - bubbling sauce

I then let the sauce simmer away for around 20 minutes and got started on the bratwurst.  I opted to cook 3 bratwursts for 2 of us and this worked out to be the perfect serving size.  I heated a little oil in my frying pan and put the sausages in.

I turned the sausages regularly trying to brown all sides.

 Edited - sausage panEdited - cooked sausage

With everything nearly done, I pushed the sauce through my sieve to remove all the lumpy bits of onions and was left with a lovely silky smooth sauce.  I popped this back in the pan and on the heat until ready to serve.

I cut up the sausages and spooned the sauce over the top.  I was a bit reserved with the sauce at first and ended up going back for more because it was just so delicious.  I served up with some slices of crunchy baguette and some yummy curly fries. 

Edited - served up

The verdict – currywurst is absolutely delicious! Whilst we were eating it my boyfriend revealed he was really not looking forward to having this but was surprised at how nice it was.  We did however both agree it was a little sweet and if we have it again (which we will do!), I will put a little less sugar in and probably a little more curry powder. 

One of the best things about this dish was it’s simplicity.  Whilst I cooked it on a Saturday night, it would be a really good mid-week treat and is definitely one I will be doing again!

Coming up next week, Challenge No. 11 – chocolate ganache & cherry tart. 🙂 Hope to see you then. 

Challenge No. 09 – Gluten Free Date, Banana and Rum Loaf (With Disaronno instead of Rum)

I have two friends who can’t eat gluten, one is simply gluten intolerant whereas the other is a celiac.  It’s therefore unsurprising that I have been give a couple of gluten free recipes to try throughout Challenge 52. I thought I’d start with date, banana and rum loaf as suggested by my friend Chloe, who is gluten intolerant.

I did a quick google search for “gluten free date, banana and rum loaf” and it brought up a perfect recipe which ticked all the boxes.  So I decided to use this one.

The recipe calls for the following ingredients:-

  • 250g pack stoned, ready-to-eat dates
  • 2 small or 1 large bananas (140g/5oz in weight)
  • 100g pecans, 85g/3oz roughly chopped, rest left whole
  • 200g raisins
  • 200g sultanas
  • 100g fine polenta (also known as cornmeal)
  • 2 tsp mixed spice
  • 2 tsp baking powder (use gluten-free if needed)
  • 3 tbsp dark rum
  • 2 egg whites
  • a few banana chips and 1 tsp sugar (optional), to decorate

First things first, I didn’t have any dark rum in and considering I only needed 3tbsp I didn’t want to buy a full bottle. I therefore opted to make my rum loaf with Disaronno. I suppose this is therefore really a date, banana and Disaronno loaf 🙂

Edited - ingredients

I have to admit, despite having a couple of friends who can’t eat gluten, I’m quite ignorant about what this actually means for their diet.  It’s a new world for me and I really didn’t and still don’t really understand what they can and cannot eat.  I have learnt that gluten is protein found in wheat, and that it helps food to hold its shape.  However, I’ve not managed to get my head round all the places gluten may be hiding. 

This recipe has given me a taste of what it would be like to be gluten intolerant and I must say I do not envy my friends!  I took a look at the “free-from” section in a number of supermarkets and found all of them to be tiny.  Whilst there is generally a selection of ready to eat gluten free food, I felt the range of ingredients available for making food from scratch was not very good at all.  Plus everything had a ridiculous mark-up because it was gluten free.

I thought I was onto a winner with this recipe as there appeared to be nothing which would be a special gluten free ingredient except the baking powder.  My baking powder is already gluten free and I therefore thought it would be nice and easy to go ahead and make it.  However once I had bought all my ingredients, I had a quick look at the comments on the recipe and found out that polenta is not always gluten free! I sent a picture of the pack I’d bought to my celiac friend and she confirmed she would not be able to eat it.  So I popped into a supermarket the next day in search of a suitable product – they didn’t even sell polenta! That night I tried another supermarket and thankfully had success.  However, there was only one gluten free option and the bag was huge!

So anyway, I finally had all my ingredients ready and I got started.

I put 200ml of boiling water into my pan and bought it up to a bubble.  I then added the dates and set the timer for 5 minutes.  Whilst the dates were simmering, I broke up the banana and popped it into my food processor.  Once the 5 minutes where up I drained the dates, being sure to reserve the liquid, which ended up being exactly 100ml!

Edited - simmering dates

I was a bit concerned about adding the hot liquid to my blender and I therefore waited about 10 minutes for the dates and liquid to cool down.  Whilst they were cooling, I chopped my pecans ready to be added to the other dry ingredients.  I have a bit of a thing about textures and don’t like it when I have big crunchy nuts in a soft cake so I chopped the pecans quite small but this is just personal preference. 

Edited - chopped pecans

When the hot ingredients had cooled enough, I blitzed the dates, banana and liquid until smooth.  I put all the dried ingredients into a big bowl and added the date/banana purée and the Disaronno.  I then mixed it all together with a wooden spoon until well combined.

 Edited - pureeEdited - dry ingredients

Next, I got out my glass bowl and electric hand whisk to prepare the egg whites.  I beat them until soft peaks formed and then carefully folded the whites into the mix.

Edited - whites

Practical Tip: be careful not to knock the air out of the egg whites when stiring them into the mix.  Cut down vertically into the centre of the mixture and fold the bottom of the mixture up and over the top of the egg whites. Turn the bowl and repeat this action.  Fold slowly and carefully until the egg mix is combined.

Edited - ready for tin

I added the finished mix to my lined tin and decorated the top with the dried bananas, left over pecans and a little bit of sugar. 

Edited - oven ready

I popped the tin in the oven and set the timer for 30 minutes.  When the timer went off, I re-set it for 15 minutes and then checked the loaf.  At this point, I decided to cover the top with foil to stop it burning and left it in the oven for another 10 minutes.  Finally it was done!

I let the loaf cool in the tin for 10 minutes and then took it out, removed the lining and left it to cool on a cooling rack.

 Edited - cookedEdited - ready to serve

The finished product made the rounds this week, a few slices were taken to work, a few to Cardiff and a sizeable chunk was given to my celiac friend. 

The verdict from everyone was that it was very nice, everyone that is except my other half.  Dave doesn’t like fruit cake so I wasn’t that surprised.   Personally, I thought it was lovely.  It was so moist, full of flavour and best of all easy to make.  I’ll be making this a few times, even if its just to use up the huge bag of polenta!

Coming up next week, Challenge No. 10 – currywurst. I hope to see you then 🙂