Challenge No. 25 – Sweet Potato Brownie (Gluten Free)

This challenge was due to be posted last Thursday, however, on Wednesday evening I received the terrible news that my brother’s soon to be father-in-law had been killed in a motorcycle accident.    Dave was a wonderful man who was so full of life and laughter.  It is a heartbreaking loss for his family but also all those who knew and experienced Dave (it has been said that you didn’t just know Dave, you experienced him!).  Sadly Dave died as a result of a car driver pulling out in front of him, the type of accident bikers cannot account for.  His family have already tried to increase awareness for other bikers and so I start this post with my condolences and love to the Cook family but also a message to all those who use the roads – please be aware of motorbike riders, look twice maybe even three time before pulling out.  That final check could stop another family having to go through this painful experience.   Rest in peace Dave, you will be sadly missed by all those who had the pleasure of knowing you.

And so, through teary eyes, I continue with this post…

This challenge was suggested by my friend Danny and it was a bit of a tricky one for me.  Sweet potatoes have soared in popularity in the UK recently and a quick search online revealed lots of recipes for sweet potato brownies.  However, Danny specifically requested the brownies be gluten free.  Trying to find a simple recipe for gluten free sweet potato brownies was more difficult.  All the ones I found used ‘cups’ for the ingredients measurements (which I never use!) and also gluten free flour.  I wanted to avoid using a gluten free flour and so I searched until I found a recipe which used other ingredients.   

Eventually I found this recipe by Lindsay on The Lean Green Bean blog (be sure to check it out)!  I’ve converted the recipe away from ‘cups’ and to make these delicious sweet potato brownies, you will need the following ingredients:-

  • 175 g chopped, pitted dates
  • 130g cooked sweet potato, mashed
  • 190g  nut butter (I used peanut butter)
  • 2 eggs
  • 63g applesauce
  • 40g unsweetened cocoa powder
  • ½ tsp bicarbonate of soda
  • 100g dark chocolate chips

Edited - ingredients

I started off by cooking the sweet potato.  I’ve made sweet potato fries before, but I wasn’t sure of the best (and quickest) way to cook the sweet potato for mashing purposes.  I did a bit of research and decided to use the microwave.  I simply pricked the potato with a fork and popped it in the microwave on high for 8 minutes (turning it over half way through).  After cutting the potato open, I realised this wasn’t quite long enough to cook it all the way through.  However, the outside bits were soft enough to give me 130g of mashed potato.

Whilst the potato was in the microwave, I added my dates and peanut butter to a food mixer.  I then added the mashed sweet potato and blitzed it until smooth.  This actually took quite a while because the mix was so thick.  I was slightly worried the motor on my mixer was going to blow, it definitely got very hot but managed to survive the challenge!

Edited- step 1

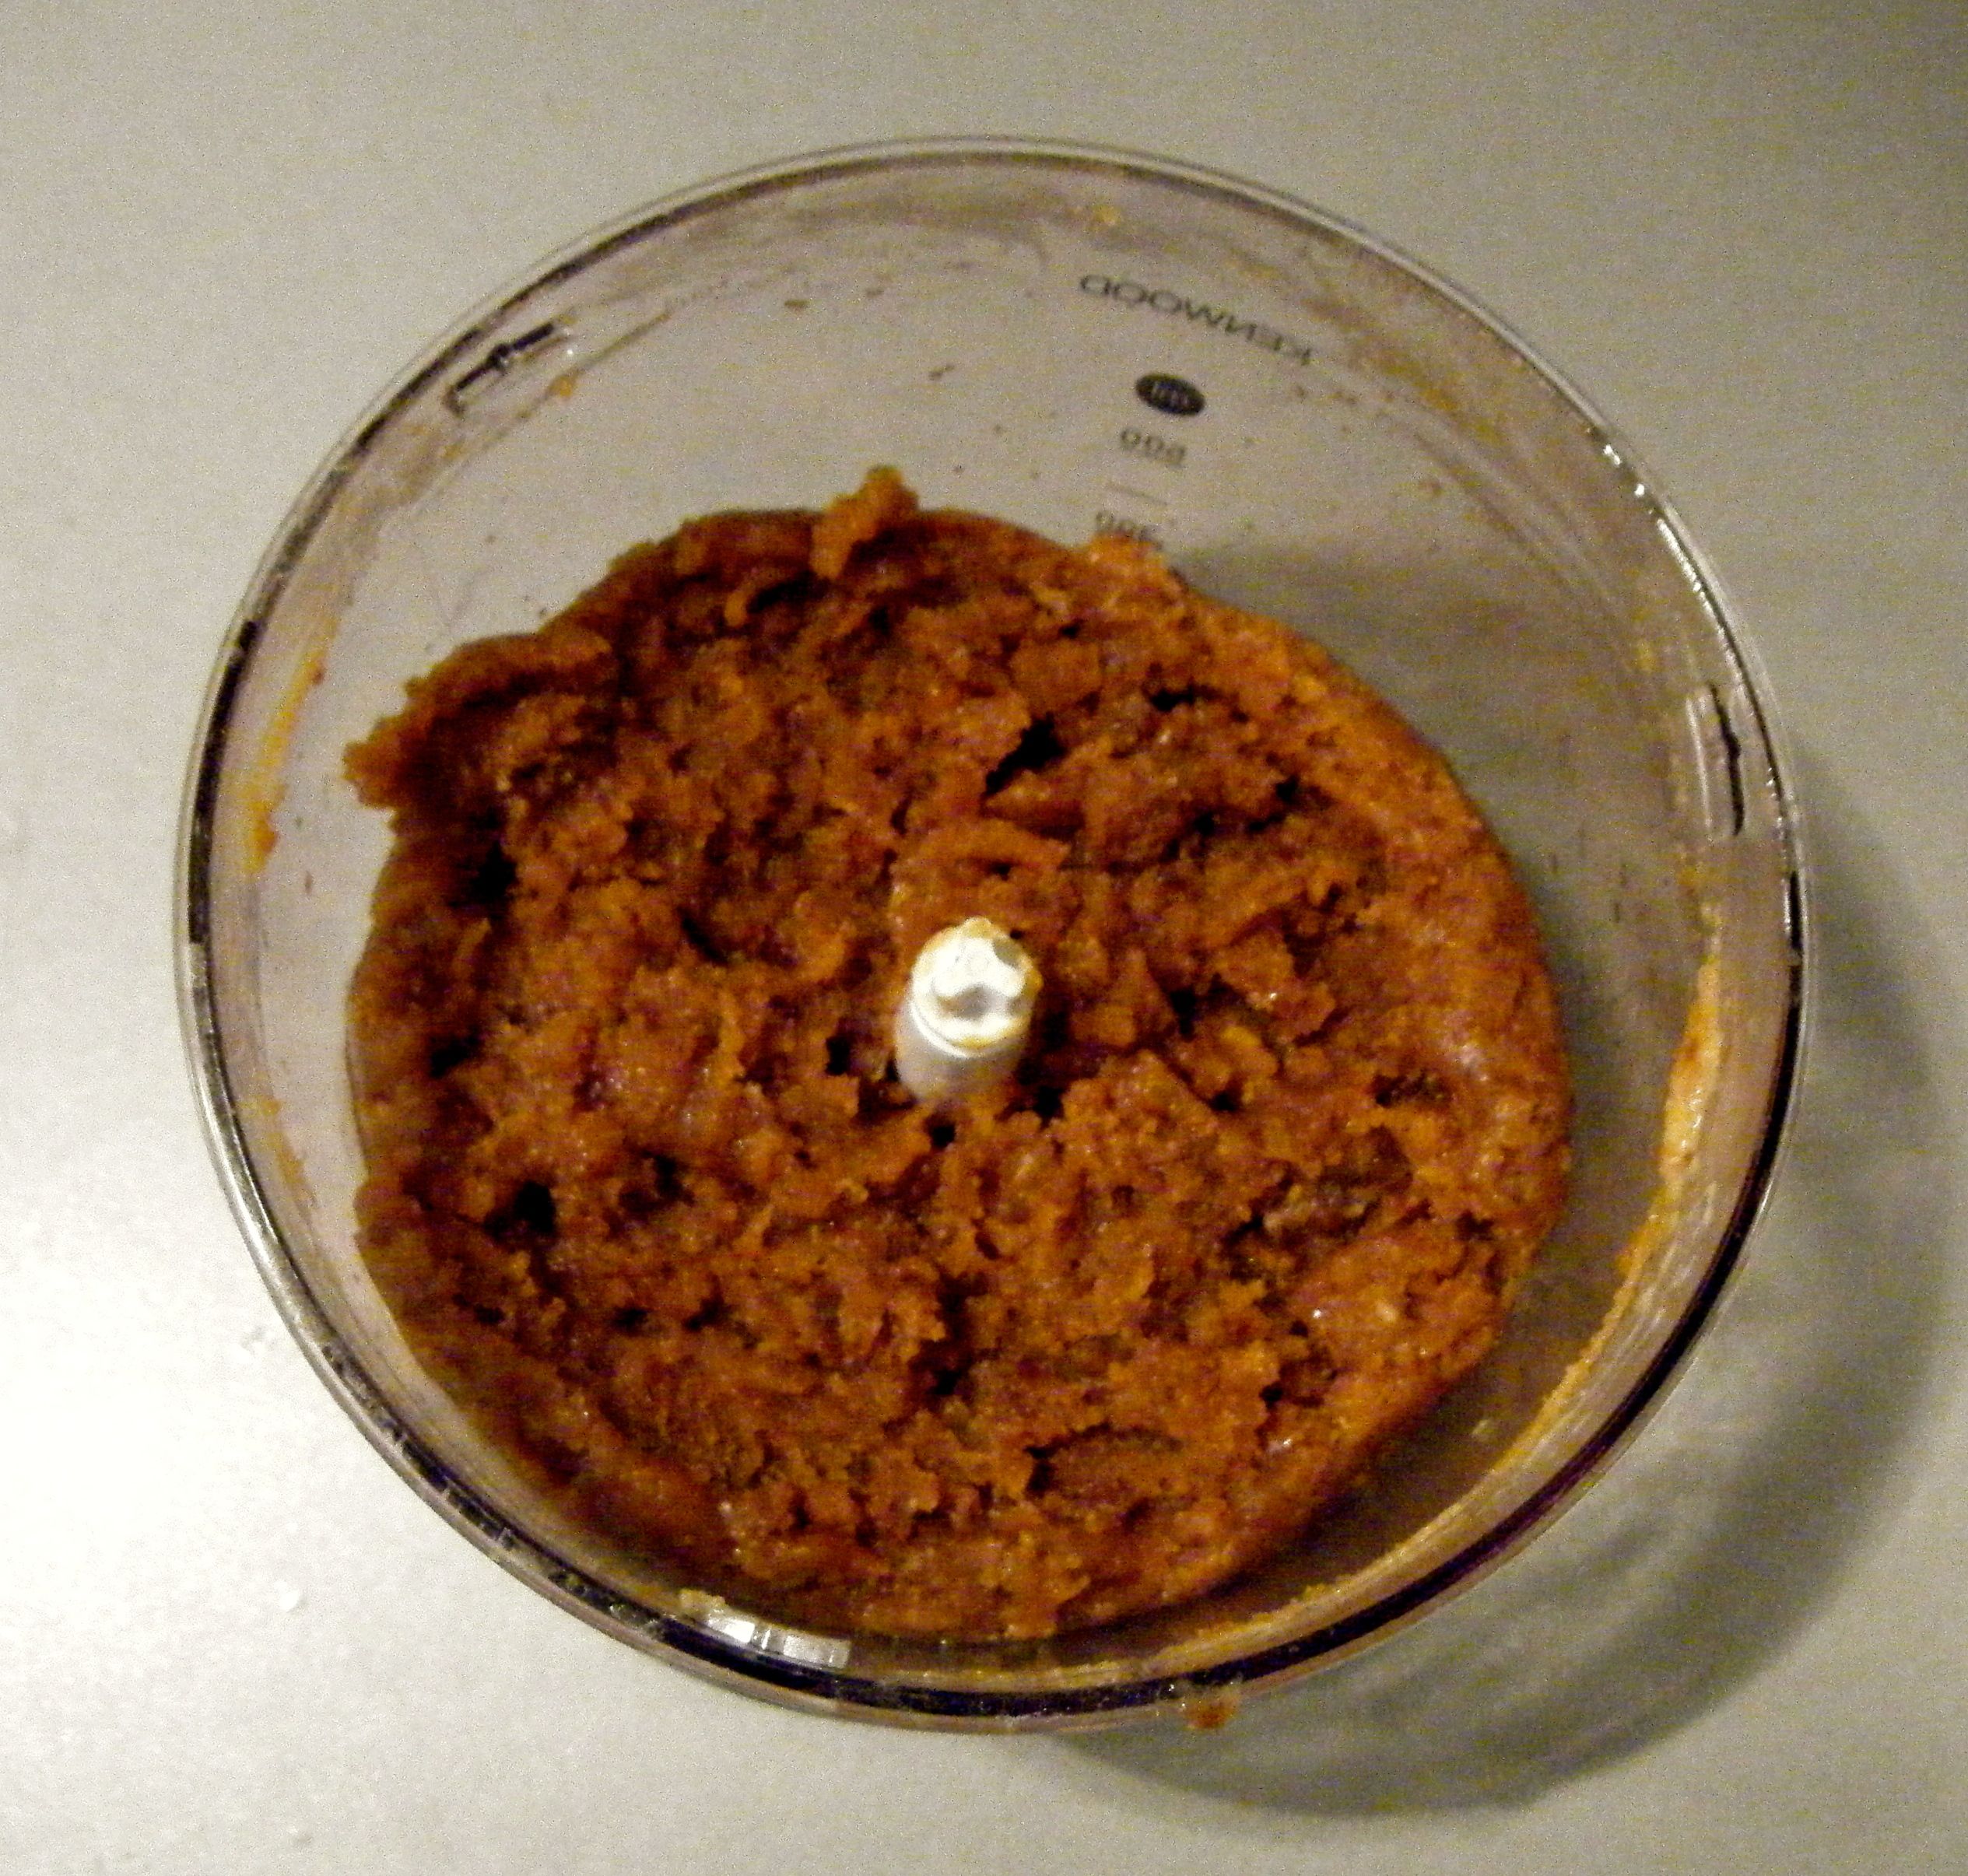
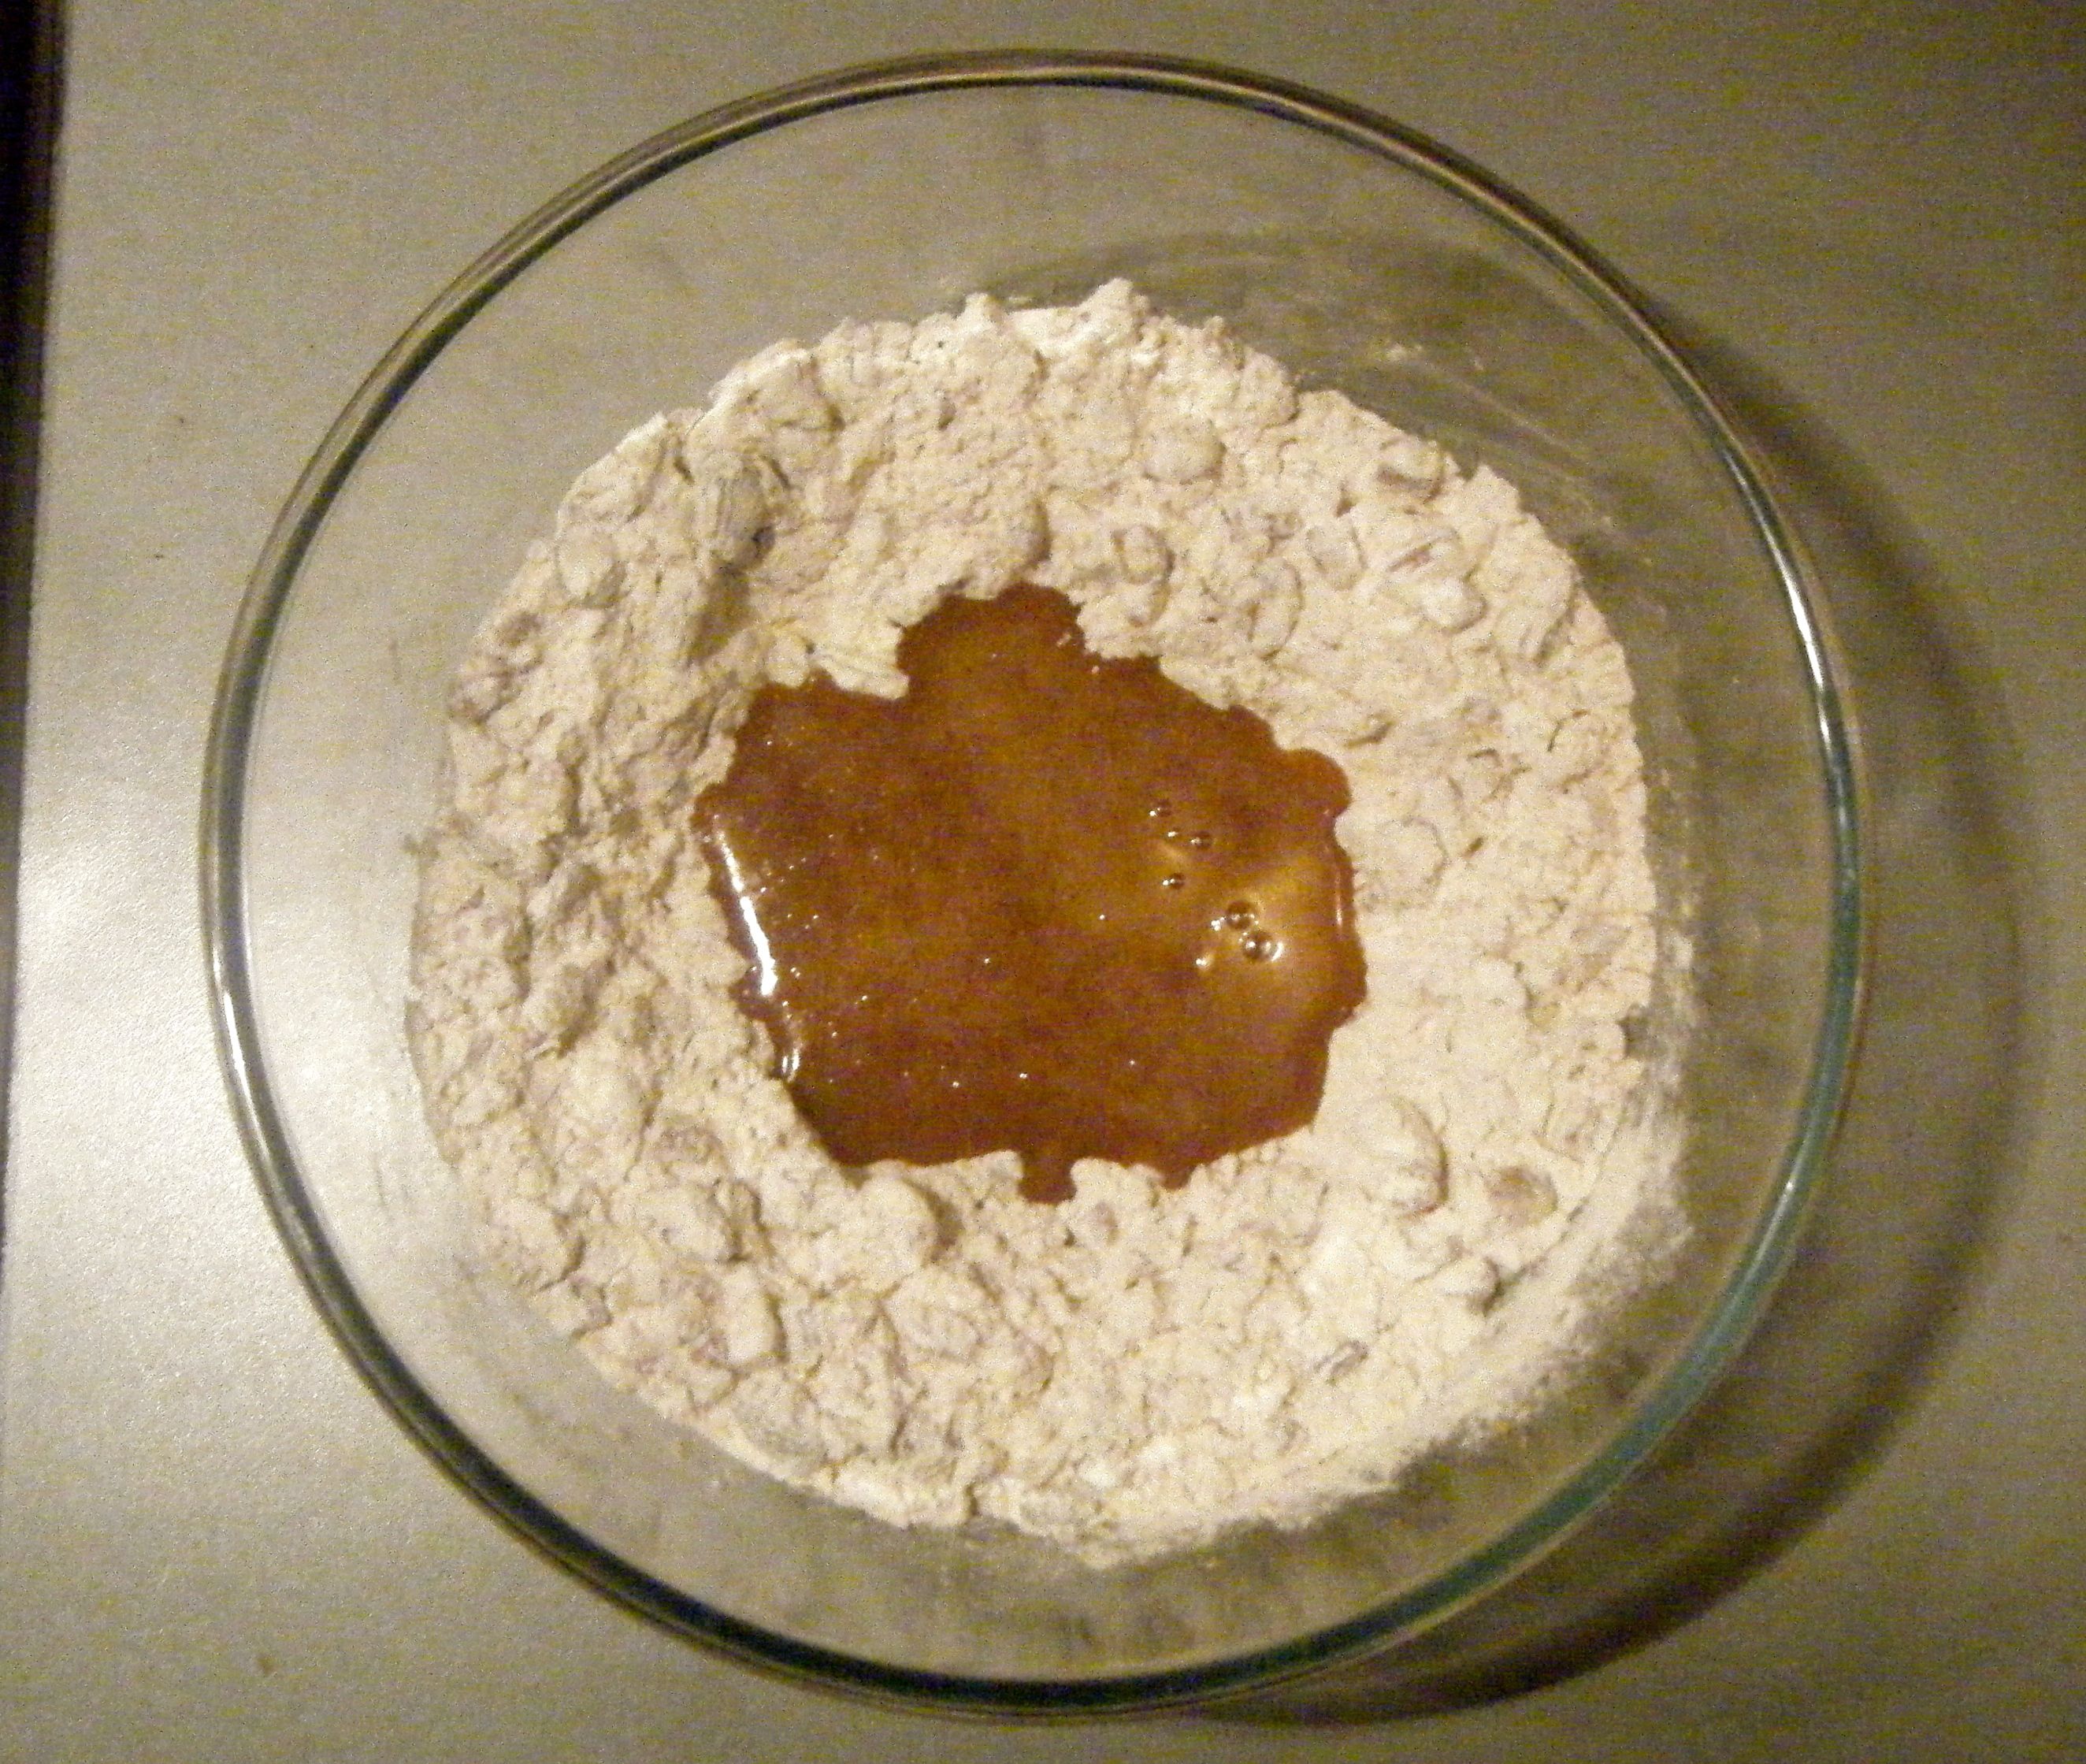
Once the mixture was smooth, I added the eggs and applesauce and blended the mixture until it was combined.

Edited - step 2

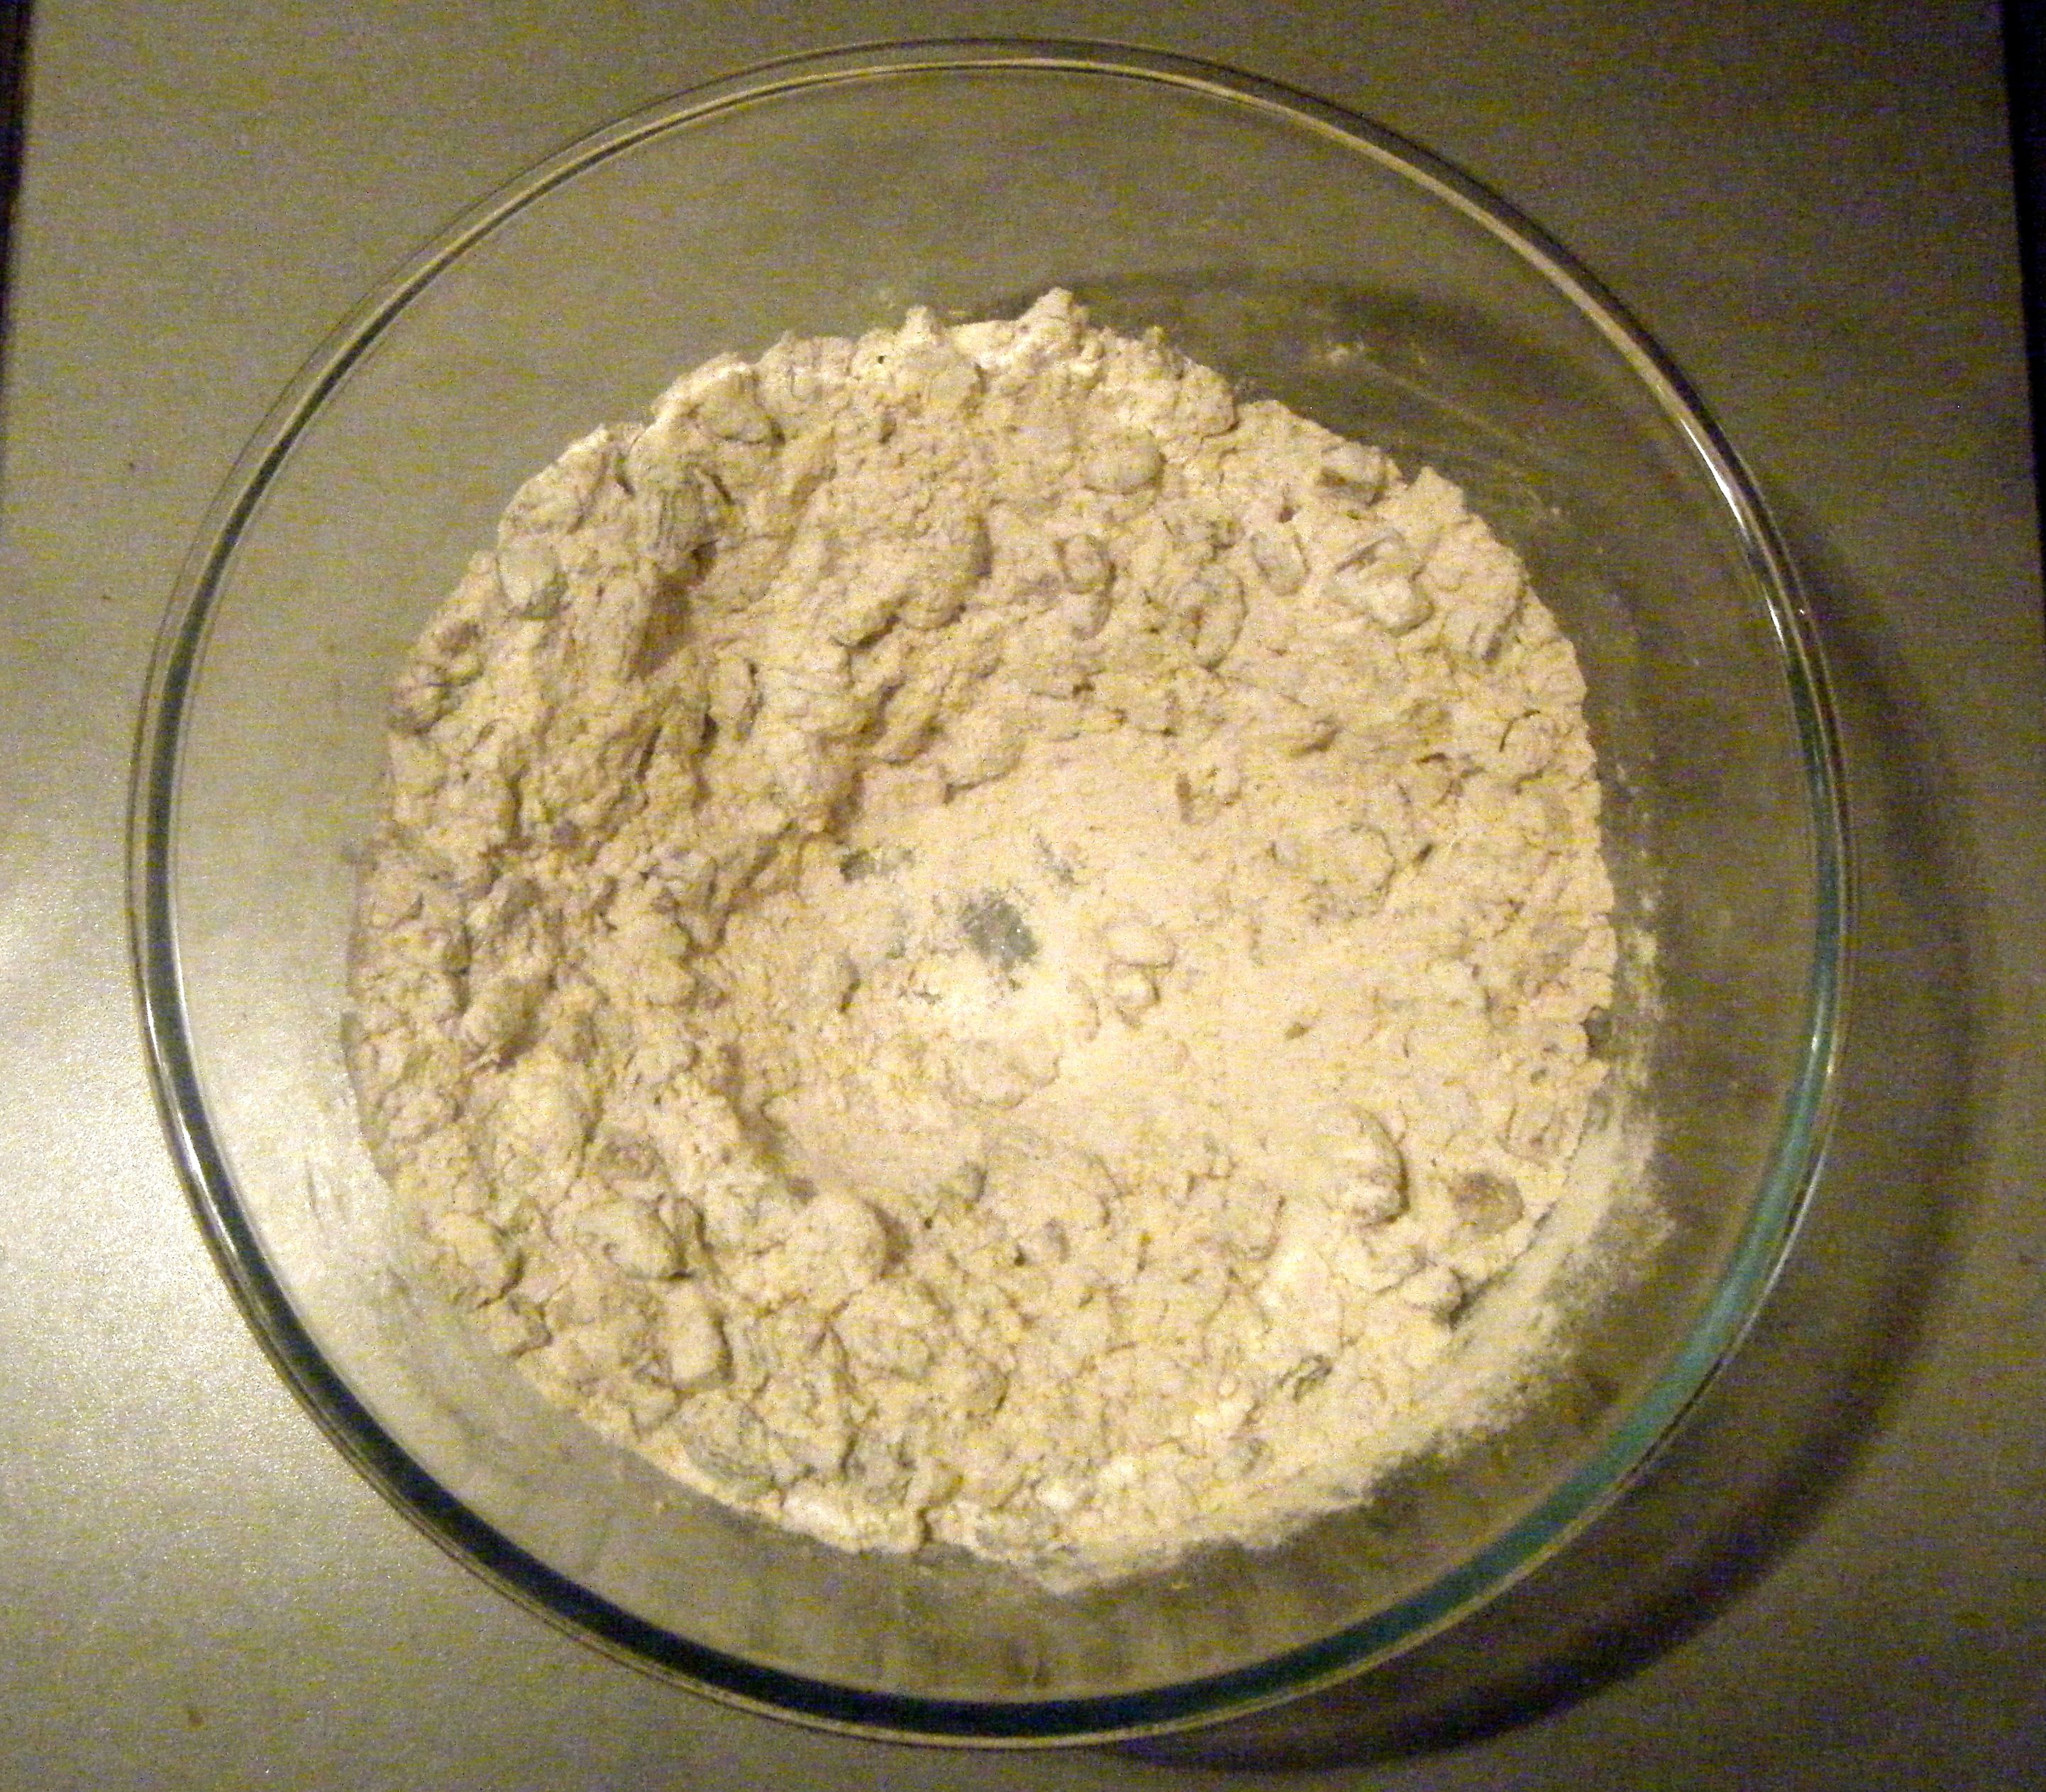
I then decided to tip the mixture into a large bowl before adding the final ingredients.  This is mainly because my mixer is small but also the motor was really hot after working such a thick mixture so a rest was clearly needed!  Once the mixture was in the bowl, I sifted in the cocoa powder and bicarbonate of soda. 

Edite - in the bowl

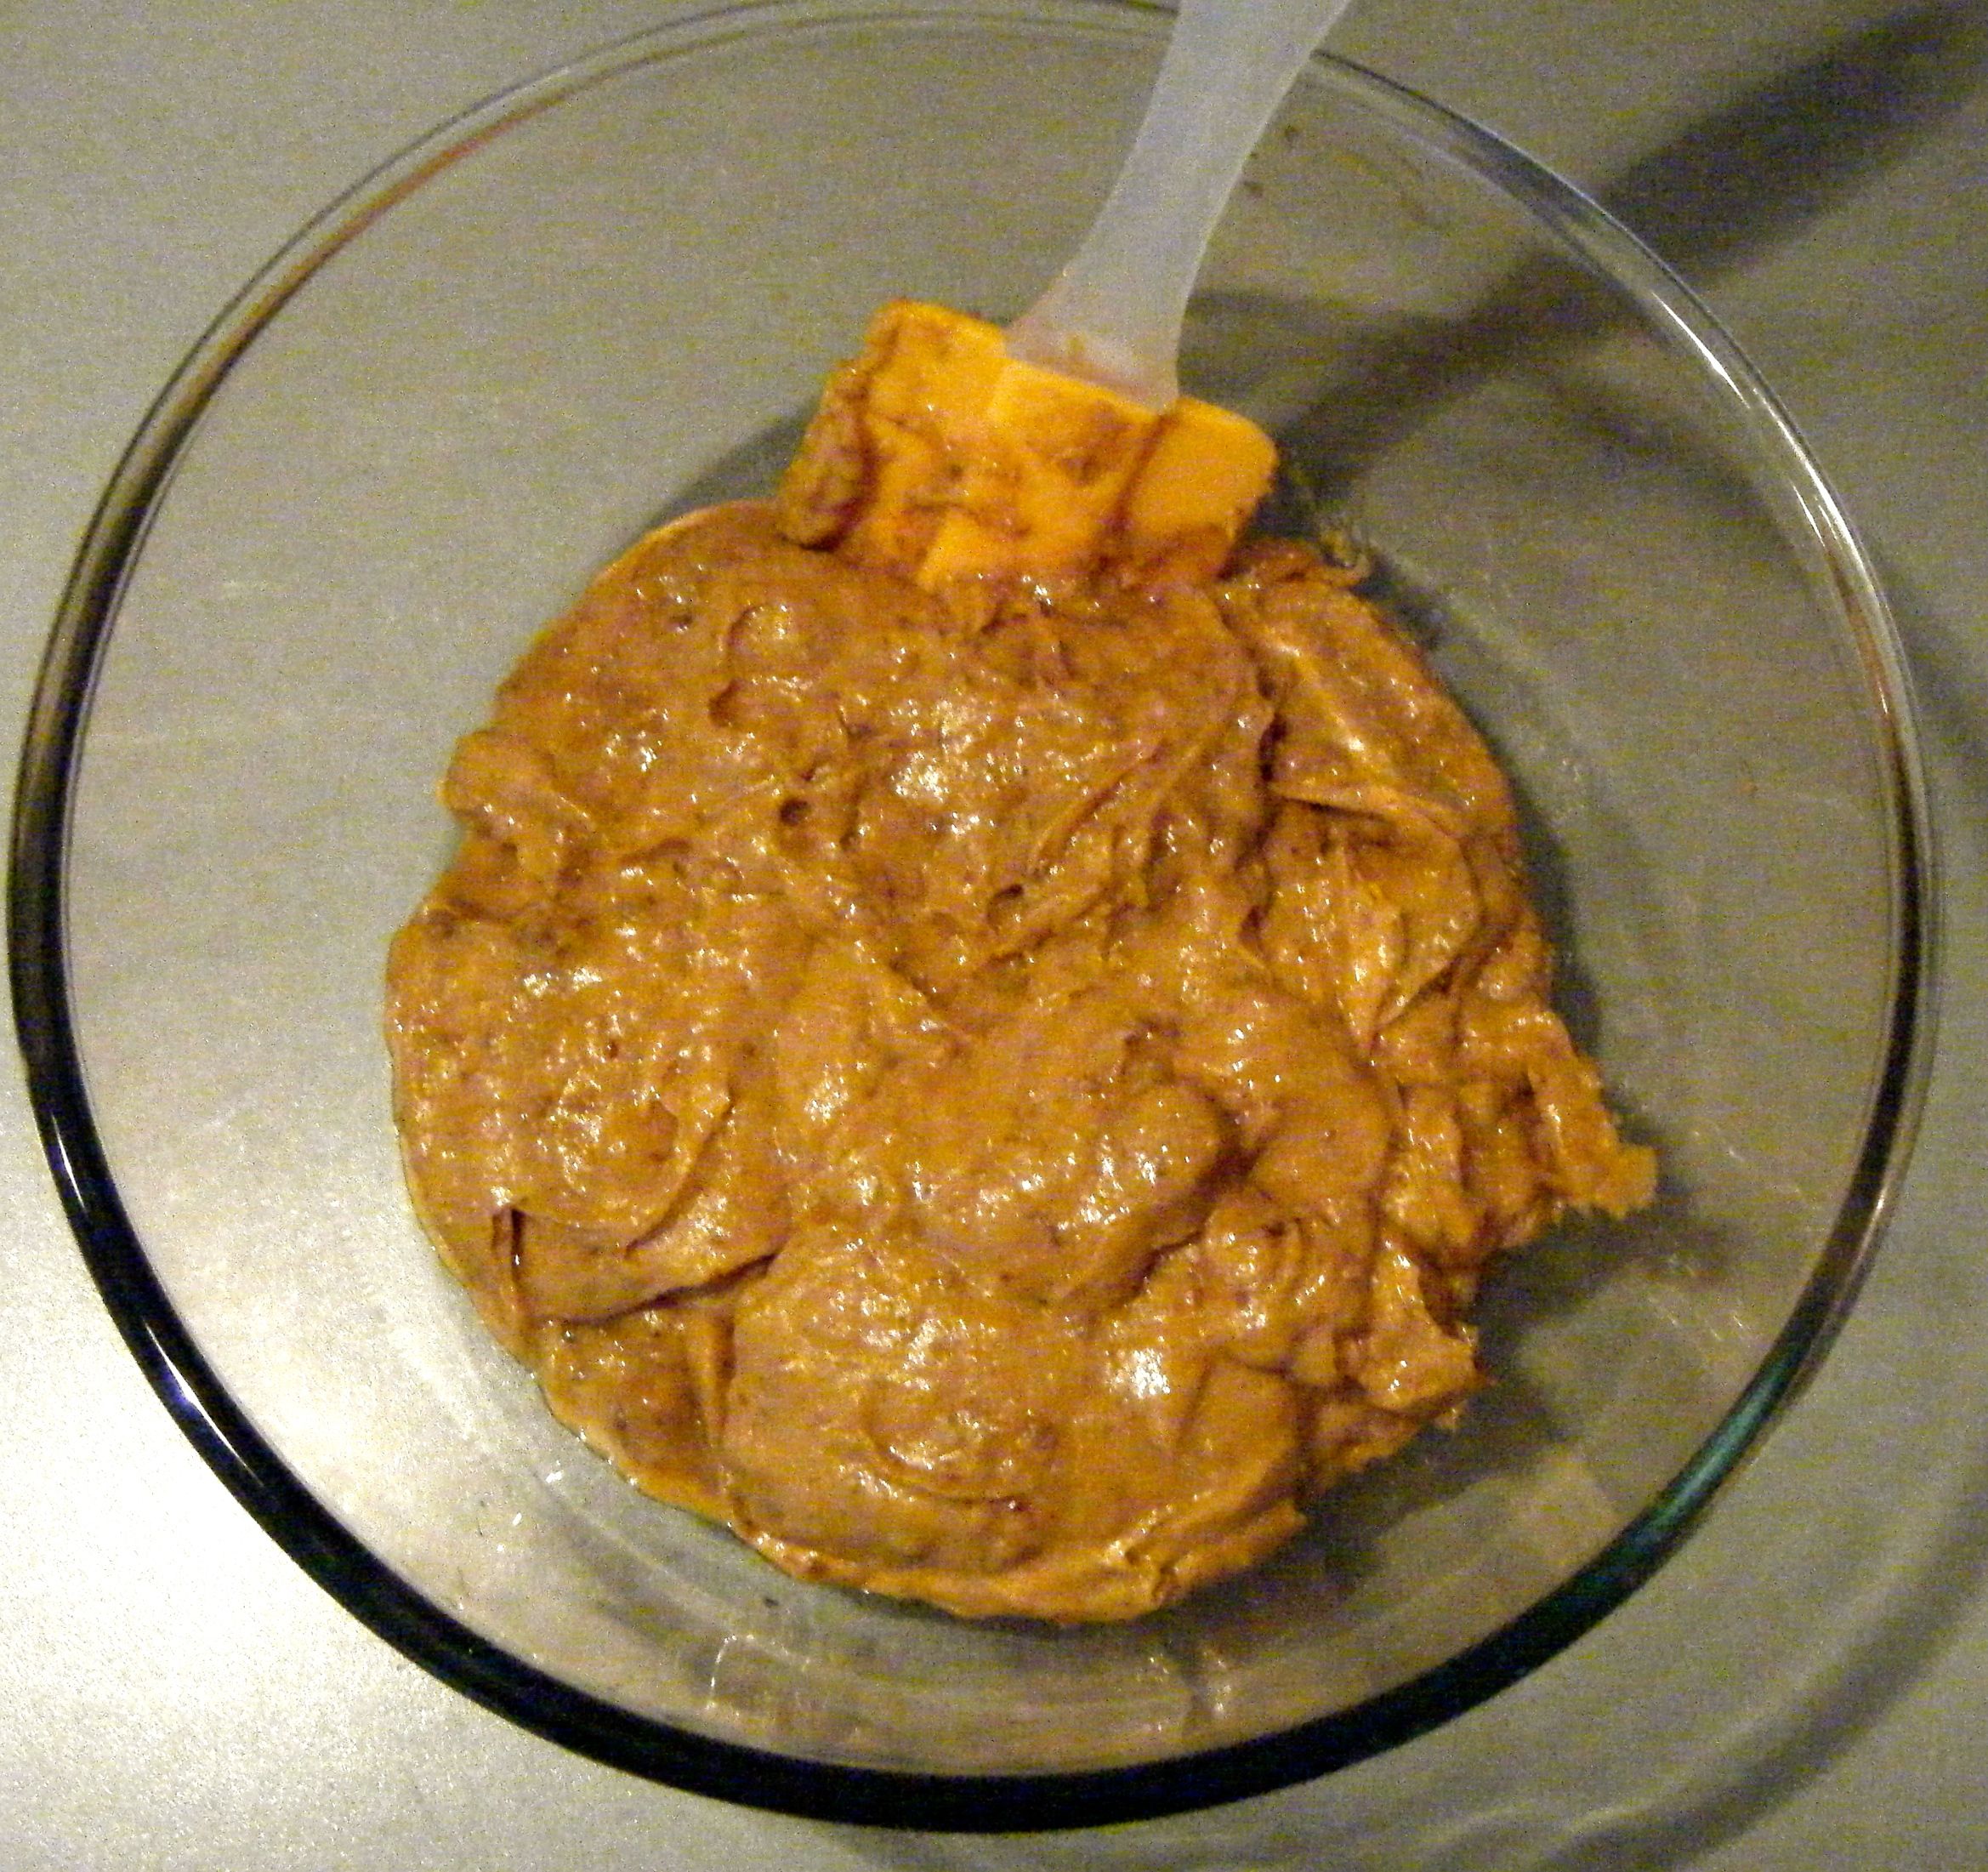
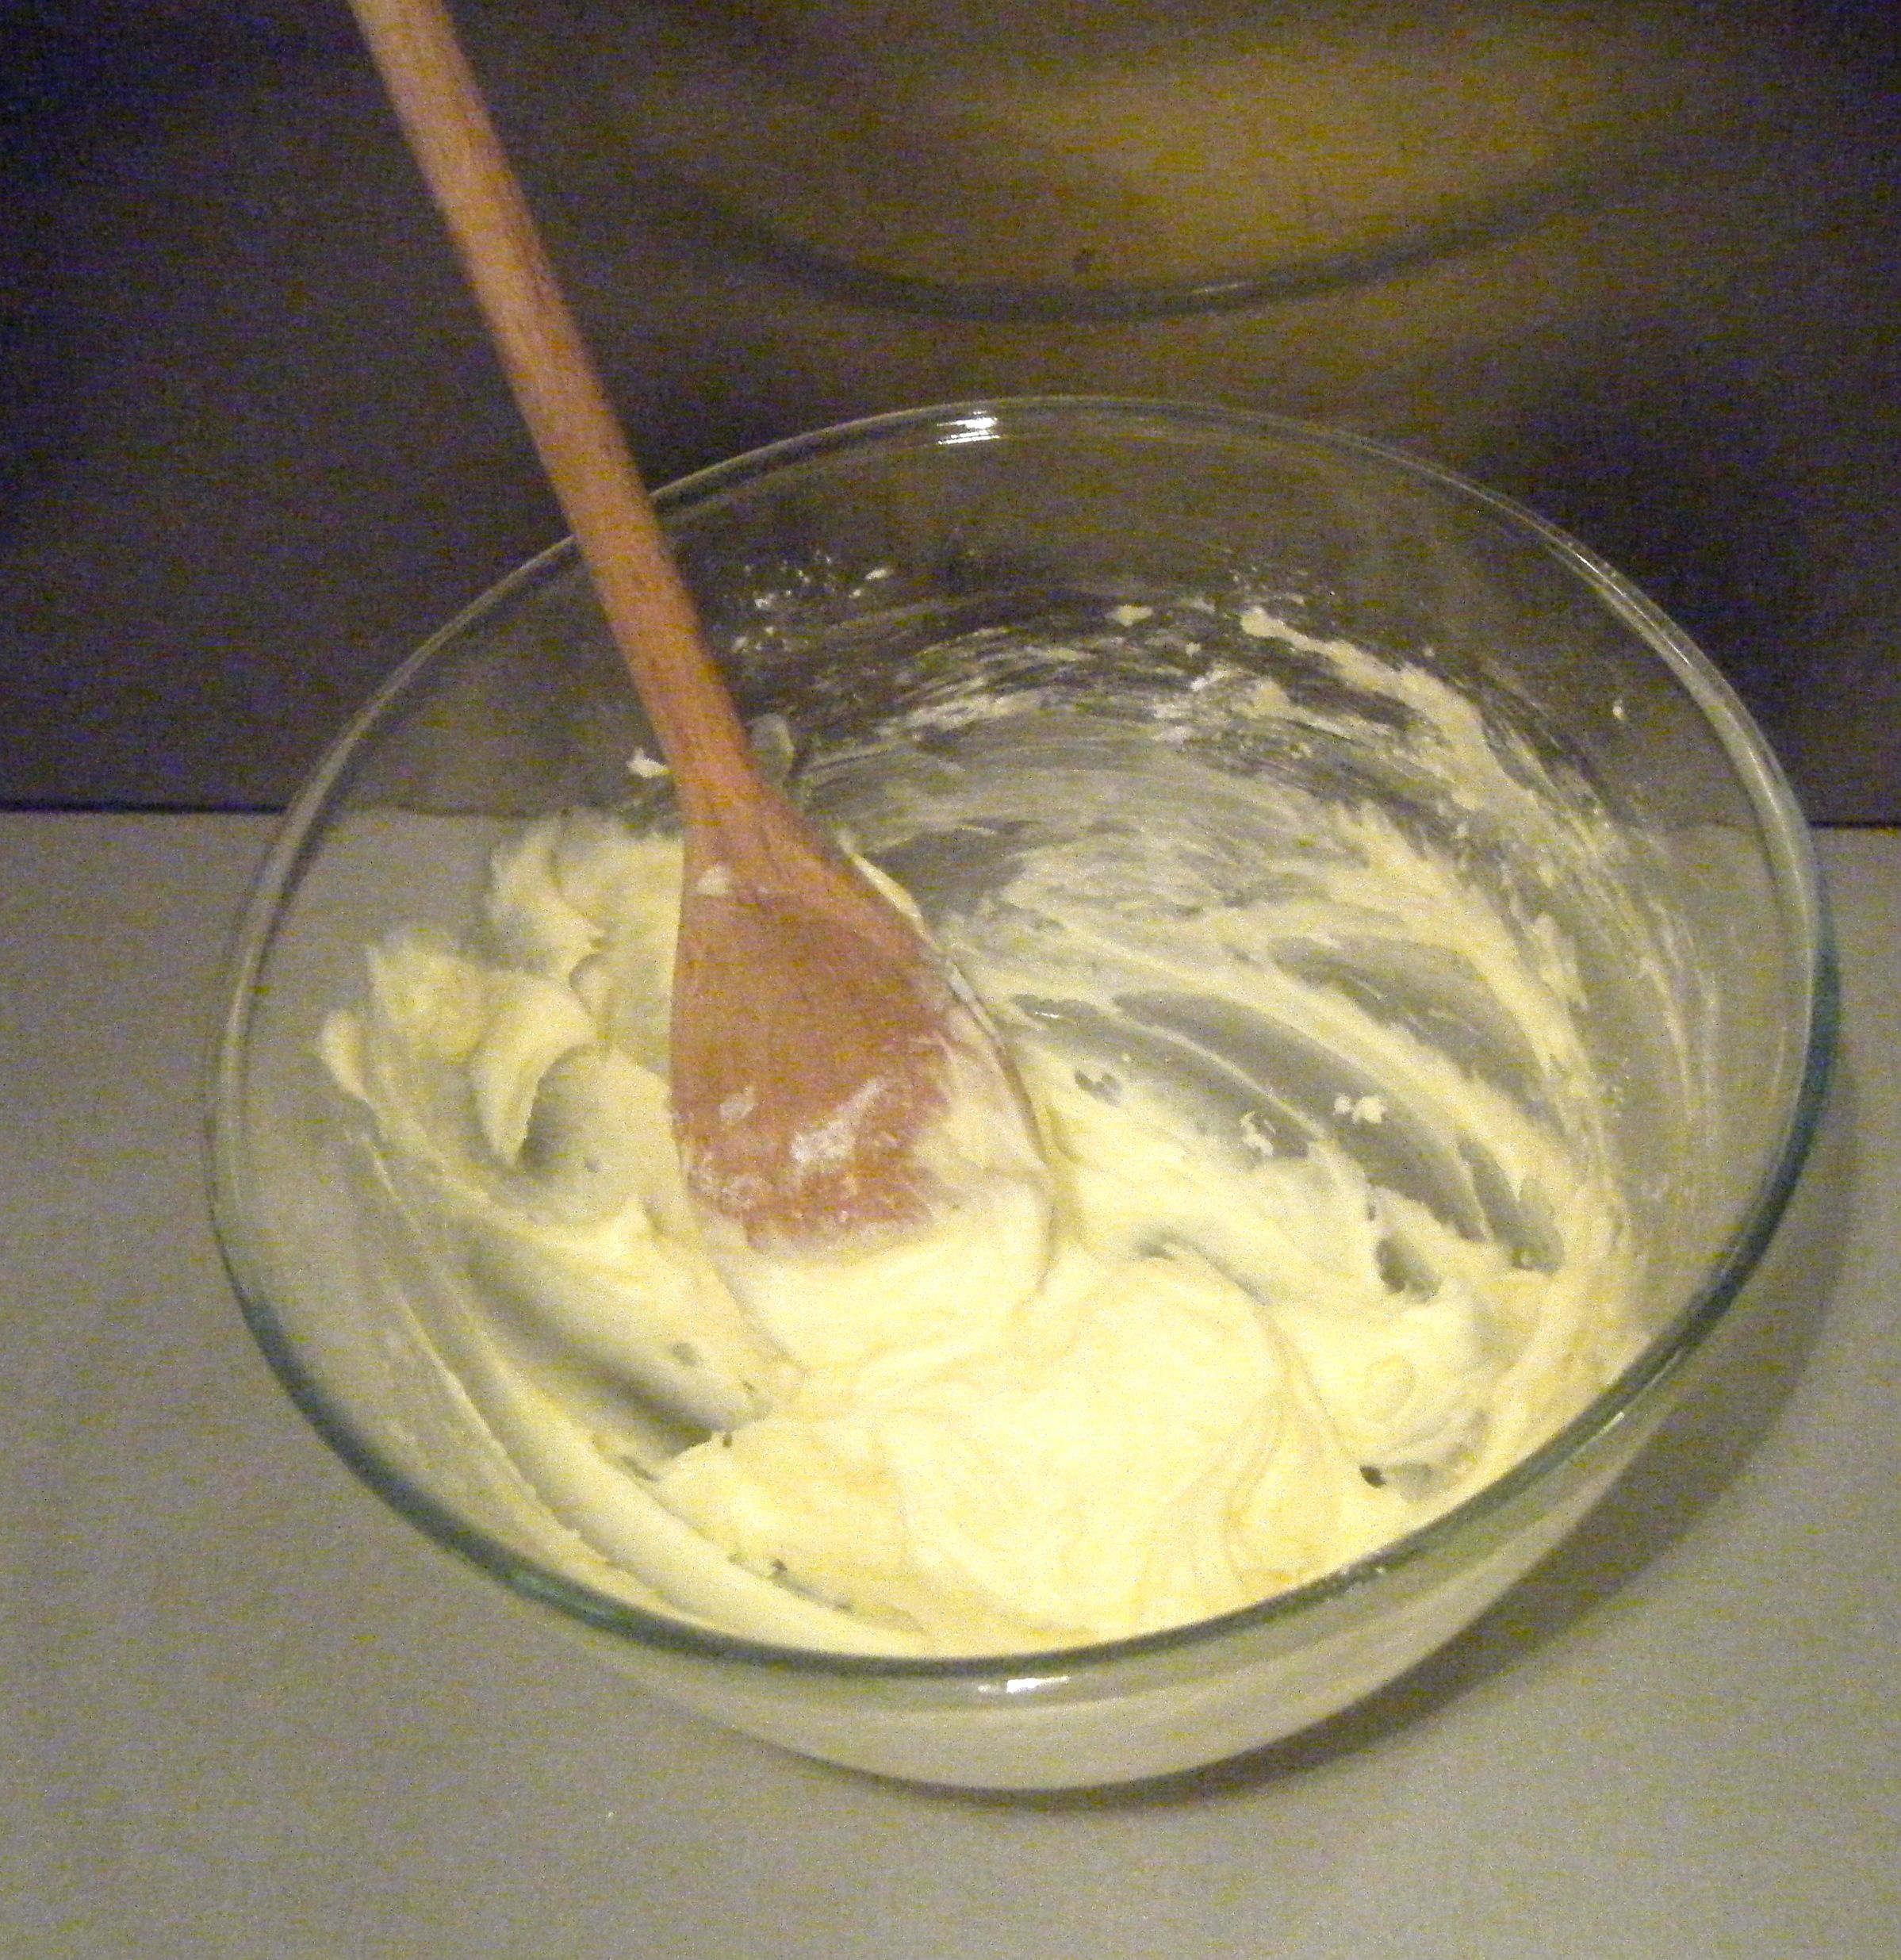
I tried mixing this together with a spatula but it was so thick, the tip came off the handle! So I switched to a nice sturdy wooden spoon and it came together nicely.

Edited - step 3

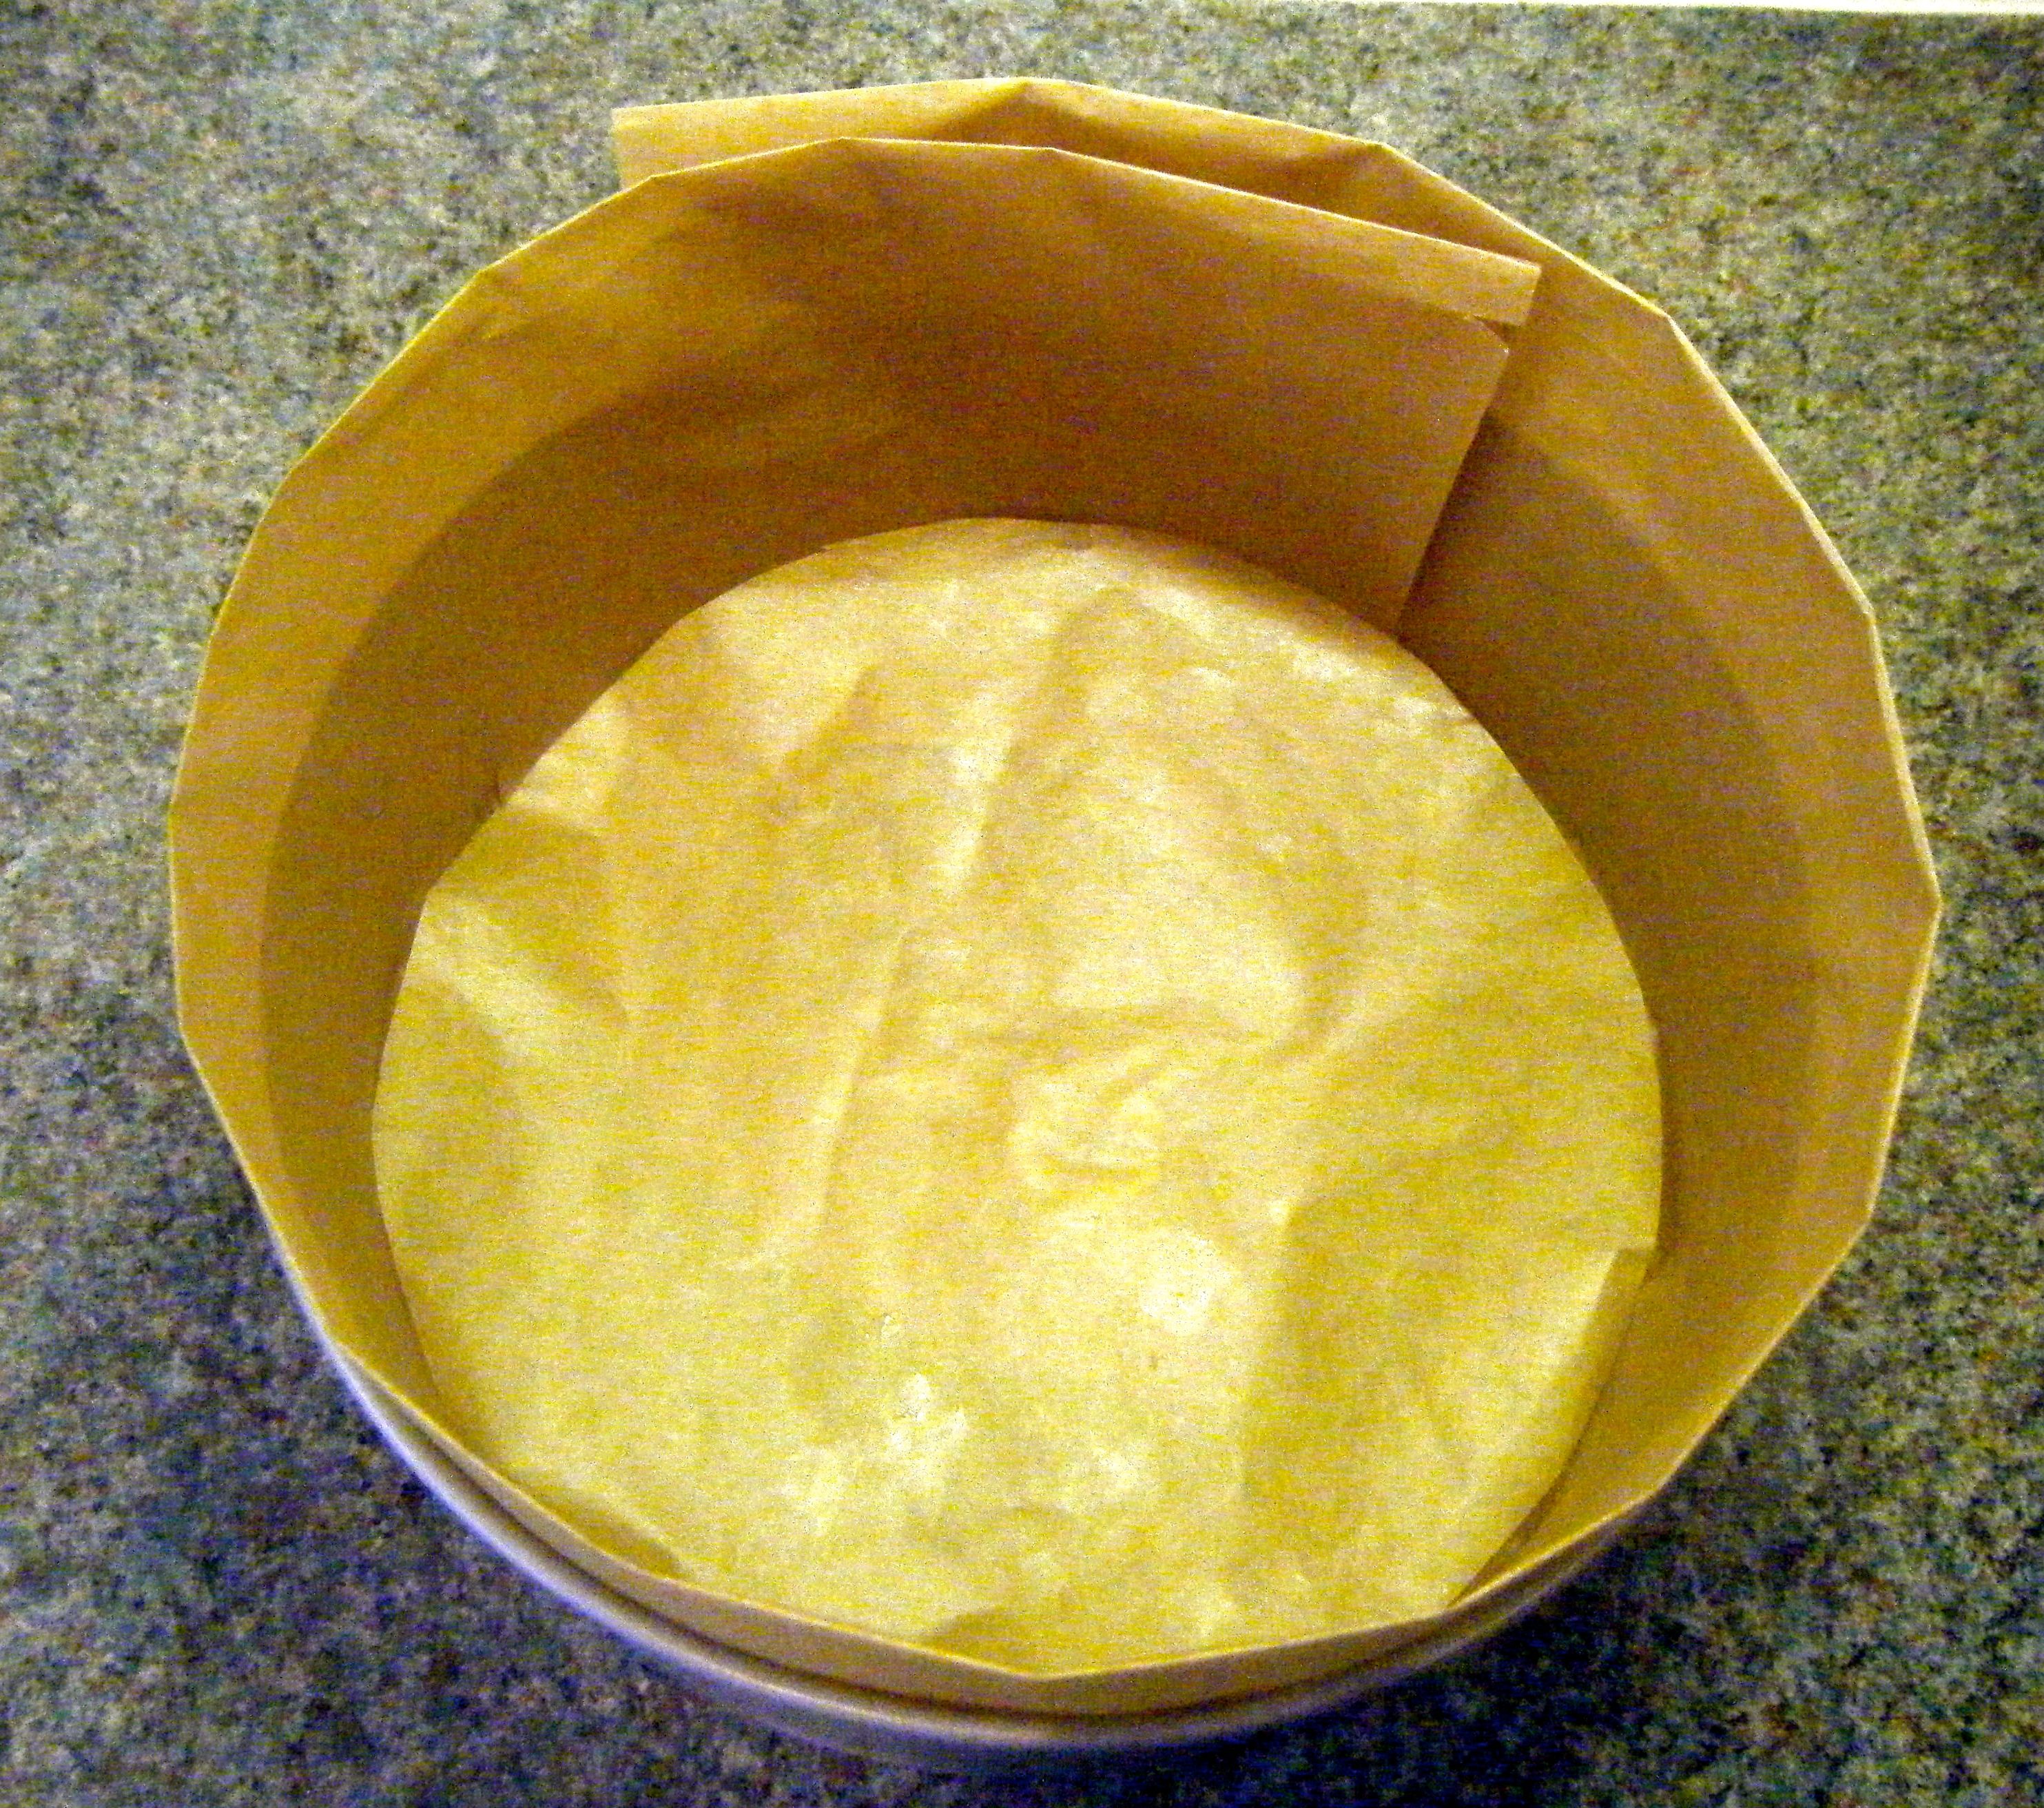
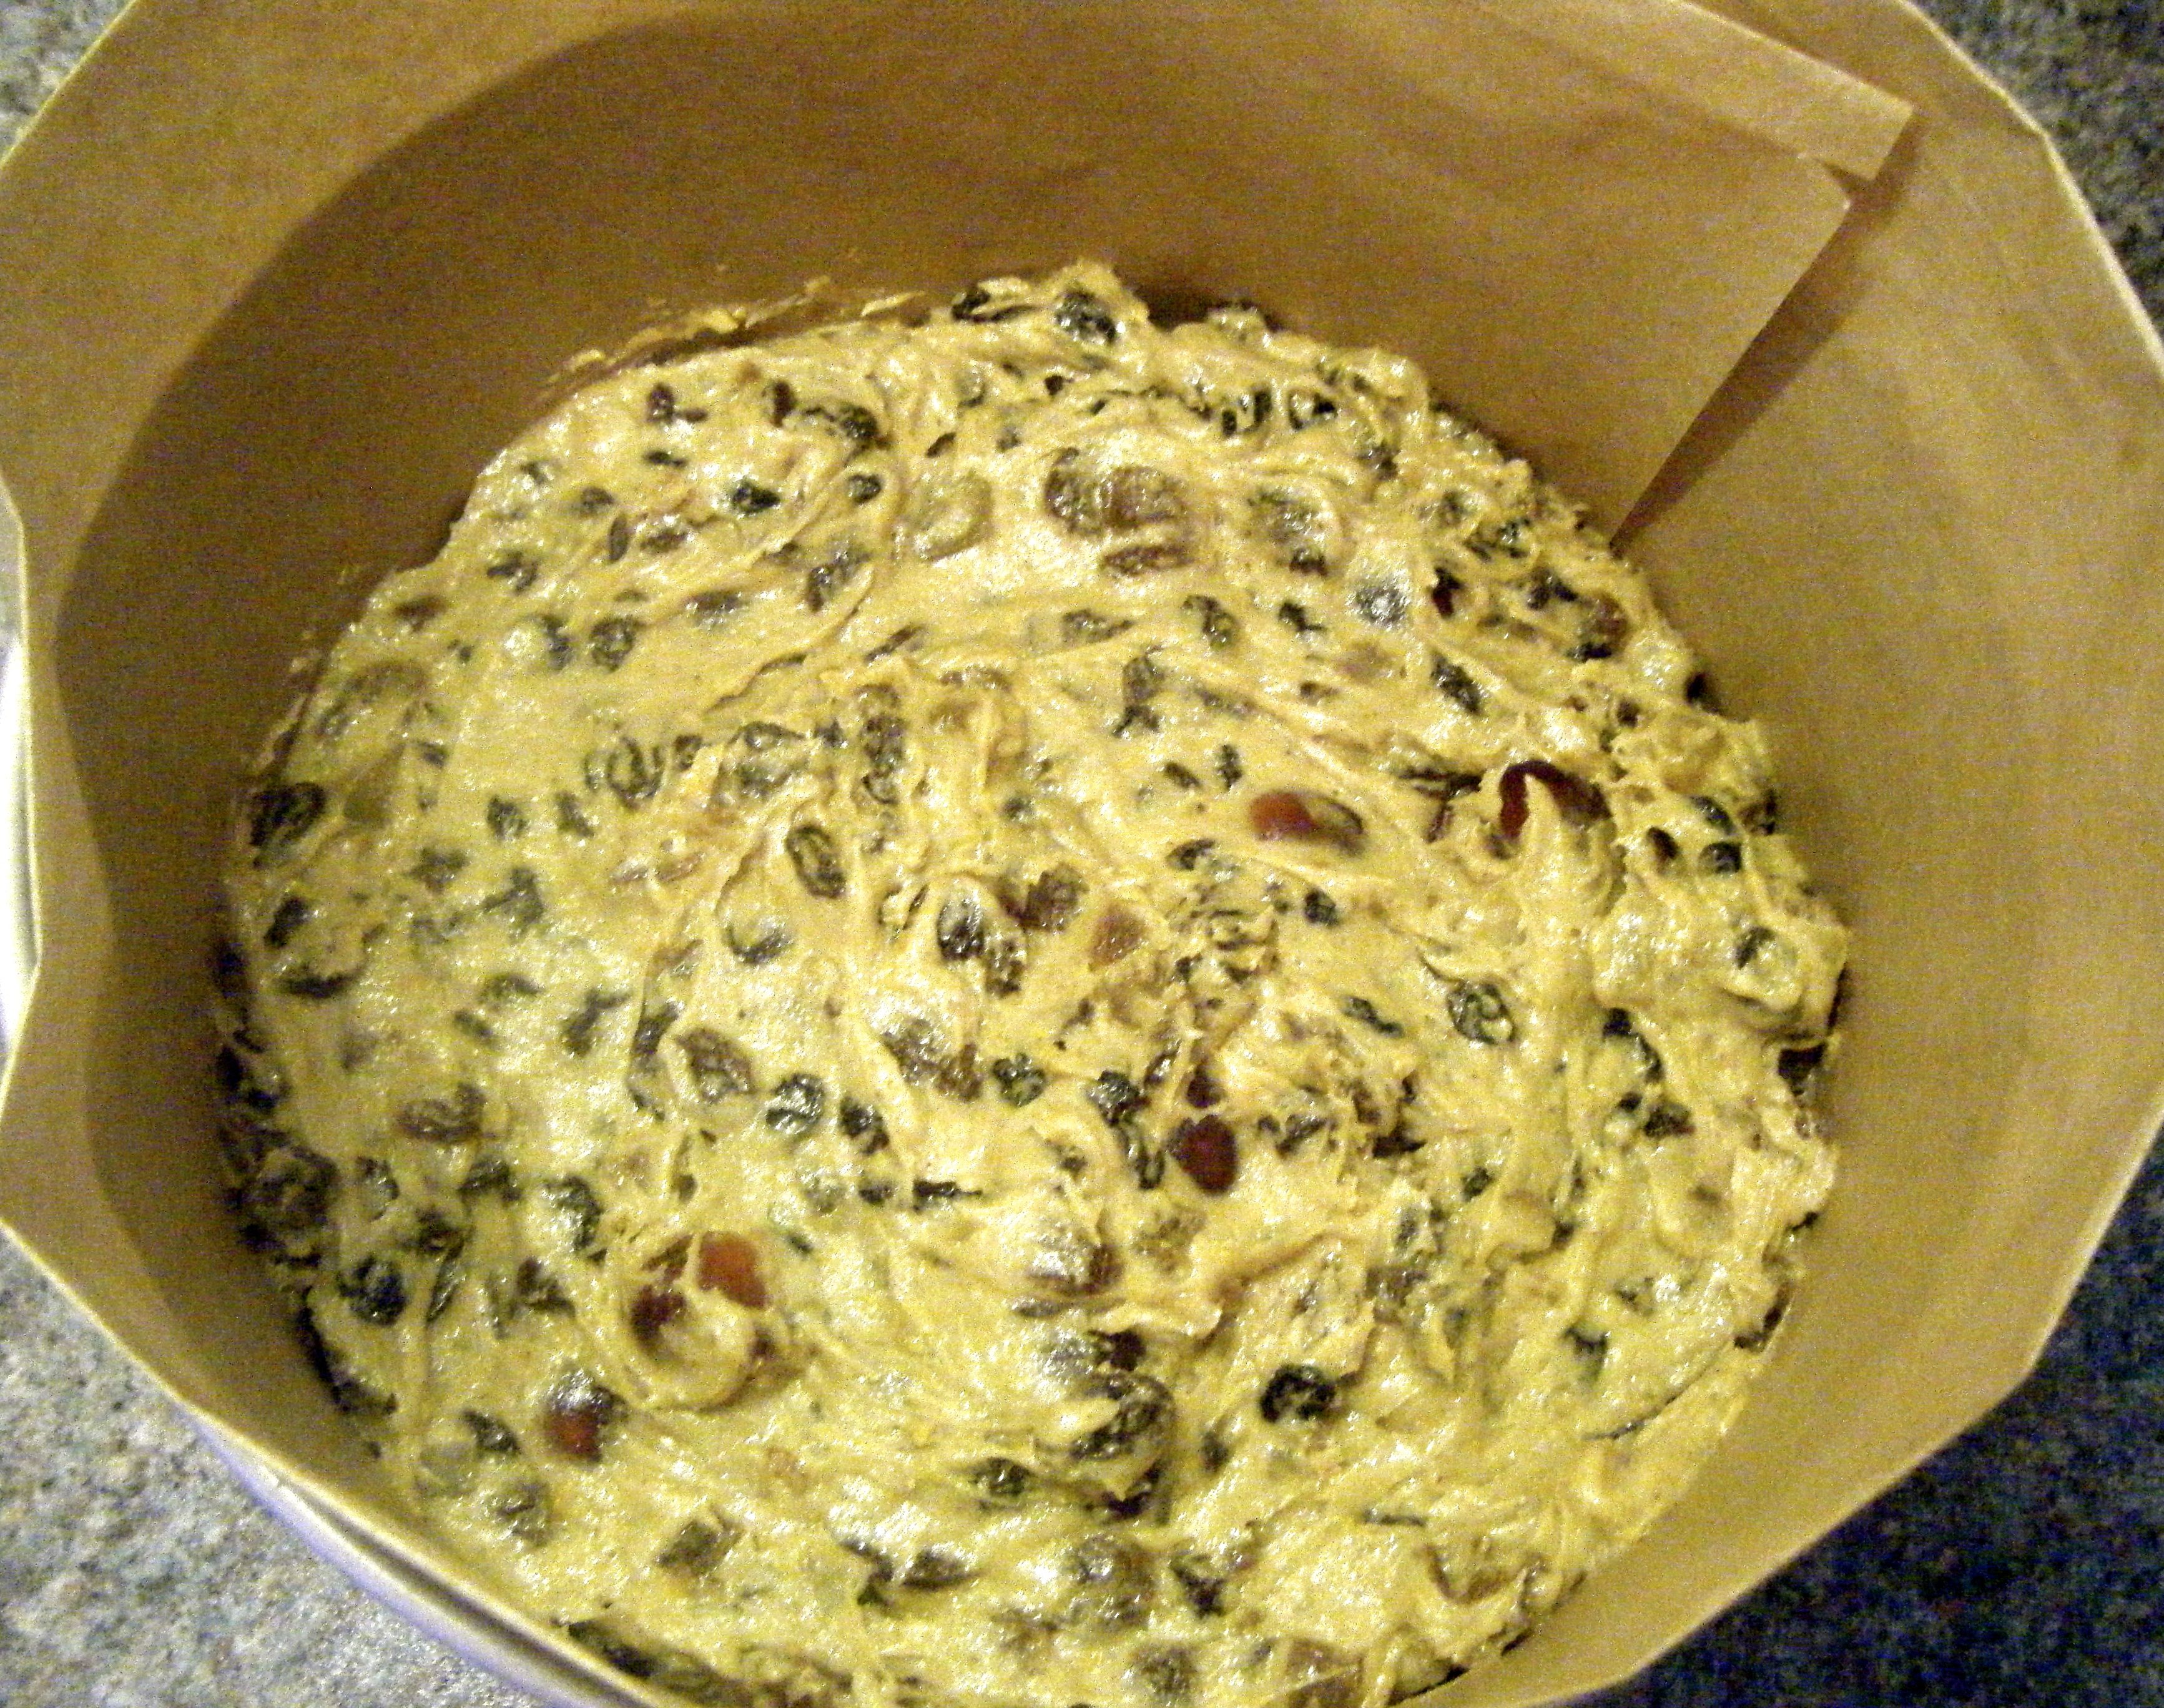
Finally, I added the chocolate chips before spooning the mixture into my dish (9×9 inch pan) which I had lined with baking paper.

Edited - in the pan

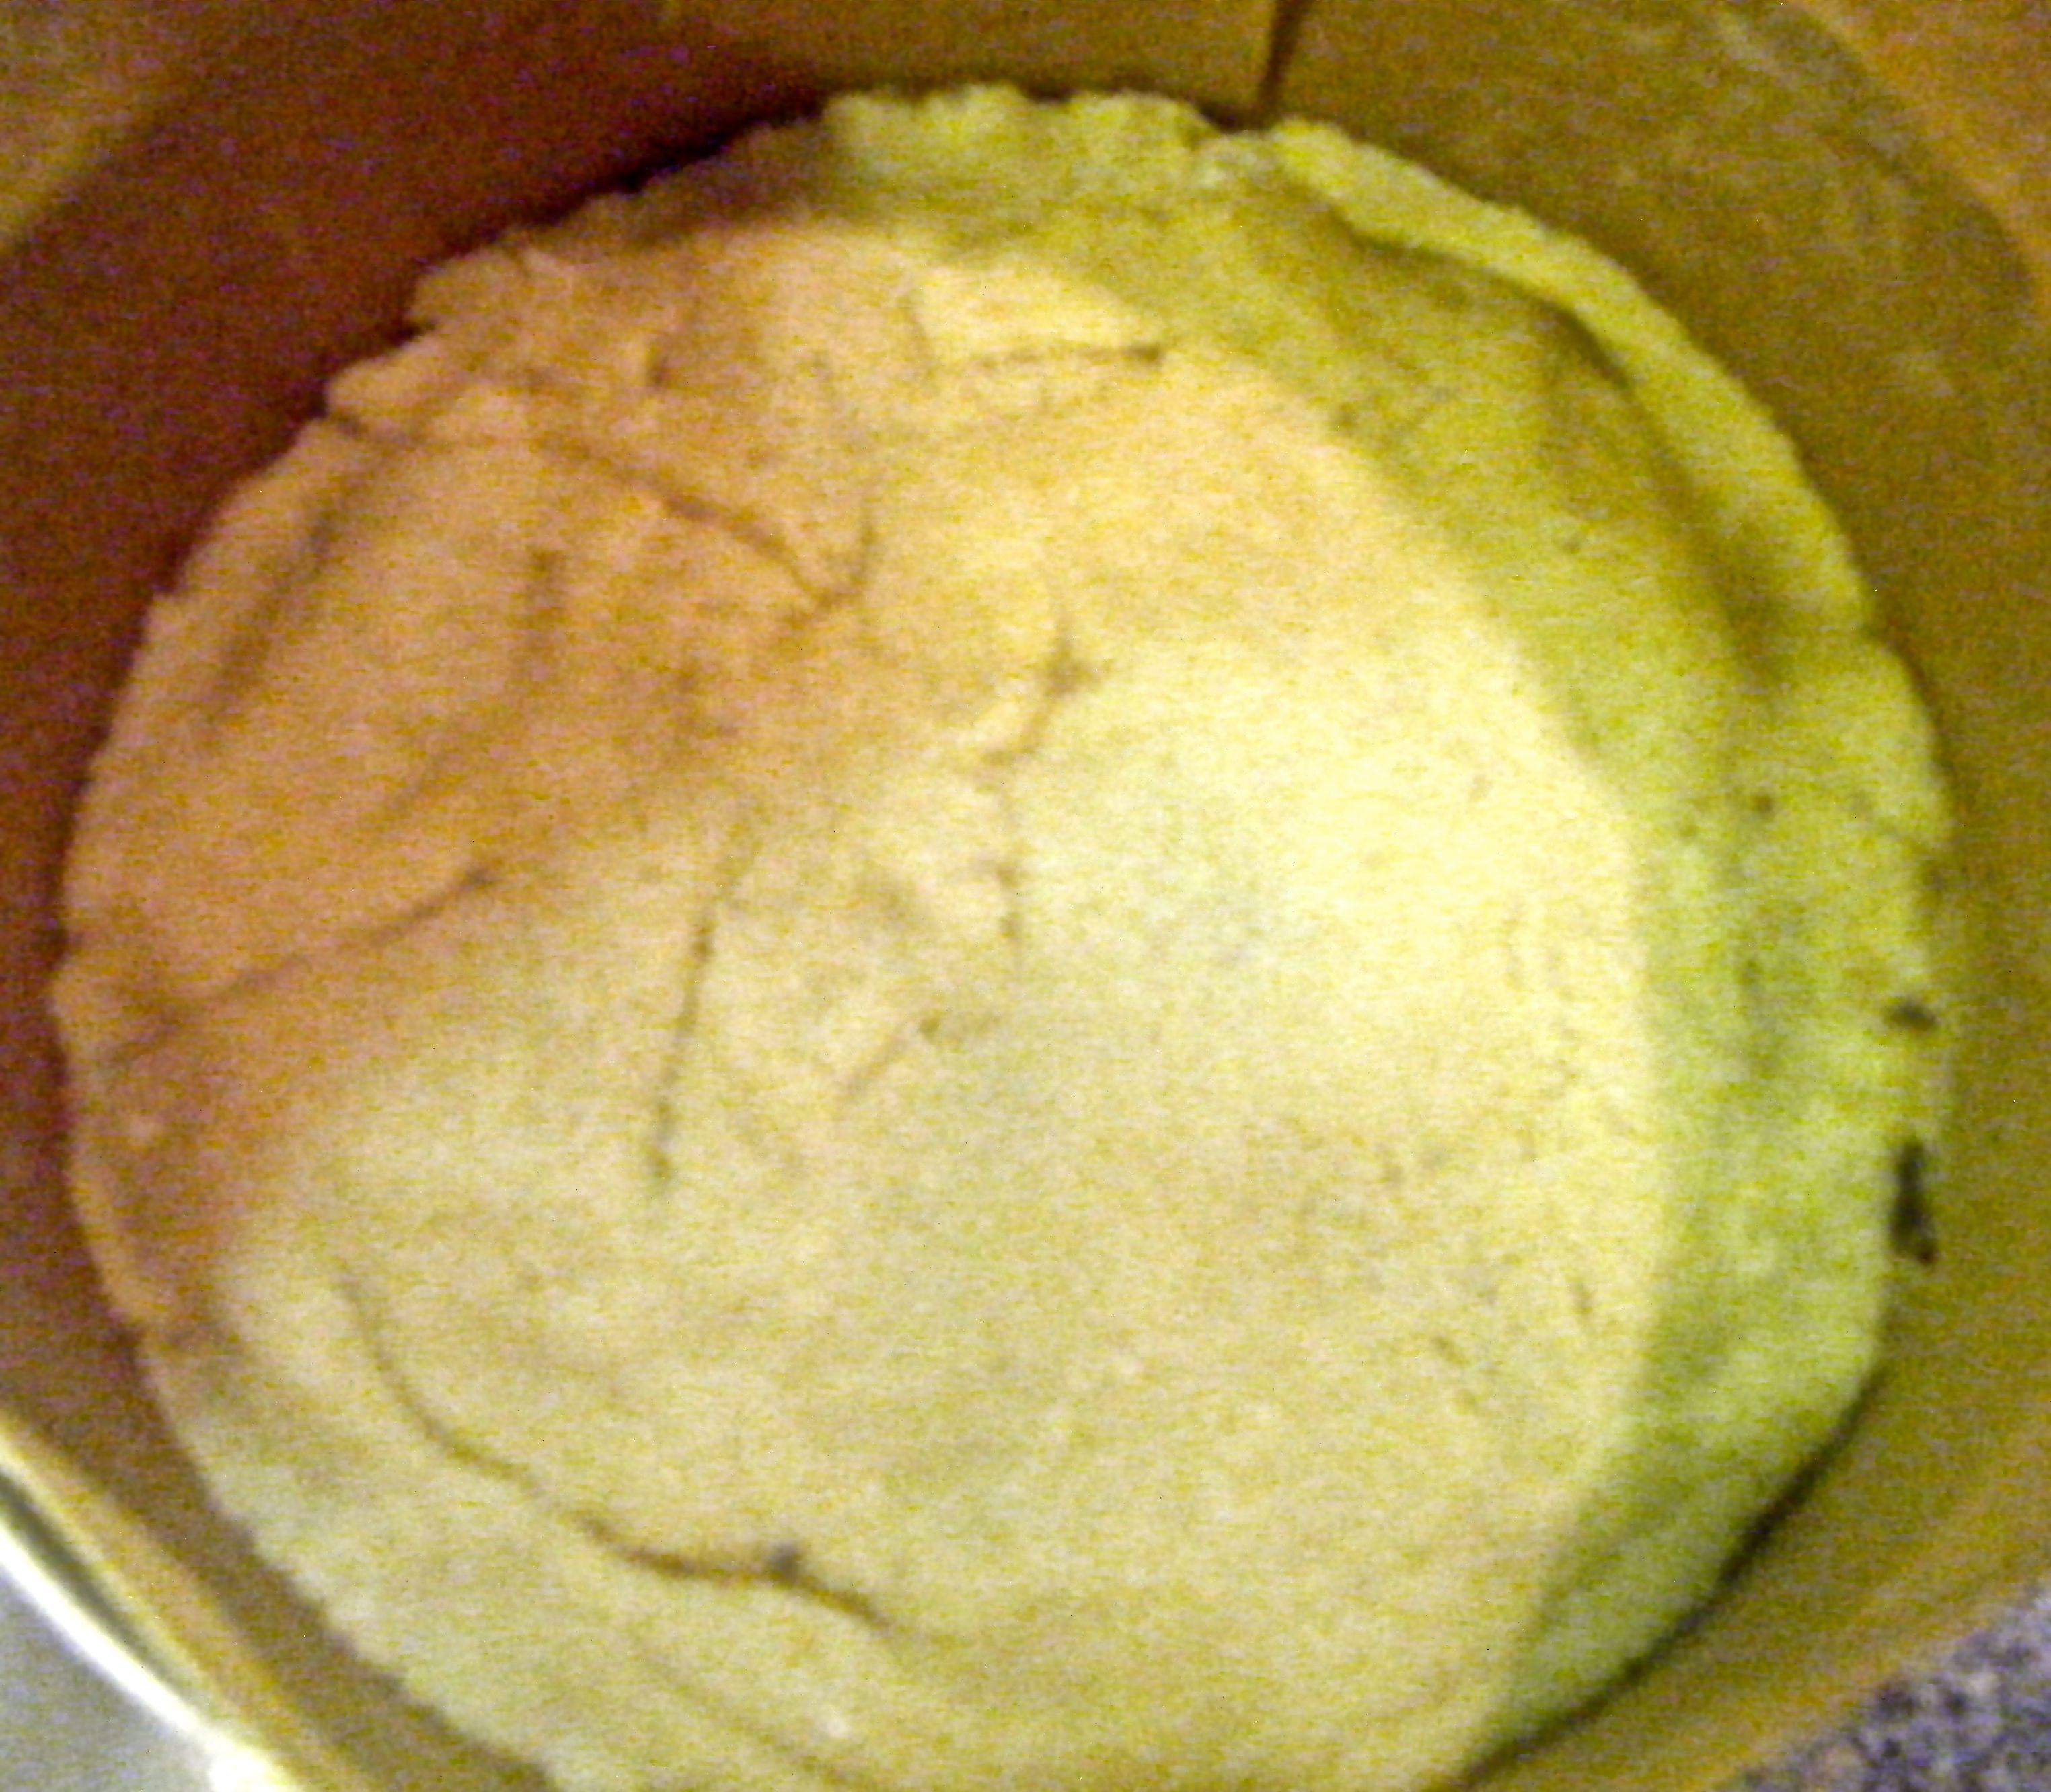
I popped the dish into my pre-heated oven on 190 degrees celsius.  I checked the bake after 15 minutes and re-set the timer for another 5 minutes.  I then checked it again and decided to give it another 3 minutes.  When I inserted my skewer it wasn’t coming out completely clean but the coating was melted chocolate rather than uncooked batter so I decided it was done.

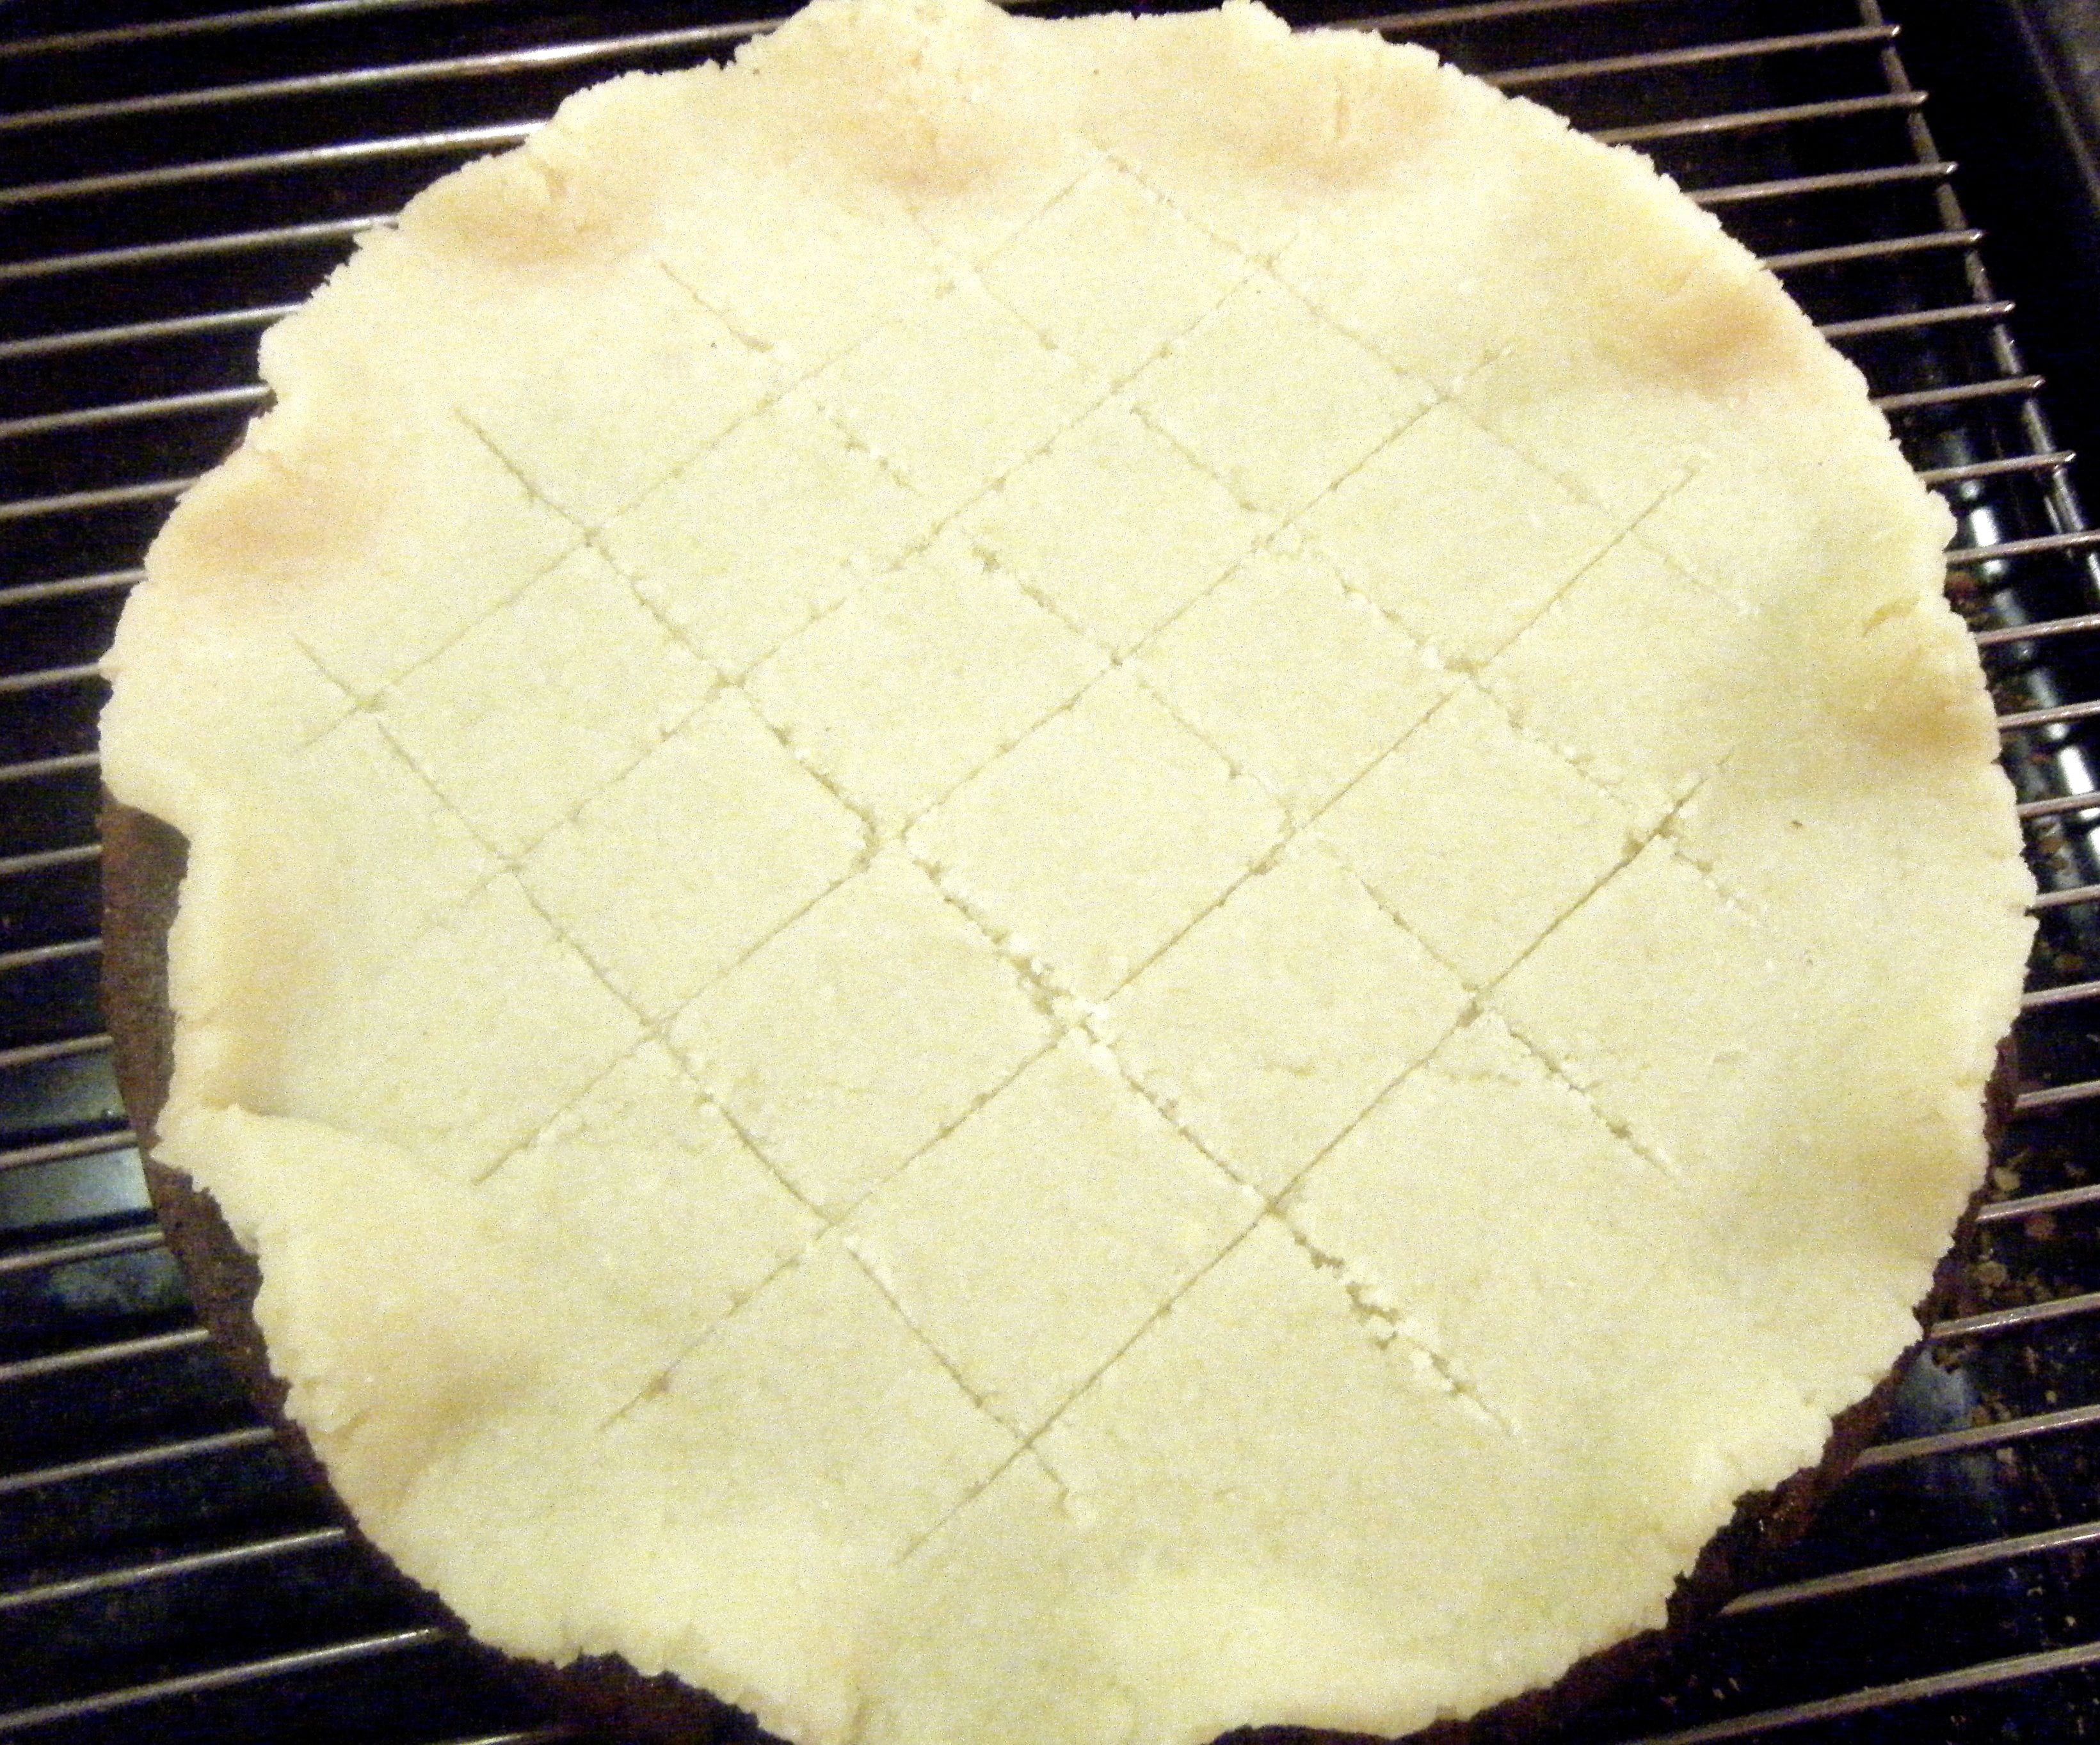
I left the brownie to cool in the tin for 10 minutes before popping it onto a cooling rack to cool completely.   I then chopped it up into squares and packed the brownies up to take round to my friend’s for the evening.

Edited - cooling Edited - chopped up

Dave and I spent the evening with our friends Matt and Helen, where we enjoyed a beautifully cooked lasagne and a homemade victoria sponge cake made with lemon curd and a coconut topping – all courtesy of Helen. 

Helen is a keen baker, a celiac and a chocaholic making her the perfect taster for my gluten free brownies.  The verdict – a success. 

We all enjoyed these little chocolate treats; even Dave who had turned his nose up at the idea of potato in a brownie (he didn’t believe me when I tried to tell him all brownies have potato in! hehe).  The peanut butter added a really nice flavour to the brownies and I will definitely be making these again!

Edited - served up 2

Coming up next, Challenge No. 26 – chilli con carne.


Challenge No. 21 – Carrot Cake

This recipe was suggested by another of my close University friends.  I lived with Kate in my first year and throughout the year, we shared the job of resident baker.  It was therefore so nice that Kate challenged me to make a cake 🙂 But this isn’t just any old cake, its one I’ve never made and have always been a bit apprehensive about making it.  Why was I apprehensive – it’s a cake which has carrots and cream cheese in it! There is just something about that which never quite sat right with me.  As I’ve said before, this is the whole point of Challenge 52, to take me out my comfort zone!

When I started searching for recipes, I was still trying my best to avoid the cream cheese but every which way I turned, there it was.  Finally, I found a recipe that didn’t use a cream cheese topping but by then I had come to realise that the cream cheese is an almost iconic part of the carrot cake and I felt guilty about leaving it out! So instead I kept looking and found this recipe by the Hairy Bikers for a carrot and sultana cake with creamy orange frosting.

For the recipe you will need the following:-

  • For the cake
    • 200g/7oz self-raising flour
    • 75g/3oz sultanas
    • 75g/3oz pecans, broken into rough pieces
    • ½ large orange, zest only
    • 1 tsp ground cinnamon
    • ½ whole nutmeg, finely grated
    • 1 tsp baking powder
    • ½ tsp bicarbonate of soda
    • pinch fine sea salt
    • 3 free-range eggs
    • 175ml/6fl oz sunflower oil, plus extra for greasing
    • 175g/6oz soft light brown sugar
    • 200g/7oz carrots, grated
  • For the cream cheese icing
    • 100g/3½oz icing sugar
    • 100g/3½oz unsalted butter, softened
    • 1 tsp fresh orange juice
    • 200g/7oz full-fat cream cheese
    • ½ orange, zest only
    • 25g/1oz pecan nuts, roughly broken

Edited - ingredients

If you look at the ingredients photo carefully, you may note an extra ingredient which has snuck in there.  I accidentally included the vanilla essence which I had purchased to stock up my store cupboard but it isn’t needed for this recipe!

I started off by sorting through my pecans to remove all the nice whole ones to put to one side for the topping.  I then weighed the remaining bits to make sure I had 75g, adding a few of the whole ones back in to bring it up to the right weight.  I then chopped them up nice and small.

Edited - choped nuts

I put the nuts in a bowl with the flour, sultanas, ground cinnamon, grated nutmeg, baking power, bicarbonate of soda and the salt.  I then grated in the orange zest from one half of my orange.

Edited - dry ingredients

I broke the eggs into a jug and whisked with a fork until they were smooth.  I then added the oil and brown sugar, giving it a good whisk until well combined.  I created a well in my dry ingredients and poured in some of the egg/sugar/oil mix.

I stirred it all together with a wooden spoon, gradually adding more of the oil mix until it was all combined. I added the grated carrot and gave it a final mix.

Edited - well Edited - well filledEdited - cake mix

The recipe puts the cake mix into a 20cm square cake tin but I wanted to do something a little different.  I’ve found these adorable cases in the supermarket and thought it would be nice to make individual carrot cakes rather than one big one.   So i split the mixture between 14 cases, 13 of them weighing 79g with the mix in, and the 14th having a little less.

Edited - in the cases

I put the filled cases on a tray and into the oven on 180 celsius.  Given that I used individual cases rather than a big tin, I knew I needed to adjust the cooking time.  I originally set the timer for 20 minutes and then checked them.  I felt the tops of the cakes and decided they needed a little longer so I returned them to the oven for around 2-3 minutes.  I then tested the cakes and decided they were done.

Practical tip: I’ve given this tip a few times but it is one of the key points to perfecting your cake making skills – knowing when the cake is done.  To test whether the cakes are cooked, gently press the top of one of the cakes with your finger; if it is done it will be springy to touch and bounce back into place.  You can also take a tooth pick (or cake tester if you have one) and slide it into the centre of one of the cakes; if the cake is done the tester will come out clean.  If you think it’s not quite done return the cakes to the oven but keep an eye on them – 1 minute may be all they need but that 1 minute can make all the difference!

I put the cakes on a cooling rack and left them to cool completely whilst I got started on the icing.

Edited - cooked

I put the softened butter in my bowl, beat it with a fork until smooth and added the orange juice.

Practical tip: this is another one I’ve given before but in case you missed Challenge No. 5 I’ve included it again.  To soften the butter, cut it into cubes and put it in a sandwich bag in a bowl of lukewarm water for between 5 to 10 minutes until soft.  This can be a lot quicker than leaving the butter at room temperature, especially in the winter when your kitchen may not be so warm!

I then gradually sifted in the icing sugar a bit at a time, giving it a good stir between each addition.  Once it was all added, I used a wooden spoon to beat until light and creamy. 

Editd - softened butter

I stirred through the cream cheese and remaining orange zest before popping it in the fridge for 30 minutes.

Edited - cream cheese Edited - combined

When the icing was firm, I used a teaspoon to smooth a bit on each cake.  Finally, it was time to add the decoration.  The recipe uses the whole pecans (which I set aside at the beginning) but I wanted to do something a little bit cuter.  So I made mini icing carrots with some coloured fondant icing and added one to each cake.

Edited - topped

These cakes took a little trip with me to Sheffield to celebrate my friends birthday and new home.  Kate was part of the celebrations so she got to try her suggestion, along with all my University girls.  Everyone said it was delicious! 🙂

 Edited - in the caseEdited - served up1

I even managed to persuade Dave to try this one (he had an issue with the whole carrot in a cake thing!) and he said “actually, its quite nice”.  I feel this is a great review, all things considering.

Personally, I really enjoyed this challenge, both eating and making the cakes.  They weren’t too heavy and were just perfect with a cup of tea.

Coming up next week, Challenge No. 22 – homemade burgers.

Challenge No. 15 – Simnel Cake

Can you believe Easter has been and gone already! I don’t know where 2015 is going but it sure is flying past.  This recipe was suggested by my mum and I remember thinking I’ll make it for Easter and how far away that seemed!

I’d never heard of simnel cake before and I had to look up what it was.  For those of you who share my lack of knowledge it is basically a fruit cake with marzipan cooked into the middle. It then has a circle of marzipan placed on top, traditionally decorated with 11 balls of marzipan to represent the 11 disciples (excluding Judas).

Once I had found out what a simnel cake was, I asked my mum whether she wanted me to make the marzipan from scratch and the response was “well if you’re going to do this blog properly, then yes”.  Thanks for the challenge mum! I had a bit of warning for this dish and so I decided to give the marzipan aspect a trial run by making it for my Christmas cake last year.  I realised it is actually not very difficult and the fear for this challenge was eased slightly.

A few weeks ago I started looking for a recipe and found this one by The Hairy Bikers.

For the recipe, you will need the following:-

  • For the marzipan decoration
    • 225g/8oz icing sugar, plus at least 3 tbsp for rolling
    • 175g/6oz caster sugar
    • 350g/12oz ground almonds
    • 2 large free-range eggs
    • ½ tsp almond extract
    • 1 tsp freshly squeezed lemon juice
    • 2 tbsp apricot jam
  • For the fruit cake
    • 1 well-scrubbed orange, freshly squeezed juice and finely grated zest
    • 1 unwaxed lemon, freshly squeezed juice and finely grated zest
    • 500g/1lb 2oz mixed dried fruit
    • 100g/3½oz glacé cherries, halved
    • 225g/8oz self-raising flour
    • 2 tsp ground mixed spice
    • 3 large free-range eggs
    • 175g/6oz butter, softened, plus extra for greasing
    • 175g/6oz light muscovado sugar

Edited - ingredients

I started out on Good Friday morning with the marzipan.  I sifted the icing sugar into my bowl and stirred in the caster sugar and almonds. Next, I beat the eggs in a small jug and added the lemon juice and almond extract. 

Edited - dry ingredientsEdited - egg,lemon,extract

Practical tip: when juicing a lemon (or orange), pop it in the microwave for around 30 seconds to warm it slightly.  The fruit will release more juice if it has been heated.

I was visiting my parent’s for Easter and was back baking in their kitchen.  To avoid a repeat of the problem with the pictures in Challenge No. 13, this time, I took my own plastic bowl with me.  However, when I came to measure my 1/2 teaspoon of almond extract, I noticed my mum’s measuring spoons only refer to the millilitre measurement; mine at home helpfully have this and a guide as to what is a quarter, half and full teaspoon etc.  I therefore had to ask mum which one I should use for the teaspoon (5ml for those wondering) and instead of using the half measure as instructed by the recipe, I accidently put the full teaspoon in! I love almond and considering that marzipan is almond flavoured, I decided it would only improve the taste and it did 🙂

I then added the wet ingredients to the dry ingredients and combined until I had a paste. 

I dusted the worktop surface and tipped the marzipan out to knead by hand until smooth.  The marzipan kept sticking to the worktop but I persevered and eventually had a smooth(ish) ball which I popped back into the bowl and covered with cling film to rest for 2 hours.

Edited - pre kneadingEdited - kneaded marzipan

After about an hour, I got started on the next bit of the recipe.  I zested the orange and lemon into a small pot, put this to one side and then juiced the fruits into a saucepan.  I added the dried fruit and my halved cherries to the pan and I turned the hob on.

Edited - fruit in the pan

The recipe says to simmer over a medium heat until the liquid disappears.  Now, I couldn’t actually see the liquid with the fruit in the pan but I just made a small gap by pushing the fruit to one side and soon enough the liquid started to bubble.  Then within a couple of minutes it was gone! I tipped out the fruit onto a plate and left it to cool.

Edited - fruit

Next up, I buttered and double lined the base of my cake with baking parchment. This was something I had to do for the first time when I made my Christmas cake last year – for my sponges, I normally just butter and flour my tin.  If you’ve not double lined a tin yourself, I found a really useful guide here which I think explains it perfectly.  I didn’t follow this exactly for my simnel cake but I used the techniques I had learnt last year.

Edited - lined tin

With the tin and fruit ready, the recipe instructs to mix the flour and mixed spice in a large bowl.  I don’t know why it calls for a “large bowl” as you then add it to another bowl later on.  So I just put the ingredients into a jug.  I whisked the eggs in a dish with a fork and then set out softening my butter in the bowl.  I used a handheld electric mixer to do this and then added the sugar, beating the two together until light and fluffy. 

I then beat in the eggs a little at a time and included a teaspoon of the flour with each addition to stop the mixture curdling.  Once all the eggs were incorporated, I added half the flour/spice and mixed it with a spatula – I didn’t use the electric mixer because it is quite vigorous and I prefer a more gentle approach.   I then added the second half of the flour/spice and continued to mix until it was well combined.

Edited - sponge

Finally, I stirred in the fruit and zest and added half the mixture to my lined tin. 

Edited - adding zestEdited - half mix

Time to roll out the rested marzipan.  I got the ball and split it into 3 equal parts.  I measured them to make sure they were equal and ended up with quite a bit leftover, especially from the last bit which was used for the ball toppings.  To avoid this, I would recommend measuring one part out to be 220g (which will give you 11 balls of 20g for the topping) and then dividing the left over marzipan equally into two.

Edited - ready to roll

I put out a big bit of baking paper and covered it with icing sugar.  I then started rolling out one of the marzipan balls.  The paper kept moving and I ended up using bags of flour, sugar etc to weigh down each corner of the paper – this worked well 🙂 

With my marzipan rolled out, I used the cake tin to imprint a slight circle and used a knife to cut out a circle slightly larger.  I then used a rolling pin to pick up the round and put it in my tin.  This didn’t really work and the circle broke but I just squished it back together again, making sure it reached all sides of the tin. 

Edited - marzipan middle

I then covered the marzipan with the remaining mixture and popped the tin in the oven, setting the timer for 1 hour.  When the hour was up, I reset the timer for 10 minutes.  Then without taking the cake out of the oven, I covered the top with a bit of foil to stop it catching.  After a final 5 minutes, I used a tester to make sure the cake was done.  I then let it cool on the side for around 15 minutes.

Edited - cooked

Once the 15 minutes were up, I released the cake from the tin and took off the lining.  I then went and did some retail therapy for a couple of hours whilst the cake cooled completely on the wire rack. 

When I got back, I put the cake on the grill pan and started heating some homemade apricot jam on the hob (see here for a homemade jam recipe).  Next, I rolled out my second ball of marzipan and used the clean cake tin base to measure the right size.

I brushed the top of my cake with the jam and put the marzipan on top (it stayed in one piece this time!).  I then fluted the edges and scored the criss-cross pattern.

Edited - round on top

Practical tip: take a small amount of the discarded marzipan and roll it into a small circle to practice your pattern before scoring it onto the circle on the cake.

I made my 11 balls which all weighed 20g and I positioned them on top of my cake tin base to get an idea of the approximate positions to fit all 11 onto the cake.  I put a blob of jam onto the bottom of each ball and placed them onto the cake.  I still got the positioning slightly wrong and ended up with 10 in a circle and the eleventh sat nicely in the middle 🙂 

 Edited - balls in placeEdited - topped

With all the balls in place, I put the cake under the grill to brown the marzipan.  I stood and watched the oven like a hawk because I thought it would catch really quickly.  I was right! Once the marzipan had started to brown, I quickly took the cake out the oven and left it to cool before applying the yellow ribbon.

Edited - finished cake Edited - finished tope

The cake was then taken down to Surrey on Saturday to enjoy with my extended family at a long-overdue catch up.

The verdict – DELICIOUS!  The cake was very light for a fruit cake but packed full of flavour.  As for the marzipan, perfect almond flavour and a beautiful texture.

Edited - slice

Overall, this cake was a huge success and all the family loved it.  This is especially true of my mum and uncle who are huge marzipan fans.  I actually thought there was going to be a fight over the last few slices. 

There you have it then; my first ever attempt at simnel cake went well.  I’m actually craving some as I write this up and I am a little sad that I left the final slice with my mum to enjoy.

Coming up next week, Challenge No. 16 – cornish pasty.