Challenge No. 3 – Eton Mess

Before I get started with this recipe, I just want to say welcome to those who have kindly starting following this website!  🙂 I hope you enjoy reading about my adventures.

So onto the challenge.  Eton mess was suggested by my dad and it is a pudding my mum makes quite often in the summer.  It’s a great one for a dinner party and can be put together in many different ways.  With it being one of my mum’s specialities I felt I had a lot to live up to with this one.

The first hurdle, I’ve never made meringue before and it is something I have been scared of trying.  I’ve often saved the whites of an egg (when a recipe calls for just the yolk) with the intention of having a go but then I always backed out and threw the whites away.  Silly really, considering some of the things I have turned my hand to in the kitchen.

And so, here I was, faced with the prospect of having to make meringue.  I hunted online and found a recipe which I thought looked good.  This recipe is one by Marcus Waering and you can find the full details here, http://www.greatbritishchefs.com/recipes/eton-mess

It was the presentation of this dish that really caught my eye – it was so neat and pretty. Now, some of you may be reading this thinking an eton mess is supposed to be messy?! I hear you, but I thought the idea of the mess being inside a neat dome was a great one.  It would look beautiful to serve but once you break the dome and get tucked in, the true ‘mess’ of the eton mess would be revealed.

This recipe uses the following ingredients:-

  • 80g of egg white
  • 80g of caster sugar
  • 80g of icing sugar
  • 2 punnet of raspberries
  • 200ml of cream, lightly whipped
  • 2 tbsp of raspberry jam
  • 25ml of raspberry liqueur, optional

Ingredients Edited

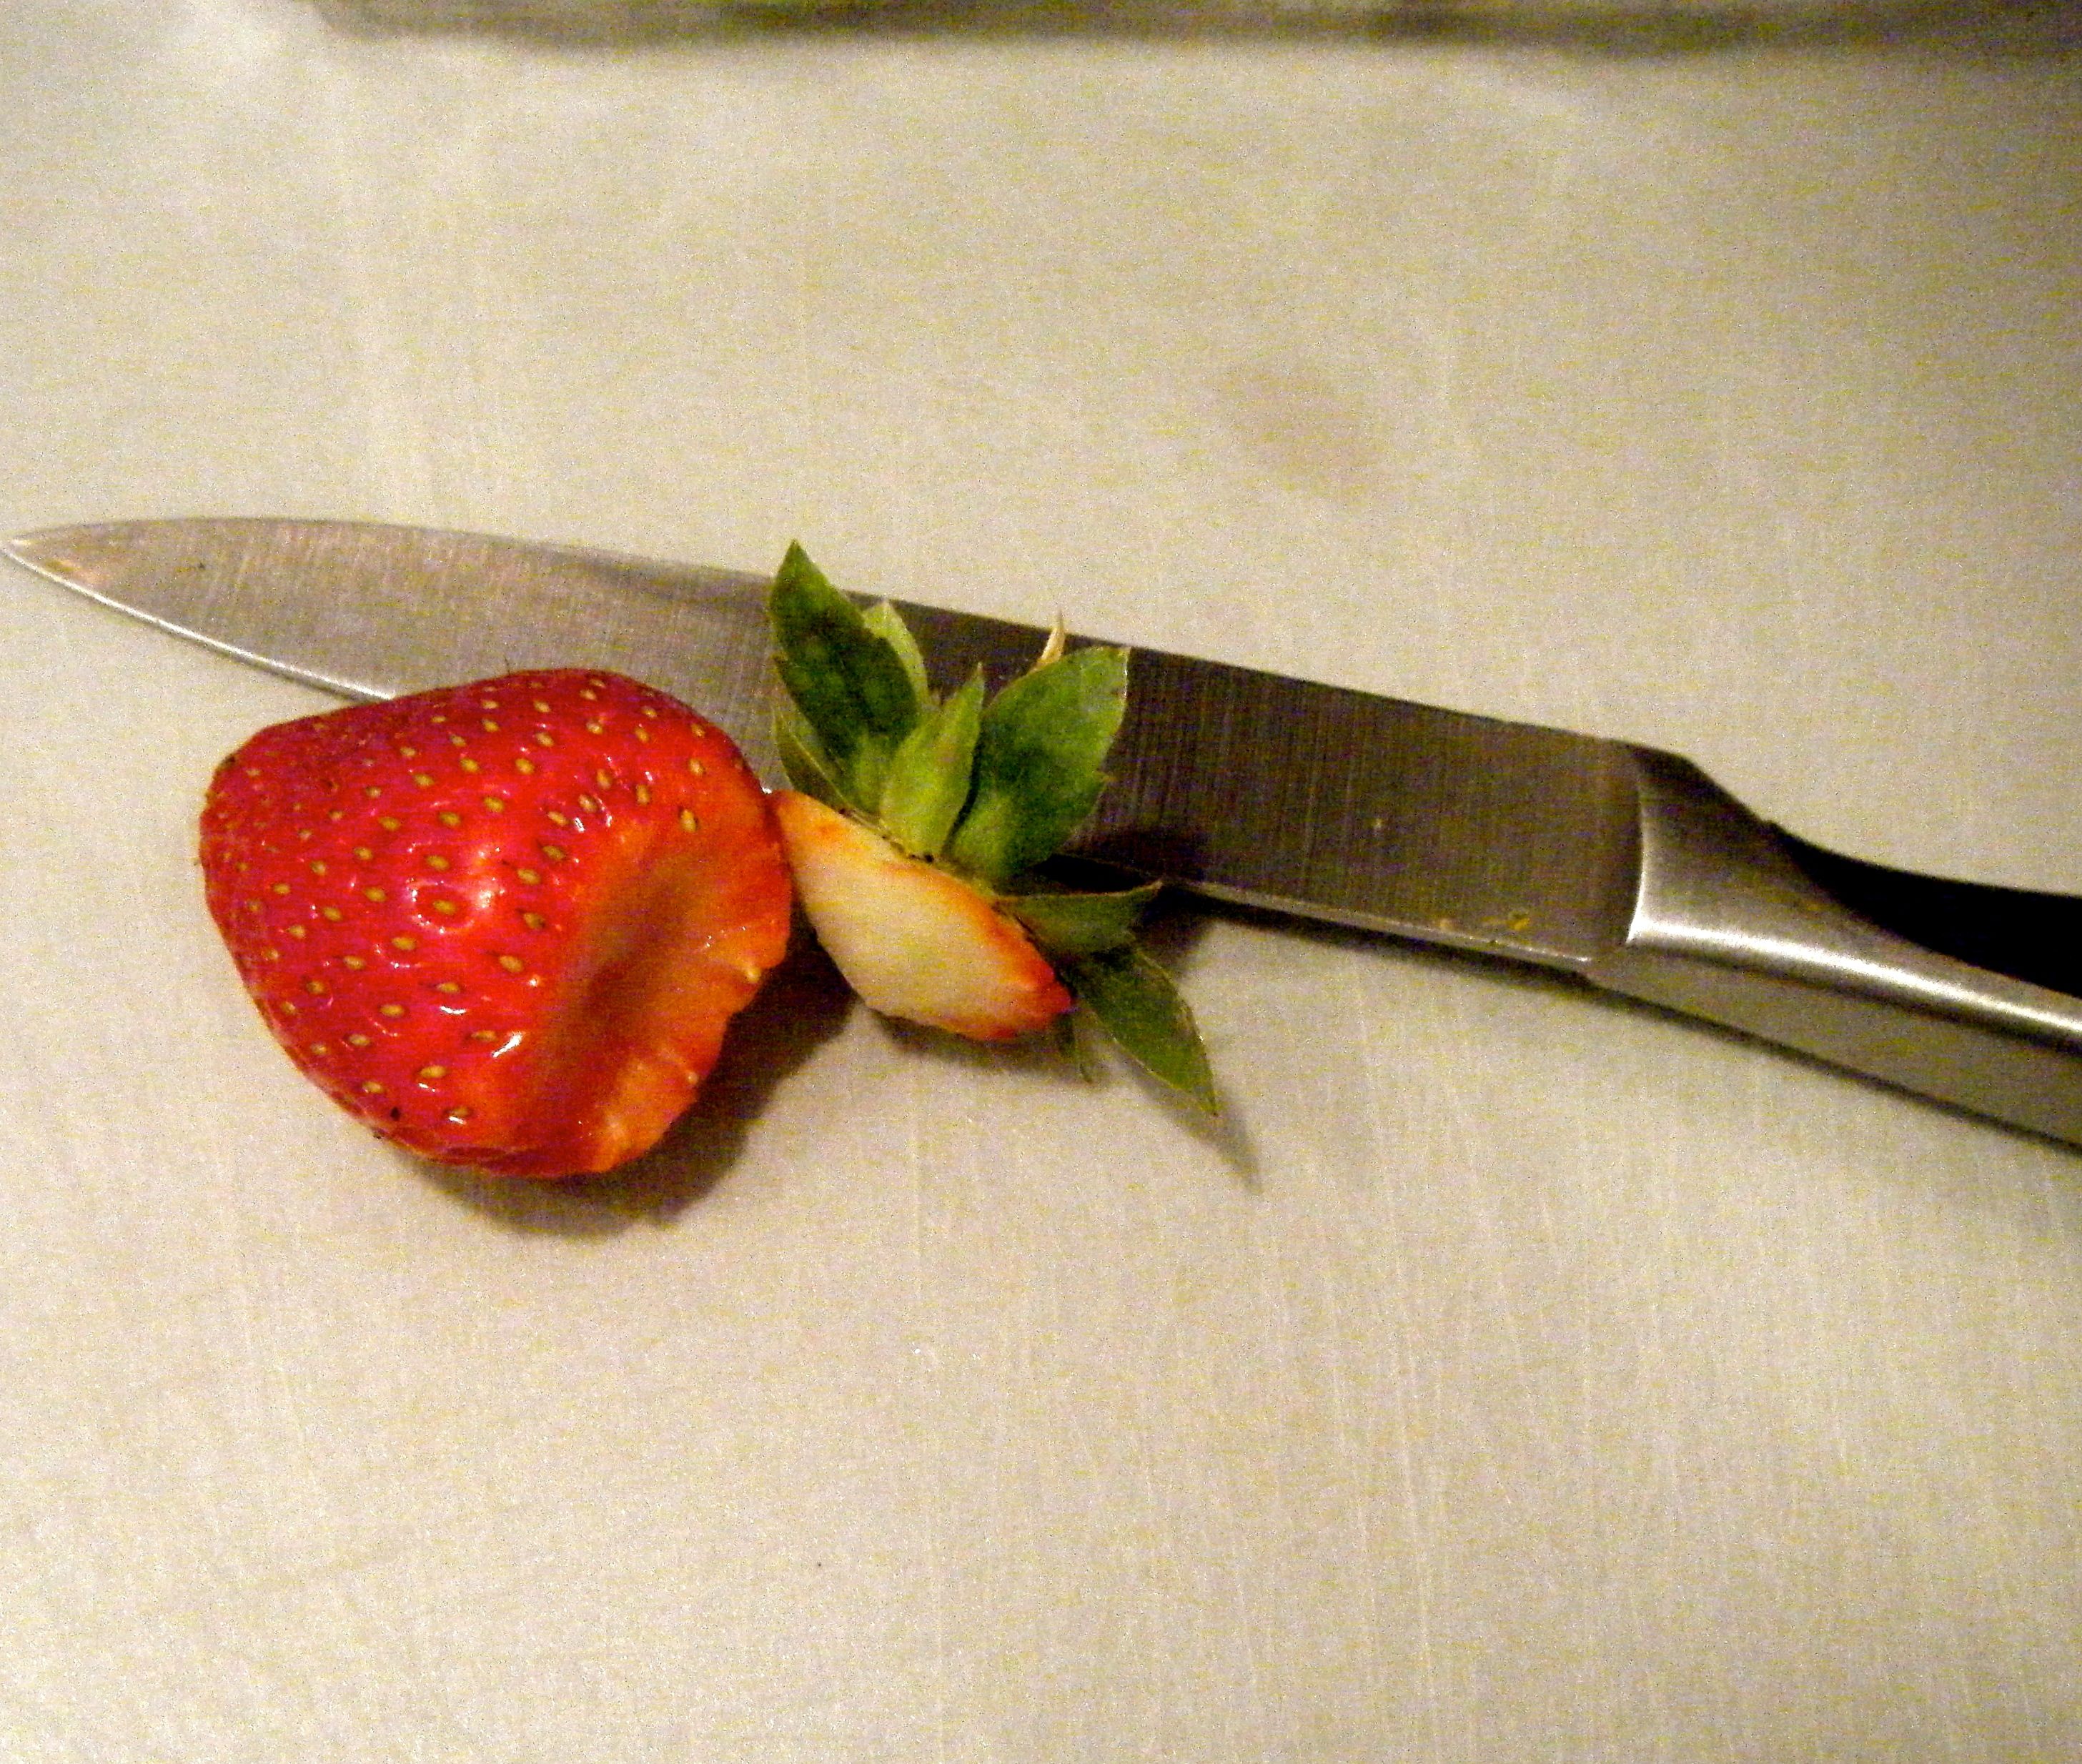
I decided to halve this recipe as there was only me and my boyfriend to eat it.  I also left out the raspberry liqueur as this isn’t something I had in and it seemed a bit extravagant to buy a bottle just for 12.5 ml.  Oh and I also opted to use strawberries instead of raspberries, simply because I prefer them and I used my homemade strawberry jam (click here to find out how to make your own strawberry jam).

Practical tip: I found that one medium egg white was approximately 35-40g.

With my ingredients ready, I got out my bowl and in accordance with the recipe, carefully separated my yolks and white.  I then started whisking with my electric hand whisk.  I didn’t really know what I was looking for when the recipe said until “very stiff” and I just whisked until it looked about right.  I then added the sugars as per the recipe (caster first and then the icing sugar).  It was going well and then quite suddenly the mix collapsed! It was extremely runny and there was no way it could be piped into a dome.  So in the bin it went.

I spent a bit of time at my laptop trying to find out what went wrong.  With this I found a few useful tips:-

  • Make sure the bowl, whisk etc is thoroughly cleaned and dried before starting.
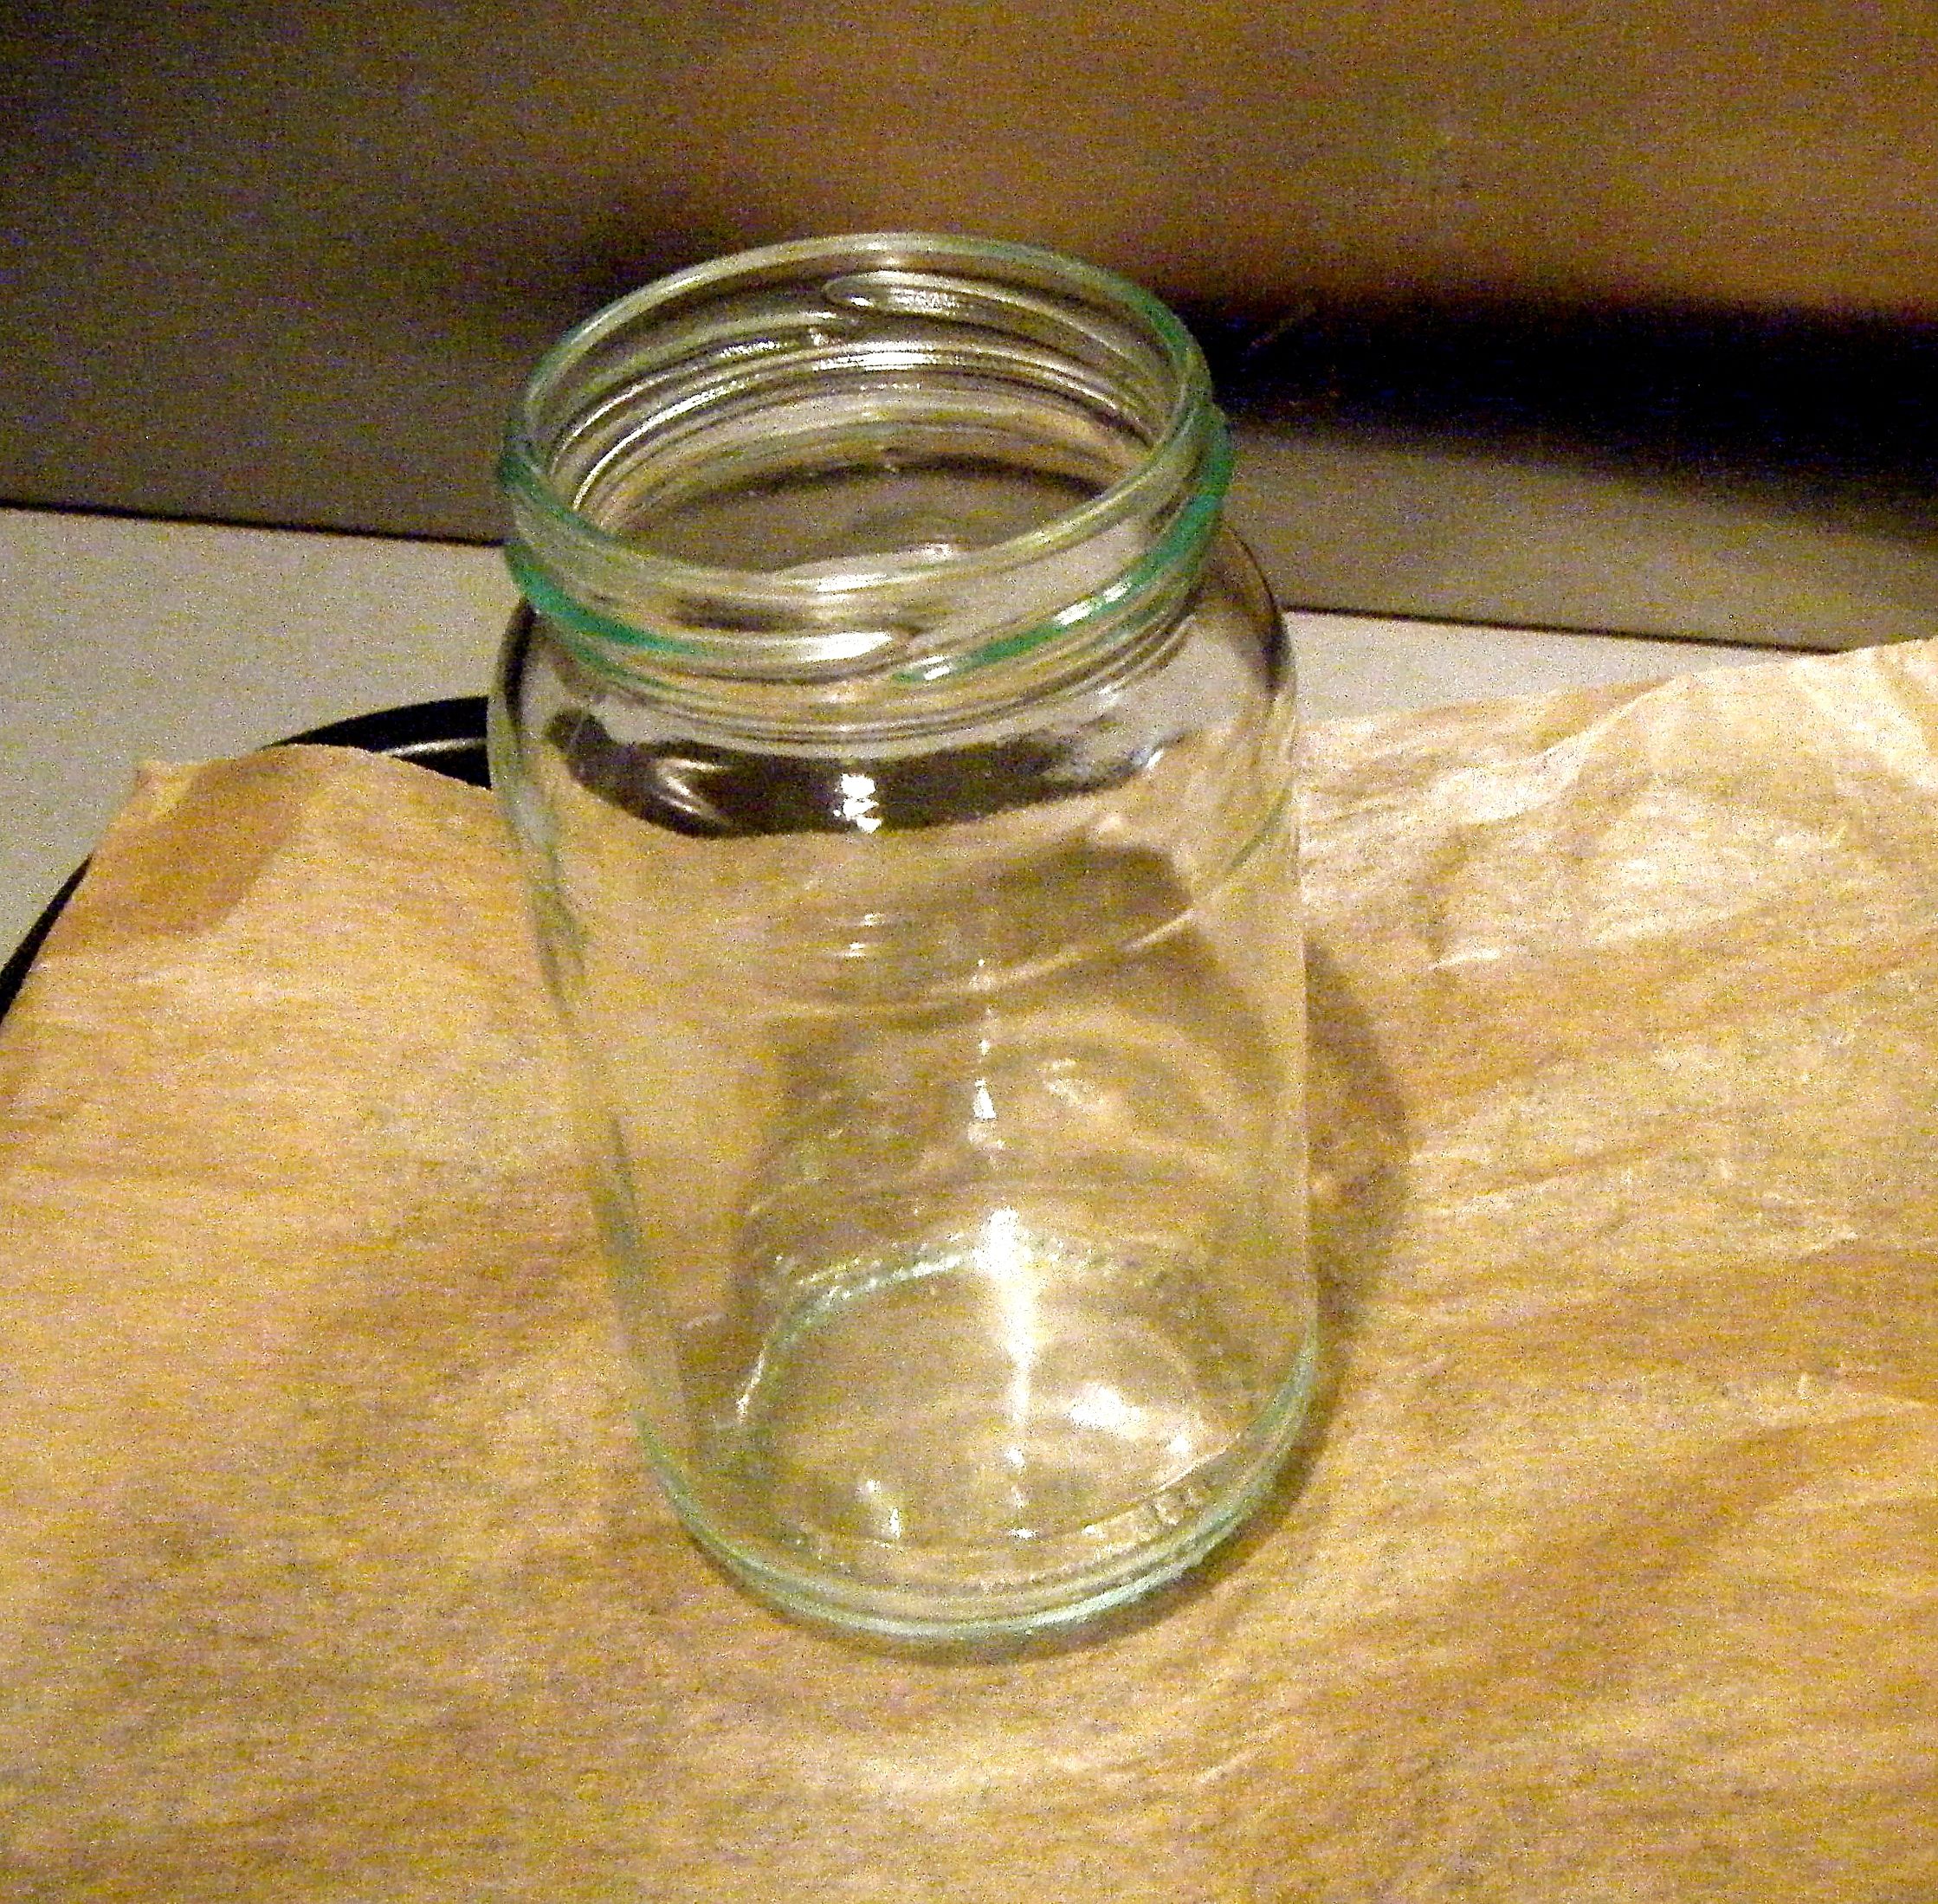
  • Use a glass bowl.  Avoid plastic as this can have an oil residue which affects the egg whites and stops you reaching the required stiffness;
  • Clean the bowl with some lemon juice as it helps remove any residue (I didn’t try this but it’s one to note for the future)
  • To test for stiff peaks you should be able to hold the bowl upside down above your head.
  • When adding your sugars, do it gradually.  For instance, add one tablespoon then whisk, another tablespoon then whisk and then add the remainder.

And so I started again, this time with my glass bowl.  Once the whites looked stiff, I started to tip the bowl to check the consistency and after a little more whisking I managed to tip it upside down without the mix falling out.  I’ll be honest, I wasn’t brave enough to do this over my head and stuck to doing it over the worktop!

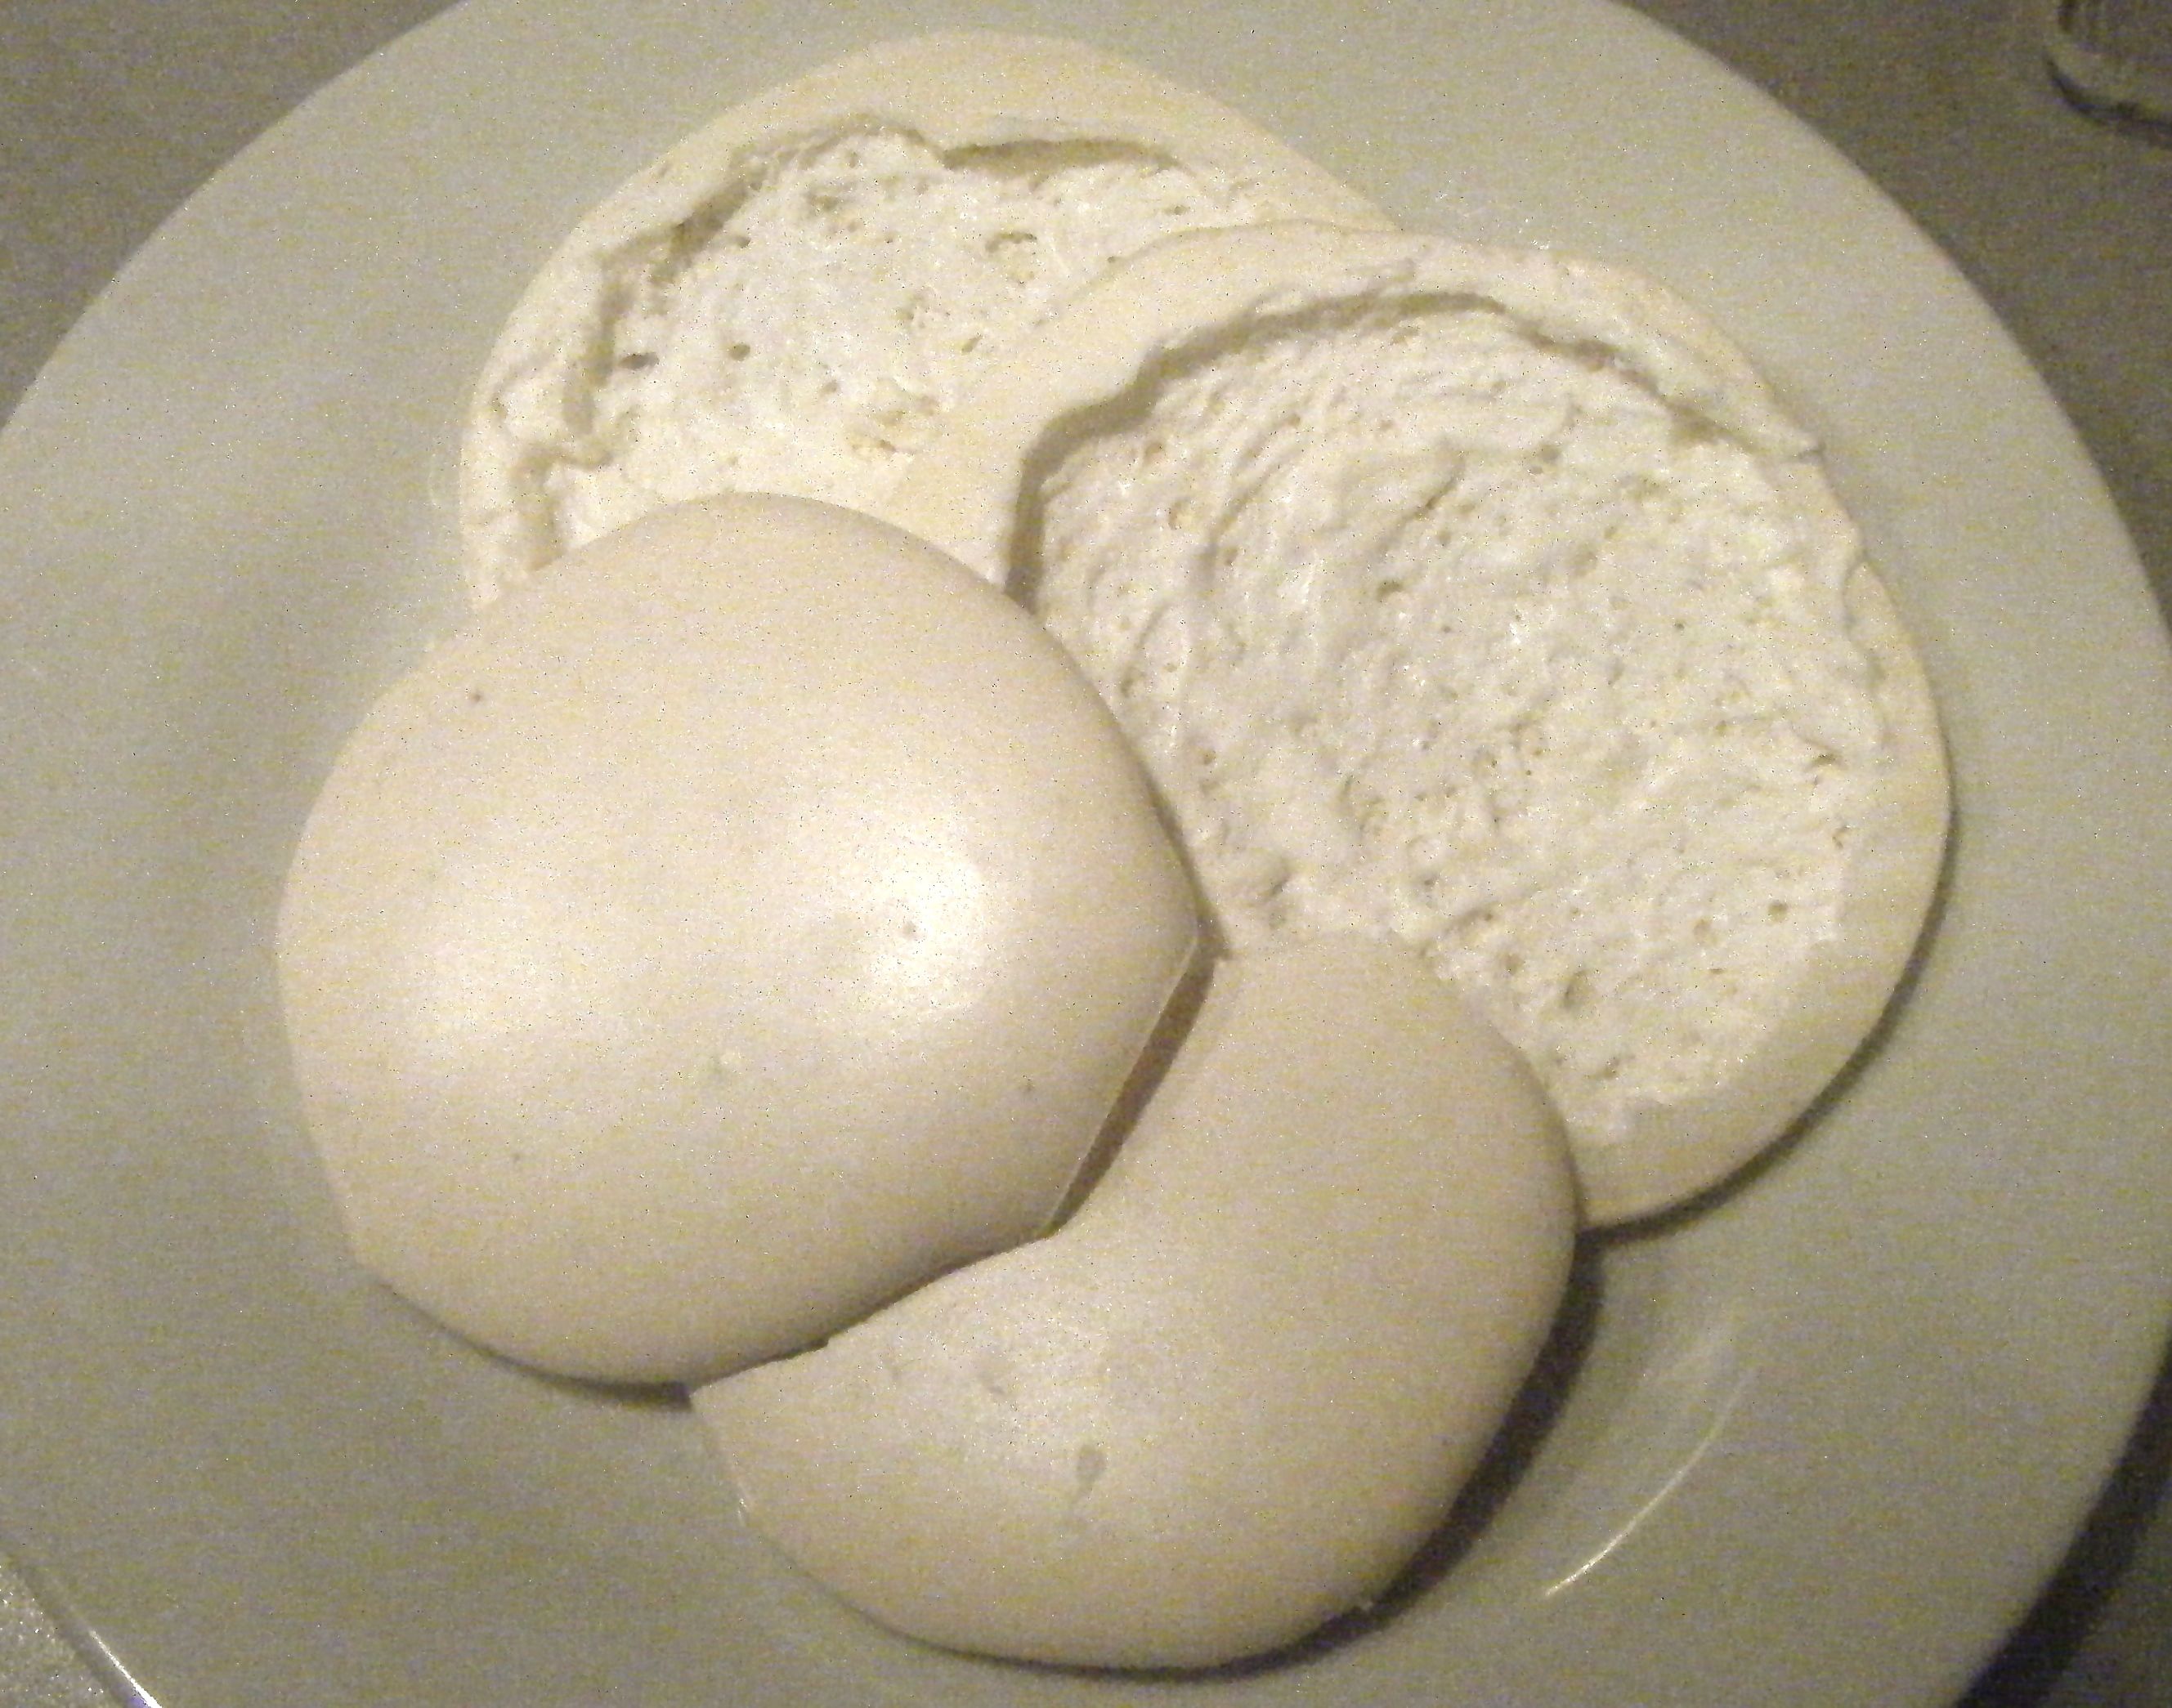
I then gradually added the sugars, once again starting with the caster and then the icing.  Everything was looking rights until part way through adding the icing sugar. It collapsed AGAIN!  It wasn’t quite as runny as last time so I thought I would try piping my dome. 

Nope, that didn’t work.  It stayed within my defined circles but there was nothing ‘dome-like’ about it, definitely more of a pancake! I popped it in the oven and thought i’ll just see what its like for flavour. 

Practical tip: draw two (or more) circles on the parchment paper and then turn this upside down on your tray so you have a clear shape to pipe/fill with your mix.

Drawing circles

I made a quick phone call to my mum to try and figure our what went wrong – remember you’re never too old to ask your mum for help!  I explained step by step what I had done and we couldn’t figure it out.  Mum suggested that the icing sugar should have been folded in rather than whisked but the recipe specifically states to whisk it in.  We also discussed that perhaps I just over whisked the stiff peaks to start off with and this destroyed the structure of the mix.  But at the end of the call we couldn’t pin point the problem.  I considered having a third attempt but I needed to get the meringue cooked as I needed the oven to cook our dinner. And so I was left with pancake meringues.

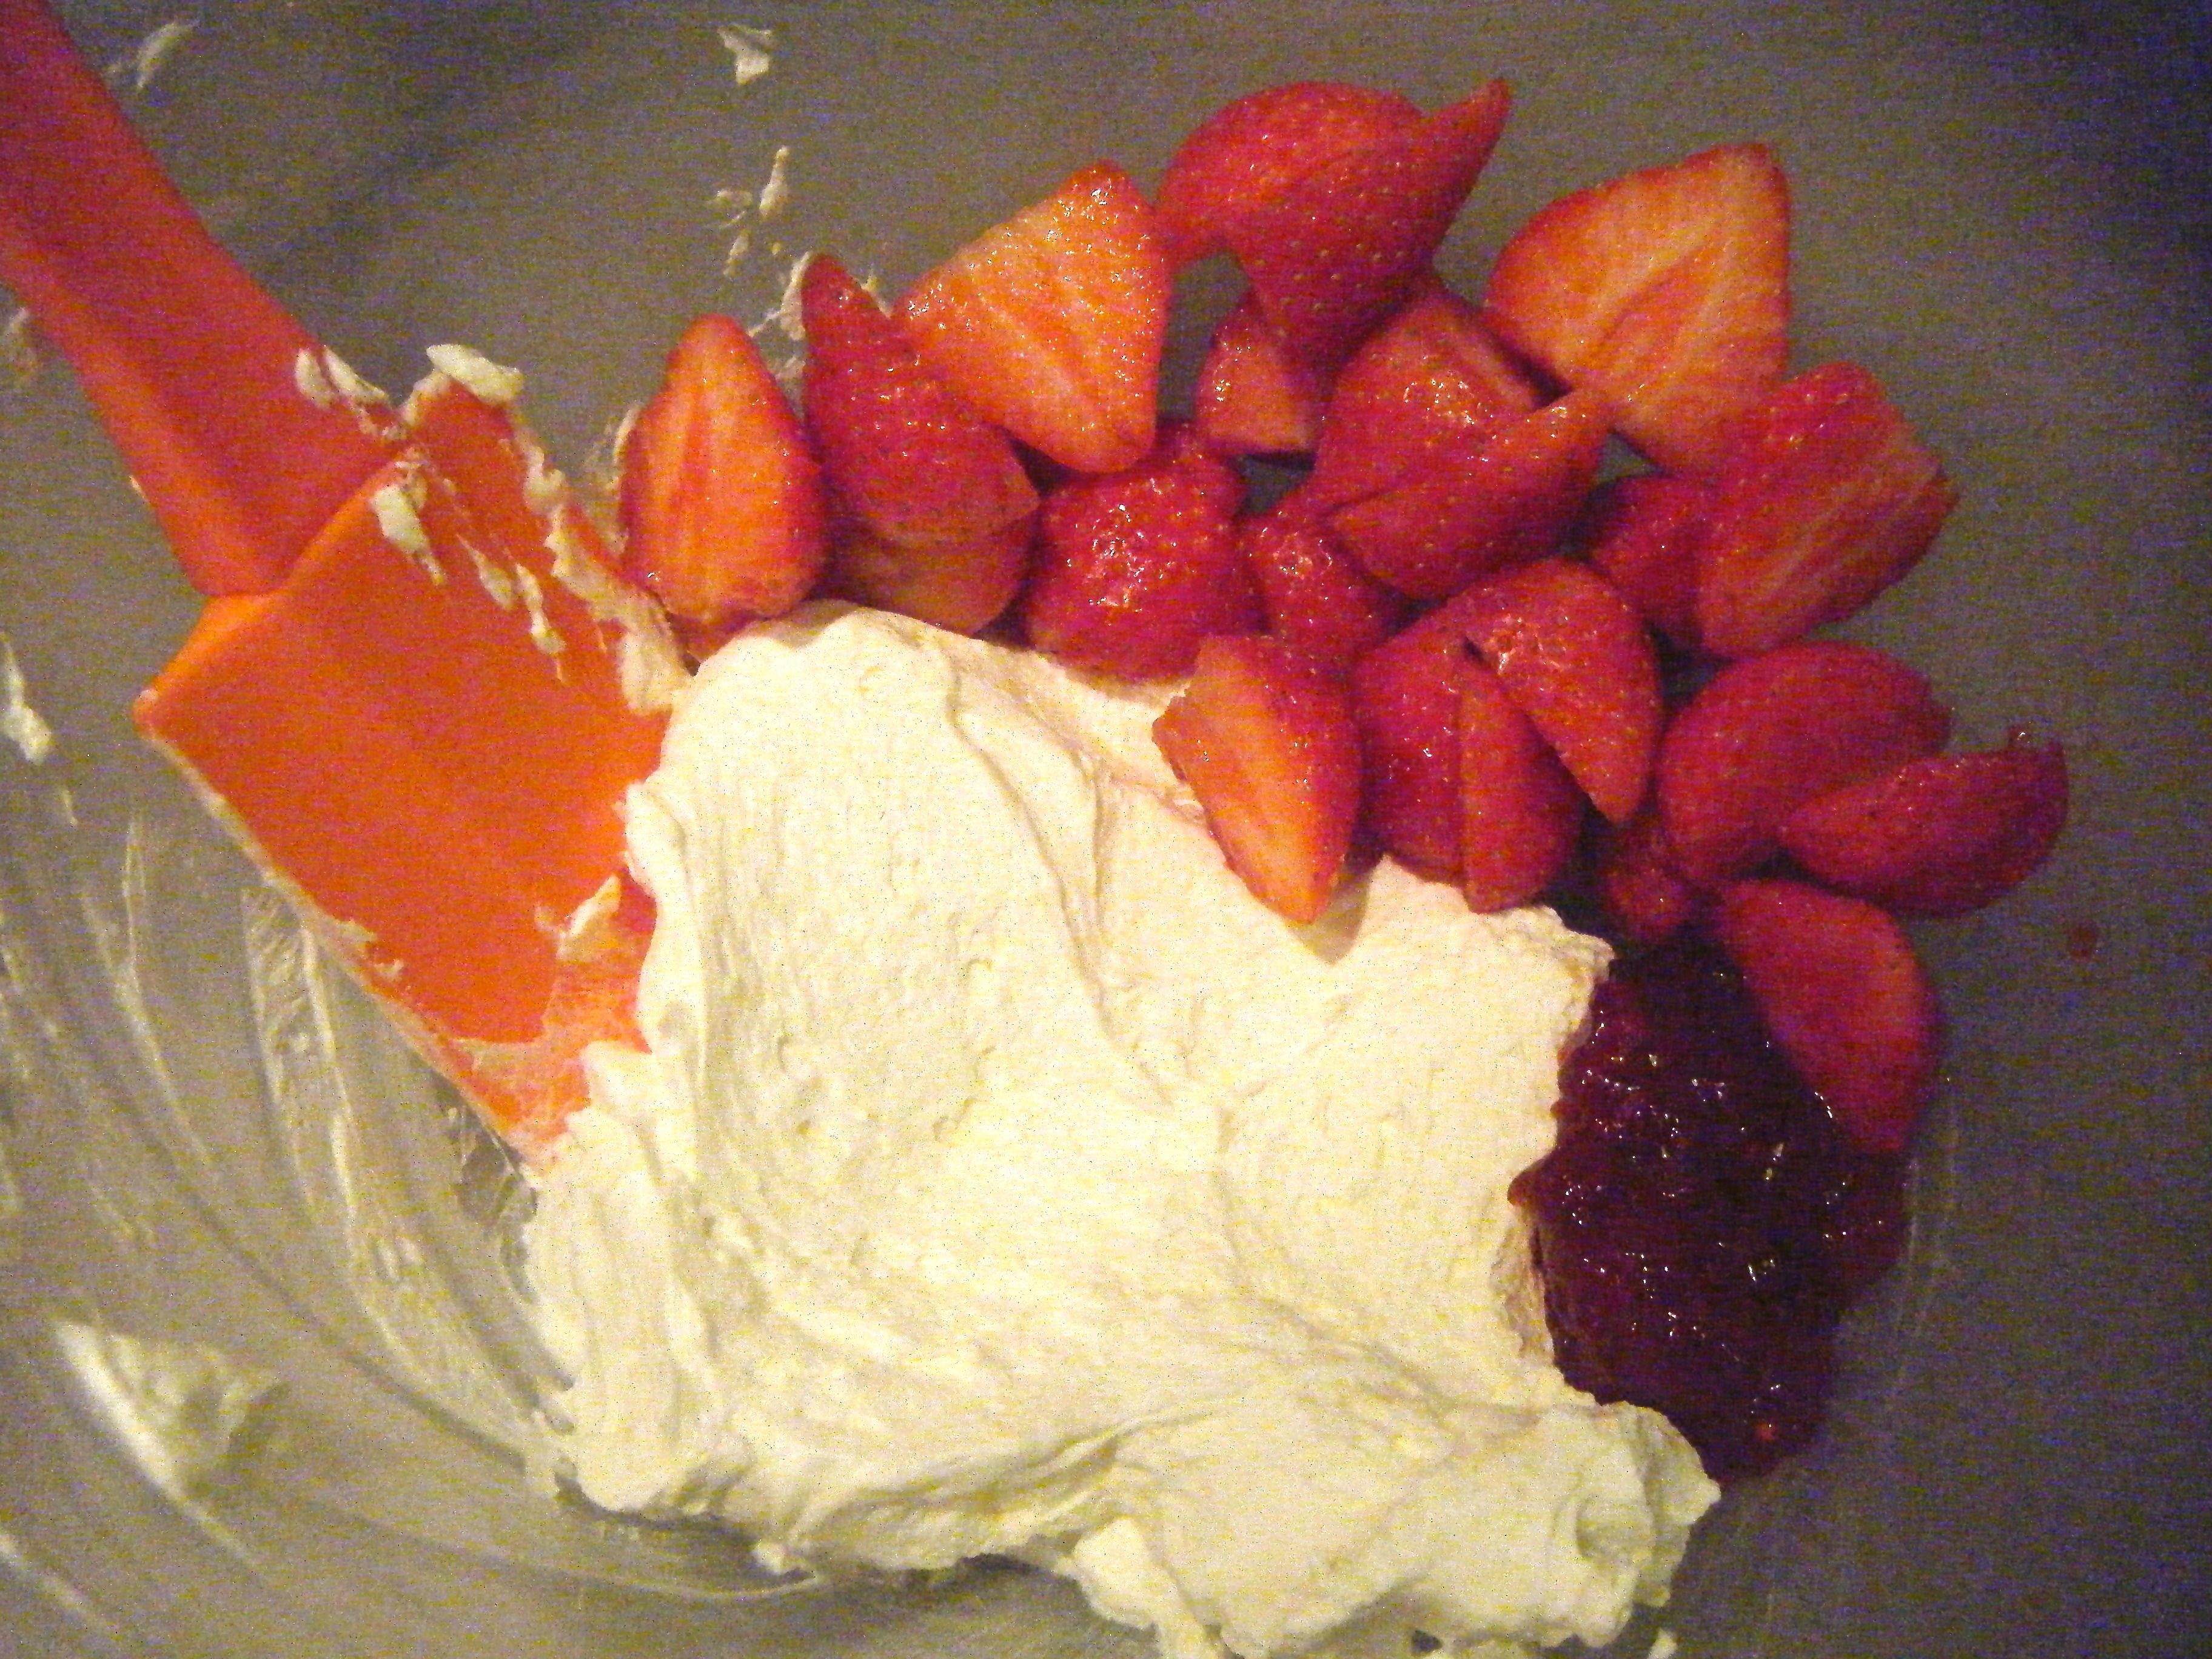
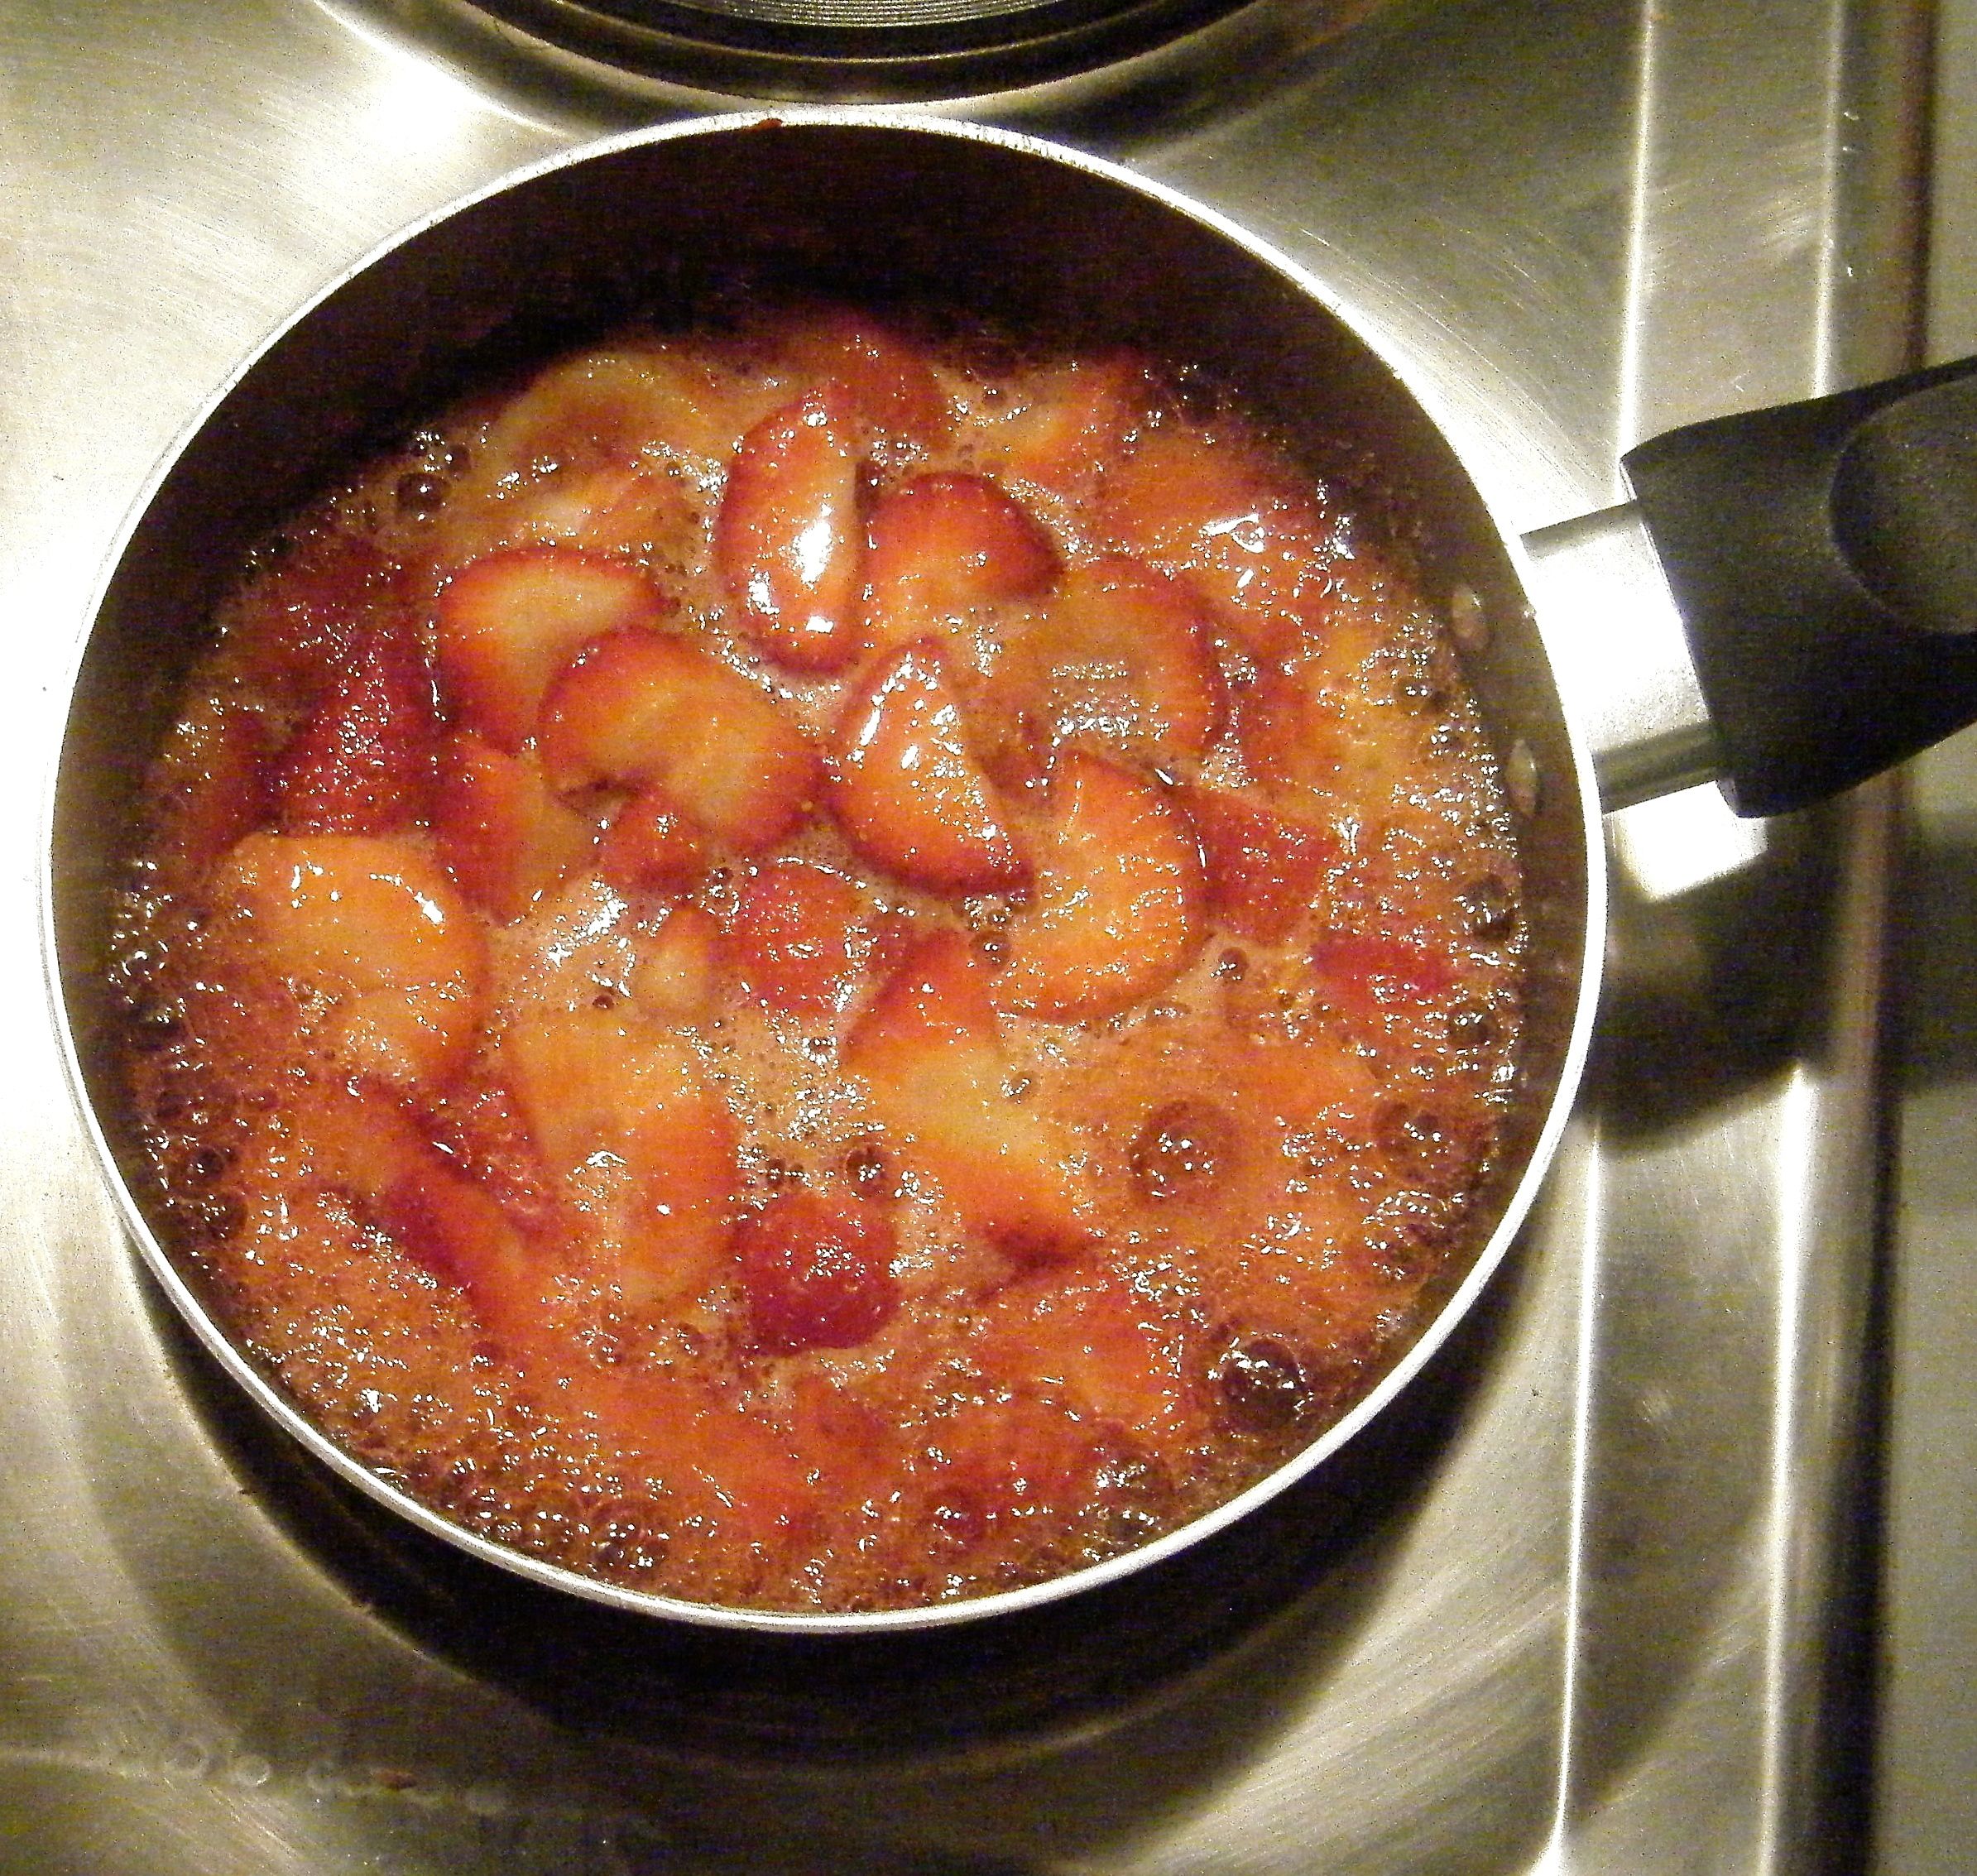
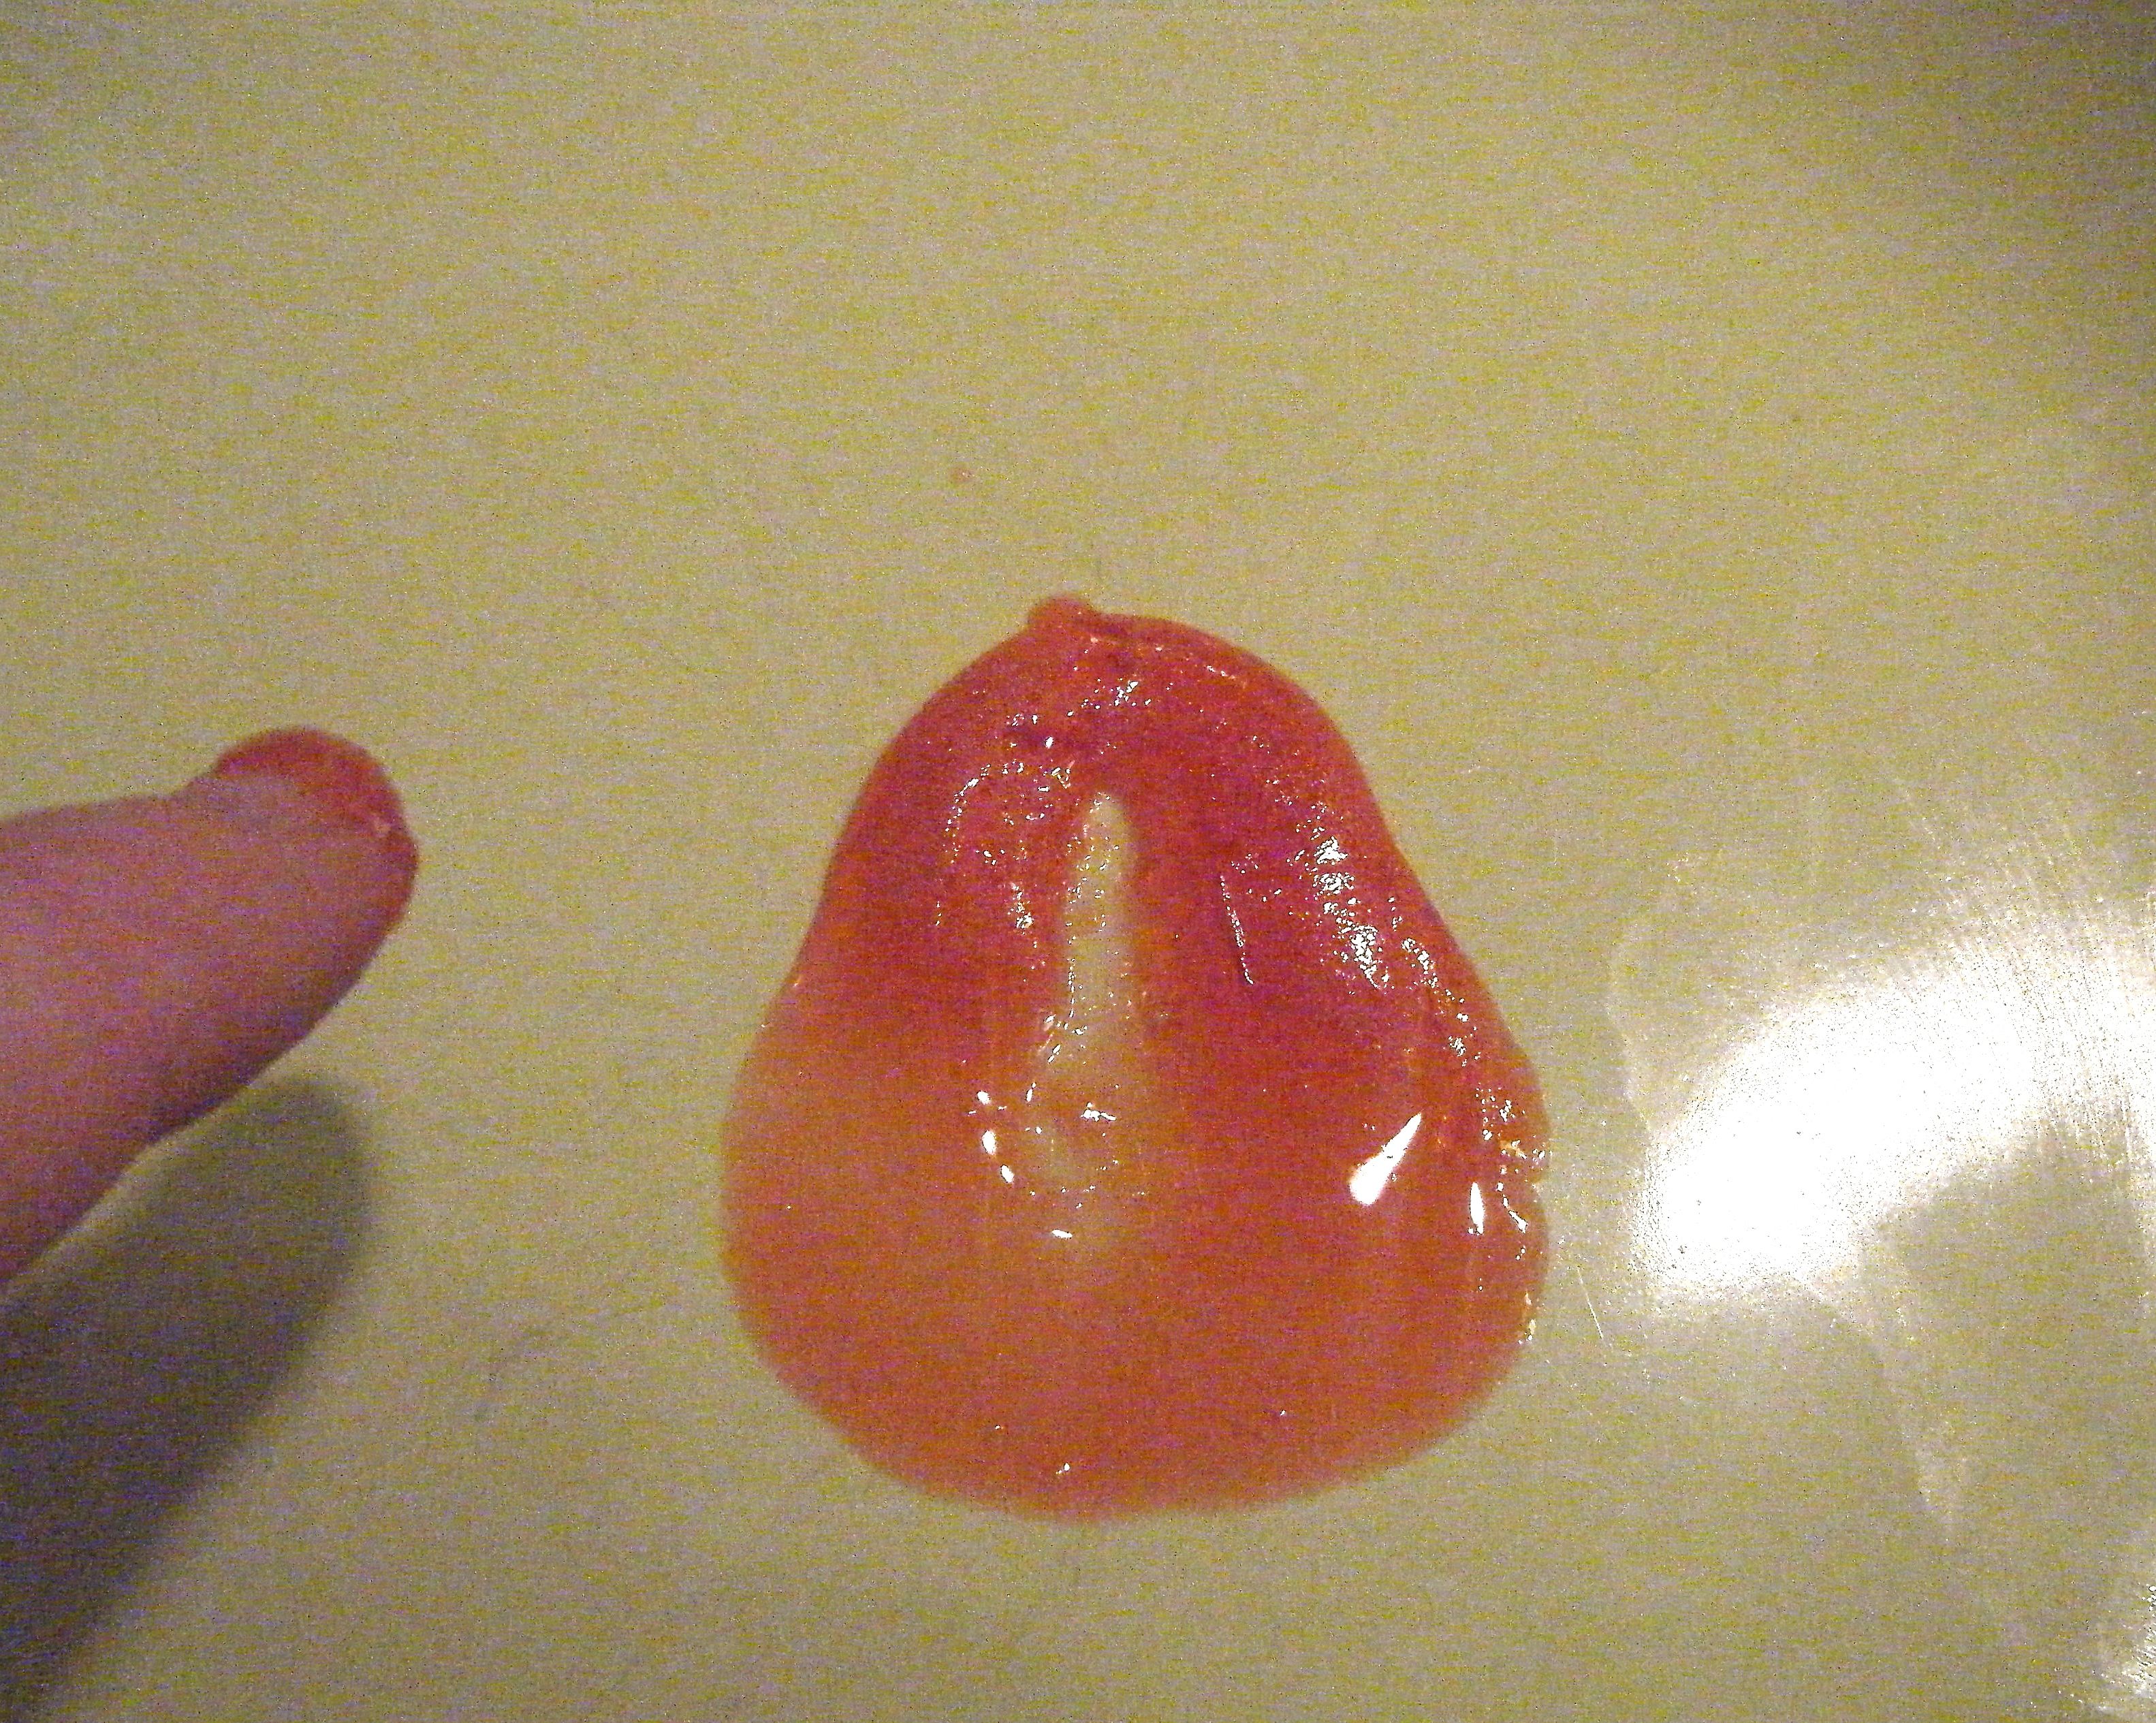
Whilst the meringues where cooking I sieved my strawberries to make the puree and got the rest of my ingredients ready.  Although I waited to fold the strawberries into my cream until just before I was ready to put everything together. 

Ready to mix edited

Once my meringues were done, I took them out of the oven and I tried to remove some of the softer meringue from the bottom as the recipe told me to.  However, in hindsight this could probably have been left in to give a gooey texture to the eton mess.  One to try for next time (I will definitely be making this again as it was yummy!)

Edited pancakes

With everything ready to go, I decided to serve it up in wine glasses which has been chilled in the fridge. I started layering in my ingredients, some meringue first, then the cream mixture, a bit more meringue and then cream and finally topped with some carefully selected meringue to make it look pretty.  I used the puree to pour on top and drizzle down the sides where the gaps where.  Finally, I finished the presentation off by adding a strawberry to the rim of each glass.


Edited served ipEdited top served

So this didn’t turn out as I had hoped but it certainly tasted amazing and I think it still looks pretty good, even without the dome!  Although, when I gave it to my boyfriend, whilst he said it looked amazing, he did ask me to tip it into a bowl so he wouldn’t break the glass.  Just goes to show, try as you might, you just can’t (and perhaps shouldn’t) take the mess out of an eton mess!

Coming up next week, Challenge No. 4 – BBQ chicken wings. See you then 🙂

Homemade Jam (Strawberry)

This one isn’t strictly part of Challenge 52 but it will come in useful for the next challenge.  Be sure to check back in later this week to read more about my attempt at eton mess made with this delicious homemade strawberry jam.

I made my own jam for the first time last year.  I started with strawberry jam and this came out perfectly.  However, when I tried to make apricot jam (to glaze my christmas cake) it ended up a little runny.  I’m therefore definitely not an experienced jam maker but I’m a great believer that practice makes perfect.  With this in mind, here is a little guide to making your own strawberry jam so you can start practicing 🙂

Ingredients:-

  • 260g jam sugar
  • 260g strawberries (washed, hulled and dried)
  • 1/4 lemon (juice only)

First things first, I’ve used concentrated lemon juice each time I have made jam.  When a recipe calls for the juice of 1 lemon, this can be replaced with 2 tbsp of lemon concentrate.  So for this recipe you need 1/2 tbsp lemon concentrate or the juice of a 1/4 of a lemon, whichever is easiest for you.

Edits - Jam Ingredients

This recipe makes enough to just about fill a 411g jam jar – I use leftover jars from shop bought jams/curds.  Your jar will need to be sterilised before you fill it and to do this, you can follow this easy guide:-

  1. Wash the jar in warm water (with washing up liquid).
  2. Rinse thoroughly.
  3. Place on a baking tray lined with baking paper.
  4. Pop into the over (120C – 140C) for around 10 minutes until dry.
  5. The lid can be left in very hot/boiling water before drying it thoroughly.
  6. Fill and seal the jar whilst it is still warm.

Edited - jar in water Edited - Jar and tray

So time to make your jam.  Personally, I don’t like my jam to have too many lumps so I always half or quarter each strawberry to make sure they aren’t too big.  Pop the chopped strawberries into your pan with the lemon juice and warm gently for a few minutes.  You’ll have to use a bit of judgment here, you don’t want to cook the strawberries, you just want to soften them.  Not all recipes call for this step so I don’t think it is strictly necessary but it was in the one I first used so I still do this.

 Jam - Hulled StrawberryEdited - Chooped Strawberries

Once the strawberries have softened add the sugar and stir together.  Keeping the pan over a low heat, stirring occasionally, until the sugar has dissolved and the liquid runs ‘clear’.  Now, those of you who see the obvious will know that strawberries are red.  If you put strawberries into a clear liquid, what happens? The liquid turns red.  First time I made jam and the instructions referred to the liquid being clear, I actually said to my other half, “but the liquid is red?”.  So I made the (perhaps obvious) assumption that ‘clear’ means until the sugar granules have fully dissolved. 

Edite - fruit and sugar

Once the granules have dissolved turn up the heat slightly.  Bring the mix to boiling point and let it boil steadily for around 6 minutes or until it reaches setting point. 

 Edit - boiling jamTo test the setting point, take a teaspoon and spoon a small amount of the jam onto a plate.  Leave this for about a minute and then, using your finger, push the jam slightly.  If the jam crinkles and separates without flooding back, you’re there.

Edit - jam plate Edited - jam finger

Let the jam cool for about 10 minutes before putting it into your sterilised jar and sealing it.

Edited - jam topEdited - sealed jarThere you have it, homemade strawberry jam.  It may not turn out right first time or every time but practice will get you (and me) there one day 🙂 Enjoy!

Challenge No. 2 – Beef Stew & Dumplings

This dish was suggested by a good family friend.  Elaine and her husband are very successful entrepreneurs.  Running their own business has meant they don’t get to spend that much time in the kitchen.  It is therefore unsurprising that Elaine suggested a one pot dish which could be put on and slow cooked until ready to be served.

Elaine’s criteria was simple…”something nice for the winter like stew and dumplings, something that you can throw into one pot in the morning and leave cooking all day so when you get home dinner is made”.

I thought this was a great idea, however, before we go any further, I must confess I am a serial worrier.  My friends joke that my children will literally be wrapped in cotton wool – I don’t think I am quite this bad but I do worry.  So the idea of leaving my oven on all day whilst I am not home doesn’t sit well with me.  With this in mind, I thought a nice slow cooked dish which can be cooked for a cold winter sunday evening would be perfect.  You can pop it in the oven, snuggle on the sofa to watch your favourite film whilst the beautiful hearty smells fill your home – perfect!

I decided I wanted to use beef as my boyfriend and I don’t often have beef in any form other than minced.  I found a recipe by James Martin which looked lovely and included homemade dumplings.  The recipe can be found at http://www.bbc.co.uk/food/recipes/beefstewwithdumpling_87333.

The recipe calls for the following, rather lengthy list of ingredients:-

  • 2 tbsp olive oil
  • 25g/1oz butter
  • 750g/1lb 10oz beef stewing steak, chopped into bite-sized pieces
  • 2 tbsp plain flour
  • 2 garlic cloves, crushed
  • 175g/6oz baby onions, peeled
  • 150g/5oz celery, cut into large chunks
  • 150g/5oz carrots, cut into large chunks
  • 2 leeks, roughly chopped
  • 200g/7oz swede, cut into large chunks
  • 150ml/5fl oz red wine
  • 500ml/18fl oz beef stock
  • 2 fresh bay leaves
  • 3 tbsp fresh thyme leaves
  • 3 tbsp chopped fresh flatleaf parsley
  • Worcestershire sauce, to taste
  • 1 tbsp balsamic vinegar, or to taste
  • salt and freshly ground black pepper
  • 125g/4½oz plain flour, plus extra for dusting
  • 1 tsp baking powder
  • pinch salt
  • 60g/2½oz suet
  • water, to make a dough

Edited Ingredients

Practical Tip: I couldn’t find any baby onions and so I used shallots which I peeled and chopped in half.   Shallots are not the same as baby onions but they are apparently a close relative and they worked very well with this recipe. 

This recipe is intended to serve 4 people.  Last year I attempted to make a one pot African stew and I didn’t take into account the size of my dish before I started – I actually had to get out another pan and decant half of the ingredients so I could finish the recipe using both pans!.  This is something I should have thought about considering the following extract from The Great Bread and Butter Pudding Disaster:-

My first mistake was pulling out my mum’s turkey roasting dish to make it in – apparently I thought I was feeding the whole city.  First lesson learnt, the size of the dish you cook in can really make a difference to how a recipe turns out.  Make sure you pick the right size dish and you will be starting off well! Most recipes will give you the size or type of dish required to work with the quantities involved.  You won’t always have the one they recommend and most people wont have the space or money to invest in every variant out there.  Use the recipe suggestion as a guide; it is not a precise art and you can use a bit of judgement to find the most appropriate dish in your collection.  Common sense comes in handy here and this is something which I certainly lacked at 14.

Having learnt my lesson (again!) I decided I would be best to halve the ingredients for this beef stew.

Practical Tip: I felt this recipe had quite a large meat to veg ratio.  This was great for my boyfriend who is a true vegetable hater.  However, if, like me, you love your veg, I think you could get away with using more vegetables.  Instead of halving the recipe, you could use 1/2 the quantity of meat and 3/4 of the quantity for the remaining ingredients.  I will be trying this next time I make the stew (despite my boyfriend’s hatred for vegetables) and popping the leftovers in the freezer for a lazy day!

Before I started cooking, I prepped.  This step isn’t really necessary if you have a big kitchen but I only have a very small kitchen with limited worktop space.  As such, for me, preparation is key.  I started by chopping all my veg and popping it into some Tupperware.  I pealed my garlic and put it in the crusher and chopped up my herbs.  I then added the oil and butter to my pan, turned up the heat and once this was bubbling, I added the beef.

Practical Tip: if you don’t have a garlic crusher, just use the side of a knife to crush the garlic on a chopping board.  Then roughly chop before adding it to your recipe.

With the beef browned, I added the flour and gave it a good stir.  Once this had been frying for a couple of minutes, I added my vegetables and crushed my garlic directly into the pan.  With my kitchen smelling more delicious by the minute, I added the remaining stew ingredients and popped the covered dish in the oven. 

Ready for the oven!

Ready for the oven!

The initial cook is for 2 hours, however, I set the time for 1hour 30 so I would have time to get the dumplings ready.  I settled down on the sofa with my boyfriend and waited patiently as our dinner cooked away.

When the timer went off, I got my ingredients ready for the dumplings.  The recipe calls for enough water to make a dough – I’ll be honest, I had no idea how much this would be! I decided to add a little water at a time and mix the ingredients with my hands until it felt right.  Once the mixture had started to come together enough to be shaped, I decided that was enough. Don’t be scared of doing this.  I’ve never made dumplings before and I had no idea what the consistency or texture should be but I went with my instincts and they turned out well.  Cooking is about trial and error – if something goes wrong, just learn from it for next time.  For me, this is what makes cooking so fun!

Practical Tip: before mixing the dough, get a plate and cover this with a layer of plain flour.  You can then use this to flour your hands before rolling the dumplings.

Dumplings rolled and ready to go in the pan!

Dumplings rolled and ready to go in the pan!

Once the stew had been cooking for 2 hours, I placed the rolled dumplings into the pan in the oven for the final 20 minutes. Once it was ready, I served it up.  The verdict, it was delicious!

Serving Tip: serve with creamy mash potato.  Make sure you come back for my potato challenge where, at the request of my dad, I will be attempting to make the “best mash potato”.

Edited - serving up

Served up with some yummy mash potato.

From reading this post, you may think that this recipe went perfectly but I cannot lie, I managed to hurt myself at the final hurdle.  Once everything was ready to be served, I went to take the stew out of the oven and my oven cloth slipped off my finger, meaning I touched the oven rack without any protection.  I quickly got my hand under the cold tap and then ate my dinner with my finger plunged in a mug of cold water.  Luckily, my reactions were quick enough that by the next day there was only a small mark on the tip of my finger and it wasn’t at all painful.

There you have it then, the second challenge and my first injury of Challenge 52. 

Coming up next week, Challenge No. 3 – eton mess! Hope to see you then 🙂