Challenge No. 16 – Cornish Pasty

This challenge was suggested by one of my good friends from University.  My friend Laura is by all accounts a vegetarian, cake lover (amongst many other wonderful things) and I hadn’t registered that one of her suggestions was not only not cake, but a meat filled pastry! It took me by surprise when I realised what Laura had asked me to make.  So thanks for the suggestion Laura and I’m sorry you can’t get to try this one 🙂

This dish is said to be an important part of the Cornwall county culinary history.  The first references to cornish pasties appeared in the 13th century and during the 18th/19th century, it was a staple part of the diet of working men in Cornwall.  The wonderful thing about a Cornish pasty; it contains a meal within its golden crust.  When handled by miners/farmers, the thick crust could be held with dirty fingers and thrown away at the end. Today, it is enjoyed by many people (not just the miners/farmers) and we don’t throw the crust away – I mean come on, its one of the best bits!

I did a quick search and found a recipe by one of my favourites, Paul Hollywood.  You can find the recipe here.

For this recipe you will need:-

  • For the pastry
    • 500g/1lb 1oz strong bread flour
    • 120g/4oz vegetable shortening or suet
    • 1 tsp salt
    • 25g/1oz margarine or butter
    • 175ml/6fl oz cold water
    • 1 free-range egg, beaten with a little salt (for glazing)
  • For the filling
    • 350g/12oz good-quality beef skirt, rump steak or braising steak
    • 350g/12oz waxy potatoes
    • 200g/7oz swede
    • 175g/6oz onions
    • salt and freshly ground black pepper
    • knob of butter or margarine

Edited - test

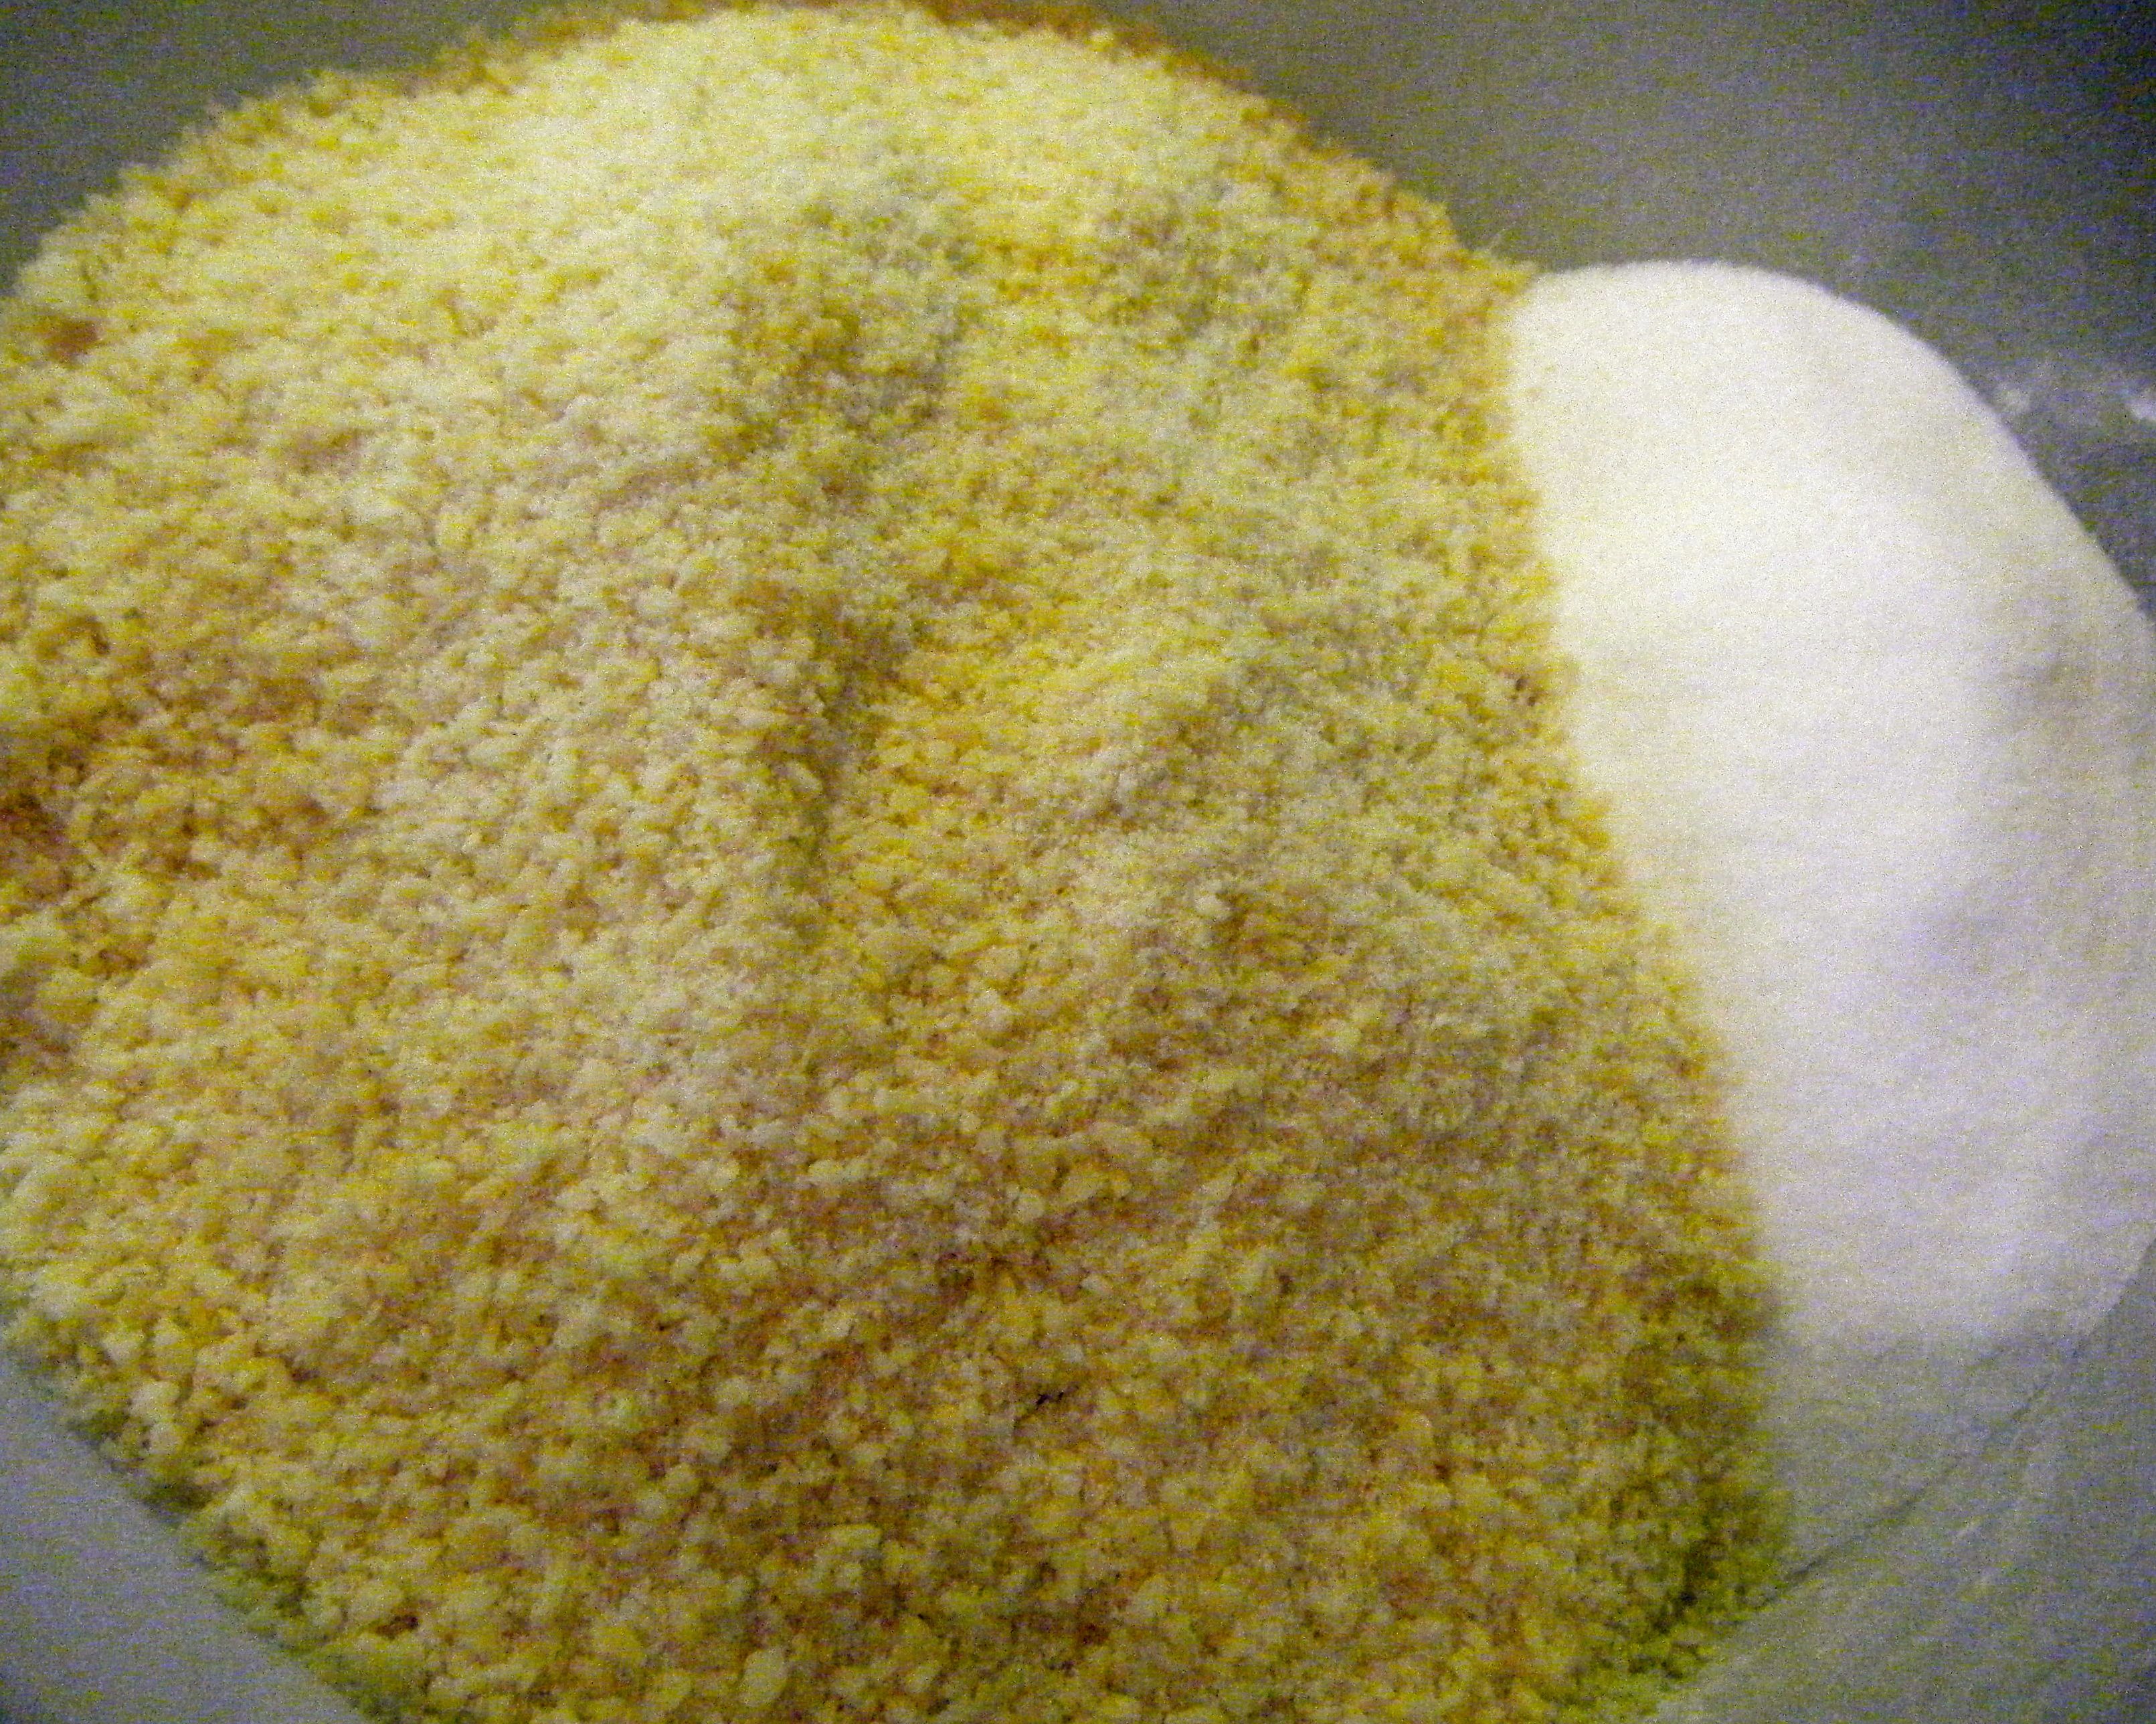
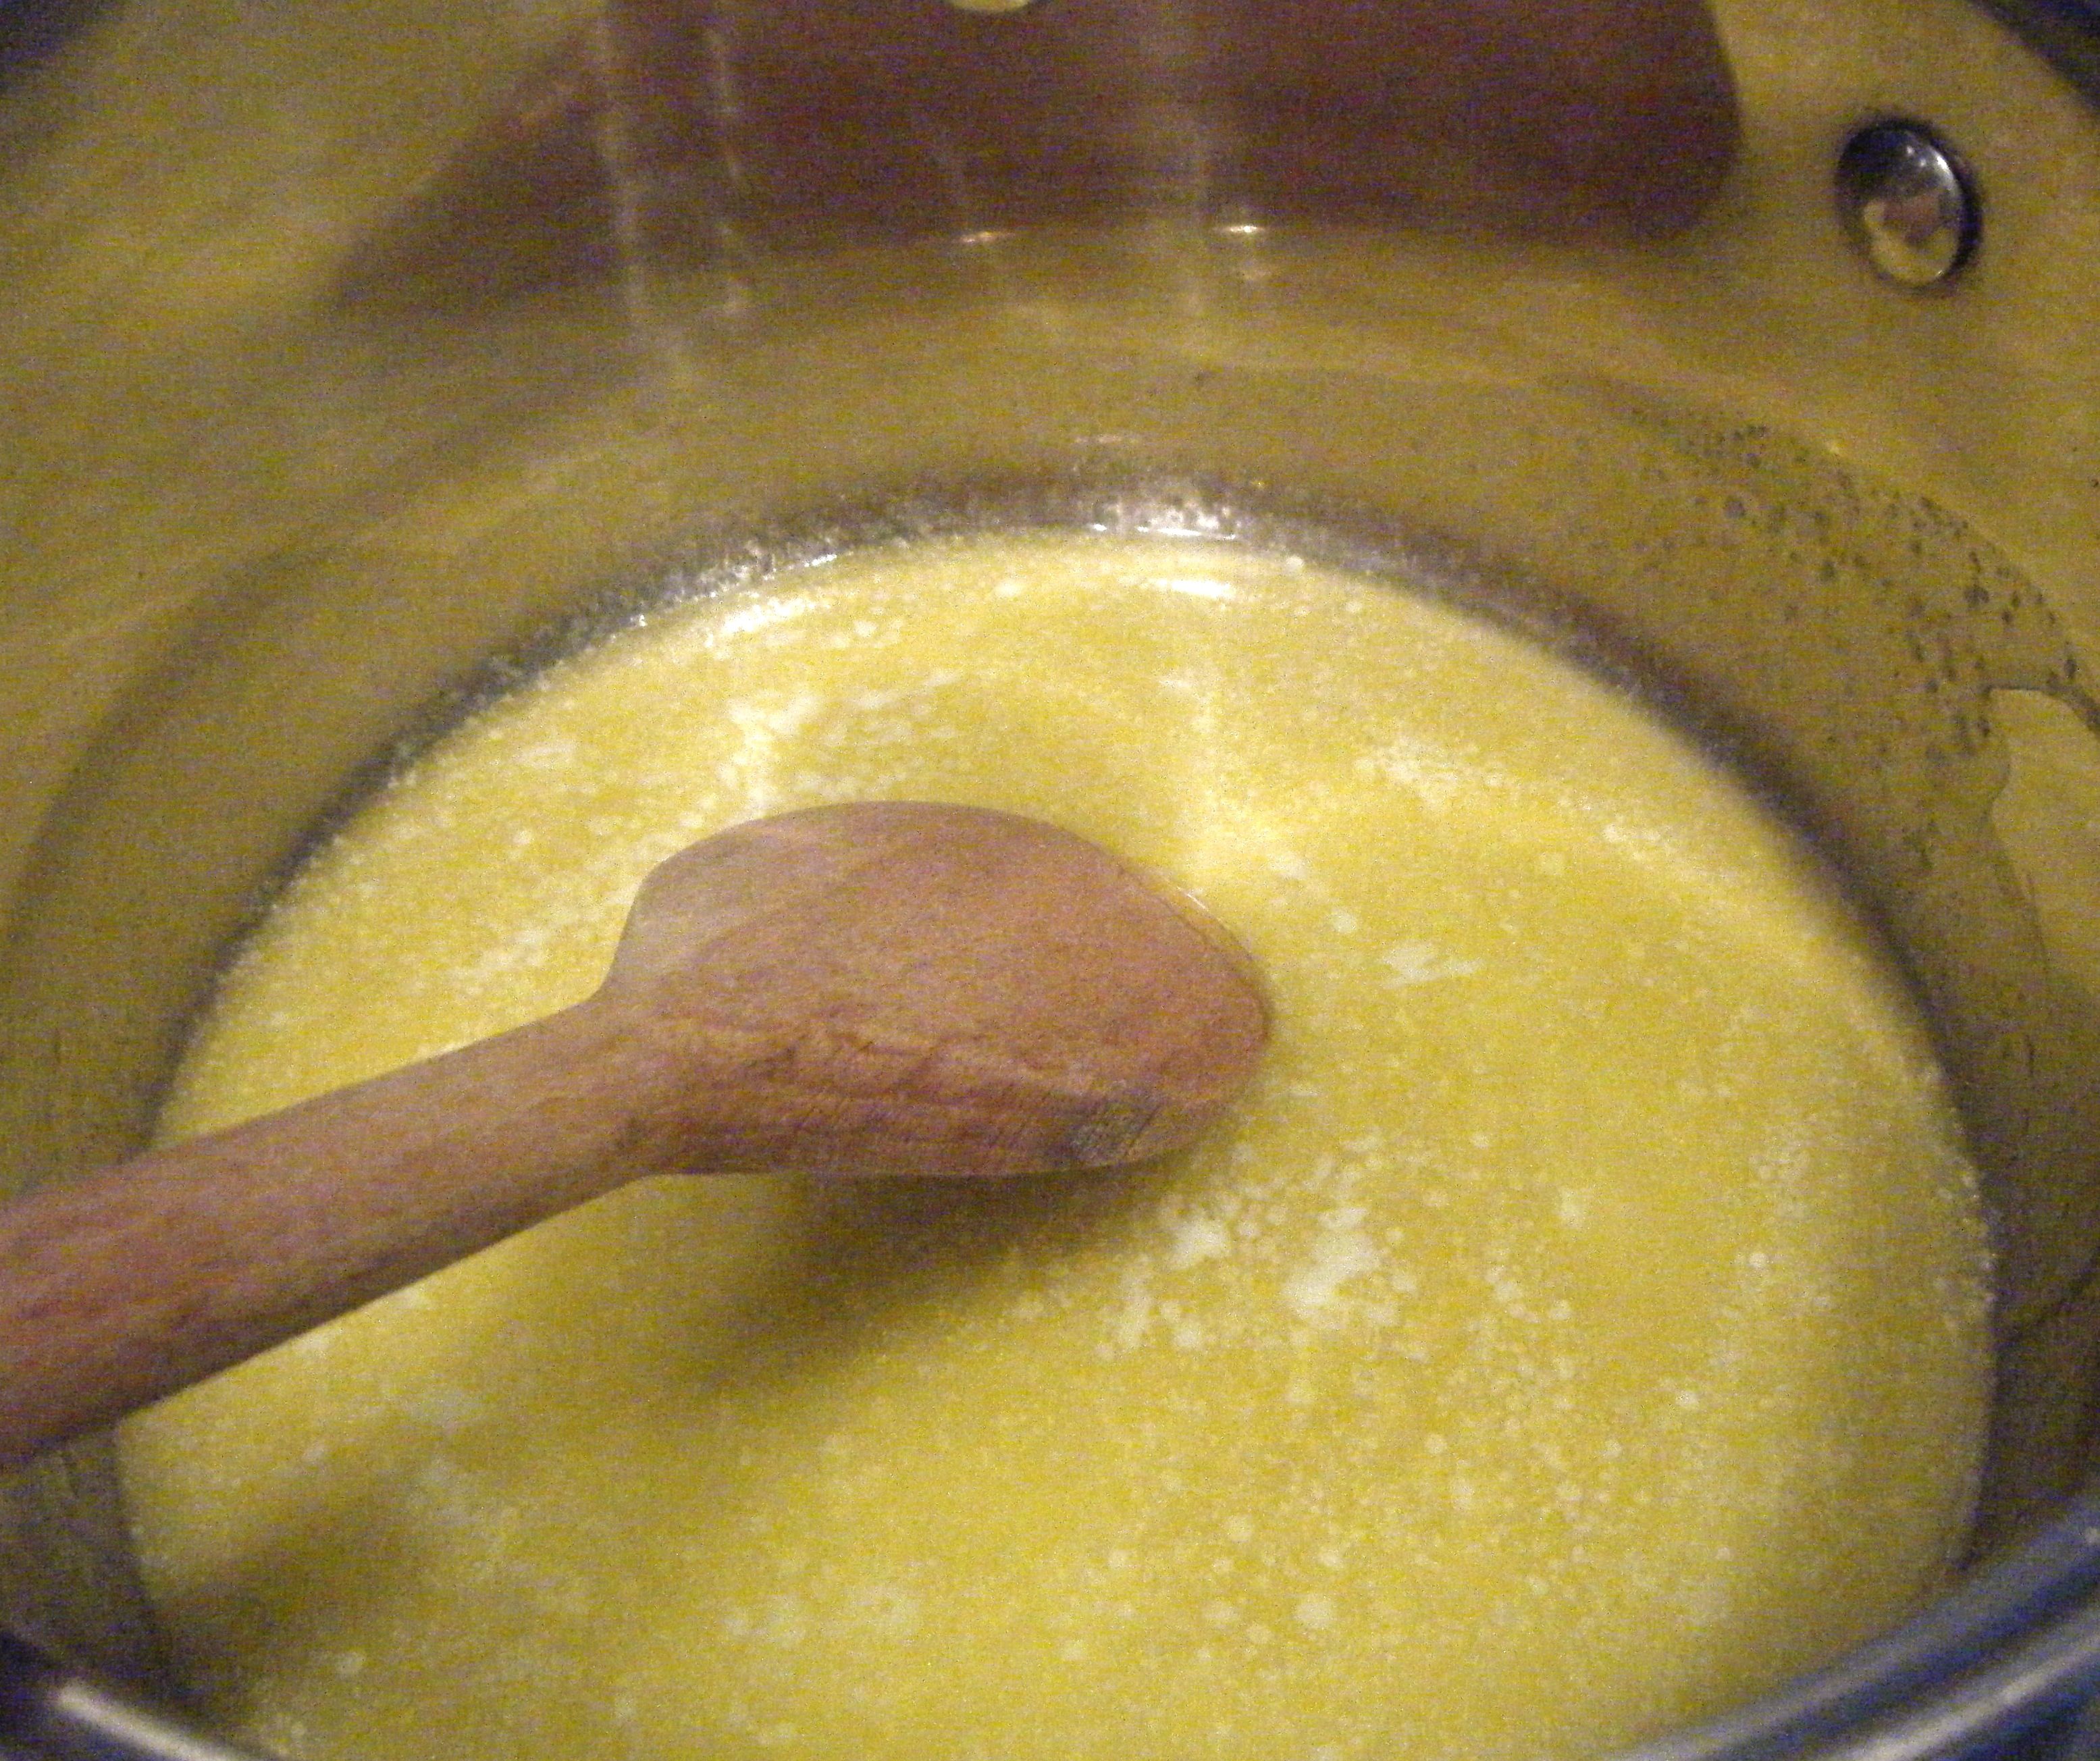
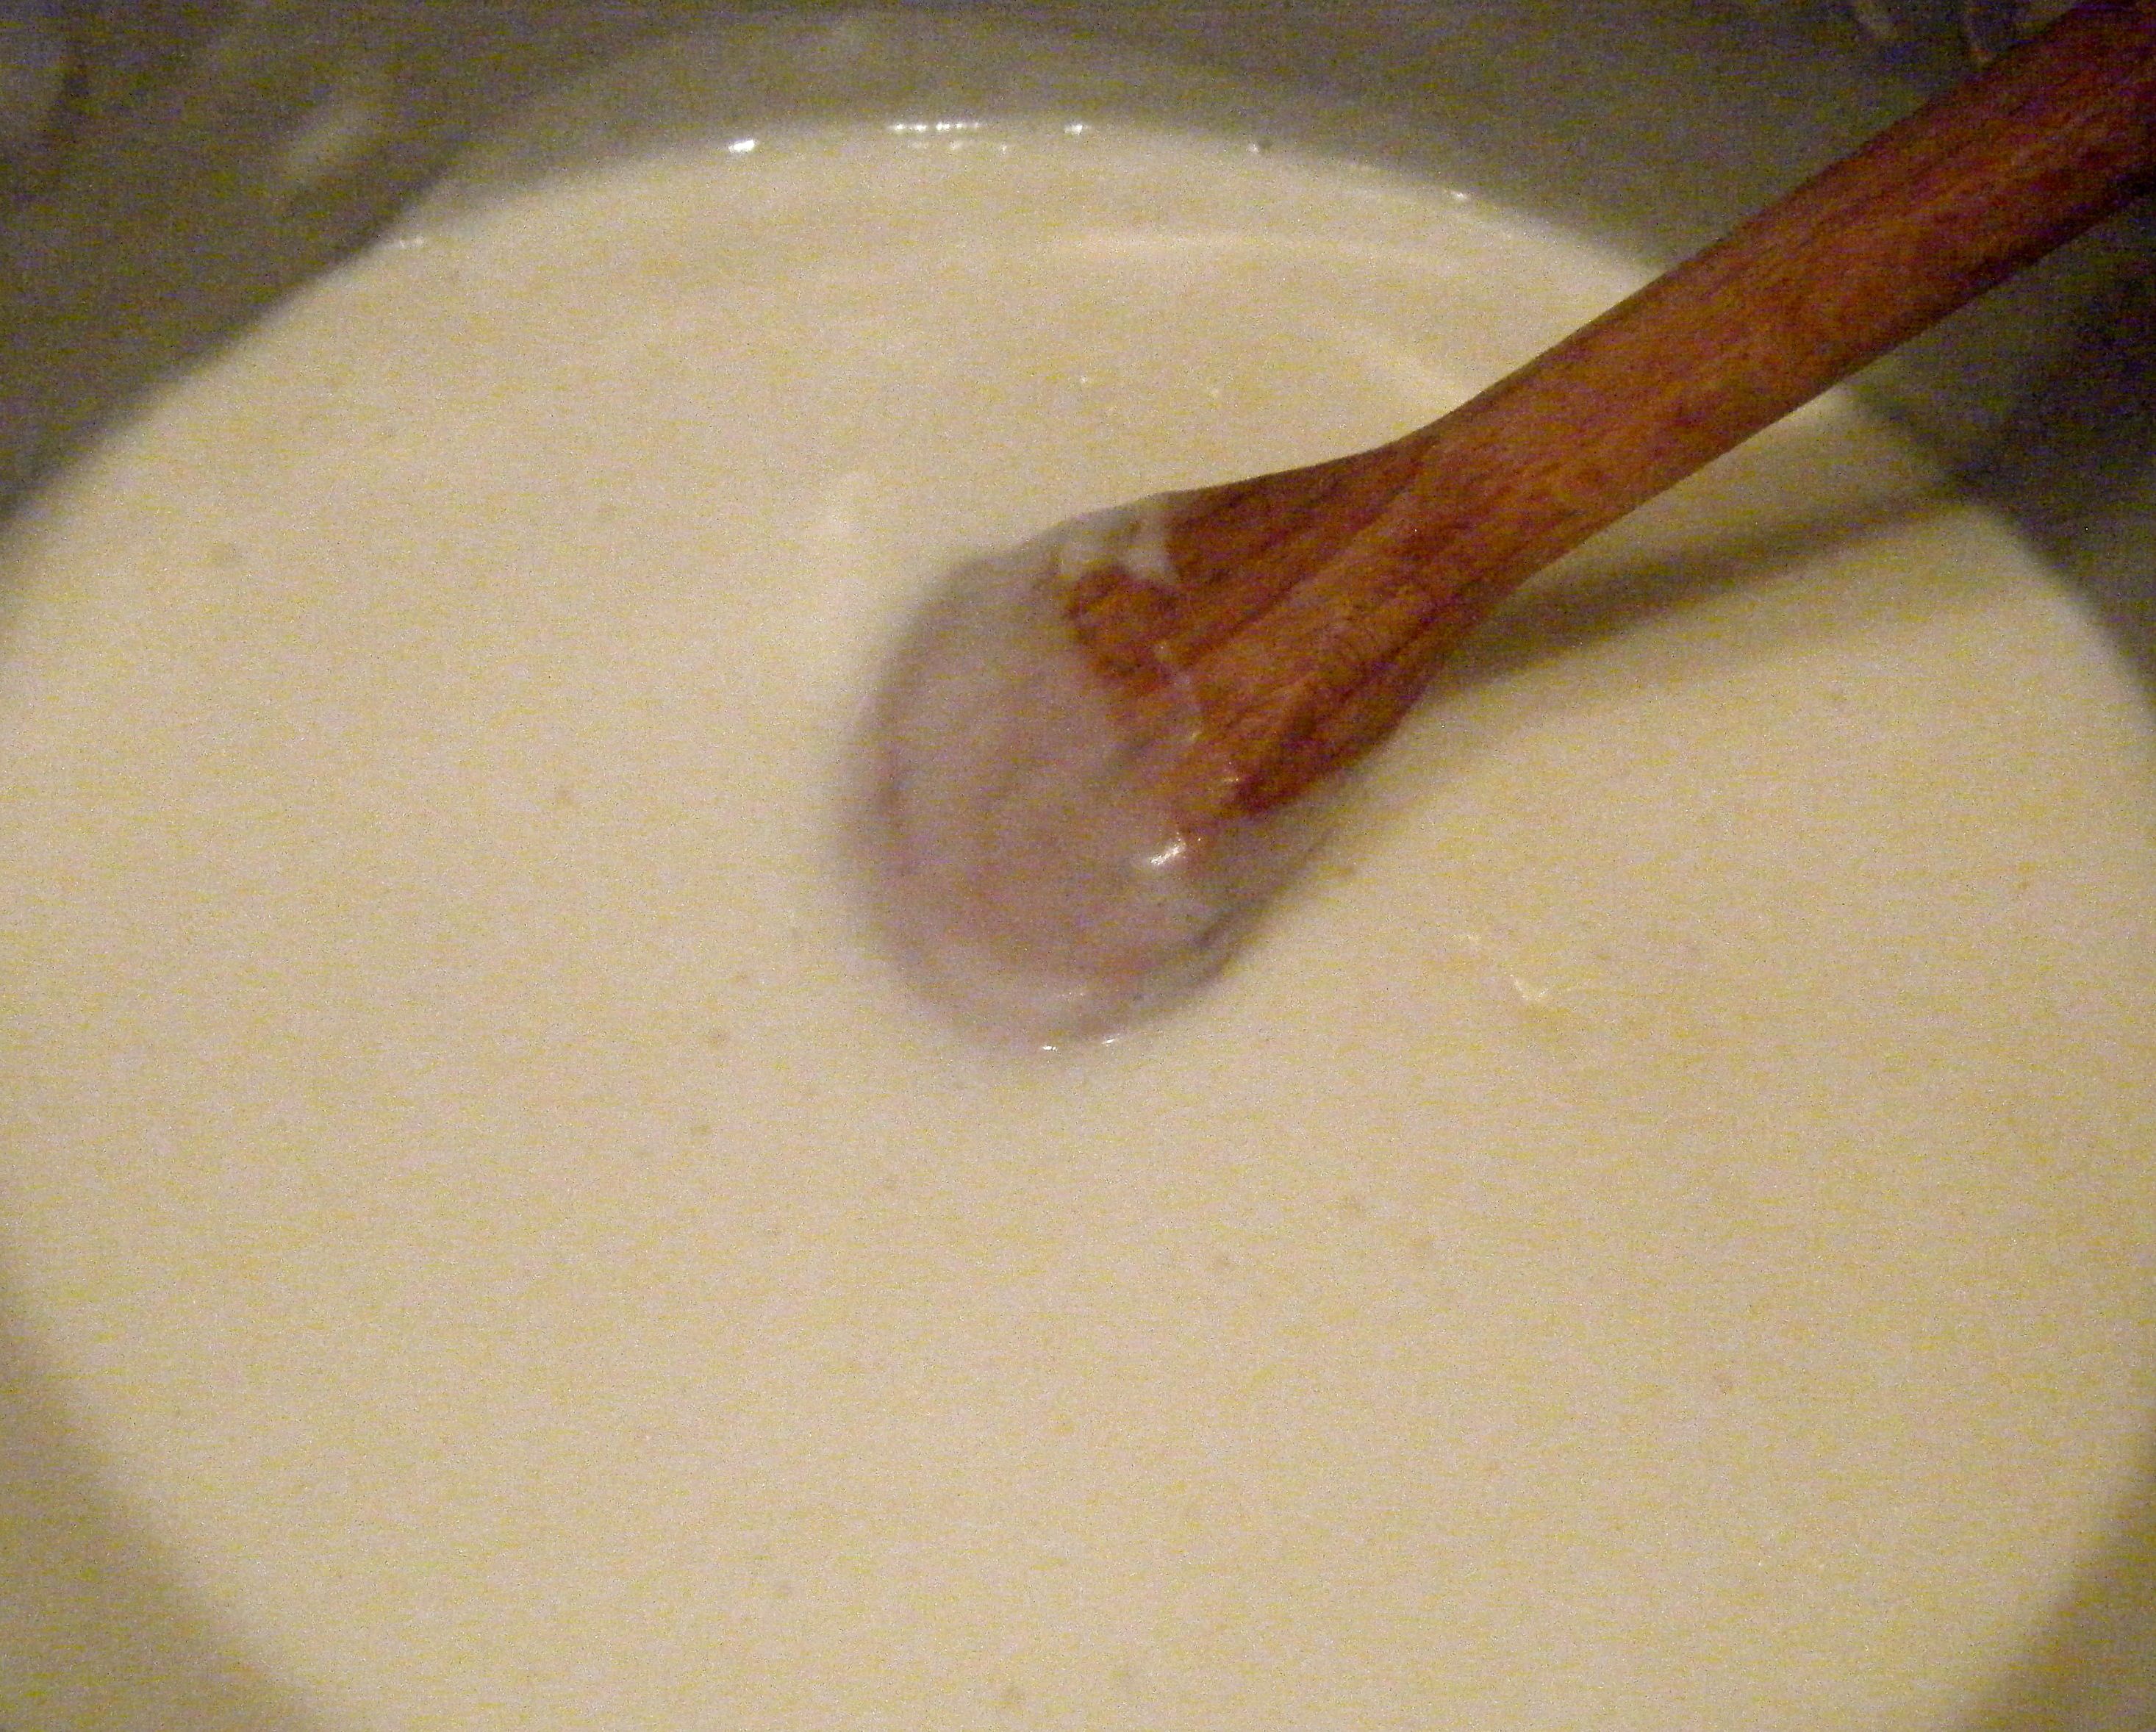
I started by putting all the pastry ingredients (except the egg) into my bowl and used a wooden spoon to combine the ingredients.  I then used my hands to crush everything together to form a dough.  It didn’t really form into a ball very well (it was so dry) but I tipped it out onto the worktop and started kneading to bring it together properly. 

Edited - dry ingredients

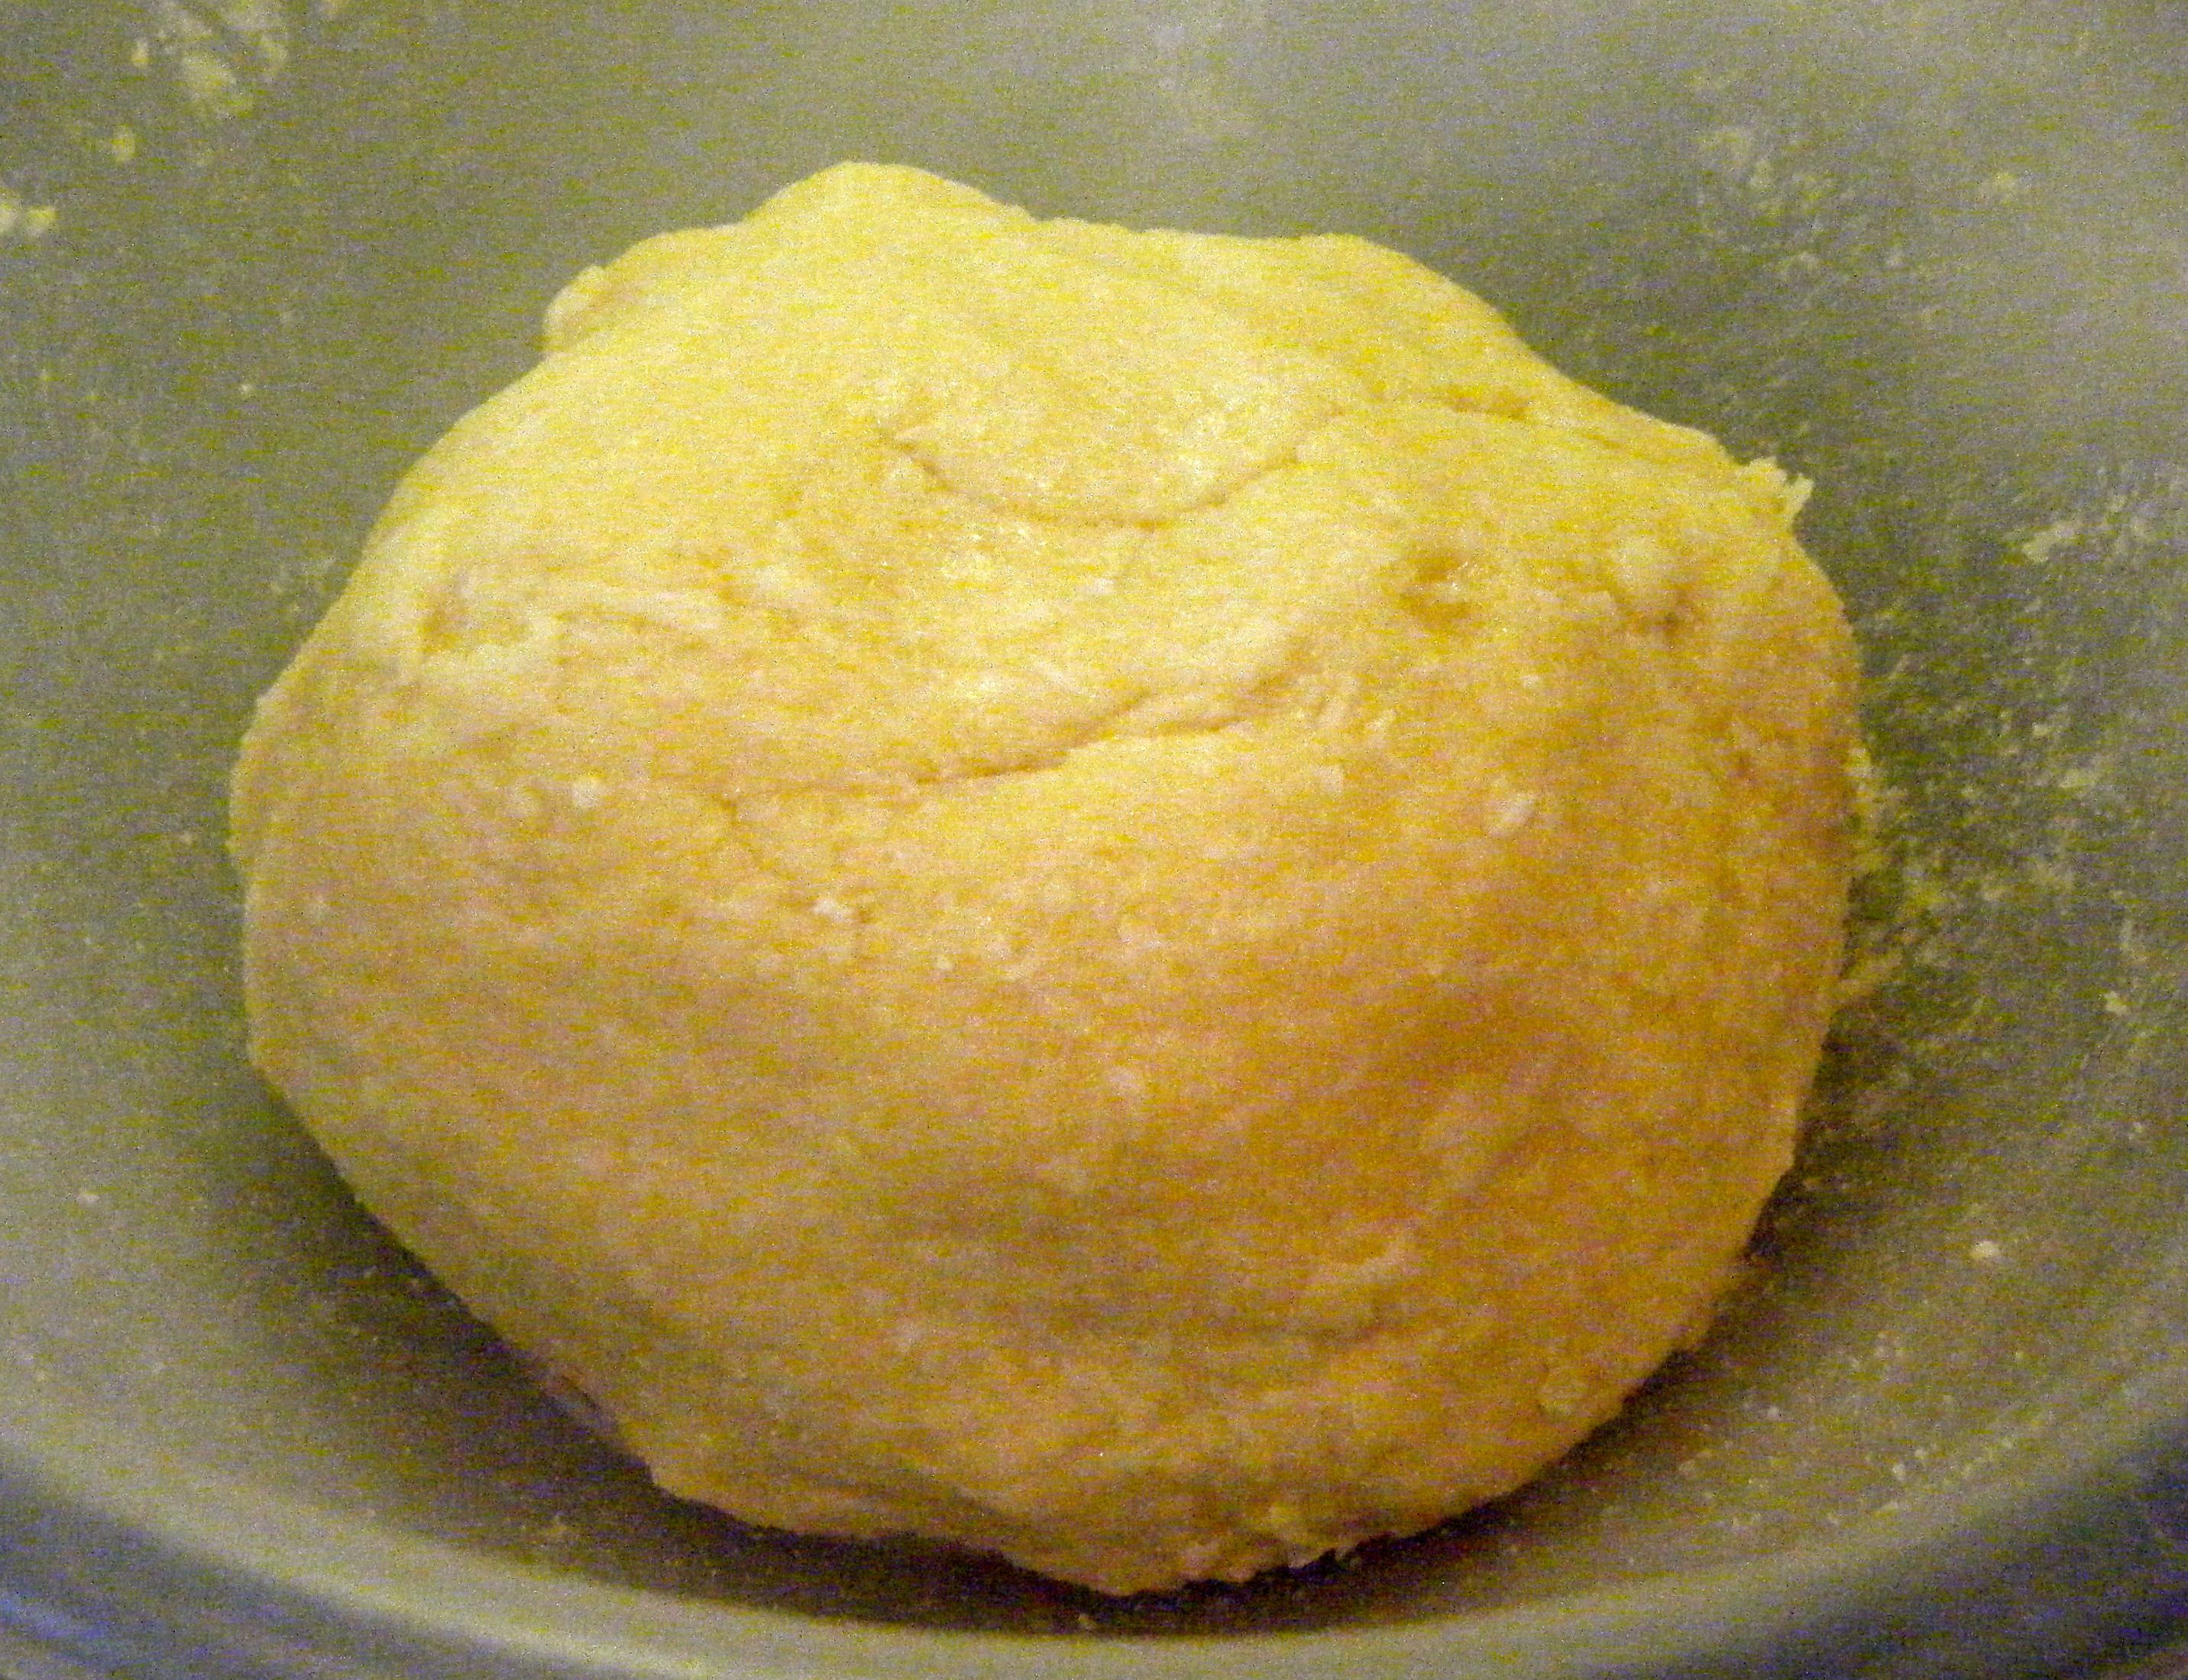
Oh my gosh, this was such hard work! I watched the video included on the recipe link and Paul Hollywood makes it look so easy.  I however was literally have to put my full body weight into the kneading and it was a real work out.  Dave even had a little go but he didn’t quite get the technique right and was just kind of squashing the dough.  Anyway, after I took over again and gave the dough a last few bits of vigorous kneading, I had my smooth and glossy ball. 

Edited- dough ball

Practical tip: develop your own method of kneading.  This may sound silly but when I first starting making bread, I tried to replicate other people’s kneading styles.  Unfortunately, I have bad joints, particularly bad in my hands and I found it painful to use some of the methods I’d seen on TV.  Instead I found I rolled and stretched the dough between my two hands, using more of the heel of my hand than my fingers.  It takes a little longer for me to knead like this but I always get there in the end and it is less painful 🙂 So find a method that works for you and just go with that.

With the kneading done, I wrapped the dough in cling film and popped it into the fridge for 60 minutes. 

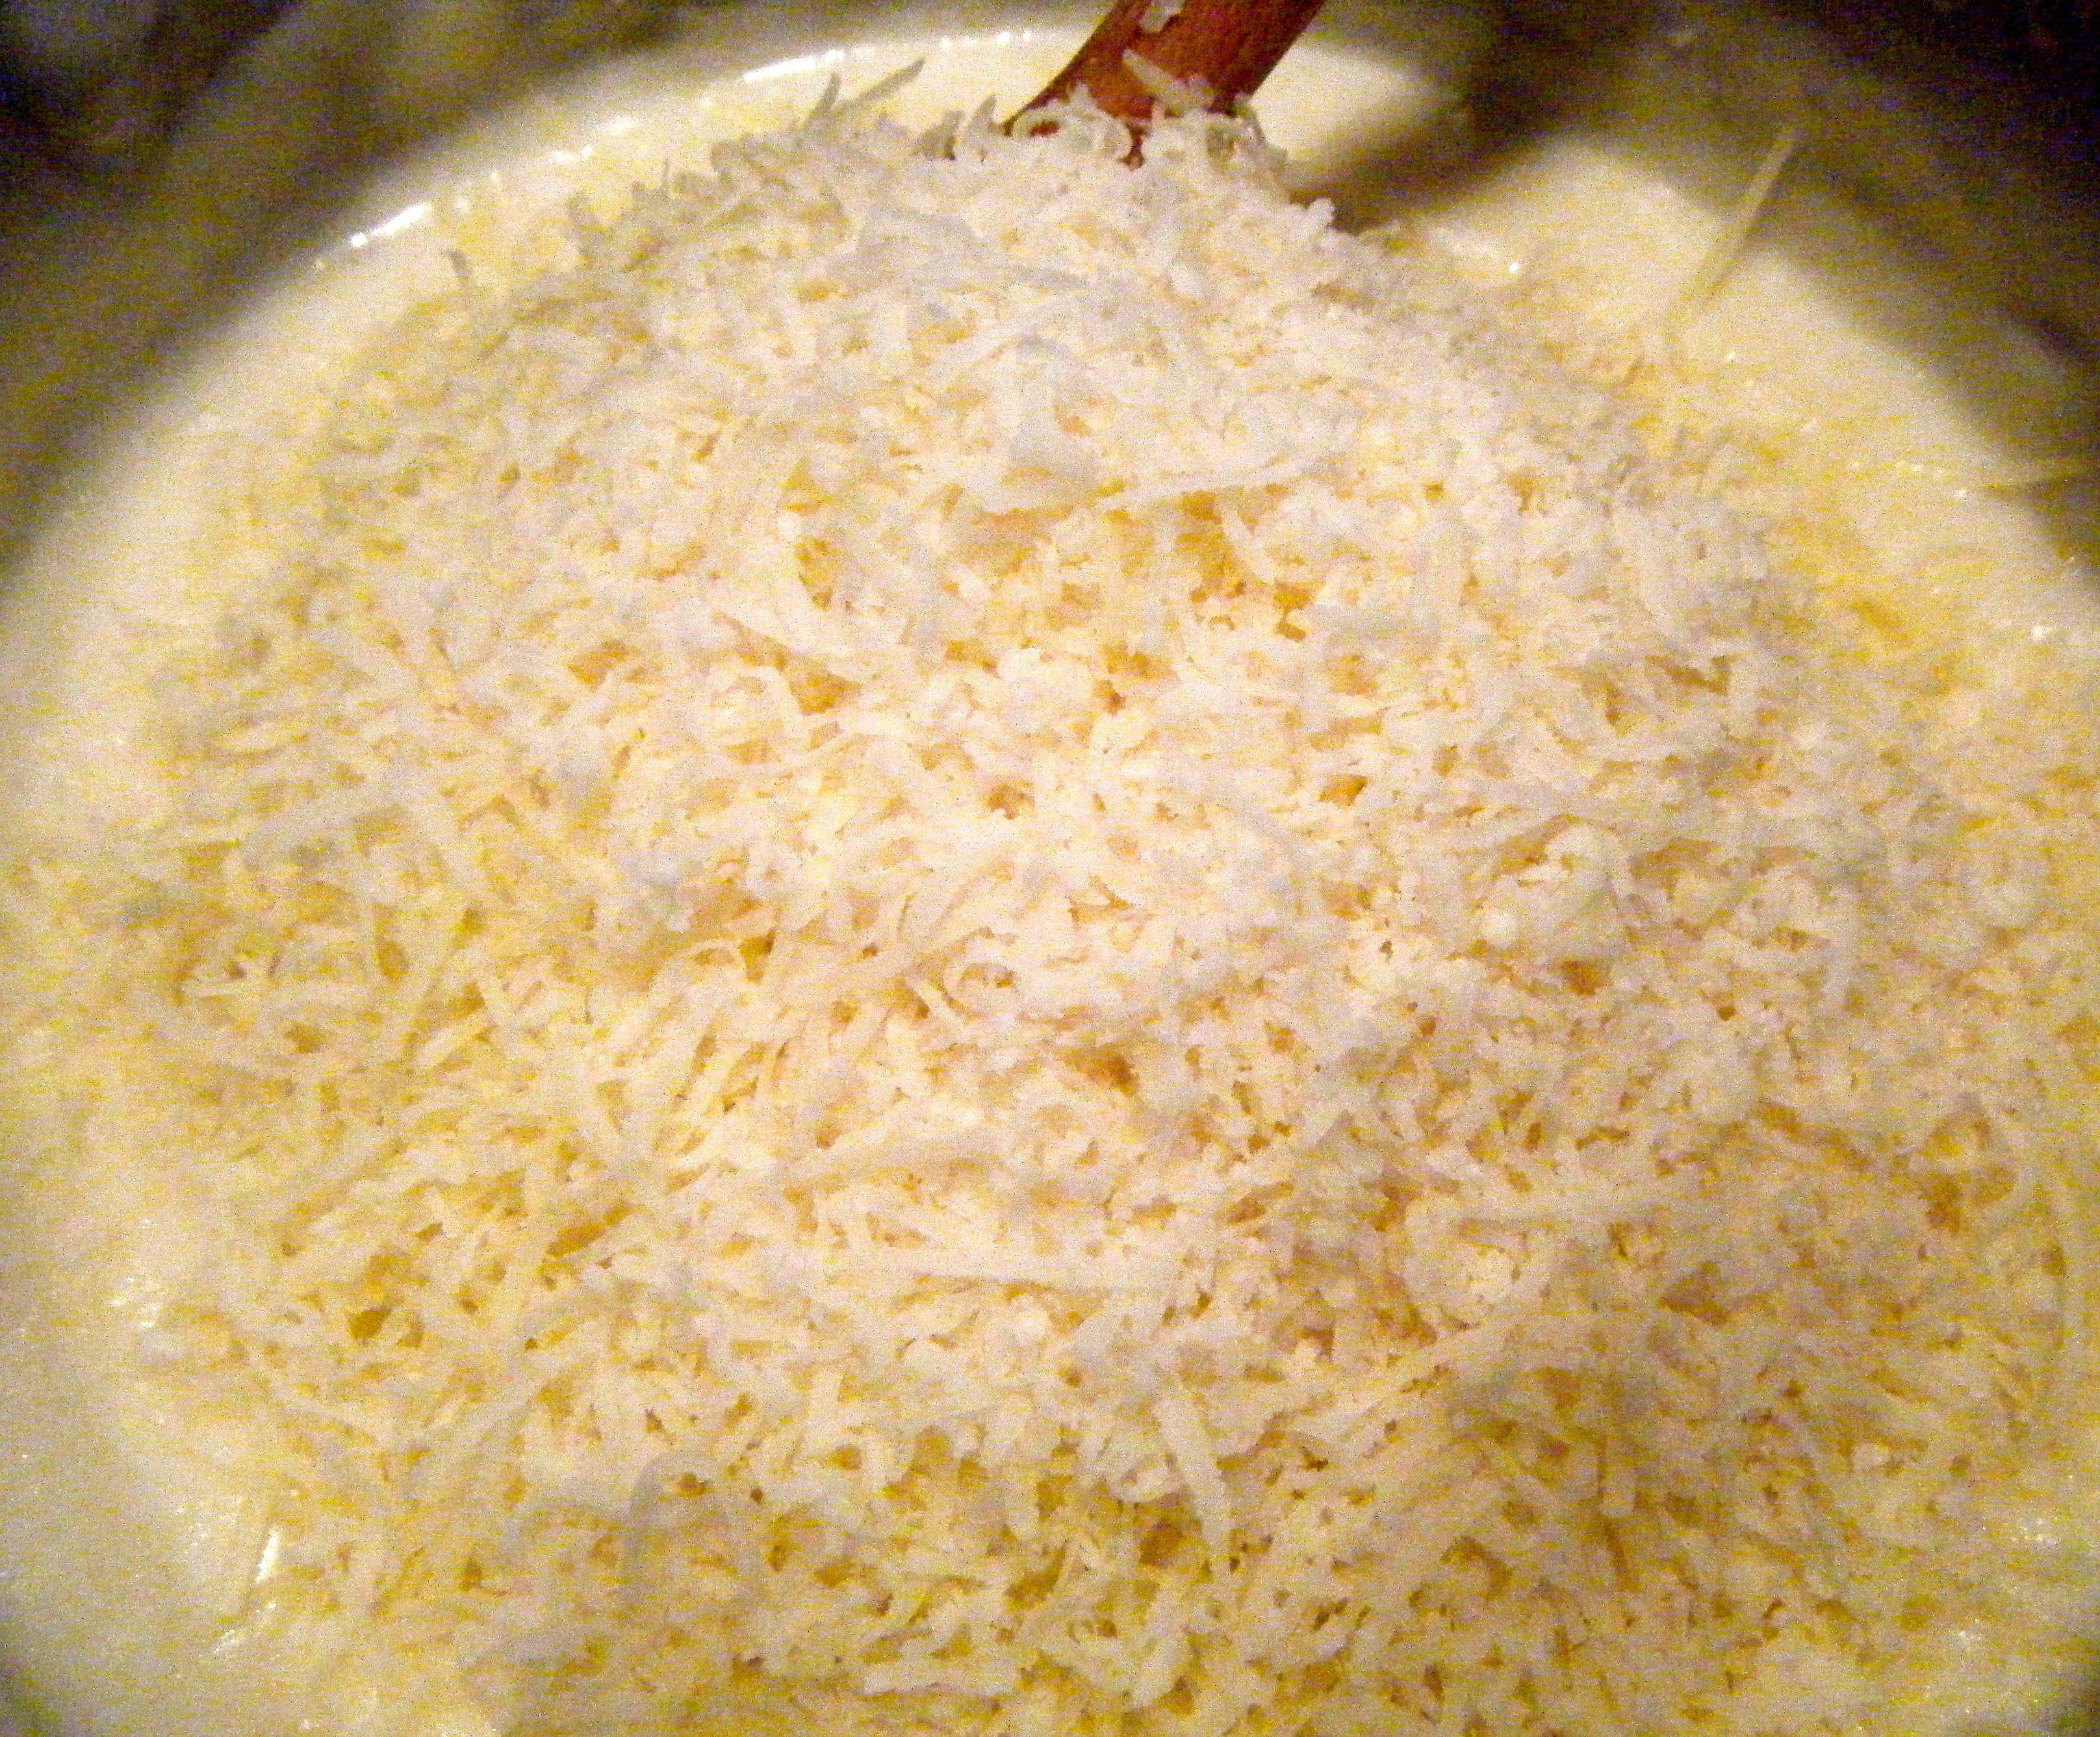
I then got started on the filling ingredients. I chopped the potato, swede and onion into what I thought were reasonable sized cubes.  I knew Dave was going to be a bit funny about eating this dish (he likes Cornish pasties but he hates chunky vegetables) and to try and keep him happy, I asked him to ‘approve’ the size on my cubed vegetables. He said they looked too big and was concerned they wouldn’t cook properly.  I re-read the recipe and sure enough, I’d cut them to about double the size suggested.  So I re-chopped to make them smaller.

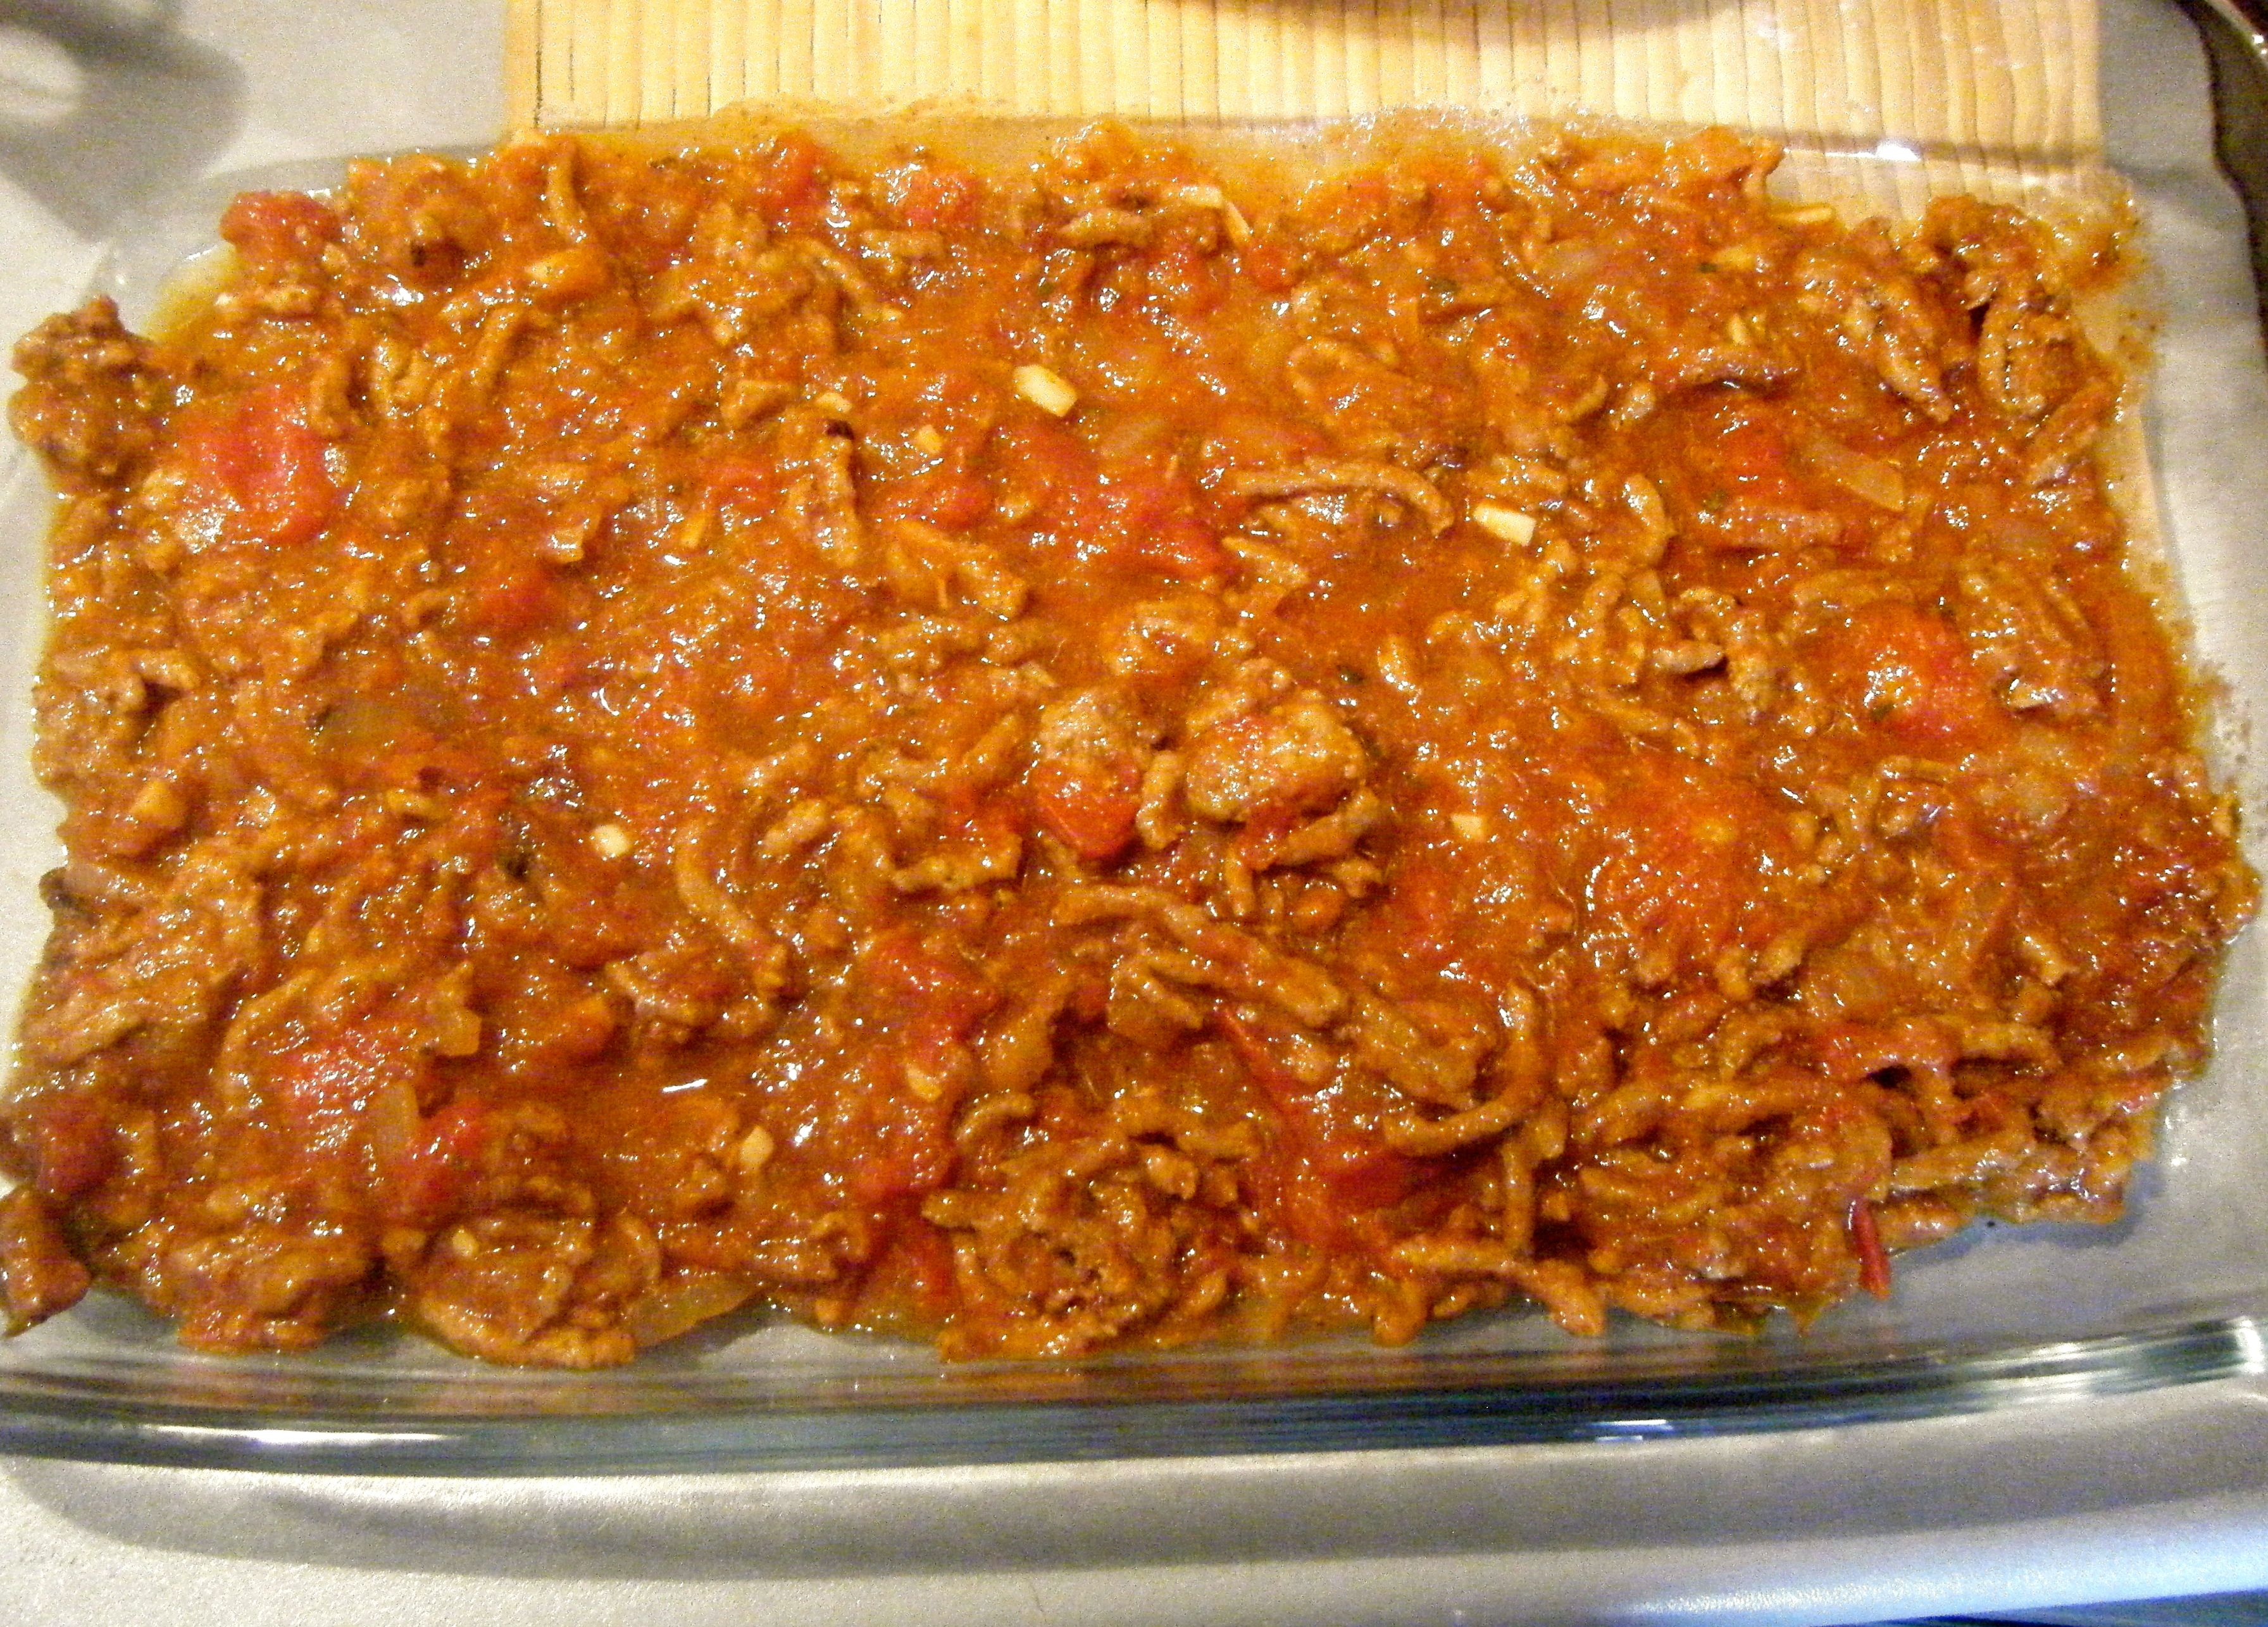
I cut my braising steak to similar size cubes and put all the ingredients into a bowl, mixed and seasoned with salt and pepper. 

 Edited - vegEdited - beef

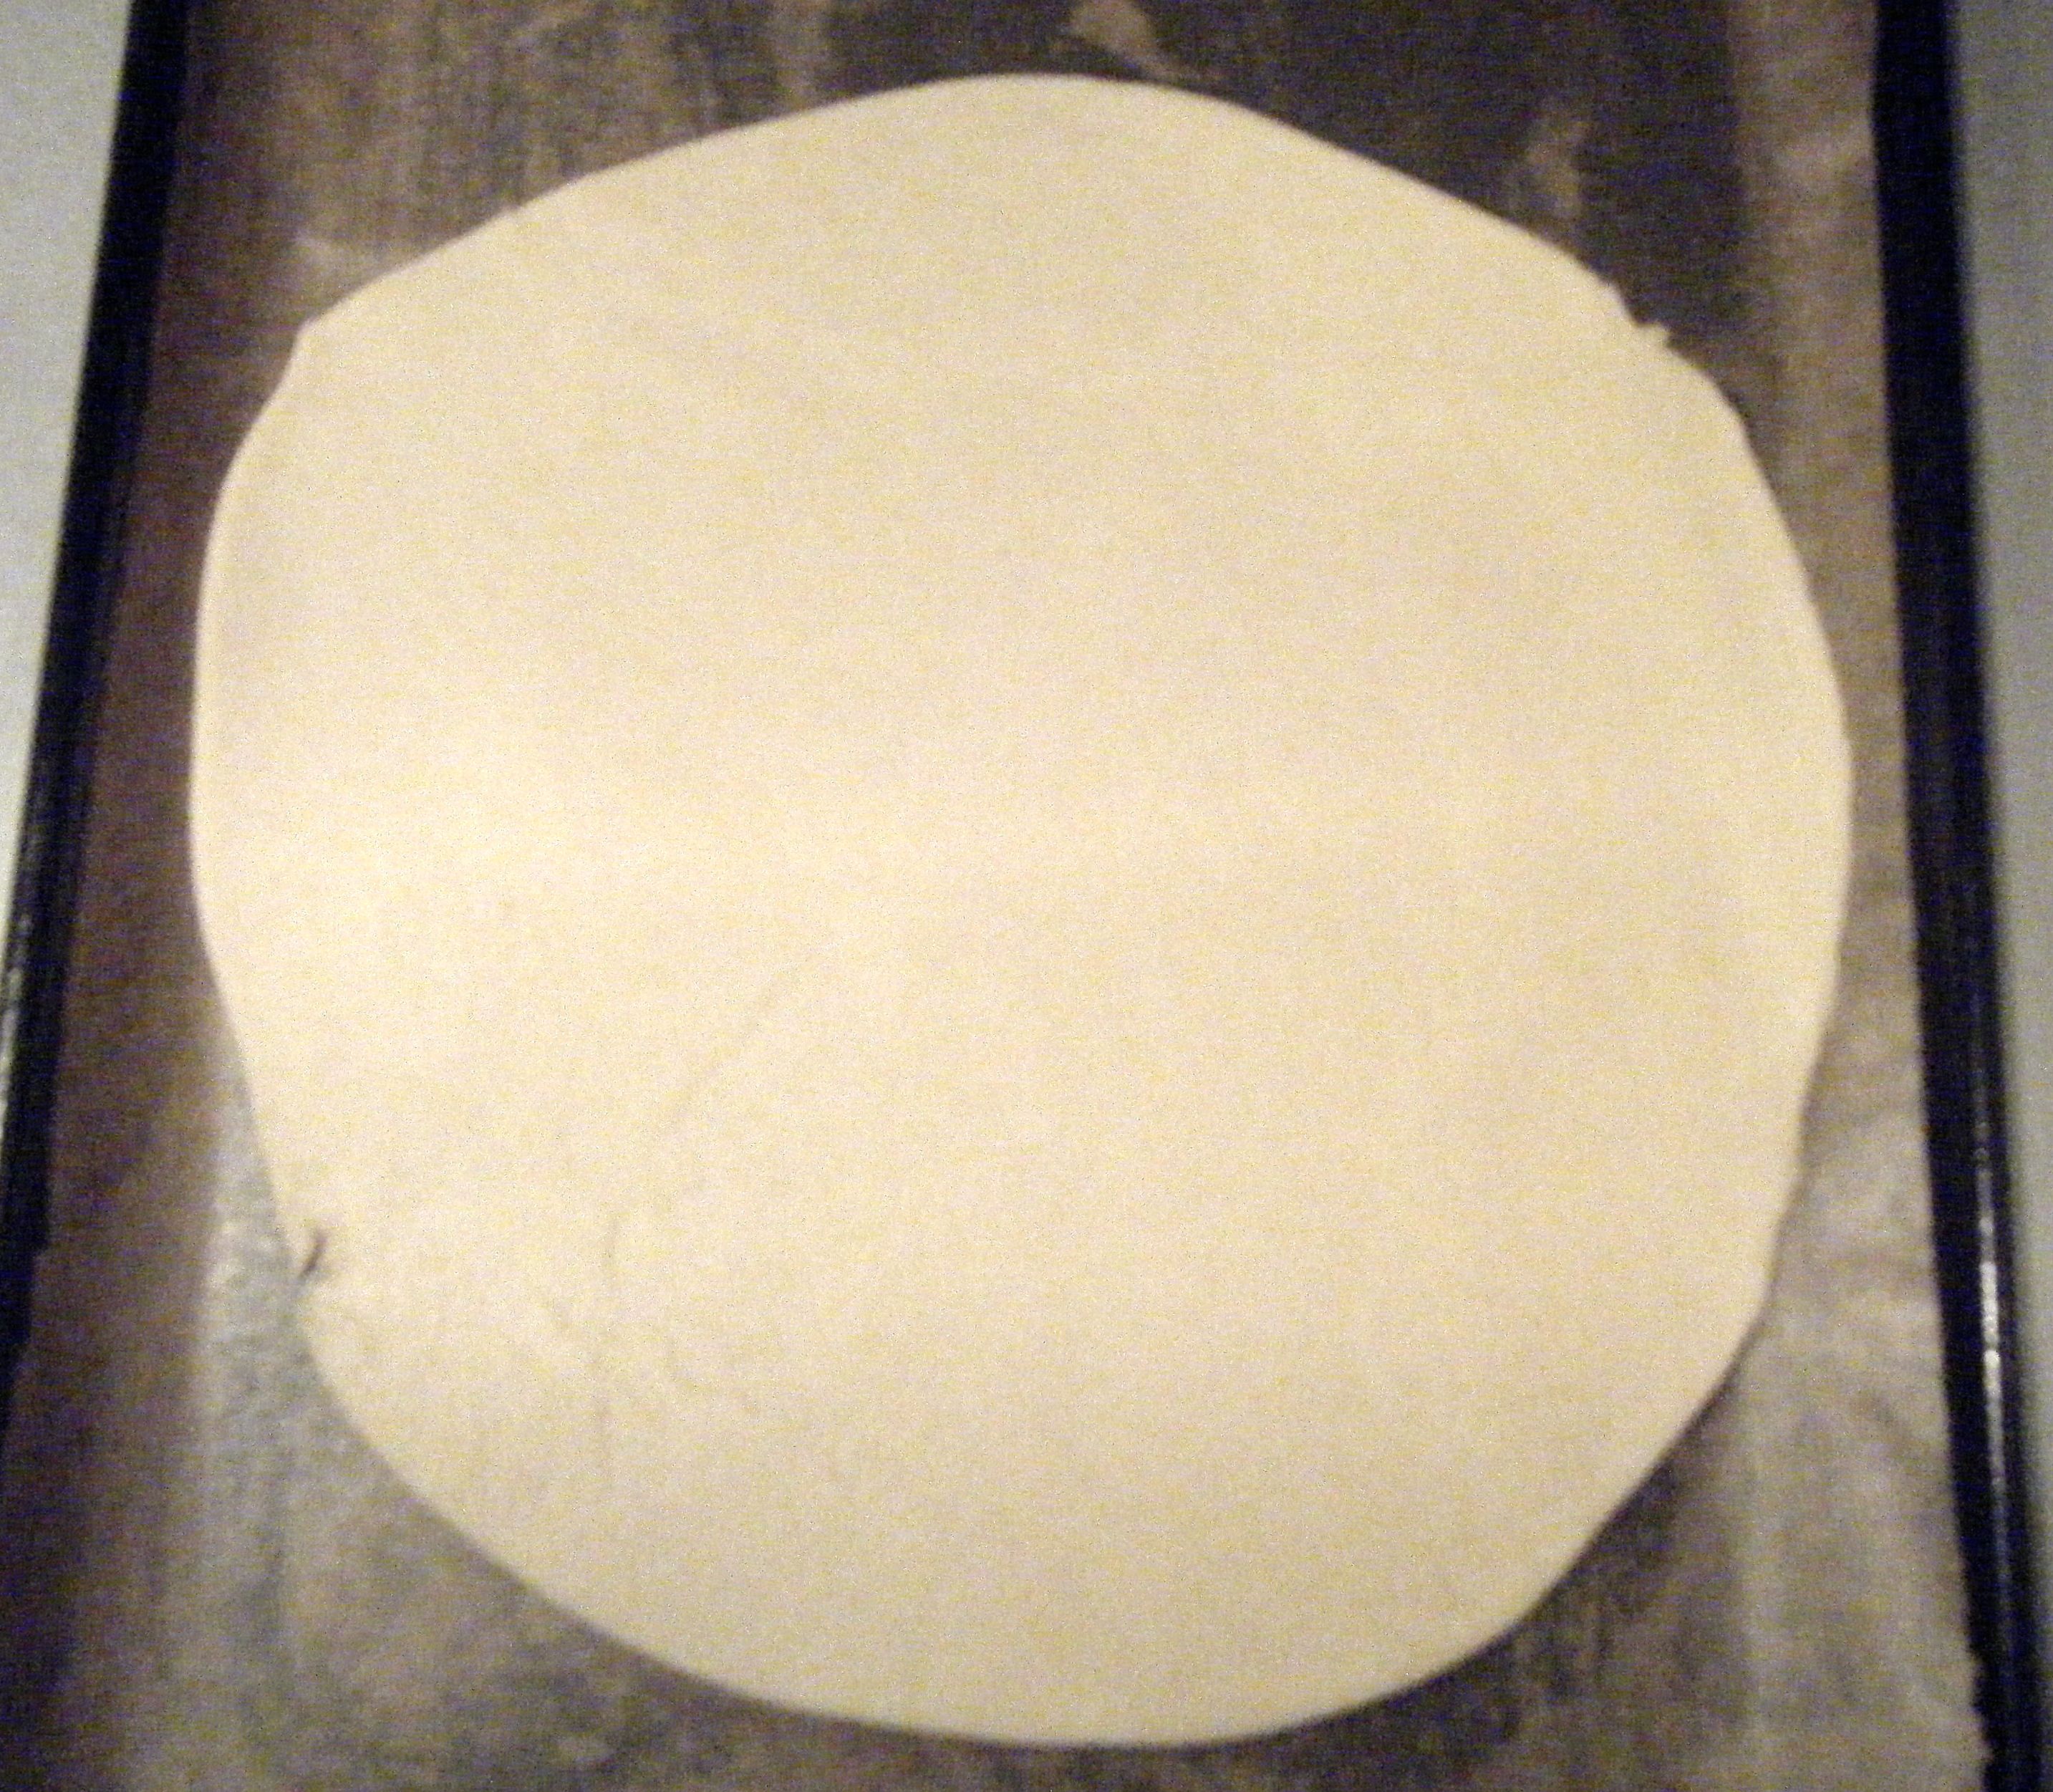
I divided my dough into 4 pieces and took the first piece to roll into a disc of approximately 25 cm.

Practical tip: in case you missed Challenge No. 11, when rolling out pastry (or fondant, or pretty much anything you want to roll), always roll from the middle up and middle down.  If you roll from top to bottom you’ll end up with a really fat bottom, whereas rolling from the middle helps to keep an even thickness all the way through.

Edited - rolled out

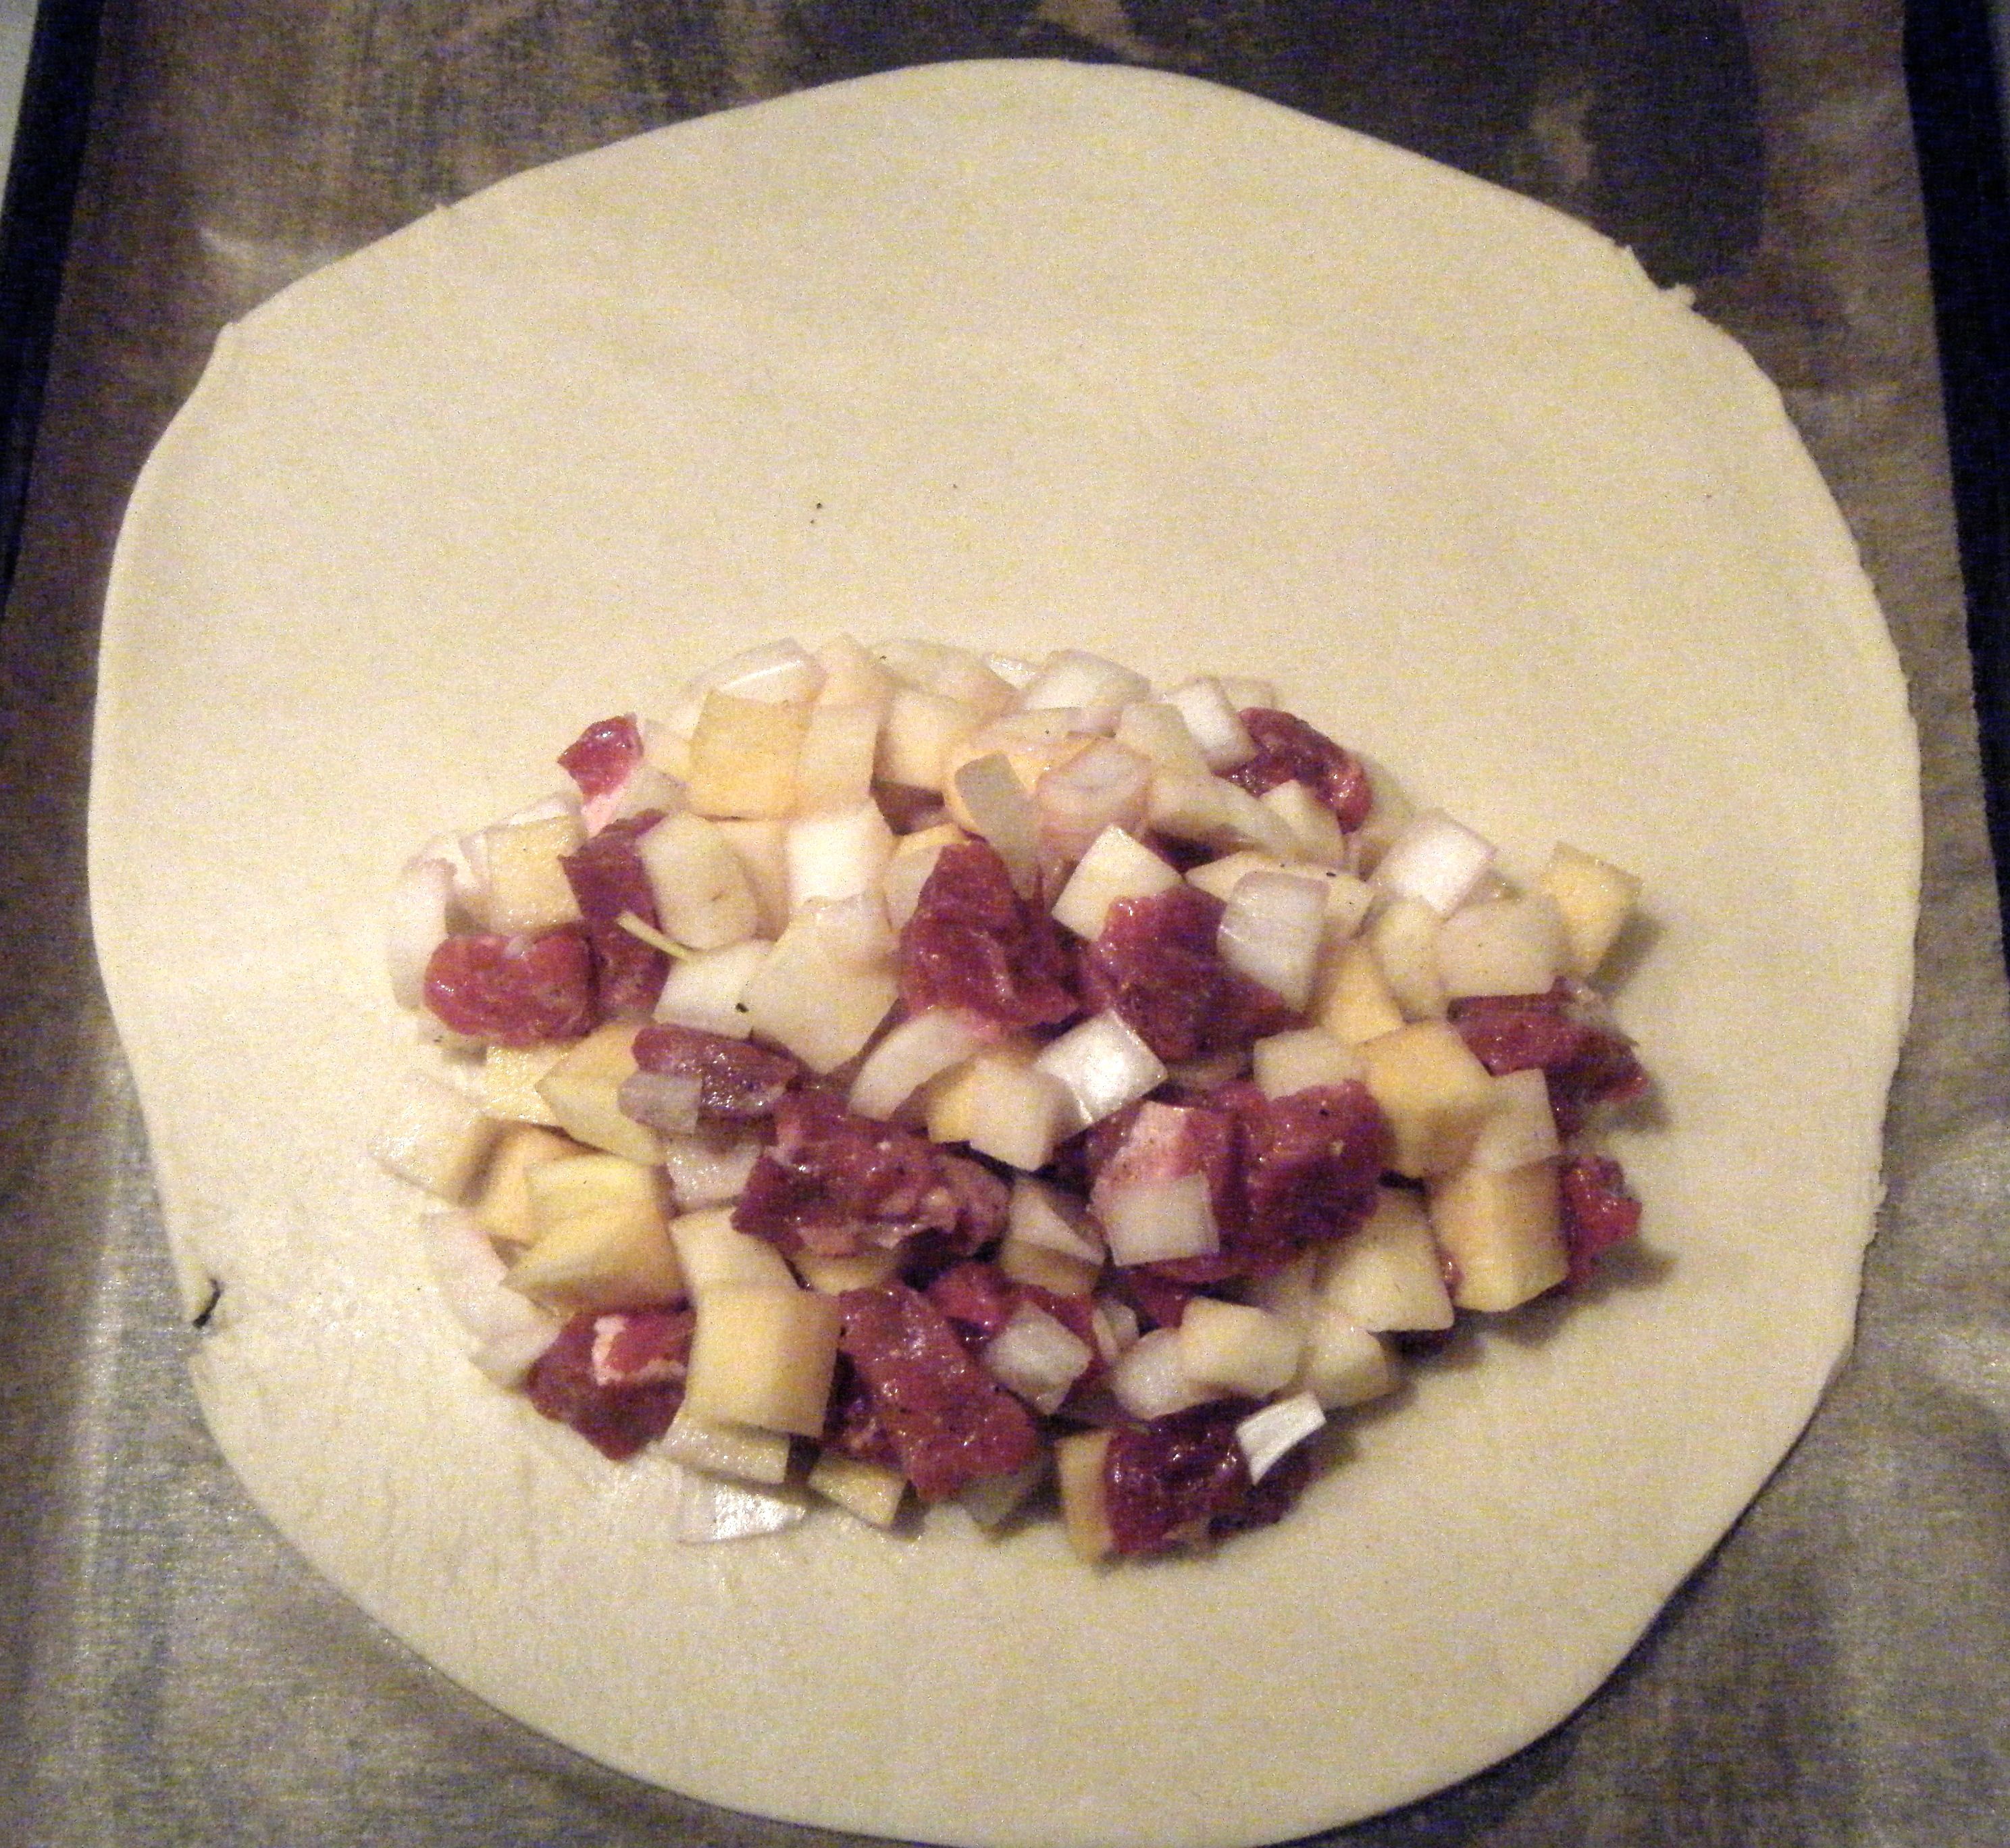
I then spooned a quarter of the seasoned mixture onto one half of my pastry circle.  The recipe says to add a knob of butter/margarine before folding over the pastry but I accidentally missed this bit.  Paul doesn’t add any butter/margarine in the video so I decided it wasn’t a problem that I missed this stage. 

Edited - filling

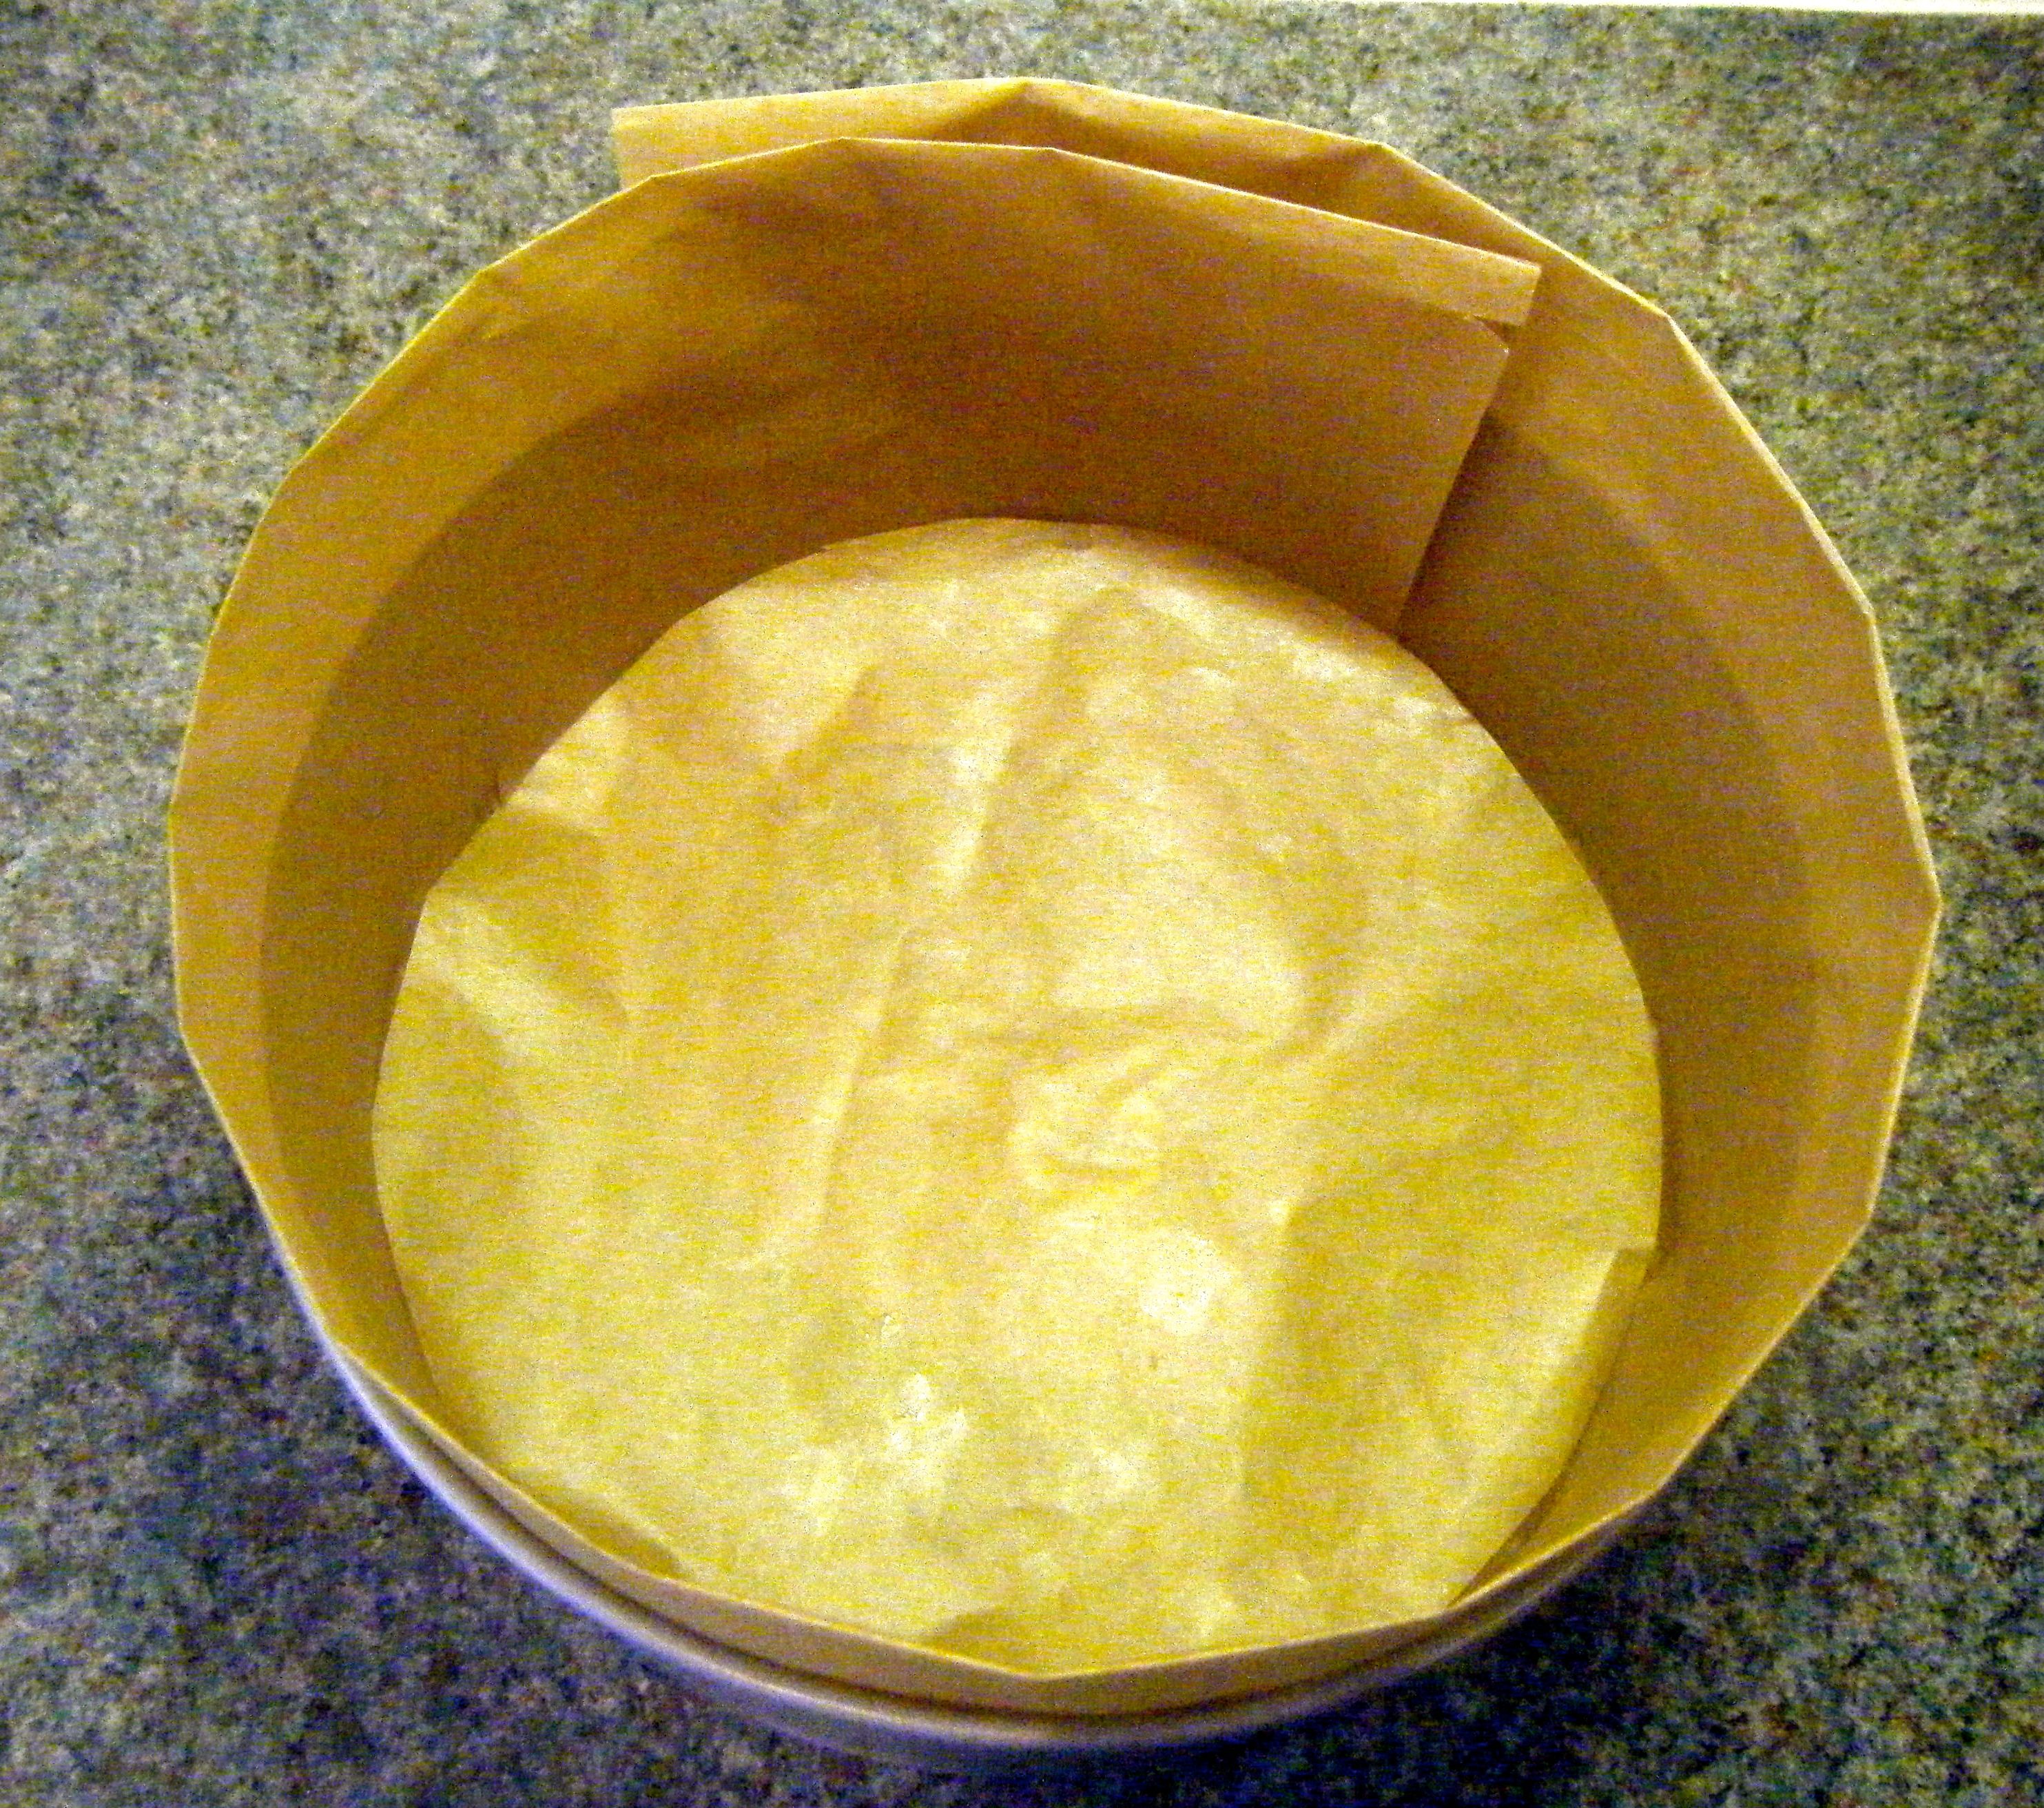
Next, I set about crimping; I used my fingers to make twists all the way along the round edge.  I put the pasty on my lined tin and made the remaining three pasties.  I put one more on the baking tray and then wrapped the remaining two in baking paper and cling film before putting them in the freezer for another day.  I’ve read mixed reviews about freezing cornish pasties before cooking them, so I’ll give a little update in the future to let you know if it worked 🙂

Edited - crimped

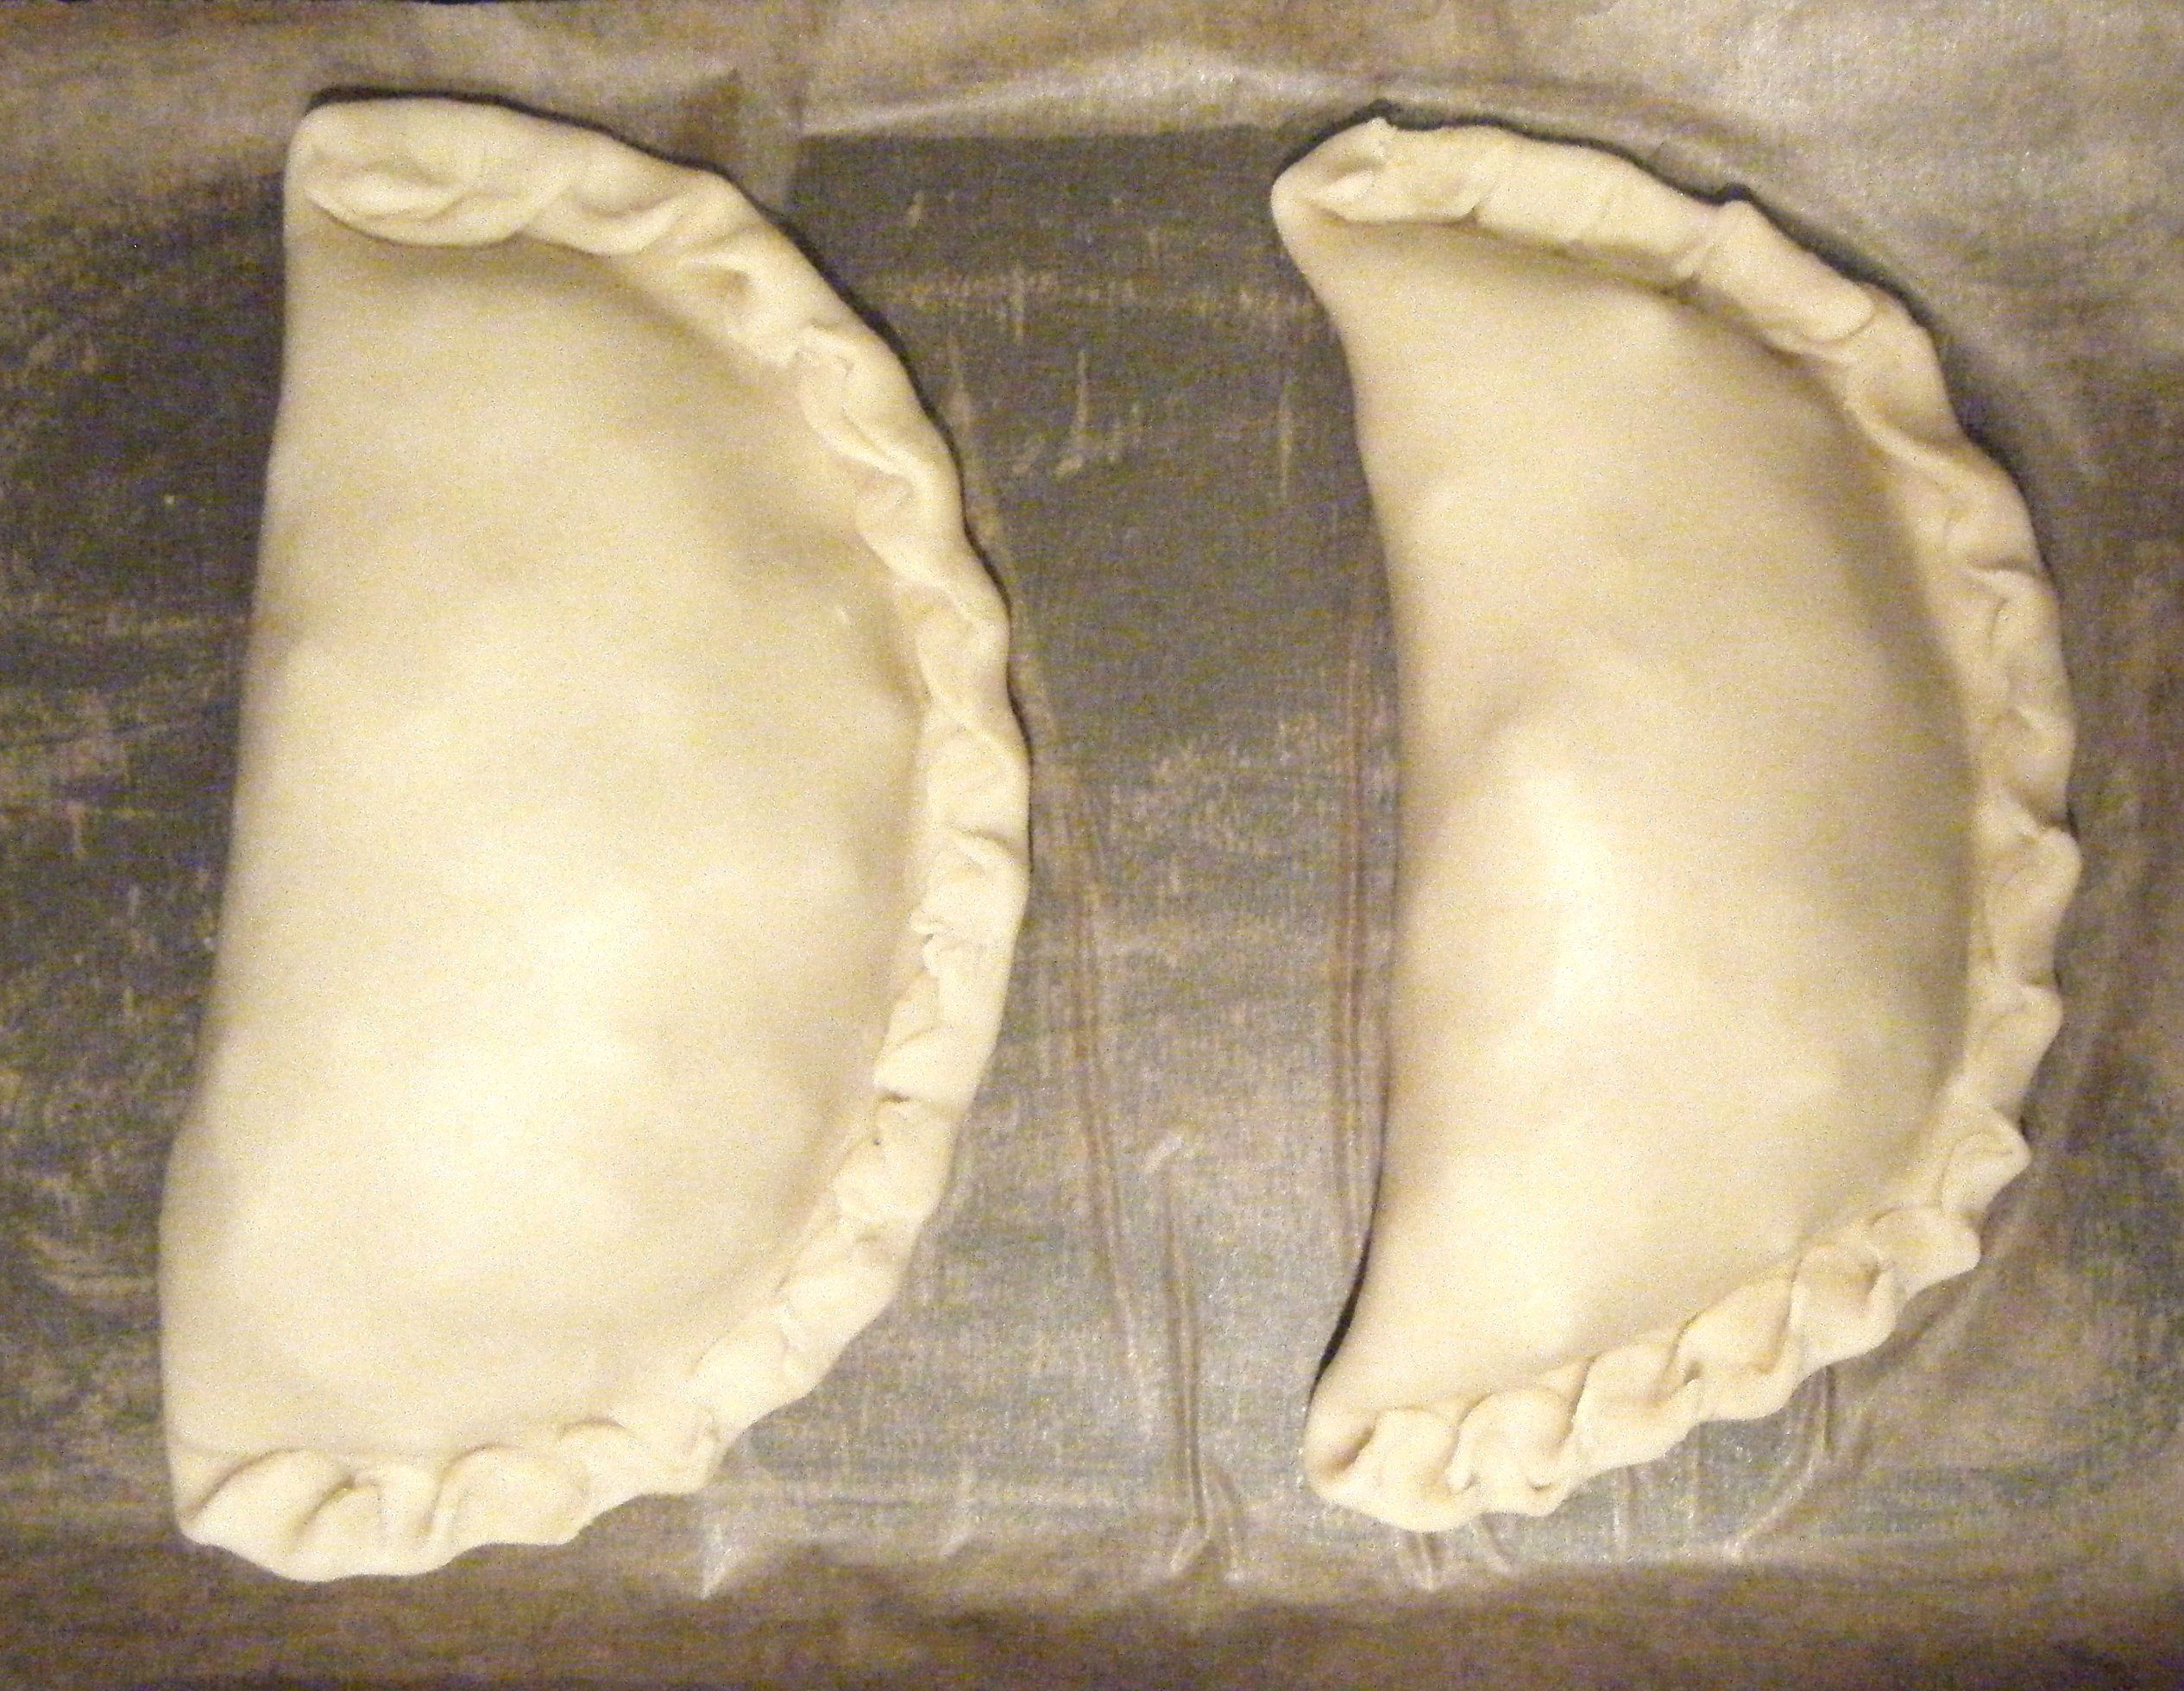
With two pasties in the freezer, I brushed the remaining two with the egg and salt mixture before putting them in the oven for 45 minutes.

When the timer went off, Dave and I tucked into these glorious looking little (okay huge!) parcels of goodness. 

Edited - golden brown Edited - centre

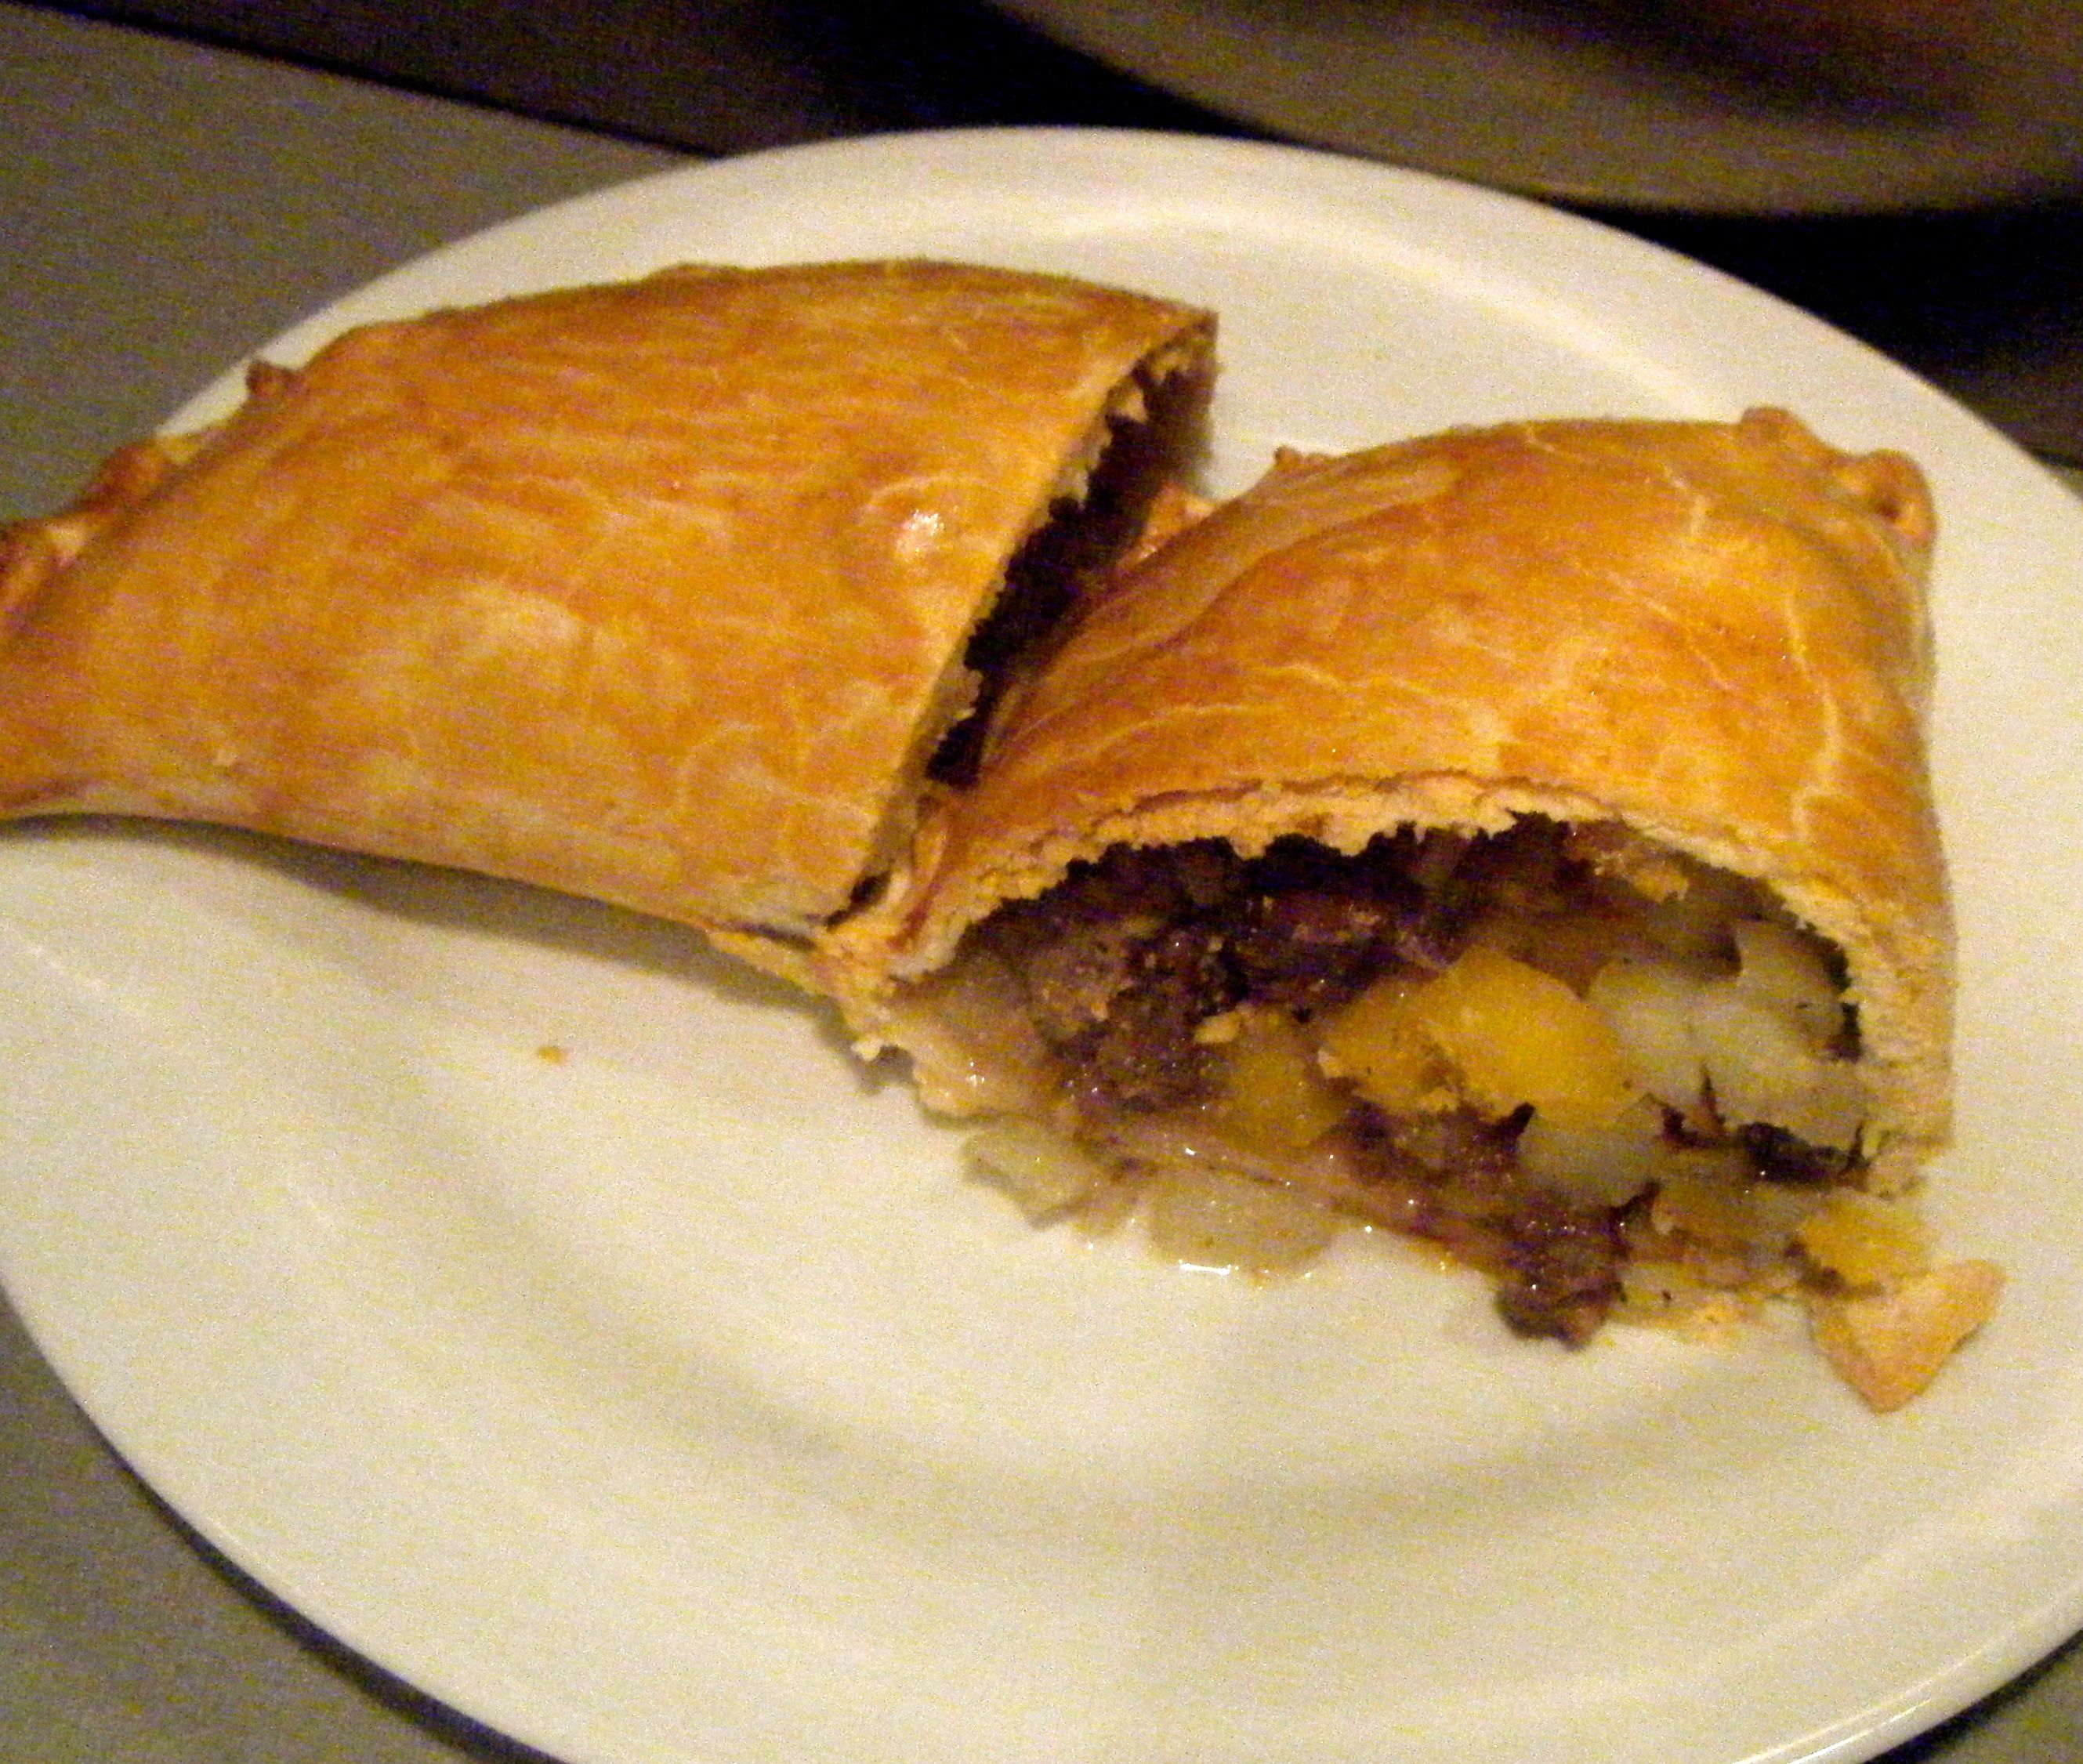
We both really enjoyed them, strangely Dave a little more so than me.  I have to admit the first few mouthfuls left me a little disappointed but the flavour soon developed and I started to appreciate it more.  To improve it, I think it could have done with more seasoning – I was probably a little too cautious with this.  Also, I thought it was a little dry in the middle and I wonder whether putting the knob of butter in with the filling would have helped with this. 

Whilst the filling definitely had room for improvement, Dave and I thought the pastry itself was great and overall it was a very tasty dinner.

Coming up next week, Challenge No. 17 – passion fruit cream profiteroles and hot chocolate fudge sauce 

Challenge No. 15 – Simnel Cake

Can you believe Easter has been and gone already! I don’t know where 2015 is going but it sure is flying past.  This recipe was suggested by my mum and I remember thinking I’ll make it for Easter and how far away that seemed!

I’d never heard of simnel cake before and I had to look up what it was.  For those of you who share my lack of knowledge it is basically a fruit cake with marzipan cooked into the middle. It then has a circle of marzipan placed on top, traditionally decorated with 11 balls of marzipan to represent the 11 disciples (excluding Judas).

Once I had found out what a simnel cake was, I asked my mum whether she wanted me to make the marzipan from scratch and the response was “well if you’re going to do this blog properly, then yes”.  Thanks for the challenge mum! I had a bit of warning for this dish and so I decided to give the marzipan aspect a trial run by making it for my Christmas cake last year.  I realised it is actually not very difficult and the fear for this challenge was eased slightly.

A few weeks ago I started looking for a recipe and found this one by The Hairy Bikers.

For the recipe, you will need the following:-

  • For the marzipan decoration
    • 225g/8oz icing sugar, plus at least 3 tbsp for rolling
    • 175g/6oz caster sugar
    • 350g/12oz ground almonds
    • 2 large free-range eggs
    • ½ tsp almond extract
    • 1 tsp freshly squeezed lemon juice
    • 2 tbsp apricot jam
  • For the fruit cake
    • 1 well-scrubbed orange, freshly squeezed juice and finely grated zest
    • 1 unwaxed lemon, freshly squeezed juice and finely grated zest
    • 500g/1lb 2oz mixed dried fruit
    • 100g/3½oz glacé cherries, halved
    • 225g/8oz self-raising flour
    • 2 tsp ground mixed spice
    • 3 large free-range eggs
    • 175g/6oz butter, softened, plus extra for greasing
    • 175g/6oz light muscovado sugar

Edited - ingredients

I started out on Good Friday morning with the marzipan.  I sifted the icing sugar into my bowl and stirred in the caster sugar and almonds. Next, I beat the eggs in a small jug and added the lemon juice and almond extract. 

Edited - dry ingredientsEdited - egg,lemon,extract

Practical tip: when juicing a lemon (or orange), pop it in the microwave for around 30 seconds to warm it slightly.  The fruit will release more juice if it has been heated.

I was visiting my parent’s for Easter and was back baking in their kitchen.  To avoid a repeat of the problem with the pictures in Challenge No. 13, this time, I took my own plastic bowl with me.  However, when I came to measure my 1/2 teaspoon of almond extract, I noticed my mum’s measuring spoons only refer to the millilitre measurement; mine at home helpfully have this and a guide as to what is a quarter, half and full teaspoon etc.  I therefore had to ask mum which one I should use for the teaspoon (5ml for those wondering) and instead of using the half measure as instructed by the recipe, I accidently put the full teaspoon in! I love almond and considering that marzipan is almond flavoured, I decided it would only improve the taste and it did 🙂

I then added the wet ingredients to the dry ingredients and combined until I had a paste. 

I dusted the worktop surface and tipped the marzipan out to knead by hand until smooth.  The marzipan kept sticking to the worktop but I persevered and eventually had a smooth(ish) ball which I popped back into the bowl and covered with cling film to rest for 2 hours.

Edited - pre kneadingEdited - kneaded marzipan

After about an hour, I got started on the next bit of the recipe.  I zested the orange and lemon into a small pot, put this to one side and then juiced the fruits into a saucepan.  I added the dried fruit and my halved cherries to the pan and I turned the hob on.

Edited - fruit in the pan

The recipe says to simmer over a medium heat until the liquid disappears.  Now, I couldn’t actually see the liquid with the fruit in the pan but I just made a small gap by pushing the fruit to one side and soon enough the liquid started to bubble.  Then within a couple of minutes it was gone! I tipped out the fruit onto a plate and left it to cool.

Edited - fruit

Next up, I buttered and double lined the base of my cake with baking parchment. This was something I had to do for the first time when I made my Christmas cake last year – for my sponges, I normally just butter and flour my tin.  If you’ve not double lined a tin yourself, I found a really useful guide here which I think explains it perfectly.  I didn’t follow this exactly for my simnel cake but I used the techniques I had learnt last year.

Edited - lined tin

With the tin and fruit ready, the recipe instructs to mix the flour and mixed spice in a large bowl.  I don’t know why it calls for a “large bowl” as you then add it to another bowl later on.  So I just put the ingredients into a jug.  I whisked the eggs in a dish with a fork and then set out softening my butter in the bowl.  I used a handheld electric mixer to do this and then added the sugar, beating the two together until light and fluffy. 

I then beat in the eggs a little at a time and included a teaspoon of the flour with each addition to stop the mixture curdling.  Once all the eggs were incorporated, I added half the flour/spice and mixed it with a spatula – I didn’t use the electric mixer because it is quite vigorous and I prefer a more gentle approach.   I then added the second half of the flour/spice and continued to mix until it was well combined.

Edited - sponge

Finally, I stirred in the fruit and zest and added half the mixture to my lined tin. 

Edited - adding zestEdited - half mix

Time to roll out the rested marzipan.  I got the ball and split it into 3 equal parts.  I measured them to make sure they were equal and ended up with quite a bit leftover, especially from the last bit which was used for the ball toppings.  To avoid this, I would recommend measuring one part out to be 220g (which will give you 11 balls of 20g for the topping) and then dividing the left over marzipan equally into two.

Edited - ready to roll

I put out a big bit of baking paper and covered it with icing sugar.  I then started rolling out one of the marzipan balls.  The paper kept moving and I ended up using bags of flour, sugar etc to weigh down each corner of the paper – this worked well 🙂 

With my marzipan rolled out, I used the cake tin to imprint a slight circle and used a knife to cut out a circle slightly larger.  I then used a rolling pin to pick up the round and put it in my tin.  This didn’t really work and the circle broke but I just squished it back together again, making sure it reached all sides of the tin. 

Edited - marzipan middle

I then covered the marzipan with the remaining mixture and popped the tin in the oven, setting the timer for 1 hour.  When the hour was up, I reset the timer for 10 minutes.  Then without taking the cake out of the oven, I covered the top with a bit of foil to stop it catching.  After a final 5 minutes, I used a tester to make sure the cake was done.  I then let it cool on the side for around 15 minutes.

Edited - cooked

Once the 15 minutes were up, I released the cake from the tin and took off the lining.  I then went and did some retail therapy for a couple of hours whilst the cake cooled completely on the wire rack. 

When I got back, I put the cake on the grill pan and started heating some homemade apricot jam on the hob (see here for a homemade jam recipe).  Next, I rolled out my second ball of marzipan and used the clean cake tin base to measure the right size.

I brushed the top of my cake with the jam and put the marzipan on top (it stayed in one piece this time!).  I then fluted the edges and scored the criss-cross pattern.

Edited - round on top

Practical tip: take a small amount of the discarded marzipan and roll it into a small circle to practice your pattern before scoring it onto the circle on the cake.

I made my 11 balls which all weighed 20g and I positioned them on top of my cake tin base to get an idea of the approximate positions to fit all 11 onto the cake.  I put a blob of jam onto the bottom of each ball and placed them onto the cake.  I still got the positioning slightly wrong and ended up with 10 in a circle and the eleventh sat nicely in the middle 🙂 

 Edited - balls in placeEdited - topped

With all the balls in place, I put the cake under the grill to brown the marzipan.  I stood and watched the oven like a hawk because I thought it would catch really quickly.  I was right! Once the marzipan had started to brown, I quickly took the cake out the oven and left it to cool before applying the yellow ribbon.

Edited - finished cake Edited - finished tope

The cake was then taken down to Surrey on Saturday to enjoy with my extended family at a long-overdue catch up.

The verdict – DELICIOUS!  The cake was very light for a fruit cake but packed full of flavour.  As for the marzipan, perfect almond flavour and a beautiful texture.

Edited - slice

Overall, this cake was a huge success and all the family loved it.  This is especially true of my mum and uncle who are huge marzipan fans.  I actually thought there was going to be a fight over the last few slices. 

There you have it then; my first ever attempt at simnel cake went well.  I’m actually craving some as I write this up and I am a little sad that I left the final slice with my mum to enjoy.

Coming up next week, Challenge No. 16 – cornish pasty. 


Challenge No. 14 – Moussaka

This recipe was suggested by my friend Kate.  I’ve never made moussaka before and I’ve only eaten it a handful of times, without really knowing what was in it.  When Kate suggested this recipe, she delighted in telling me that her dad makes the BEST moussaka. So I knew I had a challenge ahead and a tall order to live up to.

Before we get started, My Gastro Adventure has hit a little milestone this week and the website has now had over 1,000 views and reached a total of 31 subscribed follows!! I therefore wanted to say a massive thank you to everyone who has viewed the site, liked the posts and opted to follow the blog 🙂

Also, for those of you who are following the blog by e-mail, you may have received a strange “Test” post update earlier this week – this was my attempt to set up My Gastro Adventure on bloglovin, which I finally successfully managed to do.  Sorry if it caused you any confusion and thank you again for choosing to follow me on my adventures!

Anyway, on with the moussaka. I did some searching and found this recipe by Antony Worrall Thompson.

The recipe calls for the following ingredients:-

  • For the filling
    • 75ml/6fl oz olive oil
    • 1 large onion, finely chopped
    • 675g/1½lb lamb mince
    • 3 cloves garlic, chopped
    • 1.25ml/¼tsp cinnamon
    • 1.25ml/¼tsp allspice
    • 2 x 400g/14oz tin of chopped tomatoes
    • 1 tbsp fresh oregano, chopped*
    • 2 bay leaves
    • 1 tsp fresh, soft thyme leaves
    • 175ml/6fl oz white wine
    • 4 medium aubergines, cut into 1cm/½in slices
    • Salt and freshly ground black pepper
    • Plain flour, for dusting
  • For the topping
    • 85g/3oz unsalted butter
    • 85g/3oz plain flour
    • 900ml/1½pt milk
    • 85g/3oz parmesan, grated
    • 115g/4oz gruyère, grated
    • 2 free-range egg yolks
    • 1 free-range egg

Edited - ingredients

*I couldn’t get hold of fresh oregano so I just used dried oregano (1tsp dried is the equivalent of 1tbs fresh).

I started by chopping my onion finely and added it to my casserole dish with the heated oil. The recipe says to cook the onion for about 10 minutes until soft and then to brown the lamb in a separate frying pan.  I however didn’t wait for the onion to finish softening and popped about half of the lamb into my frying pan to get started whilst the onions cooked.

Edited - browed lamb

When the first half of the lamb was browned, I added it to the softened onions, along with the garlic. I used a wooden spoon to try and break the mince down as much as possible.  I then set about browning the second half of my lamb.

Now those eagled eyed amongst you may have noticed something strange about my ingredients picture above.  I didn’t notice it myself until I opened the second pack of lamb to brown and when I added it to my pan it looked a bit odd. I double checked the packaging…yep, it was beef! Whoops! I clearly should have checked the pack a bit more carefully in the supermarket. Anyway, I’d previously read you can make moussaka with lamb, beef or even a beef/pork mix so I just carried on with the lamb/beef combination 🙂

Next, I added the cinnamon, allspice, chopped tomatoes, oregano, bay leaves and thyme into the casserole dish.  I then added the remainder of the browned meat, deglazed the frying pan with the wine and added this to the casserole dish.  I reduced the heat and left it to simmer for 1 hour.

Edited - Casserole dish

Practical tip: don’t measure your spices out over the pot of onion/garlic/mince.  Perhaps an unnecessary tip but one I’m including out of an experience with this challenge. I tried to measure out the 1/4 tsp of cinnamon over the casserole dish, however, the cinnamon wasn’t coming out and then suddenly the powder shifted, filled the measuring spoon and (quite) a bit extra went straight into the pan.  Luckily, it wasn’t too much extra so as to affect the flavour but it was a close shave!  Lesson learned 🙂

I then set about slicing the aubergines.  I didn’t know whether I needed to peel the vegetable first – this may be a simple thing which most people would know but I’ve never cooked with aubergines before and so I wasn’t too sure.  I did a quick search and found another moussaka recipe which specifically stated to leave the skin on and so I decided to do this.

Edited - aubergine slices

I put the aubergines slices into a colander and sprinkled salt on them – I don’t actually have a colander and I just used the top parts of my steaming pans!  I gave the aubergines a good toss to make sure all slices had come into contact with the salt and then I popped the ‘colander’ on top of a plate, leaving them for 30 minutes.

Edited - salted slices

Practical tip: don’t skip the salting stage.  This is done to take away the bitterness of the aubergine.  The salt draws out some of the liquid from the sliced aubergine and when you lift the colander at the end there will be quite a lot of brown liquid on the plate.  This is an important step and should not be missed.

Now I was making this on Saturday afternoon with plenty of time before Kate and her boyfriend were due to arrive for dinner. One of the great things about the recipe is that it can be made ahead of time! This meant, I wasn’t too stretched for time and so instead of getting straight on with the béchamel sauce, I had a quick tidy up of the kitchen.

With a few of the pots washed and the sides cleared, I cracked on with the sauce.  I was a bit nervous about this bit.  I’ve tried to make béchamel sauce before and it just ended up tasting of flour. It was absolutely disgusting! This time round I was making it for guests and it is such a key part of the moussaka I was really hoping things would go to plan.

I melted the butter in my saucepan and then added the flour, giving it a good mix.  I left it on the heat for a minute.  I’ve read somewhere that you have to cook off the flour when making sauces and I think this may have been part of the problem last time.

Edited - butter in pan Edited - flour and butter mixed

I then took the pan off the heat and started adding the milk a little at a time, giving it a good stir in between each addition.  Once all the milk was added, I put the pan back on the heat and kept stirring, waiting for the mixture to thicken.  This is when I realised I probably should have started the sauce a bit sooner! It took about 30 or 40 minutes before it had thickened properly.  Talk about an achy arm with all that stirring!

Edited - thickened sauce

In between all the stirring of the yet to thicken sauce, I removed the casserole dish from the heat and rinsed my aubergine slices.  I put them on some kitchen roll to dry and carried on stirring the béchamel sauce.

Once it was finally thickened, I let the sauce simmer for 7 minutes and then removed it from the heat.  I added 55g each of the gruyere and parmesan cheese and seasoned the sauce with a bit of salt and pepper.

Edited - cheese to sauce

The next step was to brown the aubergines.  I patted the slices dry, coated them in flour (by shaking them in a sandwich bag) and then fried them in batches.  This seemed to take forever to do.  It was only about 8 minutes per batch but because there were so many slices, it took ages.

Edited - browned aubergines

Once the aubergines were all cooked, I added the egg to the cooled béchamel sauce and finally I had all the component parts of the moussaka ready. 

It was time to start layering up.  First, I put 1/3 of the mince mixture into my dish and before topping with the aubergines, I cracked some pepper on top.  I hadn’t seasoned the mince whilst cooking and when I tasted it, I thought it could do with some black pepper.  I then covered the mince with a layer of the aubergines.

Edited - mince layer Edited - aubergine layer

I added the next layer of mince, some more aubergines and then the final layer of mince.  I topped it all off with the béchamel sauce and the left over grated cheese.  I didn’t actually use the full amount of gruyere, only because there was so much and it just didn’t seem necessary. I used all the parmesan and about 40g of gruyere.  

Edited - oven ready

I put the dish to one side whilst I got started on pudding – make sure you come back again soon to read about my passionfruit cream profiteroles and hot chocolate fudge sauce.

Anyway, Kate and her boyfriend arrived just as it was time to put the moussaka in the oven for 60 minutes.  We had some warm pitta bread with humous and fried halloumi to start whilst the main event cooked away in the oven.

When the timer went off, I took the moussaka out the oven and patiently waited for 5 minutes just like the recipe said.  I then served up and we all tucked in with some crusty bread and a Greek salad (cucumber, tomato, olives, red onion and feta, drizzled in Greek olive oil).

Edited - cookedEdited - served up

So, with such a high standard set by Kate’s dad, I had a lot to live up to. Whilst everyone agreed it was nice (even Dave who ate round the aubergines!), when I asked Kate and her boyfriend for their verdicts the answer was “it’s good…but the problem is Kate’s dad makes the BEST moussaka”.  So I didn’t quite hit the bar that Kate’s dad set but still it was very enjoyable. 

The best bit for me was the fact that the béchamel sauce worked! It was the right texture and tasted yummy 🙂 I did however feel the dish took quite a long time to make because of all the messing around with the aubergines! I’ve read another recipe which recommends simply baking the aubergine slices for around 25 minutes at 180 degrees celcius.  I’m definitely going to try this next time rather than frying them. 

Overall, I was pleased with how this challenge turned out and will be adding moussaka to my recipe arsenal for the future.

Coming up next week, an Easter treat for Challenge No. 15 – simnel cake! Hope to see you then.