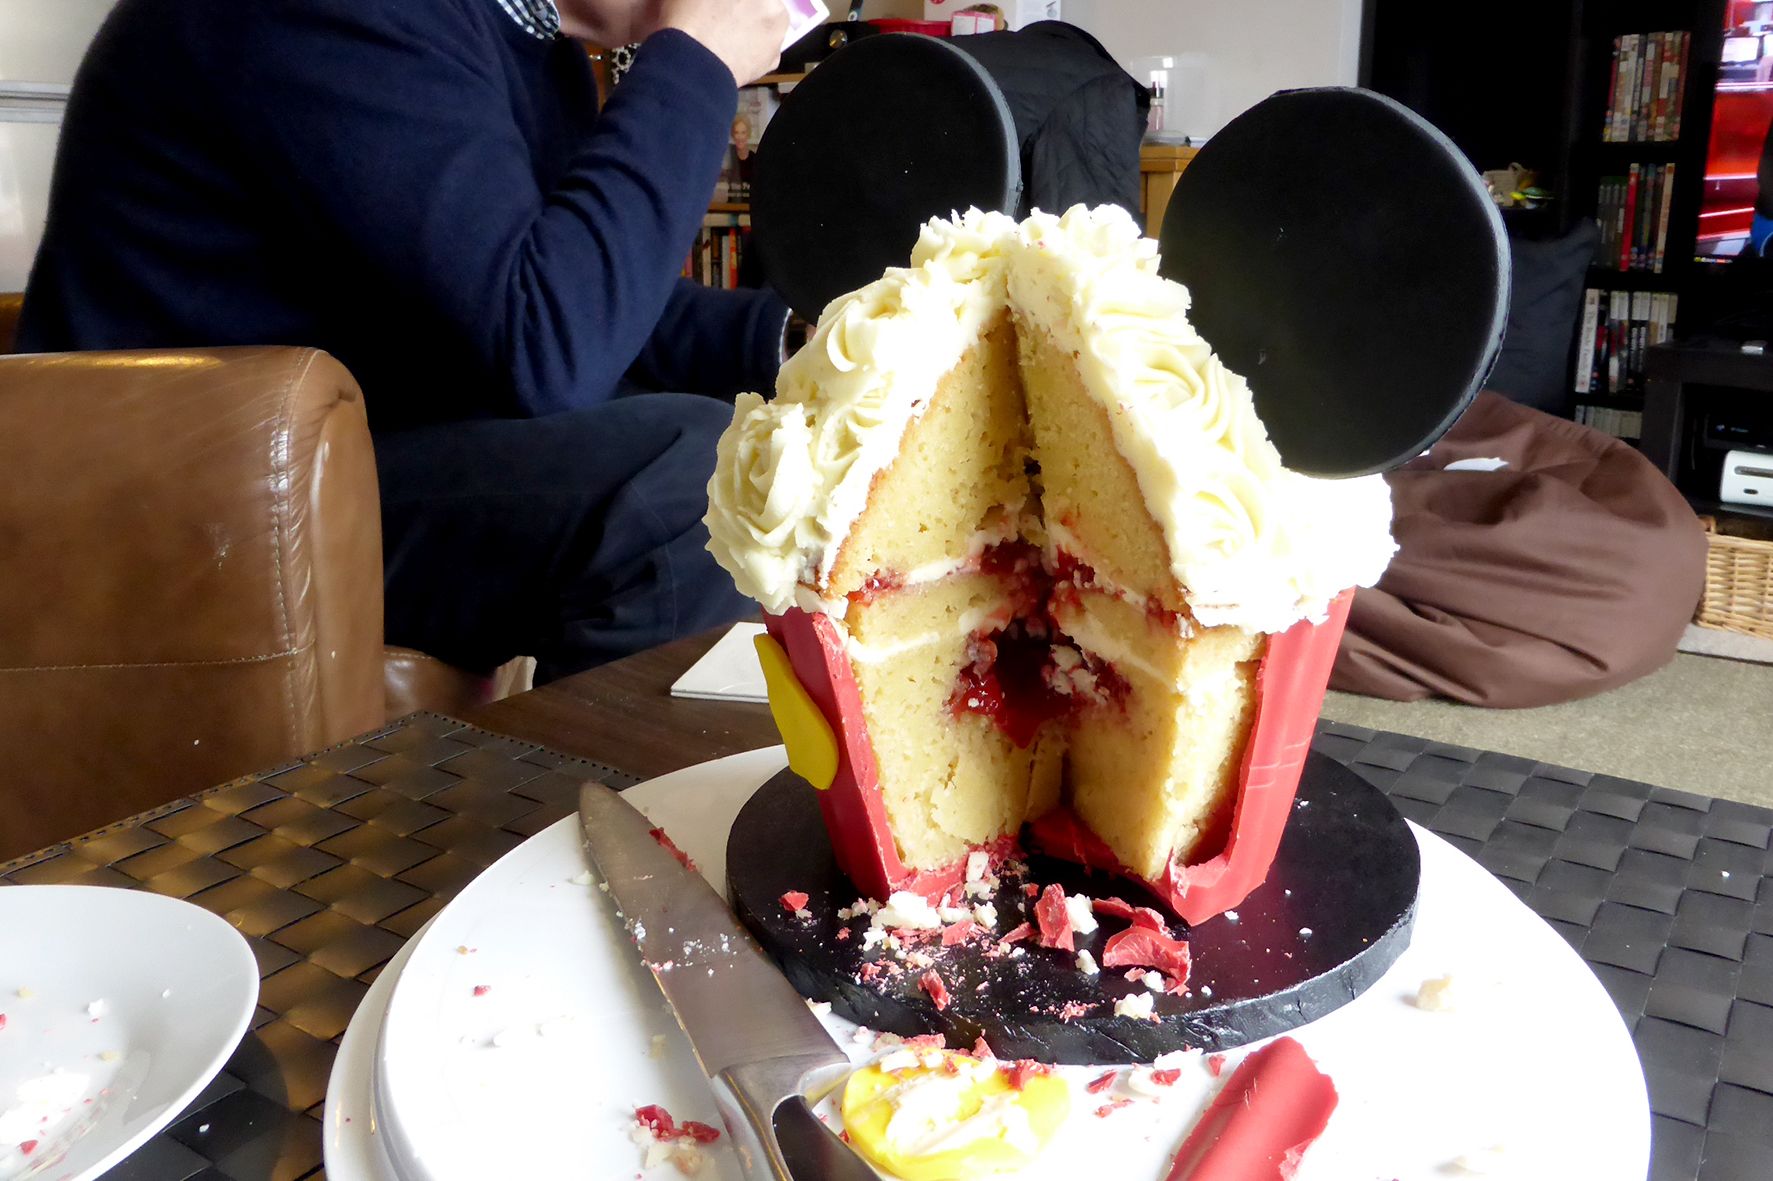
This recipe was suggested by my colleague Alison, who, as it happens, has a massive sweet tooth. I think any chocolate lover has a weak spot for chocolate fudge cake. In fact, when I showed my chocaholic boyfriend the Challenge 52 recipe list, he eye’s lit up at the sight of this suggestion – it is one of his favourites. Whether you like your chocolate cake warm or cold, with ice cream or normal cream, in my opinion there is always a careful balance to be struck. The cake needs to be moist (I hate this word!!) and rich but also light and not stodgy.
With this in mind, I searched for a chocolate fudge cake recipe online. A few different ones came up and I decided to go with this one by Mary Berry. Those of you who know me will already know how much I like Mary Berry. I love watching all her programs, I have read her autobiography and every time I try one of her recipes, it always comes out a success (this one was no different!) and this was therefore a natural choice for me.
The recipes requires the following ingredients:-
- Cake
- 50 g (2 oz) sifted cocoa powder
- 6 tablespoons boiling water
- 3 large eggs
- 50 ml (2 fl oz) milk
- 175 g (6 oz) self-raising flour
- 1 rounded teaspoon baking powder
- 100 g (4 oz) softened butter
- 275 g (10 oz) caster sugar
- Icing and filing
- 3 tablespoons apricot jam
- 150 g (5 oz) plain chocolate
- (39 per cent cocoa solids)
- 150 ml (¼ pint) double cream

Practical Tip: to soften the butter, cut it into cubes and put it in a sandwich bag in a bowl of lukewarm water for between 5 to 10 minutes until soft. This can be a lot quicker than leaving the butter at room temperature, especially in the winter when your kitchen may not be so warm!
Before I got started with the cake mix, I prepared my tins. I only have one deep cake tin which is 20cm/8inch and so I decided to use my other tins which are also 20cm/8inch but they aren’t deep. From the looks of the picture on the recipe, I had a feeling I didn’t really need the deep tin and I turned out to be right 🙂
Practical Tip: to line the cake tin, get a bit of kitchen roll, add a small knob of softened butter into you tin and use the kitchen roll to wipe it around the base and side. Ensure all areas are nicely covered but be sure to avoid leaving big lumps of butter. Once you have buttered the tin, pour in a small amount of flour, shake to coat the bottom and then turn at an angle to cover the sides, rotating the tin until all the side has been covered.
For this recipe, Mary tells you to line the base of the tin and so, as instructed, I also added some baking paper. I used my tin to draw two circles on the baking paper, cut them out and pressed them neatly into the tins.
With my tins ready, I got started on the recipe. I mixed the cocoa and boiling water with a spoon. The result was a delicious smelling thick chocolatey mix which I could have just eaten without going any further. But I resisted temptation and carried on adding the rest of the cake ingredients.

The cocoa powder mix was very hot from the boiling water and I therefore decided to add my eggs right at the end to make sure they didn’t begin to cook from the heat. The order I added the ingredients – milk, butter, flour, baking powder, caster sugar and eggs.
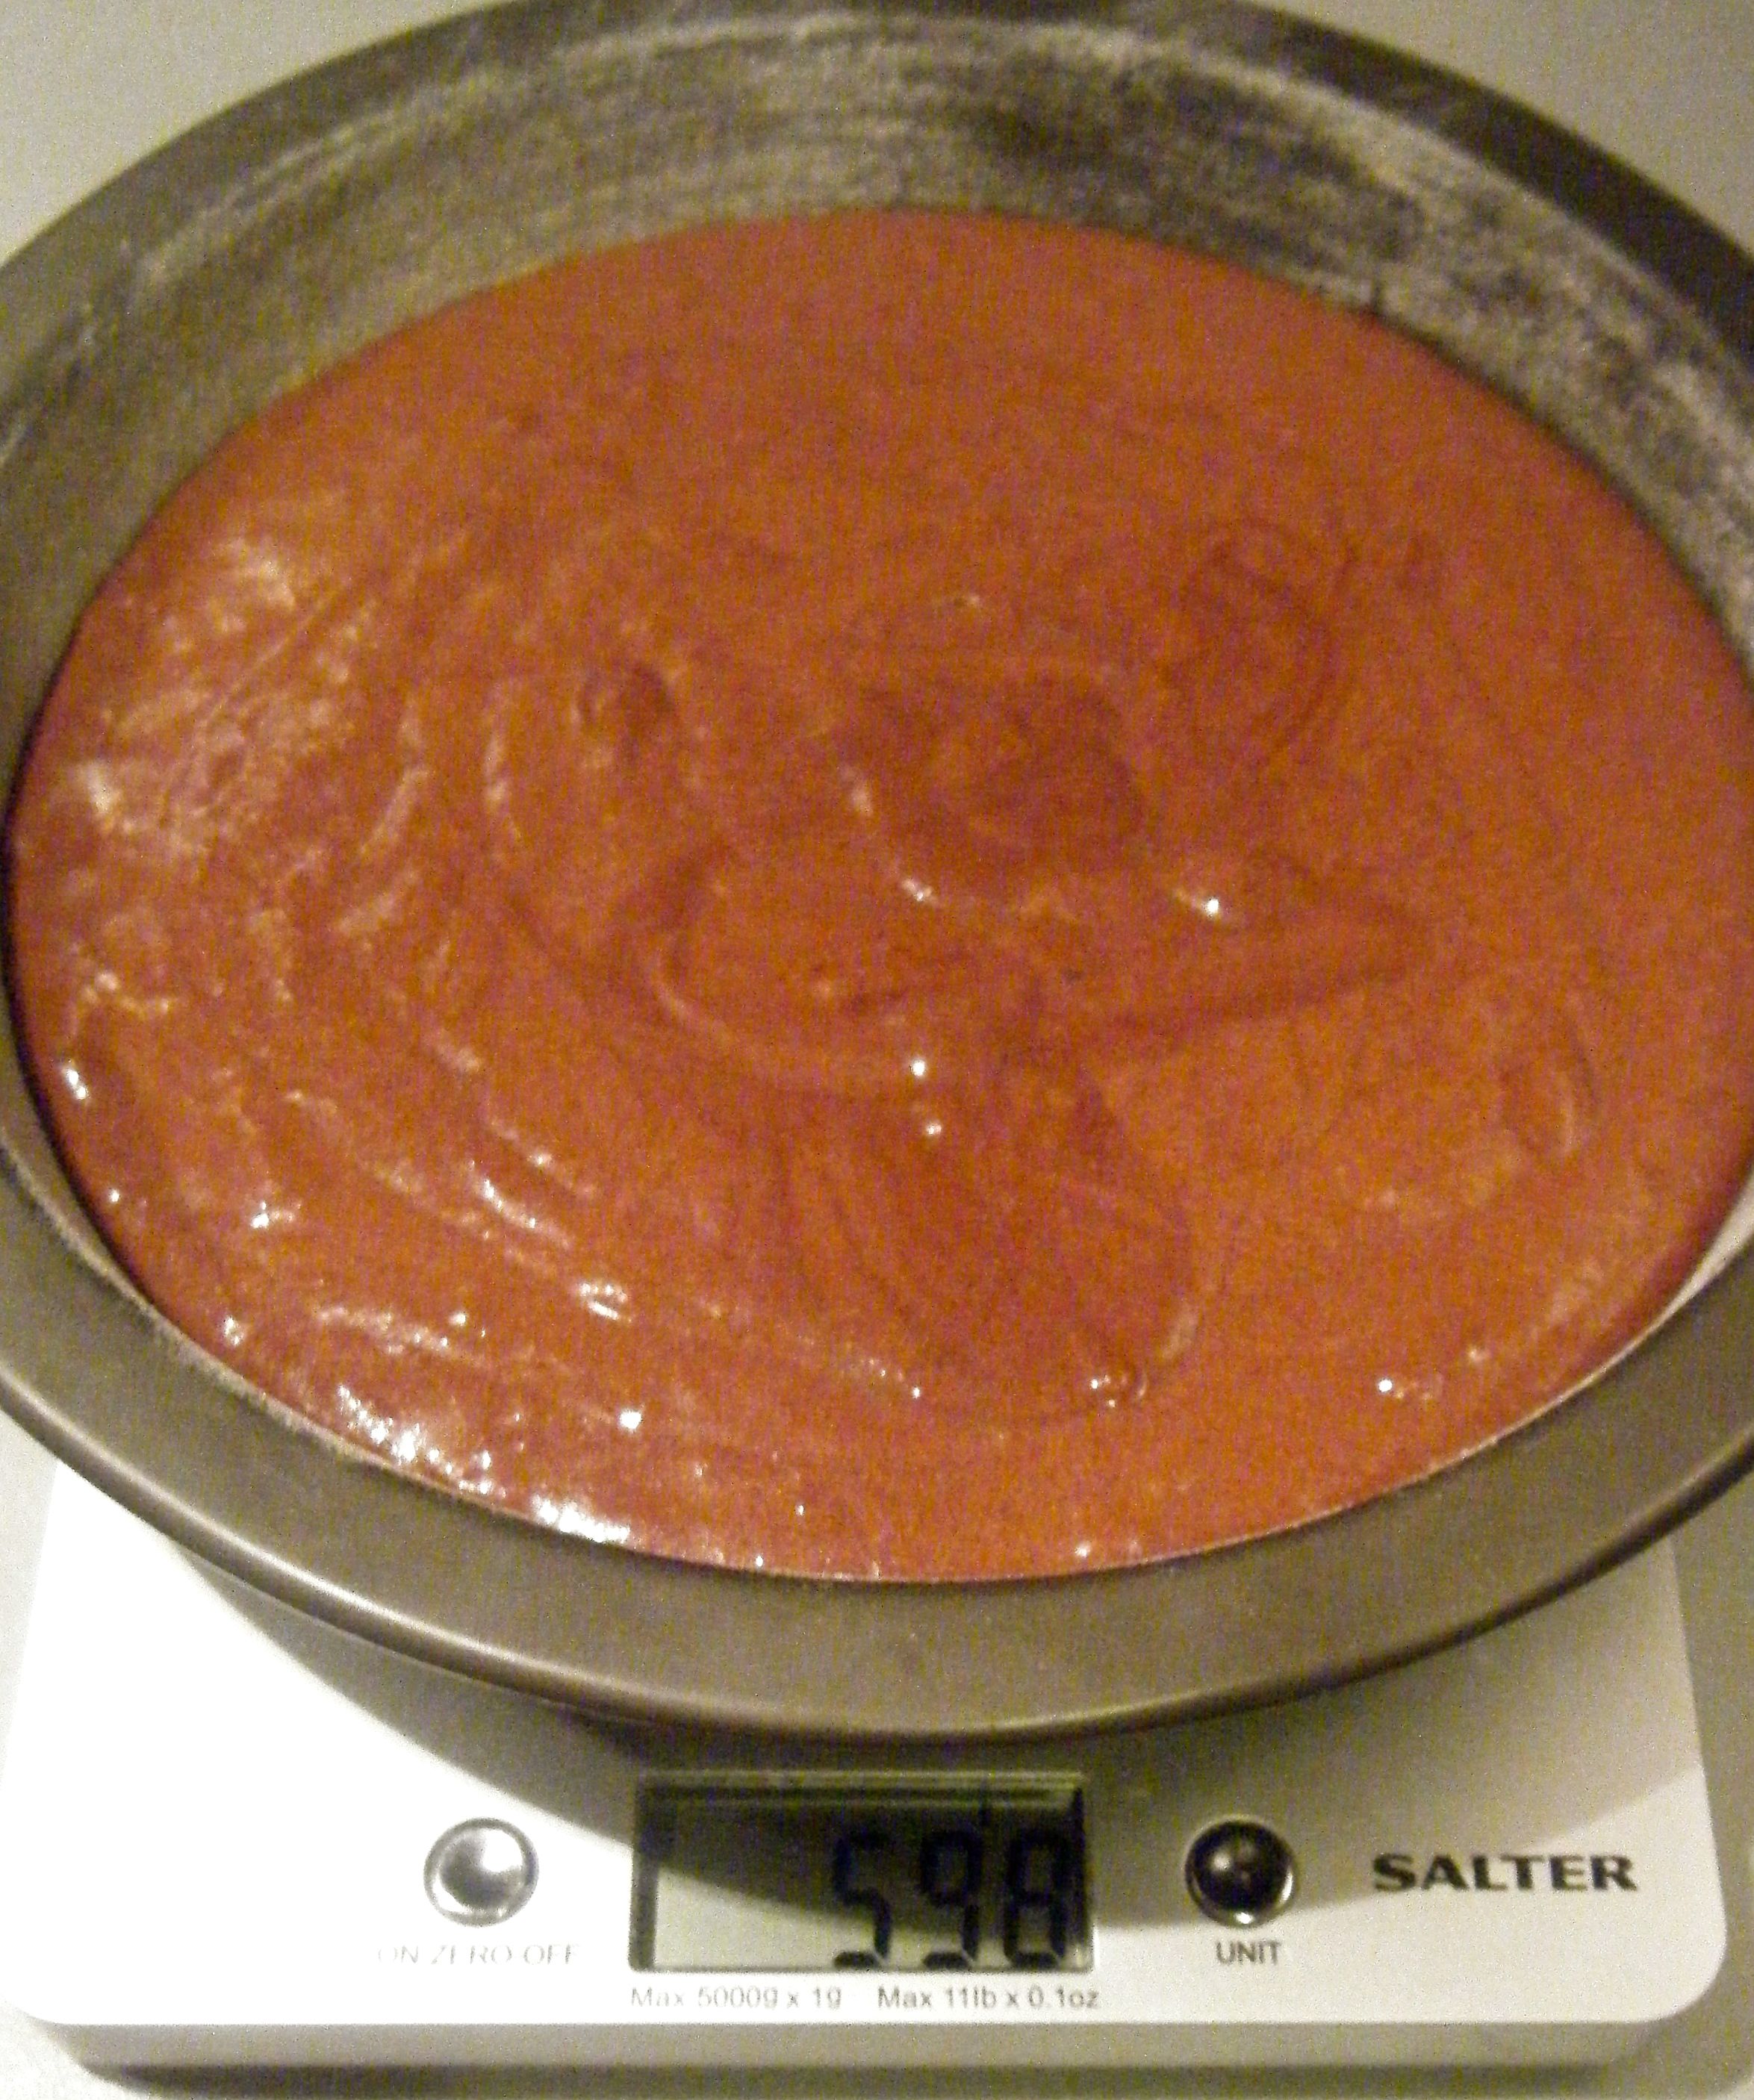
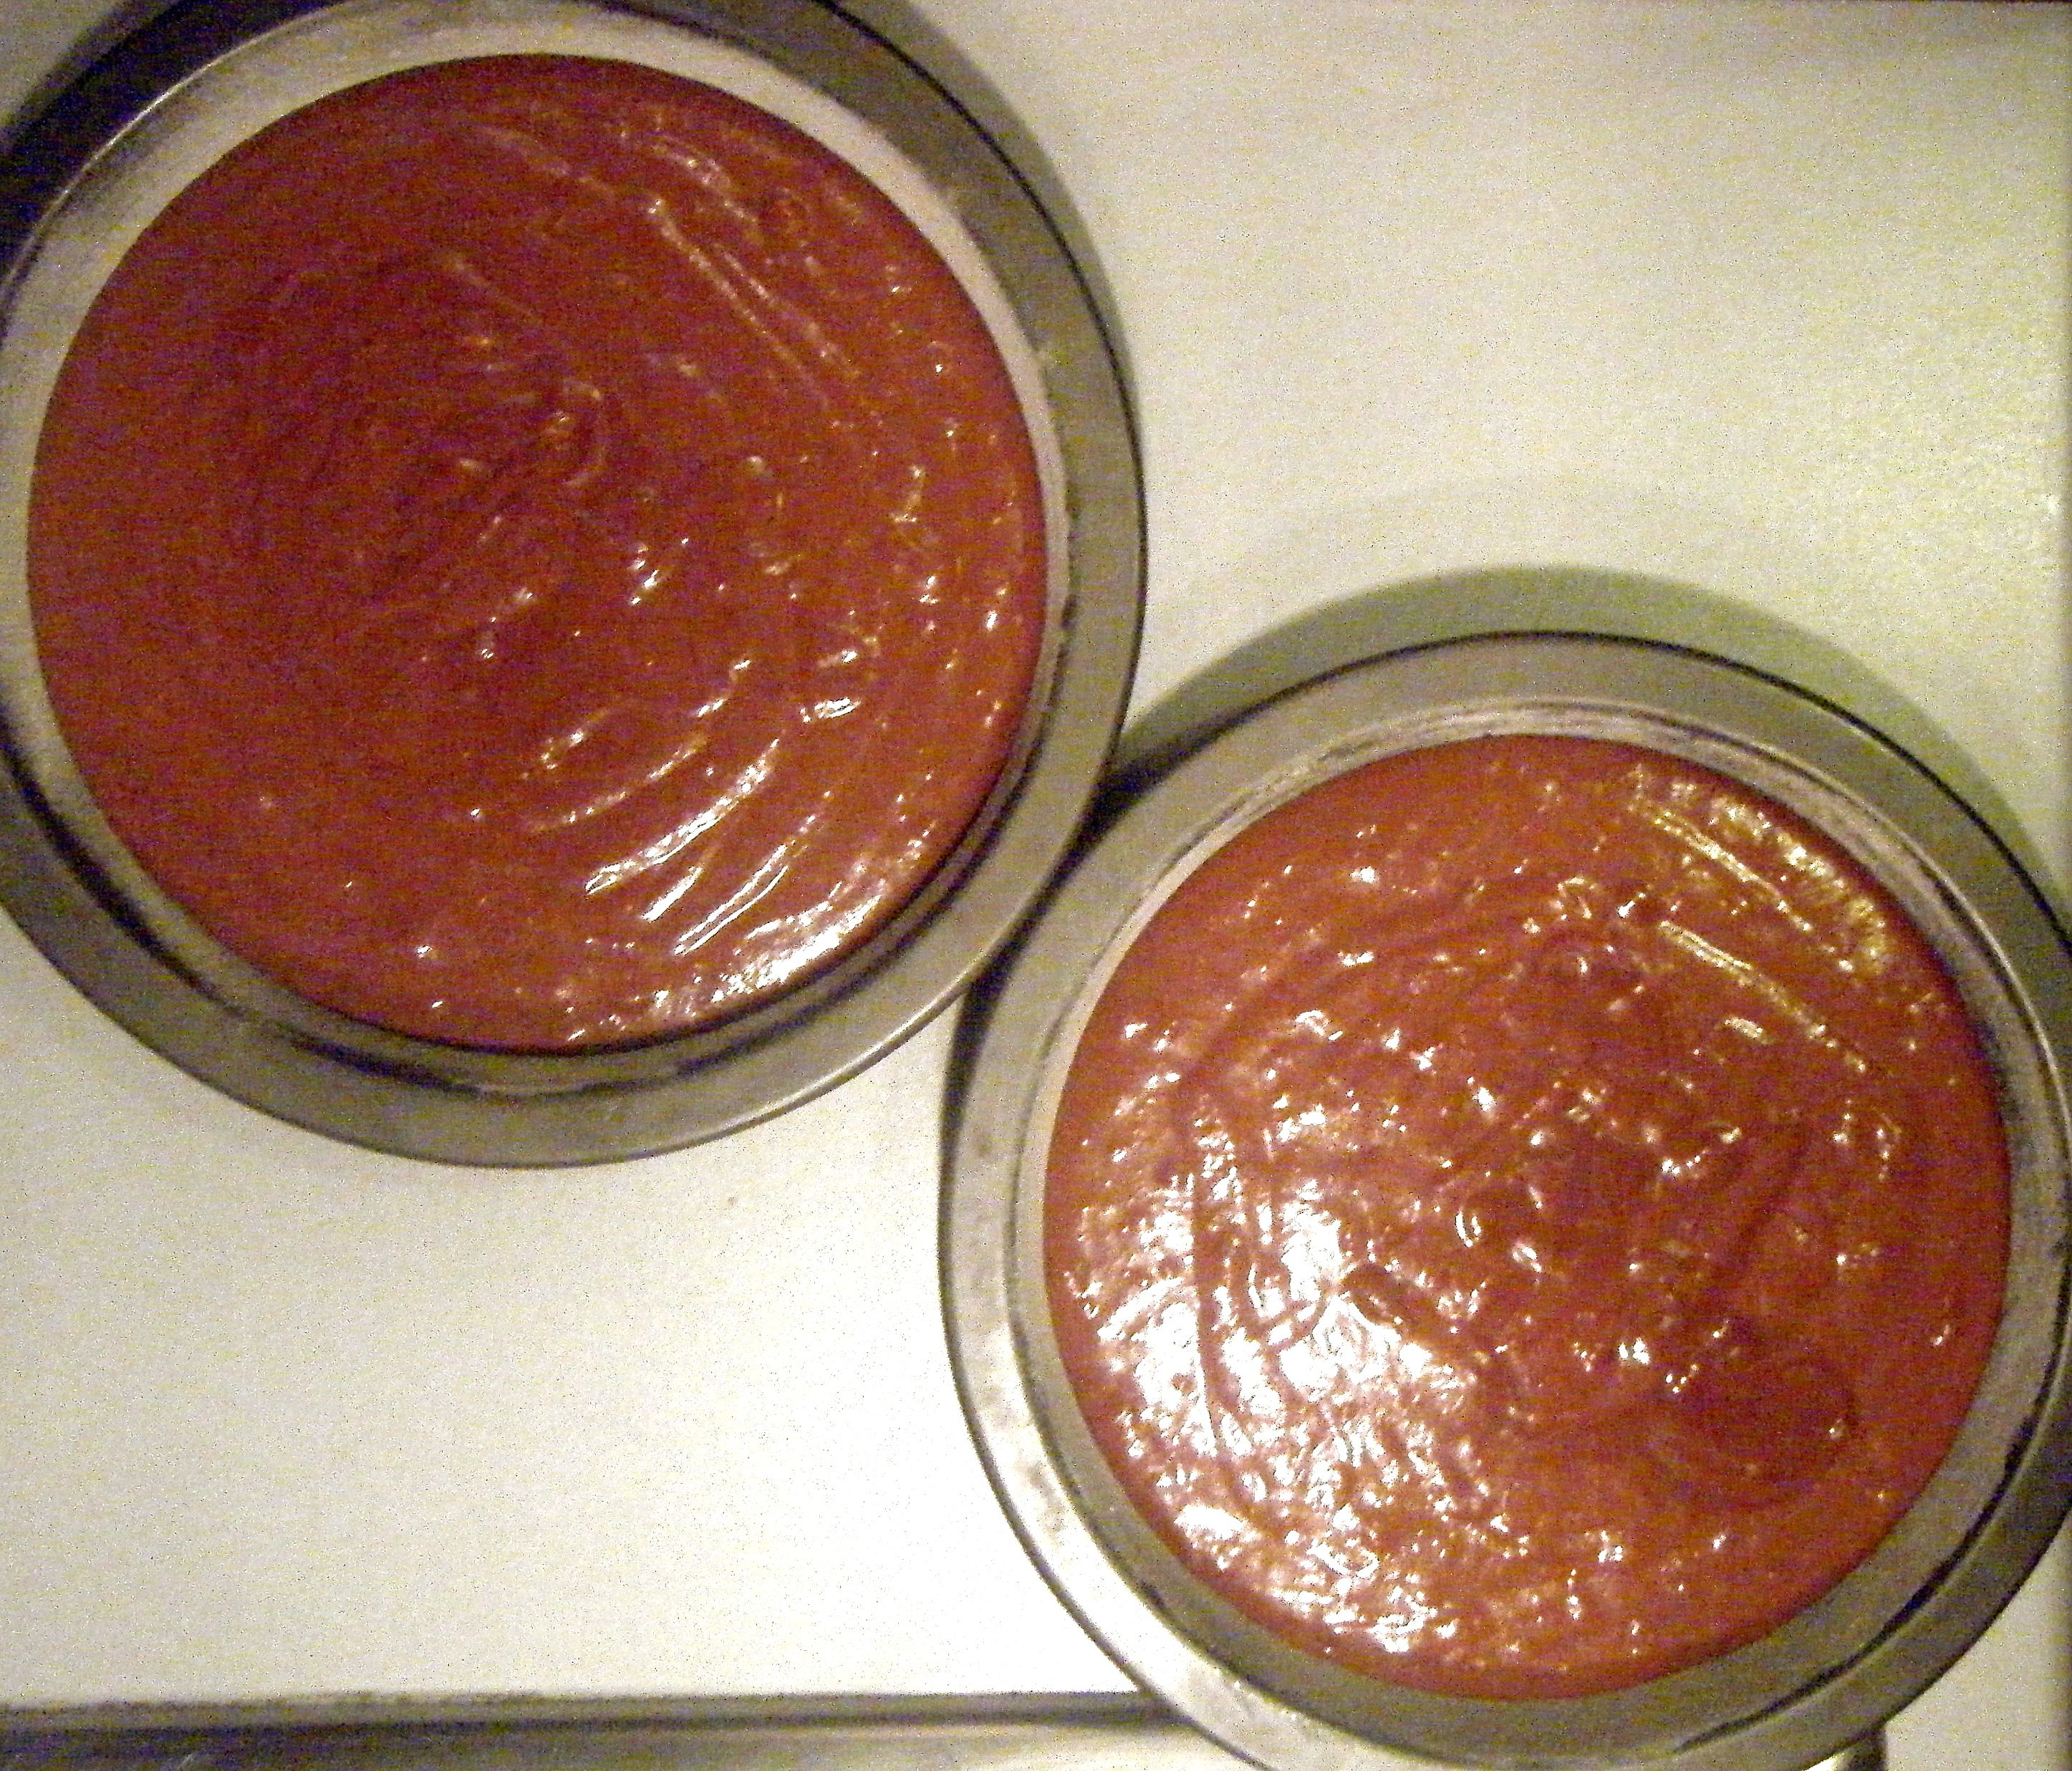
I mixed the rest of the ingredients with my handheld mixer until it was well combined and then added the ingredients to the lined cake tins.
Practical Tip: to get even sized cakes, you need to make sure you put an equal amount of cake mix into each one. Weigh your lined tins to make sure they are coming out the same and then add approximately half the mix to each tin. Re-weigh the tins and transfer the mix from one to another until both weigh the same again. If your tins don’t weigh the same to start with, just make a note of the difference and use this to calculate whether the tins have the same weight of mix in them at the end.


I popped the tins into the oven, ensuring they both went on the same shelf. The recipe calls for a bake time of 25 to 30 minutes but I set my timer for just 10 minutes. This is because my oven, like most out there, doesn’t cook evenly at the front and back or on the left and right. So after 10 minutes I took out my tins and swapped them around so the one at the front right went in at the back left and vice versa. I set the timer for another 10 minutes and did the same again. I then set the timer for 5 minutes and checked the cakes. At this point I felt they needed a bit longer, swapped them over again and left them for the final 5 minutes until they were ready.
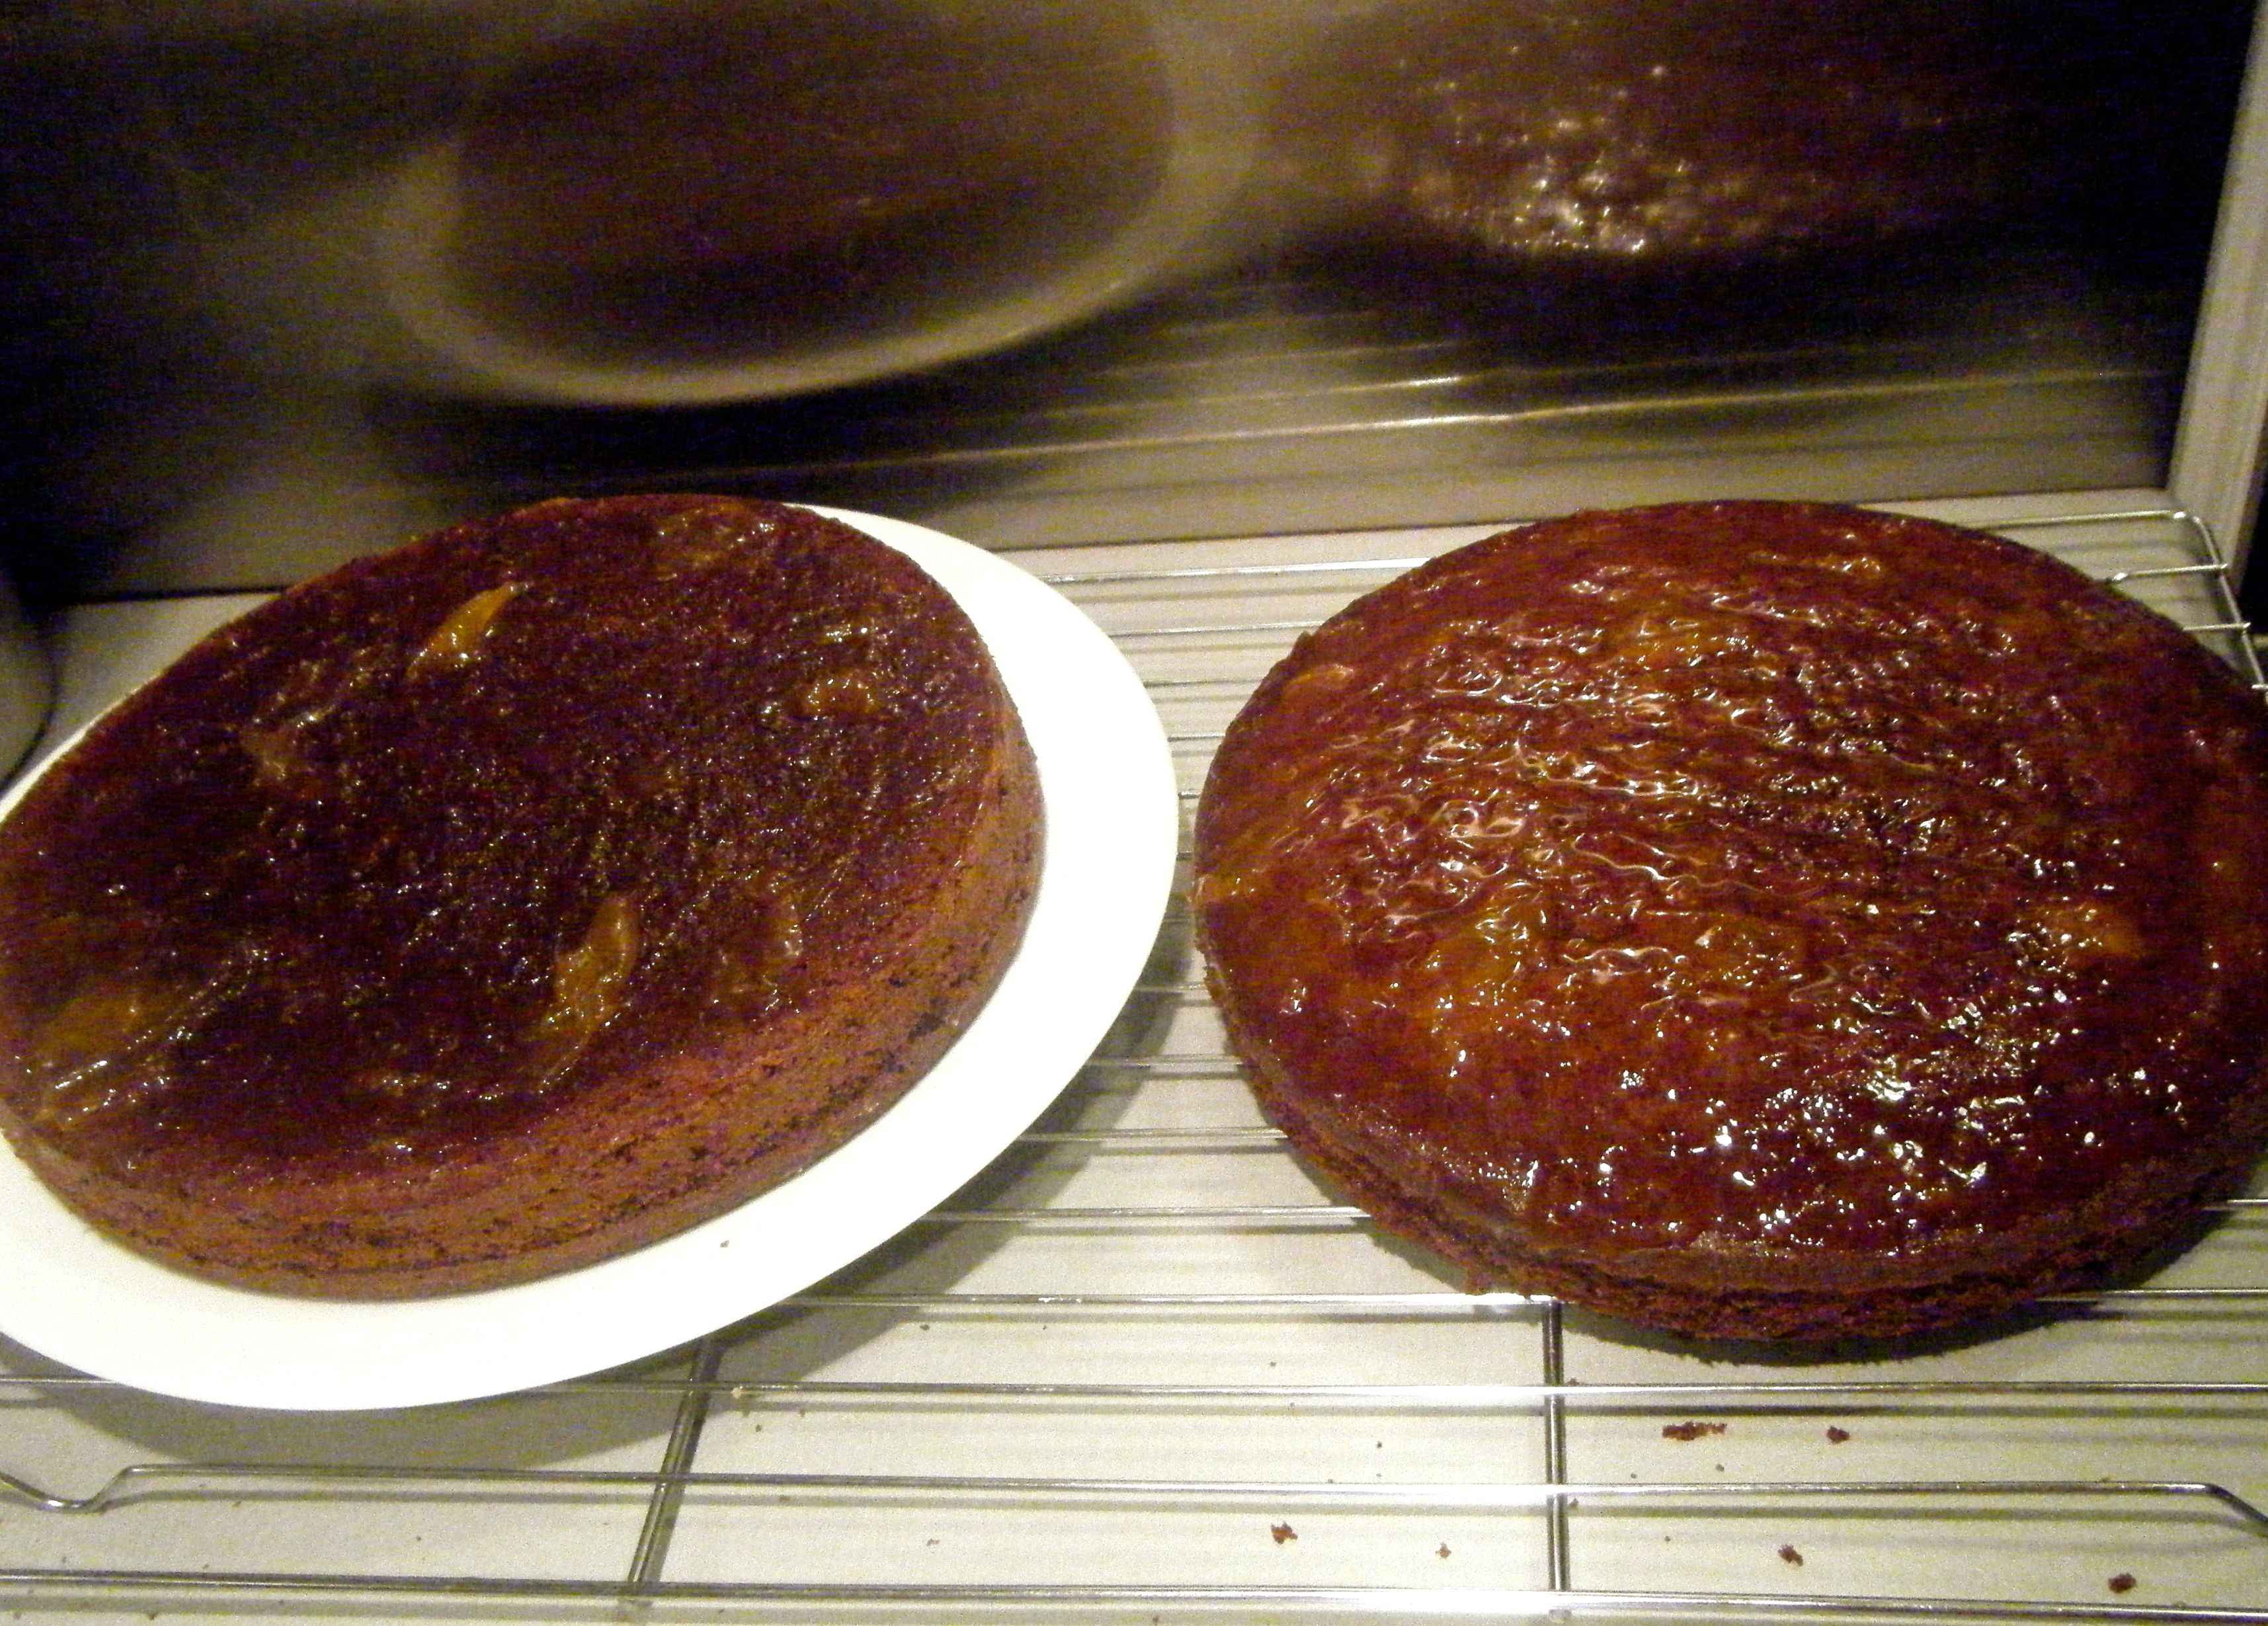
Practical Tip: to test whether the cake is cooked there are two methods and personally I like to use a combination of the two. Firstly, gently press the top of the cake with your finger; if it is done it will be springy to touch and bounce back into place. Secondly, take a tooth pick (or cake tester if you have one) and slide it into the centre of the cake; if the cake is done the tester will come out clean. If you think it’s not quite done return the cake to the oven but keep an eye on it. Towards the end of a bake, I will sometimes return a cake to the oven for only 1 minute but that 1 minute can make all the difference!

Once the cakes were ready I took them out the oven and set the timer for 5 minutes. I then took a knife and very carefully ran it round the edge of the tin to loosen the cake. With the 5 minutes gone, I then turned out the cakes onto a cooling rack and removed the baking paper.

Practical Tip: if you don’t have a cooling rack, simply take a shelf out of the oven when it is cool, make sure it is clean and use two things of equal size (bowls or plastic pots work well) and put one underneath each end of the shelf. Hey presto, you have a cooling rack!
Once the cakes were completely cooled, I got started on the icing. I began by warming through my apricot jam and then popped this onto the cakes. The recipe specifically states to cover “the base of one and the top of the other”. This is what I did, however, I didn’t do it this way because the recipe told me to. Instead, I worked out how I wanted my cakes to sit on top of each other (i.e. base up or top up) and then made sure the final top sides of both were covered.

Whilst my jam was warming, I got started on the chocolate icing. In hindsight, I wish I had started this a lot sooner – probably at the point I took the cakes out the oven. Before you add the icing to the cake, you need to let it cool enough to reach setting point. This is where patience becomes extremely important. Unfortunately I was not as patient as I should have been and my initial covering of the bottom layer was too runny so that when I put the top on, a lot of the icing ran down the side of the cake. The cause of my impatience, I didn’t start this bake until 8pm on a Sunday evening and by the time I got to the point of trying to put the icing on the cake, I just wanted to get in bed to watch a film before having to get up for work on a depressingly dreary Monday morning!
Anyway, back to how I made the icing I broke up the chocolate and put it in a bowl with the cream and then placed this over a pan of simmering water. When doing this, I made sure the bottom of the bowl didn’t touch the water as this can burn the chocolate. I gave the chocolate and cream a mix every now and again and once the chocolate was completely melted, I took the bowl off the simmering pan. As I mentioned above, the trick was then to let the icing reach setting point before adding it to the cake, something I didn’t too too well!


Practical Tip: if you are in a hurry, the icing can be put in the fridge to speed up the cooling process. Putting the mix straight into the fridge can cause the chocolate and cream to separate and you should let it cool at room temperature before transferring to the fridge. Even by letting it cool slightly at room temperature, using the fridge to speed up the process can affect the shininess of the icing but I still think it looks good and it is worth doing it if you are in a bit of a hurry. In my opinion, it is better to have a more ‘matt’ finished icing which stays where you want it than a shiny one which ends up on the serving plate because it runs straight off the cake!
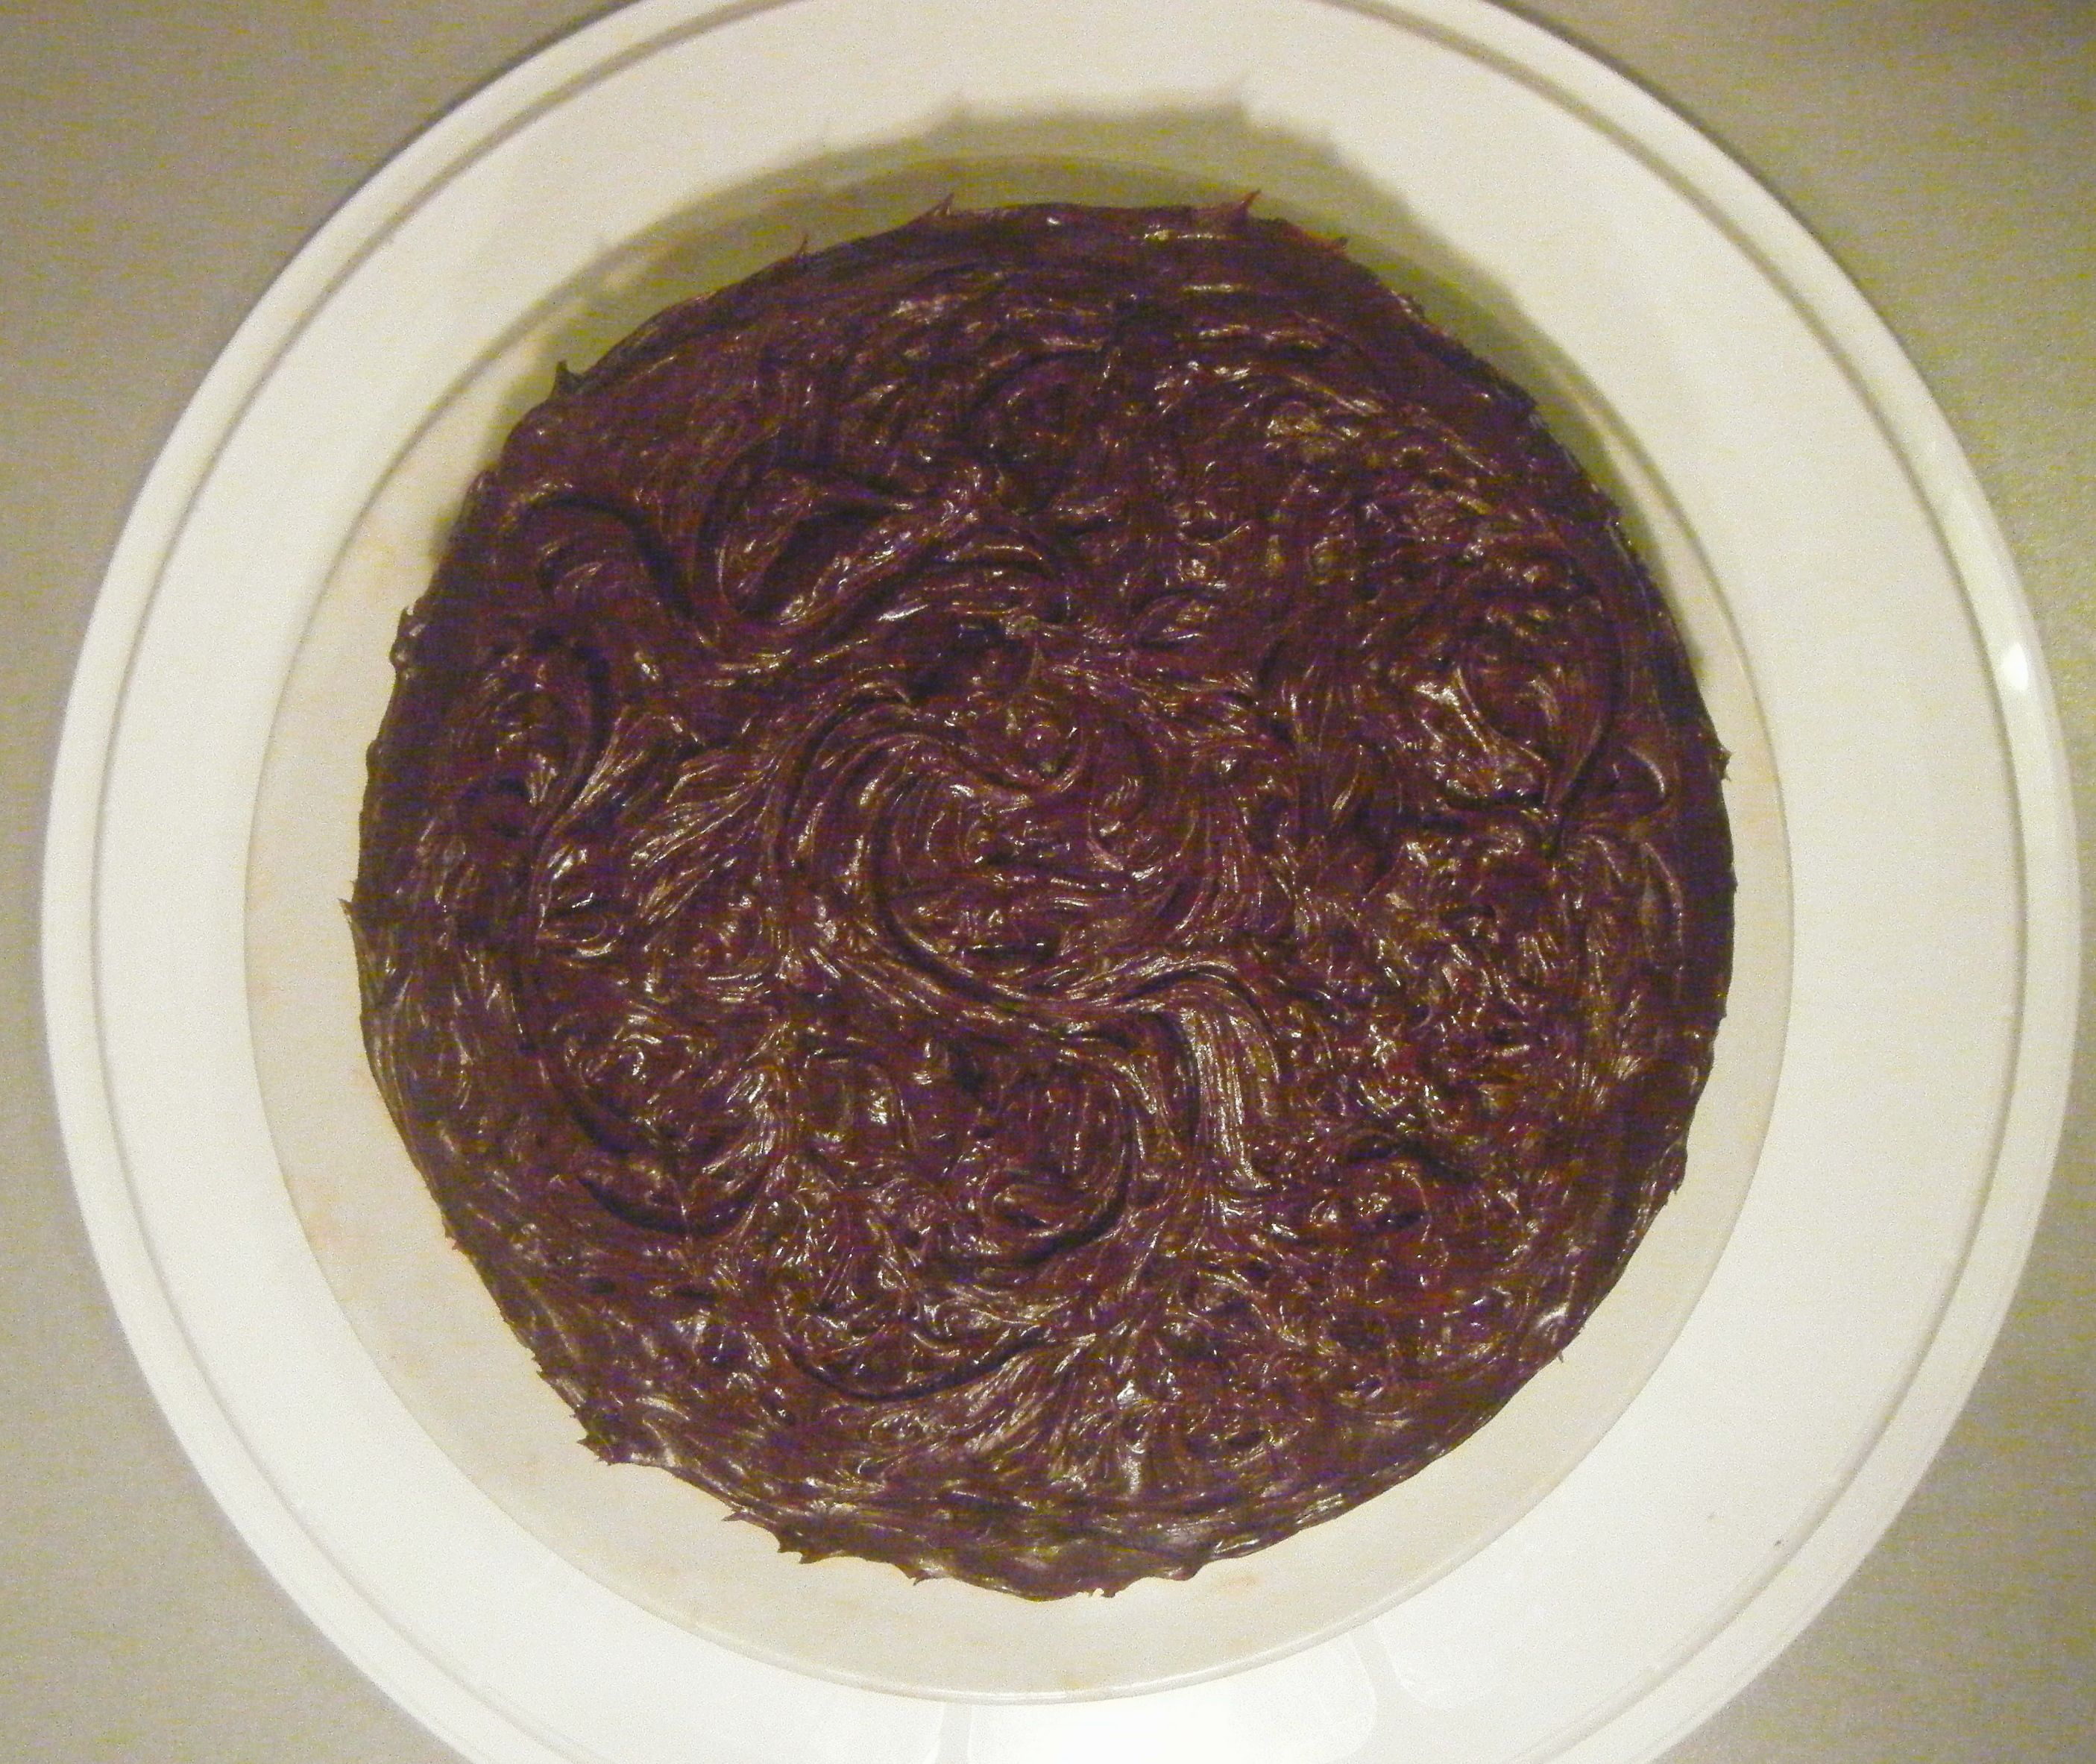
With the icing (nearly) ready, I started by icing the bottom layer, put the top cake on and then added the remaining icing (after desperately trying to let it cool for another 5 minutes in the fridge). Given that the icing was running down the sides of the cake slightly, I decided to cover the cake fully. I used a spatula to make the icing as smooth as possible and then used a small fork to make a pattern on the top of the cake.


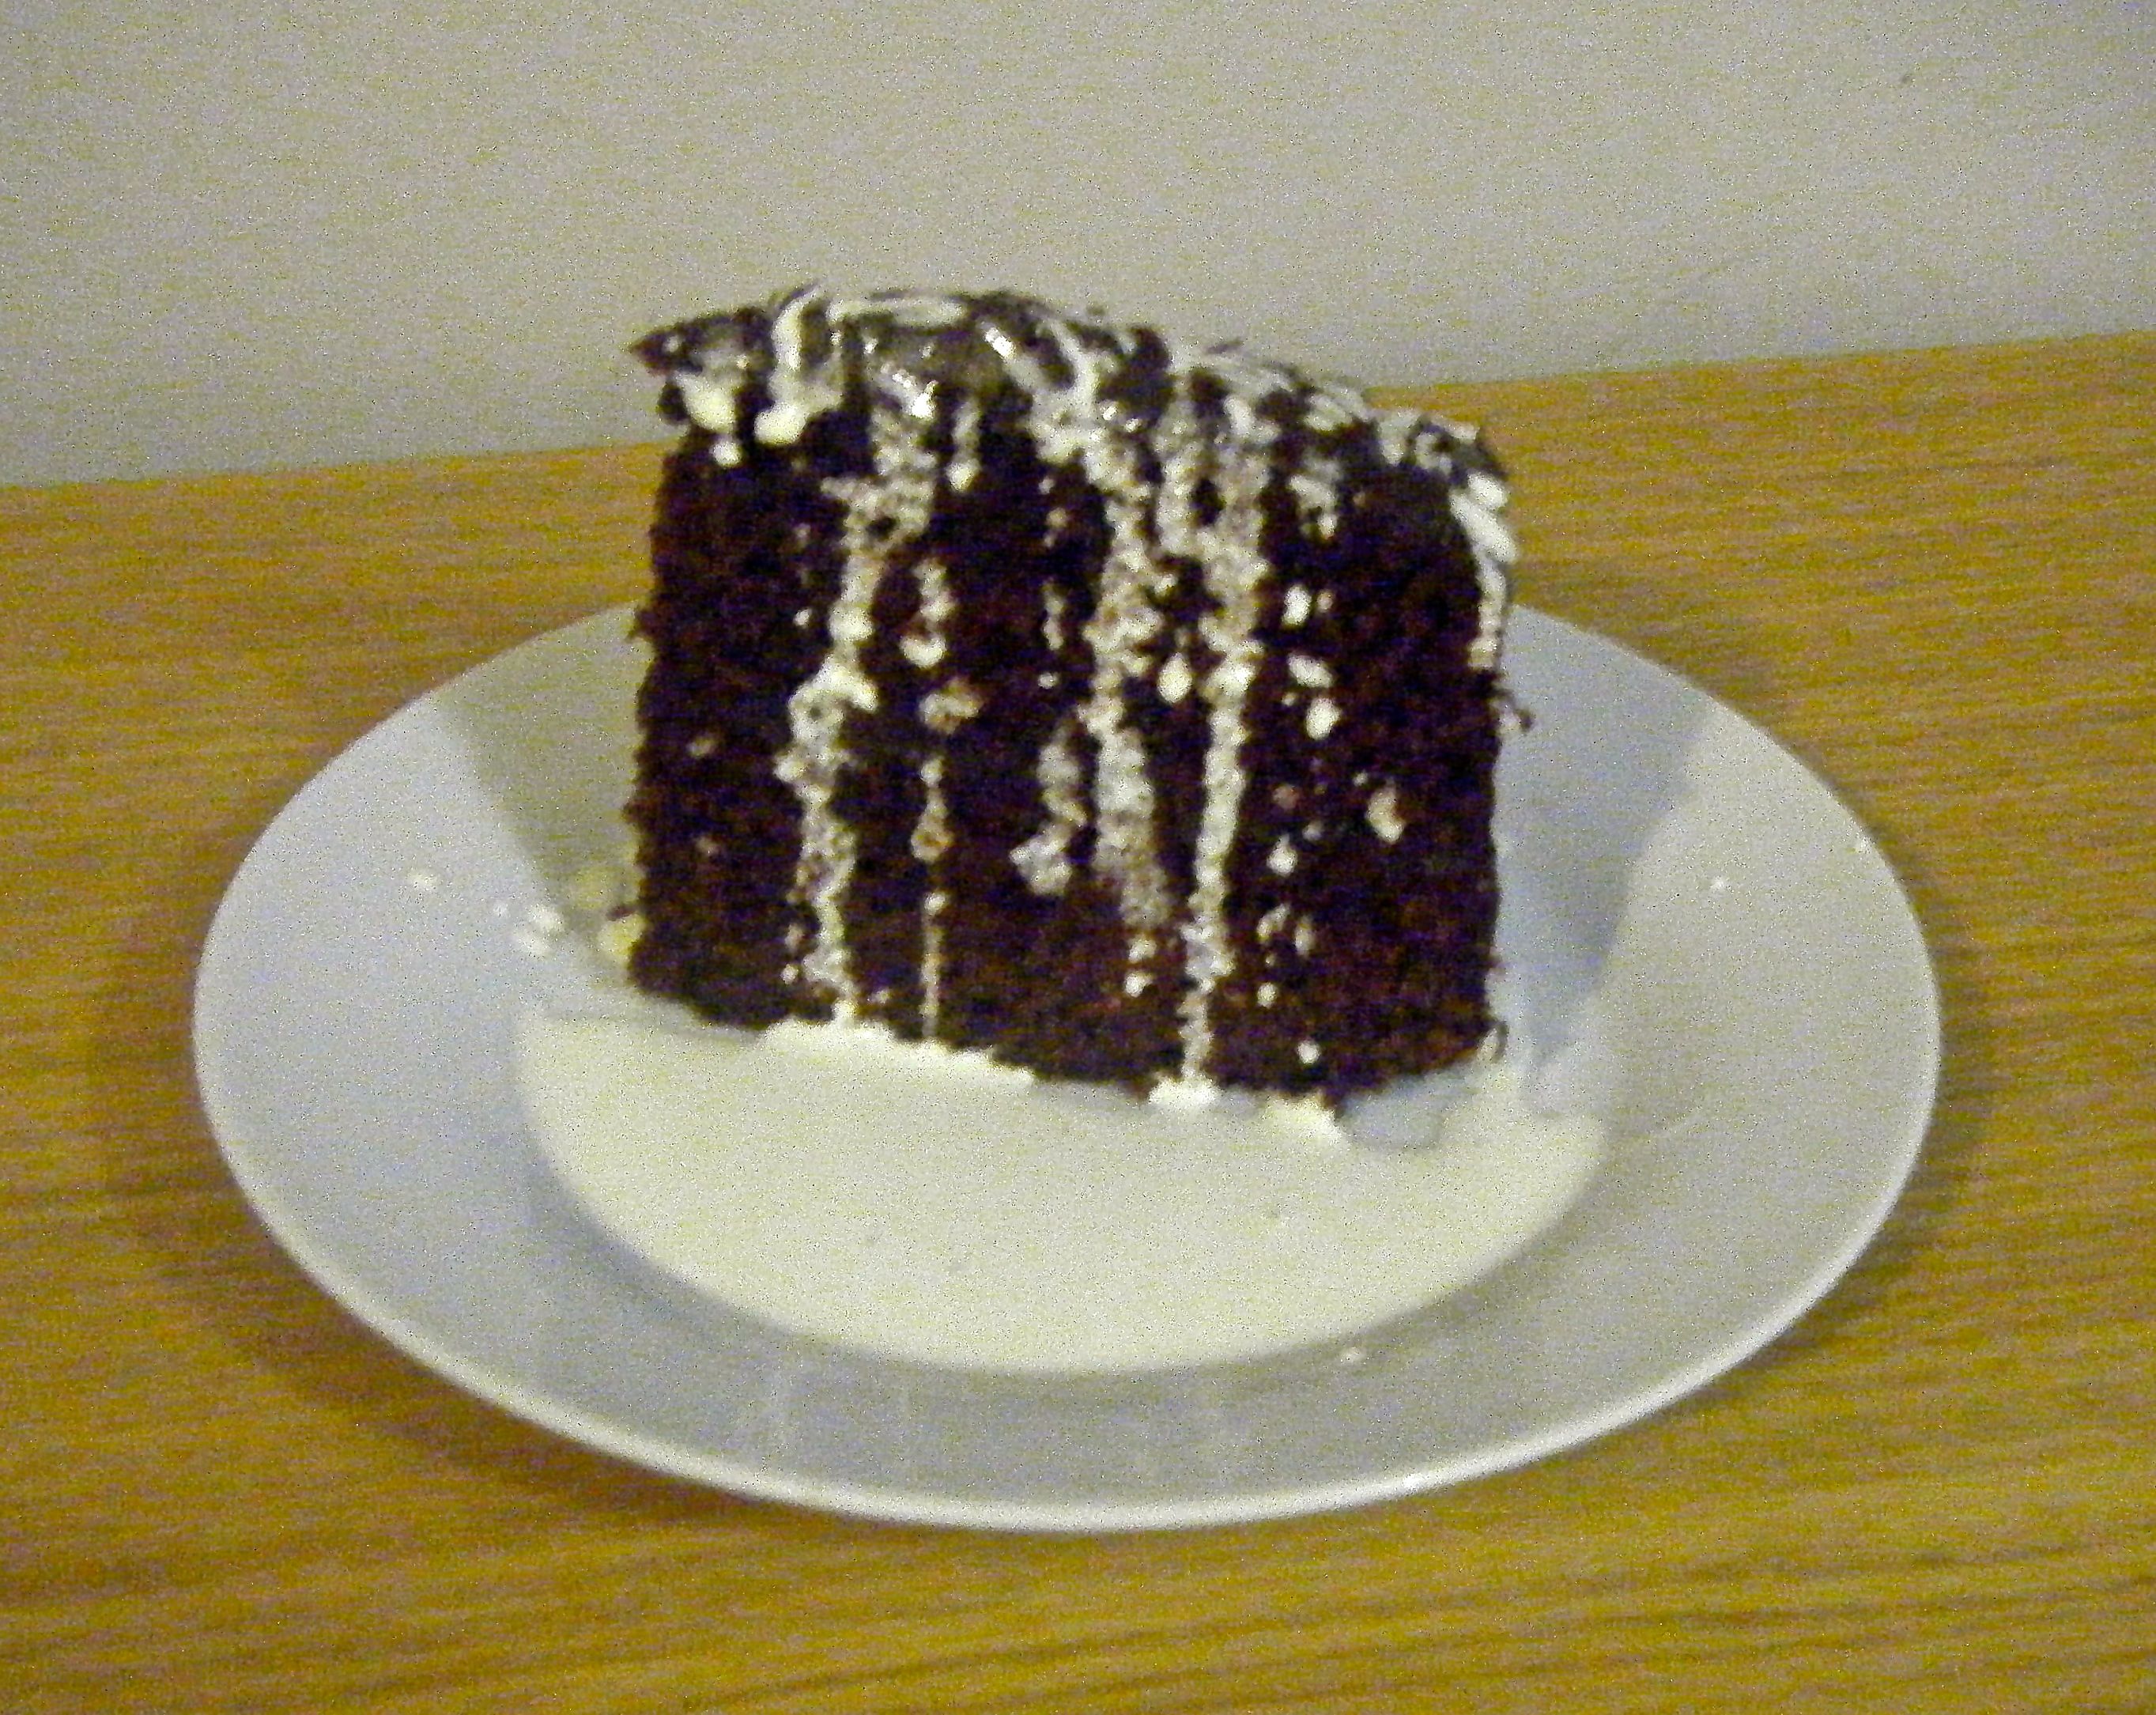
The final product was absolutely beautiful. Mary Berry strikes again! The cake was so light but full of chocolately goodness. I had mine cold with cream, whilst my other half had his warm with ice-cream. For the sake of completeness, I obviously had to try some of my boyfriends warm/ice-cream combo and I can confirm that this was just a nice as my cold/cream serving 🙂


Coming up next week, Challenge No. 6 – chicken kievs.