This is a real finger food favourite of mine but it is one which can be a bit of a let down if it’s not done well. There are a number of factors to consider when making wings – you need the right size and texture for the chicken, the right level of sweetness and hotness in the sauce and, of course, the right amount of sauce on the wings.
My whole family shares my love of BBQ chicken wings and over the years we have had some great tasting wings. One of my favourites was at a bar in Goderich, Canada. This is a small and extremely beautiful town in Ontario where my Great Uncle settled to start his family. It was my lovely family in Goderich who introduced me to the wings at Paddy O’Neils – quite simply AMAZING! With my family’s love of chicken wings, it is somewhat unsurprising that this recipe was suggested by my big brother.
I have been regularly making chicken wings since we returned from a trip to Vegas in 2013 and my boyfriend and I quickly got withdrawal symptoms from the yummy food we enjoyed on holiday. I searched online and found a great recipe which has been a regular treat every since. I’ve always made my wings with a buttery hot sauce and I therefore had to find a BBQ sauce recipe to use for this challenge.
A quick search online revealed lots to choose from and eventually I opted for this one from tasteofhome.com
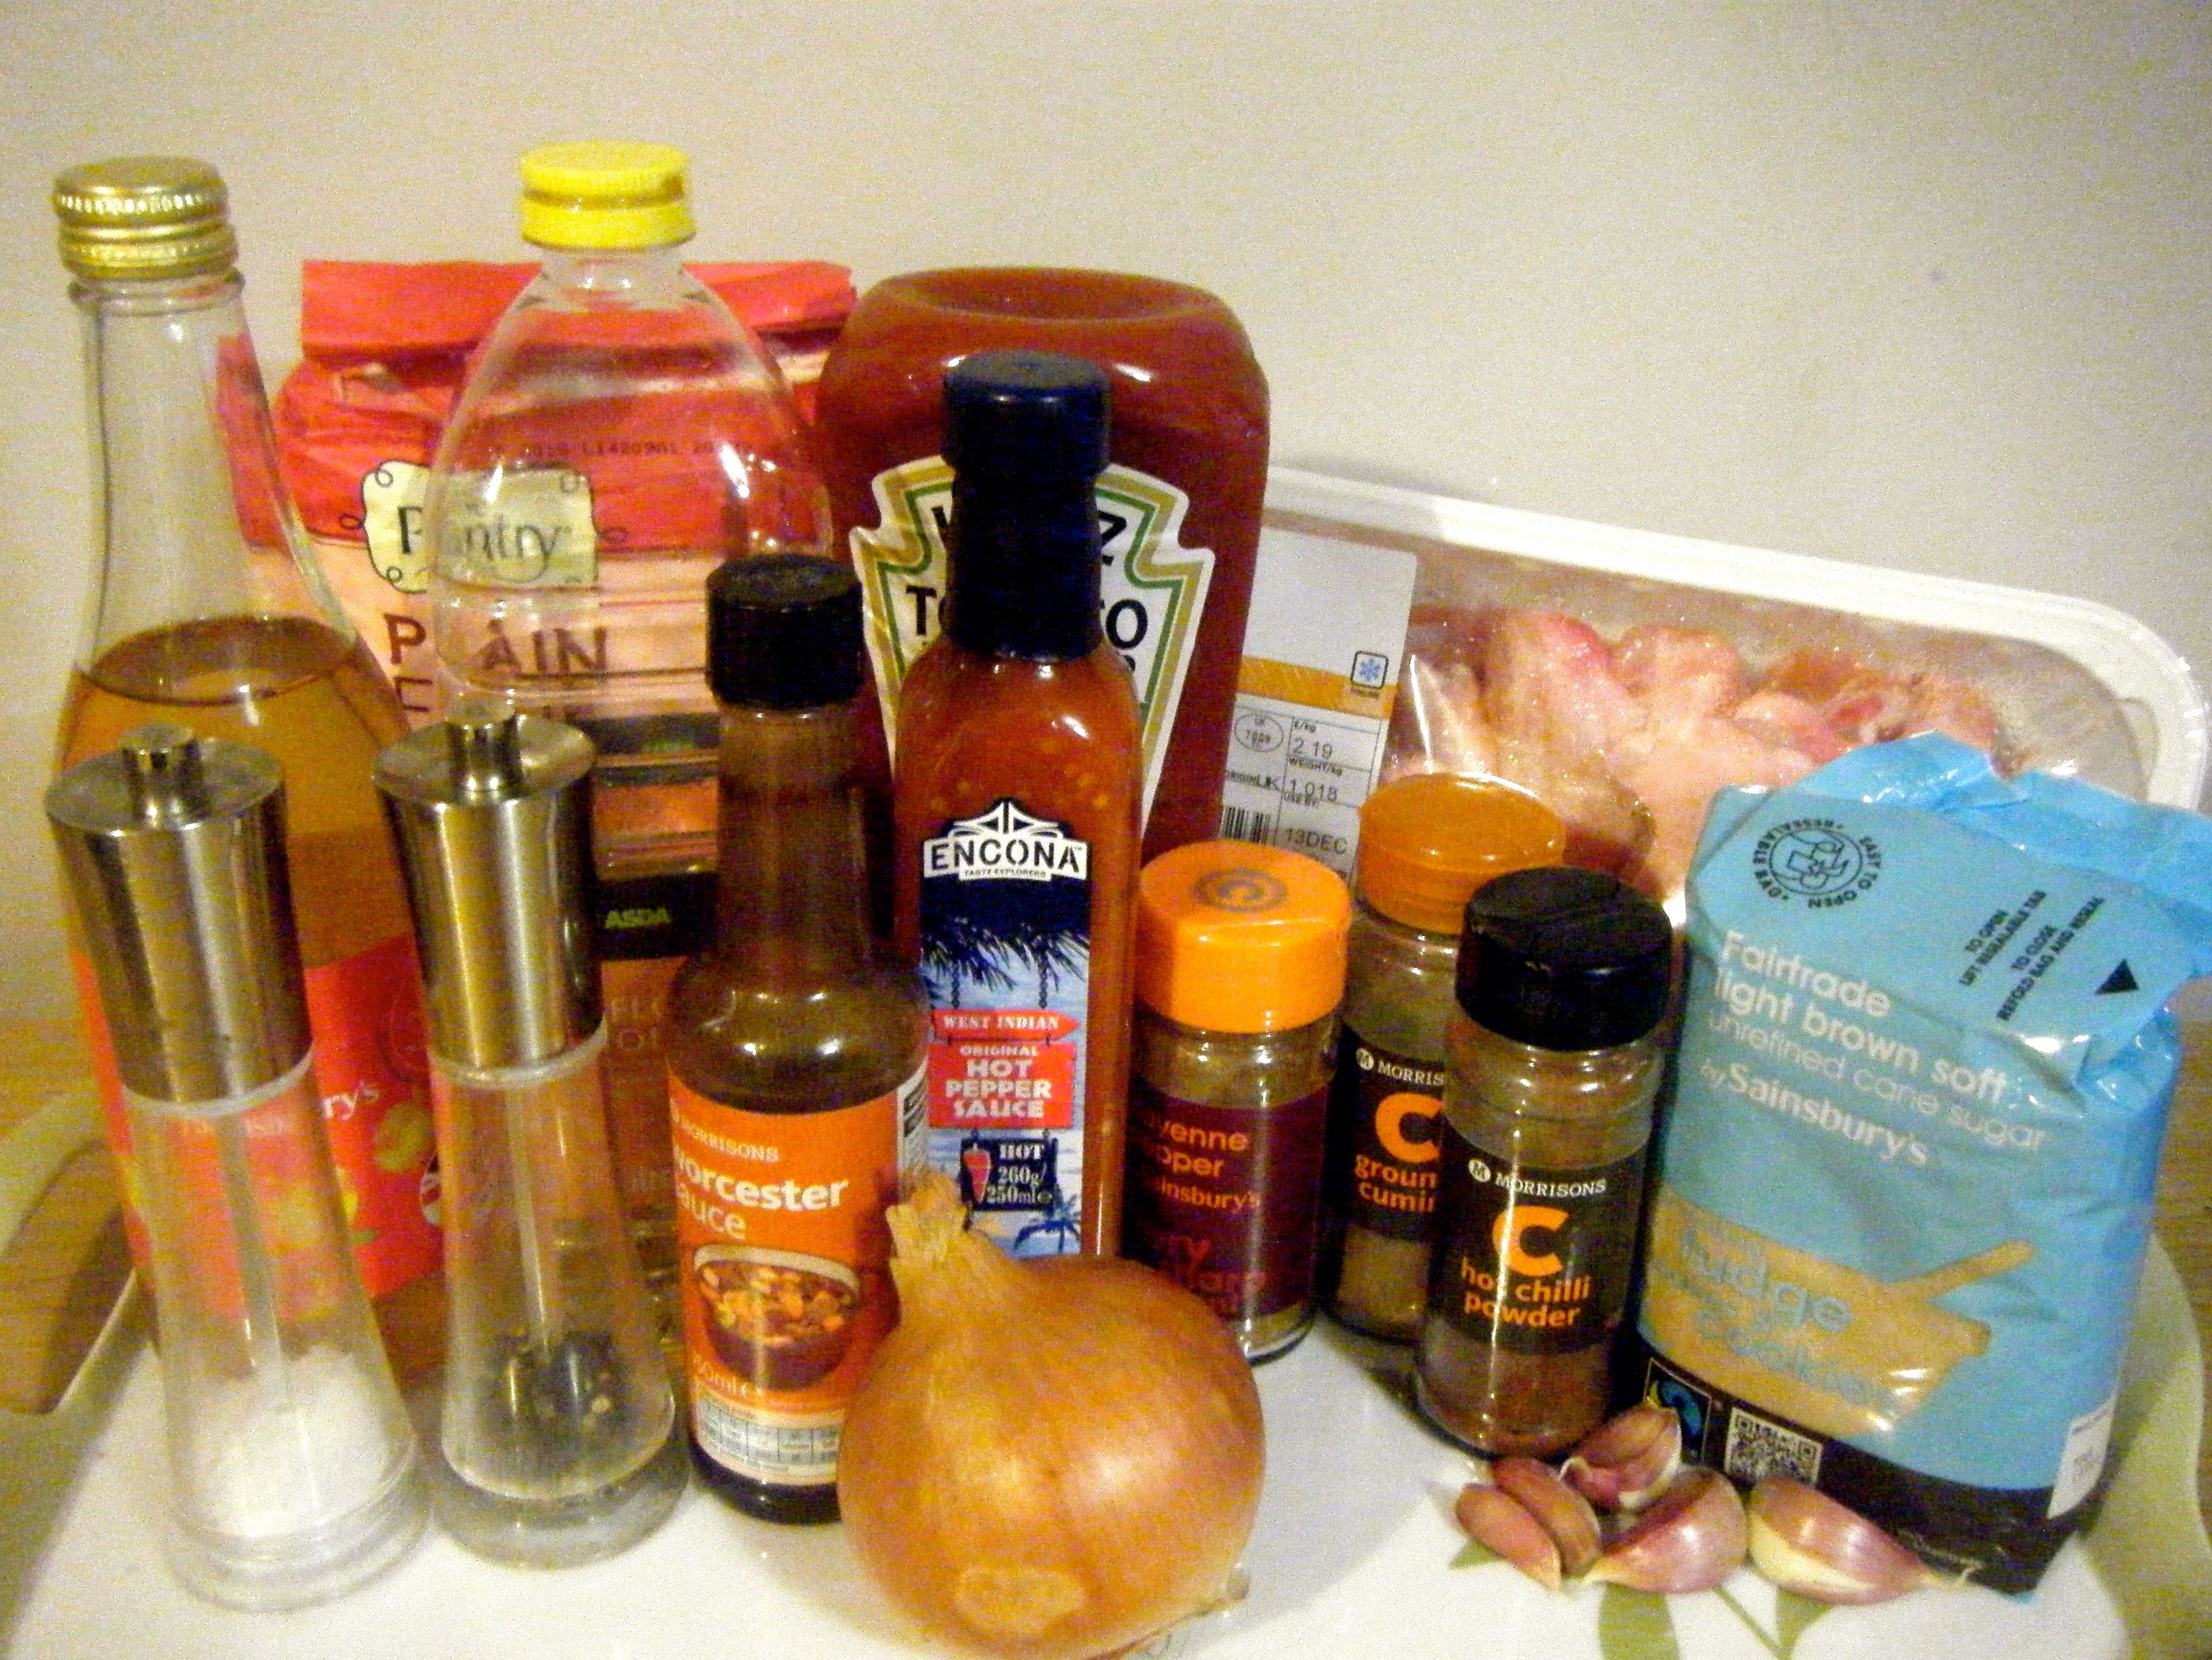
When combined with my existing recipe for the wings, you will need the following:-
- Wings
- Chicken wings (1 pack of approximately 700g)
- 60g flour
- 0.4g cayenne pepper
- 0.6g paprika
- 2g salt
- Oil for frying
- Sauce
- 1/4 onion (finely chopped)
- Oil for frying
- 2 medium-large garlic cloves (crushed)
- 250ml ketchup
- 120ml cider vinegar
- 66g light brown soft sugar
- 60ml worcestershire sauce
- 1tsp hot chilli powder
- 1/2 tsp cayenne pepper
- 1/2 tsp ground cumin
- 1/4 tsp hot pepper sauce
WARNING – in case you haven’t realised already, this recipe is not a healthy one but my gosh, it is worth the guilt!
Practical Tip: trying to weigh 0.4g of cayenne pepper and 0.6g of paprika is a bit of a nightmare! So I weighed out 4g of cayenne pepper, mixed this with 6g of paprika and stored it in an airtight container on my spice shelf. Each time I want to make the wings, I just weigh out 1g of the mixed spice. Trust me, once you have made these wings the first time, you’ll come back again and those leftover 9g will most definitely get used up.
With my ingredients ready I set out preparing my chicken wings. I chopped off the tip of each wing first (and discard this bit) then separated the wing and drumette. Once this was done I placed the chicken wings and drumettes in a nonporous dish and in a separate jug mixed the flour, cayenne pepper, paprika and salt. Then I carefully coated the chicken in the flour mix and popped it in the fridge for 90 minutes
Practical Tip: add a small amount of the flour mix to your chicken and stir with a spoon. Then add a bit more and give it another stir. Finally, tightly cover the dish with cling film and give the chicken a good toss. The cling film will keep the kitchen (and your clothes) tidy but this helps make sure you get those chicken bits fully coated!

With the chicken in the fridge it was time to start thinking about the fryer. Now I have a deep fat fryer and, in complete honesty, I was dreading using it the first time. I’ve heard plenty of horror stories of fires from deep fat frying and I was completely against having one in the flat. However, my in-laws bought one for us as a present and as it was in the flat I had no choice but to give it a go (my boyfriend likes his chips homemade and deep fried – nice and healthy!). If you don’t have a deep fat fryer, this recipe will no doubt work with a deep pan and frying basket; but please be very careful and make sure you control the temperature.
Whichever method you are using, you want to get your oil nice and hot to around 190 degrees celsius.
Practical Tip: make sure your oil is very hot before you add the chicken wings. If you add them before the oil has reached the right temperature the flour coating will simply absorb the fat and you will end up with very greasy and slightly soggy wings rather then nice crispy ones.
Whilst the oil was heating up, I got started on the sauce. I fried my onions until soft (this took about 8 minutes) and I added my garlic for a further minute. Next, in went the rest of the ingredients, except the hot sauce which got added right near the end. The recipe said to simmer the sauce uncovered for 8-10 minutes, however, I left mine a lot longer than this as it took a while to thicken up. In fact, I let the sauce simmer for somewhere between 20 and 30 minutes.

With the sauce on the go and the oil ready I placed half my chicken in the basket and popped it into the fryer. Actually, I always get my boyfriend to do this bit – I’m still scared of my fryer! The chicken takes about 15 minutes to cook. Once done, I placed the cooked chicken in an overproof dish, covered it with foil and put it into a warm oven while the second batch went in the fryer. Depending on the size of your fryer you may be able to do the whole lot in one go but you must be careful not to overcrowd the chicken.
When I put the the second lot of chicken into the fryer I took my sauce off the heat. It was looking quite lumpy because of the onion (despite my best attempt to chop finely!) and so I decided to blitz it with my handheld blender. I let it cool for about 5 minutes before I did this, then added the hot sauce and returned the sauce to the heat for the final 5 or so minutes until the chicken was ready. I put it all together and served up with some sweet potato fries.
Practical Tip: I covered the chicken in a bit of sauce then gave it a mix before adding the rest. This helped make sure every bit had a good coating of the yummy BBQ sauce.

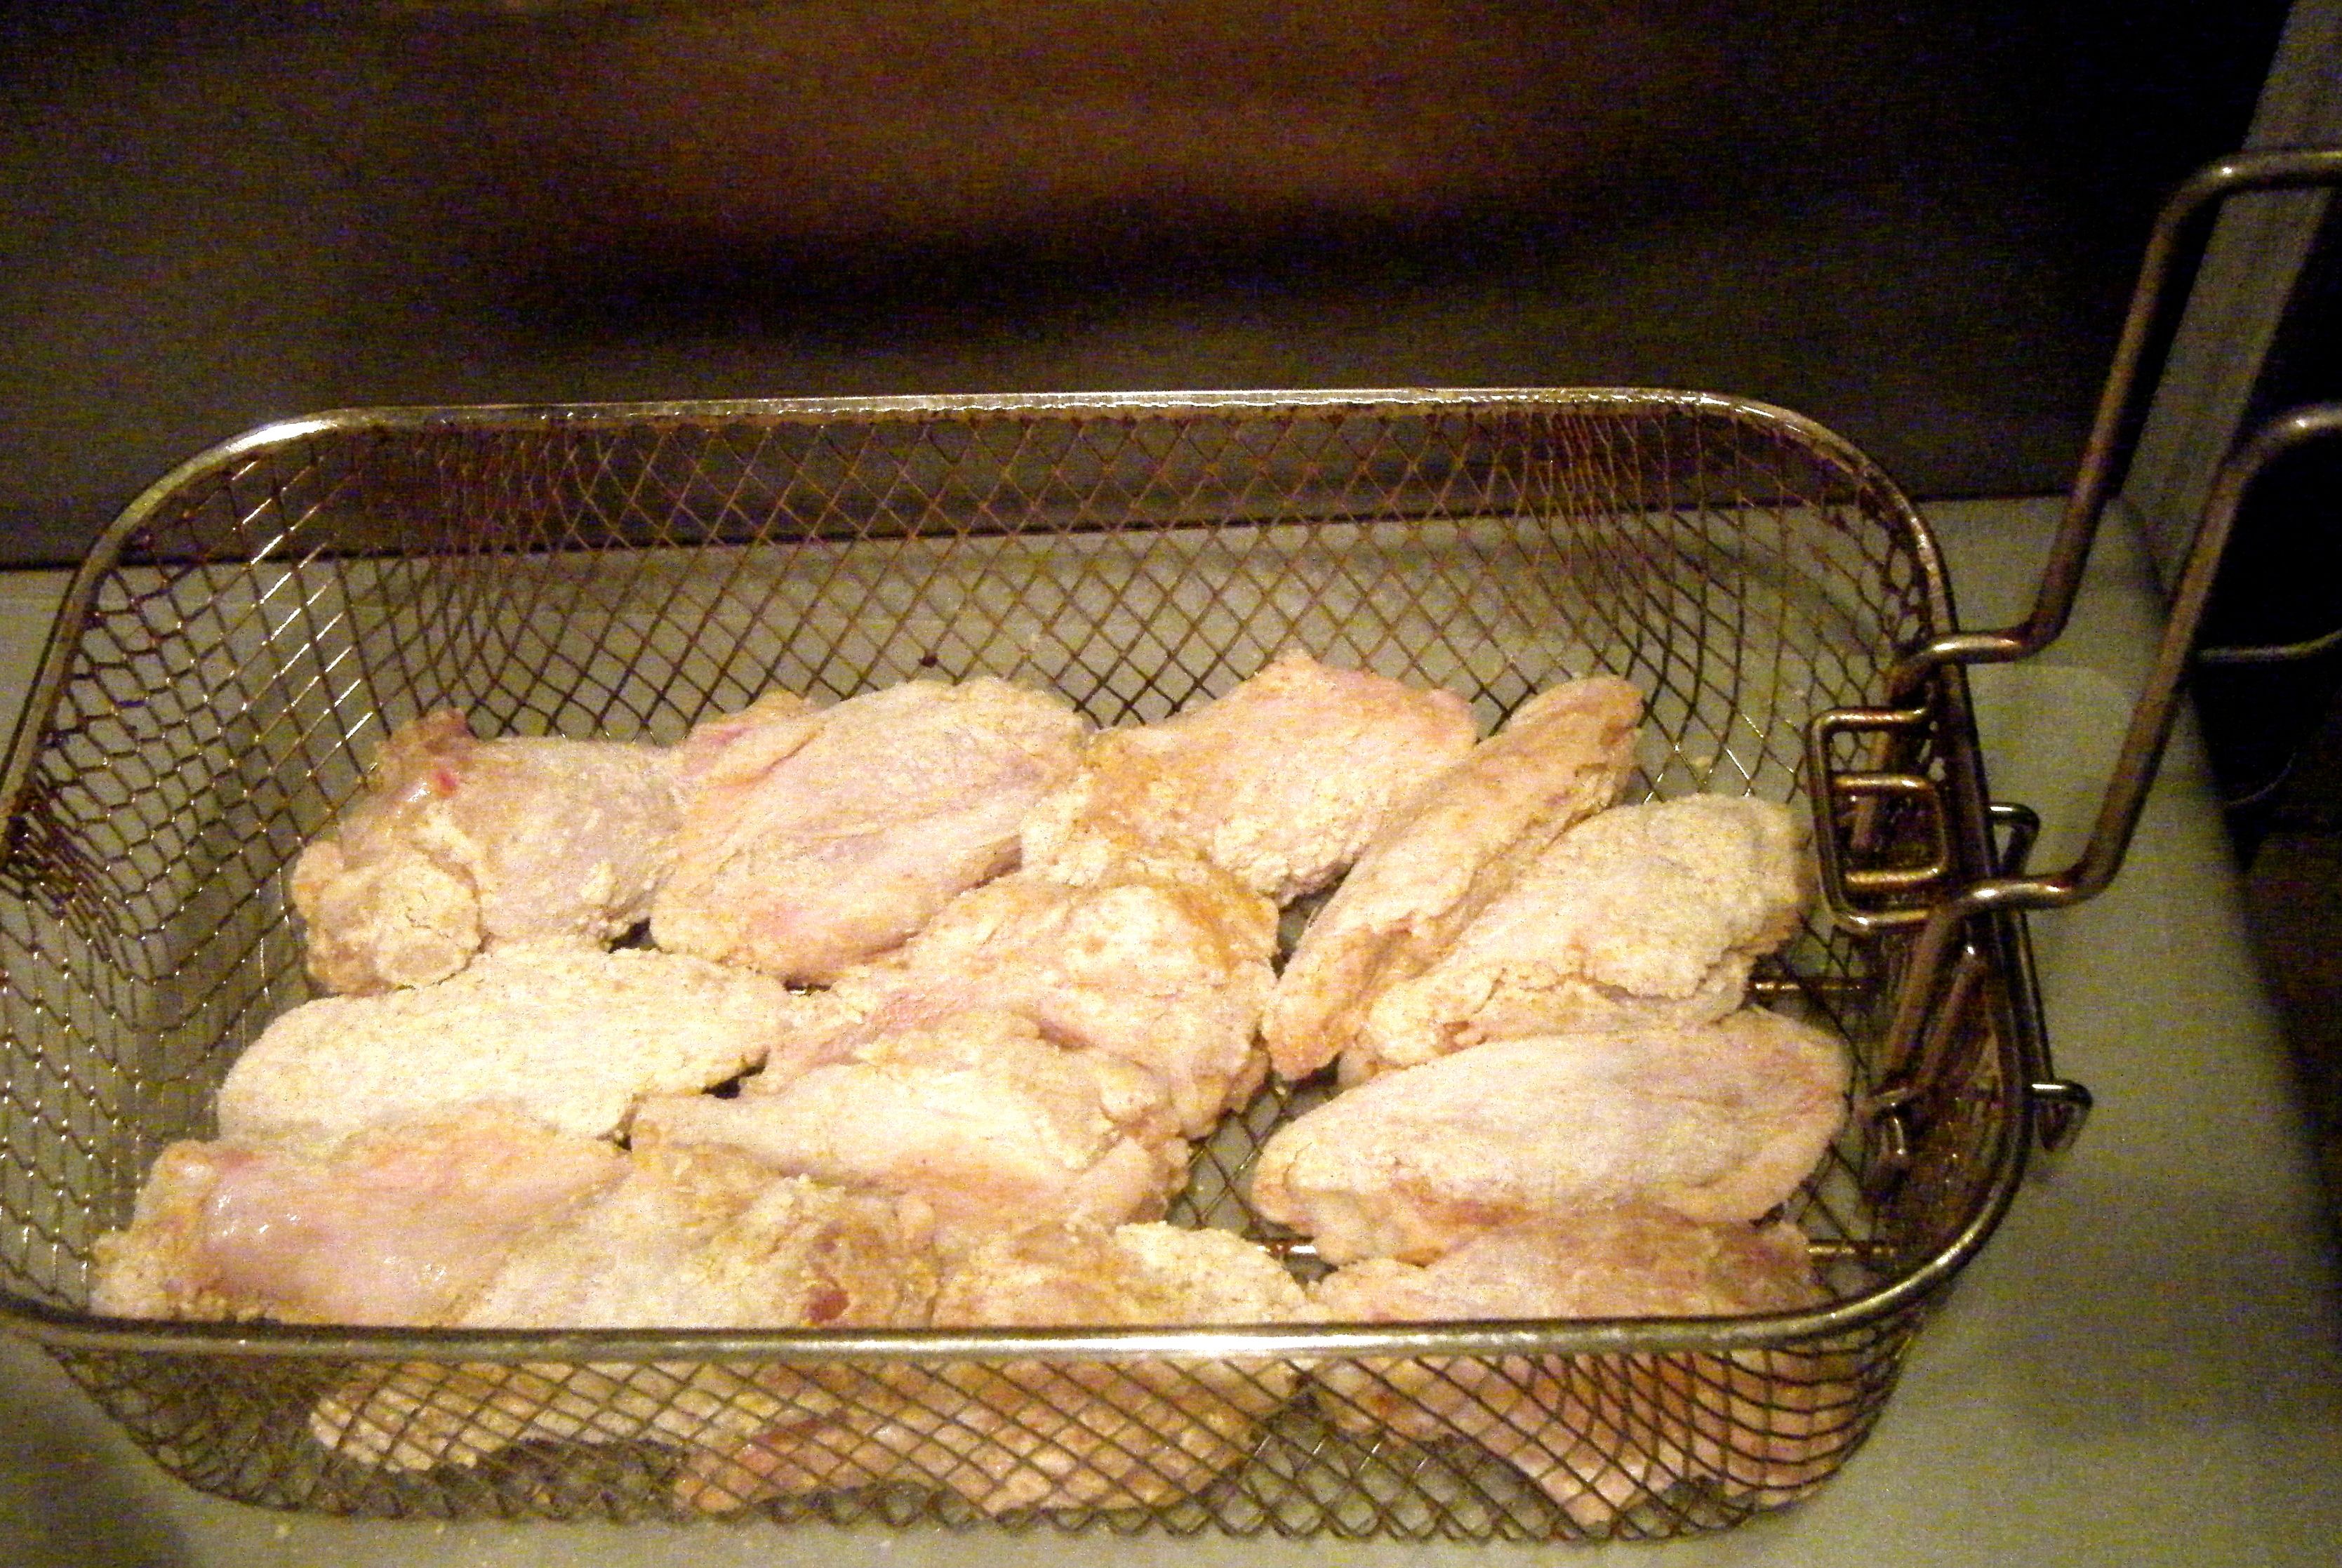
Pre-sauce coating – nice and crispy wings!
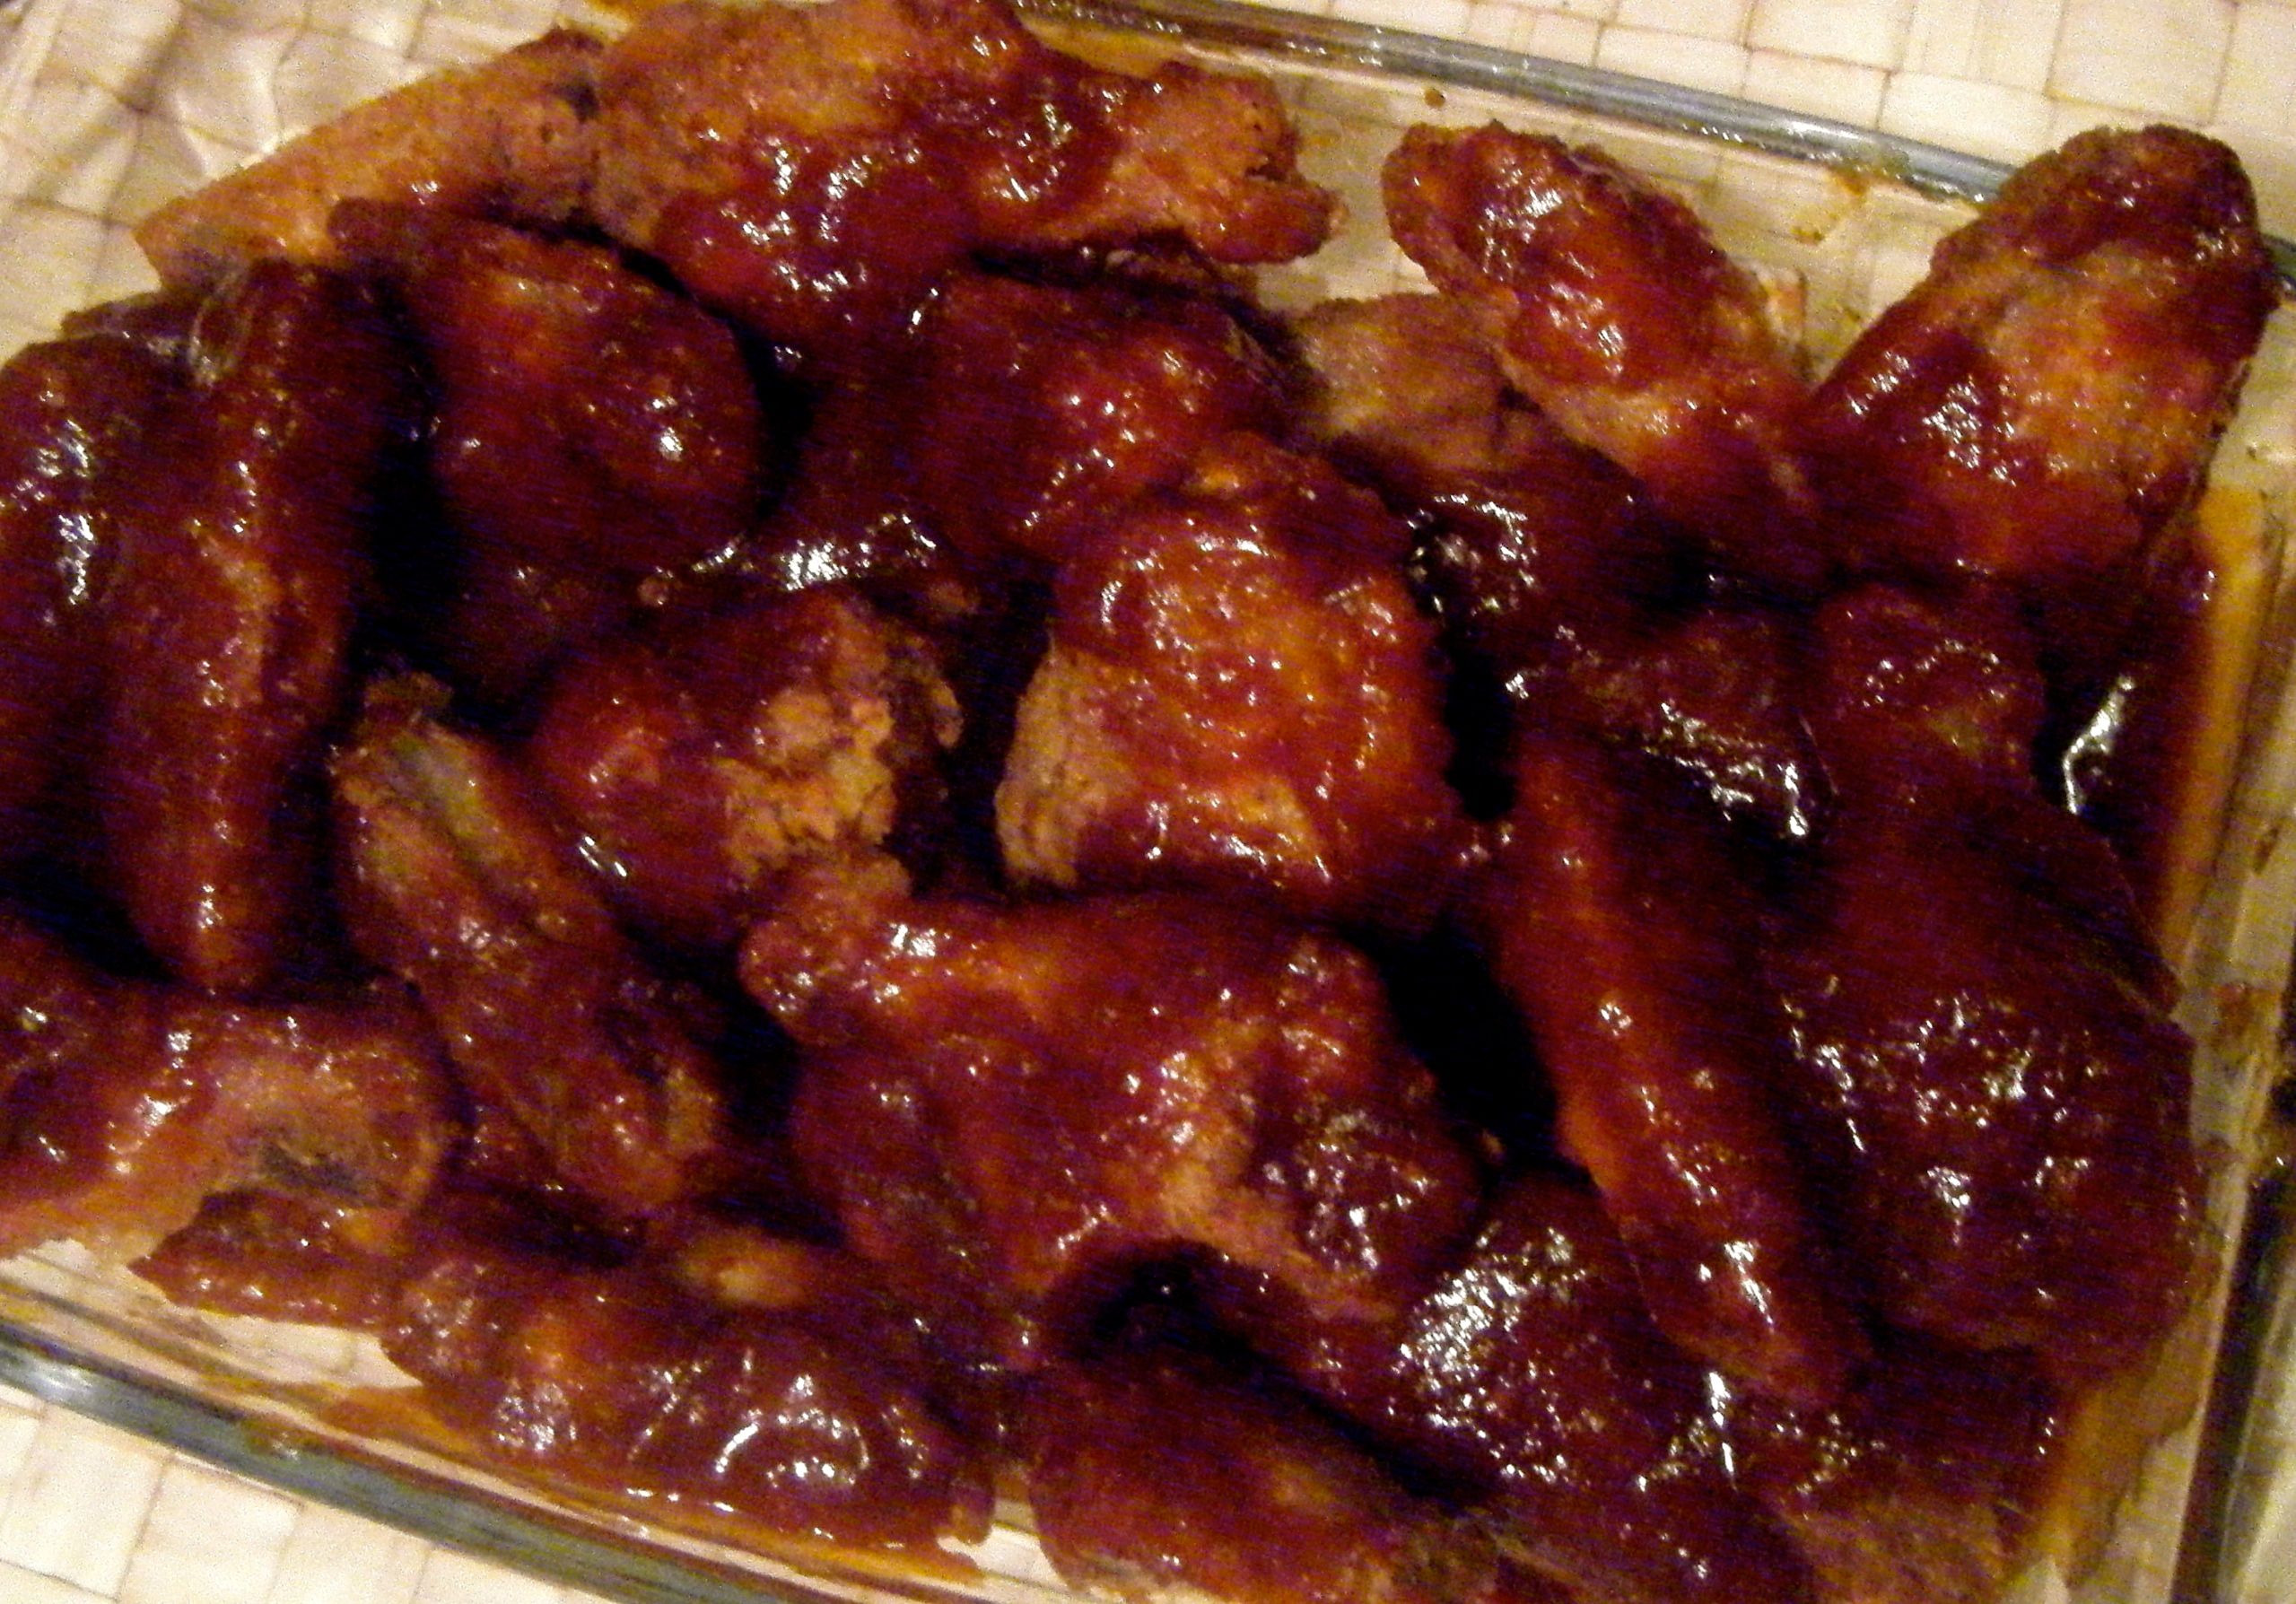
Smothered in yummy sauce!
And so the verdict – best BBQ sauce my boyfriend and I have ever had! It was delicious! Challenge No. 4 was a success 🙂
Next up, I’ll be turning my hand to chocolate fudge cake so make sure you come back next week for Challenge No. 05.