Challenge No. 46 – Chicken and Gravy Pie

This is another challenge suggested by my lovely mum.  I don’t really remember eating pie much as a child but during my teens, I remember mum and I getting excited about having some yummy chicken and gravy pie served with deliciously creamy mash potato.  My love of chicken pie wasn’t missed by Dave and on my first birthday with him, he bought me some frozen chicken pies 🙂

I started looking for recipes a while ago but I couldn’t find the right thing.  All of the recipes I found included vegetables in the pie or where with a really creamy sauce.  But this wasn’t right! I knew exactly the type of pie I wanted but I couldn’t find the right recipe.  And then, I stumbled across a chicken stew recipe in one of my cookbooks which looked perfect.  The recipe is from The Slow Cook Book by Heather Whinney.  This book is great because it gives you a slow cooker version of the recipe as well as a tradition method.  I’ve had this book for a while now and every recipe I’ve made has been delicious!  I would definitely recommend it.

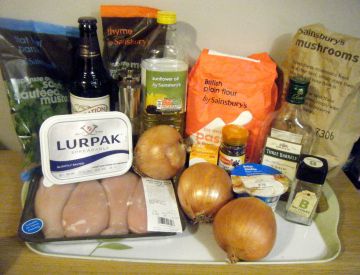
Anyway, the recipe I decided to use was for a chicken and beer stew.  I decided to make the stew and then pop it into a pie dish to top with puff pastry.  I’ve had a bit of a disaster with pastry recently and so I decided to make my life a little easier by using ready to roll pastry.  So for this recipe, you’ll need the following ingredients:-

  • 4 chicken breasts
  • salt and pepper
  • 30g butter
  • 2tbsp vegetable oil
  • 750g (approx 3 large) onions, thinly sliced
  • 30g plain flour
  • 3-4 tbsp brandy
  • 500g mushrooms, quartered
  • 5-6 parsley sprigs
  • 2-3 thyme sprigs
  • 1 bay leaf
  • 2 tbsp juniper berries, gently crushed (I used my pestle and mortar)
  • 500ml beer
  • 250ml hot chicken stock
  • 4 tbsp double cream
  • 1 pack just roll puff pastry

Ed - ingredients.jpg

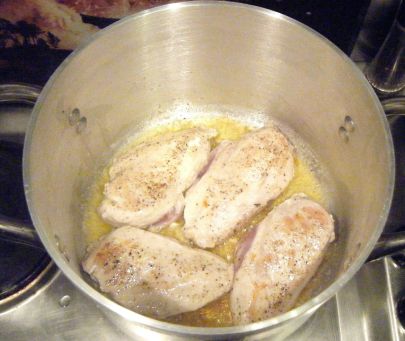
I started off by seasoning the chicken breasts with salt and pepper.  I heated the butter and oil in my big pan over a medium to high heat until it was foaming.  I then added the chicken and cooked for about 5 minutes on each side until browned.  I put the chicken to one side.  
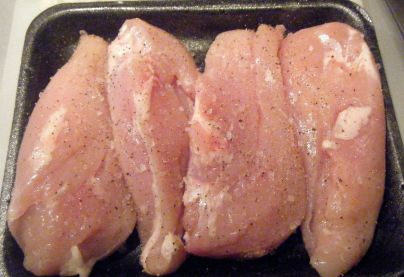
Ed - seasoned chicken.jpgEd - chicken cooking.jpg

I turned the heat down to medium and cooked the sliced onions for 10 minutes. 
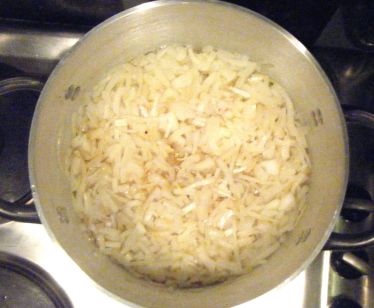
Ed - onions.jpg

Whilst the onions were cooking, I started to make a bouquet garni with the parsley, thyme and bay leaf.

Practical tip: a bouquet garni is like a floral bouquet but made with the herbs.  Simply take the herbs and tie them together with some cooking string.
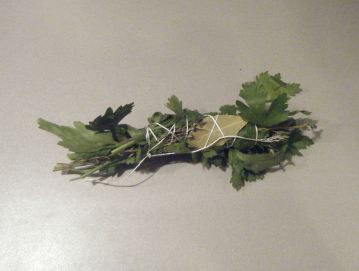
Ed - garni.jpg

Once the onions were soft, I sprinkled in the flour, gave it a good stir and cooked it for around 2 minutes.  I put the chicken back in in a single layer before adding the brandy and letting it come to the boil for a few minutes.  During this time, I kept spooning the brandy over the chicken.
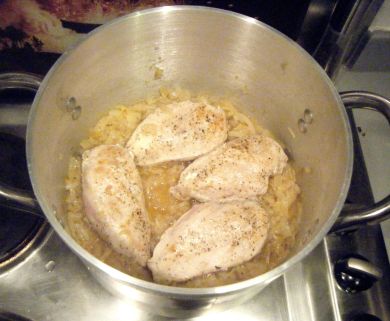
Ed - chicken.jpg

I added the mushrooms, bouquet garni and the crushed juniper berries.  I added the beer and the chicken stock.  Once the liquid was boiling, I put the lid on and left it to simmer for 50 minutes.
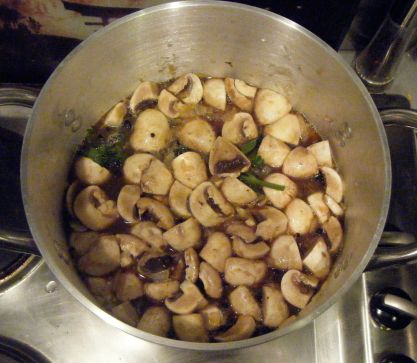
Ed - mushrooms in.jpg

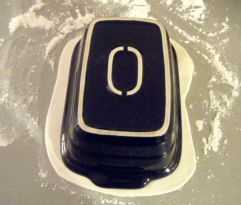
As I was approaching the end of the 50 minutes, I rolled out my pastry to ensure it had time to settle.  I lightly dusted the work top and rolled out a third of the pack into a rectangle.  I placed the pie dish upside down on the pastry and cut round it with a sharp knife.
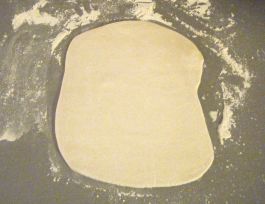
Ed - pastry.jpgEd - measuring dish.jpg

When the timer went off, I pulled out the chicken and used forks to shred it.  I then returned it to the pan and stirred through the cream.

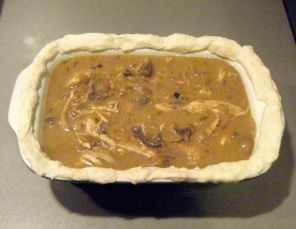
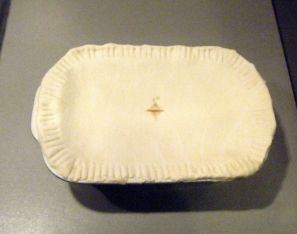
I portioned out some of the stew into my pie dish and brushed the edge with some water. I then used the cutoffs to line the edges, brushed it with a little more water and then positioned the pastry lid on top.  I used a fork to seal the edges and then used a sharp knife to put a cross in the centre.
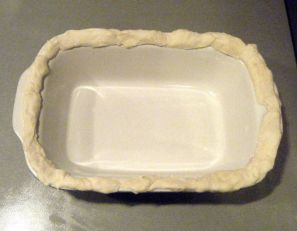
Ed - linedEd - fillingEd - pie

Practical tip: freeze the leftover stew and pastry to use another day.

I put the pastry in the oven on 200 degrees celsius for 20 minutes until the puff pastry was golden brown.
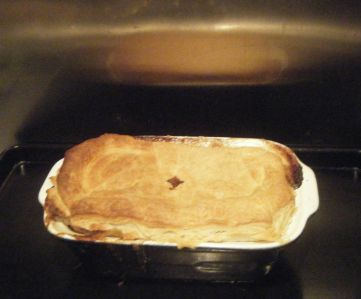
Ed - cooked

I served up with some mash potato which I made using some of the double cream.
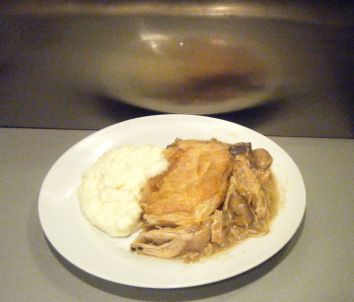
Ed - served up

This dish was absolutely delicious!! The pie filling was rich and full of flavour, the top was lovely a crispy and the mash was so creamy…the perfect combination.  I can’t wait to use the leftovers and I will definitely be making this again for my mum when she visits!

Coming up next, Challenge No. 47 – stollen.

Challenge No. 45 – Egg Custards

I’m starting off with an apology for the lateness with this post.  I’ve been having trouble uploading the photos.  I’ve finally managed to add the photographs to the blog, although I don’t like the new way of doing it!

This suggestion caused a bit of confusion to start as my friend Laura asked me to make “egg custards”.  I’d never heard of these and wondered what on earth she was talking about.  This isn’t uncommon in our friendship.  I met Laura on my first day at University and had the pleasure of living with her for two years.  During this time and in the years of friendship since, Laura and the other University girls have taught me many things. In particular, I’m never allowed to forget the time that had to explain to me what a Wendy House was or the time I didn’t know what an onion bhaji was.  Most recently I managed to get confused between crème brûlée and tiramisu and the Laura and one of the other girls have affectionally named our group messenger chat “tiramisu” 🙂 So it was nice to see Laura teaching me something new again in Challenge 52 with her suggestion of “egg custards”.

After a little bit of research, I discovered that what Laura called “egg custards” is what I knew as custard tarts.  I found a recipe by Paul Hollywood who actually called them egg custard tarts and so I decided this was the one I had to use this one.

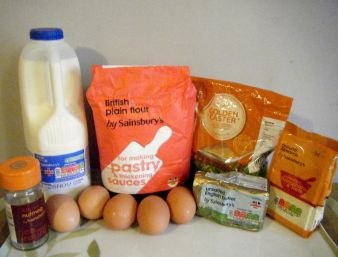
I amended the quantities slightly and for this recipe, you will need the following:-

  • For the sweet pastry
    • 165g/5¾oz plain flour, plus extra for dusting
    • 25g/1oz ground almonds
    • 120g/4¼oz chilled unsalted butter, cubed
    • 55g/2oz caster sugar
    • 1 free-range egg
  • For the custard filling
    • 400ml pint full-fat milk
    • 4 free-range egg yolks
    • 52g caster sugar
    • freshly ground nutmeg

Ed - ingredients.jpg

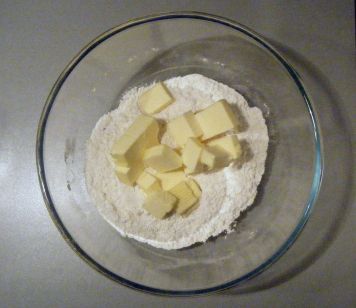
I started off by making the pastry by stirring together the flour and ground almonds.  I added the cubed butter and rubbed it together to form breadcrumbs.

Practical tip: warm hands will begin to melt the butter and the mix will become too wet.  If, like me, your hands are prone to being warm, run them under a cold tap for a while and dry them thoroughly before you get started.  Repeat this cooling process periodically to make sure your hands don’t warm up too much.

Ed - flour and butter.jpg

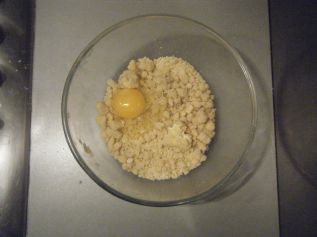
Despite having used the rubbing technique a number of times over the last year, for some reason the breadcrumbs didn’t form as they should have done this time.  I tried keeping my hands cool but it still didn’t work.  I don’t know whether the flat was a bit hot or whether I just overworked it but whatever the reason, my butter didn’t rub in very well. 

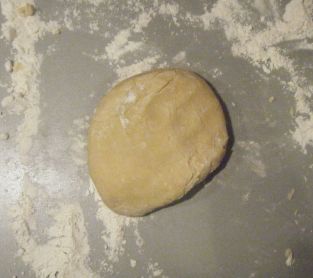
I got to a point where I decided I didn’t want to keep working the mixture as it was starting to become to moist.  I tried to stir through the sugar and added the egg.  I mixed it with my figures and tried to form a soft dough.  The dough was really wet and just didn’t quite seem right.  However, I persevered and turned it out onto a floured surface to work together.  I managed to form a ball and popped it the fridge for 30 minutes.

Ed - questionable breadcrumb.jpg

Ed - pre-chill.jpg

Once the dough had chilled, I chopped it in half.  As there was only me and Dave to eat the results of this challenge, I decided to half the custard filling quantity and just use half the pastry.  The plan was to freeze the second half of the pastry, however, as you may have picked up, this challenge didn’t quite go to plan.

I took half the pastry and on a floured surface tried to roll it out so I could cut out 6 circles using an 11cm flutted cutter (as specified by the recipe).  There is no way I could get 6 circles out of this dough.  It was too fragile to roll out to the necessary size.  I decided to just get as many as I could but the dough was too ‘wet’ to lift up and pop in my muffin tin. 

After a little bit of a stress, I decided to use my smaller tin and a smaller cutter.  In hindsight, this wasn’t the best decision and I should have just persevered with the muffin tin and large cutter.  Instead, I ended up with tiny tarts which didn’t really have the filling they needed to constitute a proper egg custard tarts.

Anyway with my pastry in the smaller tin, I got start on the custard.  I put the milk into a pan over a medium heat and waited for it to nearly reach a simmer. 

I used a balloon whisk to bring together the egg yolks and sugar until pale.  I then poured in the warm milk and whisked it together.

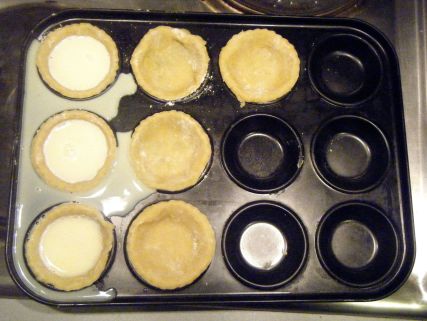
I transferred the custard mixture to a pouring jug and tried to carefully pour this into the tarts.  DISASTER struck! I managed to spill the mixture all over one side of the tin, ruining at least 4 of the tarts.  I was on the verge of giving up, had a little strop and shouted at Dave for trying to help.  I then calmed myself down, apologised to Dave and cracked on to see just how badly these would turn out.

Ed - disaster.jpg

I grated some nutmeg on top and popped them in the oven on 180 degrees celsius.  I set the timer for 10 minutes to then keep an eye on them.

When the tarts were in the oven, I decided to use the remaining pastry to push into two of the muffin tin holes.  There was no way I could roll it out but I thought I’d give this a go.  I then filled the pastry with some of the custard mixture and added the tin to the oven.   

When the 10 minutes timer went off, I sat in front of the oven and watched until I got a very slight dome on the custard.  I don’t really know what this meant and just guessed.  I mean, it couldn’t get much worse.

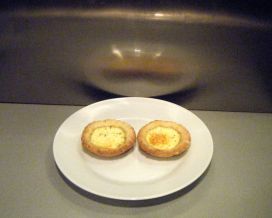
I took the tins out of the oven (at different times as the muffin tin tarts took a lot longer to dome) and left them on the side to cool for 30 minutes.  I then removed them from the tin and braved a taste.

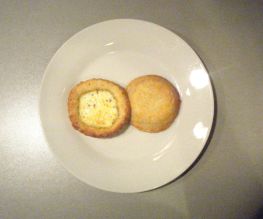
Ed - done.jpgEd - done2.jpg

Ed - done3.jpg

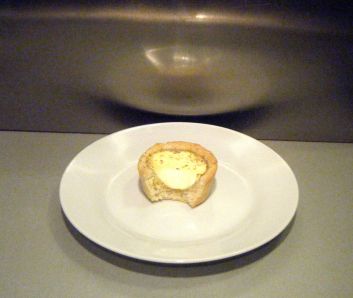
They weren’t as bad as I thought they were going to be but they were far from a success.  Dave loves custard tarts and was really looking forward to this challenge.  He tried some (before I’d even managed to get my photos – hence the half eaten one below) and said they were okay but didn’t quite taste right.

So not a total failure but definitely not something to write home about.  Laura was really disappointed she wasn’t going to get to try her suggestion but after reading this, she’ll probably be glad to have escaped the experience.

Coming up next week, a hopefully less stressful Challenge No. 46 – chicken gravy pie.

Challenge No. 44 – Potato Bomb

Okay, so I’ve been a little cheeky with this one and suggested it myself! I couldn’t help it, I saw this recipe and thought I HAVE to try these.  Mashed potato, bacon and cheese – can it get much better than this? I think not 🙂

I found the recipe on a website called SavoryStyle which is aimed at connecting food bloggers and general lovers of food.  Be sure to check it out.

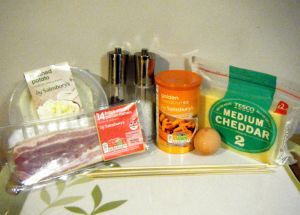
For this recipe you need:-

  • 2 cups leftover and chilled Mashed Potatoes (I used approx. 450g)
  • 1 Egg
  • Salt and Pepper to taste
  • Cheddar Cheese cut into chunks
  • 1/2 cup Dry Bread Crumbs (see my practical tip below)
  • Bacon..one slice per Bomb
  • Skewers or toothpicks
  • Oil for frying

Ed - ingredients

Dave is not a fan of mashed potato and trying to get him to eat it two nights in a row seemed a bit impossible.  So instead I used ready made mash which just needs reheating.

Ed - potato

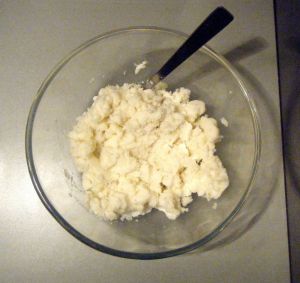
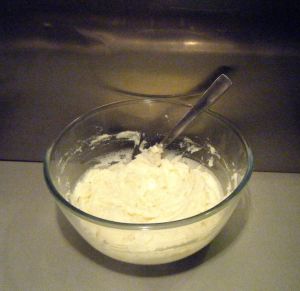
I mixed around 450g with an egg and seasoned it with salt and pepper.

Ed - mixed potato

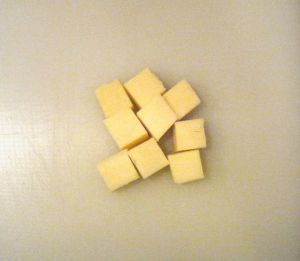
I cut the cheese into chunks.  The recipe says to cut it into one inch chunks, however, when I did this, they seemed huge! So instead, I chopped the cheese into 2cm cubes.

Ed - cheese

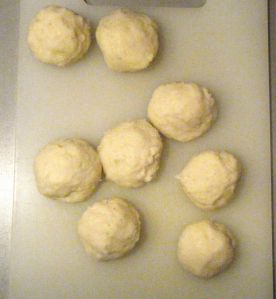
I took a tablespoon of mash potato and carefully shaped it around a chunk of cheese.  I the repeated this until all the mash was used.

Ed - balls

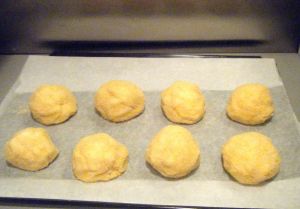
I then put the breadcrumbs into a bowl and I rolled the mash balls in the breadcrumbs until evenly coated.

Practical tip: don’t measure out the breadcrumbs.  Just pop some in a bowl and kept topping it up as you go.  If you measure the breadcrumbs out, you could end up wasting them as it’s unlikely you’ll need the full amount. 

Ed - breadcrumbed

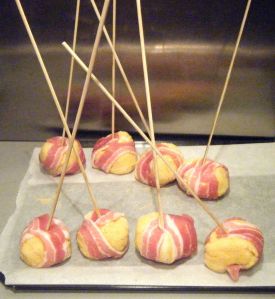
I wrapped the breadcrumbed balls in a piece of bacon and pushed a skewer through the bacon and cheese centre.

Ed - skewers

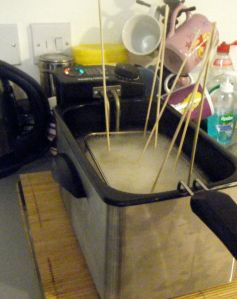
I decided to use my deep fat dryer and heated it up to 175 degree celsius.  I put the potato bombs in the frying basket and carefully lowered it into the hot oil. 

Ed - fryer

The recipe says to fry them until golden but lists the cooking time as 15 minutes.  I therefore intended to cook them for this amount of time, however, I realised part way through that this was a bit too long.  I think 10 minutes would have been better.

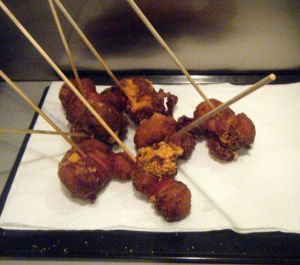
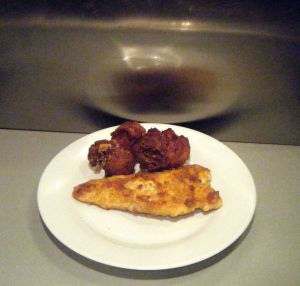
Anyway, after 14 minutes, I removed the potato bombs from the fryer and put them on some kitchen roll whilst I finished up the chicken escallops we were having them with.

Ed - drain

Ed - served up

These didn’t really turn out as I would have hoped.  Don’t get me wrong, they were still nice but there was no cheese left inside and they were slightly overcooked.  Next time I will leave the cheese chunks bigger and cook them for just 10 minutes.  However, you could tell these had really good potential as they tasted yummy…if slightly too crispy. 

Coming up soon, Challenge No. 45 – egg custards.